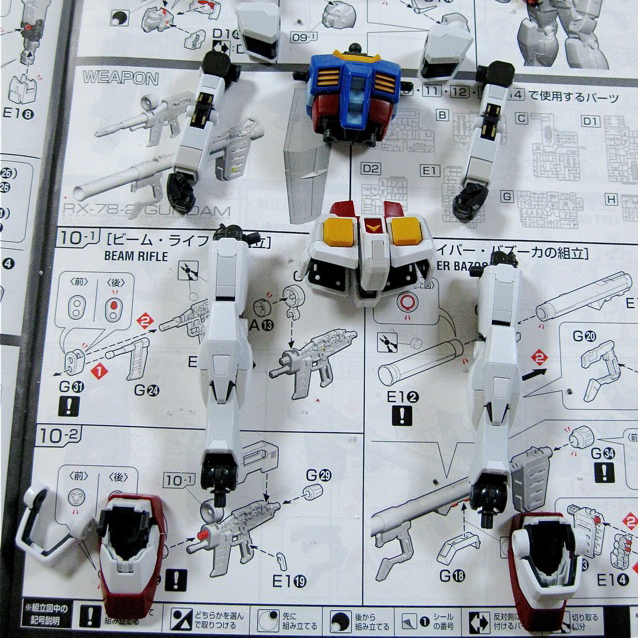
When starting on the arms the first thing you have to do is take the flexible frame apart. But don’t throw anything away!
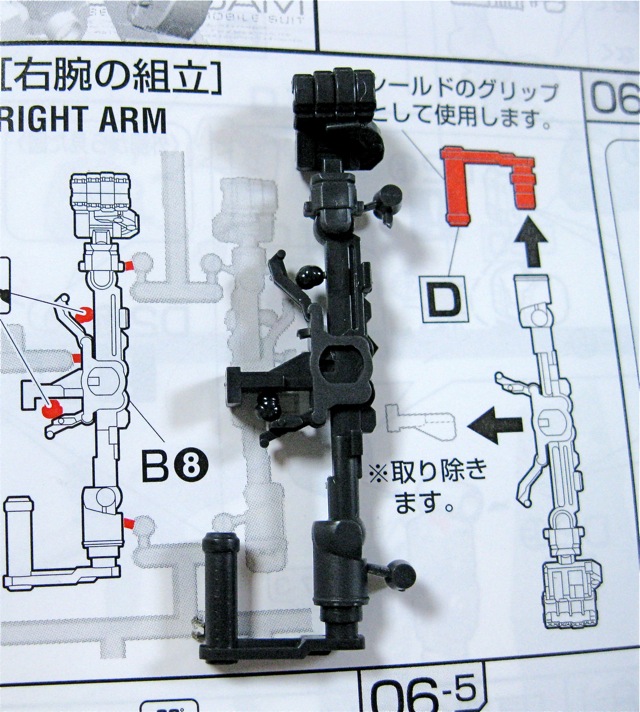
What you have to do is pull the top part of the frame off. This part is actually going to be used in the assembly of the shield later on so keep that piece handy. Very ingenious of Bandai if you ask me.

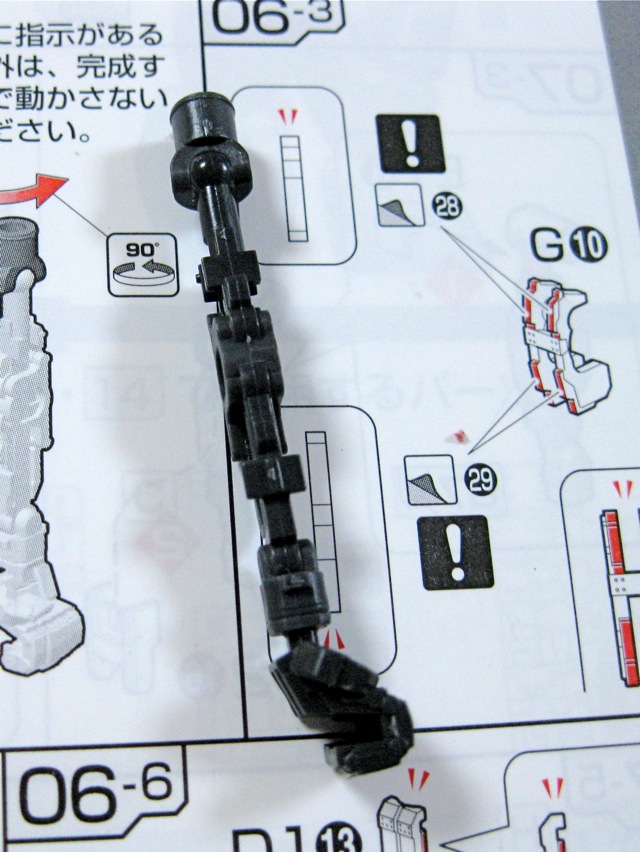
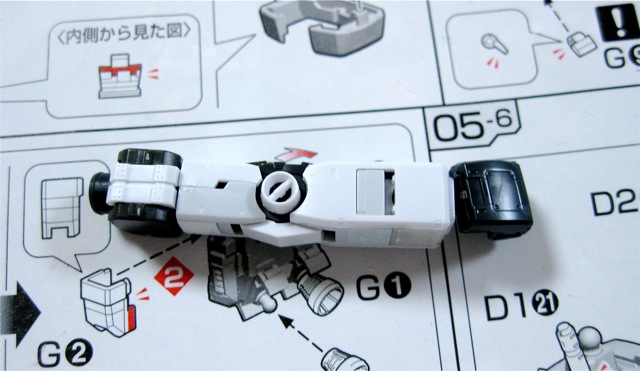
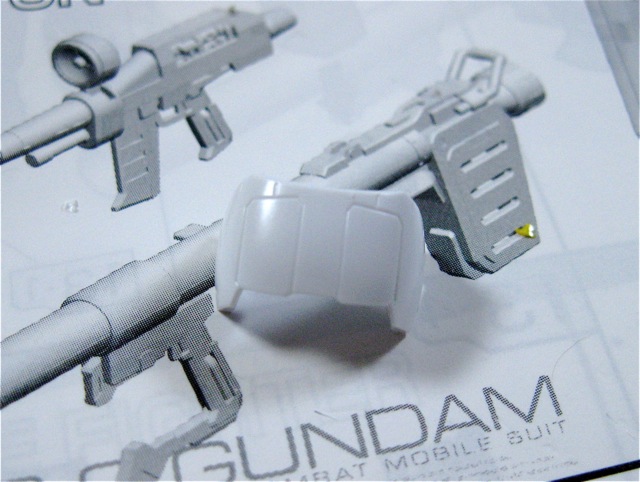
This will leave you with the arm frame which, much like the leg frame, has some fragile areas that need to be handled delicately.
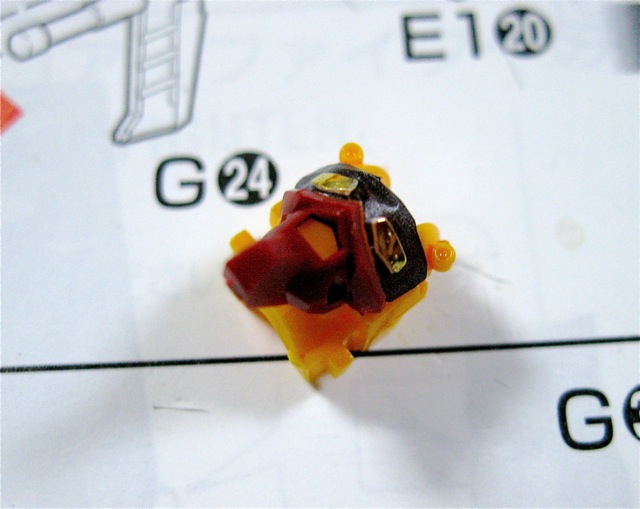
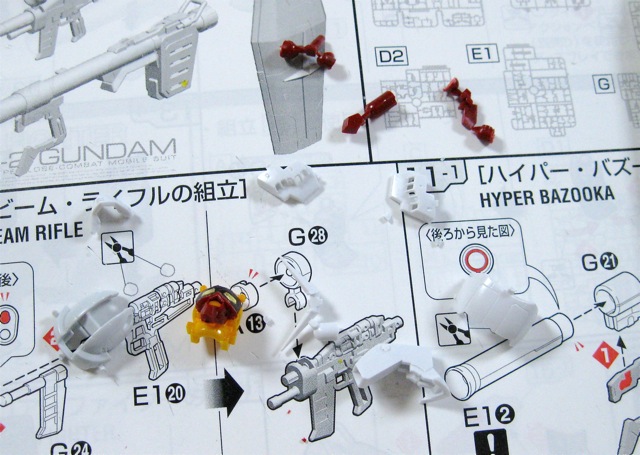
The next step is to put on the gold foil sticker (or water-slide decals if you prefer them) onto the elbow frame piece before putting on the armor. I opted instead to use a Gundam marker here because I found the foil stickers to adhere ineffectively and the water-slide decals to be slightly too wide and a little difficult to work with.
The arm assembles just like the leg using many different sizes and shapes of armor pieces in two different colors.
Once the arm is assembled you get a new appreciation for the design and engineering Bandai came up with for this Real Grade.
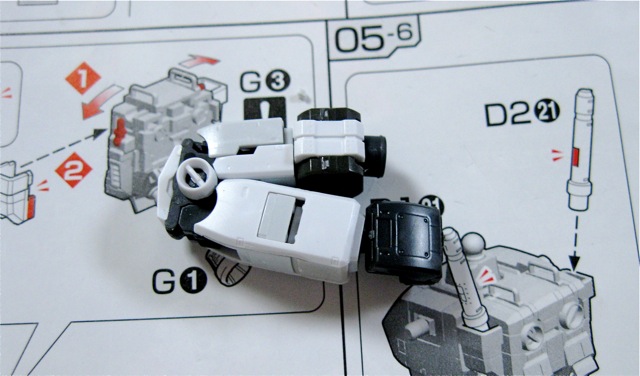
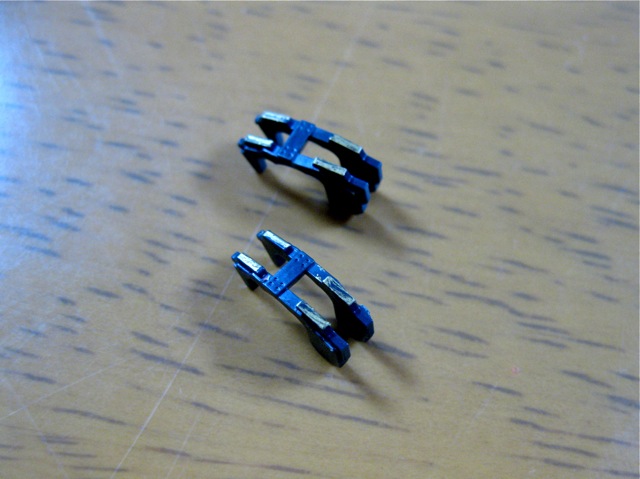
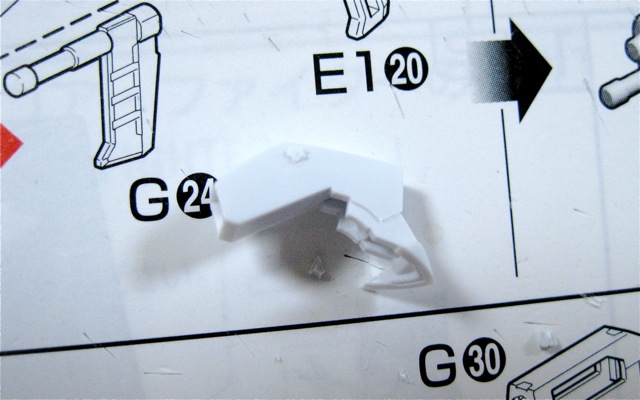
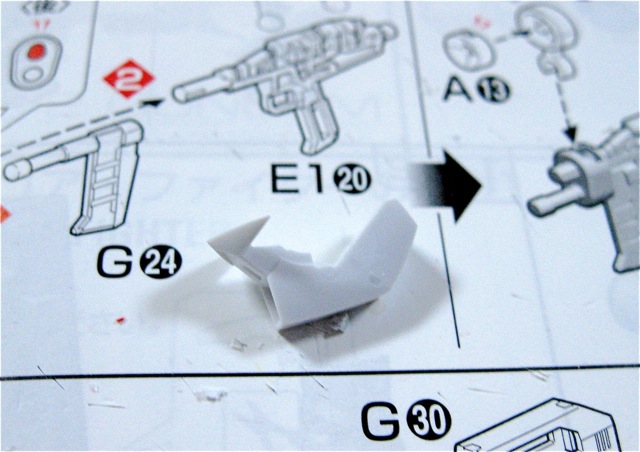
The shoulders come as one piece of frame with many smaller armor parts placed overtop. If you don’t sufficiently remove the gate marks from the frame pieces the armor parts will not stay on and you will find yourself searching around your workbench or floor for them often.

With the shoulders finished your Real Grade Gundam will now look like this.
Something’s missing. That’s right! The head.
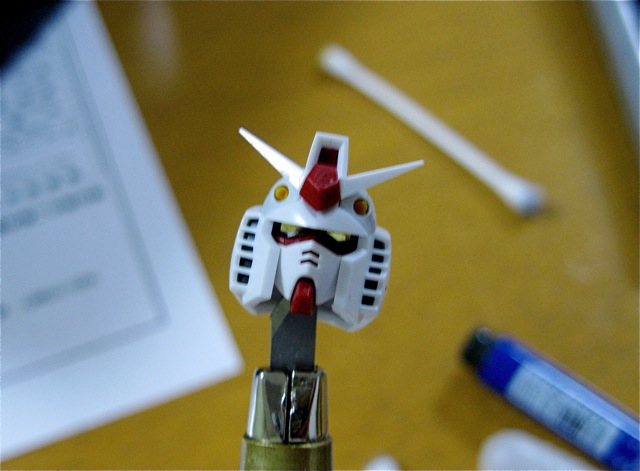
I found the head to be the most enjoyable part of the build. Bandai really did a great job of making this Gundam look like the 1/1 Gundam which, in my opinion, is the best looking RX-78-2 I’ve seen.
Bandai gives you two options for the eyes. You can place a yellow-eyed sticker on, or you can place a blue-eyed sticker on and put the two smaller yellow eyes on over top. As I went with the yellow-eyed sticker on the Real Grade that was built for Gunpla TV, this time I went the alternate route. It does give the eyes a bit more depth but because of the model’s small size it’s not really noticeable.
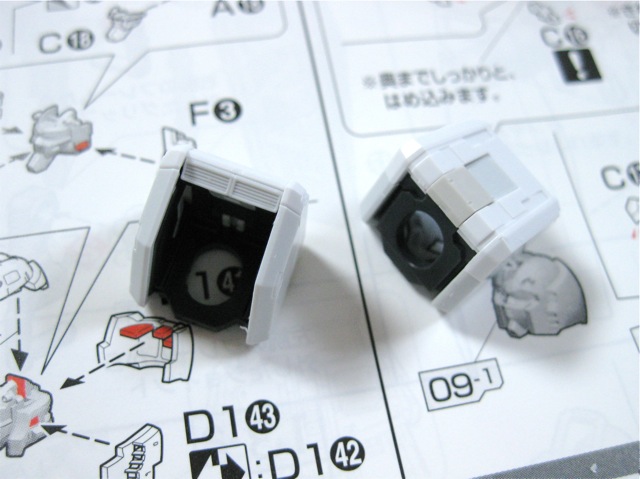
Even for just the head, there are a lot of pieces used in the construction.
Put the face armor on first followed by the sides, rear, then top.
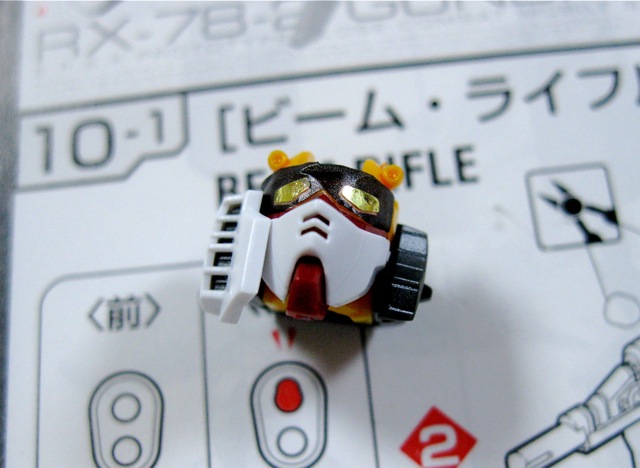
Look at the detail on the part for the back of the head!
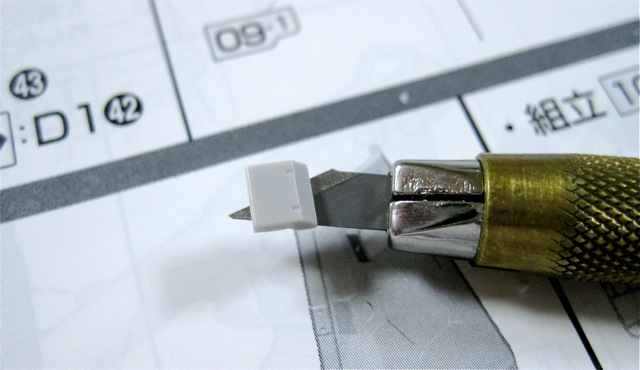
The final armor piece comes with some unsightly gate marks.
Use the edge of your knife to cut it down and scrape it smooth.
Put the V-fin on and you’re all set.
This is where you would be assembling the sections to make a complete model, however, because I have panel lining and decals to put on I am going to leave him as he is for now. Next up, the already mentioned panel lining.


Mack
I think Bandai really nailed the proportions on the RG, I hope they do the same for Char’s Zaku!
George
RG Char’s Zaku is pretty similar to the MG v2.0, but without the extra bulk to the legs that the MG Char’s Zaku v2.0 had compared to the F-type. To me, that’s a bad thing – I think the MG Zaku v2.0 does have a lot going for it, but there’s a few areas I just can’t stand – mainly, the lower legs/feet and the spike armor. I think the MG Zaku v1.0 was a much better-looking kit, I would have loved to see a Real Grade release along those lines…
But anyway, there are images of the RG Char’s Zaku out there, including on HLJ, so you can see and decide for yourself.
Also, you mention the option of using the water-slide decals on the elbow: I can’t recommend the water-slide decal set for this kit -at all-. The markings that were metallic gold on the kit’s sticker sheet are done in yellow with half-toned red speckles all over. (I don’t expect them to necessarily provide the same metallic for the water slide decals – but who would ever want to use the red-speckled yellow marks from the Gundam Decal set? What’s the point of including markings on the sheet that are so bad that no one will want to use them?) Similarly, the markings that were originally silver (the little oval shapes) are instead white with black specks on them. The gray markings are half-toned as well, so the detail of the gray markings on the water-slide sheet for this kit are significantly degraded compared even to the sticker versions.
One fun little quirk about the decal sheet is all the worst-looking markings (i.e. the stuff that was originally gold) are conveniently hidden in the area of the package that you can’t see until you tear it open… I am going to be very careful about what Gundam Decal sheets I buy in the future. When I have a little more time on my hands I want to write a proper, scathing review of that decal sheet…
Syd
I have just spent the last couple of evenings using the water-slide decals and can’t really complain about them. I did notice what you mentioned however it appears Bandai did this to give the water-slide decal a reflective appearance, similar to the included stickers, when viewed from certain angles. One thing I will note about the water-slides is that they are very small. That said, because Bandai molded the kit with lots of little indentations, those small decals slide into place rather easily. I’ve never had any problems with Bandai water-slides and they are always the first option I go to unless I am making a custom marking scheme.
Tim
Hey guys, what did you with the part on the arms with stickers(the c-shape black)? when i bend the arm it lifts off and the armor would scrape off the bronze stickers..
Anish Kaushik
This was my first gundum kit i got it on Christmas . it has a very in enjoyable build