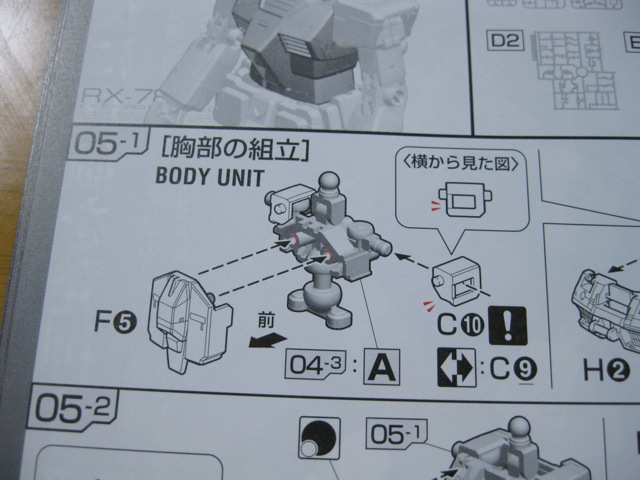
Right from the start, the torso part of the 1/144 RG RX78-2 Gundam build offers some unique surprises. Looking at the torso frame, you can see that it is composed of two different colored plastic
As part of Bandai’s design, should you be inclined, you can pop out the middle section of the torso frame and insert the assembled Core Fighter in its stead.
However, if you don’t want to do this, Bandai has included a frame part which you can use here.
The core fighter will only be visible if you have the cockpit hatch open so I didn’t feel the need to construct the Core Fighter just to put it in the torso. I’ll give it a try in the future, of course.
The torso assembly is pretty straightforward at first. However, at this part…
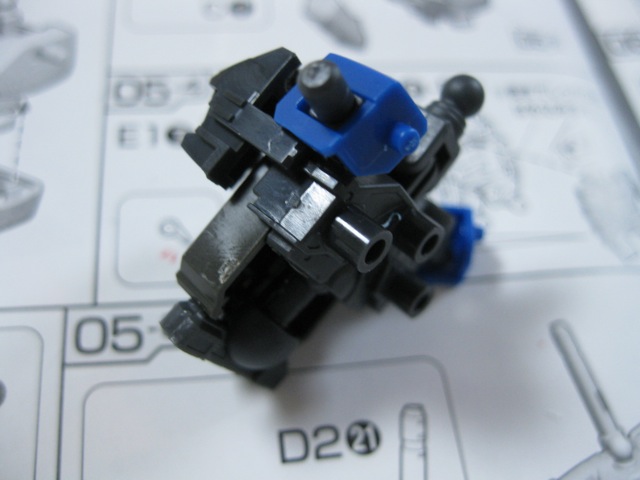
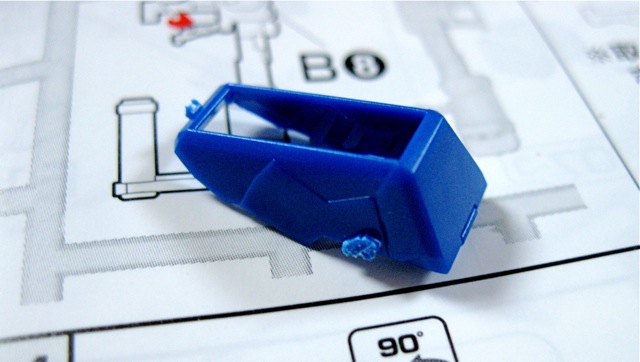
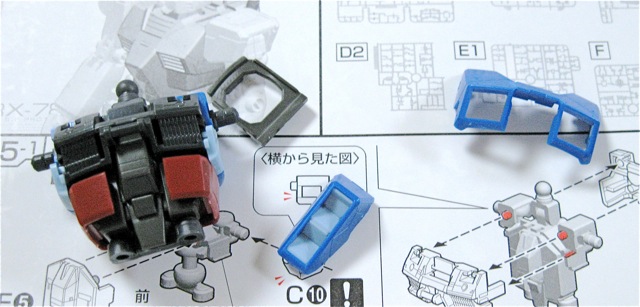
Be sure to follow the instruction manual closely. If you assemble the blue pieces incorrectly, not only will the front armor not attach properly, but you will have difficulty removing the blue pieces to correct your mistake.
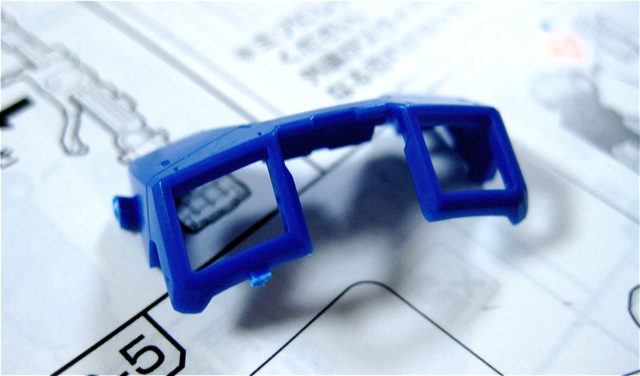
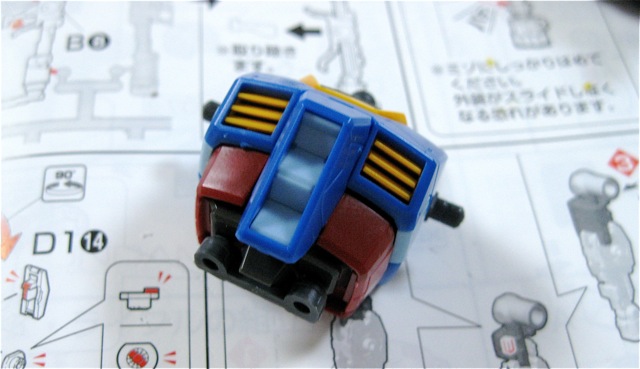
Then you get to the lighter blue pieces which you may have noticed earlier. Why light blue? I asked myself that question when I first built the RG, but after seeing the 1/1 Gundam in Shizuoka I noticed that, indeed, the side parts of the torso are a lighter color. Bandai follows the design of the 1/1 meticulously.
When it comes to the chest vents, the manual instructs you to apply gold foil stickers. The stickers are very small and there are 6 in all that need to be attached. I applied the stickers on my first build, but found that it took a lot of time and concentration to get them on to my satisfaction and even then, because I was using my hobby knife to push them into place, I left some grooves in them as seen in this picture.
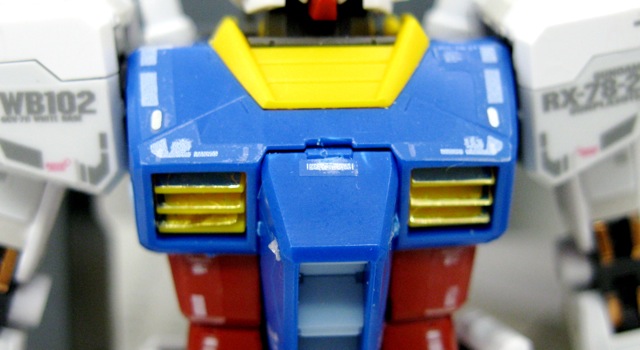
As I have applied a coat of clear orange to darken the yellow on this particular RG I opted to leave the stickers off.
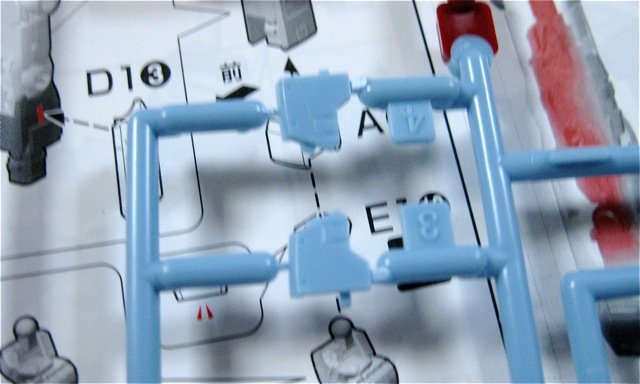
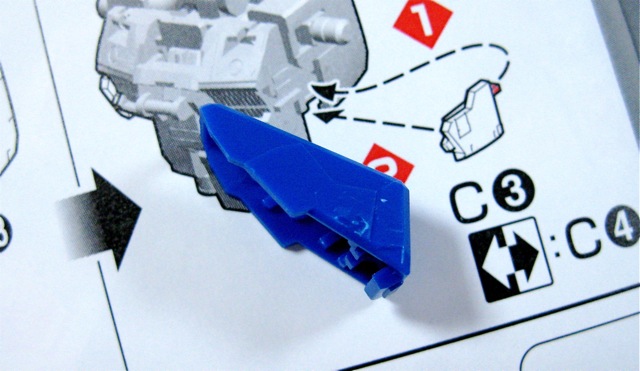
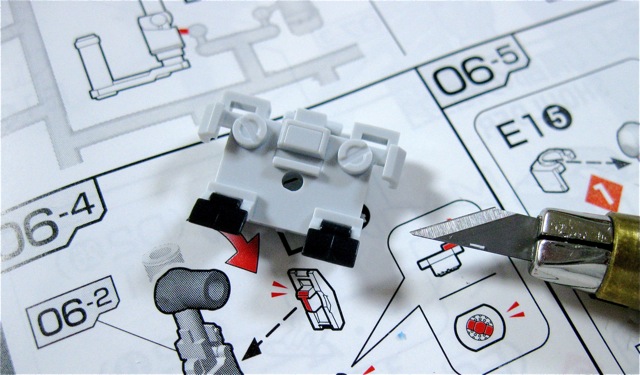
Once you’ve got your vents on, you slide one red armor piece into place, and then you finish with the blue armor pieces. It’s worth noting that the gate marks on the blue pieces are particularly thick so you will need to carefully cut them away.
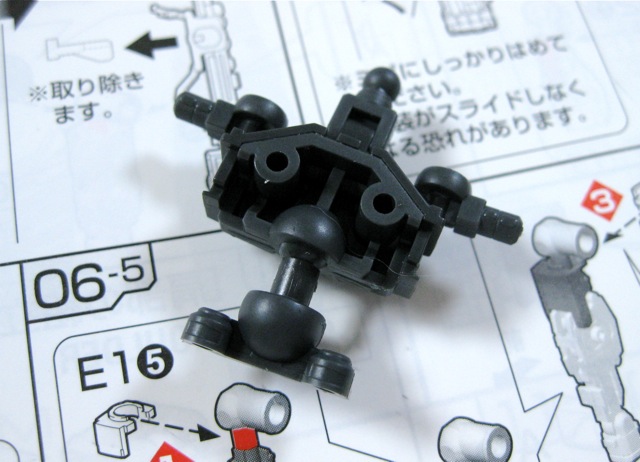
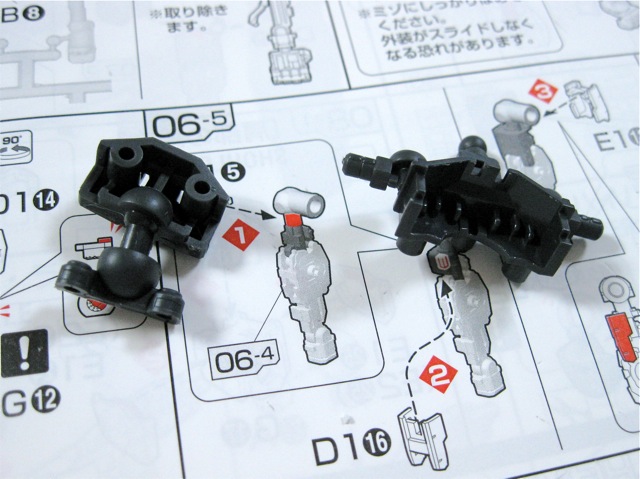
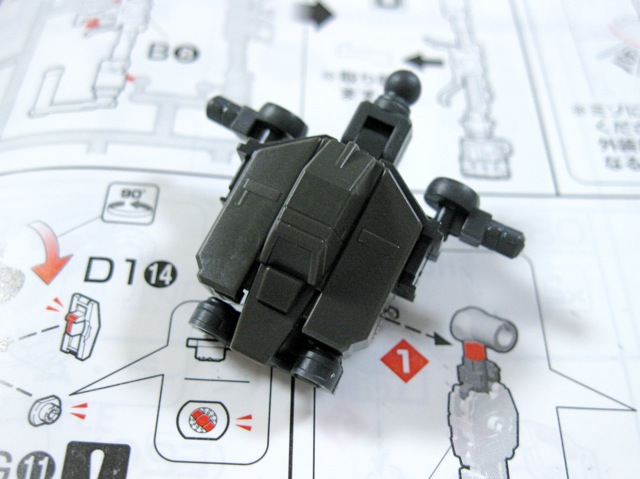
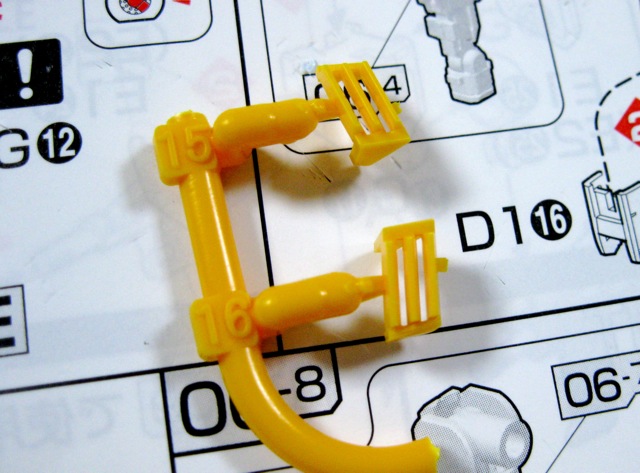
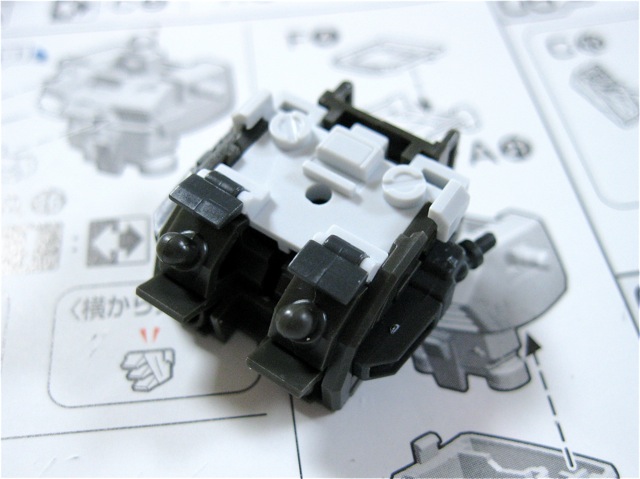
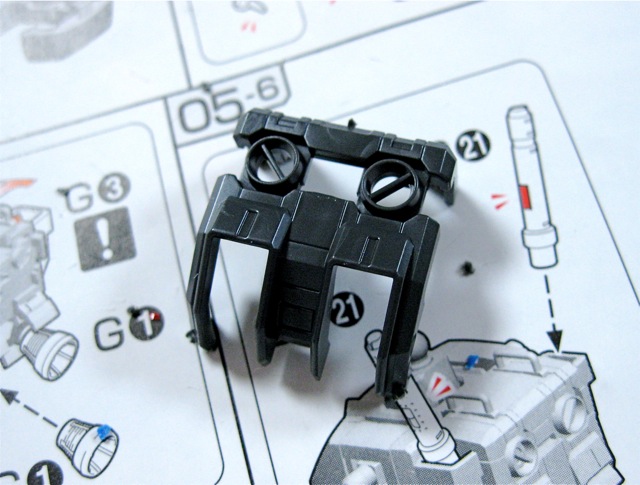
From there you move to the backpack and for such a small backpack Bandai has gone to a lot of effort to make it look almost exactly like the 1/1.
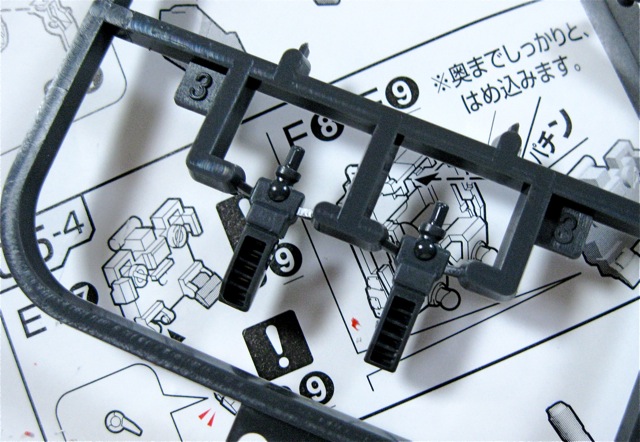
Bandai also makes use of its unique frame in the construction of the backpack. The pieces that will be used to hold the beam saber handles in place are part of the frame runner.

Now your torso is complete!

Next up, the manual informs me I will be constructing arms.
![All Japan Model & Hobby Show 2022 [Gallery]](https://hobbylink.tv/wp-content/uploads/2022/09/Hobby-Event-1280-High-Quality-224x126.jpg)

![Gunpla TV Special – RG Qan[T] Unboxing!](https://hobbylink.tv/wp-content/uploads/2016/05/HobbyLink-Post-Header-RG-GNT-0000-00-QANT-Unboxing-224x93.jpg)