Submitted By: Elexis Cruz
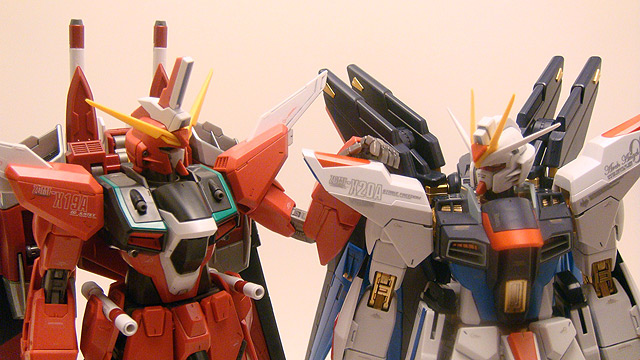
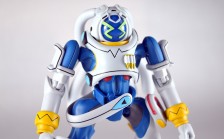
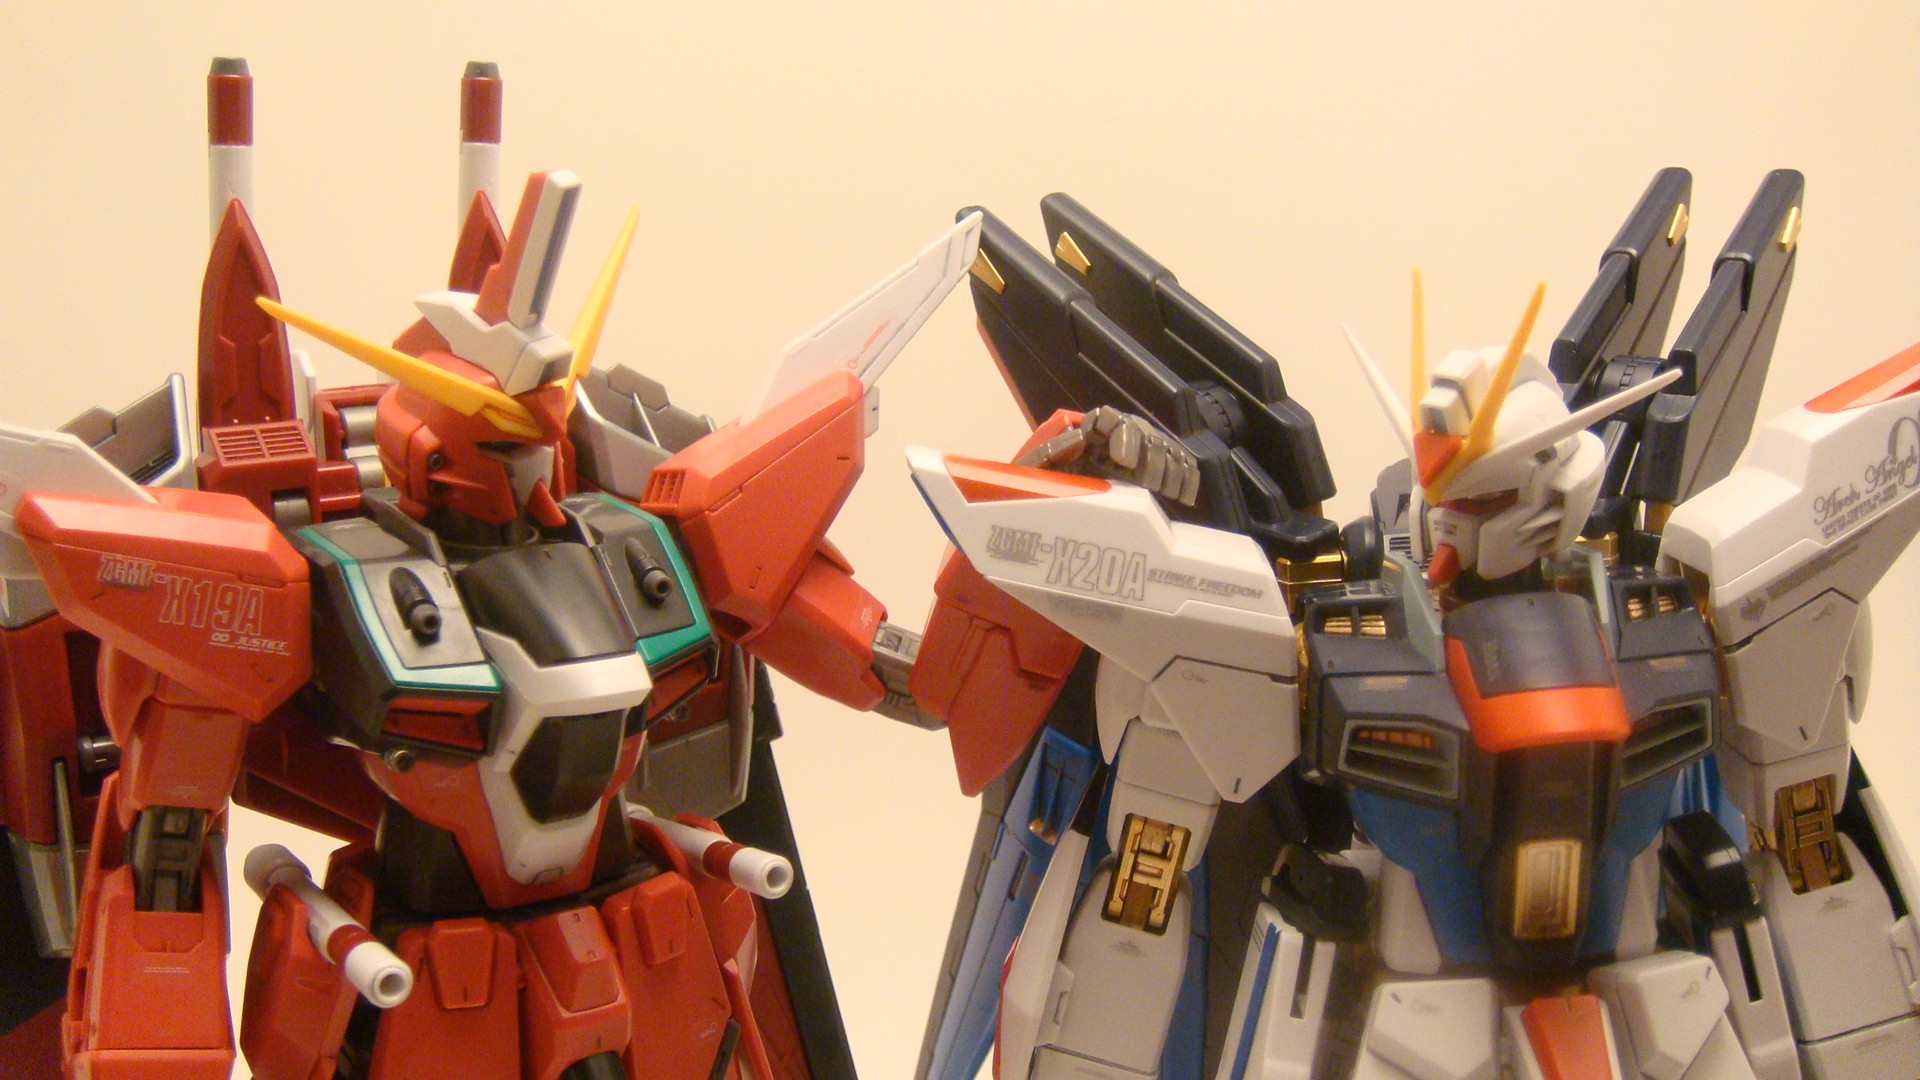
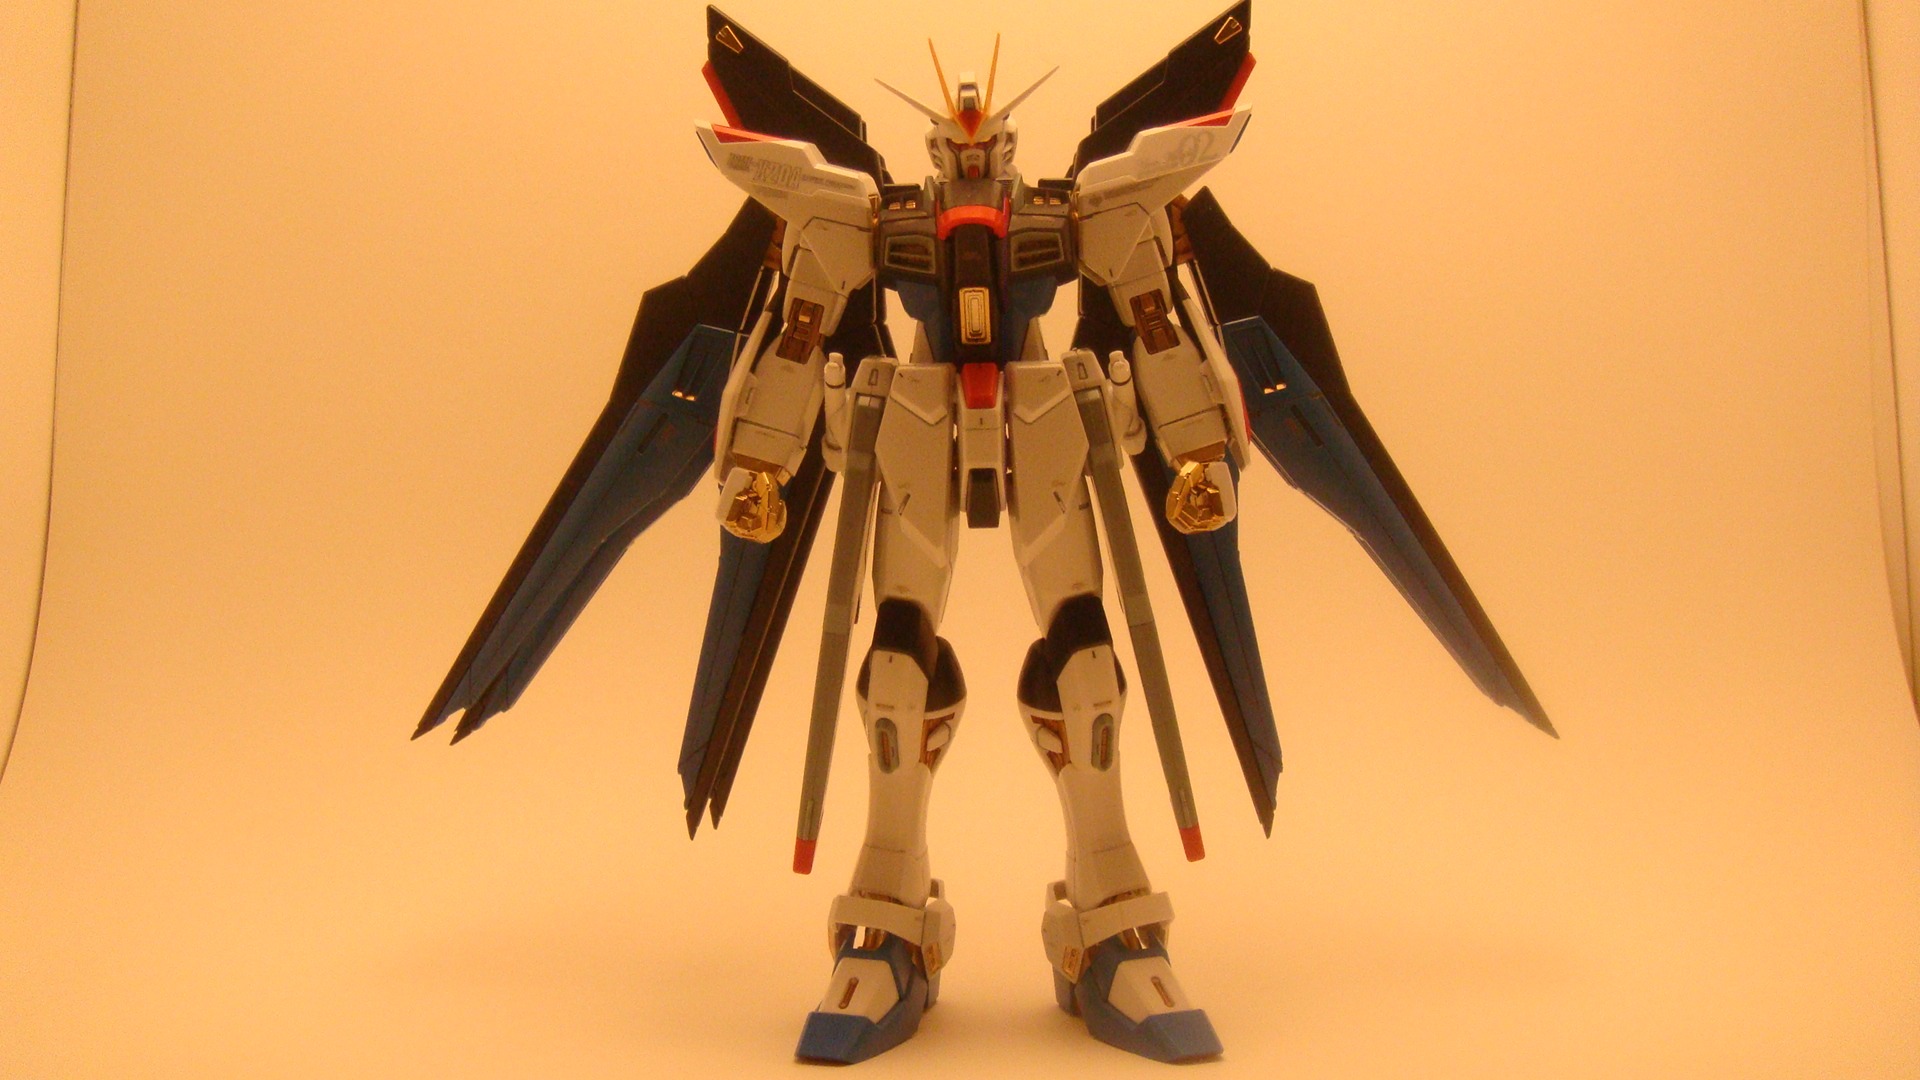
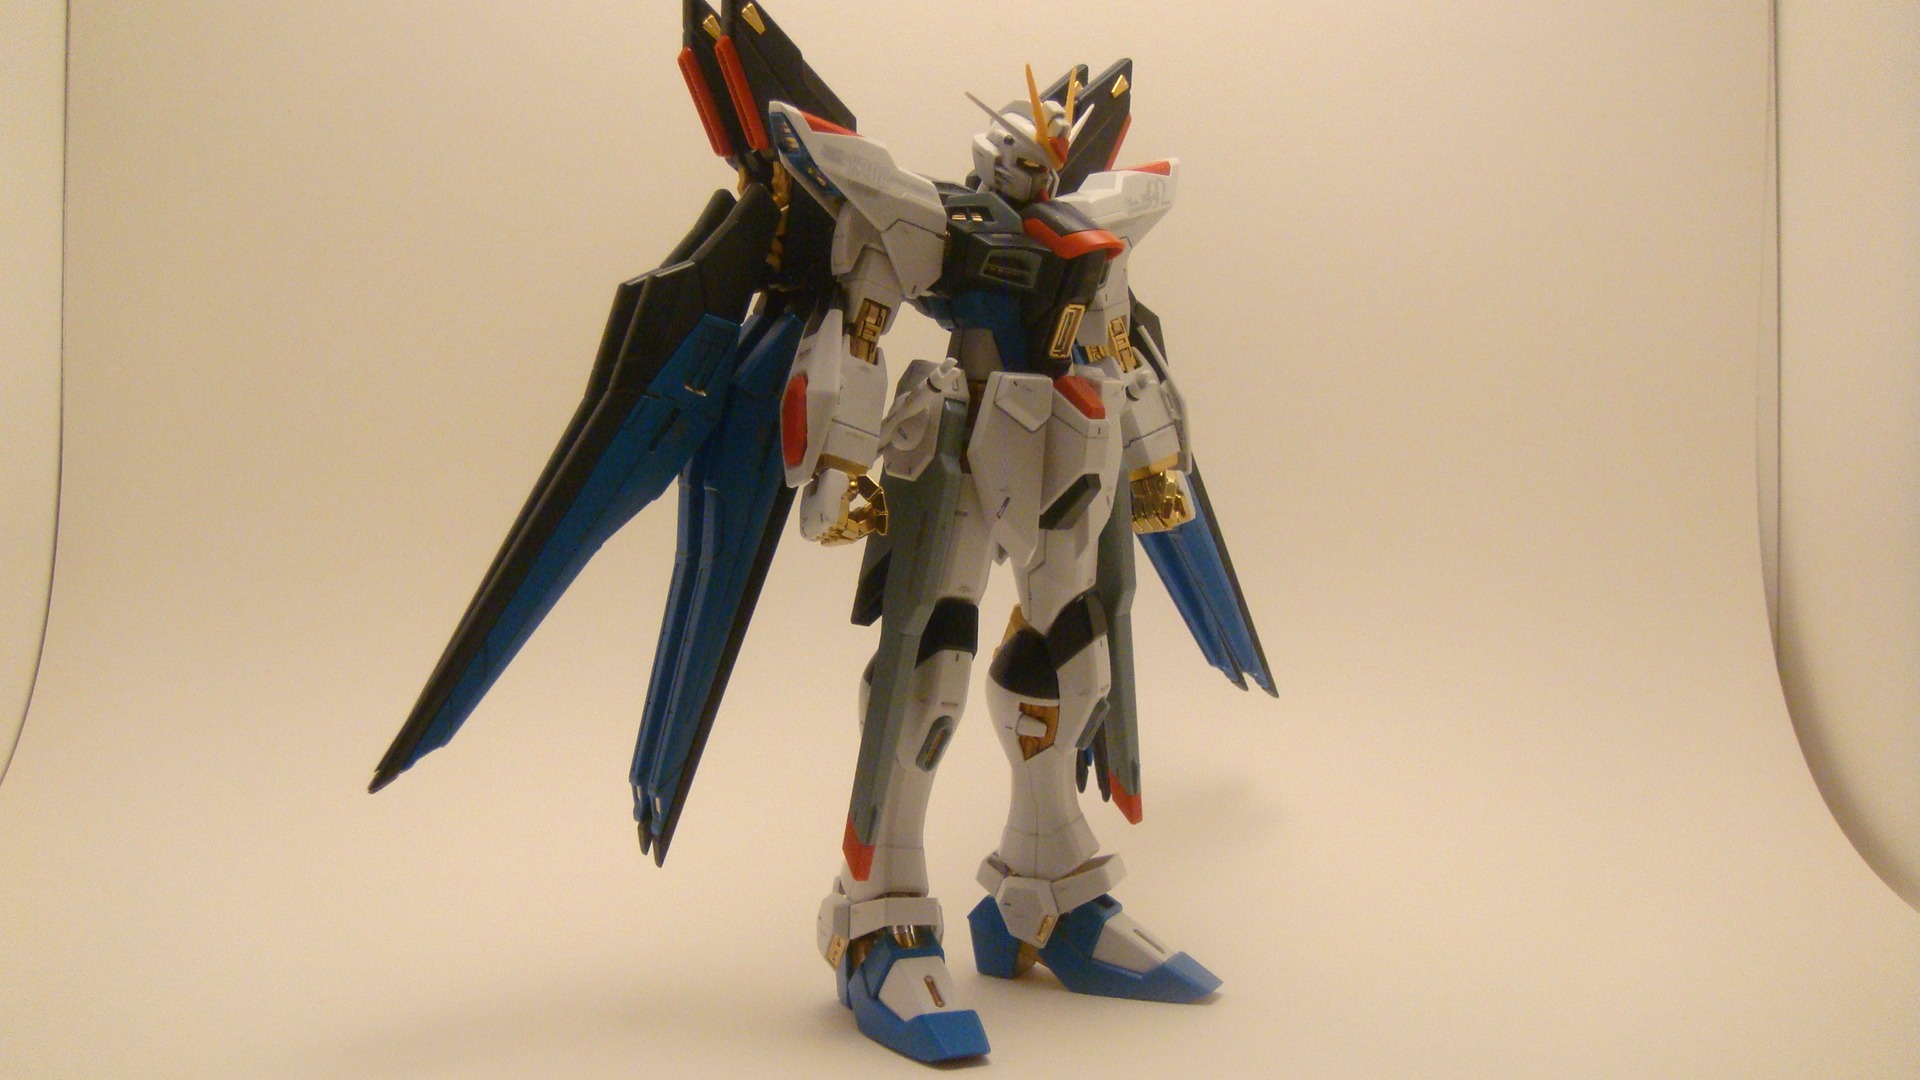
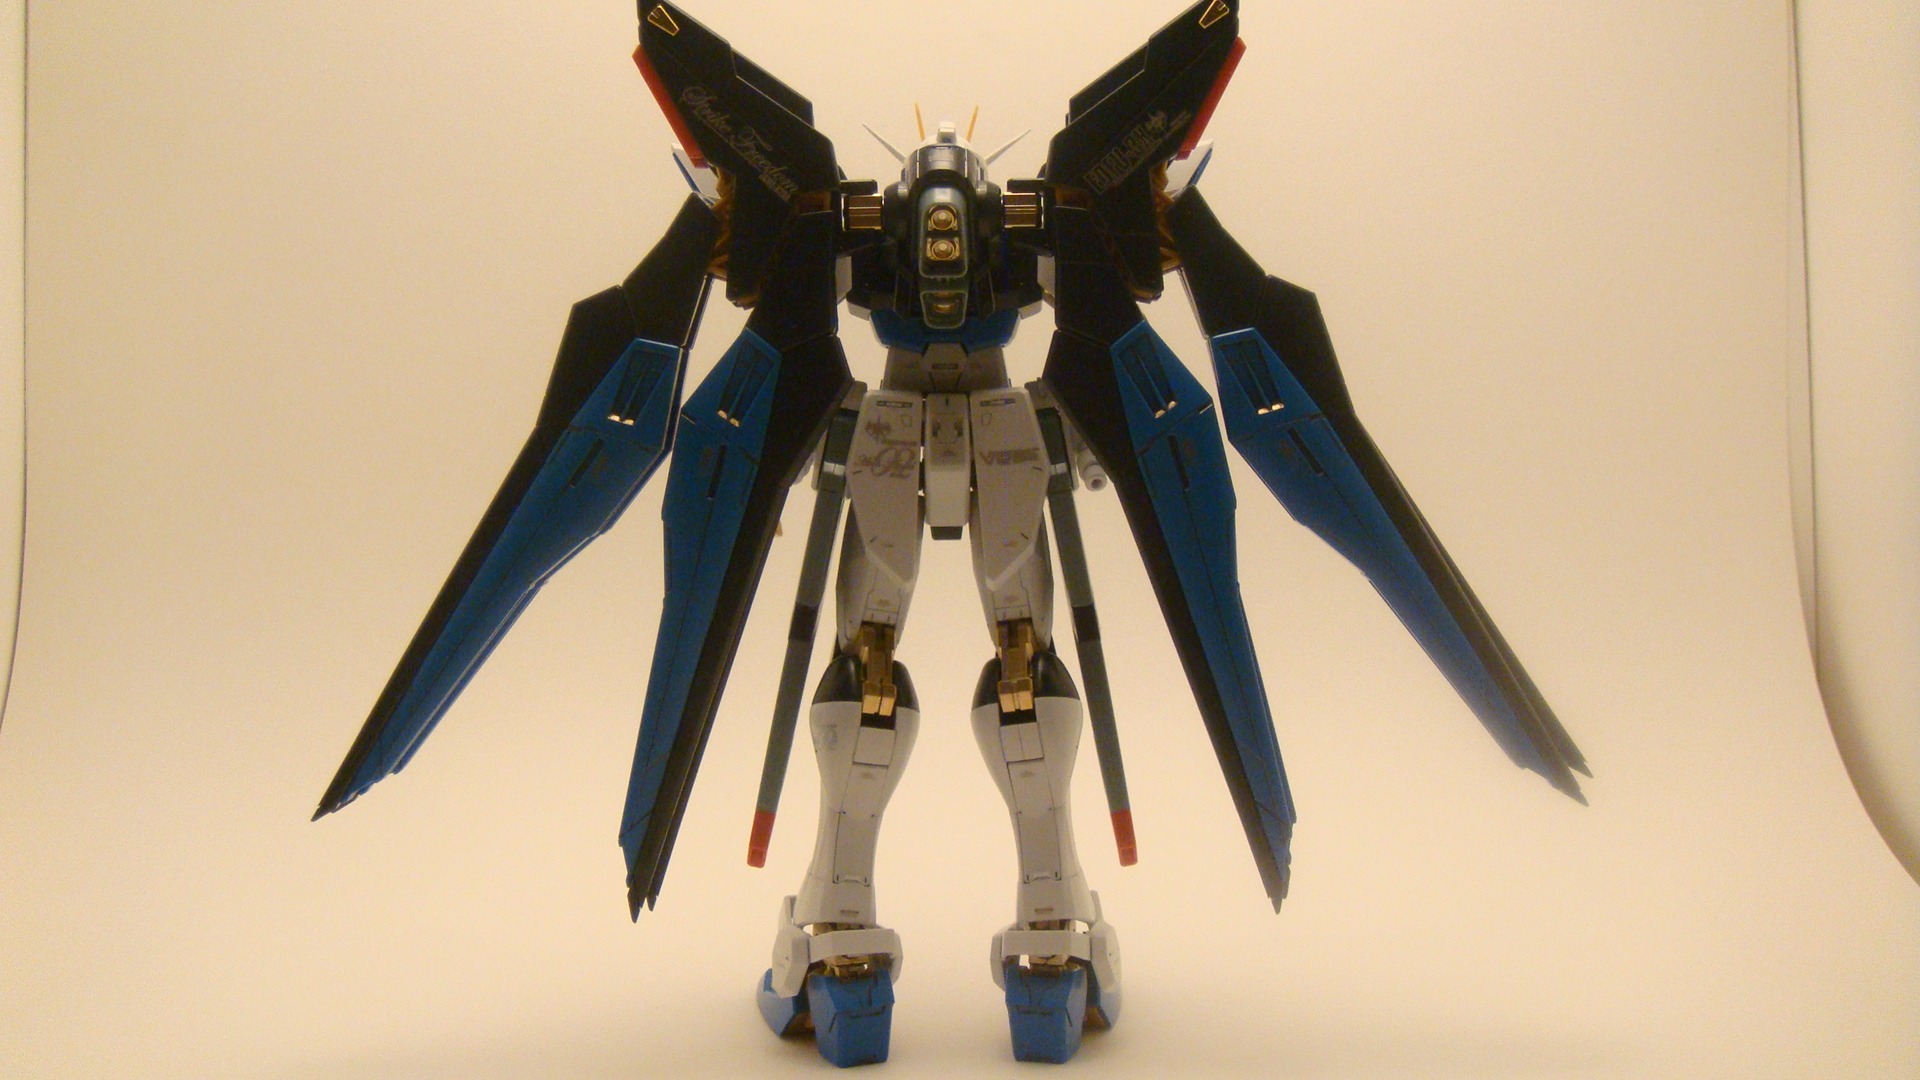
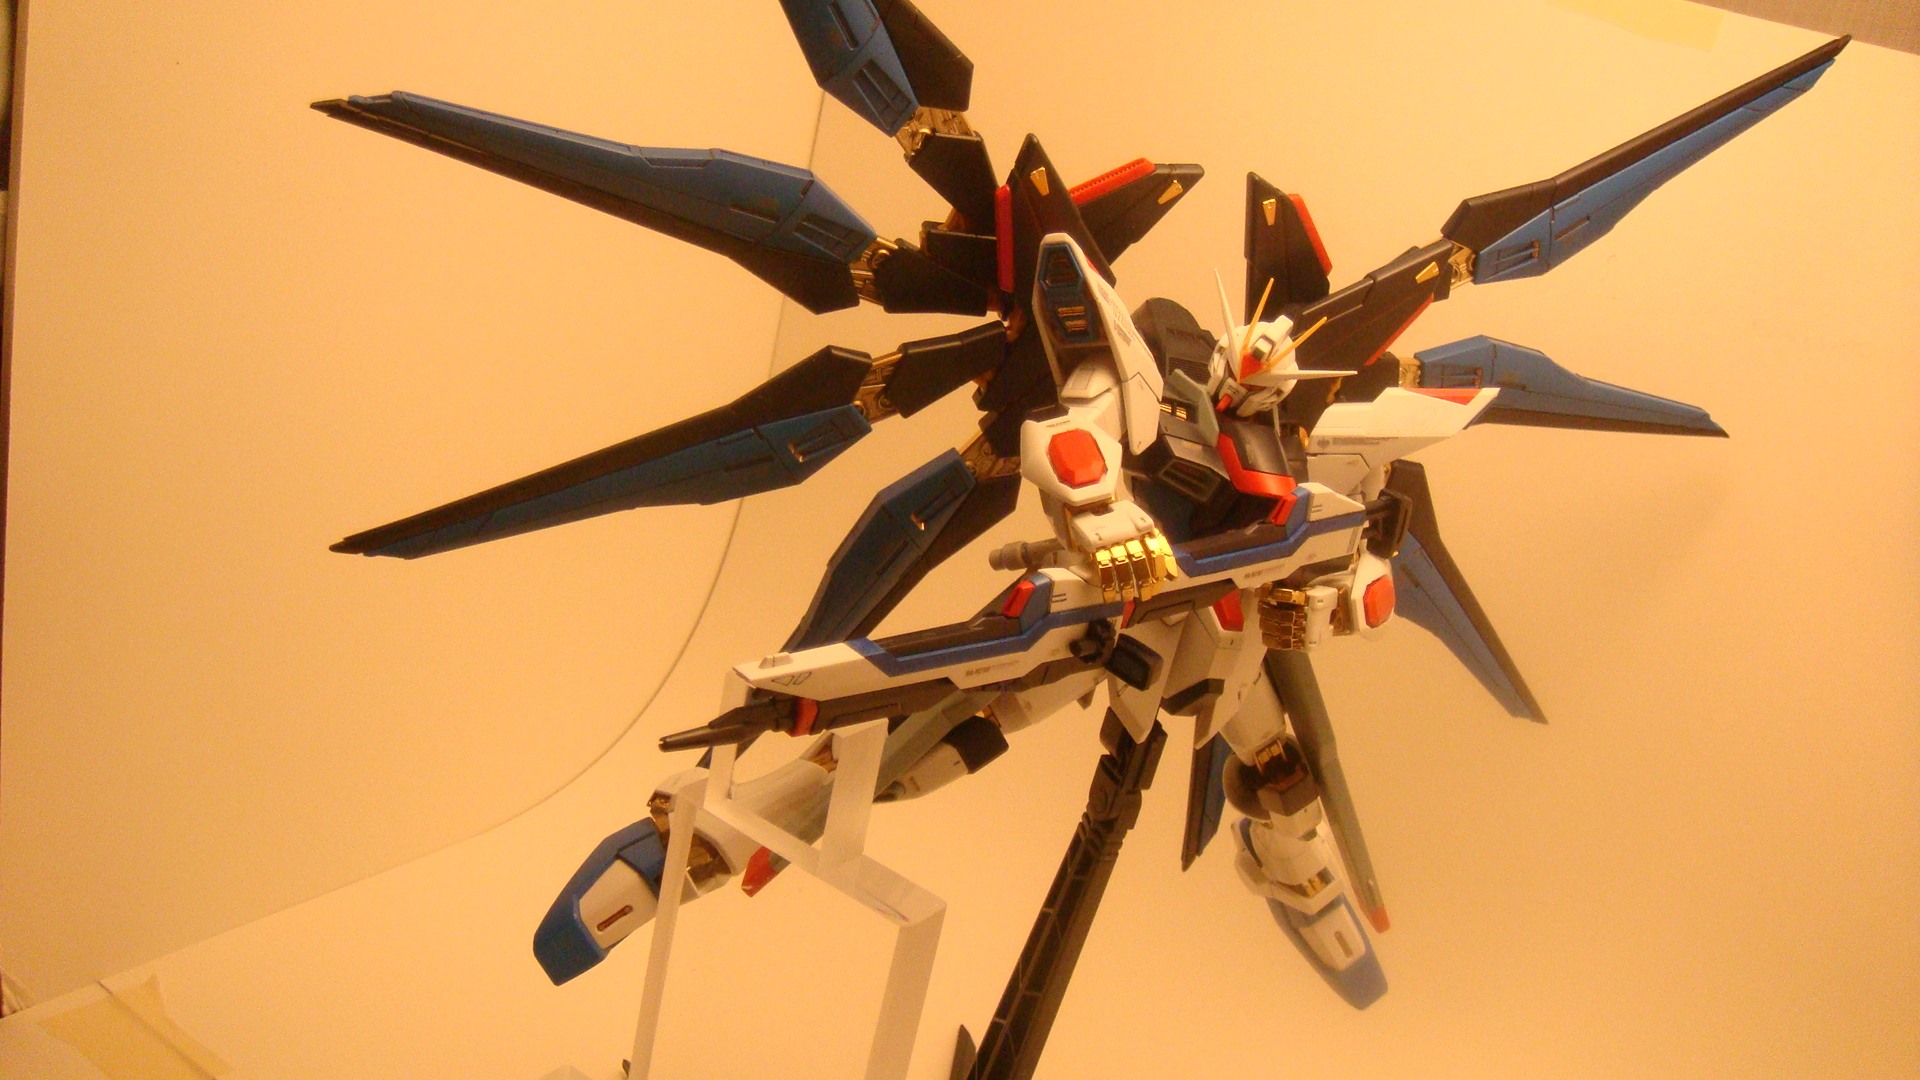
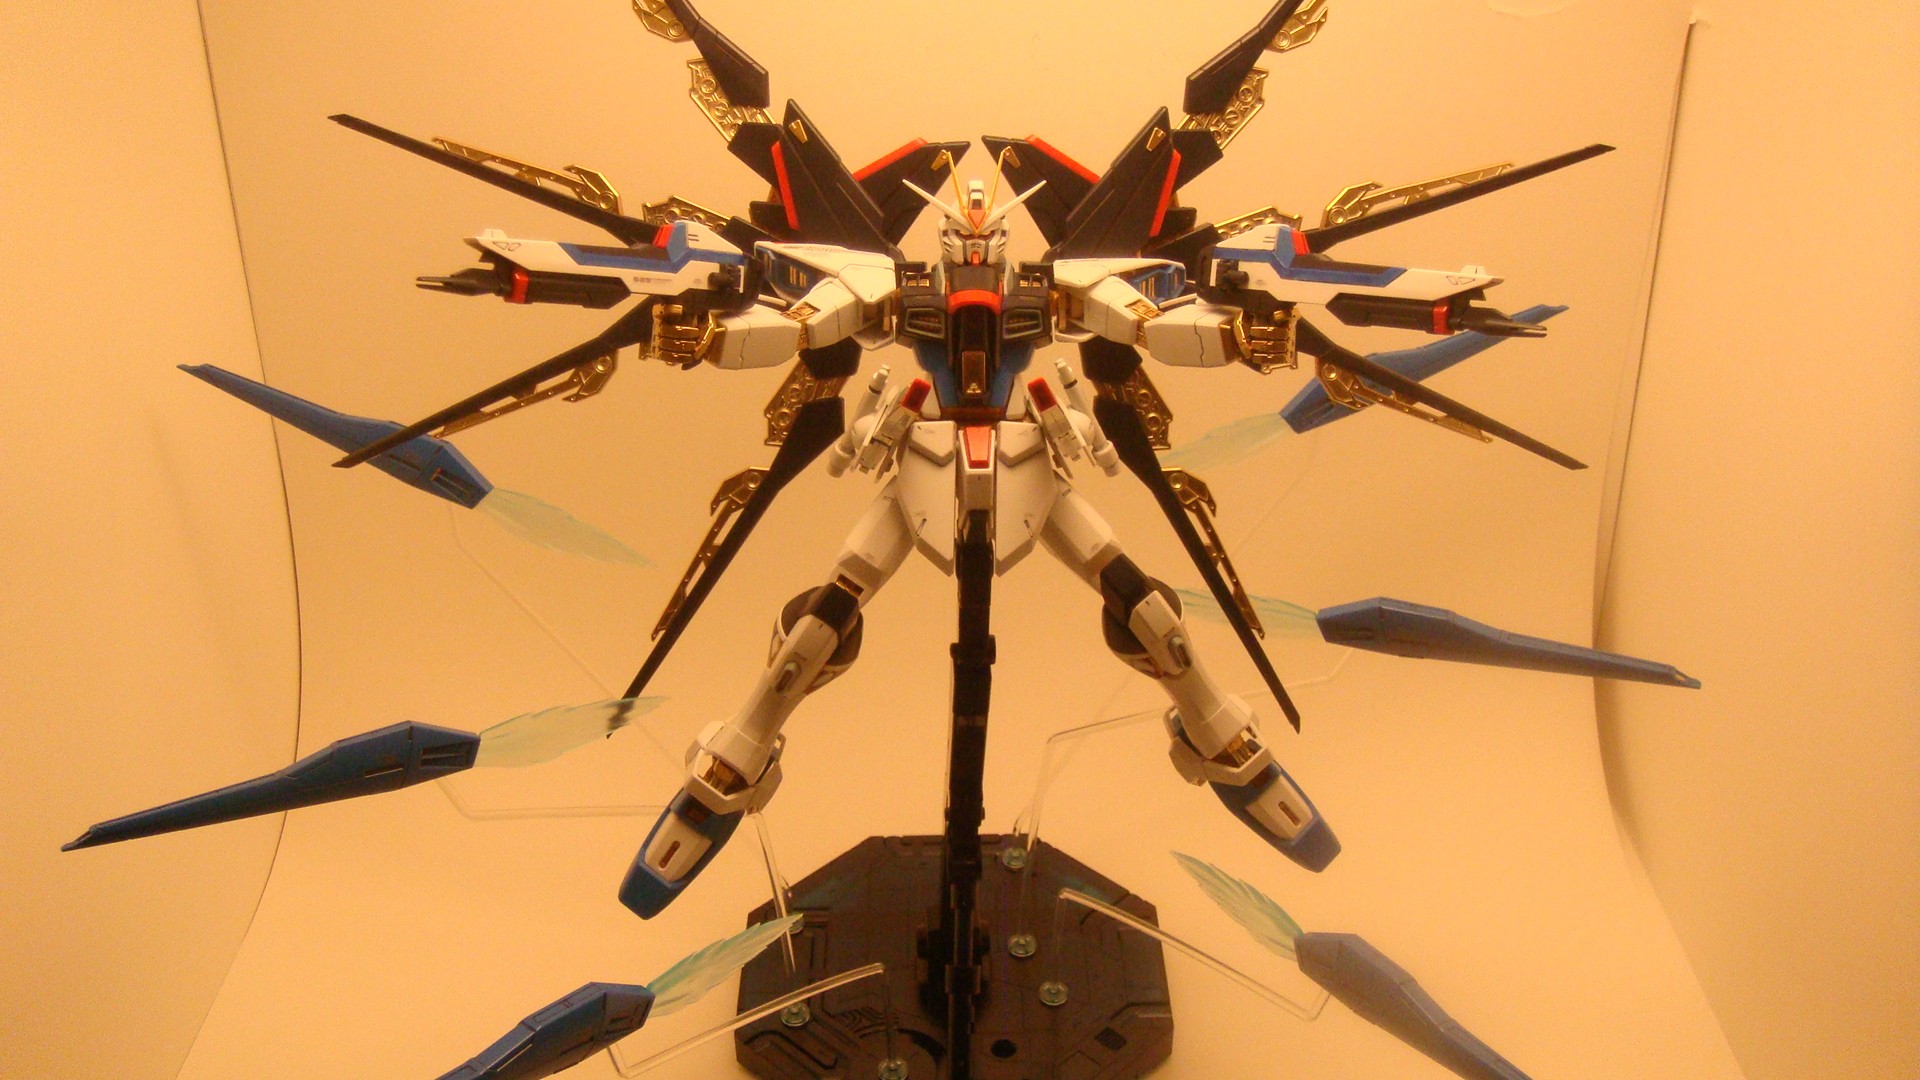
Since I can’t afford to get myself the PG Strike Freedom Gundam (yet), I decided I’ll go ahead and build the one I have, which is the MG Strike Freedom Gundam Full Burst Mode.
I must say that this one was my longest build to date. Being able to just work on the kit for about 2-3 hours a day doesn’t help, but at least I got it done. All in all, I think this kit took me about the equivalent of a full week time-wise to finish it, and that’s with me not painting it. I might still have been working on it if I have. Whew!
Before I started, I actually went and got me a gold and silver leafing pen knowing that it might prove useful with some of the kits I would build. It was a great thing that I did as the gold pen was very useful for this kit.
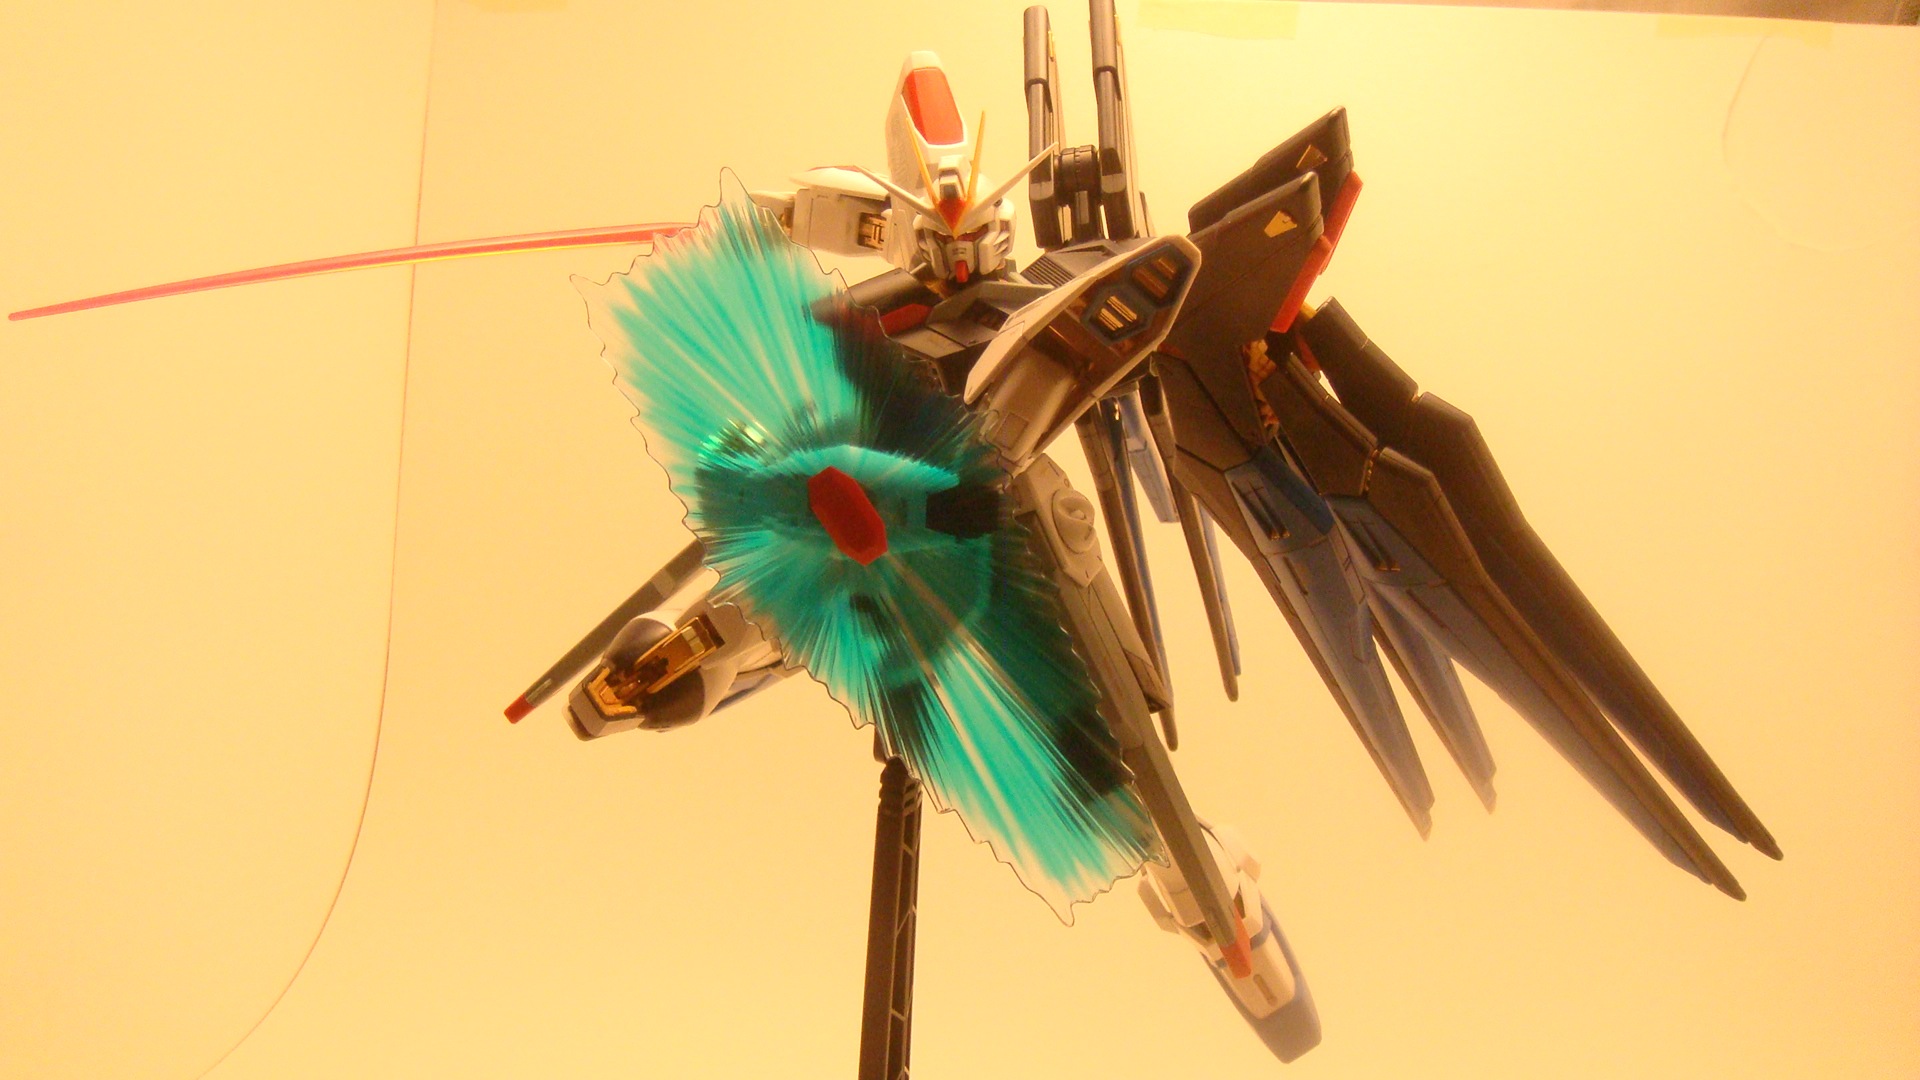
The kit itself was a little bit extensive, as it had about 21 runners. Luckily, 3 of those runners are for the display base, so that was a bit of relief. One thing I learned from all my past builds and the videos I’ve watched is not to cut the gates all the way to the piece, especially for the armor parts. I would leave just a small bit if the gate after cutting and clean it up with the hobby knife. It’s a bit more painstaking than just sanding it down, but because I had no intentions of painting it I went with it. I also didn’t use the stickers for the head. I painted them instead using the Gundam markers and the gold leafing pen. For panel linings I found that using a tissue to suck up the excess ink worked as well as a cotton swab, if not better. When I applied the sticker decals, I used my knife to cut as much of the excess sticker as I can to give it a slightly cleaner look. These excess stickers becomes very obvious on the darker parts, so unless you have the water tran
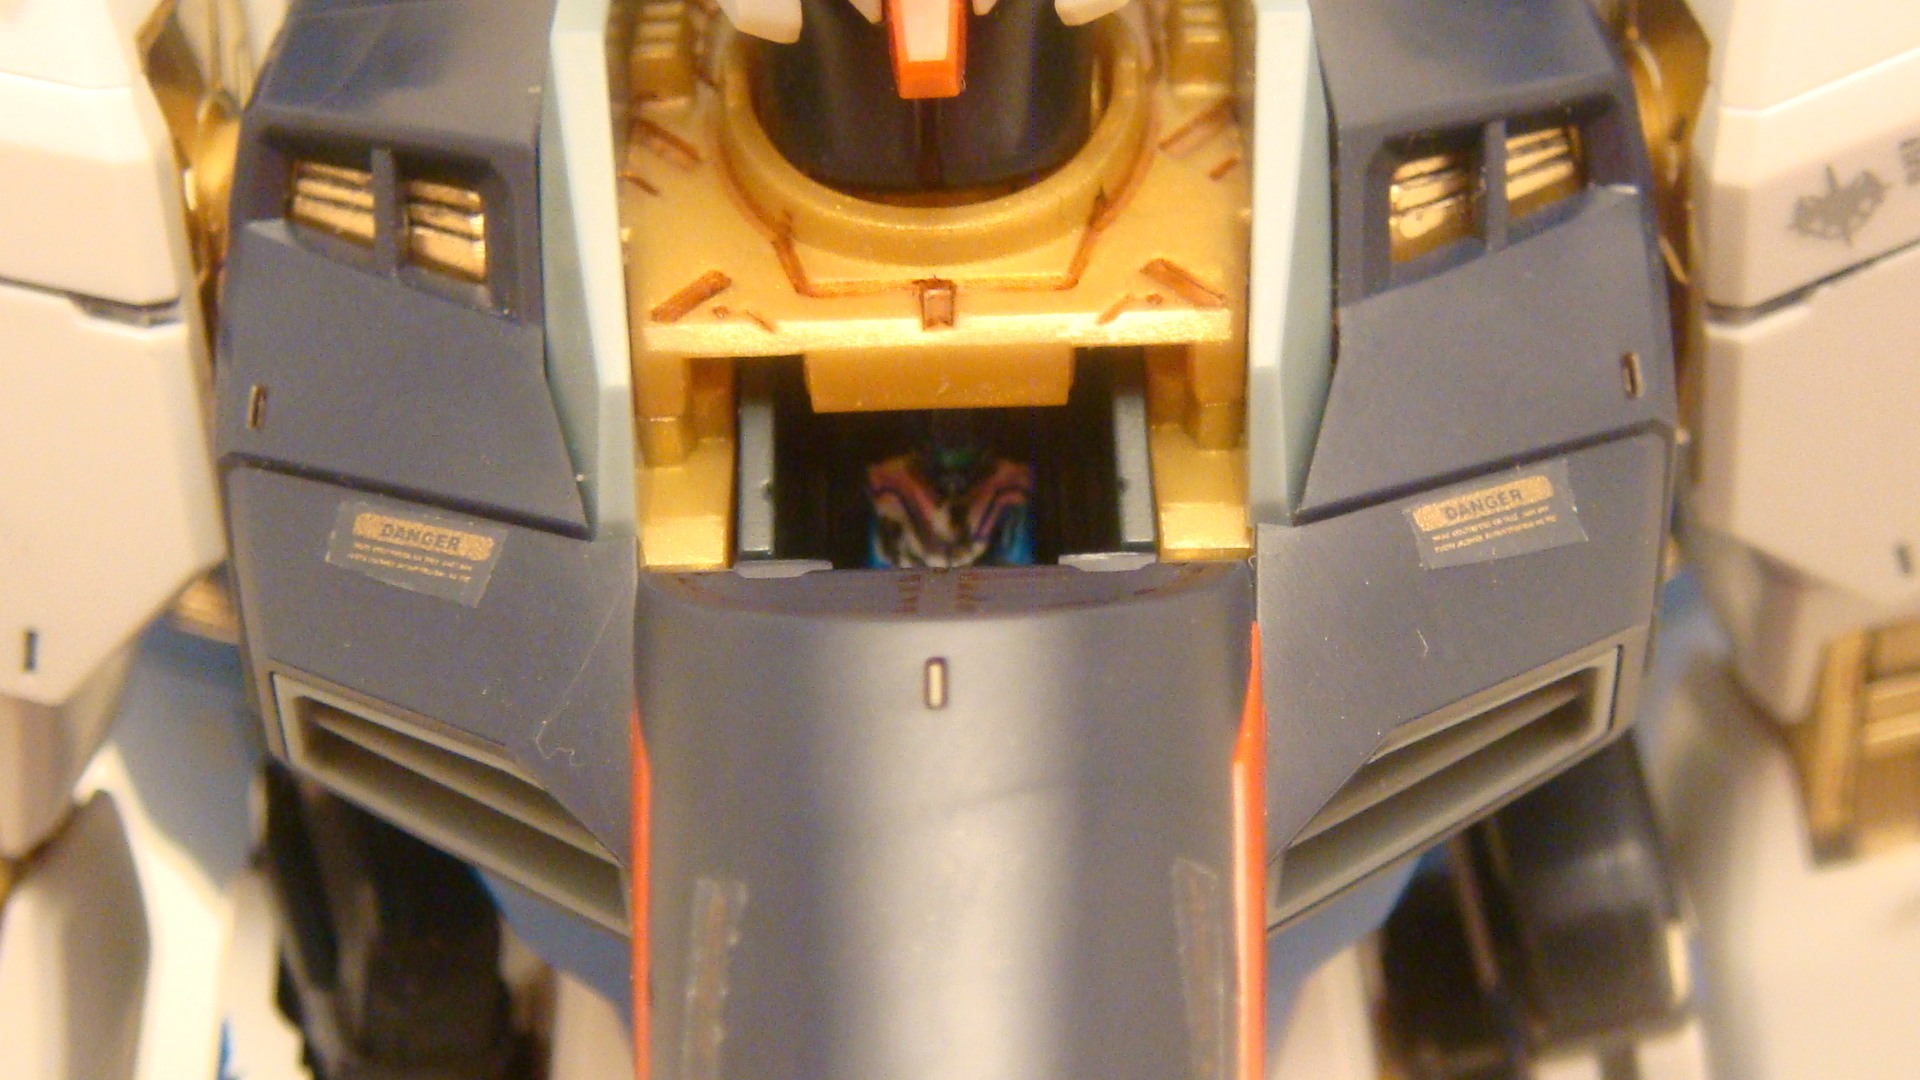
sfer decals instead, I recommend cutting those unsightly excess. And I dunno about other builders out there, but I do take the time to paint the pilot in the cockpit. Some might think this is a waste of time since they are not visible, but I do like as much detail on my kits as I can given my abilities. About 80% of the kits I’ve built has painted pilots.
The most use I got from the gold leafing pen was when I worked on the shiny gold parts. A good amount of the parts were undergated, but some of them weren’t, so even after cutting and cleaning, it would leave a nice dark spot. This was immediately solved by using the leafing pen to cover up these spots. I also used the pen on certain areas I either thought would look with gold, or just to match the picture on the manual. Some of these were the vents by the ankle guard and on the fins.
The end result was quite satisfying. I personally think that it’s fairly close to the PG, but with a little less detail. There were some areas that I could’ve done a better job with, but I’m still learning. Overall, it’s a very nice kit. I would highly recommend this kit for Seed/Seed Destiny fans who can’t afford the PG version but still wants a nice kit. For beginners who want to move on to MGs though, I wouldn’t want to start with this one. I will apologize for the pics as I’m still working on my photo taking skills as well.

