What’s up, everyone? It’s Enrico again, back with a new update on the HGUC Galbaldy Beta. Today we’re going to begin laying down some colors.
This and the next update, just like the priming post, are not going to be full tutorials, but rather reports of my progress on this build. Naturally, this doesn’t mean you aren’t going to learn! You will find a few tips in these updates to be very useful, since I will be showing some techniques I use.
Color scheme
If we are going to paint, we need to know the colors we will use. My idea for this Galbaldy is to keep the color scheme mostly anime-accurate, with just a couple of small changes. This is a lineart drawing I downloaded from a Japanese blog (really useful resource!) and painted on MS Paint.
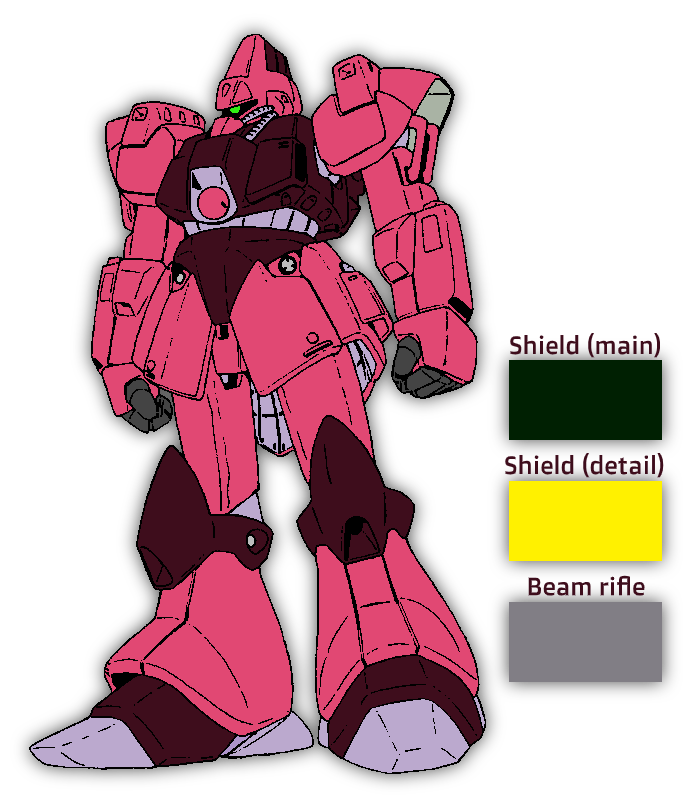
As you can see, most of the colors are the same as the kit straight out of the box. I changed the monoeye because I think it will pop out a lot more in green, considering how most of the armor is pink. My inspiration for this was the monoeye of the Marasai, a mobile suit design I really like. I also want all the vents to be painted greenish light gray, to add some interest. Additionally, the shade of gray I’ll use for the hands will be quite darker than the original gray. Finally, the screw/rivet details on the legs will be painted light gray or aluminum.
Main pink
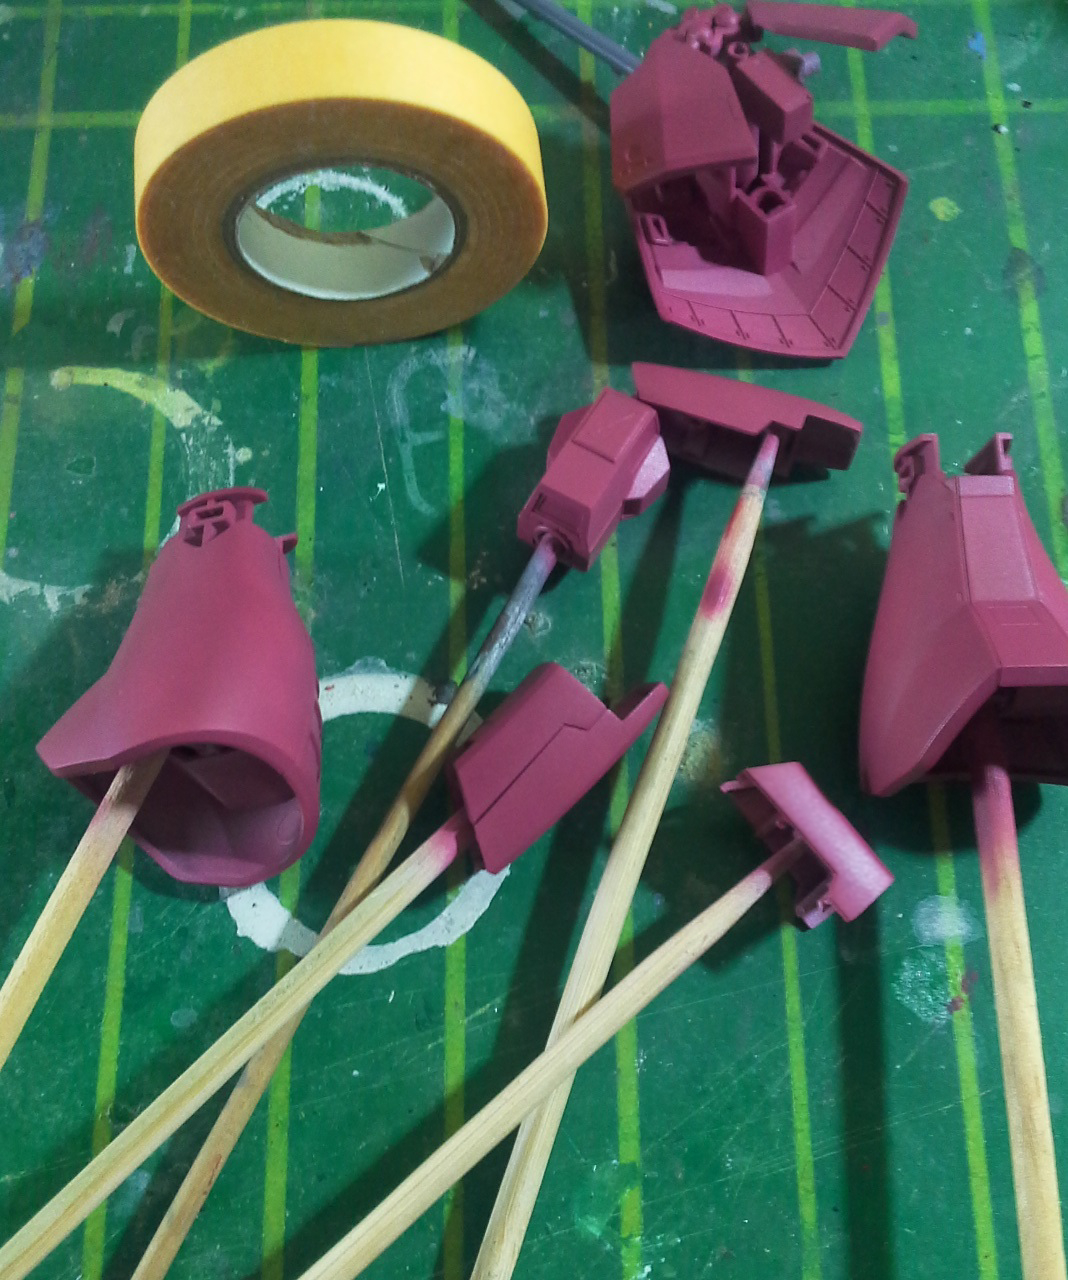
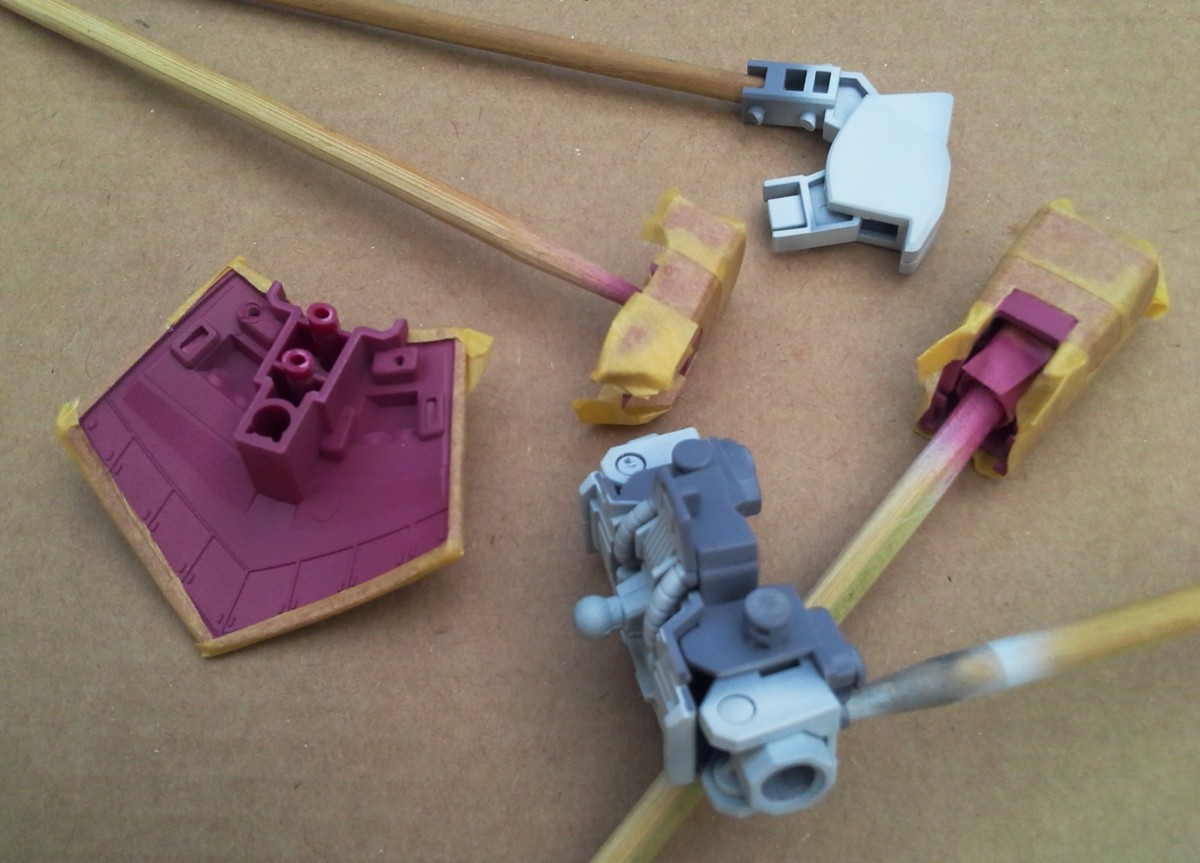
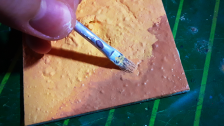
The first color I mixed and sprayed was the armor pink. I had to do some mixing in order to get the shade I was looking for.
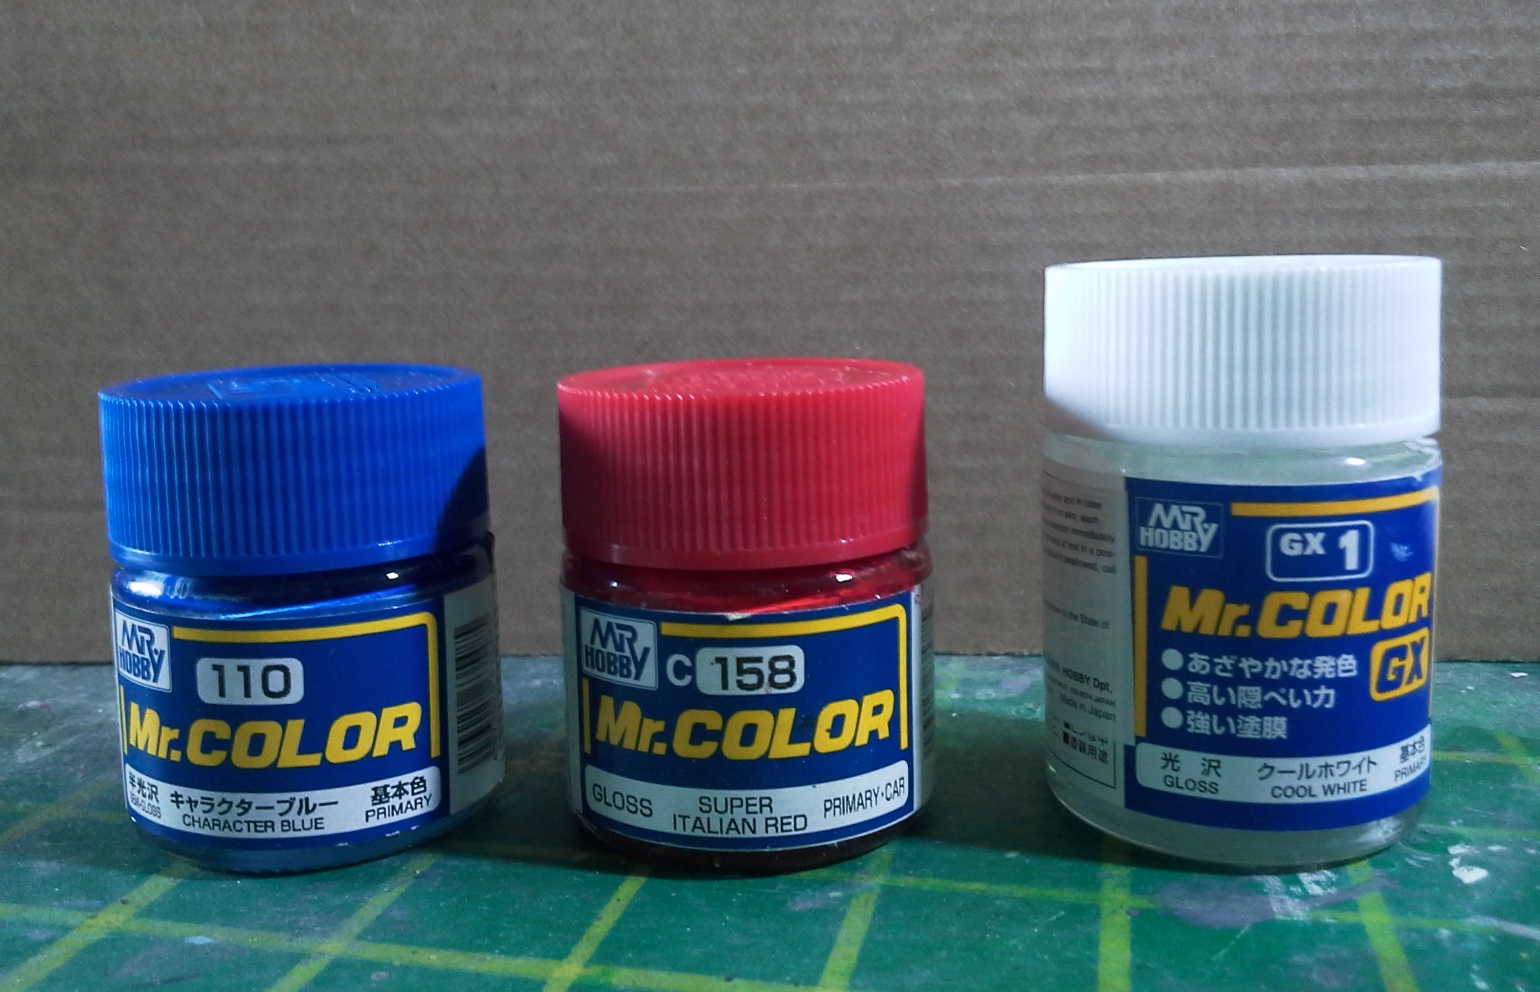
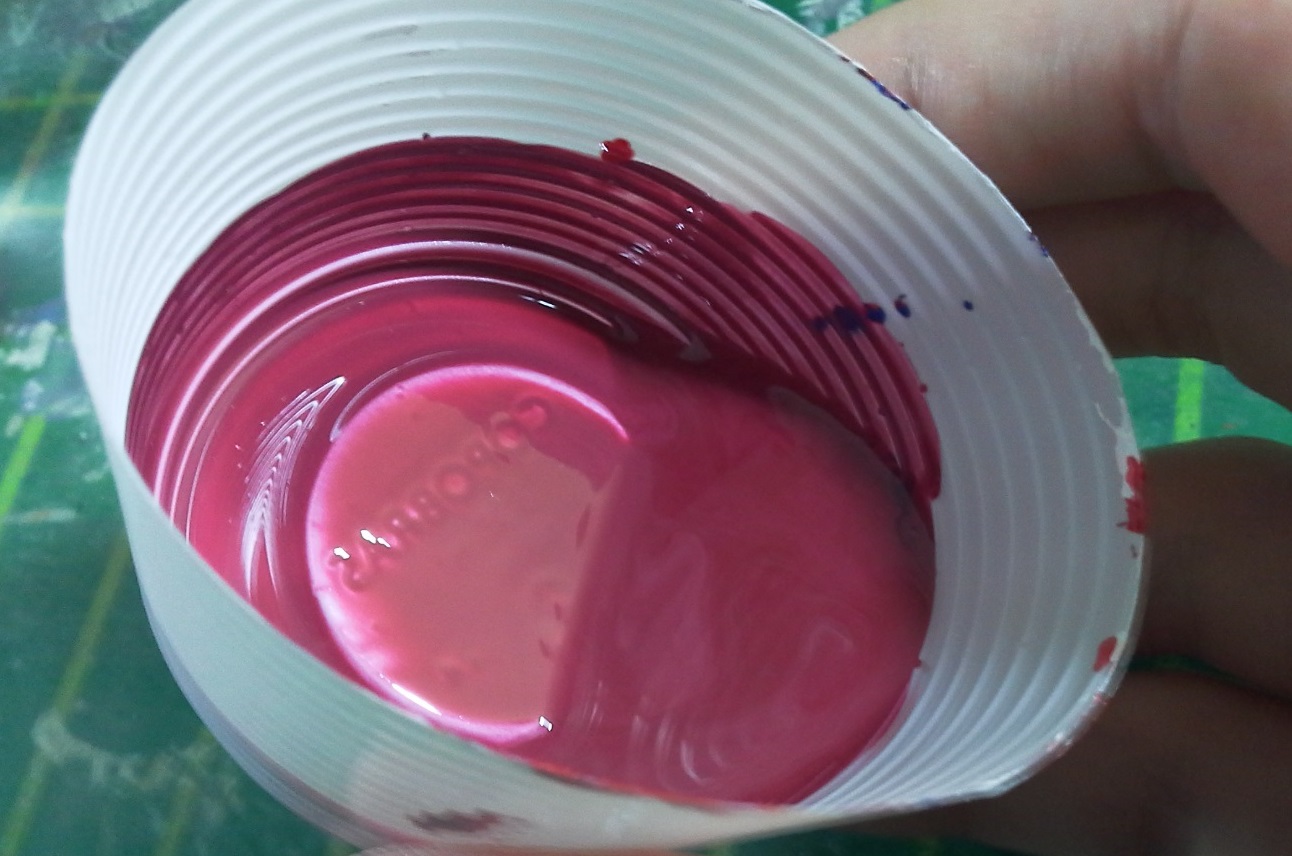
The paints I used are all Mr. Color lacquers; #110 Character Blue, #158 Super Italian Red and GX #1 Cool White. If I had to give a rough estimate, I’d say I mixed 65% red, 15% blue and 20% white. When I was happy with the color, I thinned it down with lacquer thinner and sprayed it on the head, limbs, waist and cockpit hatch.
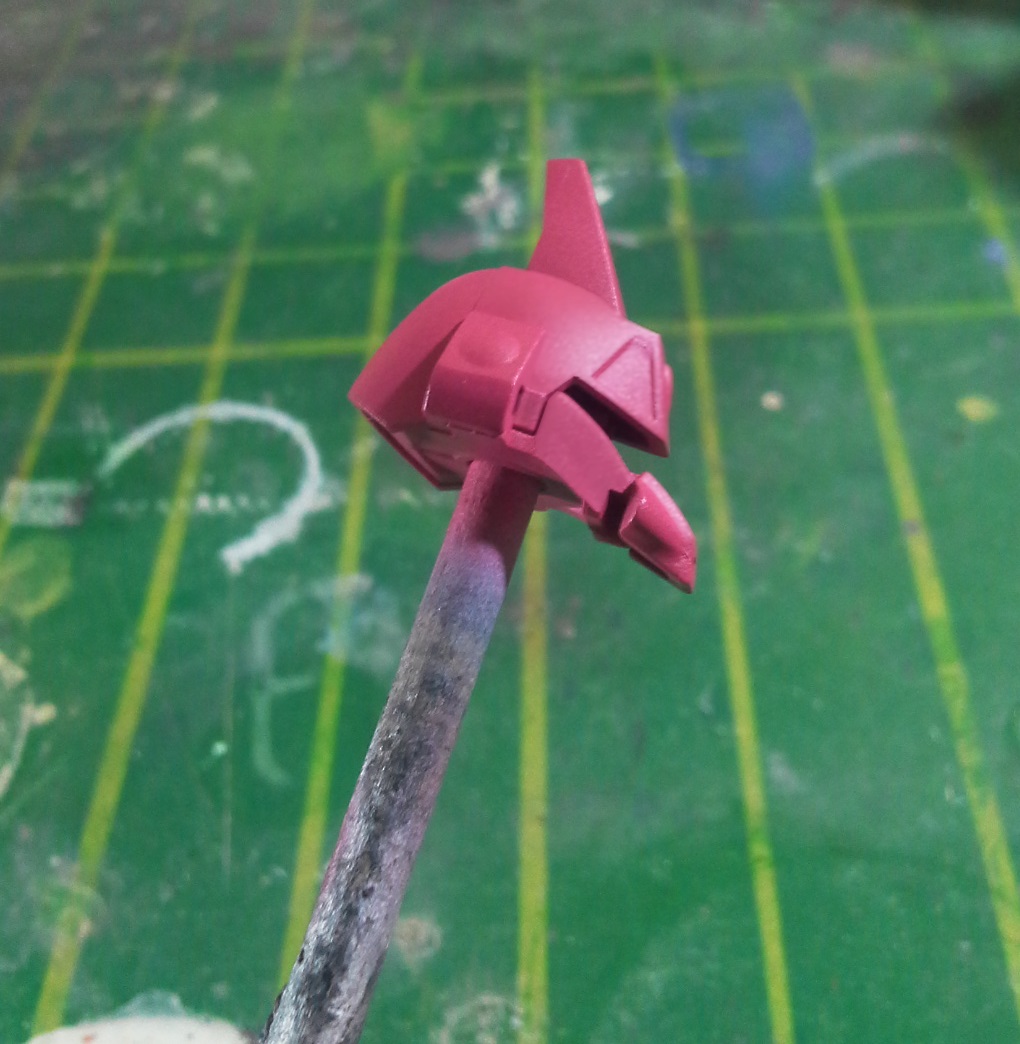

The color is almost perfect, just a tiny bit darker than planned, but I do like it a lot.
There’s still more work to be done on some of these pink parts, but we’ll get back to them later.
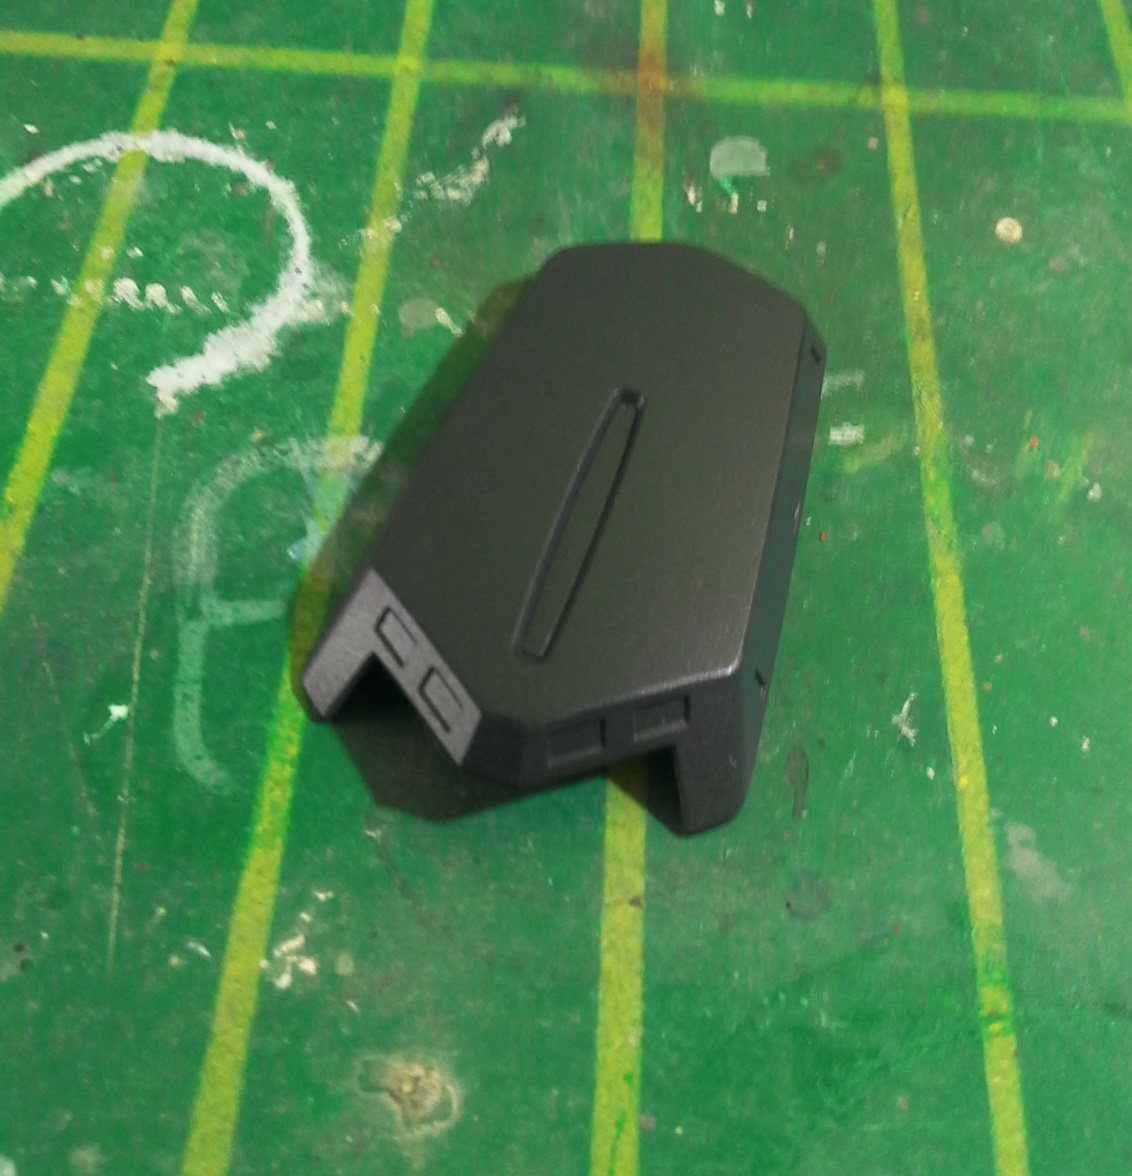
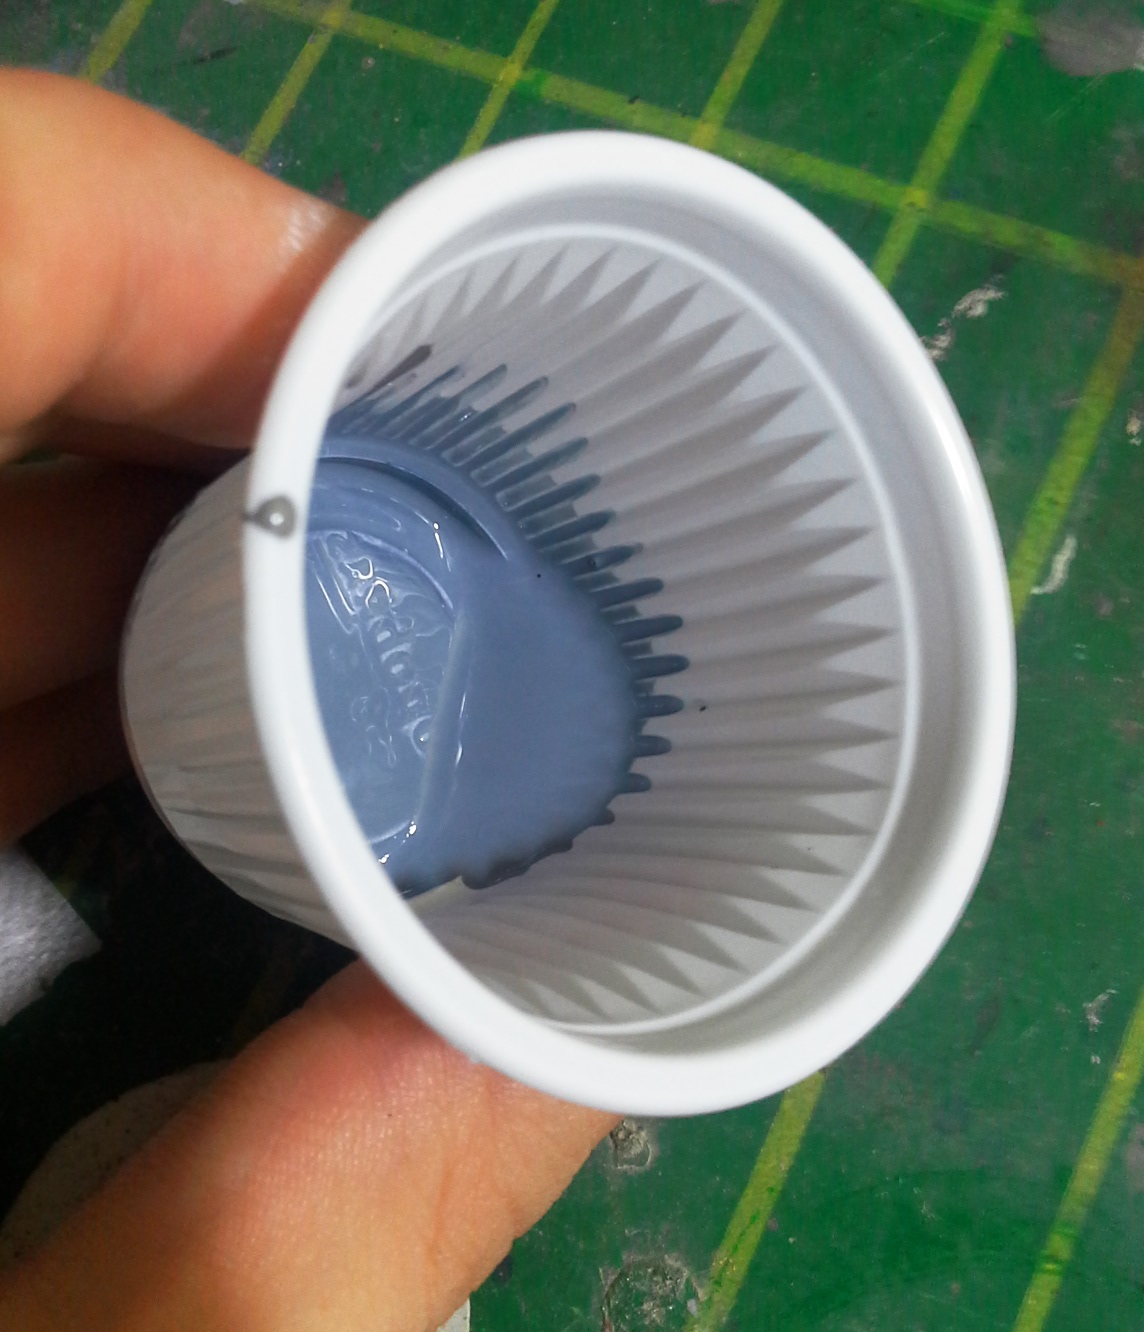
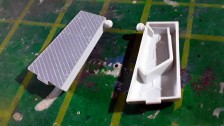
The shield
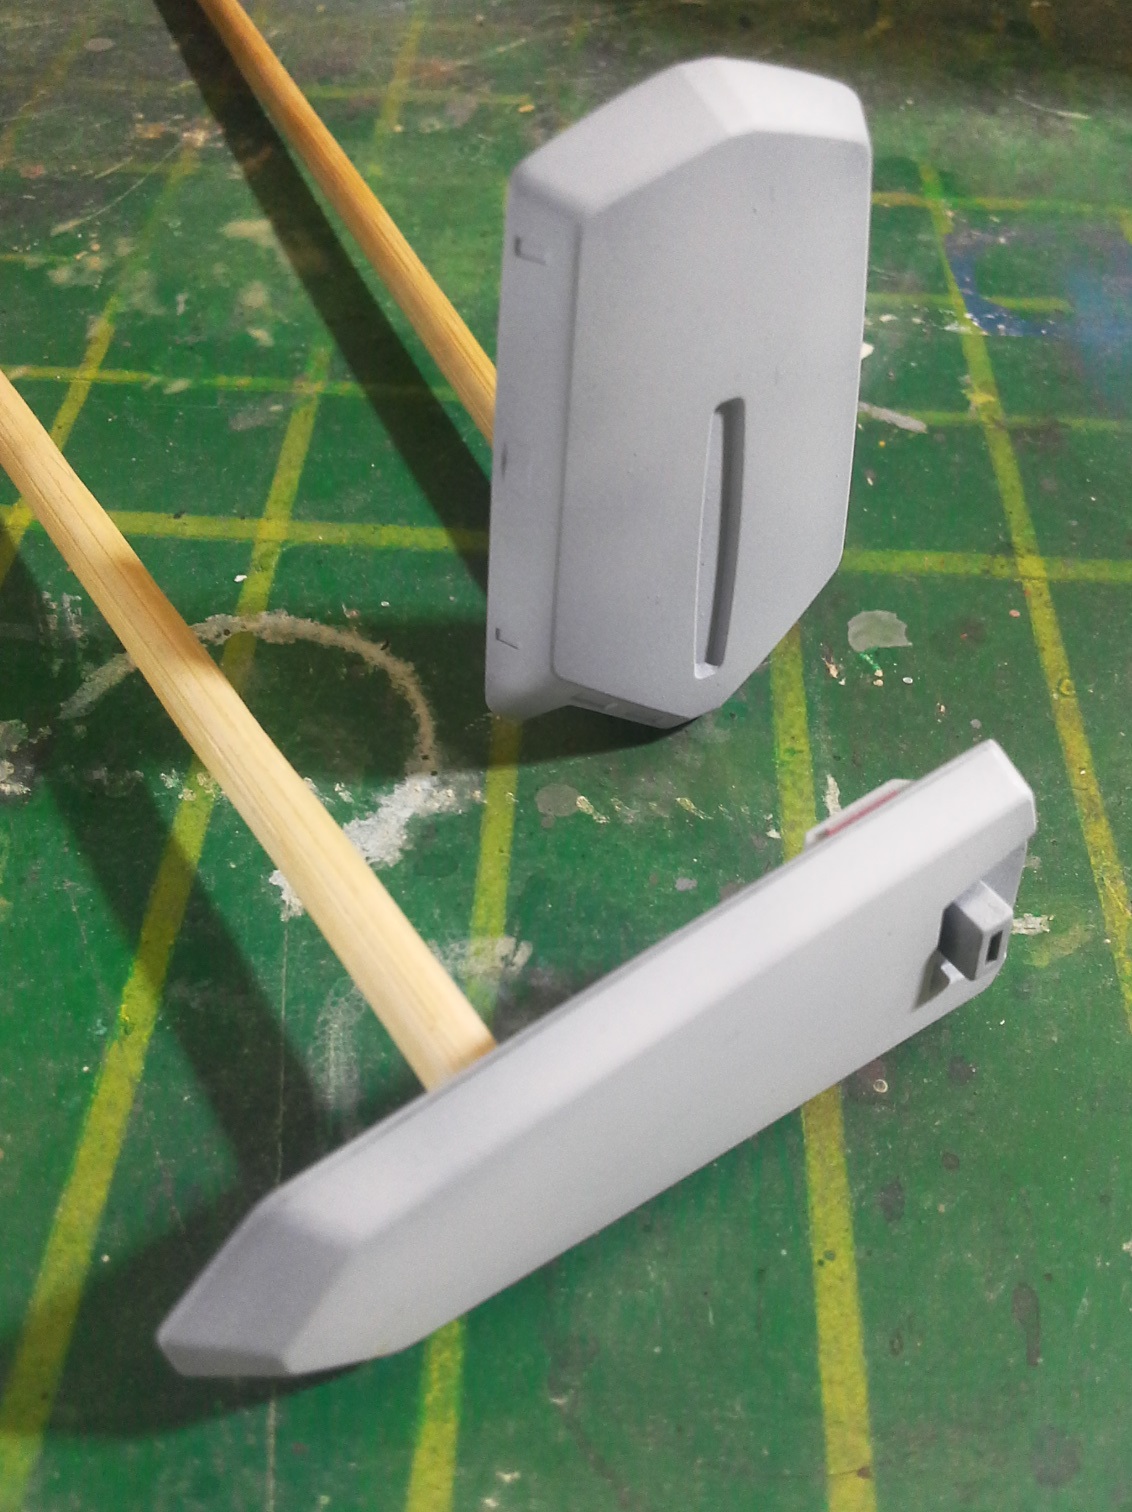
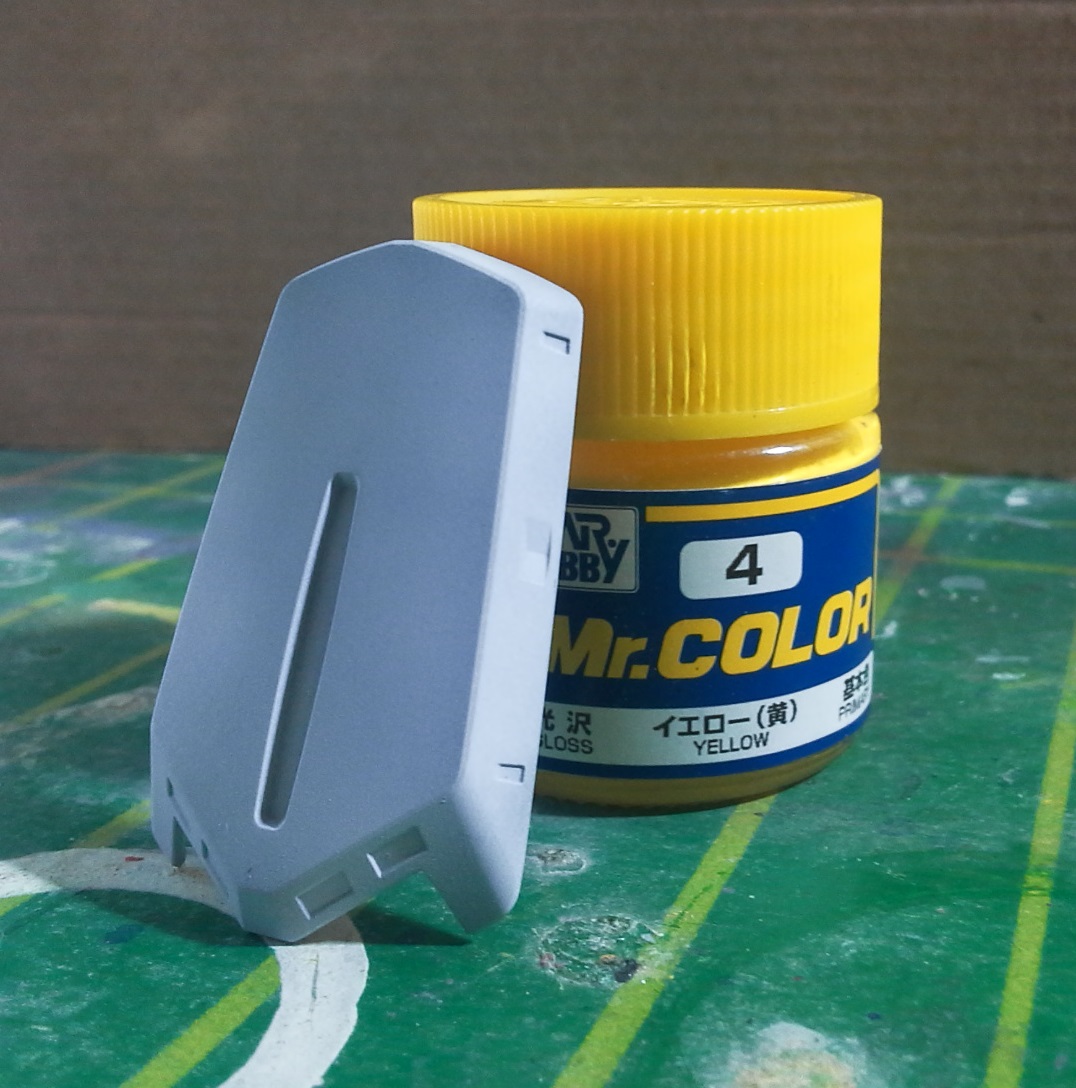
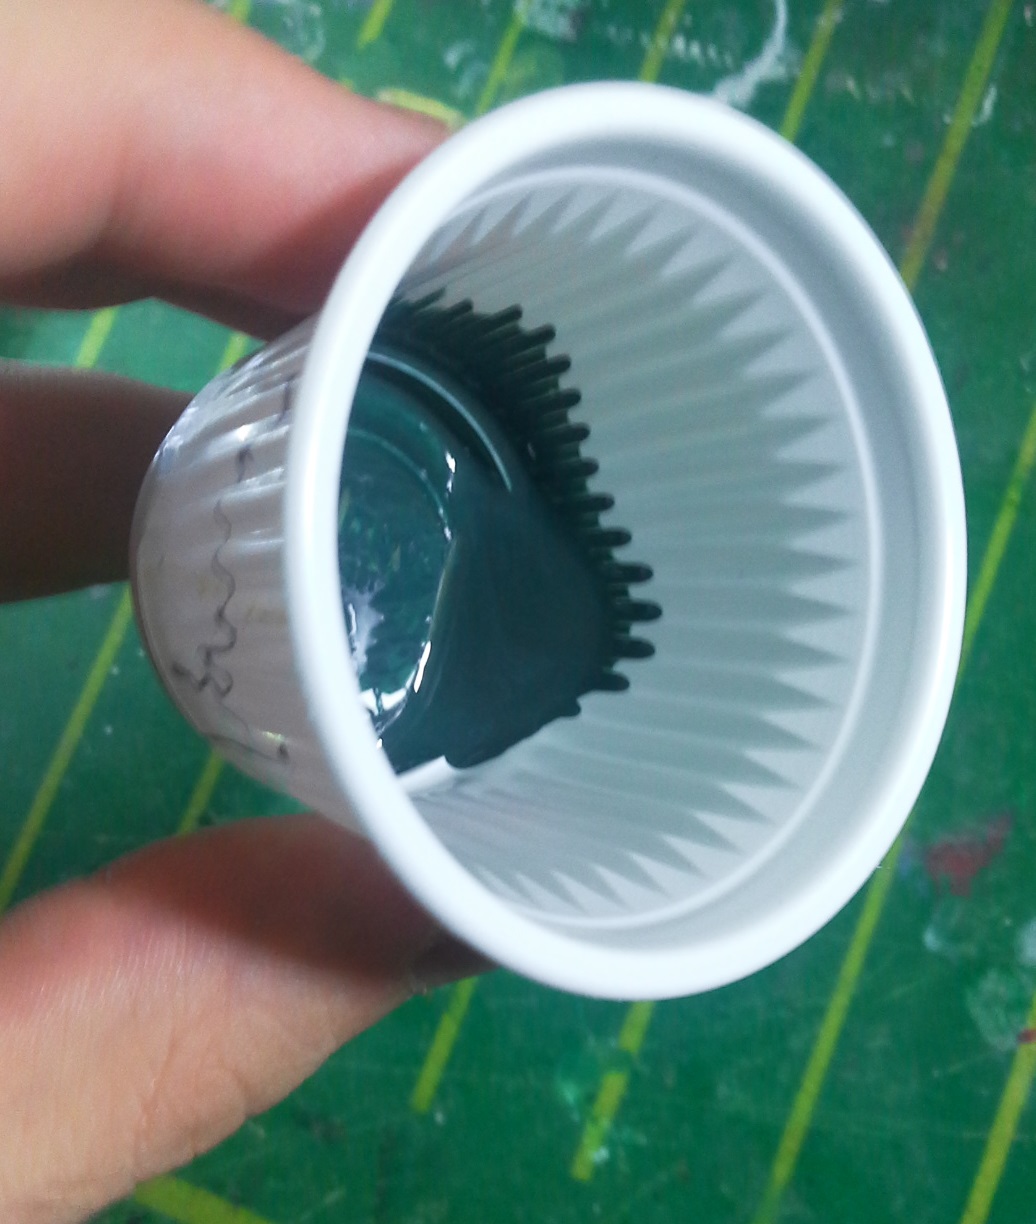
To begin with, I mixed the green, the predominant color of the shield. I went for a very dark shade with a tiny amount of blue added. For the yellow I didn’t have to do any mixing. The paint used was Mr. Color #4 Yellow.
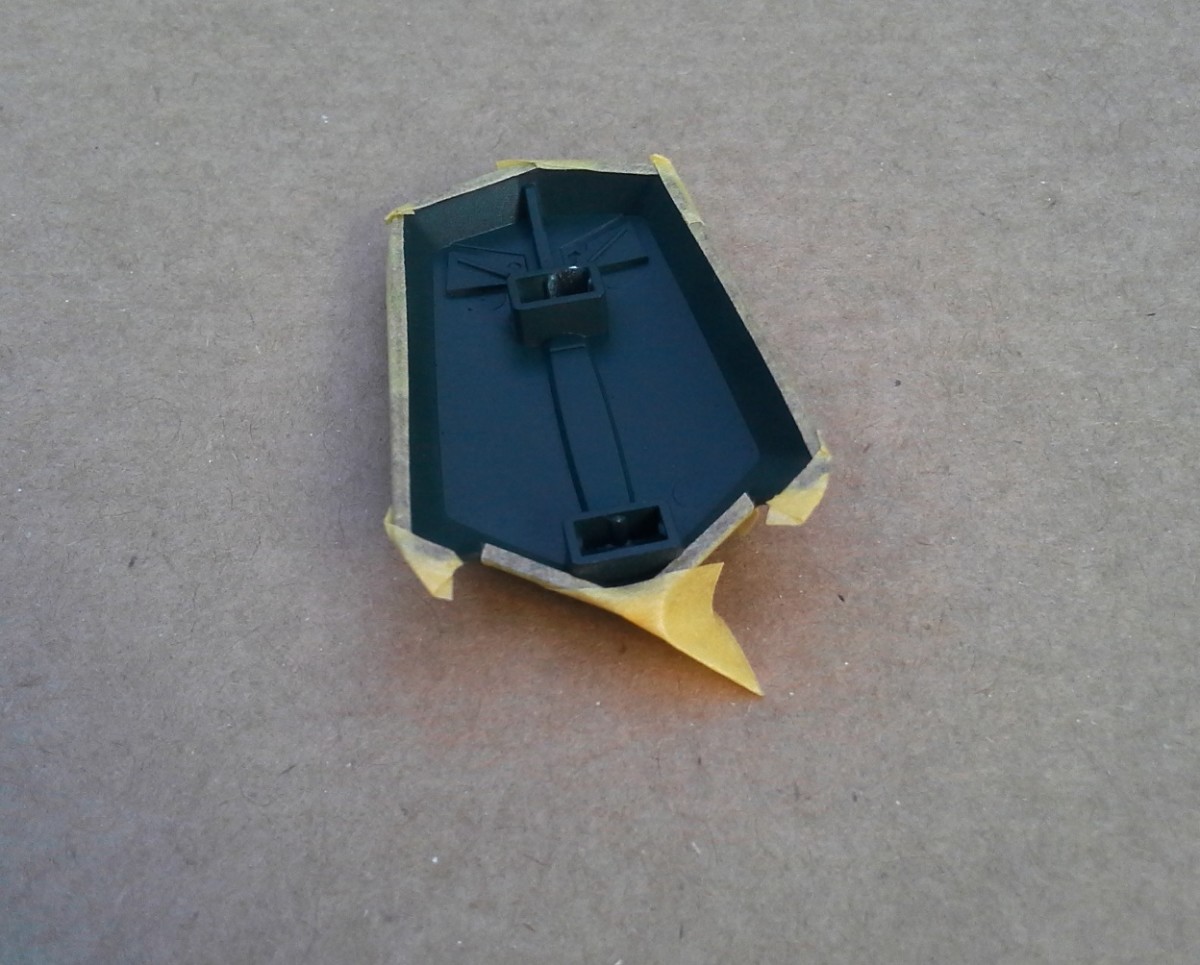
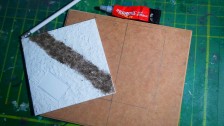
Using foil stickers as masks
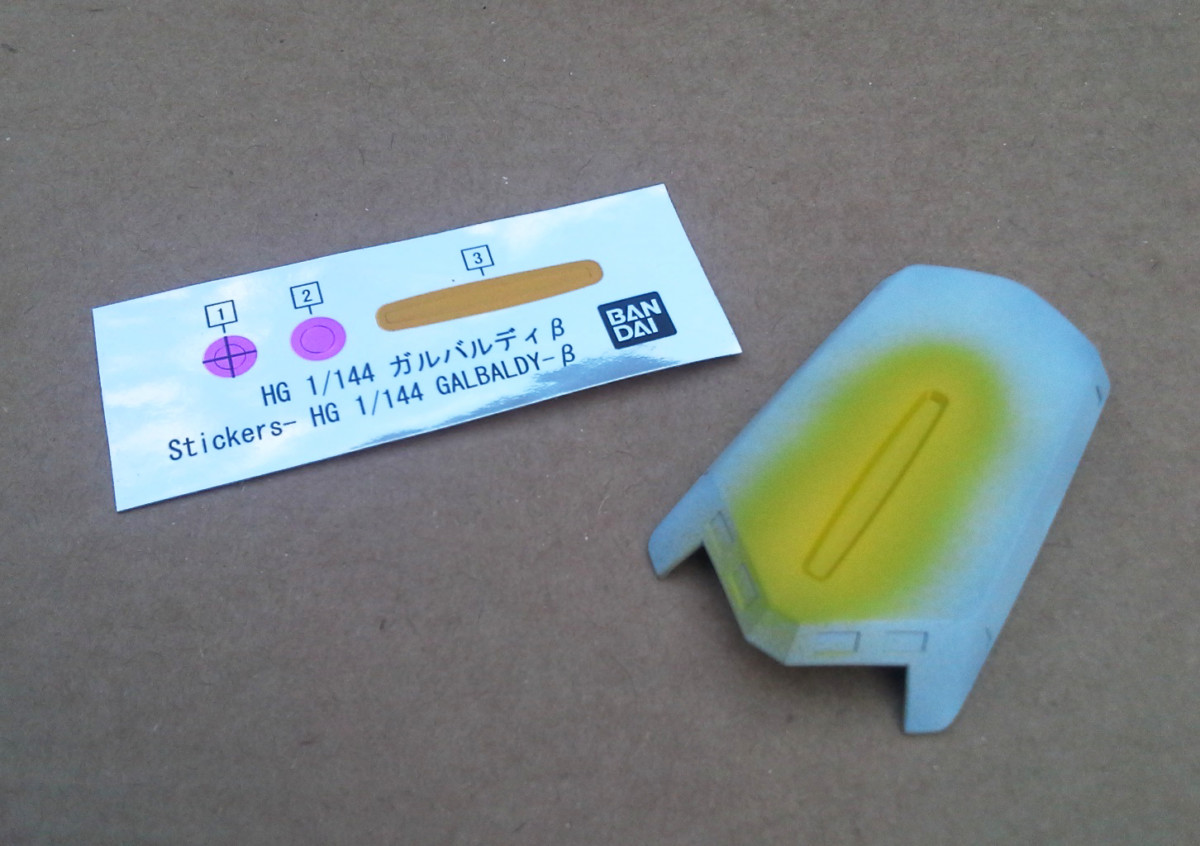
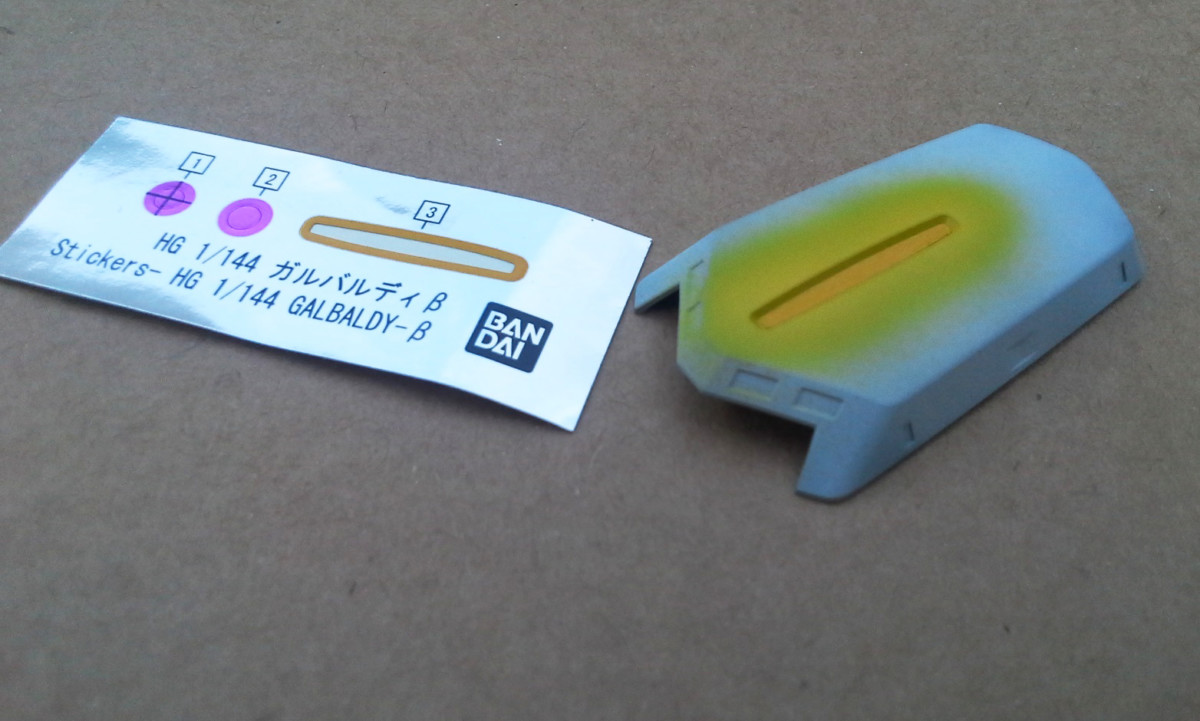
Here’s a little trick. Those foil stickers we generally don’t use when painting our models can be used as masks. This simple technique can save us some precious time, as we don’t need to carefully cut masking tape to conform to the shape of the part.
I sprayed the yellow paint first, waited for it to dry (lacquer paint dries rather quickly) and then applied the sticker to the part. Since foil stickers aren’t meant to be peeled off after using, we don’t want to press it too hard, otherwise it might tear off and leave some paper behind when removing it.
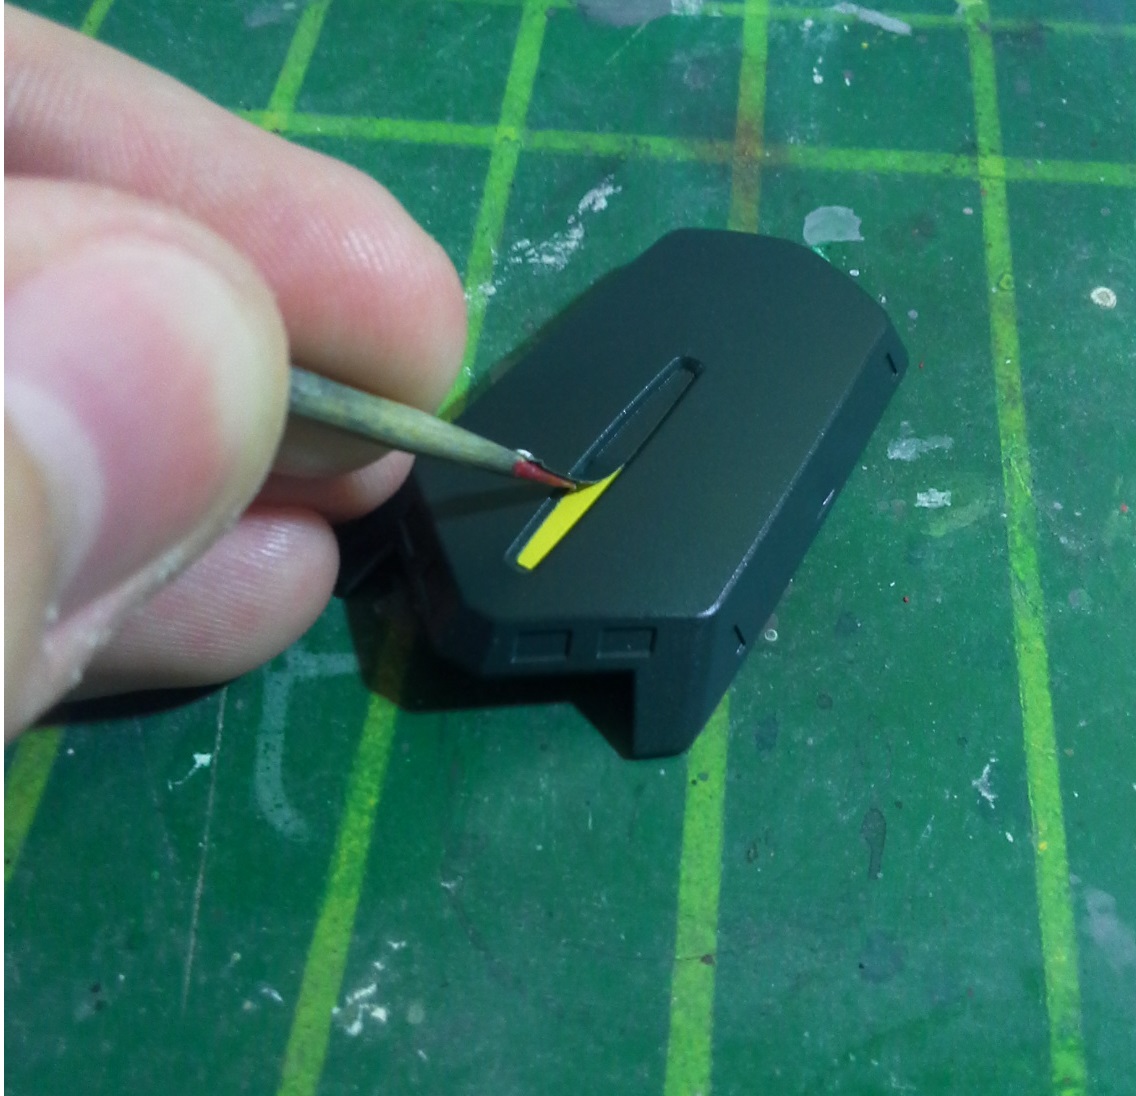

Next, I sprayed the dark green paint I mixed earlier. When it was dry, I removed the foil sticker and… voilà!
I dig the color separation. In fact, the dark green already looks pretty good on its own, in my opinion.
Bluish gray
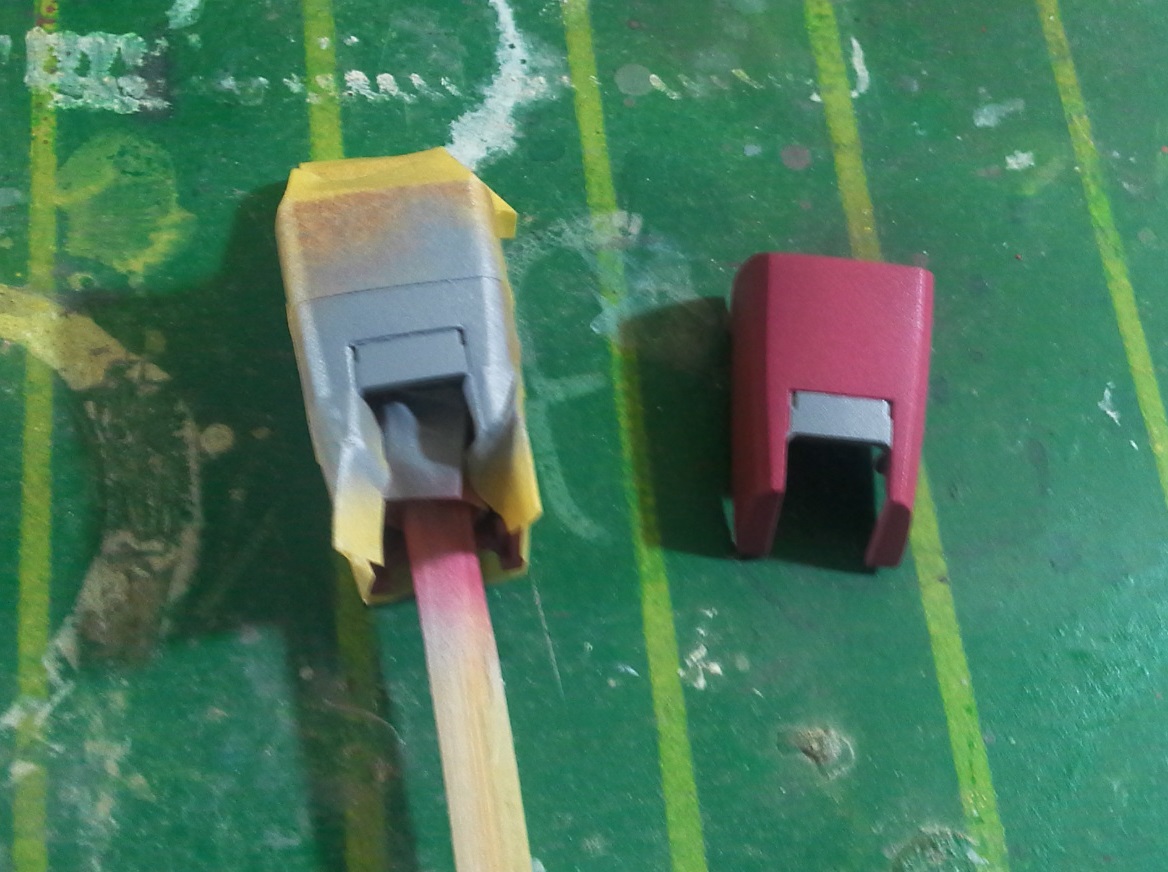
This color was a bit more time-consuming to mix. Neutral gray, blue, white and some drops of red paint were used. I sprayed the resulting color on the feet, lower torso and the part that goes around the cockpit hatch.
I’m very happy with how close to the original color of the plastic I got this one. In fact, it’s a little tricky to tell where the unpainted areas start in the photo.
Metallic gray and masking
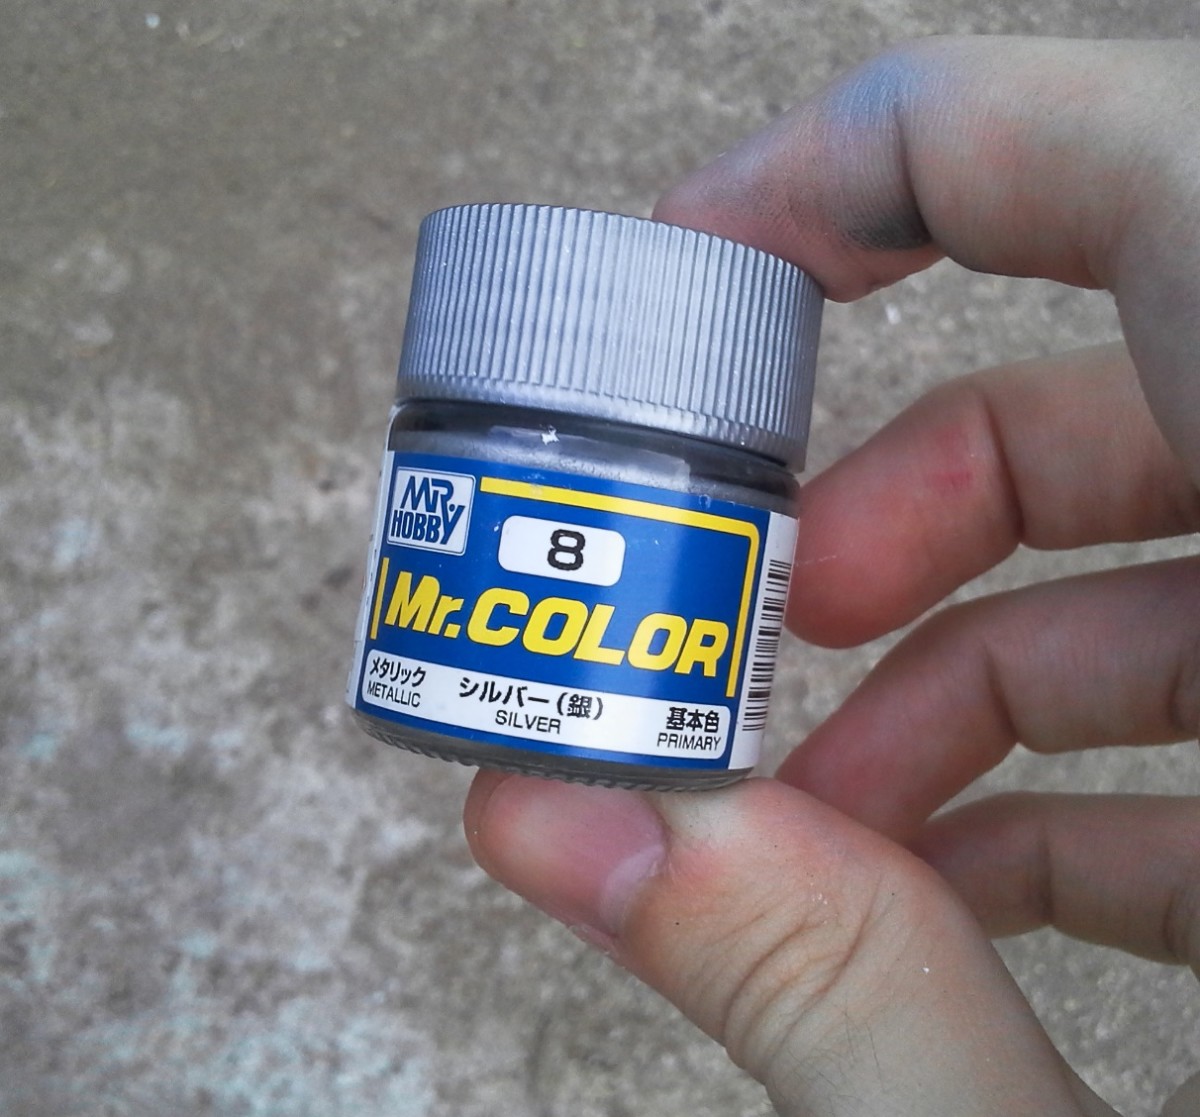
The next color is the inner frame gray. It’s basically the bluish gray I just sprayed but I added a few drops of Mr. Color #8 Silver. As a result, we have a bluish gray that’s slightly sparkly and also more desaturated than the previous shade.
Besides the inner frame and joints, a couple of the parts we already painted will feature details in this color. This means we have to do a bit of masking.
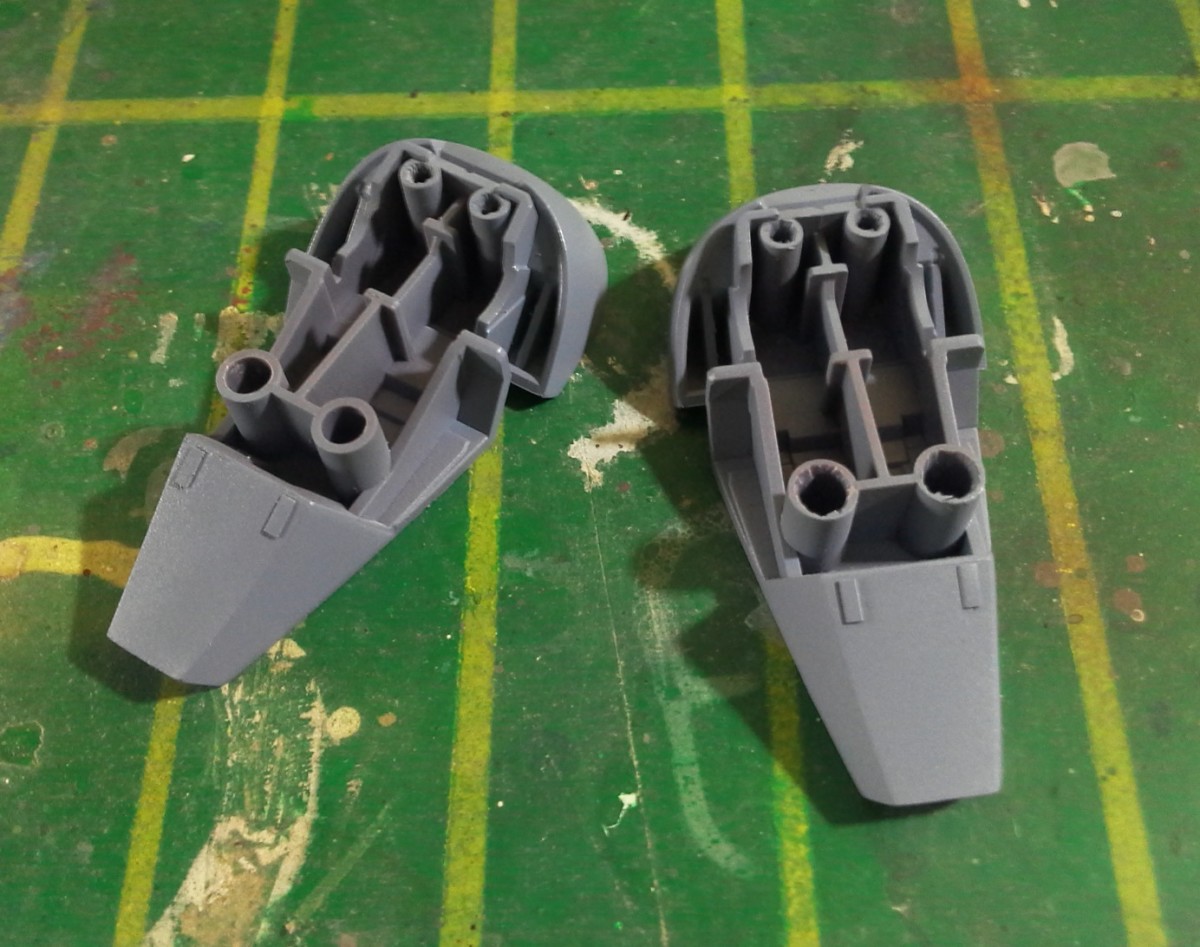
I sprayed this metallic gray on the back of the legs, the underside of the shield and back skirt, as well as all the joints and internal parts.
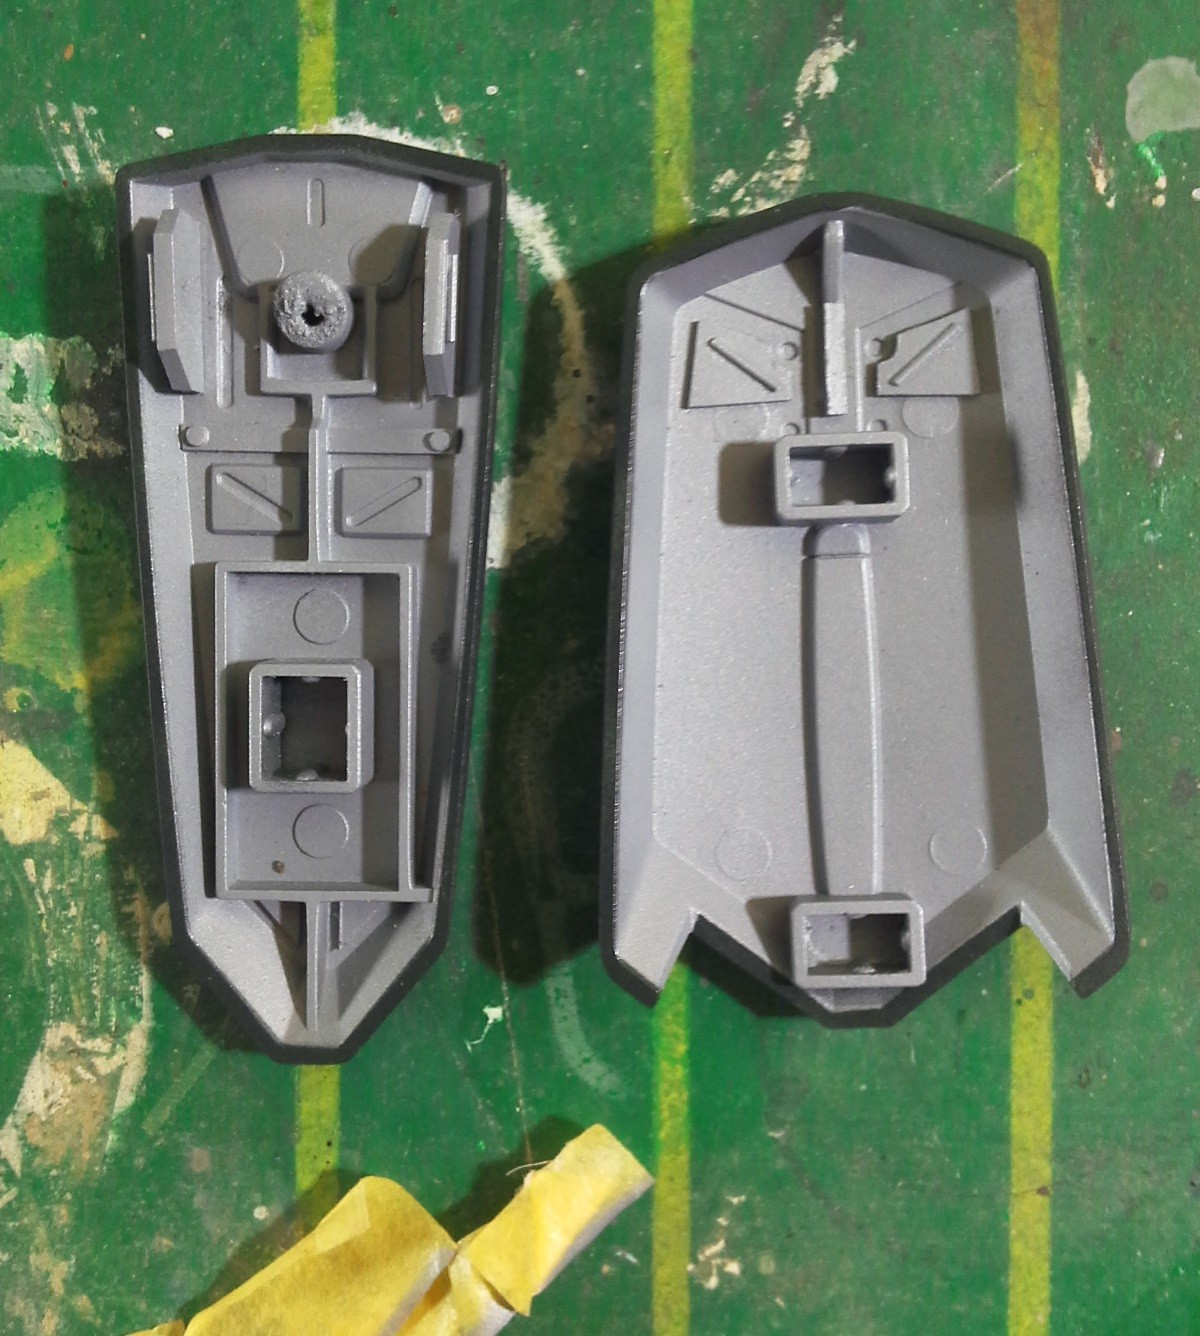
The color is beautiful but, in hindsight, I should’ve added a drop or two of blue paint. It turned out closer to plain silver than I originally intended. Even still, it goes well with the other colors, and the color separation is great.
Darker grays
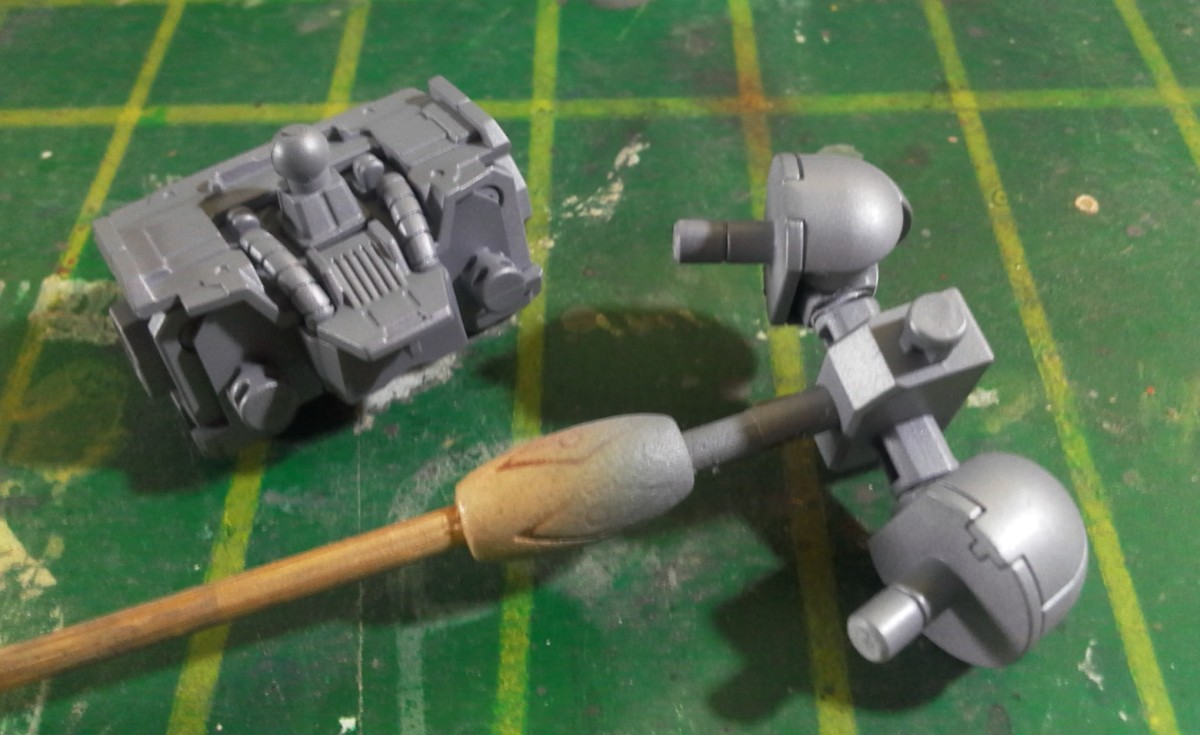
Something I like doing on my models is painting the hands and weapons different colors (usually two shades of gray), and this Galbaldy won’t be an exception. As you saw in the color scheme plan I posted above, the hands are visibly darker than the rifle.
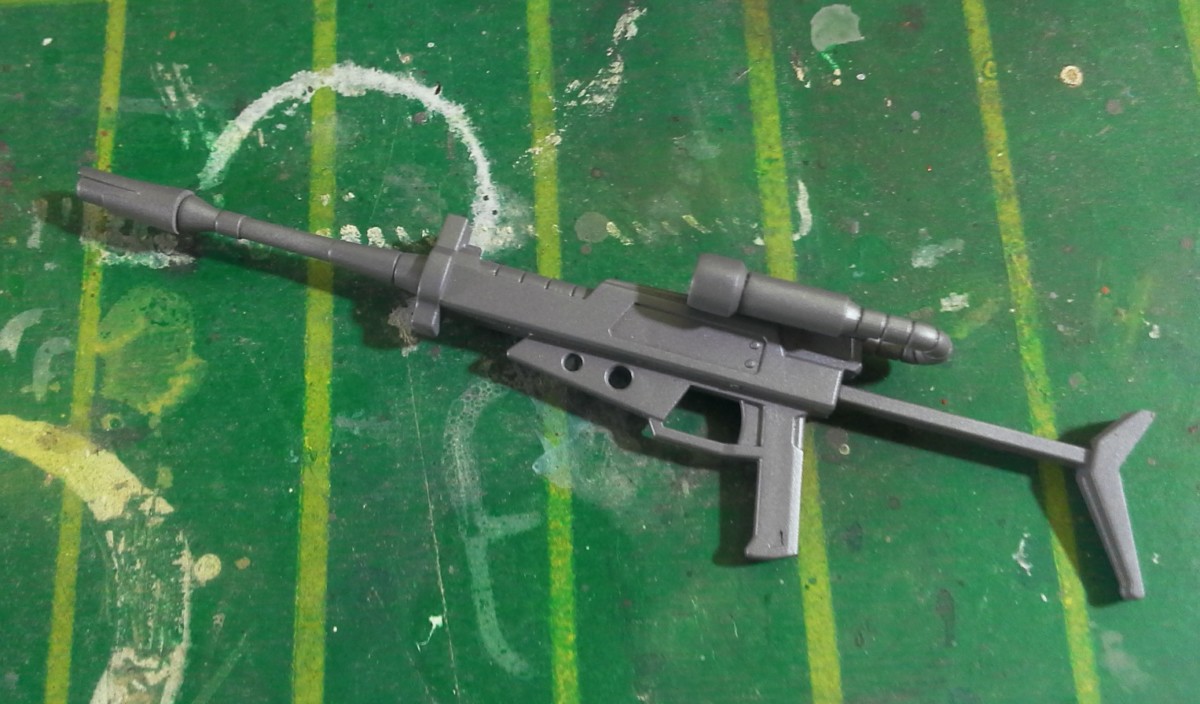
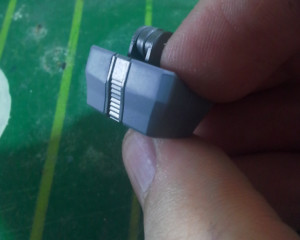
The color I used for the rifle is the same inner frame metallic gray plus a little bit of Mr. Color GX #2 Ueno Black. This shade looks really good, almost like a steel gray.

I added some more drops of black to our mix and then painted the hands. With this, there should be enough contrast between the beam rifle and the hands, as planned.
Finally, I did some layering on the lower torso with the grays we sprayed earlier, by laying down strips of masking tape between colors. The bigger panel is the first bluish gray, and the outline was painted with the dark shade we used for the hands. A few minutes spent on masking can go a long way!
This is all for now. In the next update we are going to be spraying the rest of the colors, and doing some detail painting with brushes. Bye! (^_^)/

![Gunpla TV – Episode 292 – MG 00 Qan[T] Full Saber](https://hobbylink.tv/wp-content/uploads/2018/09/Gunpla_TV_292_1280x720-224x126.png)
PetitGguy Type 全不全
Looking cool, I just don’t think I can import Mr.Colour in my neck of the woods. Which is a shame.