Hello, builders! I’m back with the Galbaldy diorama. Today we’re going to paint the base and make all the terrain. It’s a very enjoyable process, and with some effort we can achieve a really good look. We’re going to cover a lot of ground today (pun totally intended!), so I’m sure you’ll pick up some tips and tricks from this update.
Wooden base
Spraying paint
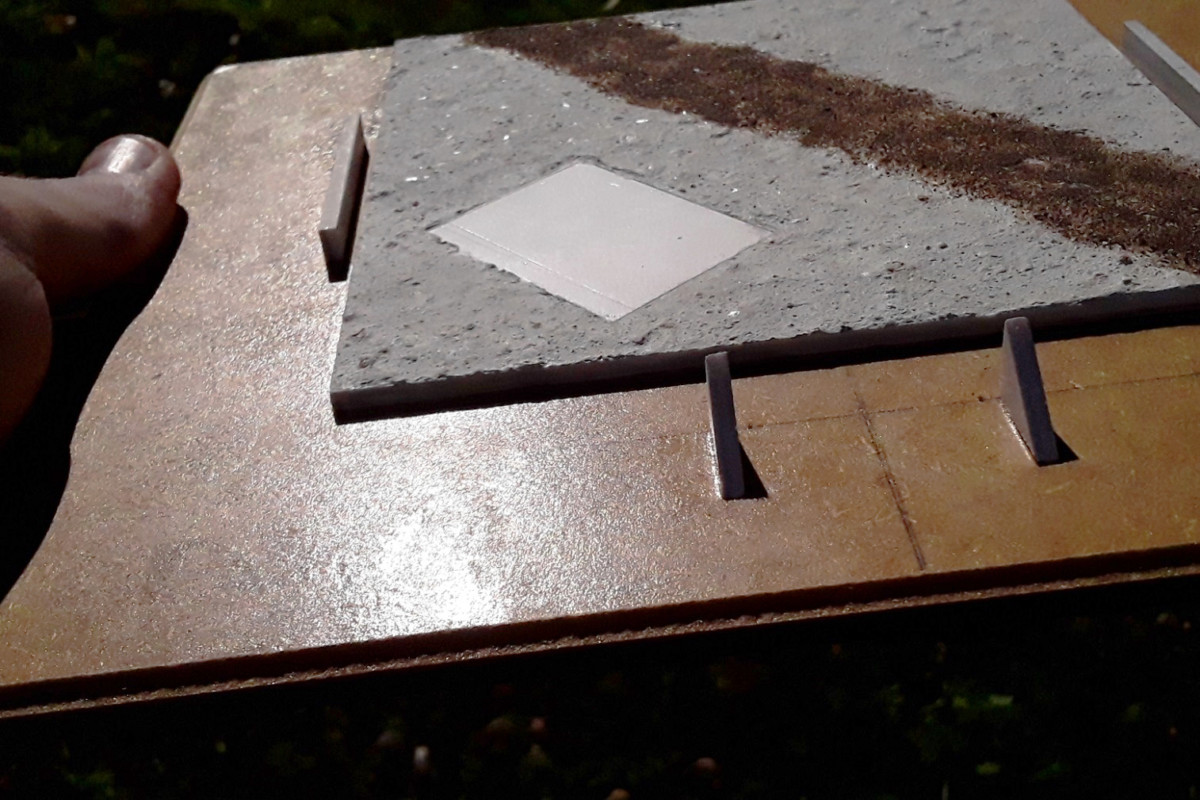
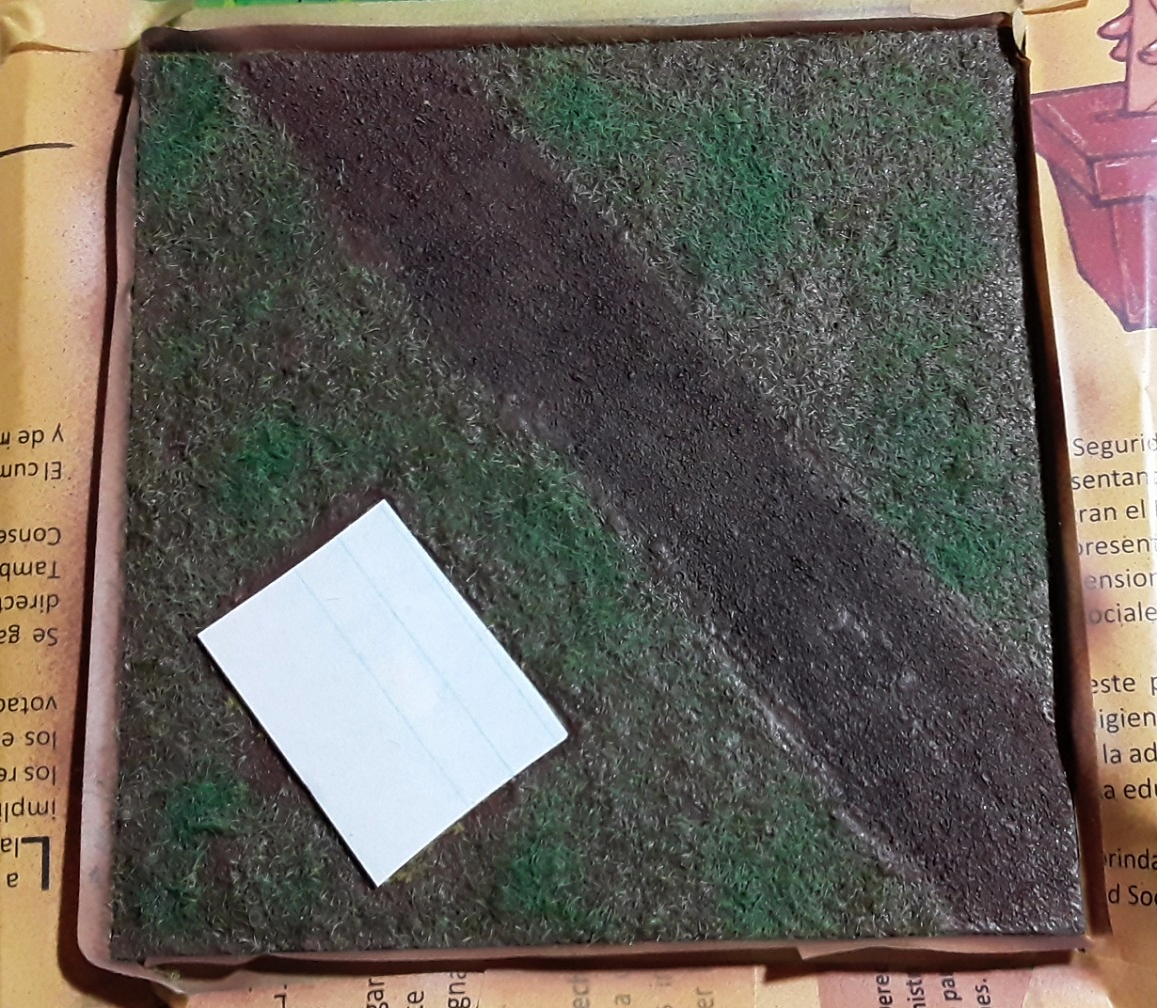
Let’s begin by painting the wooden base and the back of the plaque. I like using black because it helps frame and isolate the model from the surroundings.
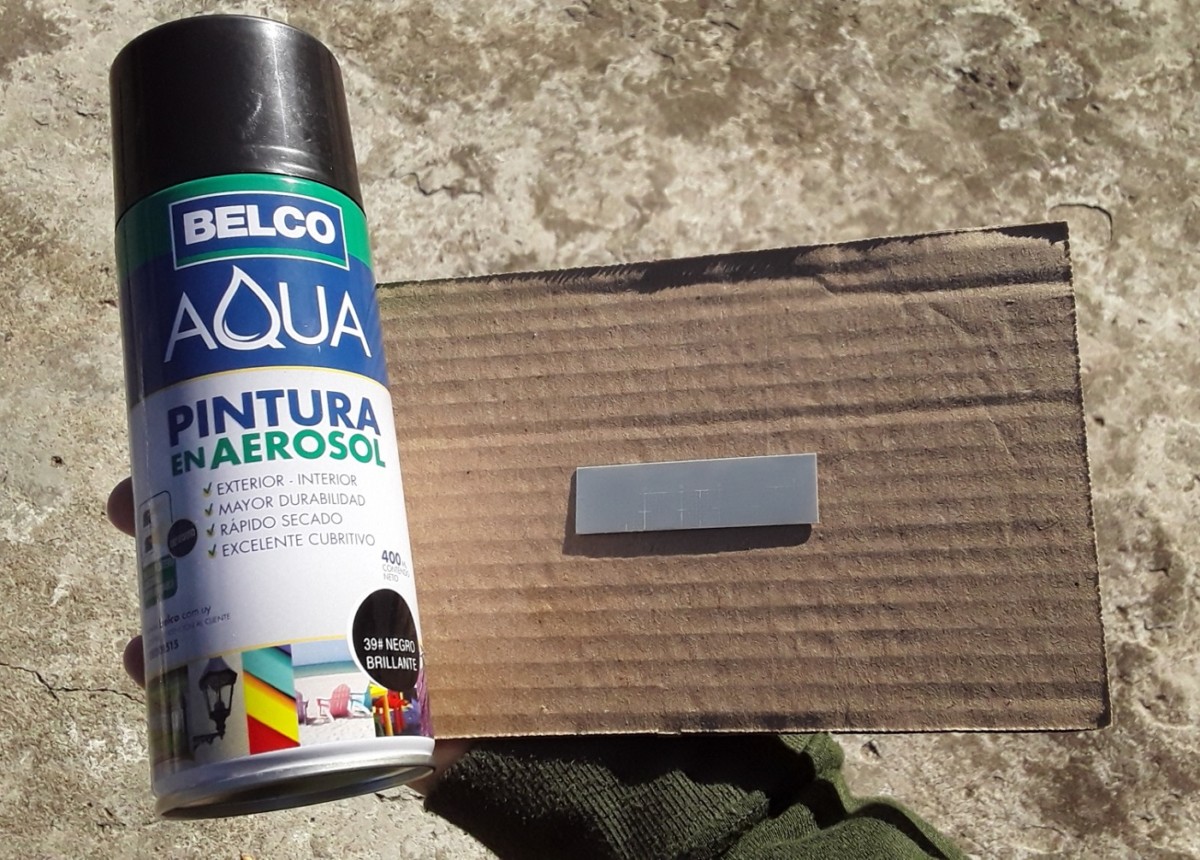
Since the base is a porous surface and we will paint only the back of the plaque, we don’t need a perfect finish. Thus, I’ll use a spray can instead of fine modeling paints.
With the base being porous, I was expecting it to absorb a bit of the paint, leaving a quite irregular finish. I painted the bottom first to test it out; and as I imagined, the finish is quite uneven. This is not necessarily bad, but it’s not the look I’m after, so I’ll conduct a little experiment.
Improving the surface of the wooden base
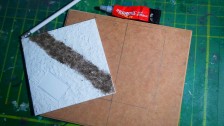
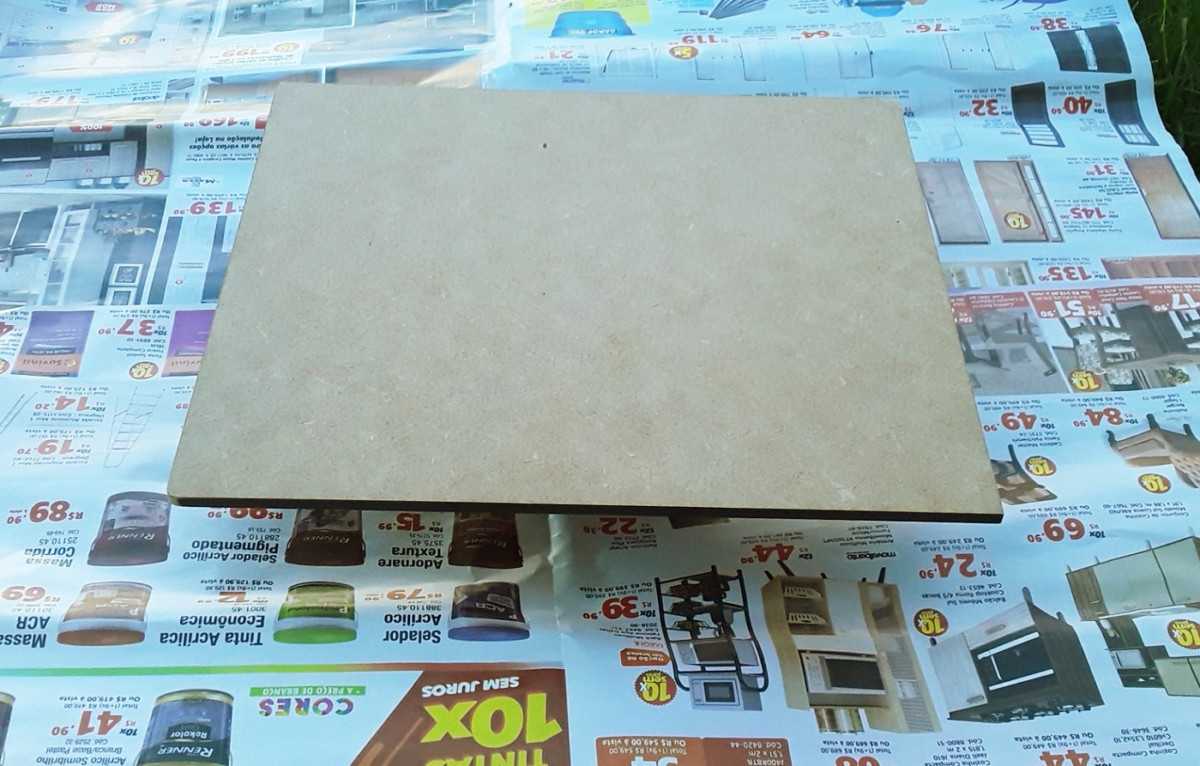
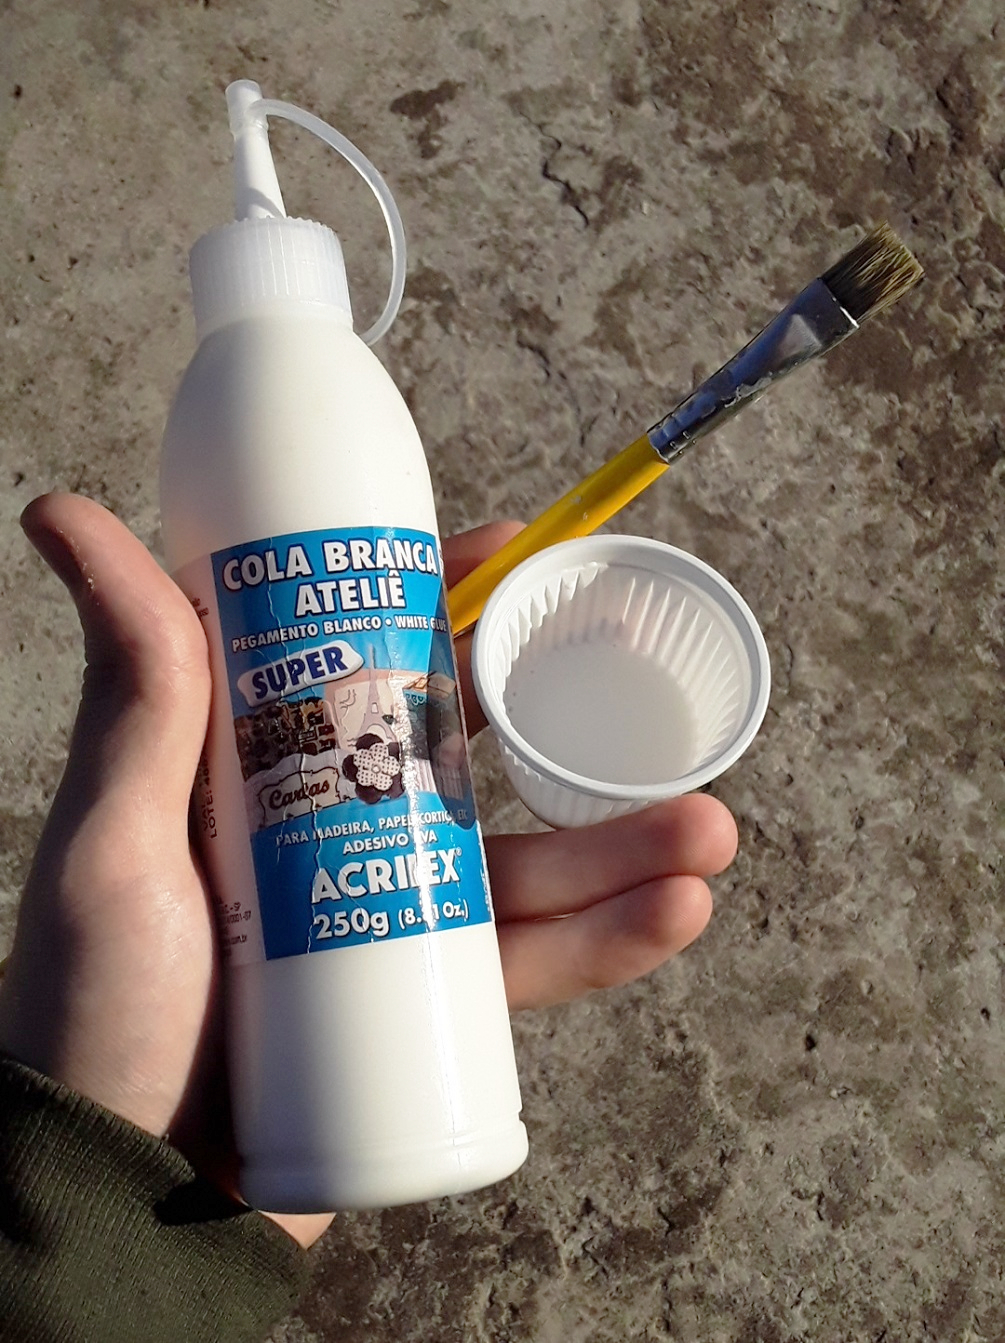
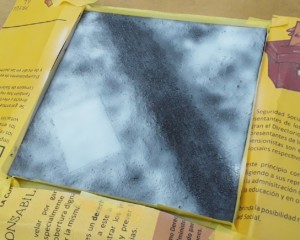
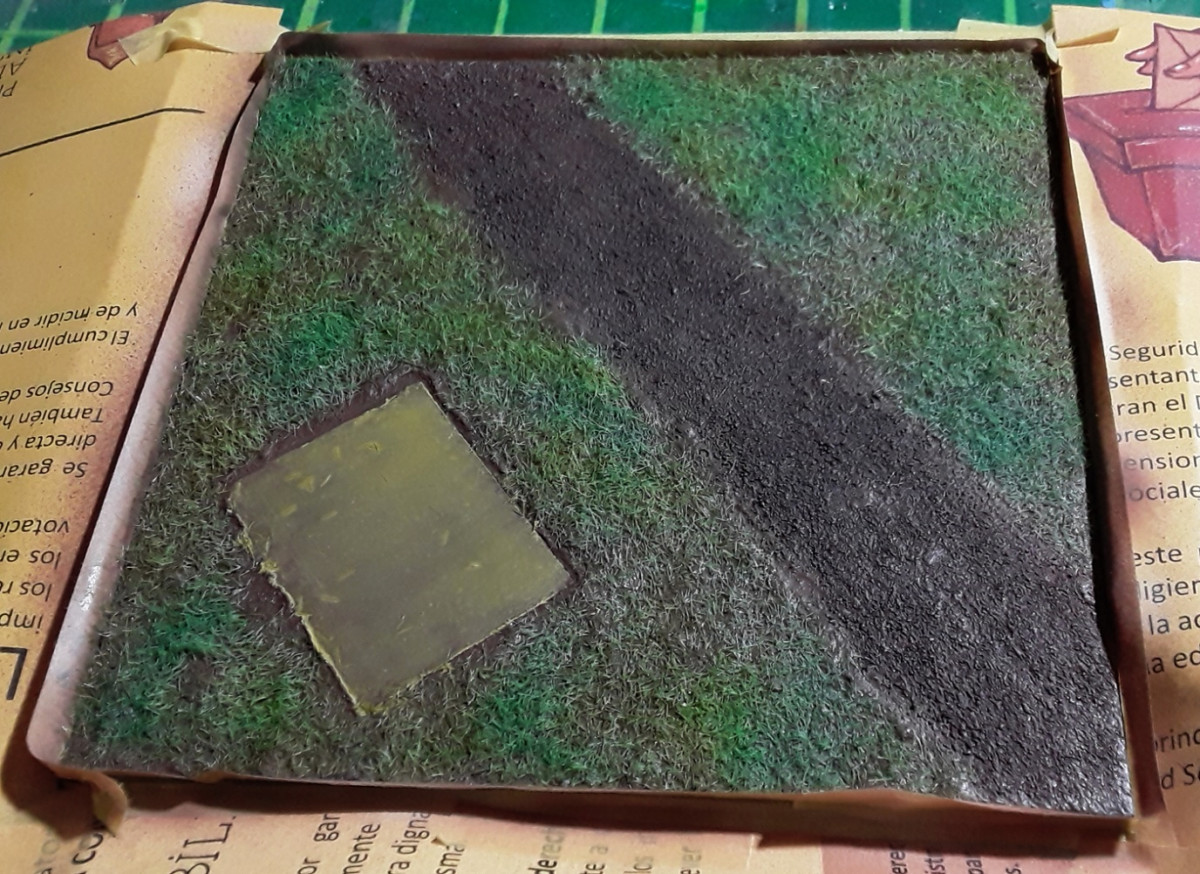
What I did was very simple. I watered down some PVA glue and brushed a thin coat onto the left half of the piece. After letting the glue dry, I sprayed the black paint over the whole surface again.
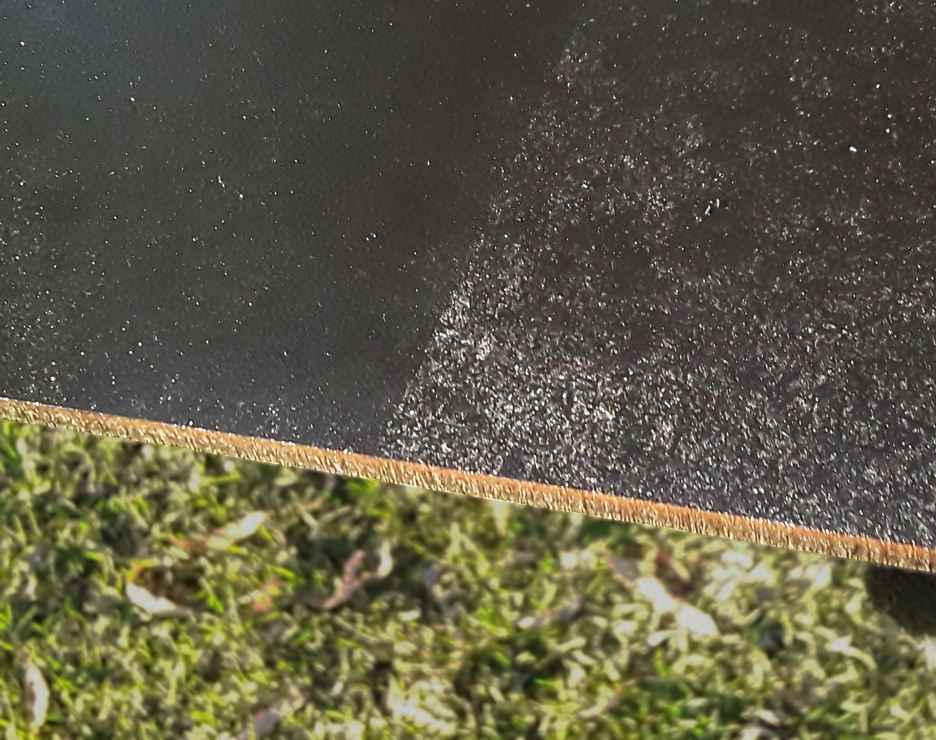
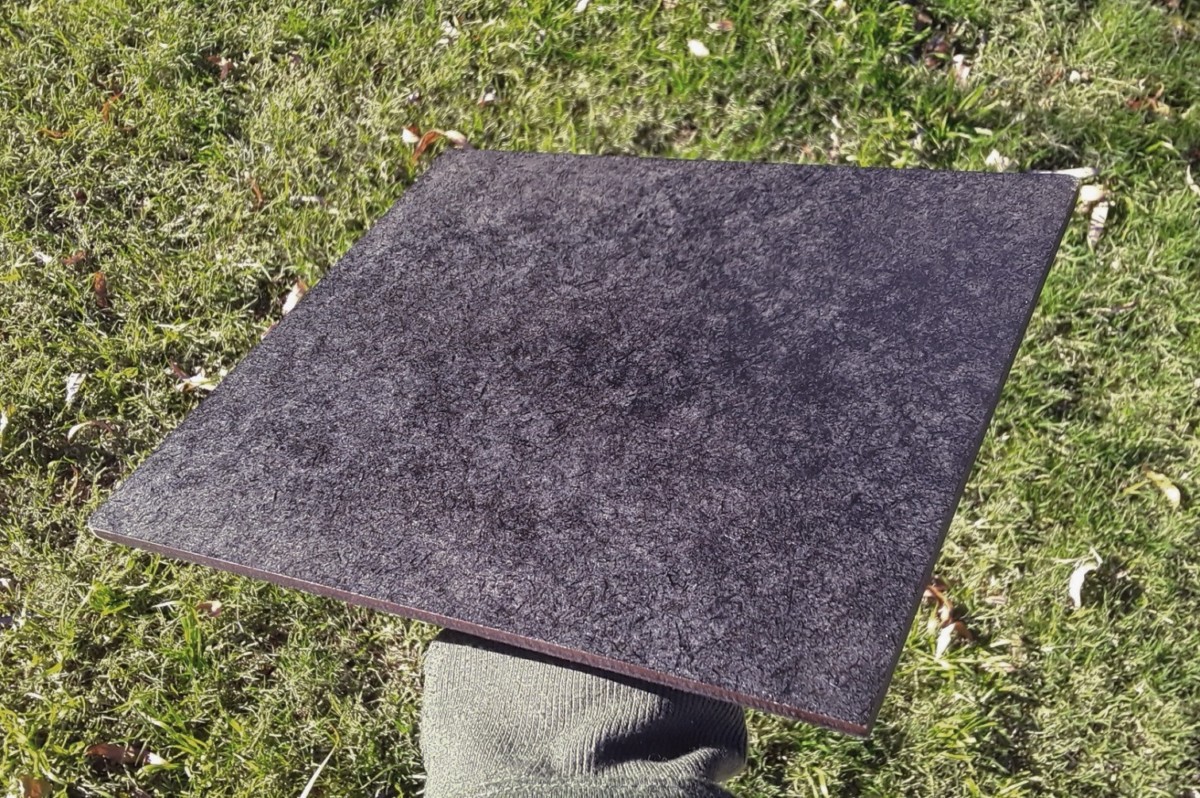
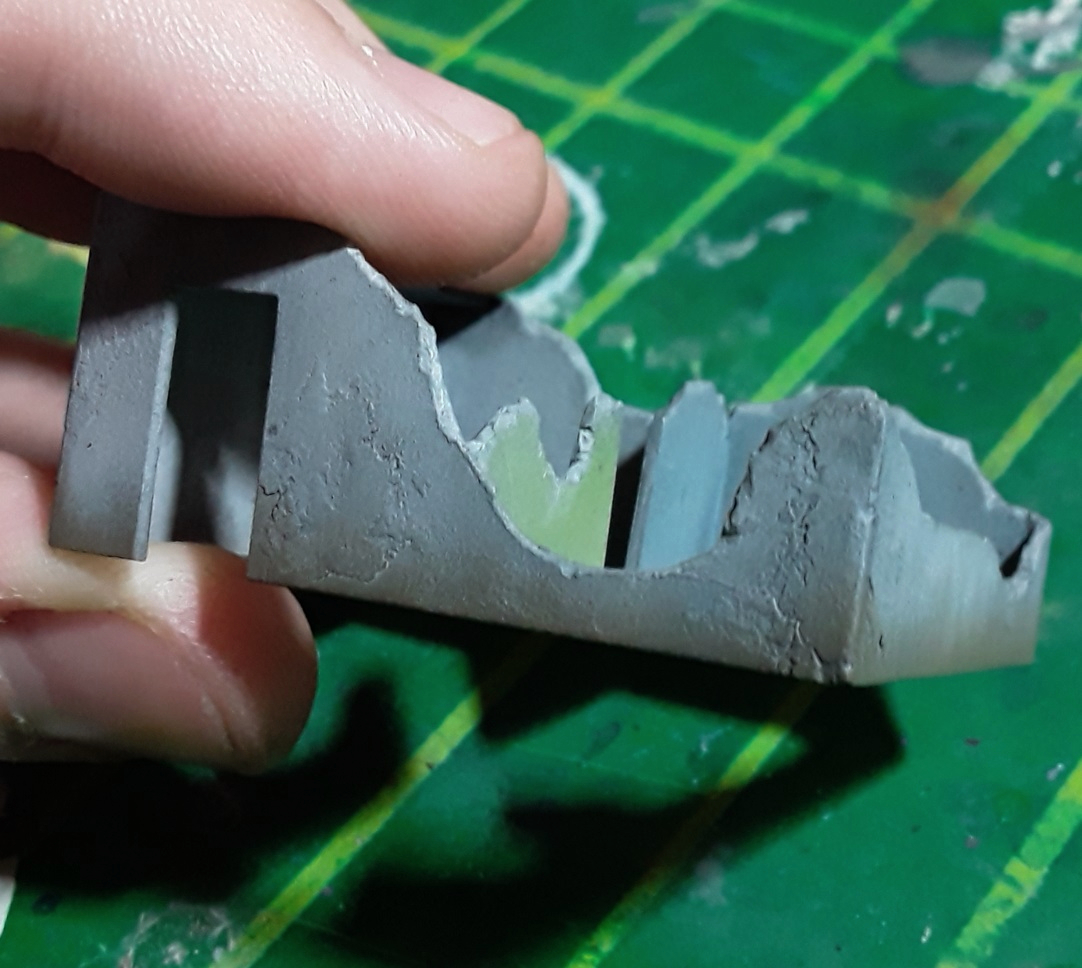
The result is what I was looking for; a much smoother surface. You can see the difference between the two halves on the second picture above. After making sure the technique worked, I repeated the process on the top side. Looking at it against light, we can observe how the plasticky nature of dried PVA glue helps create a layer that prevents the paint from being soaked up by the wood.
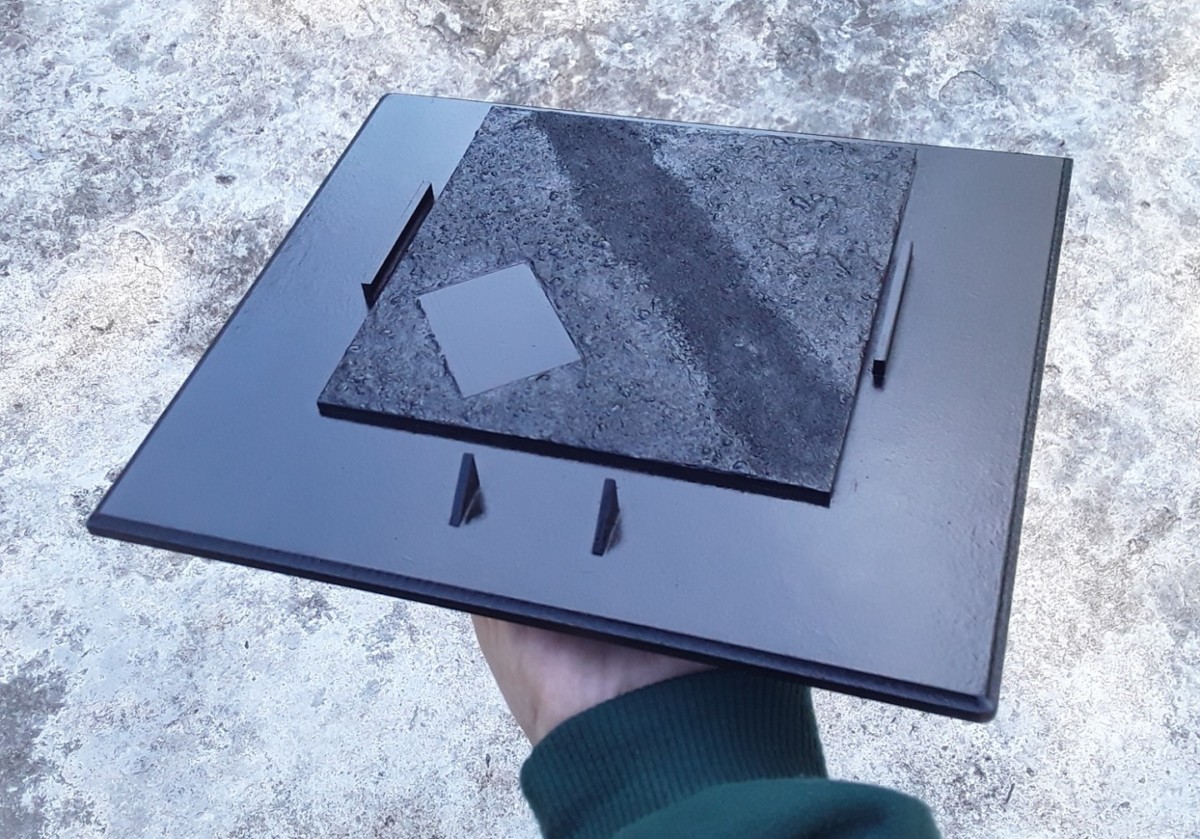
The diorama base is looking great at this point, but we need to spray a flat varnish over it. Although the black paint we used isn’t very glossy, the flat coat is necessary because we’ll be working on this base for a while, and the satin finish makes it prone to collecting dust.
Flat coat
I applied the top coat on the wooden base and the plaque. There is a slight change in terms of finish, but as I said, the main advantage of the flat finish is that it helps keep our parts basically free from dust. Given its lack of tackiness, brushing off potential built up particles should be considerably easier now.


I’m using this craft top coat, but once again I advise you to use products made specifically for scale modeling. For instance, Mr. Color and Tamiya sell excellent varnish spray cans that go smoothly on plastic models. Needless to say, if you can’t find modeling products locally (like me, haha!), looking around for alternatives is always a good idea. However, don’t forget to always test on a scrap piece first to ensure it will work on your model.
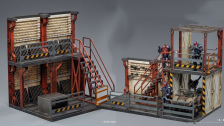
Main diorama
Base coating
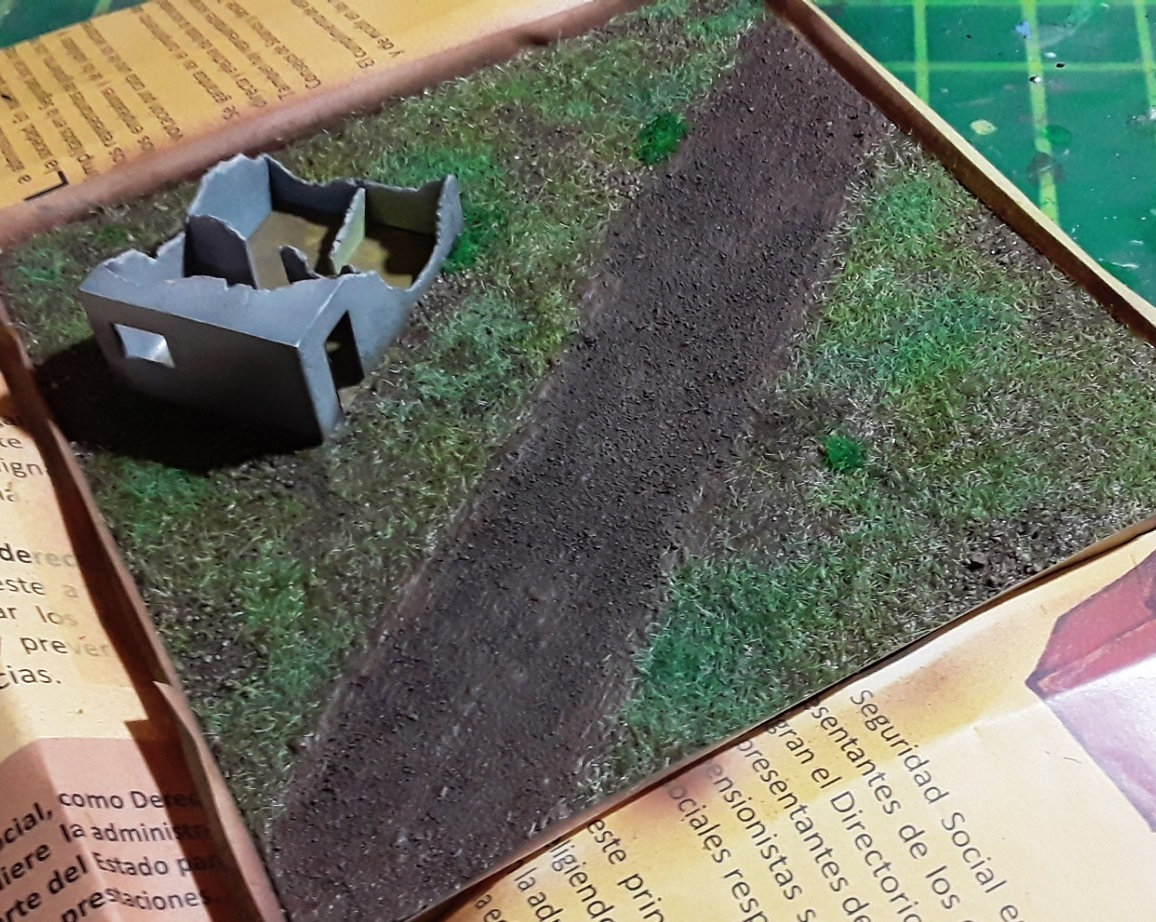
We’ve taken care of the frame, so now we can focus on painting the diorama itself. My first move is to mask off the wooden base so all the work we just finished isn’t ruined by the subsequent steps. I used masking tape around the edges of the diorama and pages of old magazines to cover the rest, so as to avoid wasting tape. Make sure the entire surface is covered, otherwise any leakage could send us back to the spray can stage.
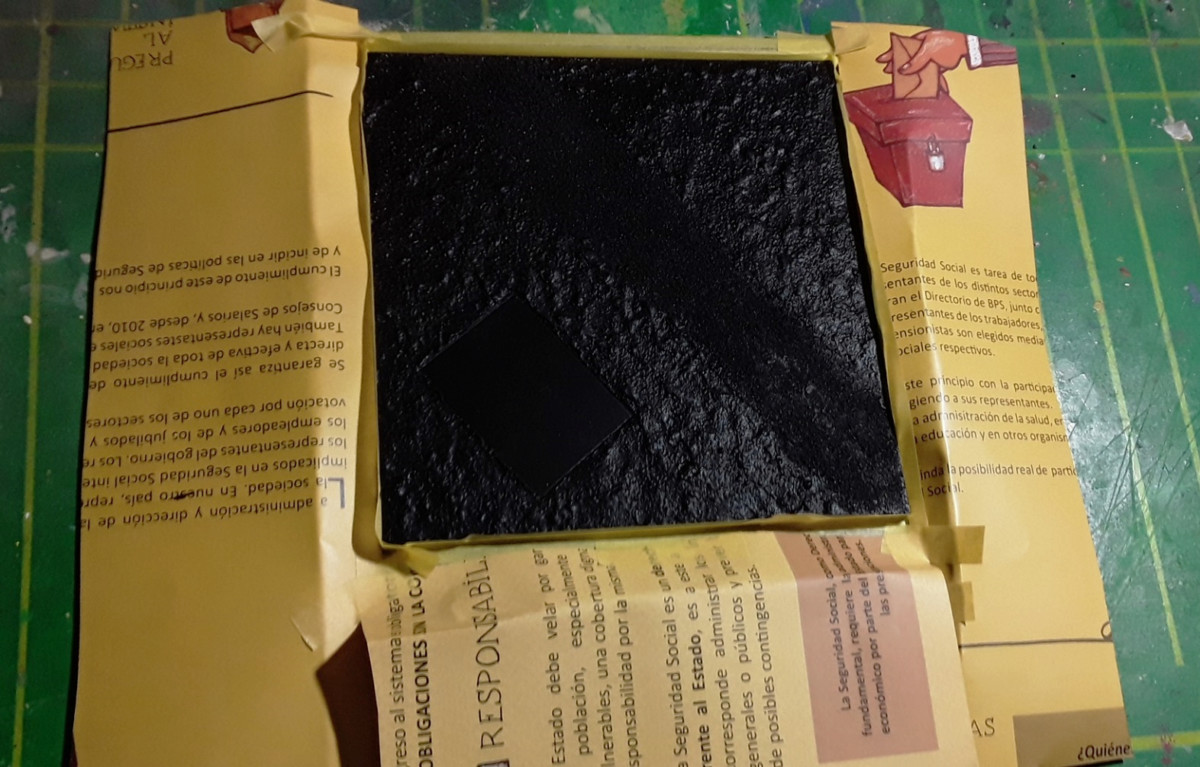
Next, I mixed Tamiya white primer with a few drops of Mr. Surfacer 1200. The resulting offwhite will provide a good base for the next colors we’ll spray.
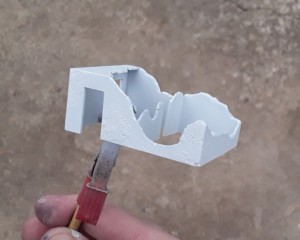
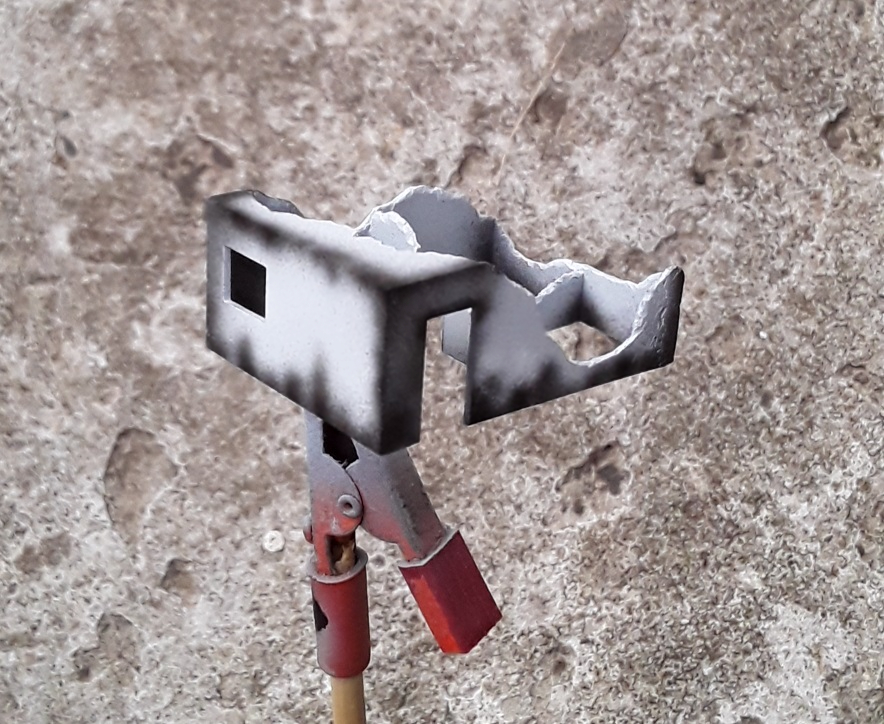
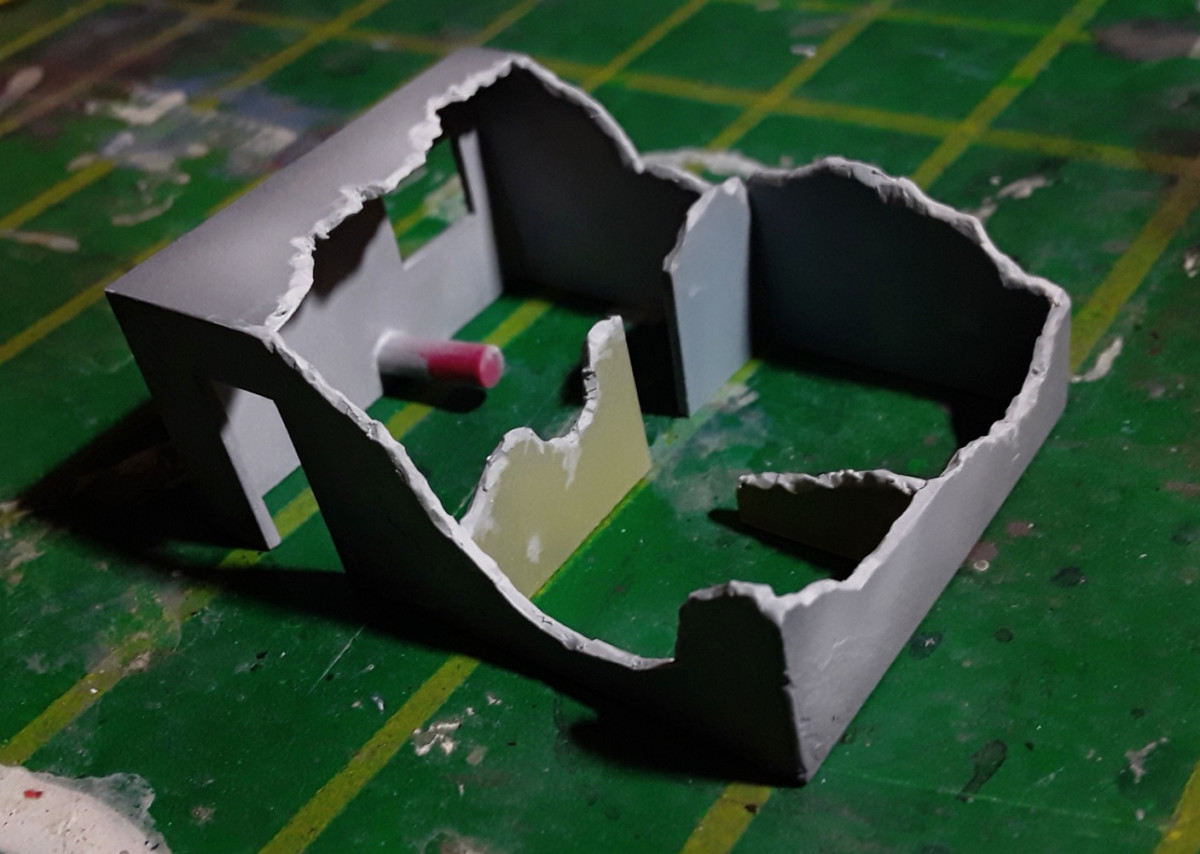
I used the white primer to make highlights on the terrain. Some random areas were left dark so that when we spray the soil color there will be a rich variety of shades. As for the scratchbuilt elements, the primer is mostly acting as a surface for the paint to stick to. Note that I attached a piece of runner on the inside of the house so I can hold it with an alligator clip for painting.
Main painting
Lacquer primers – like the mix we just used – dry very quickly, so now we can go straight to painting. This time, though, we’ll be using enamels.
I mixed various Model Master paints until I achieved a neutral brown color that was vaguely reminiscent of the pigments we applied on the feet of the Galbaldy.


I used this same color for both the door and the terrain. Normally I would avoid doing this, because diversity in colors is crucial when we want our models to look realistic (I mean, what’s the chance of the soil being the exact same tone of the wood the door is made out of?). However, considering how weathering the building will affect the shade of the door, starting from the same color is not a big deal this time around. Generally, I’d suggest you add a drop of another color when painting the door, since this subtle contrast pays off when we put everything together.


The brown paint was touch-dry a few minutes after spraying. Yet, unlike lacquers and acrylics, enamels also need to cure. They are pretty much like the classic oil paints but finer, so they require a long time to be ready to go. I let the paint cure for 6 days before applying a light coat of brown wash over the terrain.
Shading and highlighting
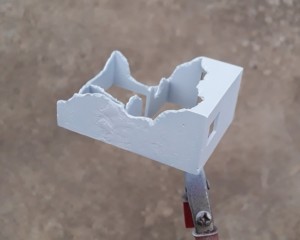
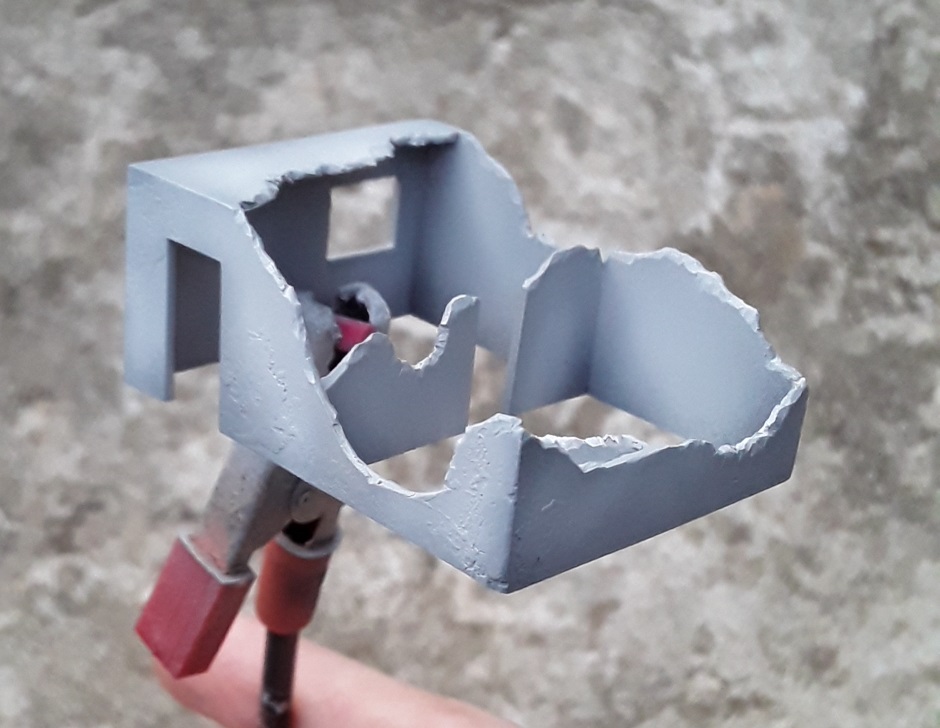
The next airbrushing session was pretty quick and straight-forward, since I only took my spraying setup outside to paint the house. Still, I’ll explain the process in depth because the techniques I used are very useful in model painting. I began by loading the cup of the airbrush with black paint for the pre-shading. When painting this effect on buildings, I try to stick to the edges but also add some small areas to emulate humidity stains. These, different from the traditional streaking effects, aren’t caused by gravity. Therefore, we can feel free to paint them on any part of the model and in any direction.
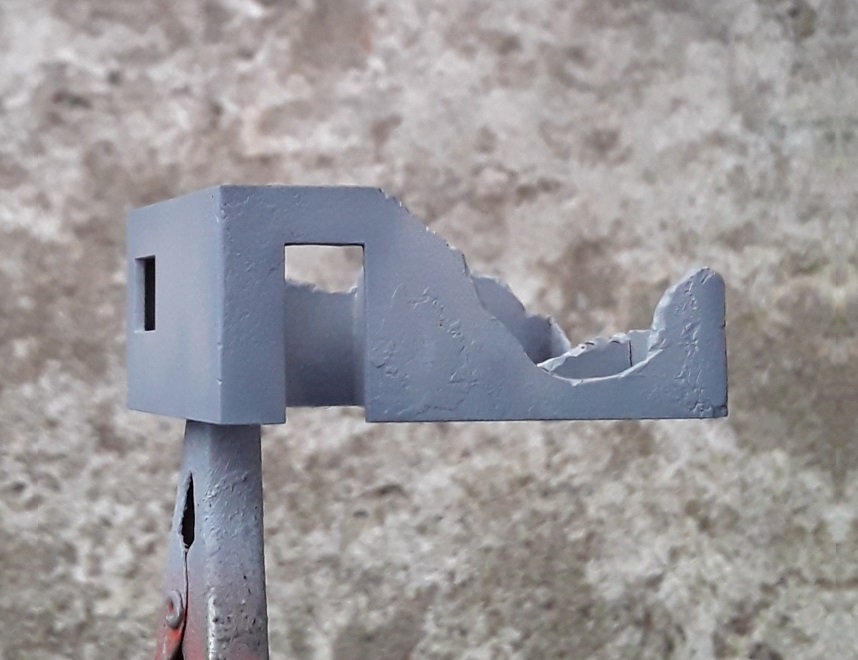
Next, I added white paint to make a light gray, and laid down the mix over the entire surface. The trickiest part about pre-shading is reaching the sweet spot between a subtle and an exaggerated effect. You have to be careful when painting the second color, so as to slowly build up the coat and not completely cover the shading underneath. Knowing where to stop is vital, so I’d suggest you look at the part from a distance between passes and judge based on the effect you’re after. Personally, I prefer subtle shading most times, but I tried to keep it a little dramatic on this model since the weathering stage will tone down the contrast.
Lastly, I added a little bit more white and painted the highlights. I mostly sprayed on open areas and parts that weren’t covered by the darker shades. The result is an eye-catching piece with a decent amount of grays, which results from the overlap of the three coats we just sprayed.
Handpainting details
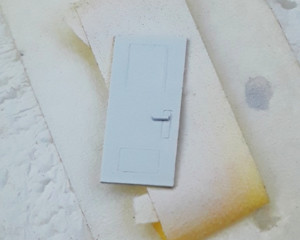
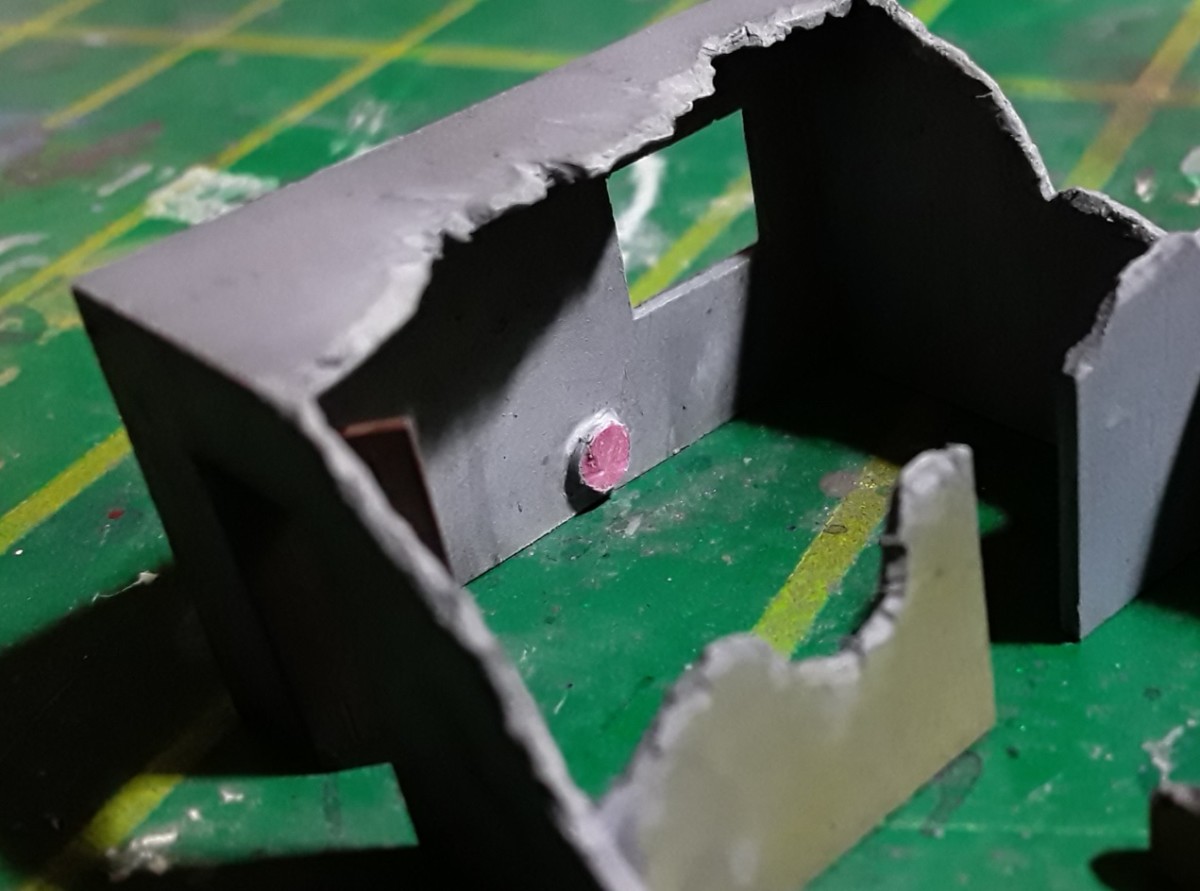
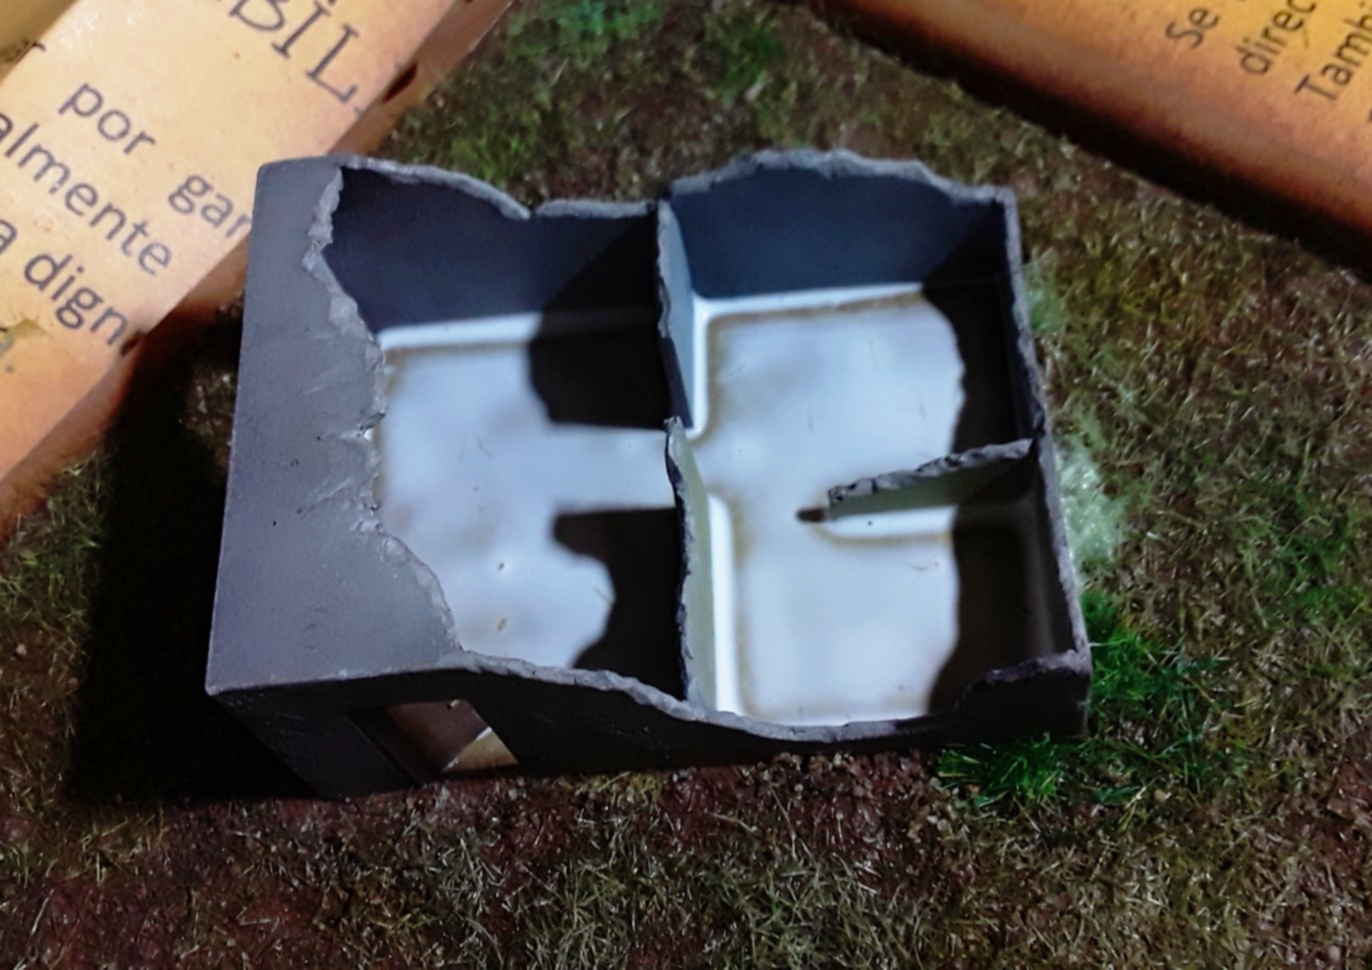
Back at the workbench and before the fun stuff, I handpainted the inside walls of the house. I used moderately watered down acryilic paints, which I applied in two light coats.
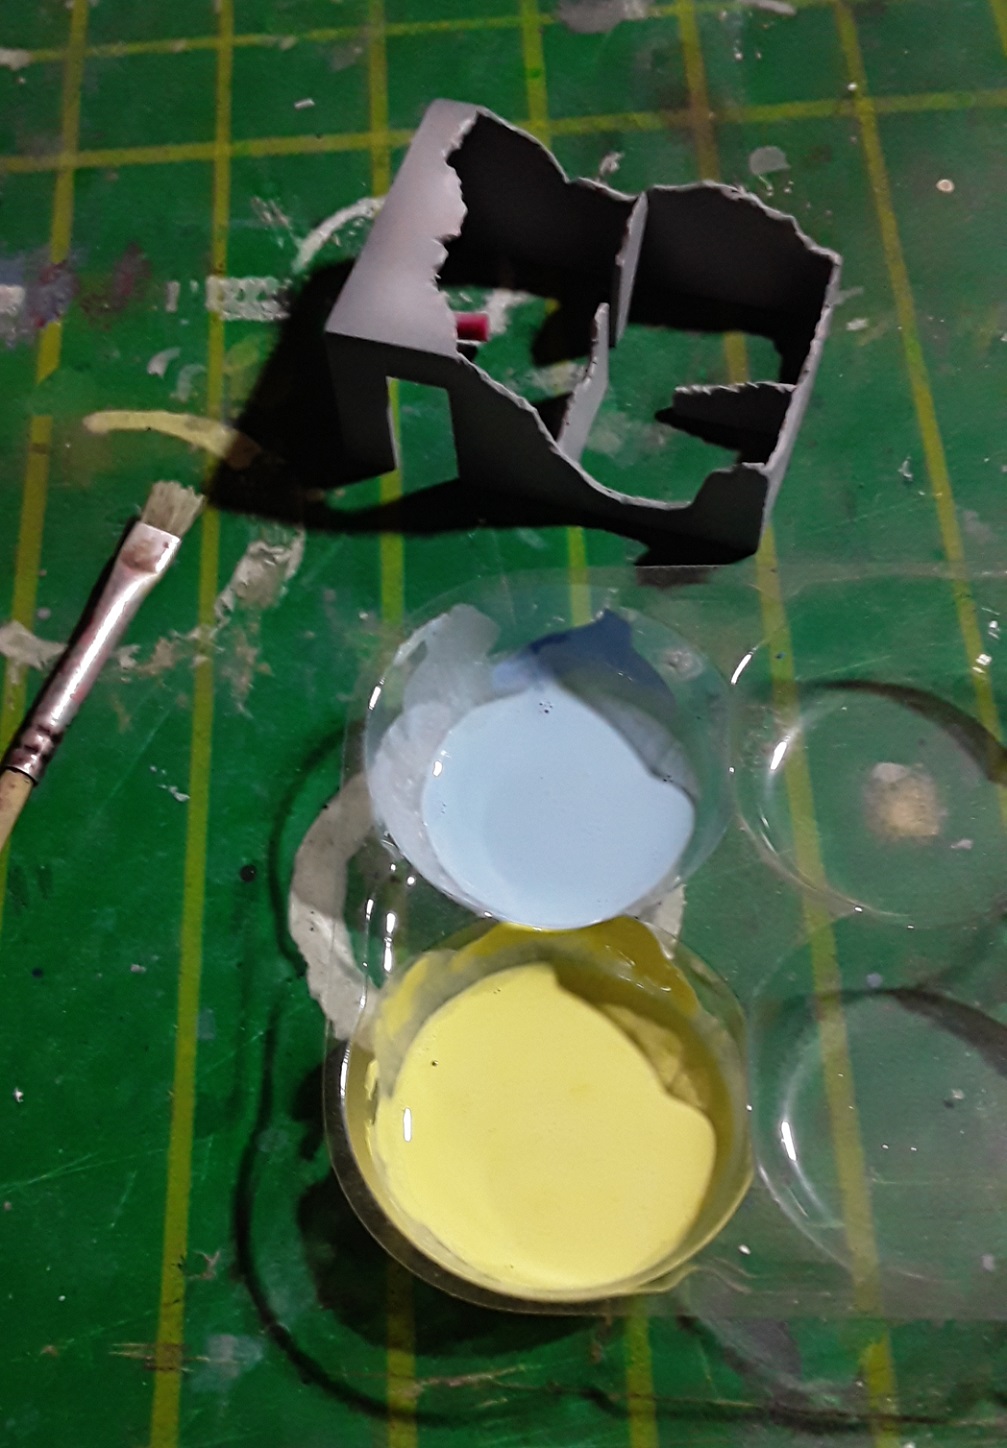
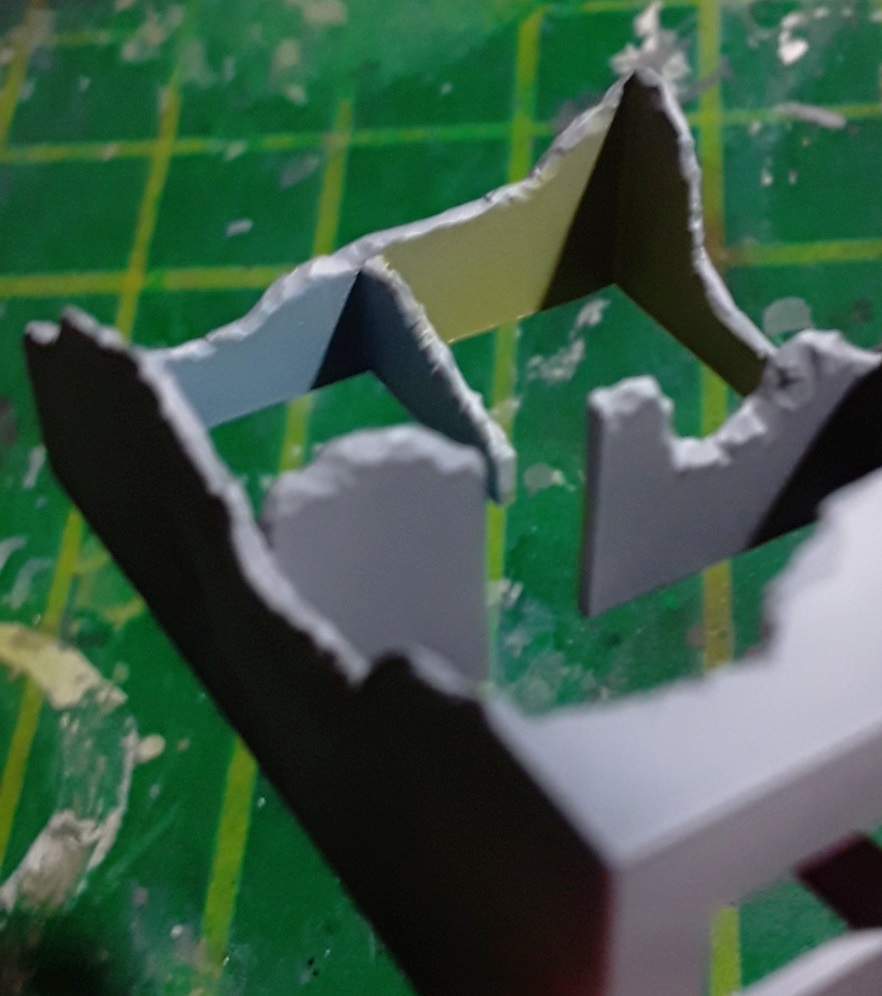
I painted the two smaller rooms with the colors I mixed. The coverage isn’t perfect, and that was my plan. According to our backstory, these walls have been exposed to the elements for a while, so I figured the paint shouldn’t look too opaque and uniform.
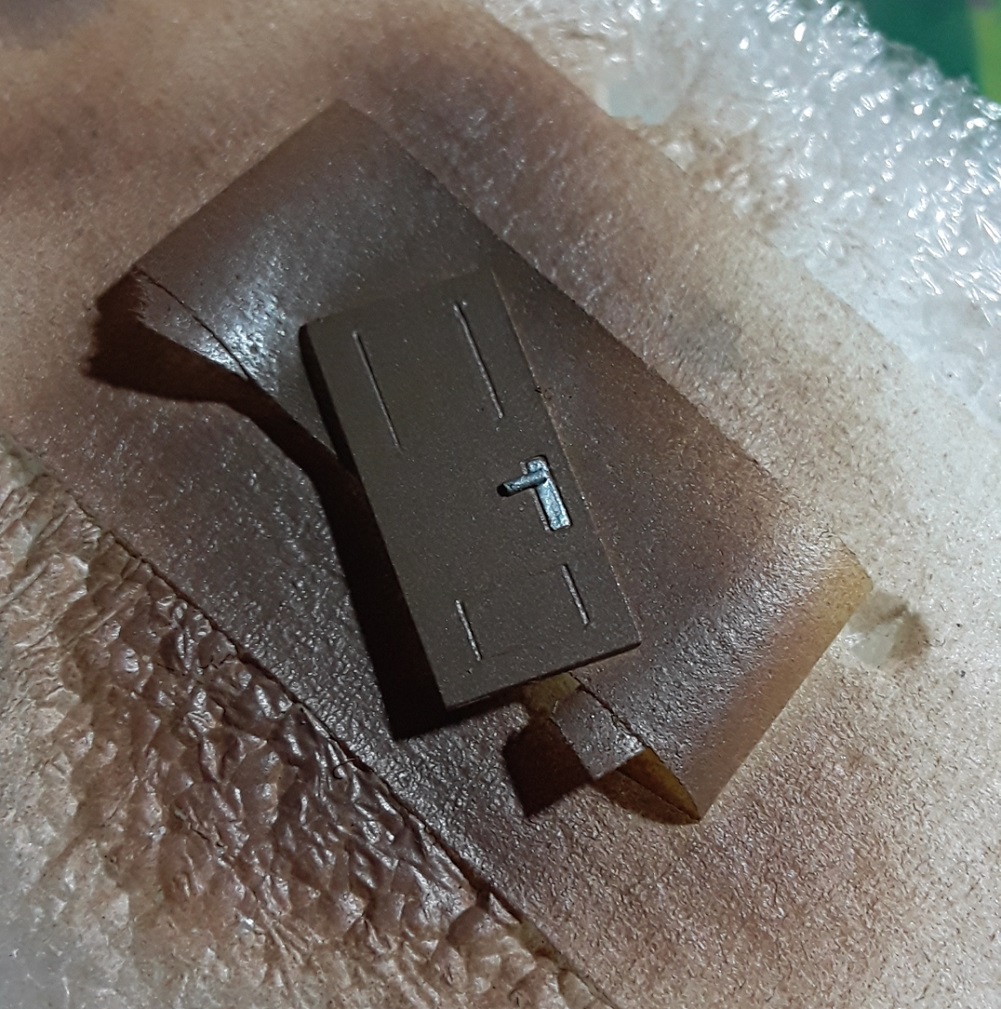
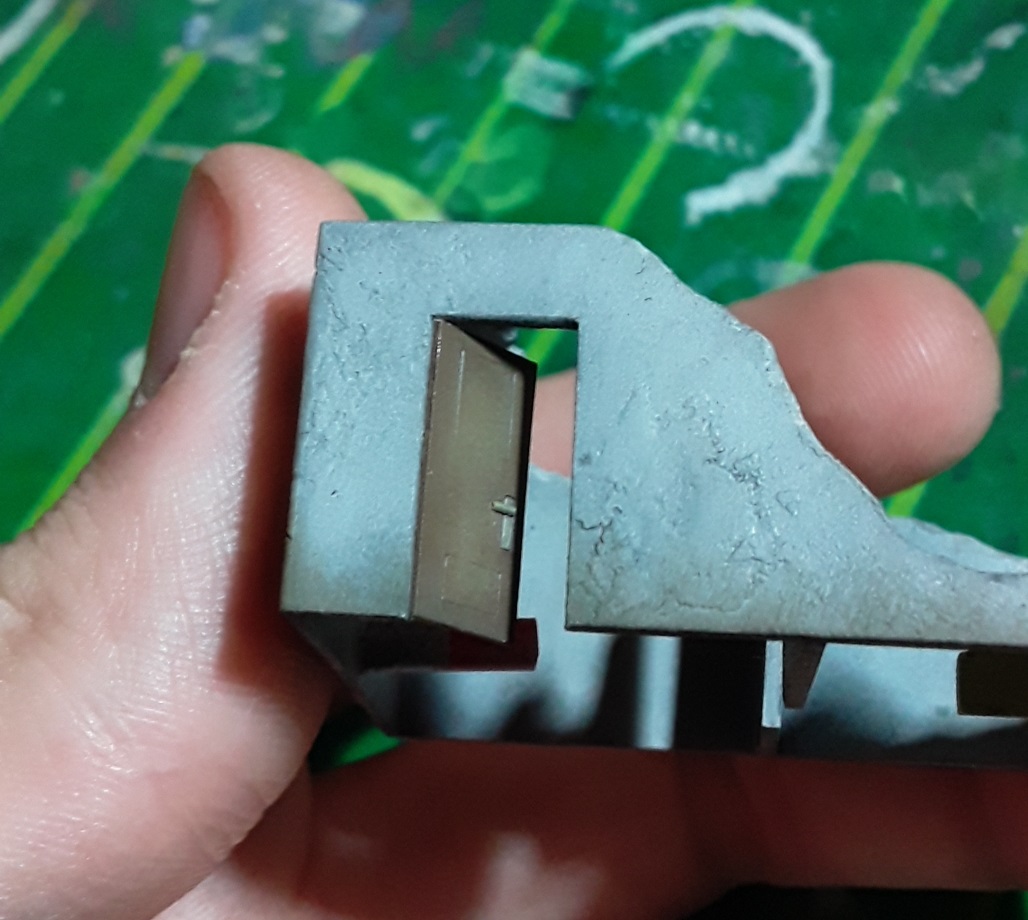
Then I picked up a much finer brush and painted the doorknob, using Mr. Color #8 Silver. It doesn’t need to be perfect, but be careful not to go over the edges. Although the next step will bring the colors together, the color separation between the wood and the metal has to be as defined as possible.
Weathering
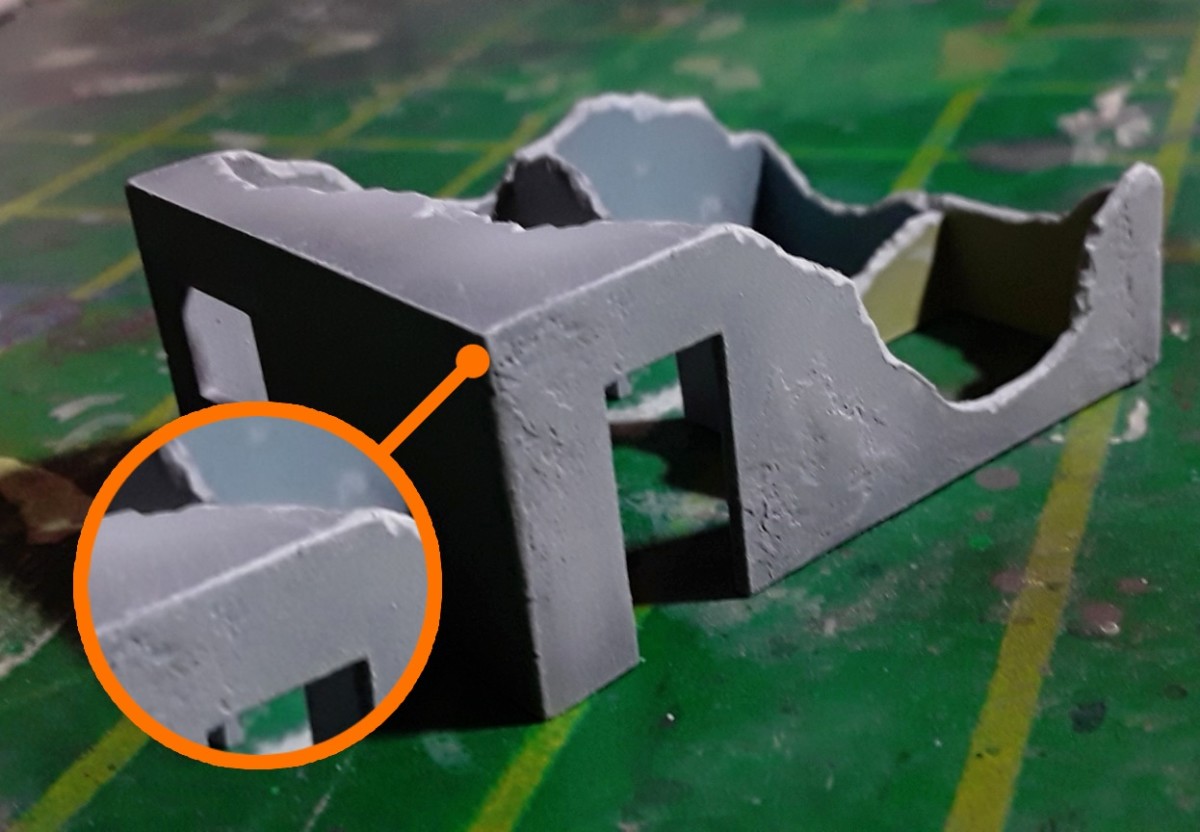
Firstly, I went along the edges with a brush and very light gray acrylic paint. I made sure these areas were lighter than the rest of the building. They have been exposed to weather for a shorter period after all. This task is easy but requires a little bit of precision. Take your time and follow the banged-up edges we made when scratchbuilding the house.
The second step was even easier. I did some drybrushing to make the clean edges more interesting and emulate minor damage.
Time for the always fun wash. I attached the model to the alligator clip again and brushed a light layer of my black wash mix over the entire building. For the door, I went with the same dark brown we applied on the Galbaldy.


This effect will look better if we paint the wash randomly over the surface. However, we must have control of the amount we’re applying, so don’t load too much paint on your brush. What I usually do is paint from top to bottom and then stipple on here and there. Also, if every vertical pass has a different amount of paint; we’ll be spreading the product unevenly. That’s an easy way to achieve a realistic result.
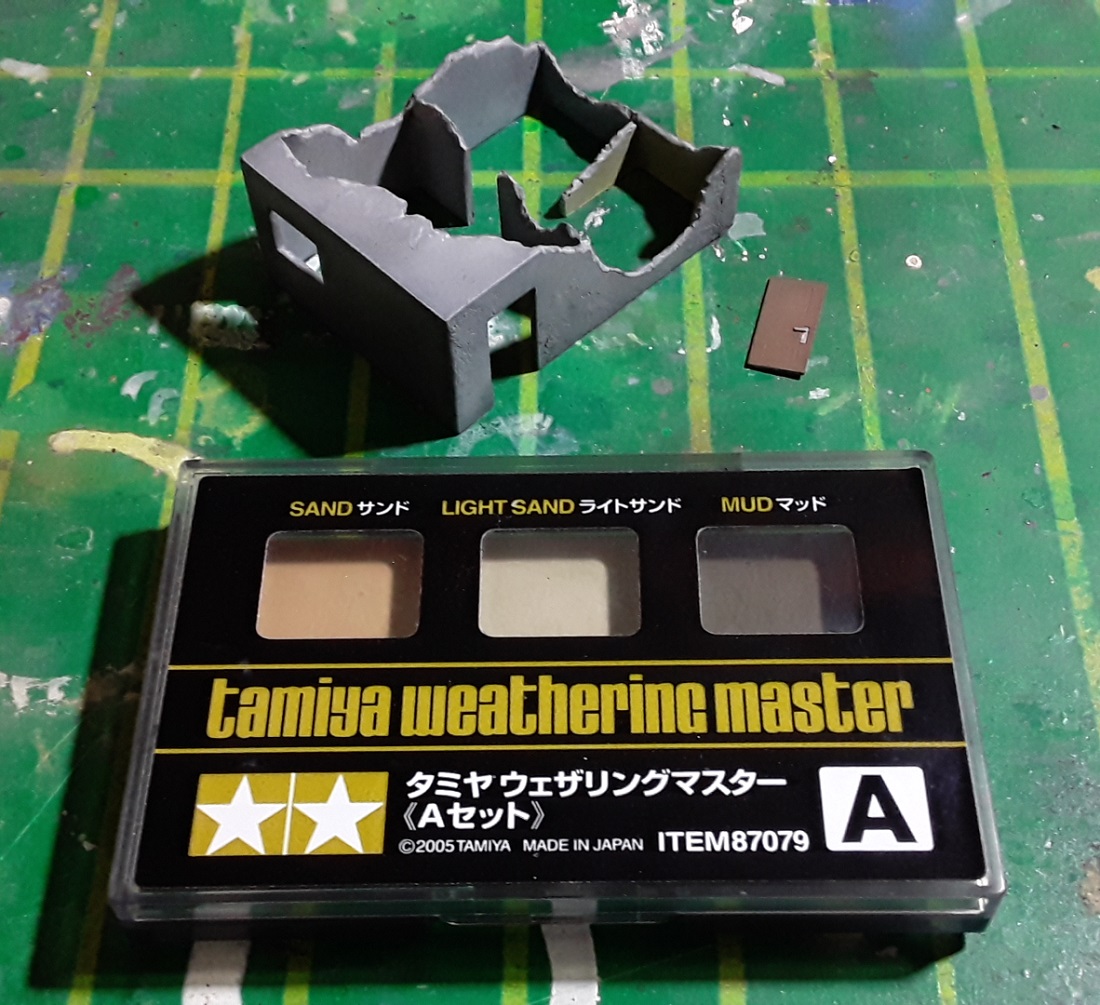
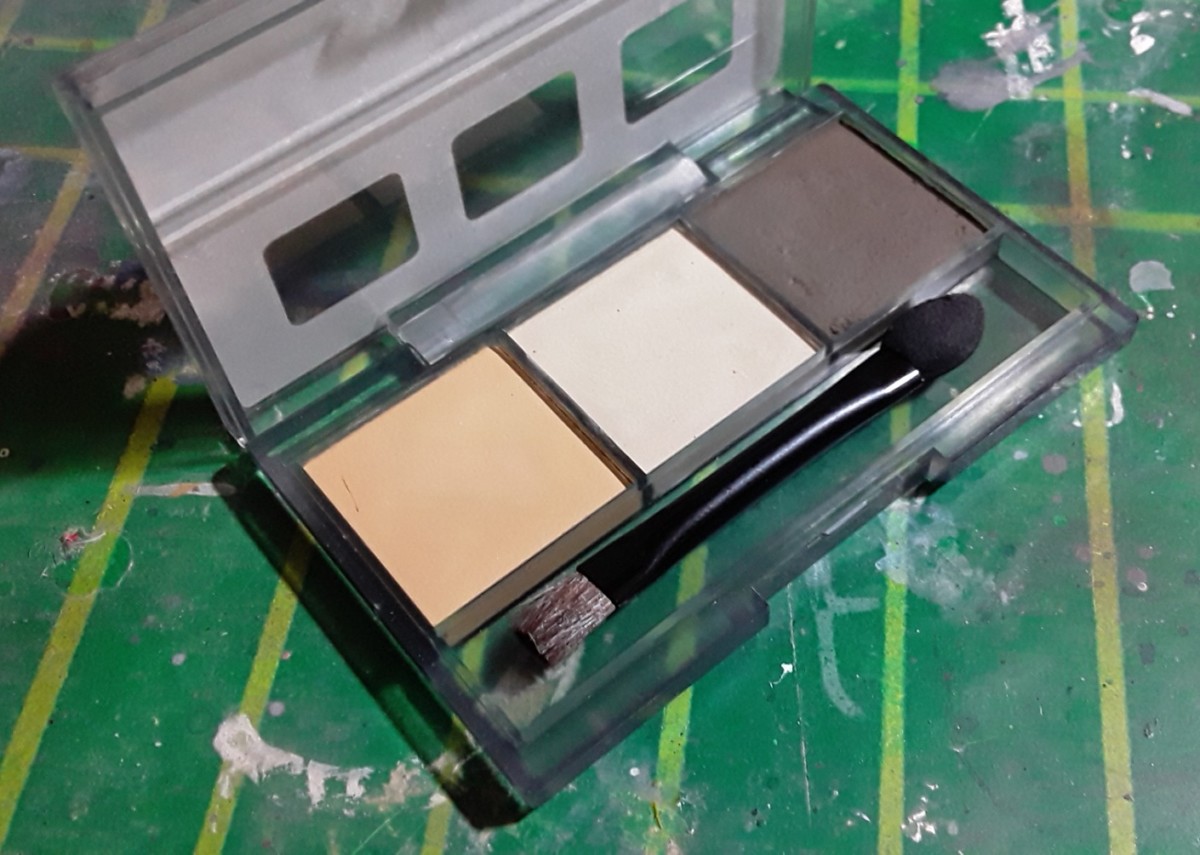
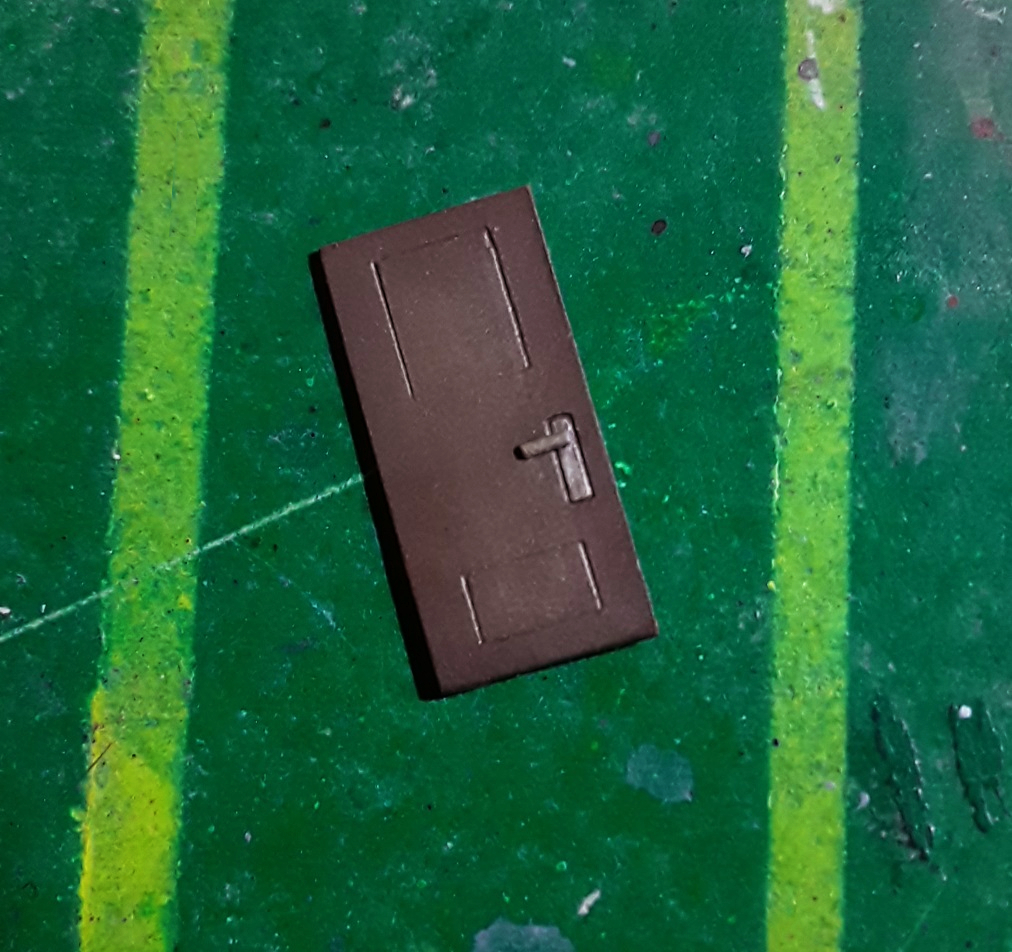
In order to protect the wash before the final weathering step, I airbrushed a coat of flat varnish on the building and door. This allowed me to safely apply weathering pigments without smudging the underlying effect. I went with mud for the bottom of the walls, which is the same color we used on the feet of the mobile suit. As for the door, I used the sand color. My aim with this wasn’t to replicate sand, but to highlight the open spaces of the piece.
Terrain
Adding grass flock
What the wash is to the house, the grass is to the diorama base. It makes a huge difference. After this step, our diorama will resemble a real rural setting a lot more.


I coated the areas where I wanted there to be grass with thinned down PVA glue. I left some small random places without glue, because having a few patches of exposed dirt will make the scene less monotonous.
For the grass I’m using Woodland Scenics’ static grass flock. The color is medium green, a neutral color that I use frequently. What’s inside this big pot is basically very thin fibers that mimic scaled down grass.
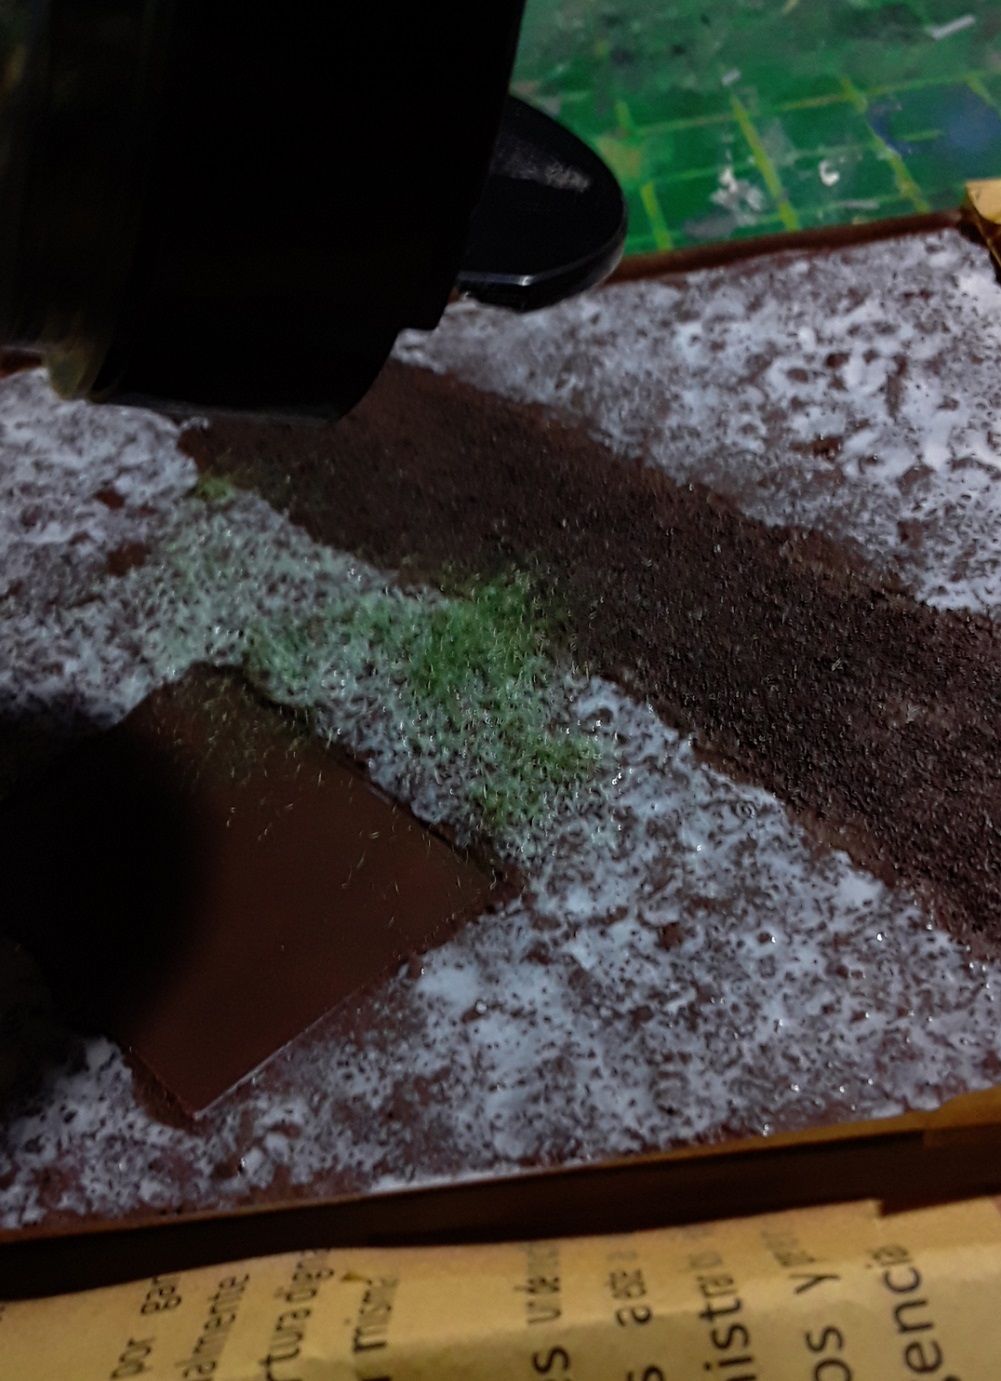

I just sprinkle the grass on top of the base until most of the surface is covered. You can use a static grass applicator for a more uniform look, but if, like in this diorama, you’re going for an uneven appearance; nothing beats the randomness of sprinkling on the grass like this.
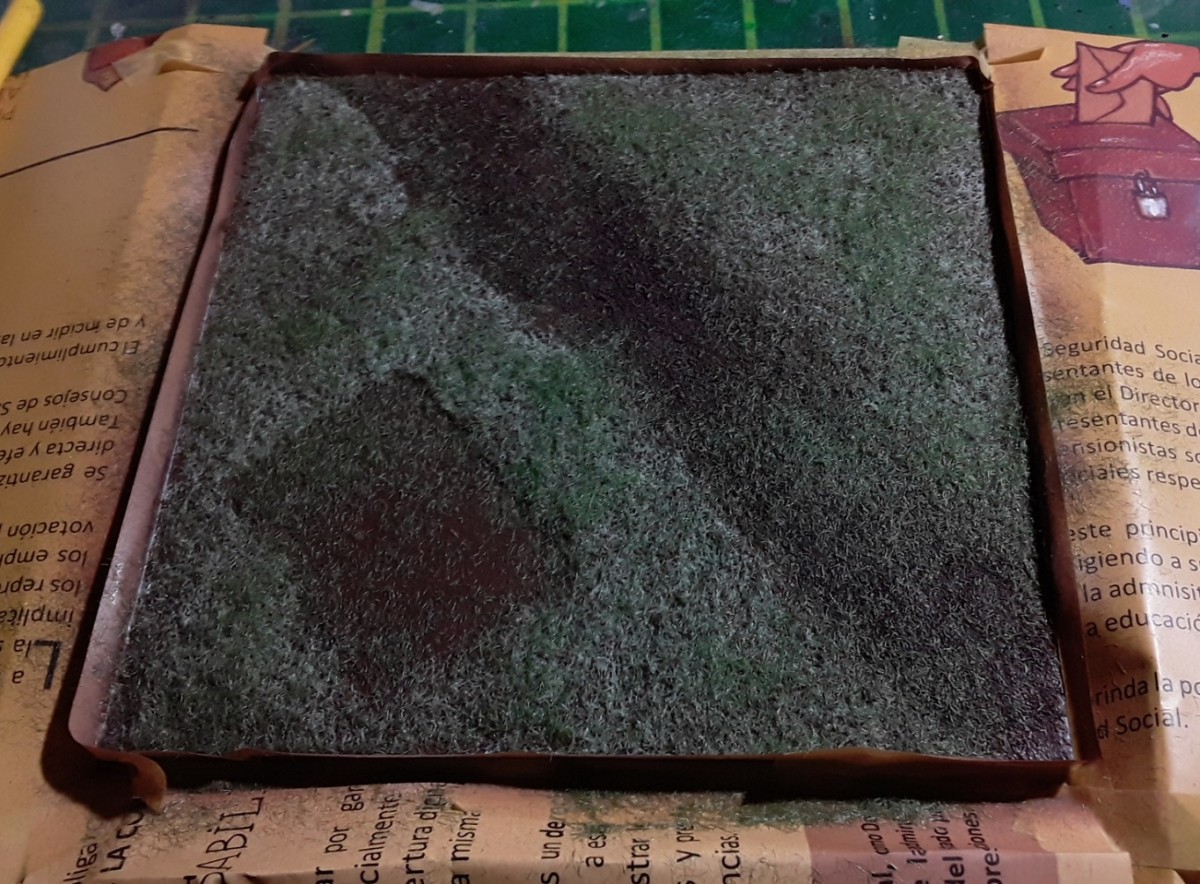
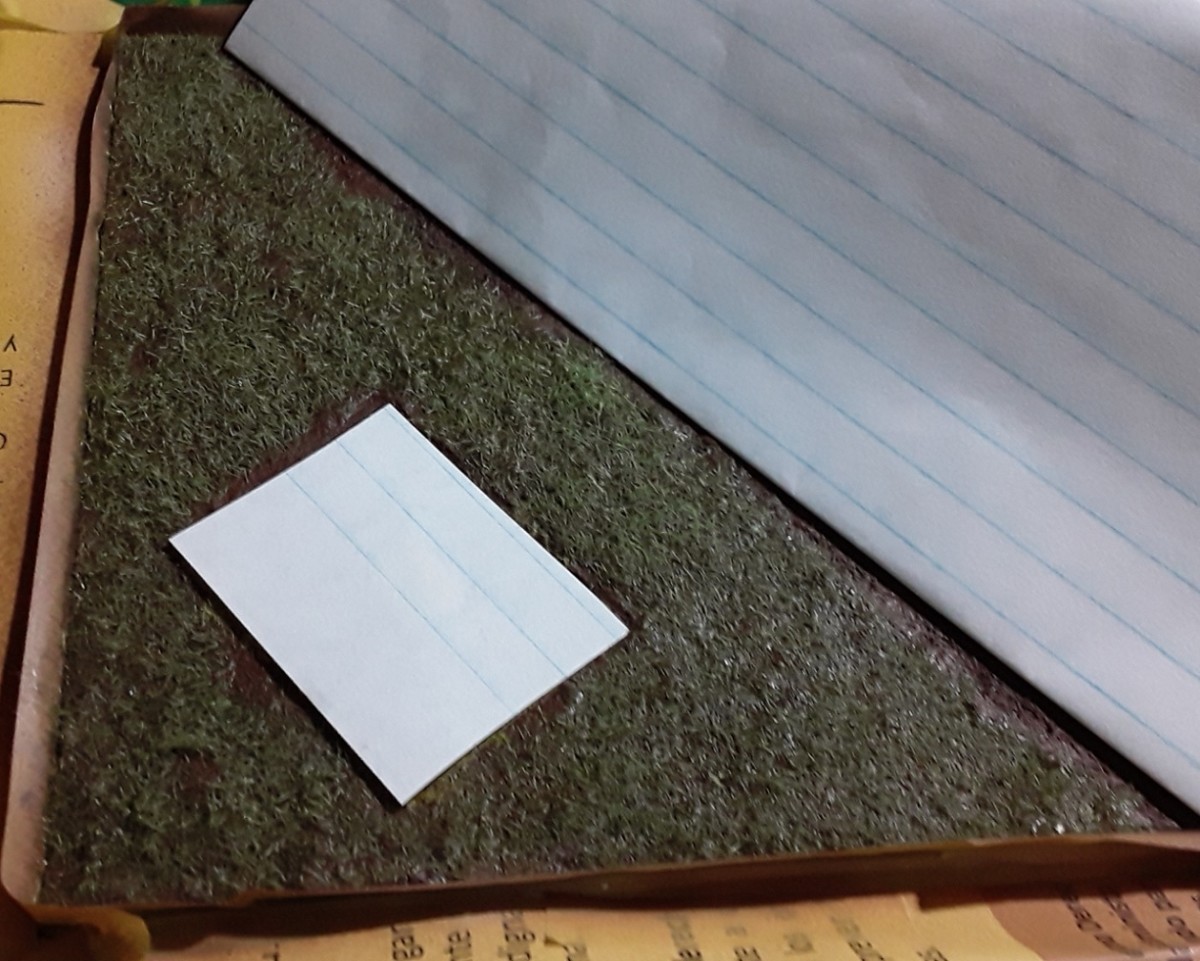
When I was happy with the amount I applied, I flipped the base over and gently tapped the underside to get rid of the excess flock. I always put a piece of paper on the table when doing this. This way it’s easier to collect the grass and put it back in the container.
Enhancing the grass
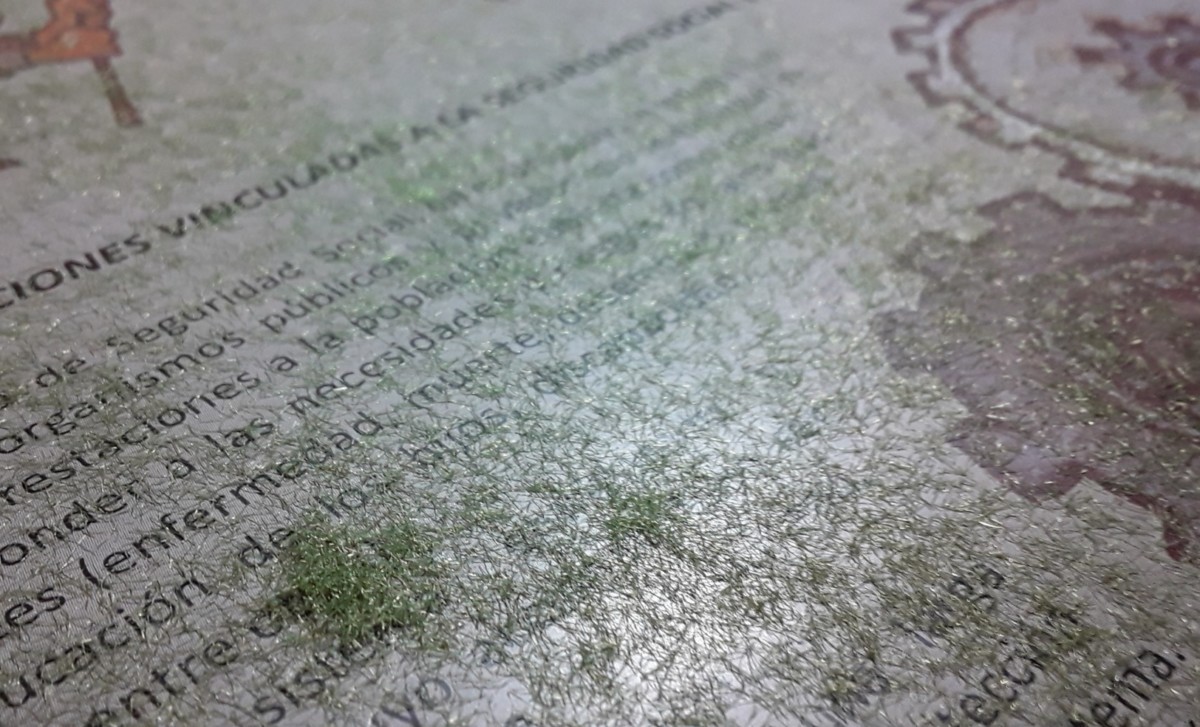
In order to emulate a wooden floor, I applied a layer of tan acrylic paint on the base, within the area of the house. It wasn’t a necessary step, as most of the floor will be covered in debris soon, but I did it just in case. After letting the paint dry, I sprayed some Vallejo clear green over the grass to slightly change the tone. I made sure to mask off the road and the section we just painted. I then added a good amount of clear yellow, and painted different areas. This subtle change adds a great deal of realism and visual interest to the terrain.
Assembly and further detailing
We need to put the three elements together prior to proceeding to the next part of the terrain work.
The first thing I do is glue the door to the building. It’s not a difficult job, but we want to get the placement right, so a pair of tweezers comes in handy.
Next I cut off most of the peg, so that we won’t need to add a crazy amount of debris on top to hide it. Instead of just going ahead and cutting the whole peg at once, I made three cuts with my nippers. I did this to avoid putting too much stress on the plastic and run the risk of breaking something. We certainly don’t want that after all the work we’ve done, haha!
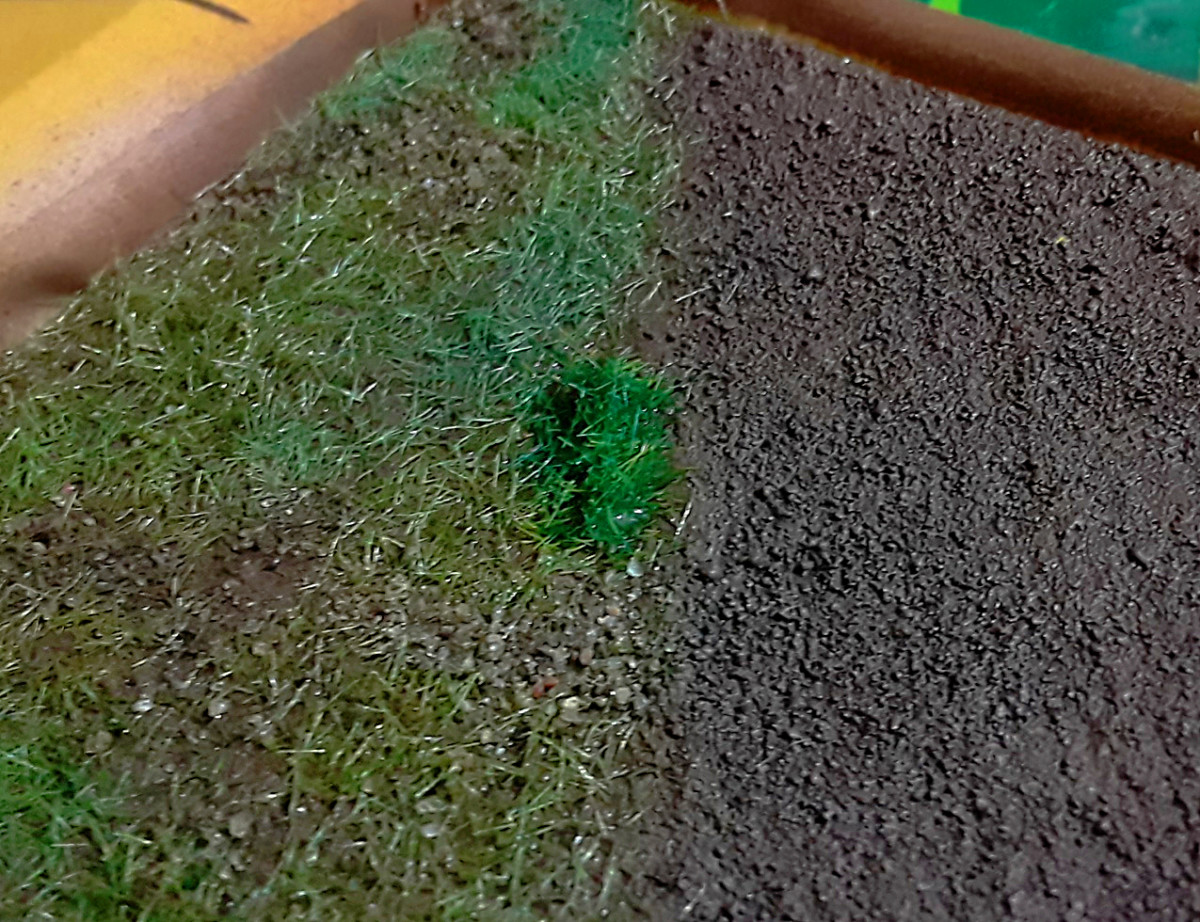
Once I’ve glued the house onto the base, I add a couple of grass tufts and dust from my yard. The tufts, longer and brighter in color than the rest of the grass, give the terrain more variety. On the other hand, the dust placed randomly on the base as small patches emulate little rocks. From afar we can easily discern the difference these two simple elements create.
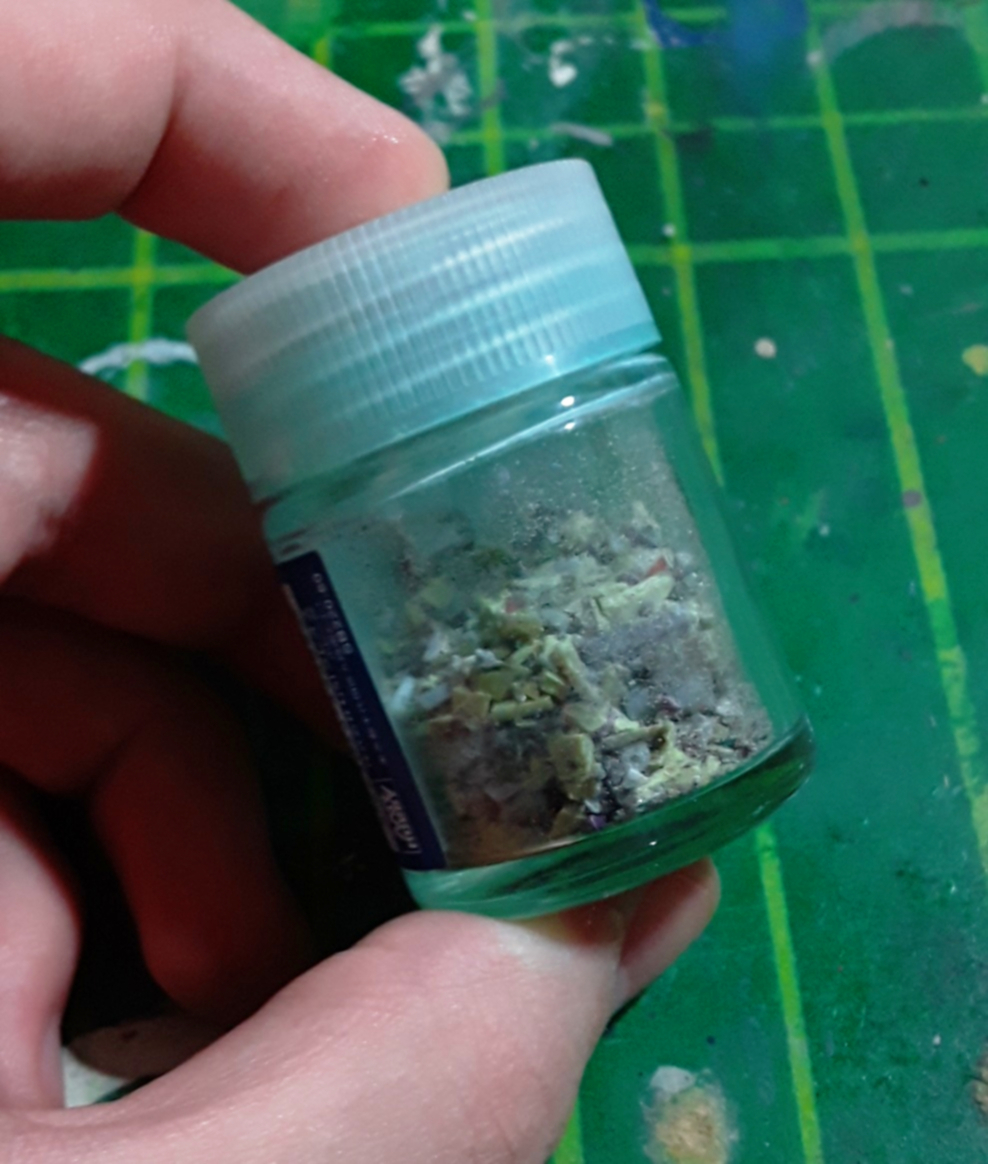
Making debris
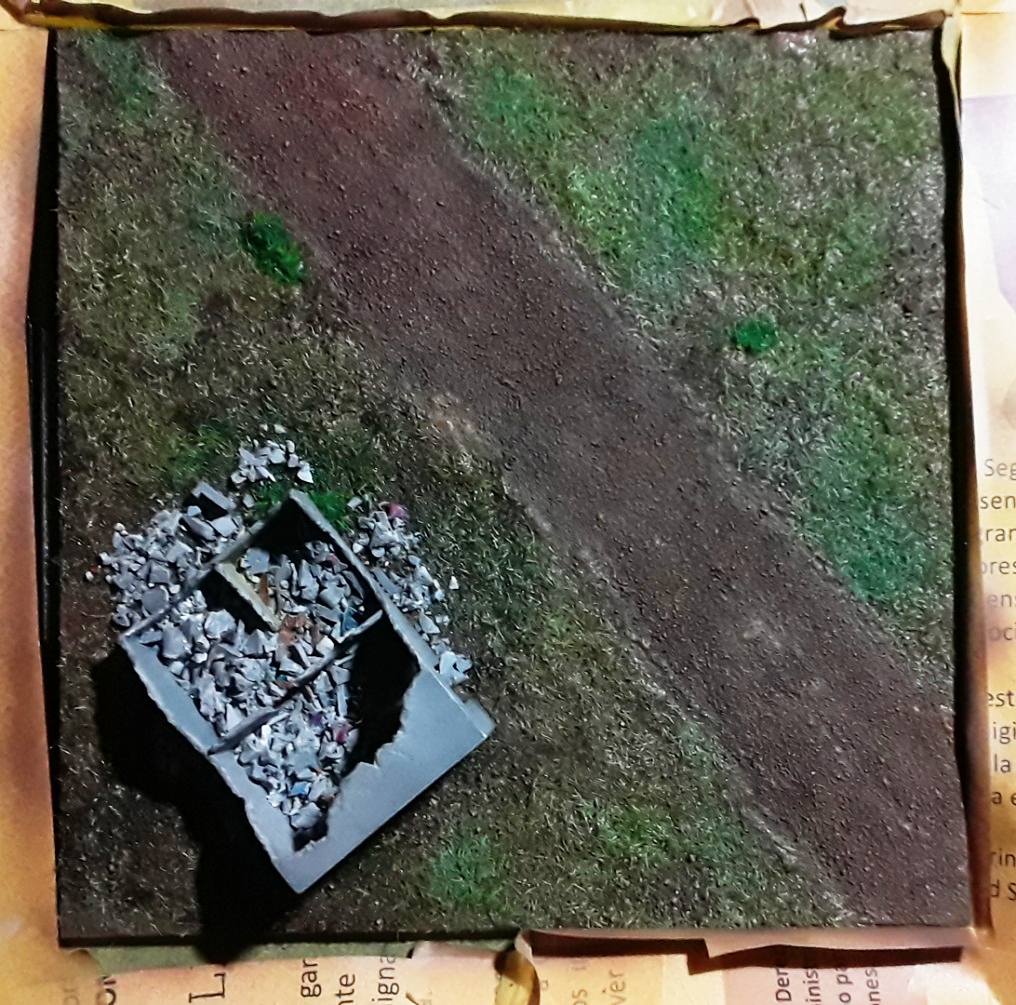
It’s finally time to make the debris. These are just pieces of plastic, putty and small rocks that I’ve been collecting and putting in this paint jar. I’ve used this technique before, and it can produce a very realistic look.
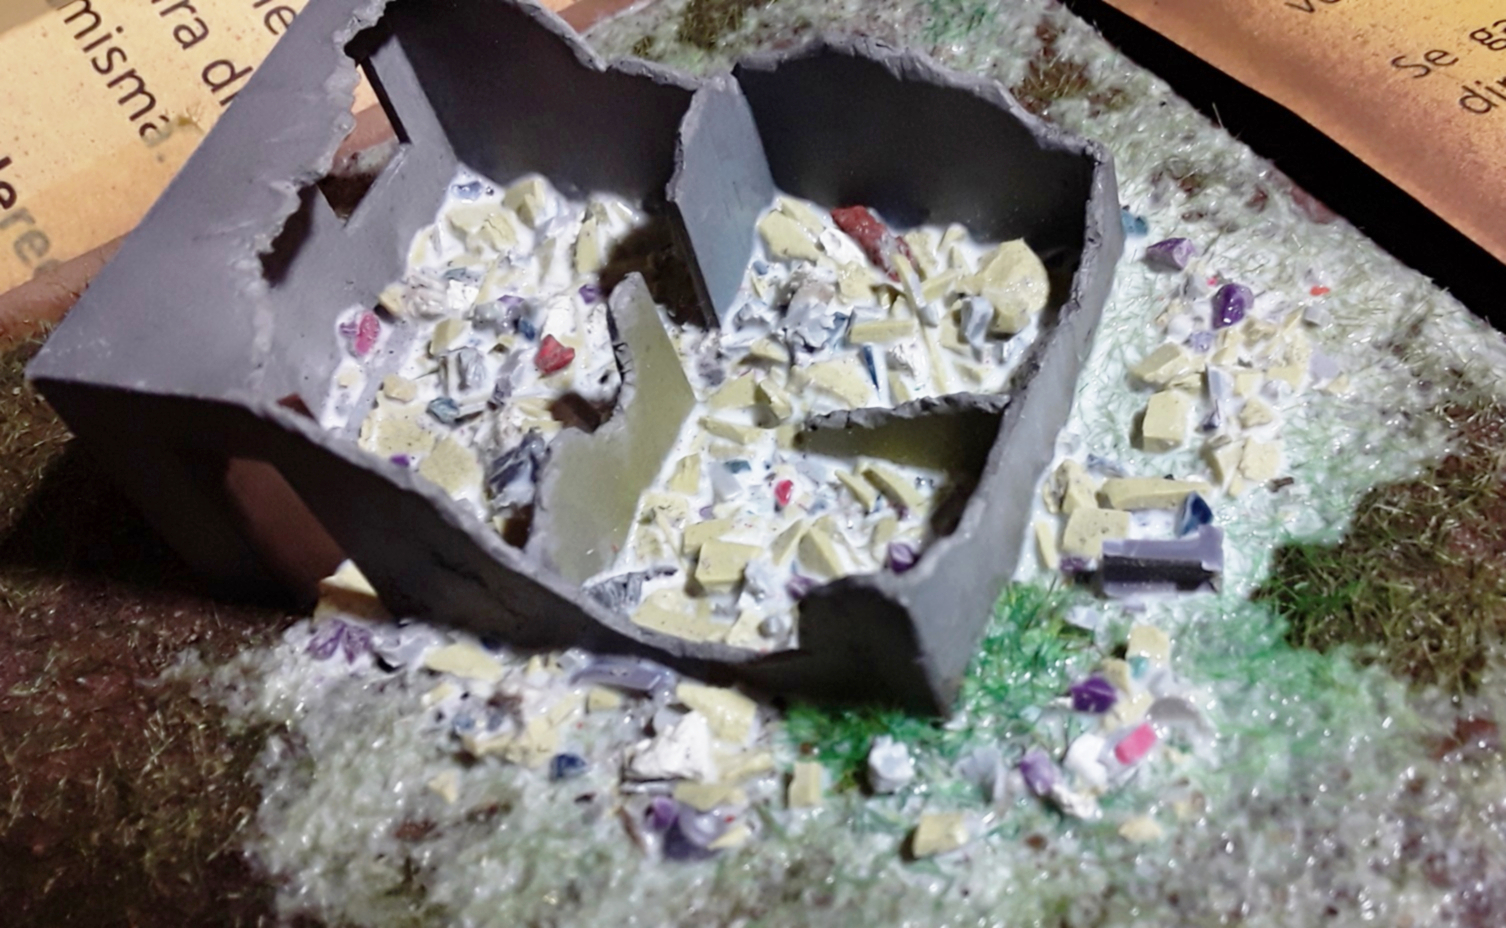
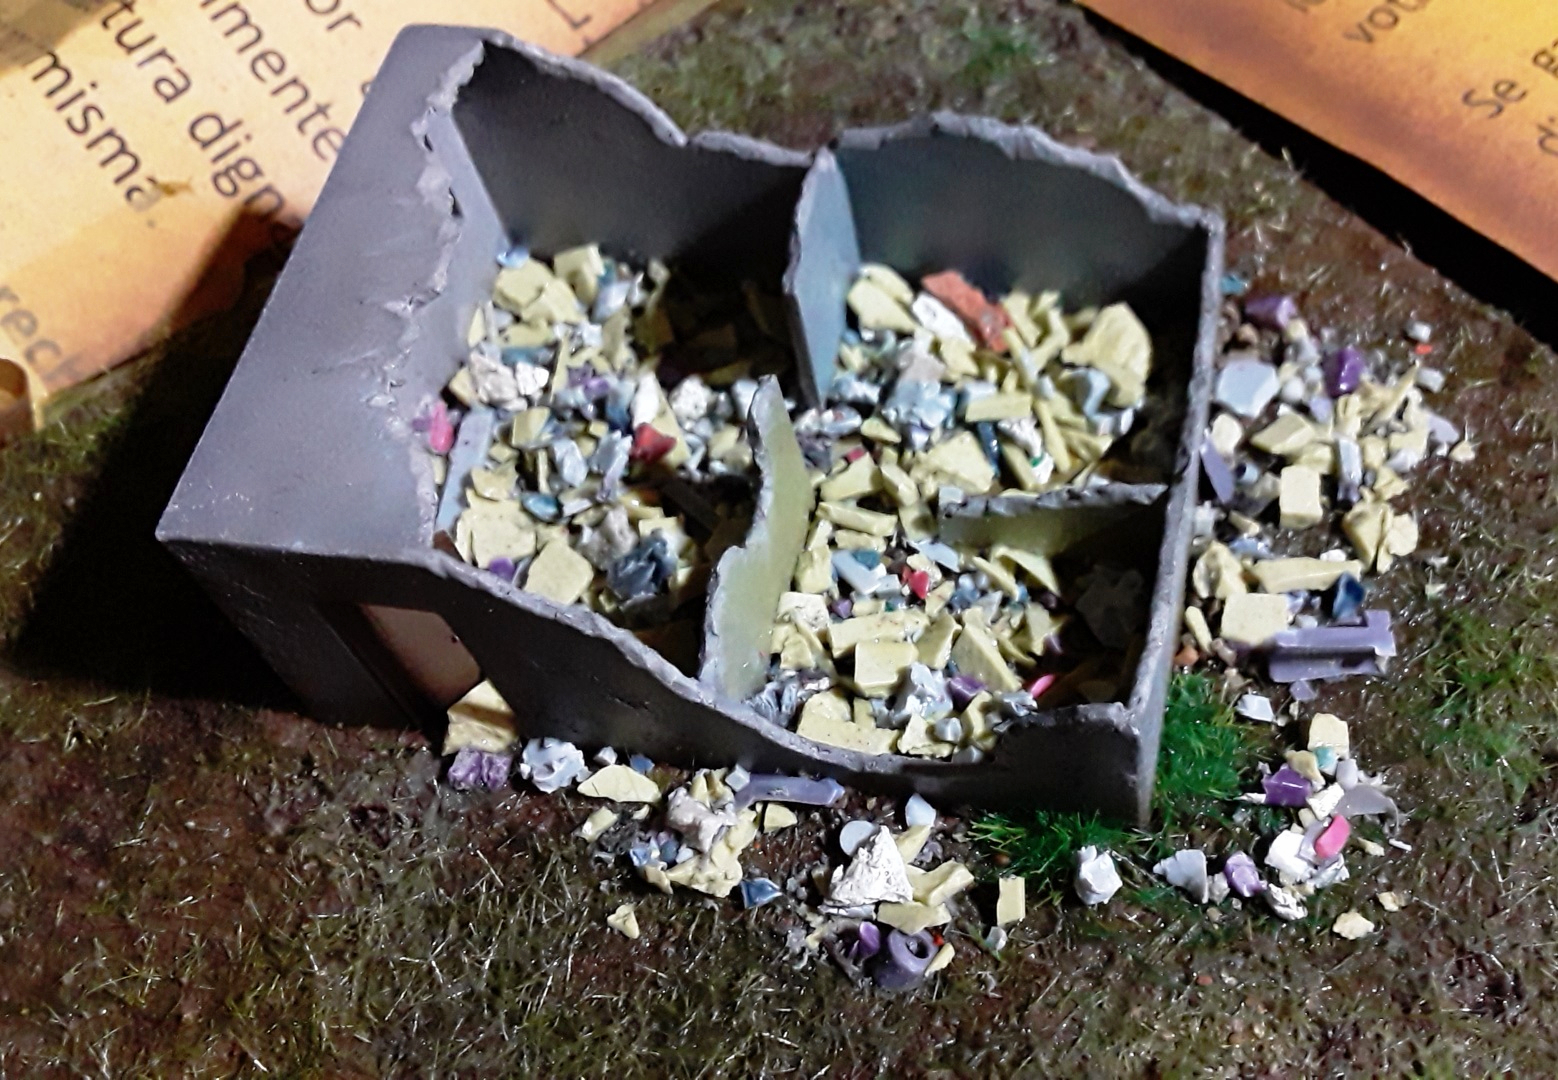
Using a brush, I apply previously thinned PVA glue on the floor of the house. Then it’s just a matter of scattering the debris around. I also added some on the outside, despite the lack of glue. After that, I add more water to the glue mix and, using a pipette, pour just enough to cover all the debris. With this, not only the pieces that are in contact with the base will stay in place. The thin glue will flow between the pieces and glue each other together.
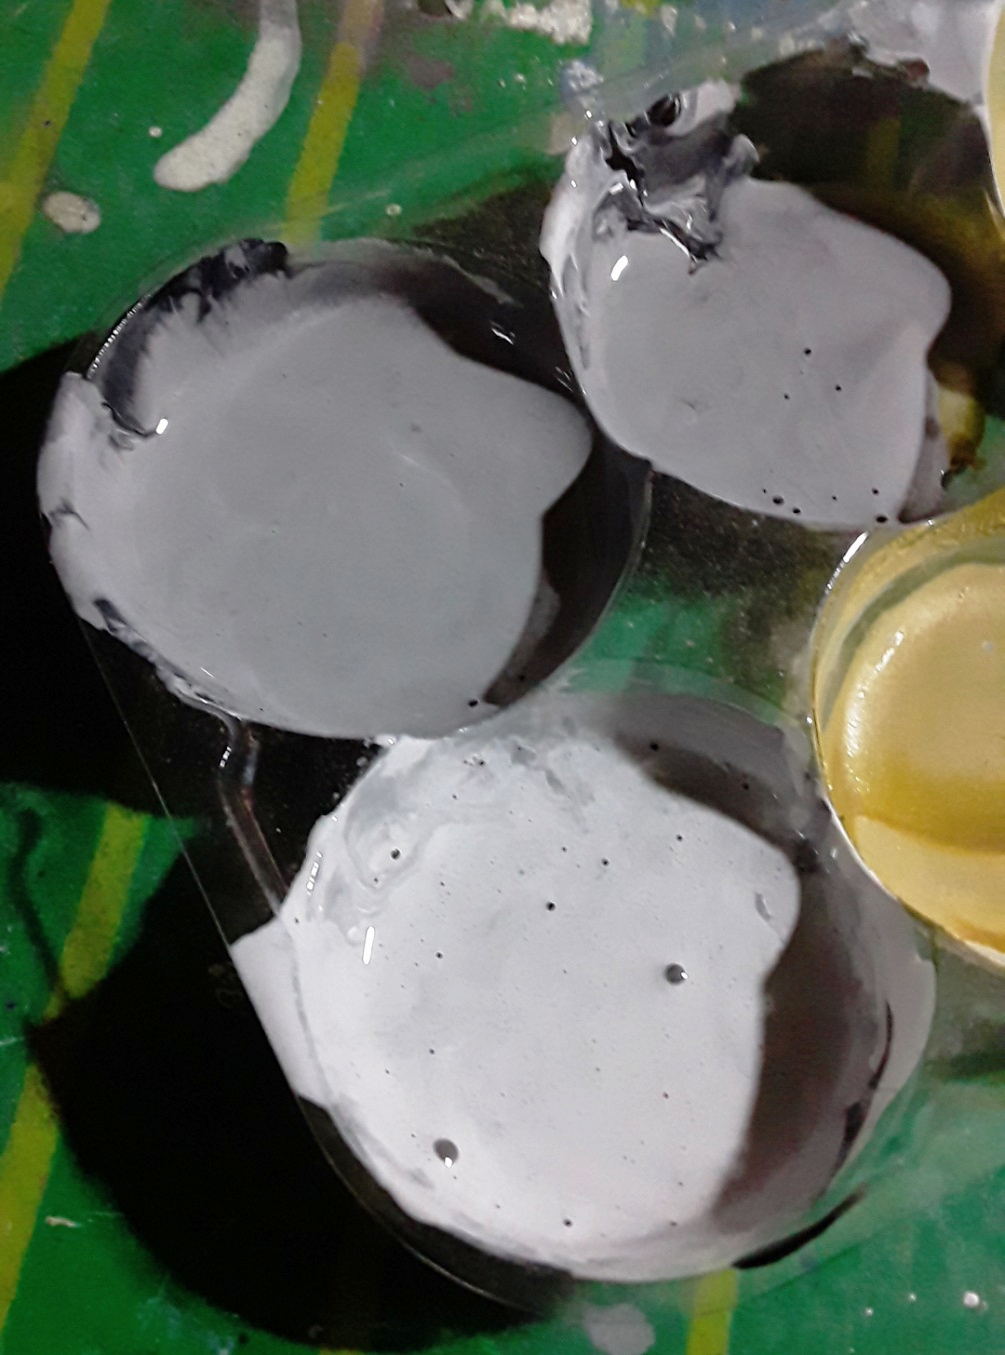
Once the glue is dry, we can mix some grays to paint the debris. Two shades should suffice if there is enough contrast between them. Handpainting these took some time, especially because I added a few other colors afterwards, and used them only on tiny bits. Besides gray, the color I used the most was brown, to emulate doors and furniture.
For the grays I used the brush pictured above, and for the small details a much finer one.


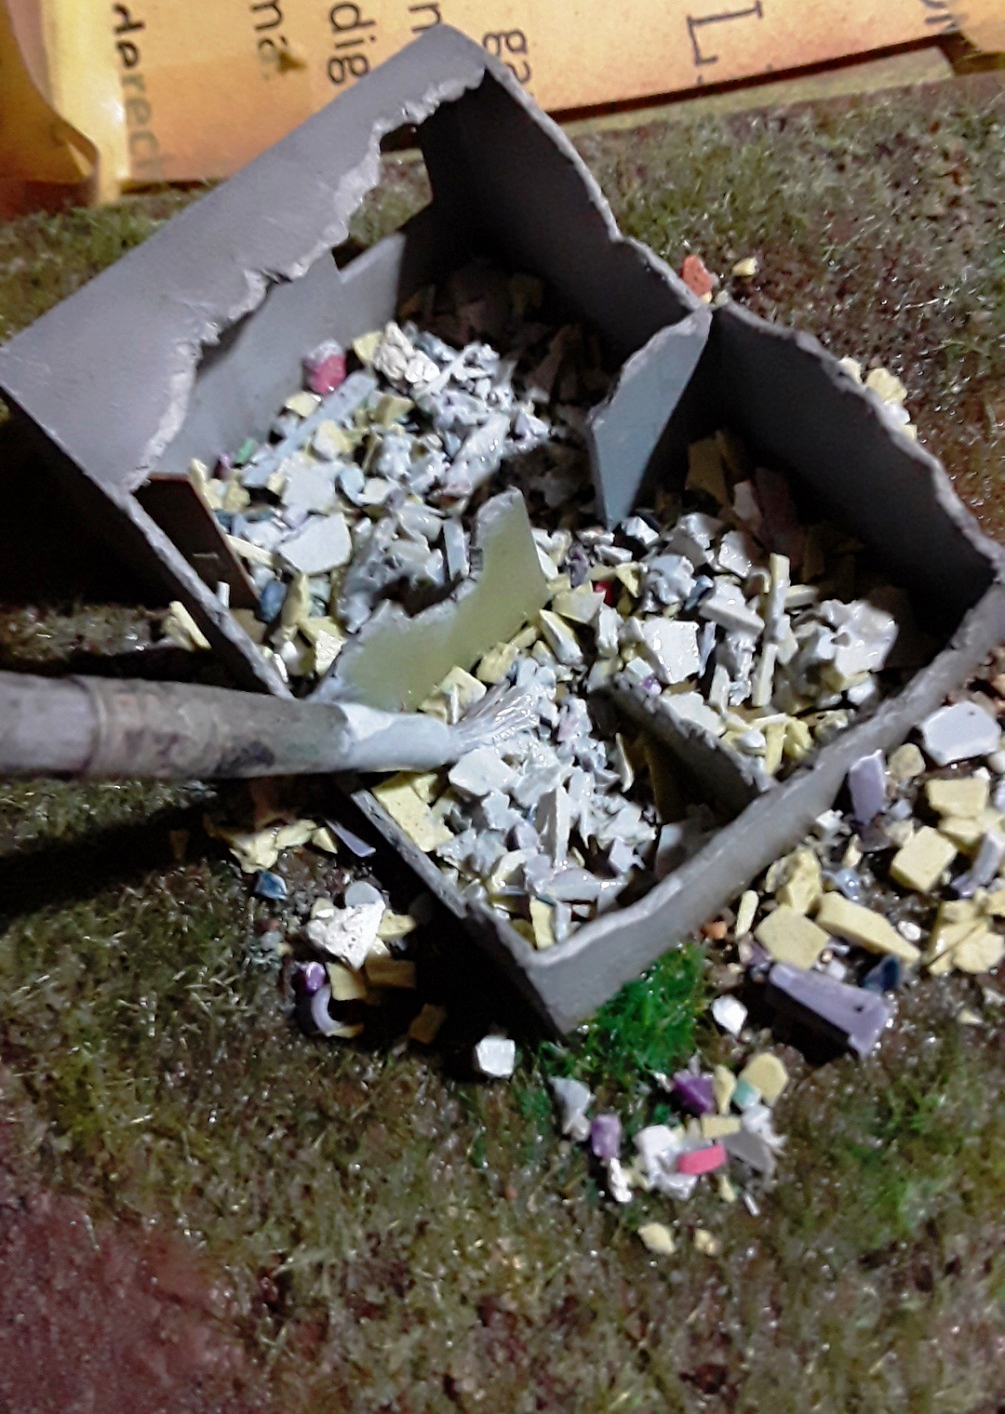
I then applied a light coat of gray wash to bring the colors together, as well as highlight the nooks and crannies. It basically works like the wash we painted over the Galbaldy; providing color variation, weathering and lining in the recessed areas.
I also did some drybrushing on the road with 4-6 shades of brown. I didn’t want it to look too dry, so all the browns I used were similar to the base color.
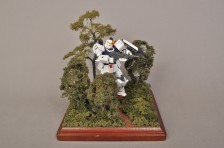
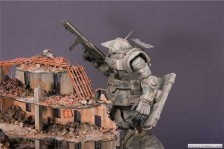
Final product
After all these steps, we’ve concluded the terrain work!
This was a longer post, so I hope you found it interesting and helpful. I wanted to describe the different procedures thoroughly, since diorama building is one of my favorite parts of the hobby, and as such I felt I could share these tips by explaining everything in detail. I will be teaching you more diorama techniques in the future; but before that, there is one more update coming, in which we will wrap up the Galbaldy Beta series. Look forward to that!