Hey you awesome model-making people!
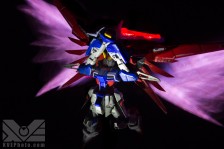
AllDaLazurs aka Adam K here again. Thanks for checking out my third post! In this post, I am going to show you how to make beam gun laser effects like in this photo:
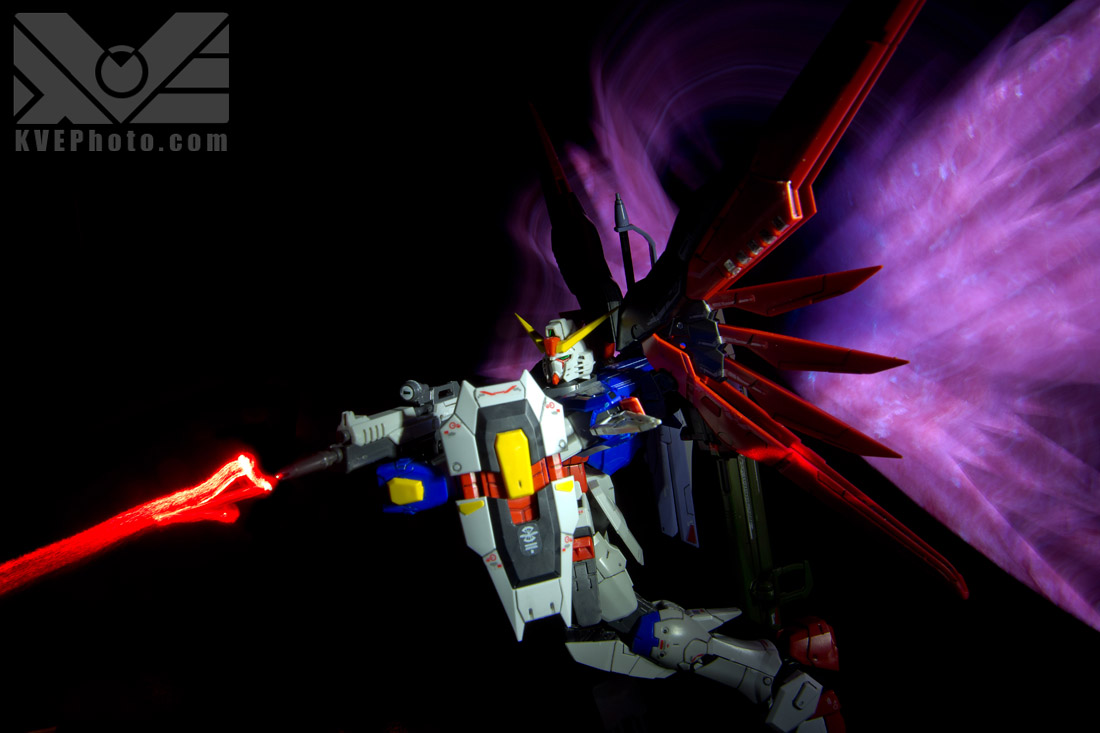
This is maybe the easiest effect to try (I explained the wing effect in Part 2).
For this effect, you will need a laser pointer (or other small light in the color you wish), and a white flashlight to light up your model.
To make the effect, point the laser towards the camera (but not right at/into the lens) and move the laser pointer away from the gun but with the light still pointed towards the camera. Finally, to light up the Gundam itself, I used a white LED flashlight and very briefly lit up the model after doing the laser effect. And that’s how it works. But before you try it, you have to set up your shot.
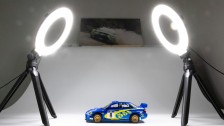
First, you will need a dark room (the darker, the better. I am talking as close to pitch black as you can get). Next, set up your model. I find these effects work best on a black back drop, so cover the model’s back drop in something black (I used a sweater I found lying around). Next, get your camera on your tripod and focus on your model (to make sure the focus doesn’t move, take focus off of automatic and place it on manual). Finally, get your laser pointer in your hand, put your flashlight somewhere close by, and press the shutter button. Now you are ready to make laser effects.
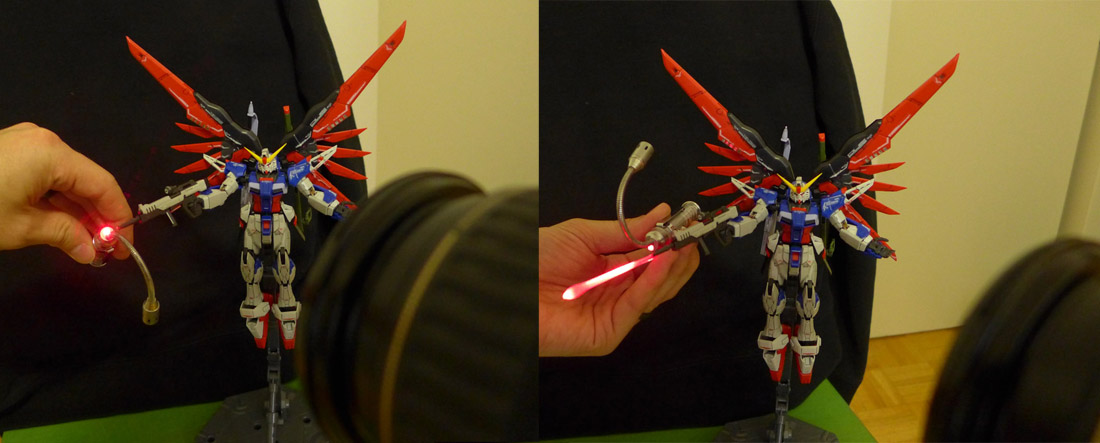
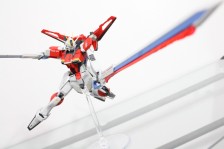
This is what you want to do with your laser pointer (see left photo, and remember, you should have all other lights in the room off when you are doing this). Make sure the laser is not pointed right into your camera’s lens, but towards the camera as you move the light away from the beam gun.
It can often be really hard to get a nice, straight line with just the laser pointer, so another way to accomplish this effect is to use a beam effect part and light it up with the laser (see right).
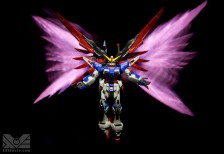
Getting the laser effect at just the right angle can be difficult, and often takes me up to a dozen tries to get right. Sometimes cutting and moving the laser effect into position in photoshop is the best you can do. But with some practice, the results can be pretty cool. By playing around with the size and color of the lights you use, you can even get effects like this:
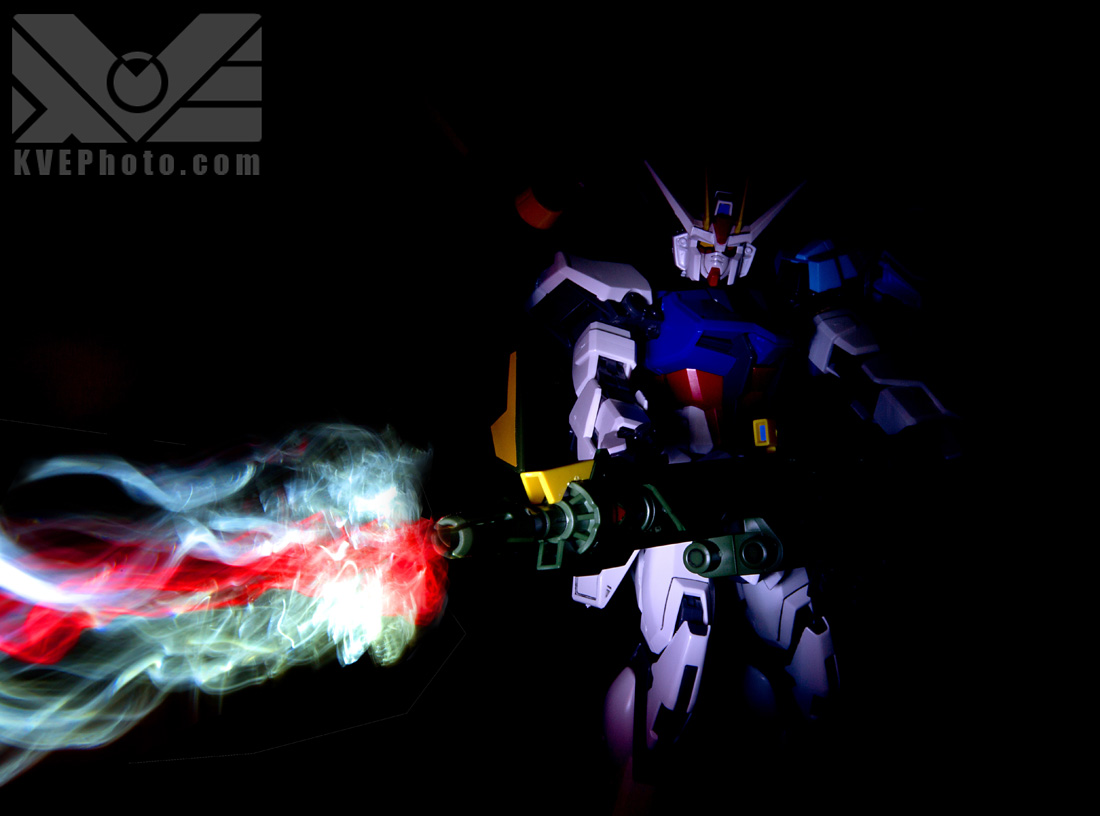
The rest is up to your imagination! Thanks for checking out my post. I’m anxious to see what other mecha enthusiasts can do with these effects, so try them out and post your results!
This is Adam K, or AllDaLazurs. Watch out for the last post from me explaining how to create sword effects!