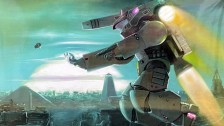
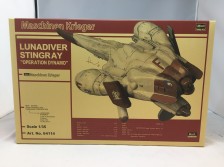
Maschinen Krieger kits have always been a favorite of mine so i was very excited when the people at Hobbylink Japan sent over a few kits for me to work on. The first of these is the 1/20 scale Fliege Panzer Kampf Anzug Weltraum Ausf F. You can find this kit at HobbyLink Japan here.
One of the things i have always loved about building Ma.K kits is that y don’t always have to been as clean and immaculate as you often do with Gundam kits. These models benefit greatly from a lot of customization, weathering, and grunge. Also unlike Gundam kits these require glue as they do not snap together which can require extra steps in finishing. With most Ma.K kits the necessary parts to fully complete the kit will be included but I and most people I know build these kits an entirely different way which is what I will be showing you. The inner framework present in the kit if you were to build it as is will get the job done and it even comes with some rubber sleeves to act as covers for the joints but this won’t give you as realistic of an effect as you could achieve with a little customization.
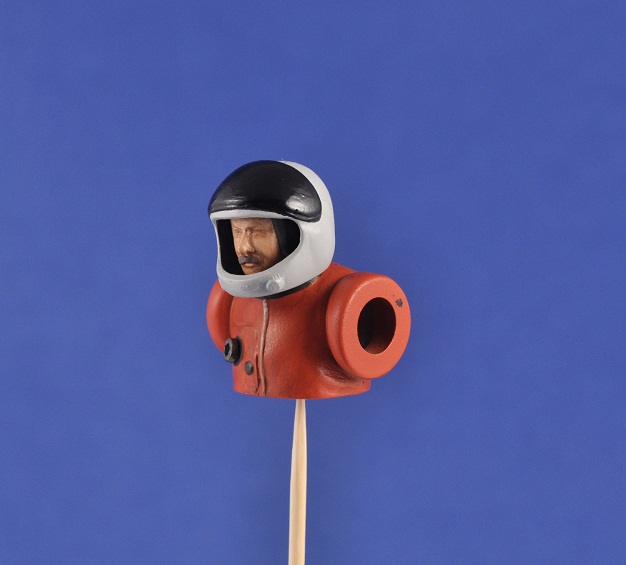
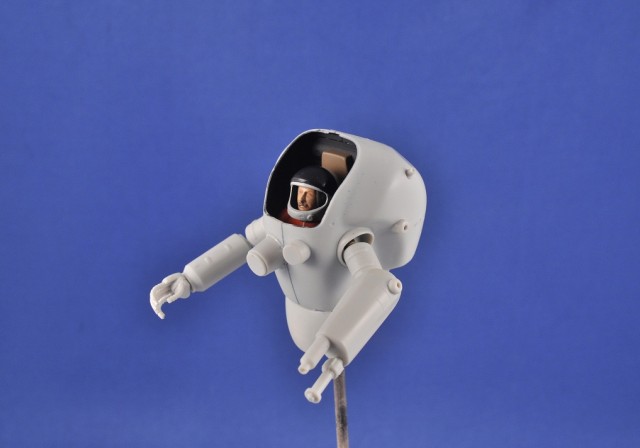
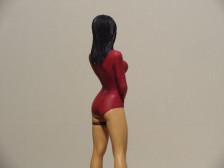
First lets start off with the figure. A central point for most Ma.K kits is the 1/20 scale pilot figure. This kit in particular comes with the option to have the full bodied pilot figure to stand beside the finished kit or to use the upper torso inside the cockpit of the kit. I have of course gone with the option to view my pilots head through the finished kit so i assembled the upper torso only and painted as usual, of course my figure painting isn’t exactly impeccable. The amount of the figure you see consists of 8 pieces total from the runners so you really have to be mindful of seam lines. I used a combination of gap filling glue and Mr. Thinned Putty for the seam lines. For painting my pilot I have used the old orange astronaut flight suits as inspiration.
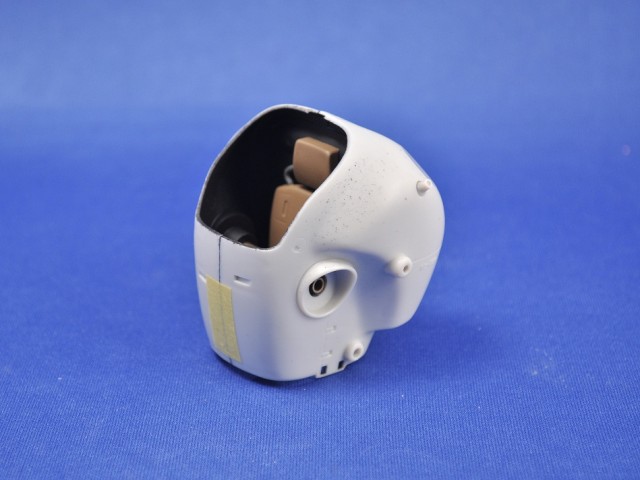
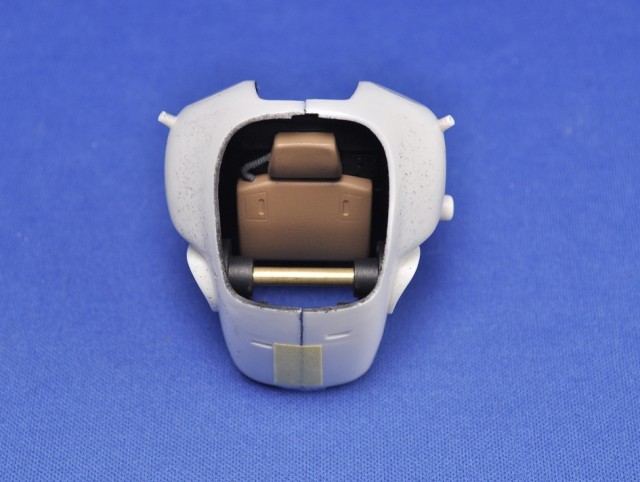
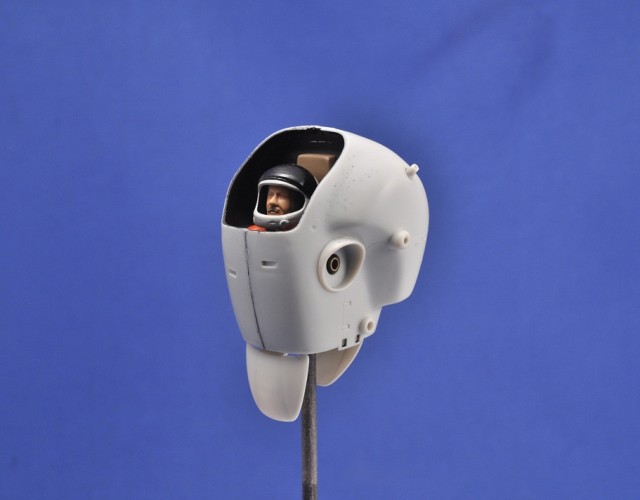
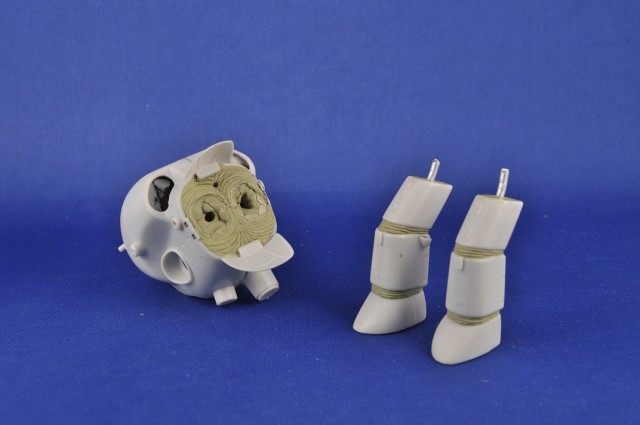
Now for the cockpit. My methodology for painting this kit is to paint all of the inside components such as the pilot and the inside of the cockpit first and then seal them off during later stages of painting. I have painted the inside of the cockpit black so it isn’t as visible through the window of the cockpit later and painted the seat a leathery brown. Most of this will be hidden by the figure and not much of the figure will be visible through the window at all. Still the more detail you have the better. Also, this is where i start my customization. Instead of the normal method of attaching the arms i have placed a brass tube through the holes in each arm which passes all the way through the cockpit and also through the shoulders of the pilot. This will be the new way of attaching the arms and other components as you will see later. At this stage still watch the seam lines, although you can chose to leave or fill many of the lines in this kit depending how much detail you want or the effect you are going for. I am filling most of my seam lines for a more streamline feel.
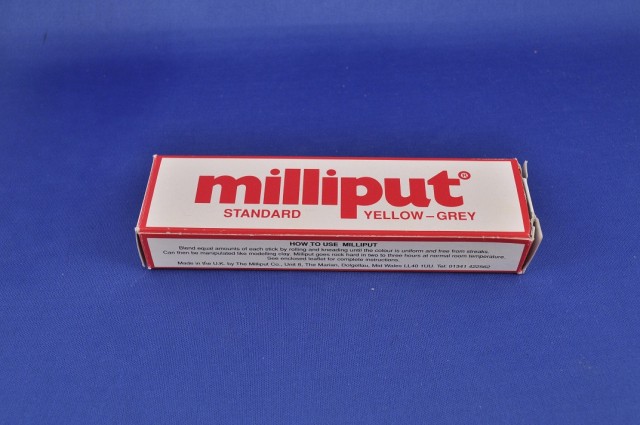
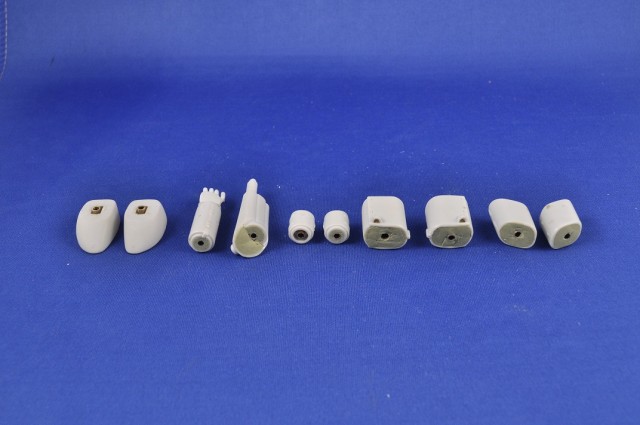
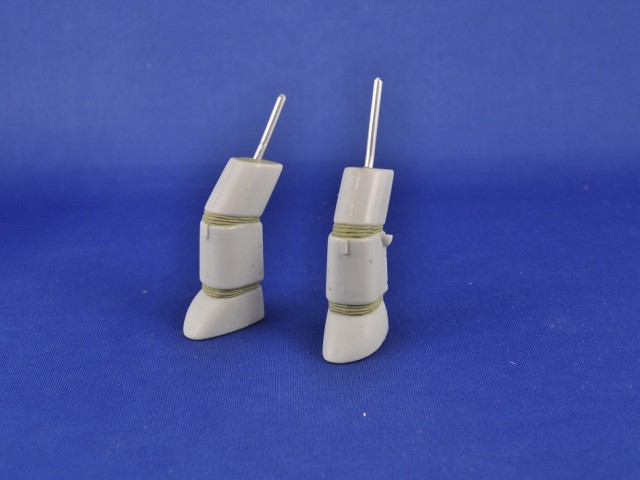
Now the limbs are where a lot of the customization takes place. Normally there is an internal framework present in the kit but i will not be using it. Instead i have used a hobby knife to remove any of the attachments from inside the limbs and made them hollow. I then filled them with a two part epoxy, I use Milliput but any two part epoxy putty will do. Inside the epoxy i have placed more of the brass rod that I used earlier directly in the center of each limb. Bellow you can see the finished result for each piece including both biceps, forearms, thighs, shins, and feet.
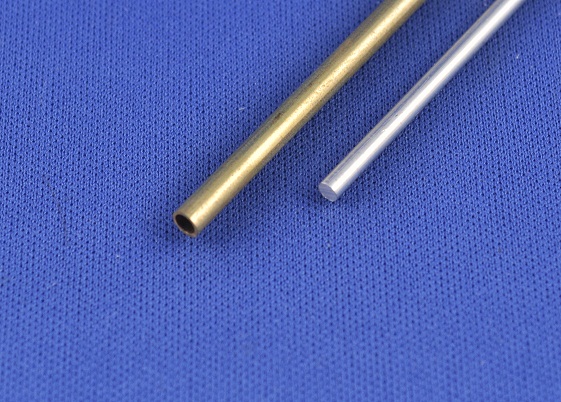
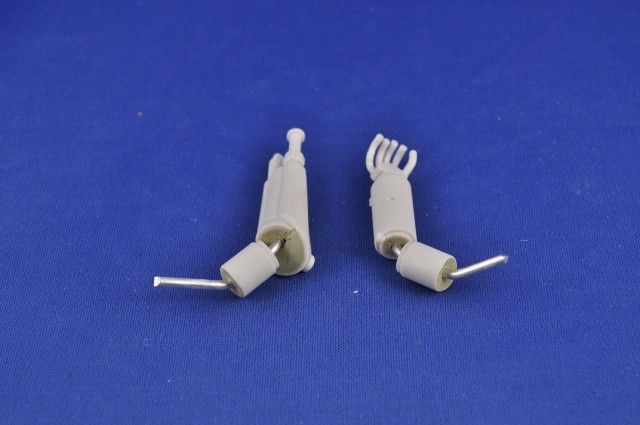
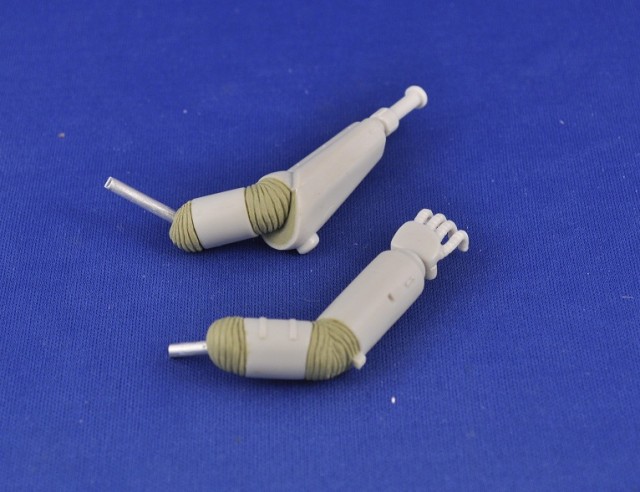
Once that has hardened the smaller silver aluminum rod is used to slide through the brass tubing on the biceps, thighs, and shins and connect to the other peices which you can see in the example with the arms bellow. This allows for far greater possibility and will be covered up by the next step.
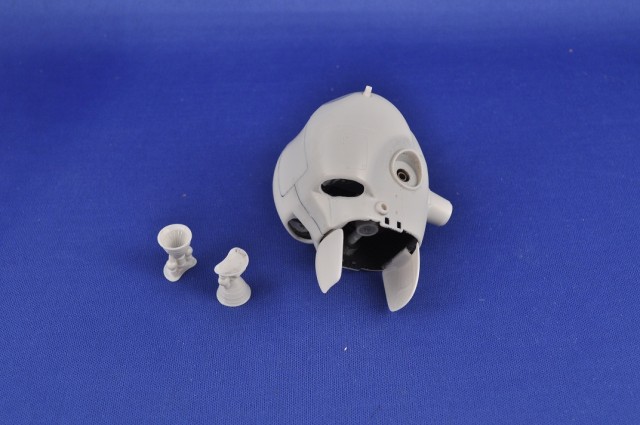
Once the desired pose for each limb is achieved we can begin the next step. Included with the kit are these tiny rubber joint covers which are meant to slide over the existing joint system of the kit.
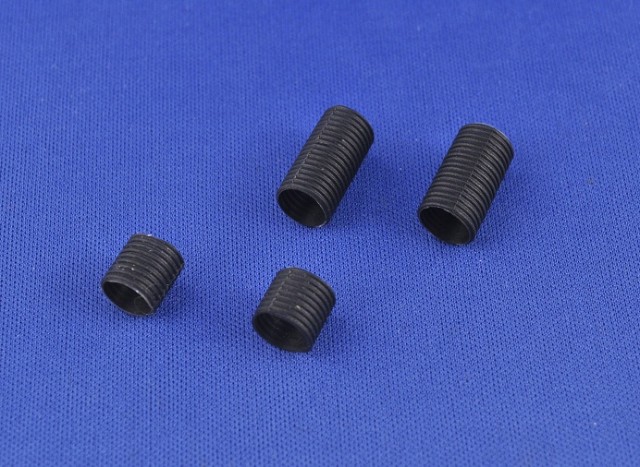
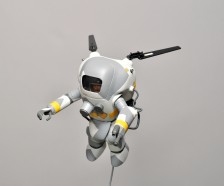
These rubber sleeves don’t look very flattering and will no longer work with the custom joints so instead I use the same two part epoxy to sculpt more convincing joint covers using a metal scribe (toothpicks also work). I have also used the same method for the underside of the kit sealing off the bottom for the legs to attach. The hose-like joints are a key element of Ma.K kits and are almost always custom made the way I show you here, this gives a much more convincing and realistic result. The down side of course is that the limbs will no longer be movable but Ma.K kits aren’t generally meant to be moved once completed. The results at this stage can be seen bellow.
The exposed aluminum rod will allow the arms and legs to attach to the torso as well but for painting reasons i am keeping them separate for now. You can see the test fit bellow.
The last detail added at this stage are ports hollowed out in the back of the torso for the thrusters to sit in. Since the back of the torso is normally solid the thrusters would have to sit on top which looks awkward and out of place. This will give the thrusters a place to sit and protrude out of the back of the kit. This and all of the cutting of the rods and tubes was done with a dremel rotary tool.
The next stage will include the painting and weathering of the kit and the addition of any extra details. Thank you and keep an eye out!


Steve
WOW nice looking !!! MAK is just a great subject
L'Espace pdf
I’m not that much of a online reader to be honest but your
sites really nice, keep it up! I’ll go ahead and bookmark your site to come back later on.
Cheers