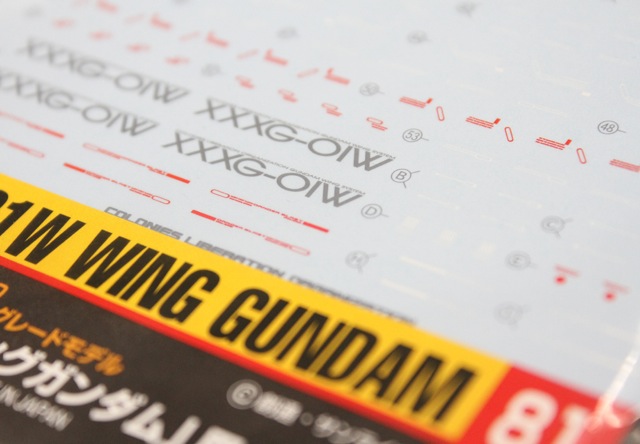
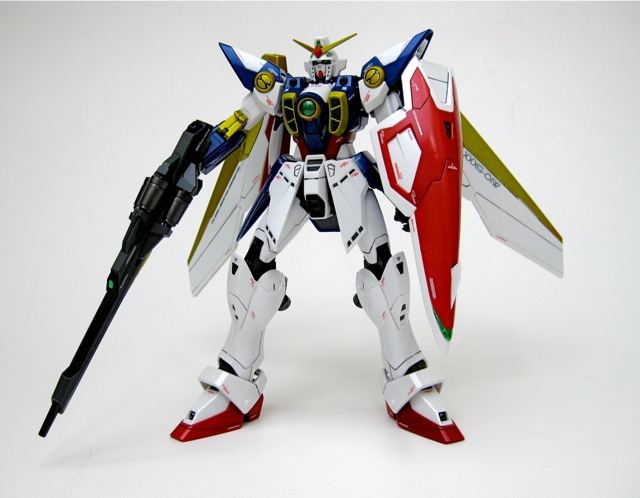
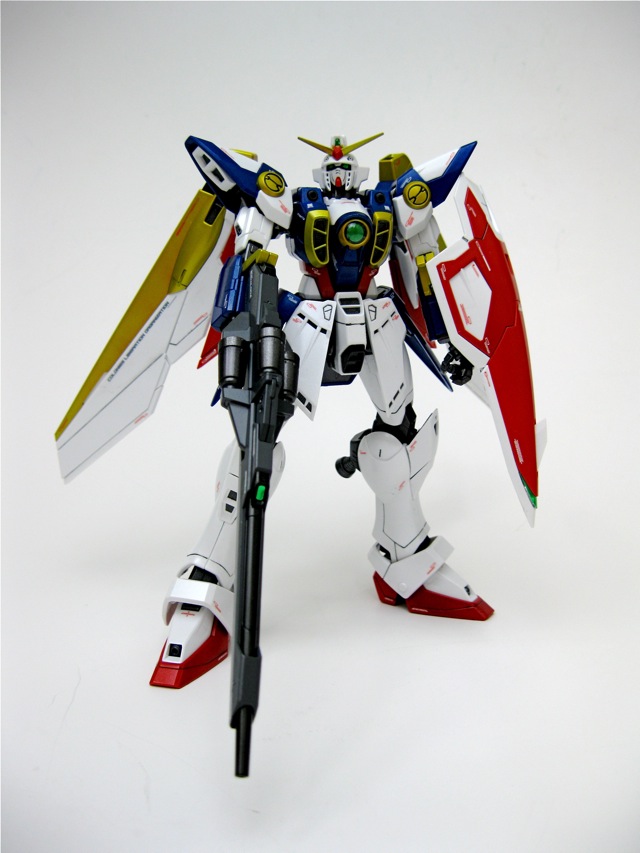
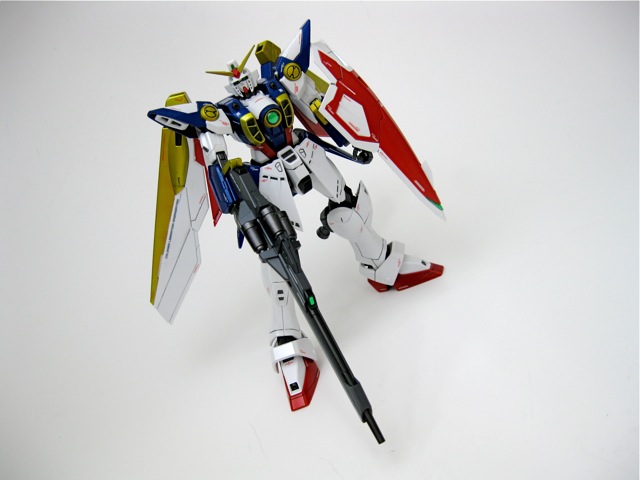
This is the last entry in the MG Wing Gundam build. My, how the fun things in life seem to pass quickly. For myself, decals are the most enjoyable part of a build and the Wing was no exception. All I needed for this endeavor was a set of the MG Wing Gundam water-slide decals and my trusty Mark Softer. for a more detailed look at how I apply water-slide decals you can check out Gunpla TV episode 10.
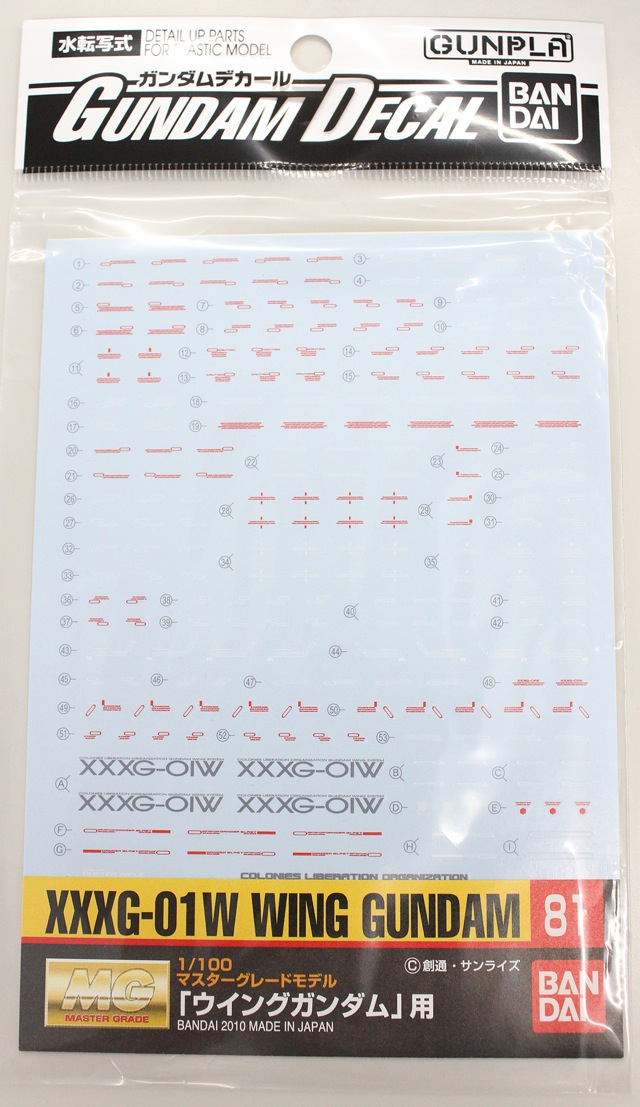
Bandai’s series of Gundam Decals never disappoints. One of the great things about them is that the decal sheets are always the same dimensions and Bandai loads those sheets up. Rather than just give you enough decals to do the kit they fill what would have been empty space on the decal sheet with more decals. What this means is that you are free to make mistakes because, in most instances, you have spare decals at the ready.
There are two ways to go about applying decals to your kit (or maybe more?). You can apply decals to individual pieces and then assemble the model once they are dry, or you can assemble sections of the model, apply decals on those sections, then complete the final assembly afterwards. I opted to go with the latter method. All in all, I think the decals on the MG Wing took me about two hours.
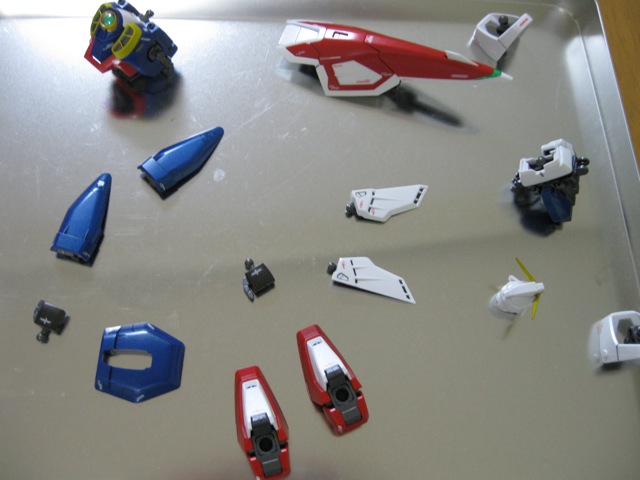
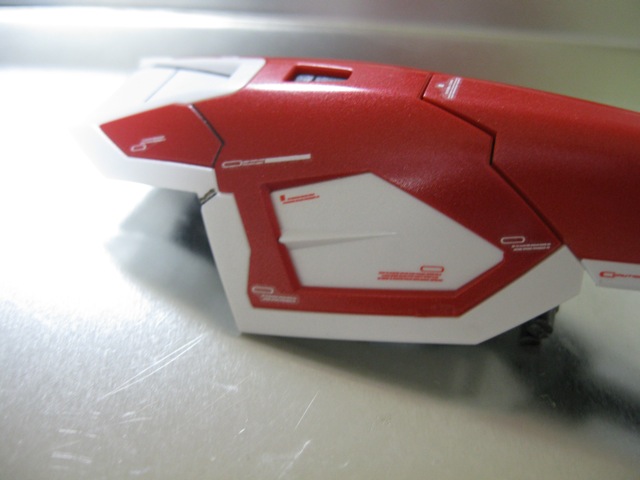
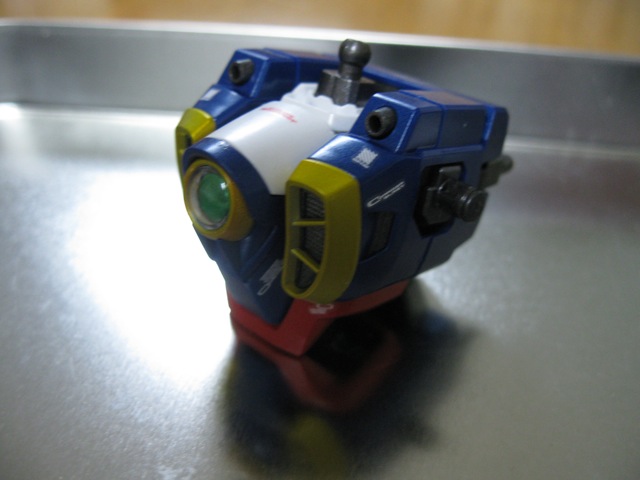
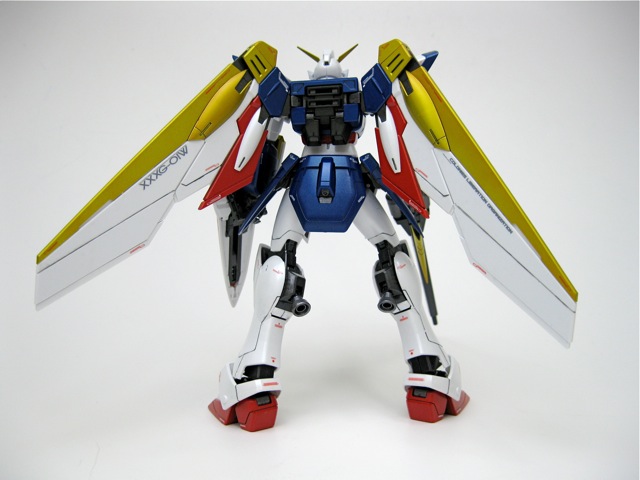
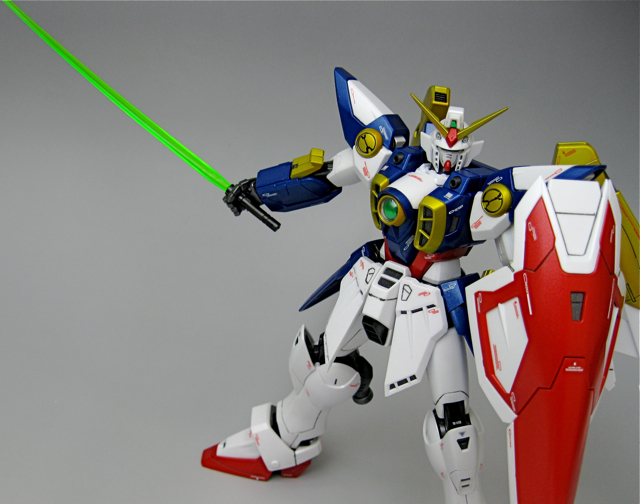
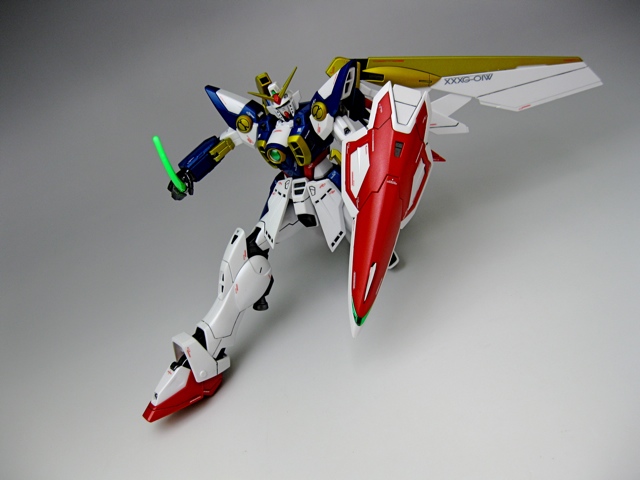
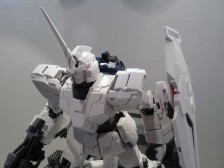
I did paint this kit, but stuck with the original color scheme as I felt it really works well with this Mobile Suits design. I think Gundam has proved that red, blue, yellow and white all go well together. I did change the color of the yellow by painting silver with a coat of clear overtop and this is why it looks more like a gold.
I really enjoyed putting this kit together. Bandai continues to reinvent the mecha model kit and the MG Wing Gundam, with its transformation method made possible by an excellently designed inner frame, held my interest for the entirety of the build. I would highly recommend this kit to fans of the Wing Gundam anime and, of course, Gundam kits in general. Having built this kit I am very excited for the MG Deathscythe that’s scheduled to arrive this month. Now, onto the pictures!


Mack
Looks great! I think Gundam Wing kits look best with gold instead of yellow, because as a child, most of the MSIA figures I had from Gundam Wing had gold accents instead of yellow, so they color grew on me over the years. So will you be building the deathscythe next?
Aaron
This has been a great series of posts, but this one in particular makes me want a Gunpla TV episode on painting even more. It looks like you did a lot of paint work on pieces that had already been assembled, but the painting looks like it was done pre-assembly. So confused, and so in need of help when it comes to doing a quality paint job.
Carlos
This looks awesome, great work with the painting and the pictures, once again your work is perfect. I was interested in getting this one for a while and now i’ll definitely get it. Looking foward to see the review of the Deathscythe, and i think it would be great if you made a review of the Wing Zero Custon
Syd
Thanks for the comments guys! I definitely will be building the Deathscythe as it sports the same type of frame as this MG Wing. Can’t wait!
Aaron,
This series of entries was written as I was building the Wing. Once it was complete I took it apart and painted, coated, and applied the decals before putting it all back together again. Gunpla TV #12 has just gone up and in it we cover, yup, painting. The video will show the method I follow when painting my kits the way I painted this one.
RTD101
Very nice job! Did you use a flat lacquer coating after you did the painting?
Perry
Great Job! I was wondering what color blue did you use? Also how did you get that gold effect? You said you painted it silver then a coat of clear, did you use clear color to achieve that look?