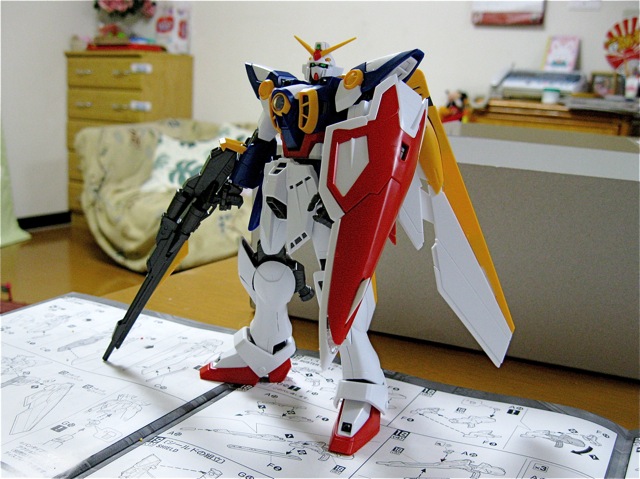
On to part 4 of our MG Wing Gundam build! Today we’re going to be looking at the Wings, Weapons, and show a shot of this kit’s ‘Bird Mode’.
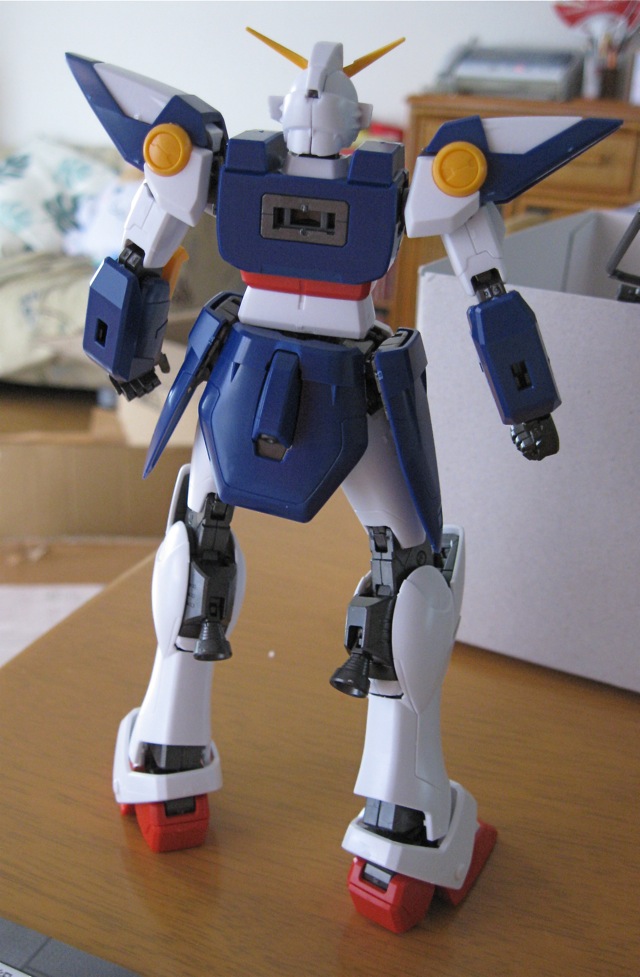
When last we saw the MG Wing Gundam, it looked like this:
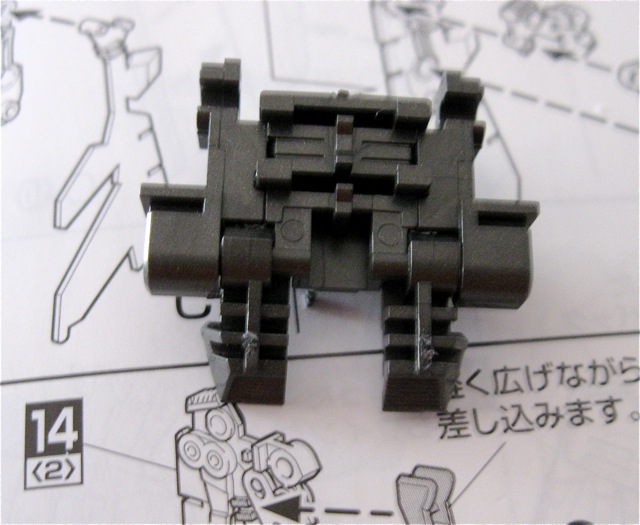
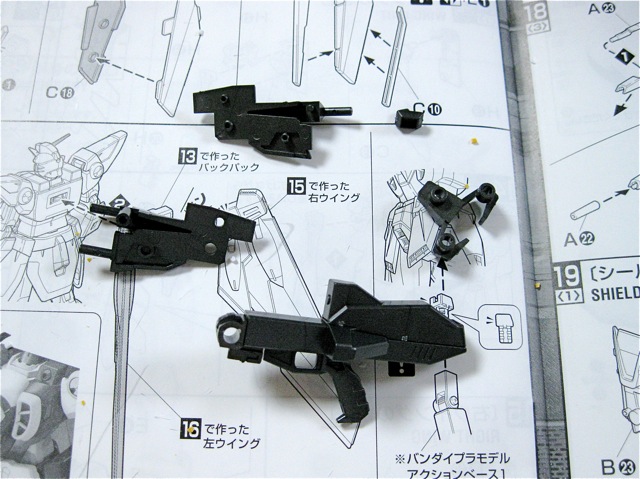
This boy sure needs wings. For that we start on the backpack, which is the simplest part of the build. Only a few pieces are required for the frame over top of which you put three armor pieces.
Now here is where the wing fun begins. You start with one basic piece onto which you will be placing more and more frame parts. Sounds simple enough, however, there are some tricky alignment issues and one really needs to be careful when putting the pieces into position. If the alignment is off somewhere the wings may not unfold and/or refold properly.
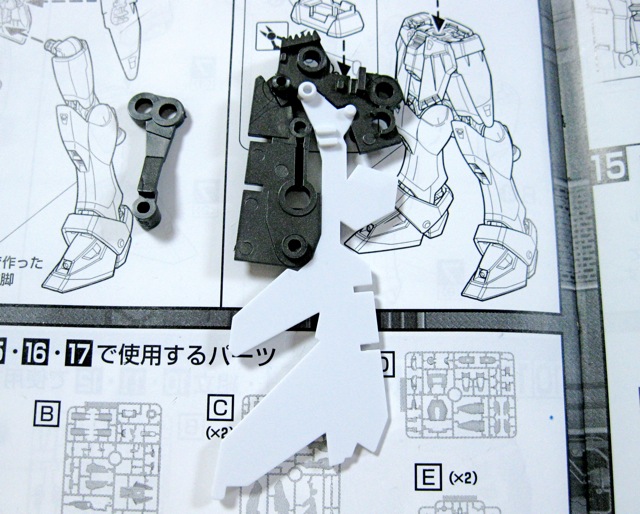
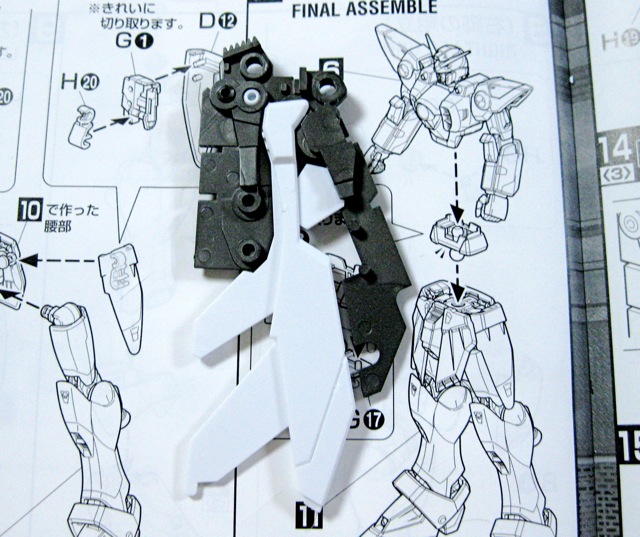
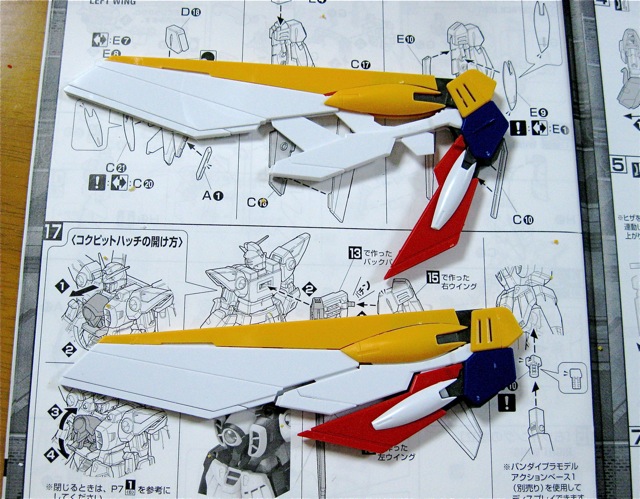
You will end up with a wing that looks like this. From here you will be adding the armor and then eventually differentiating the right wing from the left.
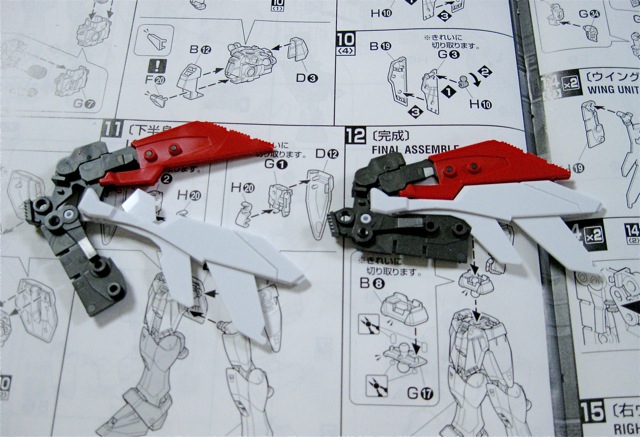
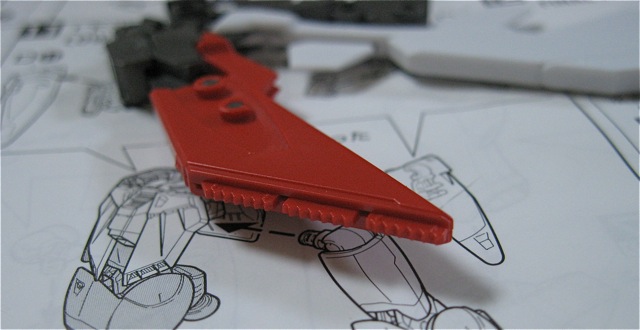
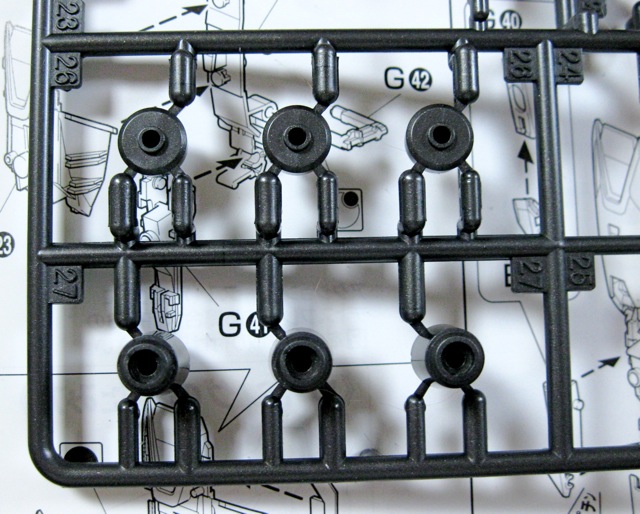
Enter the largest pieces in the build and all those yellow parts!
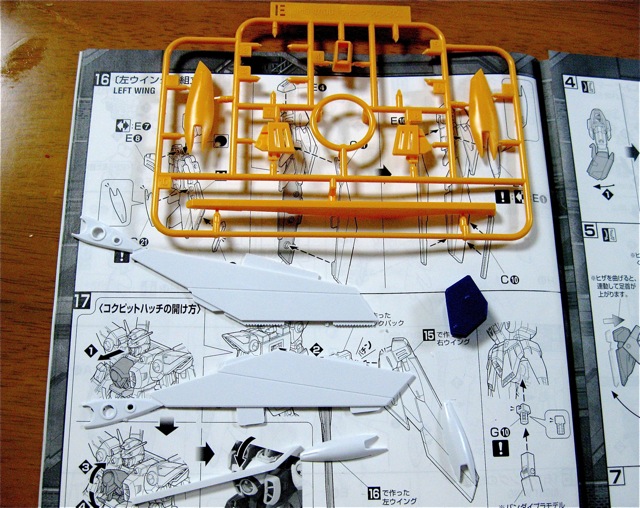
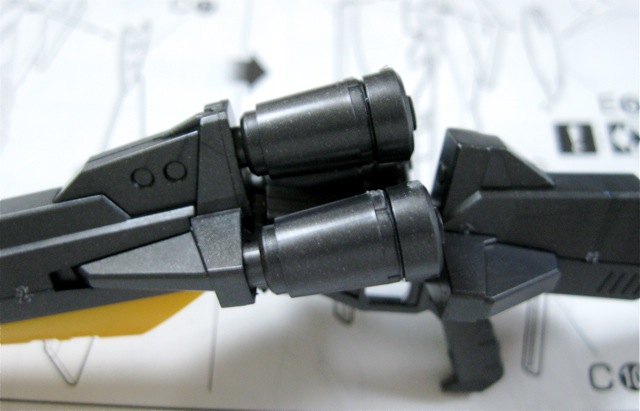
Again these armor pieces show the excellent design of this kit with the raised vents allowing for easy painting/coloring. I can really appreciate this.

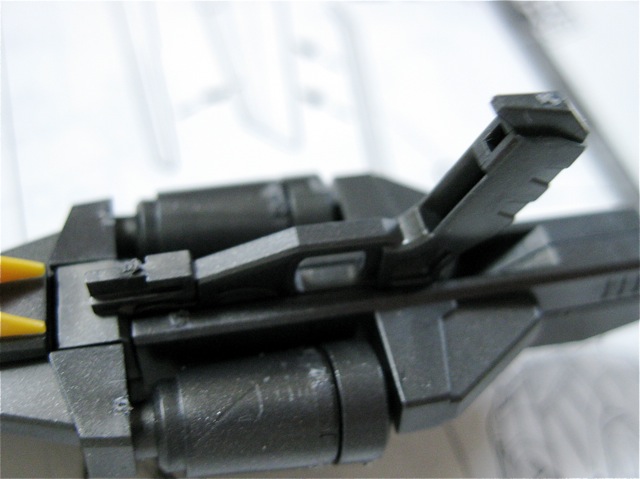
This part of the build is the most time consuming but the result is sure worth it. The wings show a good range of motion when unfolding. Be careful when refolding though. If something isn’t lined up right there will be quite a bit of resistance.
Connect those to the backpack.
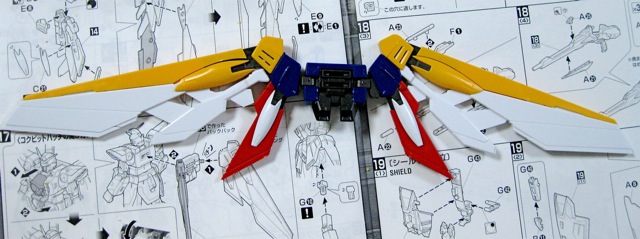
And slap them on Wing’s back.
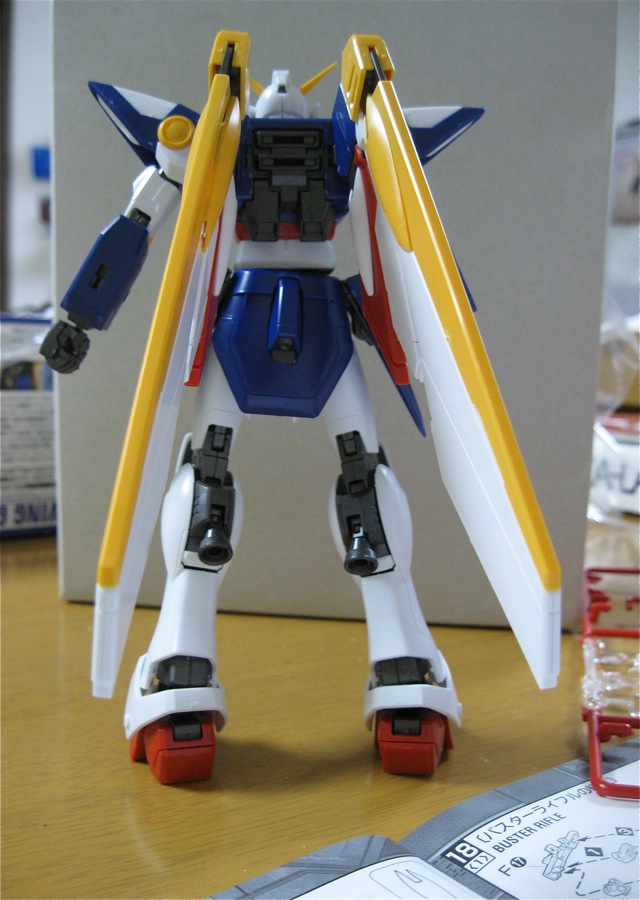
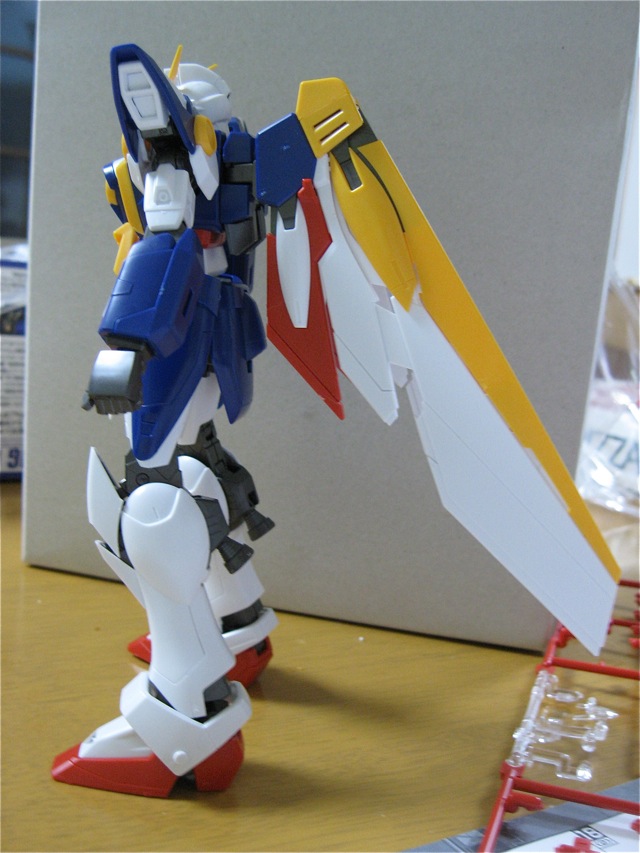
The wing proportions are fantastic and their weight isn’t an issue as the sturdy frame of the Wing Gundam supports them without a problem. There is a lot of movement in the wings and this kit’s posing possibilities are plentiful.
The rifle is really straight forward. Three pieces to build the stock and then several more to complete it.

And then we grab these pieces:
and make these:
It’s worth noting that these pieces are part of the A-runner and differ slightly in color from the pieces used to build the gun (although it’s difficult to see in this photo).
The rifle is long and sleek which means, however, that there is some weight to it. How do we get the Wing Gundam to hold the rifle? Well, first of all, Bandai has done a great job with the design of the rifle and hands.
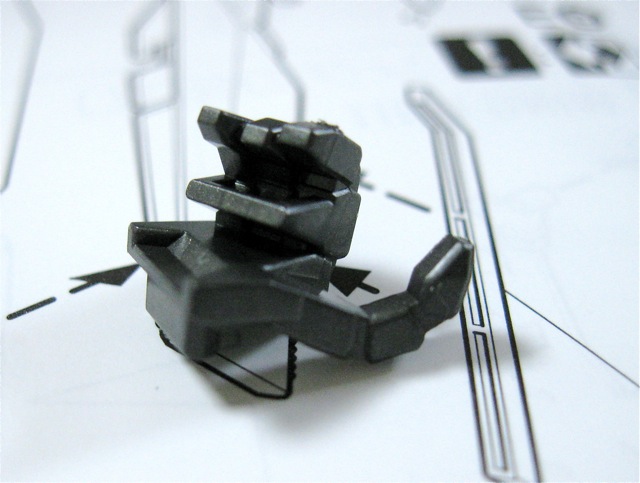
Here’s the rifle handgrip. You can see the hollow section Bandai left in.
Now here is one of the six hands Bandai provided with this kit. There are different hands for the right and left so that the rifle can be held in either hand. You can see the ridge of plastic that is part of the design. It fits perfectly into the hollow giving a firm grip on the weapon.
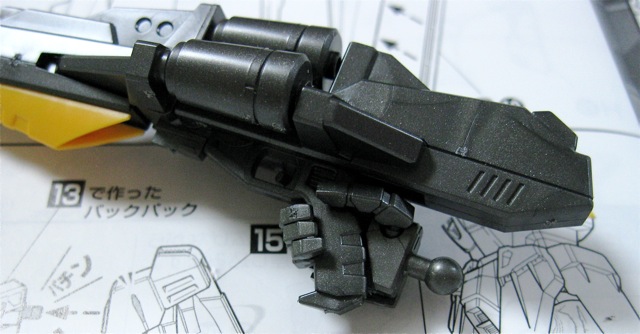
Use the claw that is part of the Wing’s arm and the Wing easily wields this hefty thing!
Looking good!
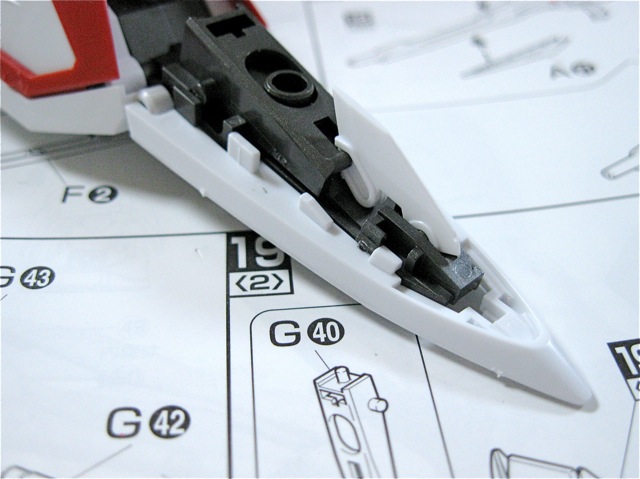
The shield, just like the rifle, is very straightforward, although some pieces will require a little extra effort to push into place. Fortunately the pieces are big enough to withstand the pressure you will be applying.
Start with these pieces.
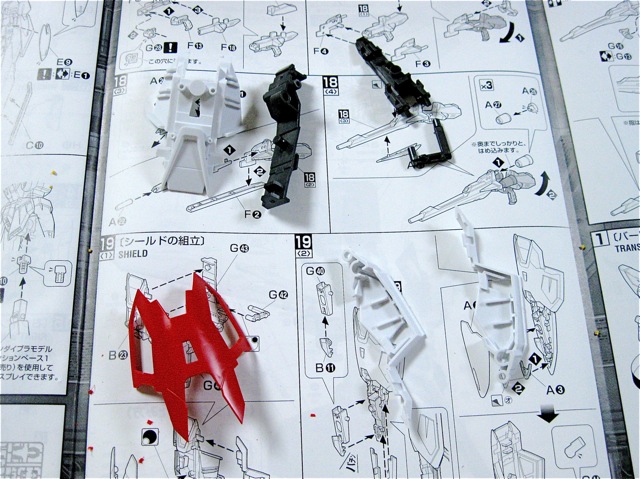
Put them together and then grab a few more.
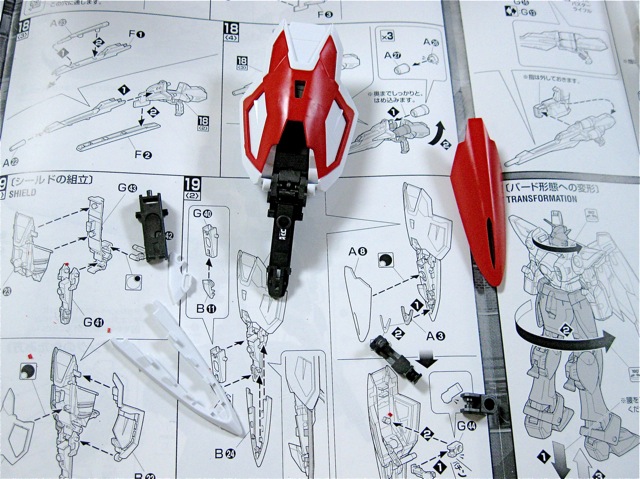
There is a small piece which moves when the shield opens which you will have to snap into place and another that rests in place and then secured when the last armor piece is attached.
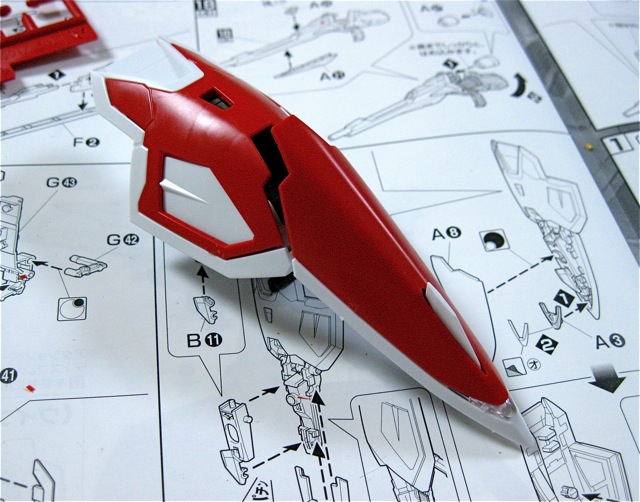
With the last piece of armor attached your shield is ready. You can also store the beam saber handle inside the shield!
Speaking of Beam Sabers…
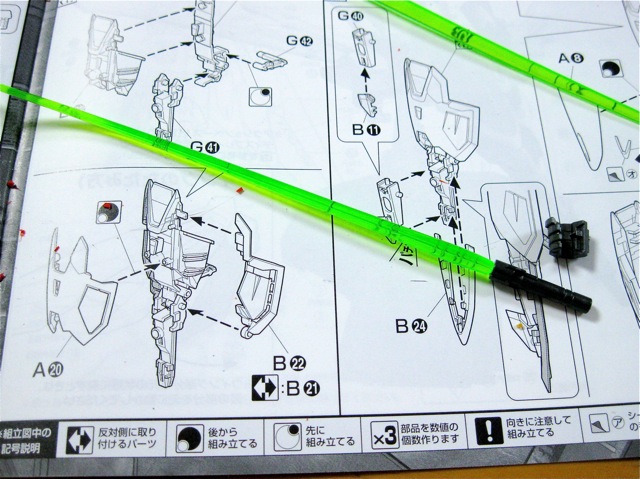
The green is an eye-catching color and the hands work the same way as those designed to hold the rifle.
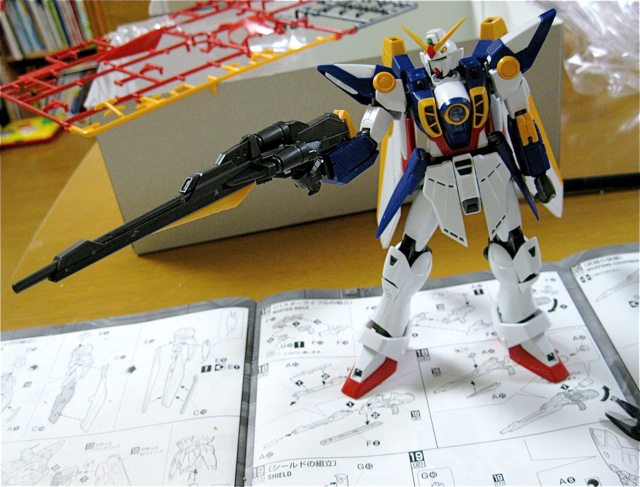
So here’s the Wing with his accessories.
and here’s the cool ‘Bird Mode’.

The transformation takes a few steps but isn’t too difficult although some pieces under the armpit don’t line up easily. Luckily that doesn’t affect the ability to transform. I’m not one to transform my kits back and forth because each time you transform it runs the risk of scraping off decals so this is the only time I’ll have it in Bird Mode.
All that’s left to do is splash some color on it and apply the decals. When next we see the Wing Gundam he’ll be ready to take off!


kettle.
this looks like a fantastic kit in regards to the quality of the frame and such.
i slipped one into my order yesterday and already im psyched to build it 🙂
good job man.
LC
Looks cool 🙂 Great job! However, is painting required to make it look nicer? If yes, do you have any tips?
Syd
Hi LC. The pictures you see are of it unpainted. The great thing about Bandai’s Gundam kits is that if you are careful when it comes to removing the parts and gate marks the kit will look great without the need to paint it. Of course, just like other model kits and figures, you can improve the look of the finished kit by painting it. I think the biggest tip when it comes to painting is to take your time and don’t rush.
Tonzo
It’s a great looking kit. Great walkthrough as well. I think I like the shield design the most about this kit. It’s a great looking shield and it will look outstanding once it gets some decals.
Incidentally, the Ver.Ka Wing does not have the same seperation in the wings. It has to be modified to do that. Good on you Bandai. Also, the rifle as far as I can recall is called a Buster rifle. You can guess what it fires, right? 😉
Wei
I saw a post somewhere else that show how to build a gundam for busy people and he spray paint the runner with the pieces on then he cut them, but he has to paint it again becasue of the gate marks, is there a way to do it without repainting it with like gundam markers or paint?
Dankrypto
With all the Gundam out there this is the most I loved. It brings back good memories like I’ve got friends back there in the 90’s we are five actually and we all watched Gundam Episodes in our country, we imagined that we are Gundam Pilots and guess what I am the Heero Yuy and I thought they get jealous for I am the lead star but it end up that they also get what they wanted to be so it resulted into Gundam WAR hahaha so much fun yeah, I hope they will never forget Gundam Wing 🙂