Hi Gunpla fans!
AllDaLazurs here once again, aka Adam K. This is my final post on creating cool laser effects in photos to give an even more realistic dimension to your mecha modeling. Before this post I covered the materials and camera equipment you will need, and the light painting photography technique used to get these effects, so check that out if you haven’t. I have also explained how to make beam gun effects and Destiny wings in other posts.
But this time, it’s all about the swords!
 This effect is one of my favourites, and it’s not too complicated.
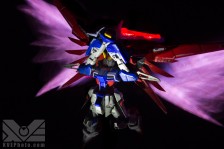
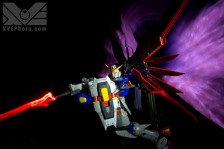
There are two ways I use to accomplish a beam sword effect. The easiest way is to simply shoot your laser pointer at the beam effect part, which will give the effect part a nice, red glow as seen in the Destiny photo below.
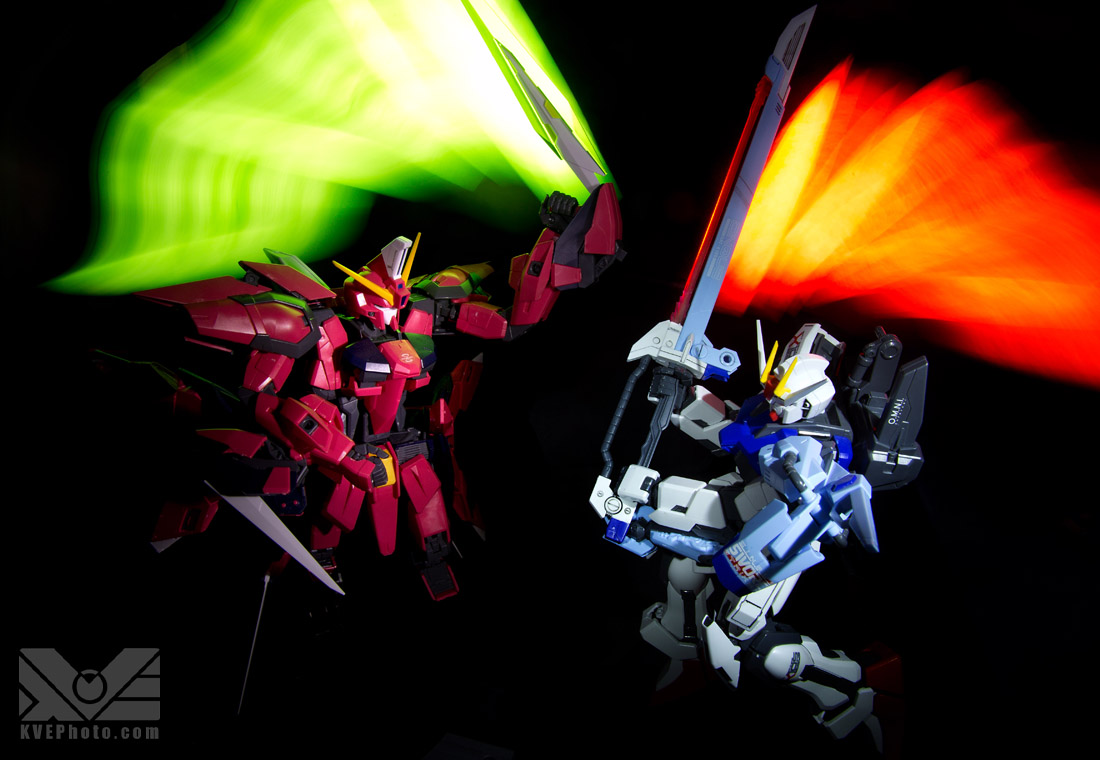
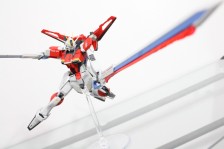
 The bigger, more dramatic effect in the Strike and Aegis Gundam photo is a bit more complicated but, in my opinion, looks way cooler!
To accomplish that larger effect, you will need the automotive work light, colored tissue paper, rubber bands, cardboard stencil, and white flashlight which are shown in my first post, Gundam photography real laser effects: Intro. Here are those materials:

On the top left is the automotive work light.
Once you’ve collected those, cover your automotive work light with whatever color of tissue paper you want. To get the right intensity or color, you might have to layer the tissue, or use different colors. Next, you want to make a cardboard stencil that is about as long as the beam on the model’s beam sword. The stencil can have a point at the end, both ends, or just be a thin rectangle. All of these will produce different effects. You can see mine in the materials photo above (it’s the cardboard stencil on the left). Once you have your cardboard stencil on top of the colored tissue, fix all of that to your automotive work light with some rubber bands.
Next, set up your model. Keep in mind that this effect looks good when it is showing how the model might have swung the sword, so consider this when positioning. Finally, set up your camera, focus on your model, turn off all the lights in the room and take the picture. Remember, your camera has to be set to take a 30 second photo.
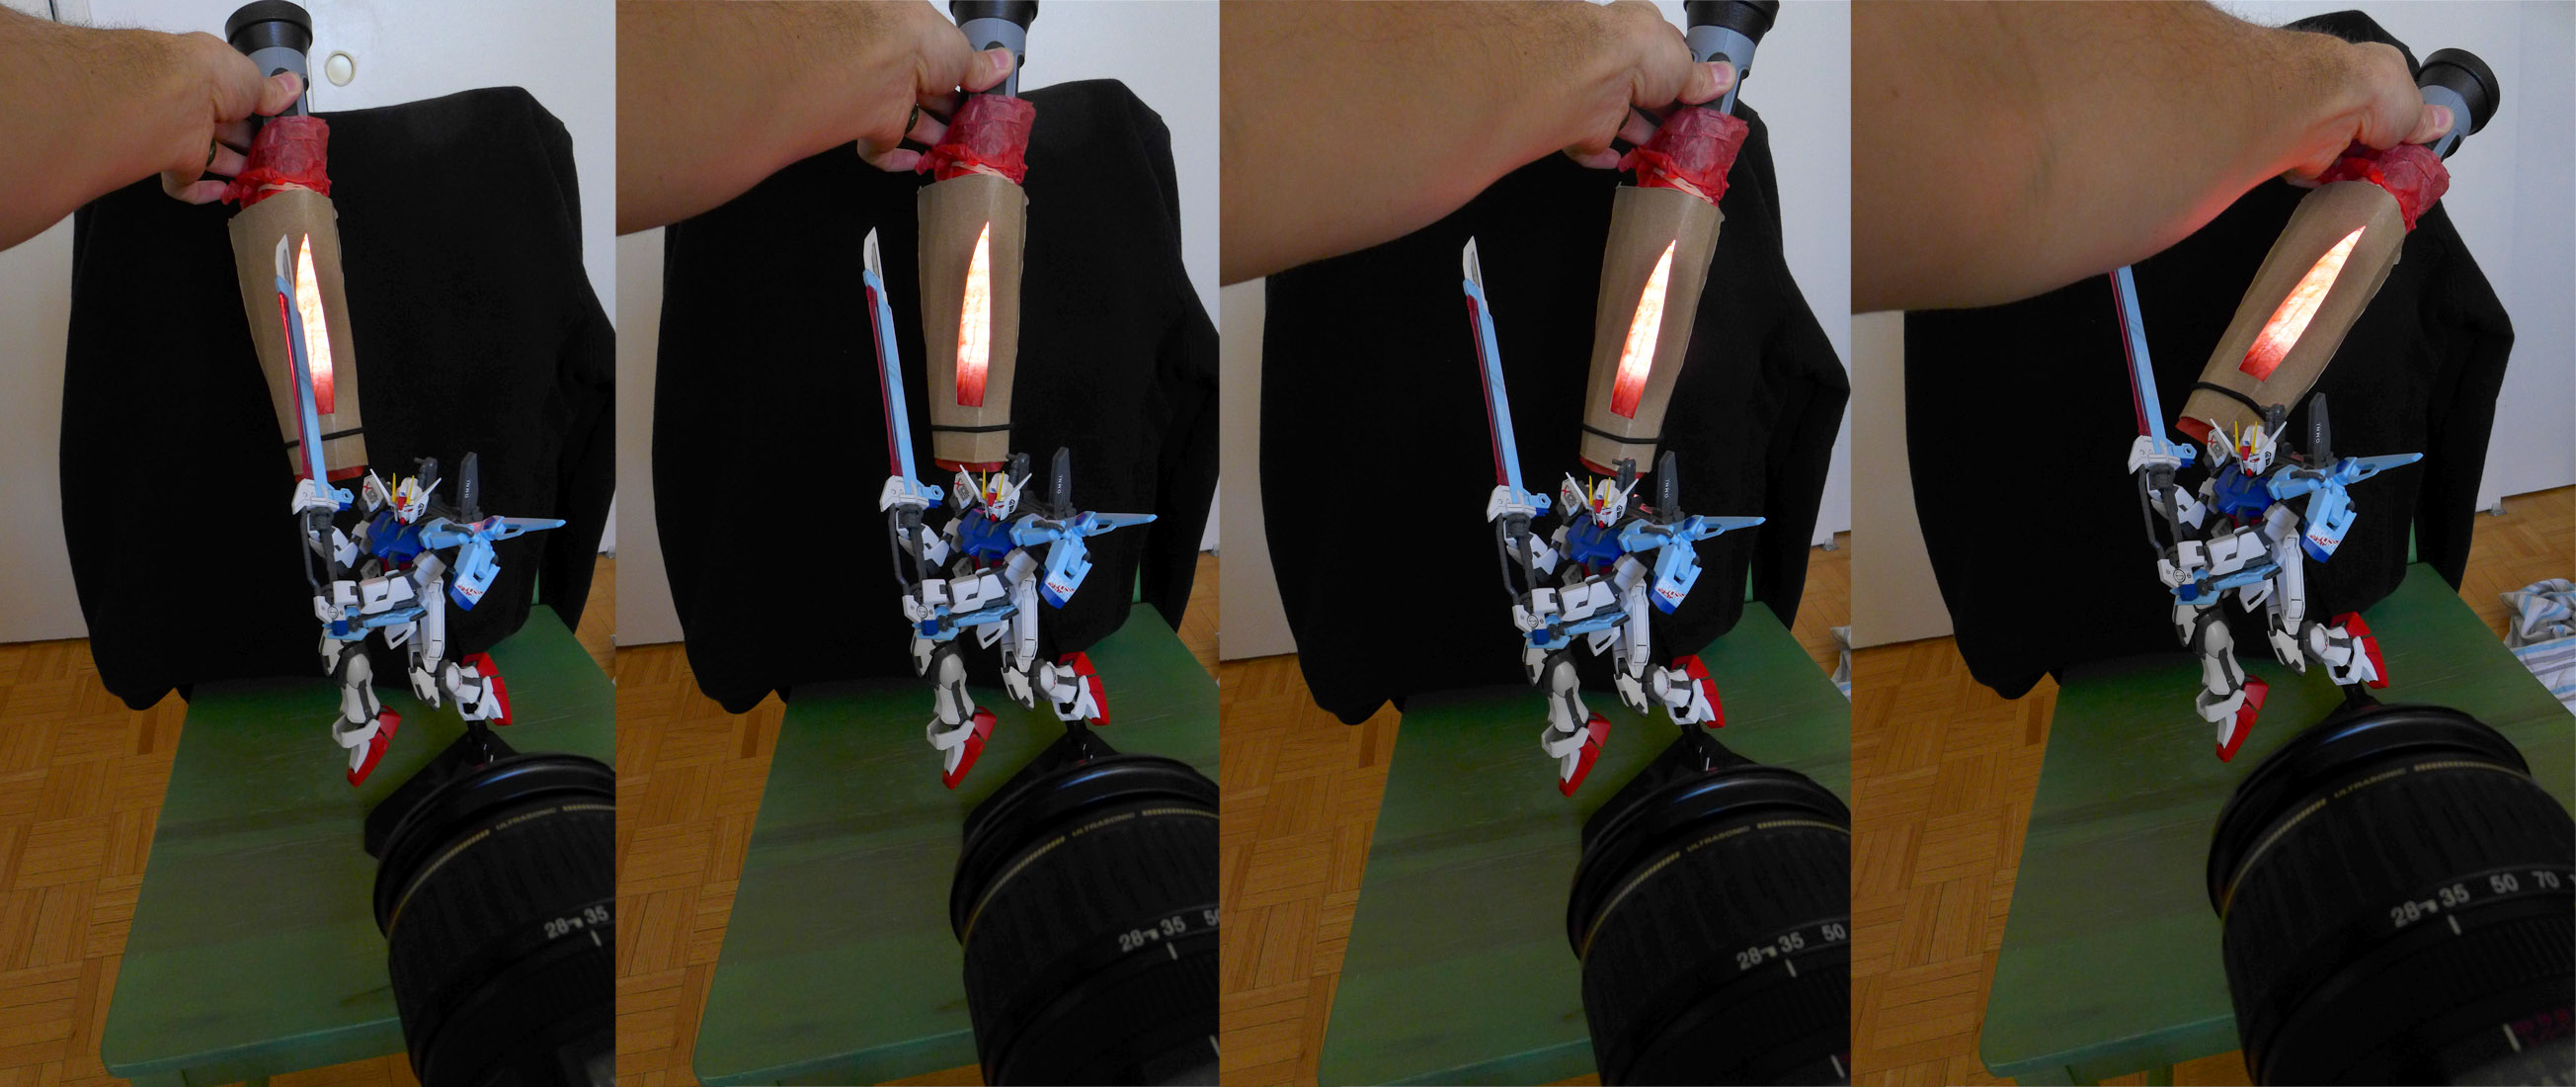 To get the effect right, point the light towards the camera, but hold the light behind your model. Move the light away from the sword, while still pointing it at the camera. The longer you leave the light in one place, the brighter that spot will be in the picture.
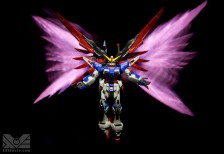
Once you think you’ve got the effect right, turn off the automotive work light, grab your white LED flashlight and quickly flash your model to light it up. With some practice, it will look something like the first photo I showed in this post. You can also combine this effect with the beam gun effect and get a shot like this:

Here I’ve done the beam sword effect with the automotive work light, and done a beam gun effect with the laser pointer, and finally finished it off with a quick flash of white light on both Gundams.
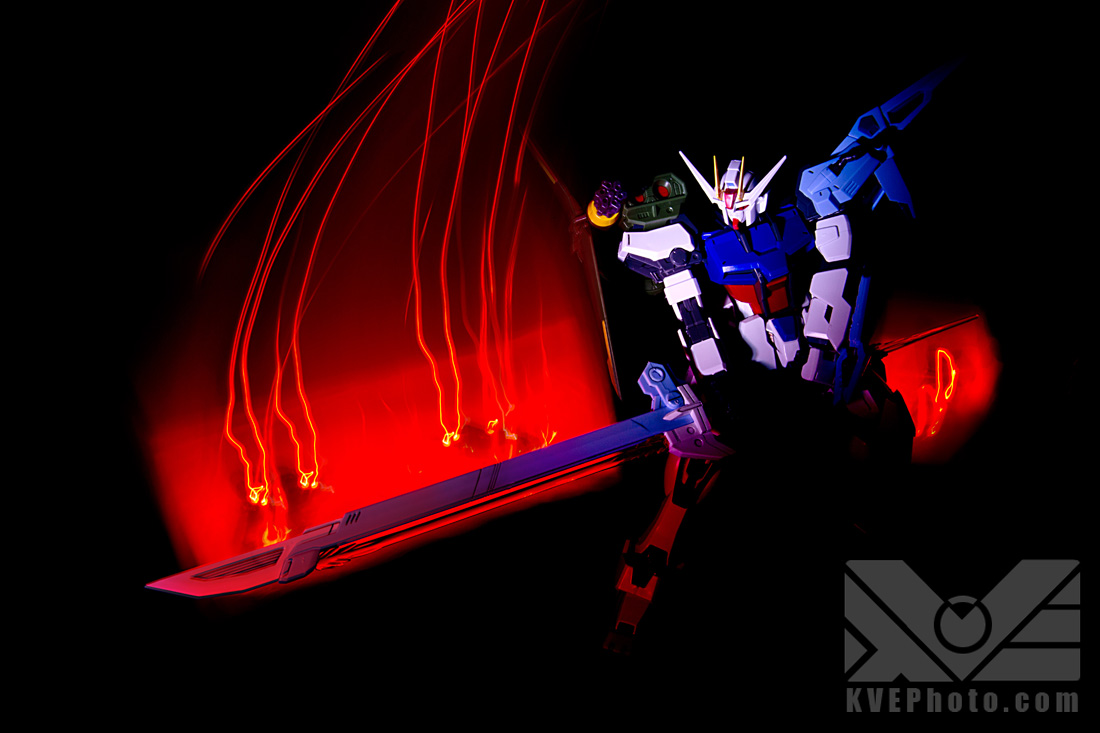
By piercing some holes in your tissue paper, you can also get burning ember effects like this:
 And there you have it, my beam sword effects! I hope you enjoyed this tutorial and that you are stoked to try these effects yourself. I would love to see what you creative people come up with.
Thanks for reading this series! I’m AllDaLazurs or Adam K, signing off.

Savvi
This is very cool, light painting photography with Gunpla is a nice touch.
Owning a SLR camera is expensive. I’ll stick with photoshop fo the time being : P
Speaking of lighting.
I’ve seen some Gunpla builds with LED, to light up beam sabers and other lighting installations. I certainly like to try those too.