Hello there and happy new year!
Welcome to the second part of this series! My name is Anthony and today I want to share with you some techniques and ideas on how to paint the walls for Kotobukiyas Mechanical Chain Bases A and B. This is going to be a short guide since we are going to use the same techniques we used for the floor tiles back in part 1.
So, without further ado let’s begin!
Primer and base coat
As always, the first coat of paint we are going to apply is a primer. This first coat of paint will help the rest to stick better to the plastic. Meanwhile, the base color helps us establish the overall tone of the paint. For example, if we are going to use bright colors, like red or yellow, a white or pink base color is the best choice. Meanwhile, a black base color is more useful to achieve dark tones. So, you can use whatever color you wish as a primer and base coat.

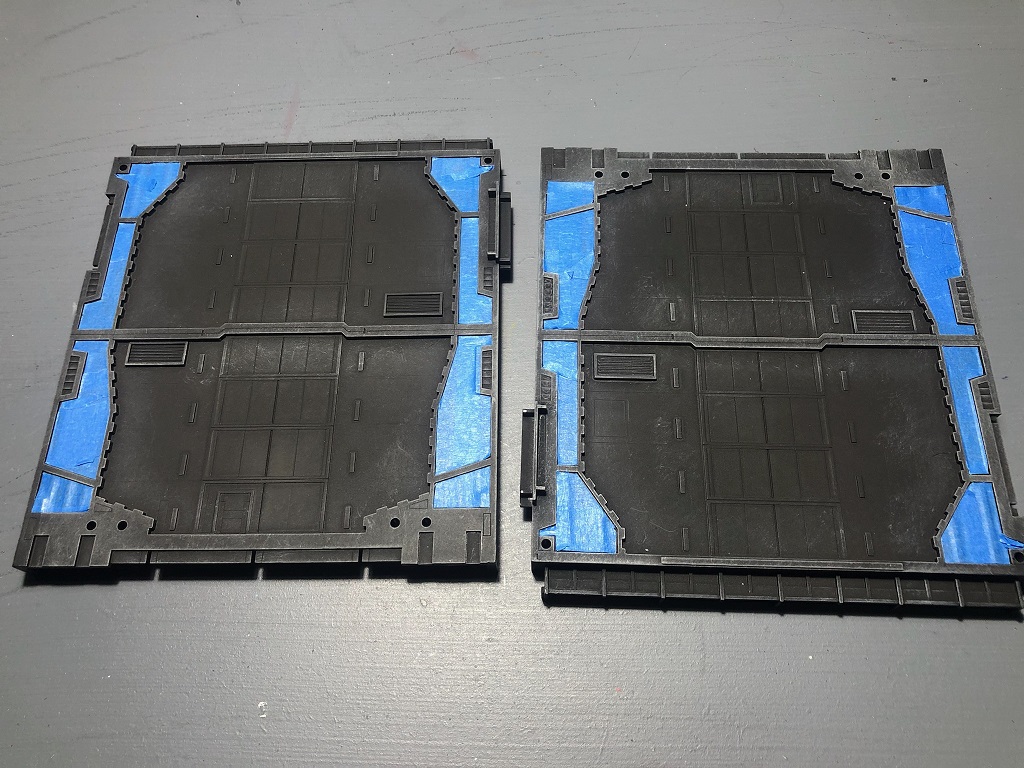
I used black acrylic spray paint to work as a primer and base color. Let’s also paint the pieces used to join two A wall tiles together.
You can do this with a hand brush, an airbrush, or use spray paint. Just make sure to cover the entire surface. I suggest we apply two even coats of primer just to make sure we cover the entire surface. Let the paint dry for at least 10 minutes between coats. Then, let them dry overnight before painting. If you choose to apply two different colors, one as a primer and the other as a base color, I suggest you let the primer dry for a few hours before applying the base color.
Dry brush technique
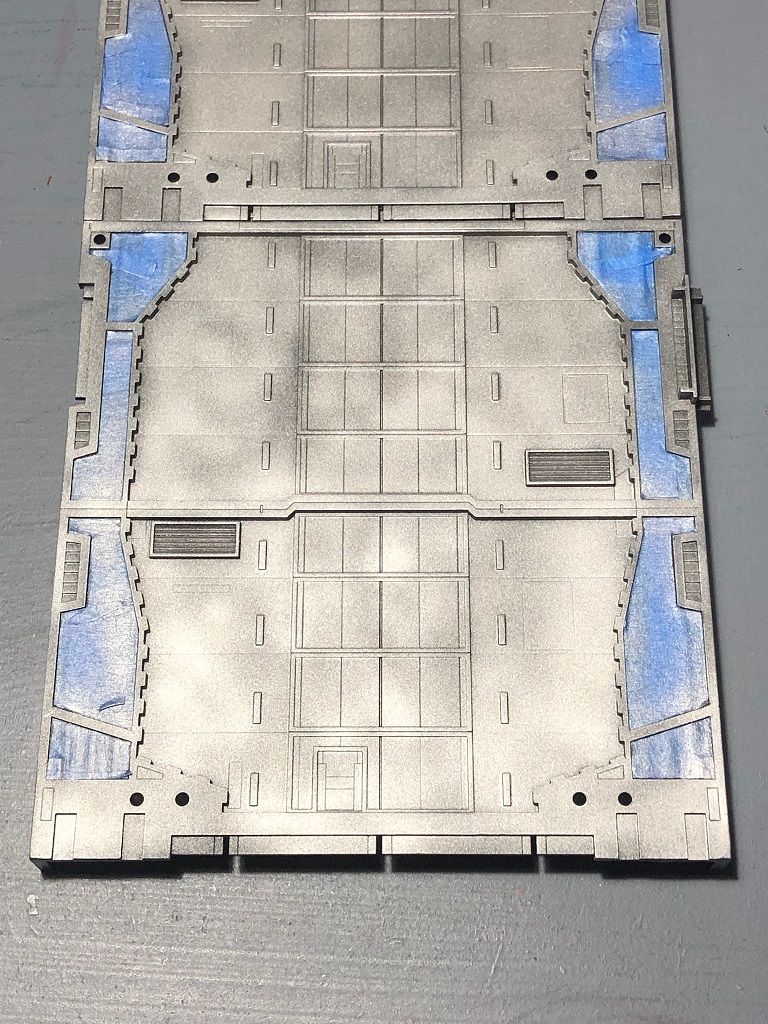
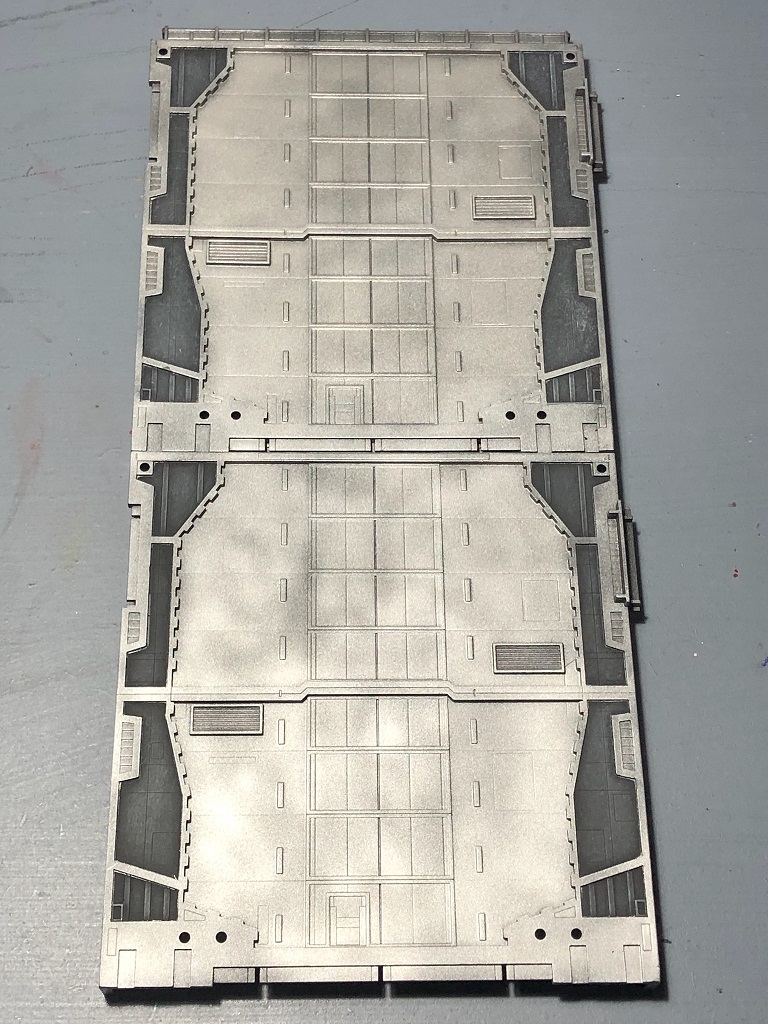
Next, we’ll apply a lighter tone to highlight all the details of the walls, both A and B types. Let’s use the same paint we used for the floor tiles back in part 1. At the end of the day, they are supposed to be part of the same display. The paint we used was Dio dry Brush Paint: Basalt Gray by AMMO.
I like this technique because it is easy to apply, and you can end with some amazing results. Some people say that you could even archive the same finish you will get with an airbrush. And the best part is that we only need three things. We need a hand brush, some paper towels or cardboard, and paint. I suggest using an old brush for this or one designed specifically for this technique. Some brands made their brushes for this technique, and they are great! But for something like this I like to use an old makeup brush!
There are some paints designed specifically for this technique. But we can use any type of paint, except for washes. Just remember to remove almost all the paint from your brush with a paper towel or cardboard before painting the plastic.
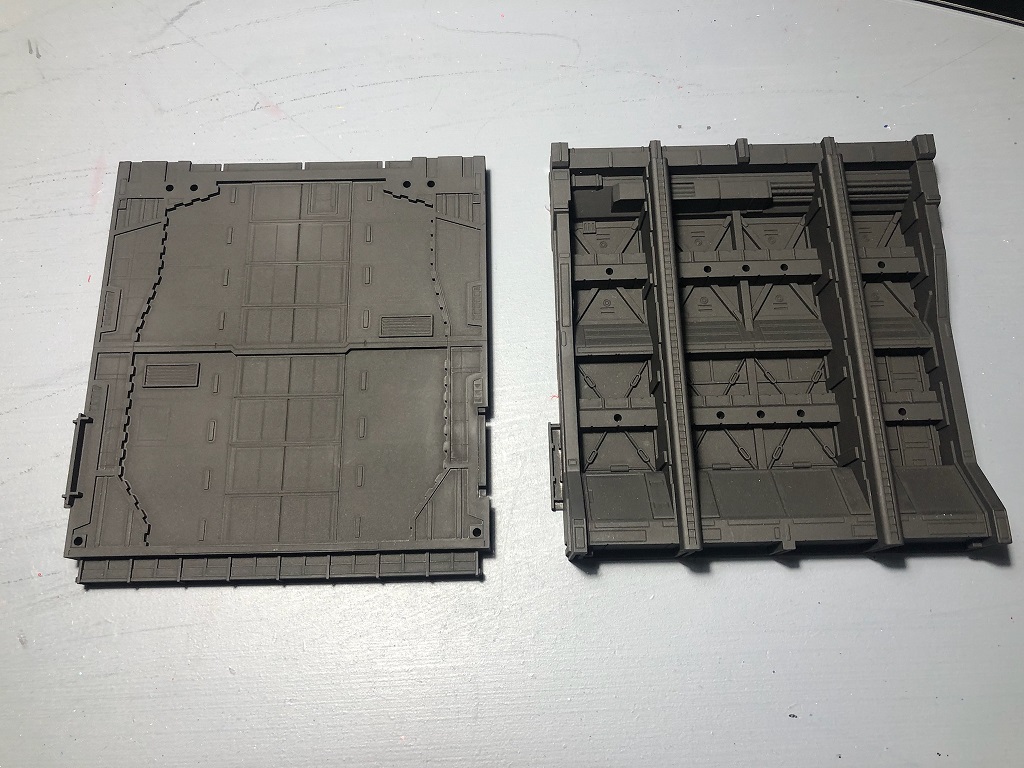
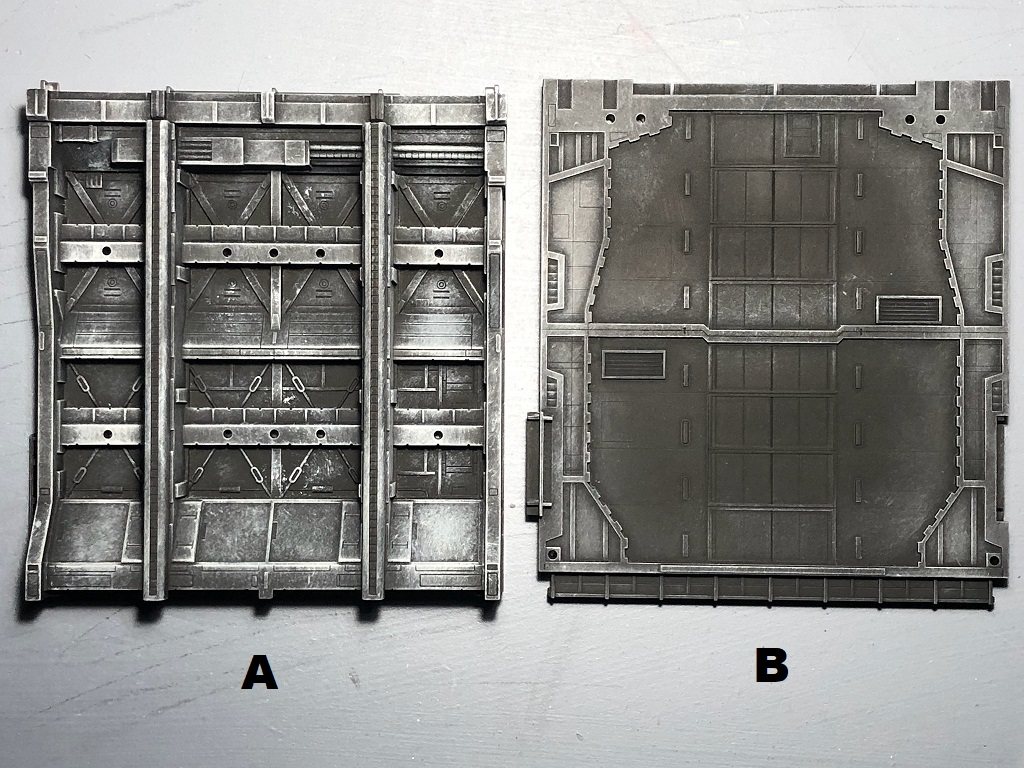
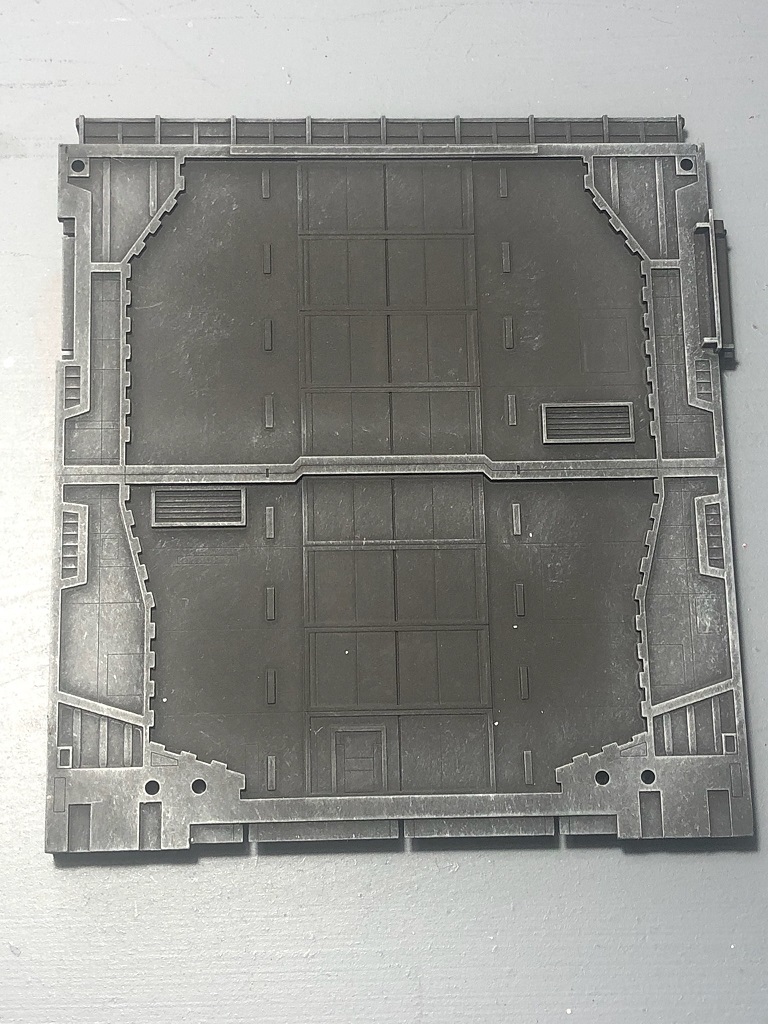
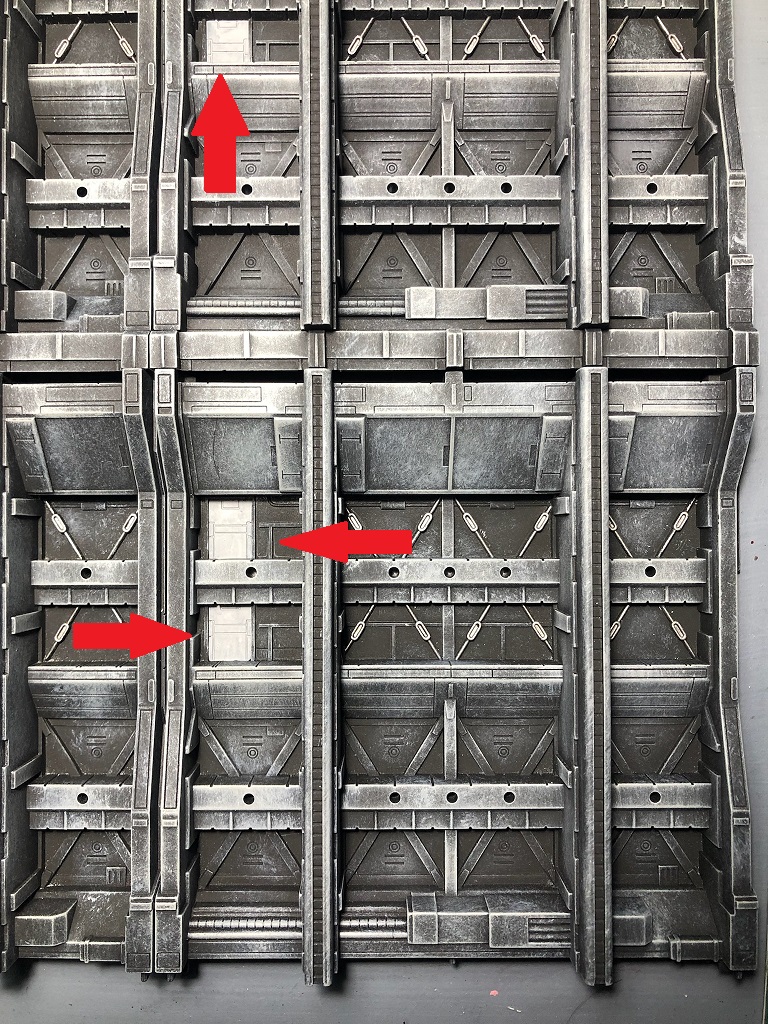
Chain Base B
Once we are happy with how the walls look, it’s time to paint some details! Let us begin with the walls from type B. Don’t know about you but these walls look more like hangar doors to me.
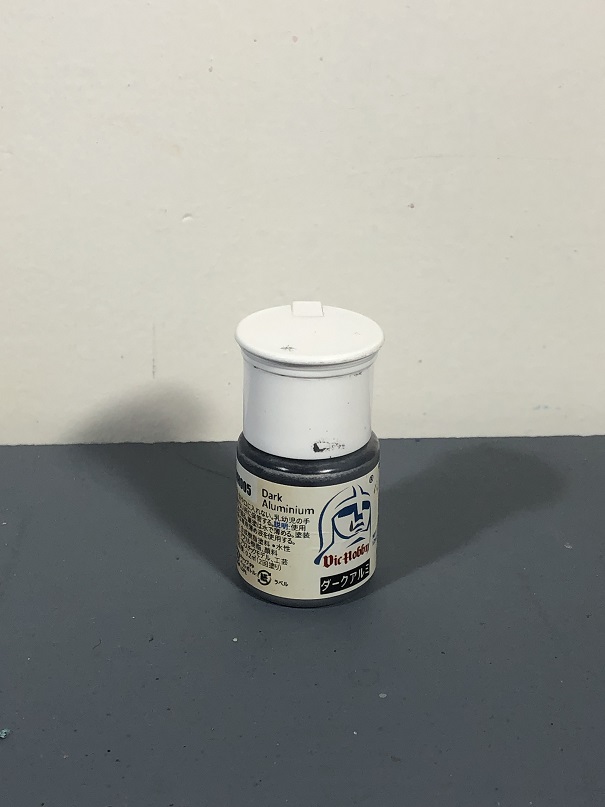
Let´s paint them with metallic paint to make them look like the blast doors of our hangar display. For this, we are going to use Vic Hobby Dark Aluminum.
I’ll use the airbrush for this but, you could use a hand brush instead! The dilution ratio for the paint is going to be 1:1 with the airbrush thinner. The air pressure will be 25 psi (1.5 bar).
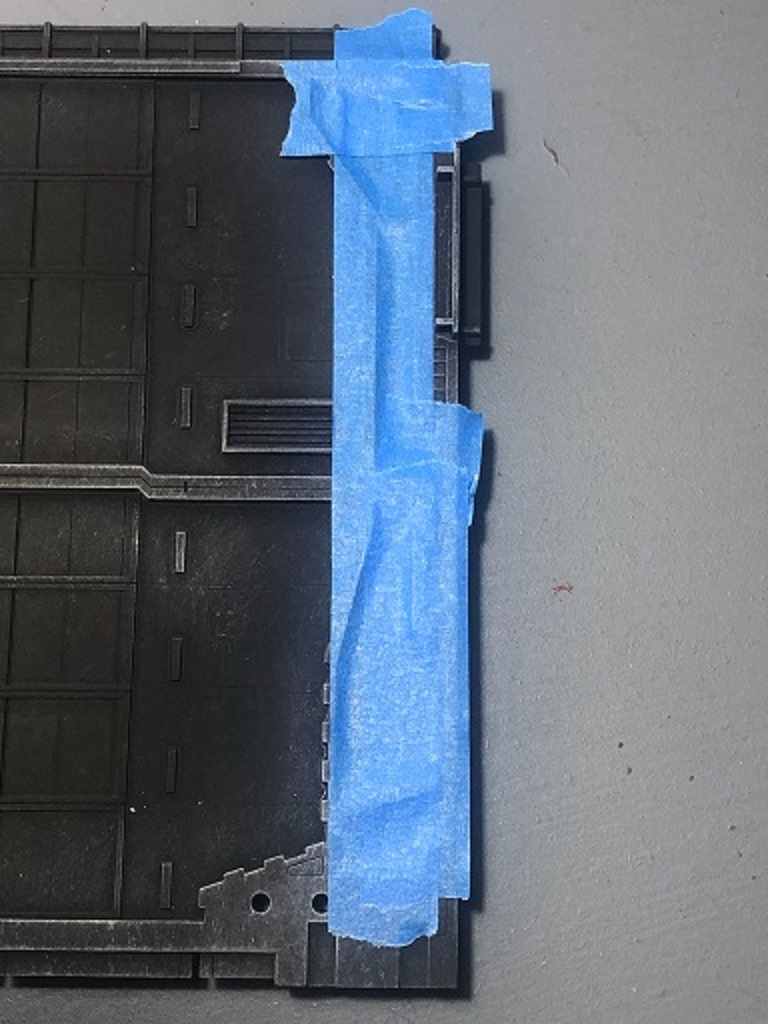
Before we start painting, we need to mask the parts we don’t want to be painted. Unless you want to paint the entire piece. if that’s the case, or you are using a brush, you could skip this next step.
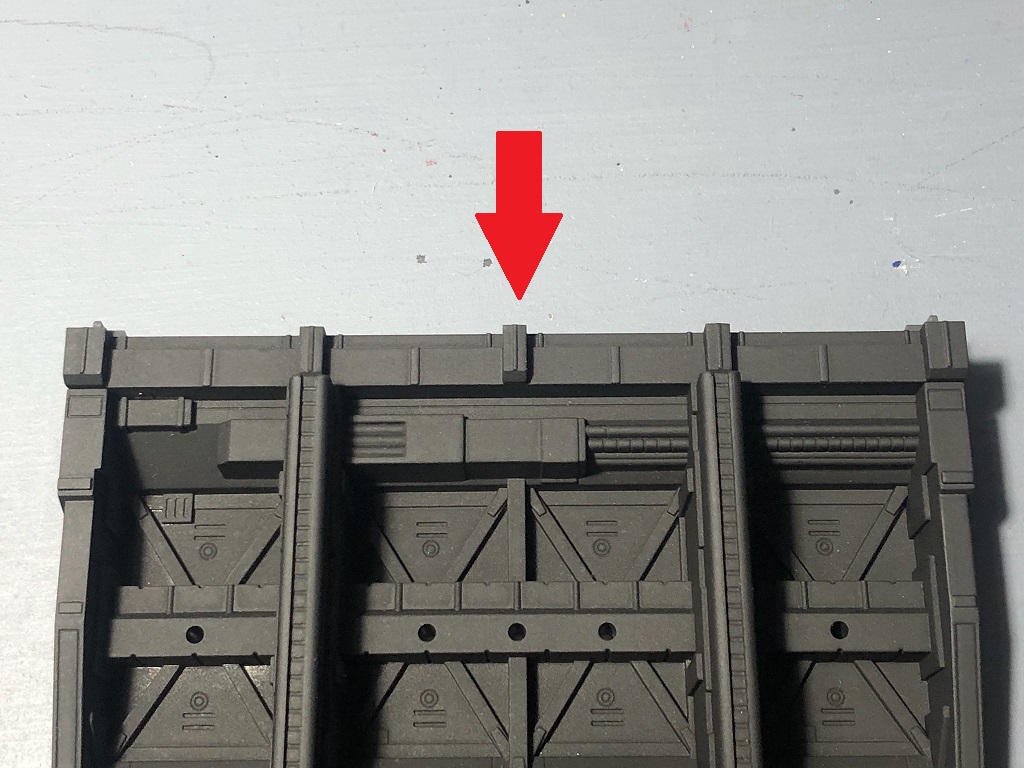
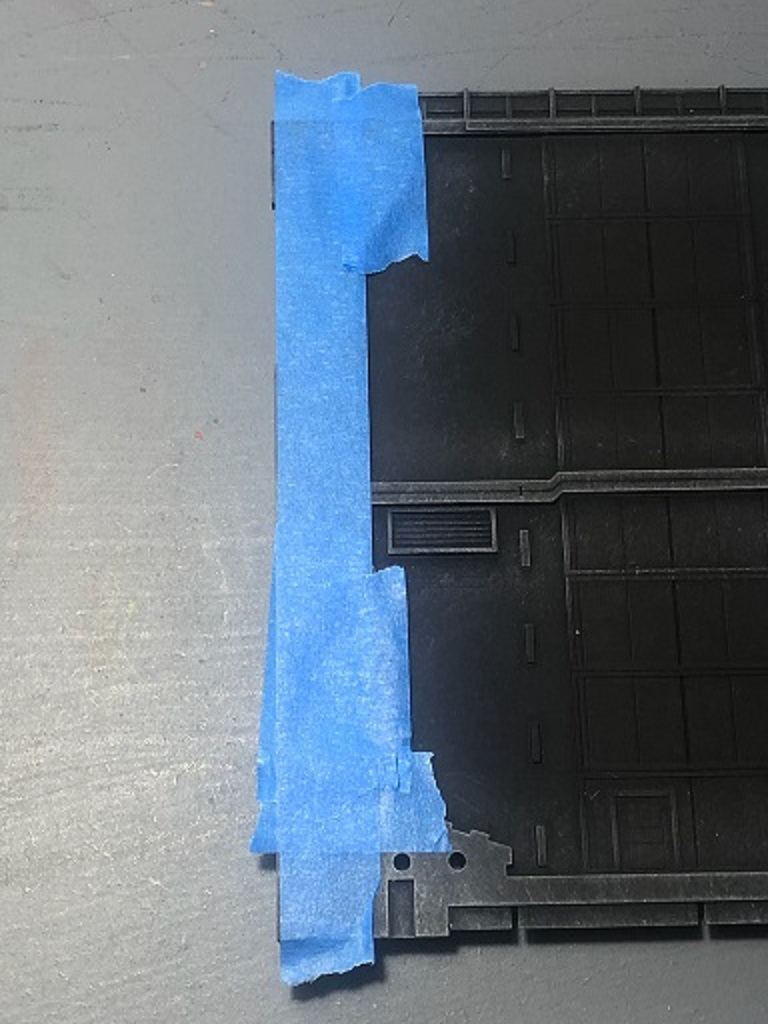
Masking
Back in part 1, we use masking tape to protect the areas around the metallic panels and to help us paint the yellow warning lines. Now, we are going to use masking tape to protect the panels of the door frame. This will create a nice contrast with the metallic doors.
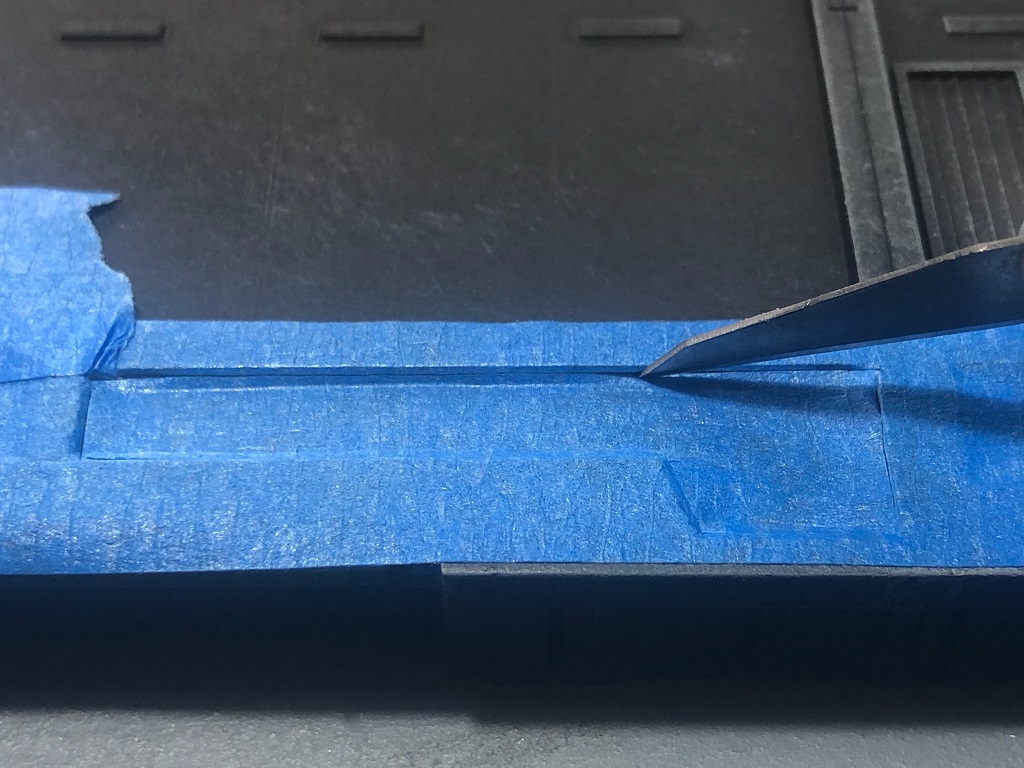
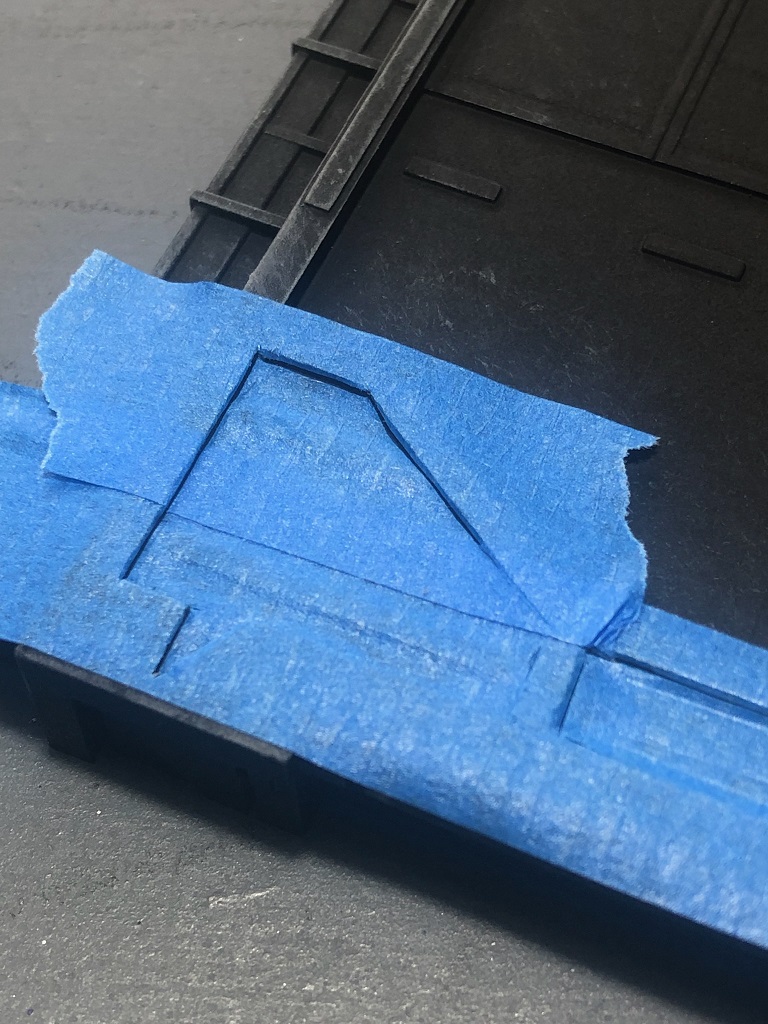
First, cover the area we want to protect using masking tape. Since the masking tape is also covering some areas we want to paint, we need to remove the excess. Start by marking where the panels are. Using a hobby knife, we cut the shapes of the panels. This is how it should look after cutting. Start removing the masking tape around the panels. Try not to leave any space unmasked or it will be painted. With that done, we are ready to paint!
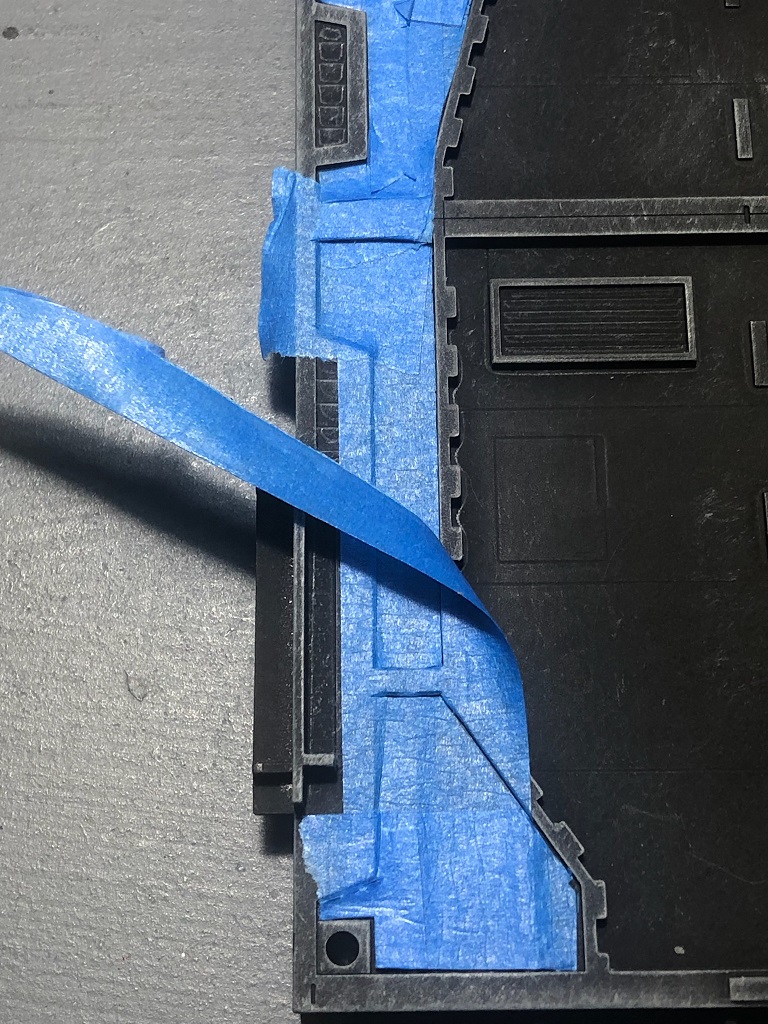

This is how it looks after painting with the Dark Aluminum And this is how it looks after removing the masking tape.
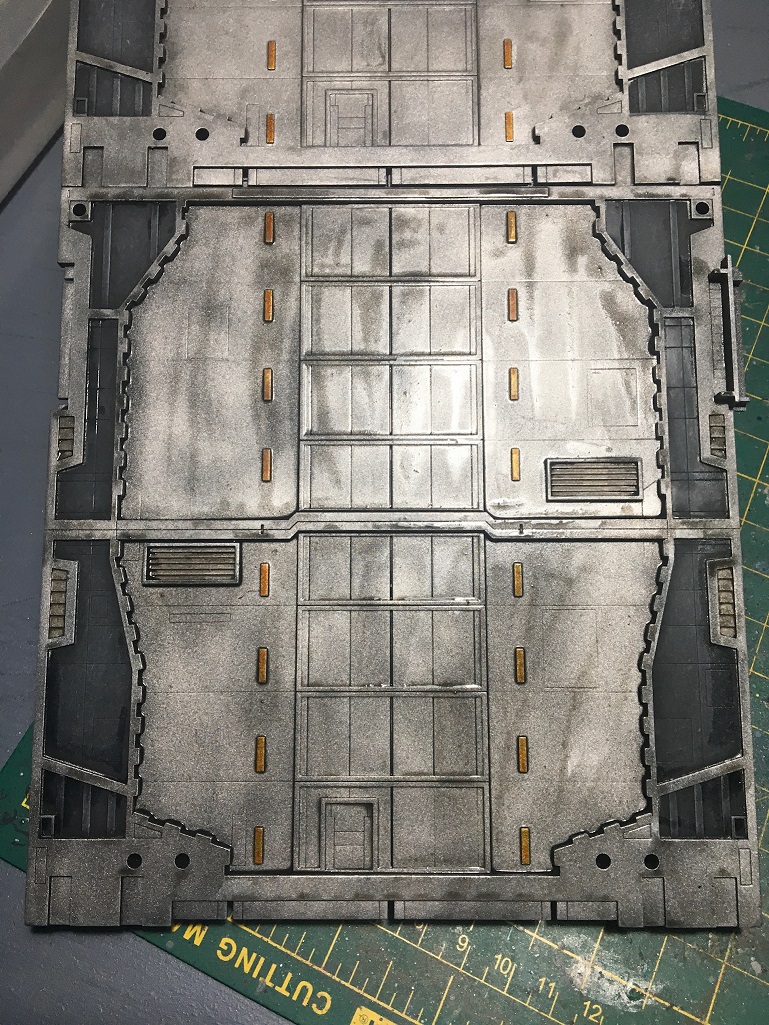
As you can see, the dark panels create a nice contrast with the metallic doors. Once the metallic paint is fully dry, it’s time to add some details.
Detailing B walls
I think that these parts only need two things: a wash and some lights!
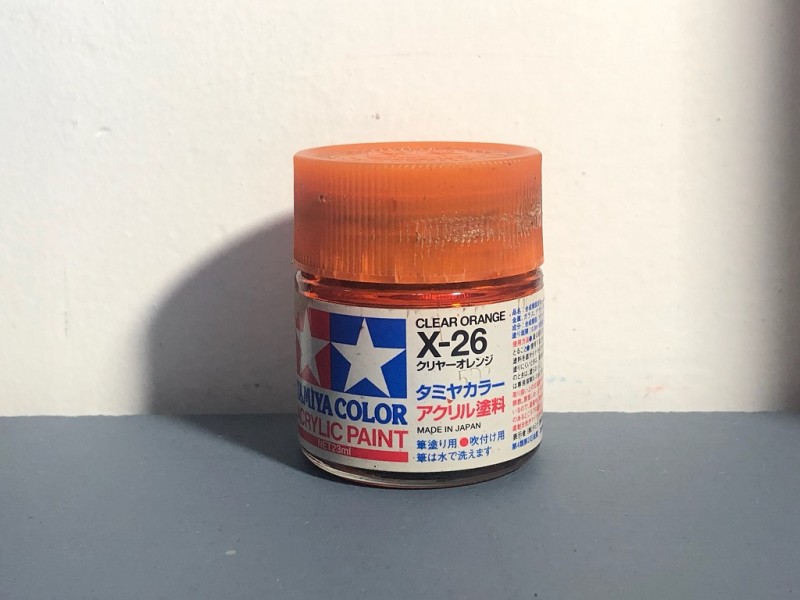
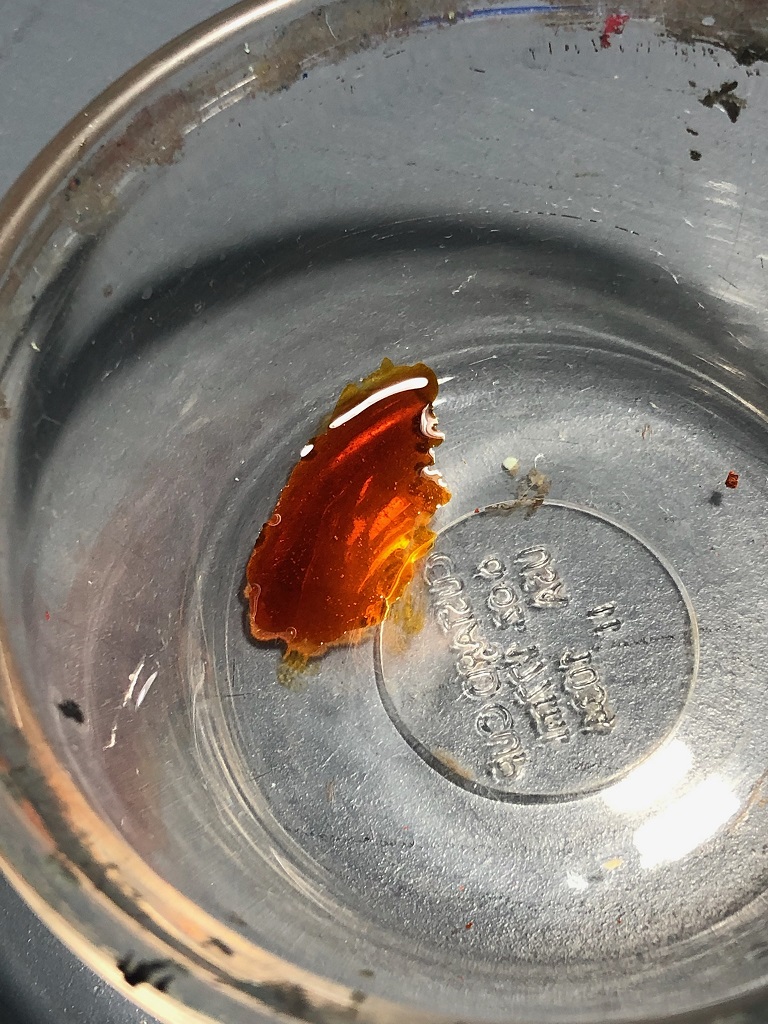
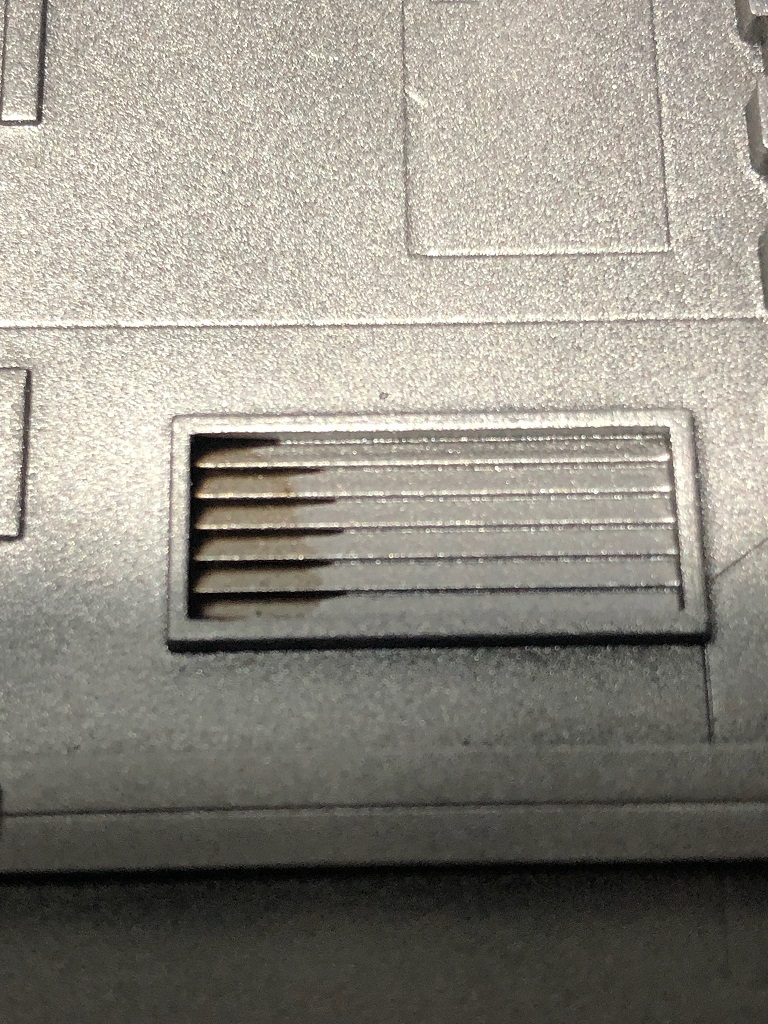
These doors have two rows of small rectangles that look like warning lights. Therefore, I think it would be a great idea to give them that appearance! To do so all we need is some clear color paint. I choose Tamiya Clear Orange.
These Tamiya paints can be applied with an airbrush or hand brush! To make it easier to apply with a brush, thin it with a small amount of airbrush thinner. This clear paint has a nice effect when applied over a silver base!
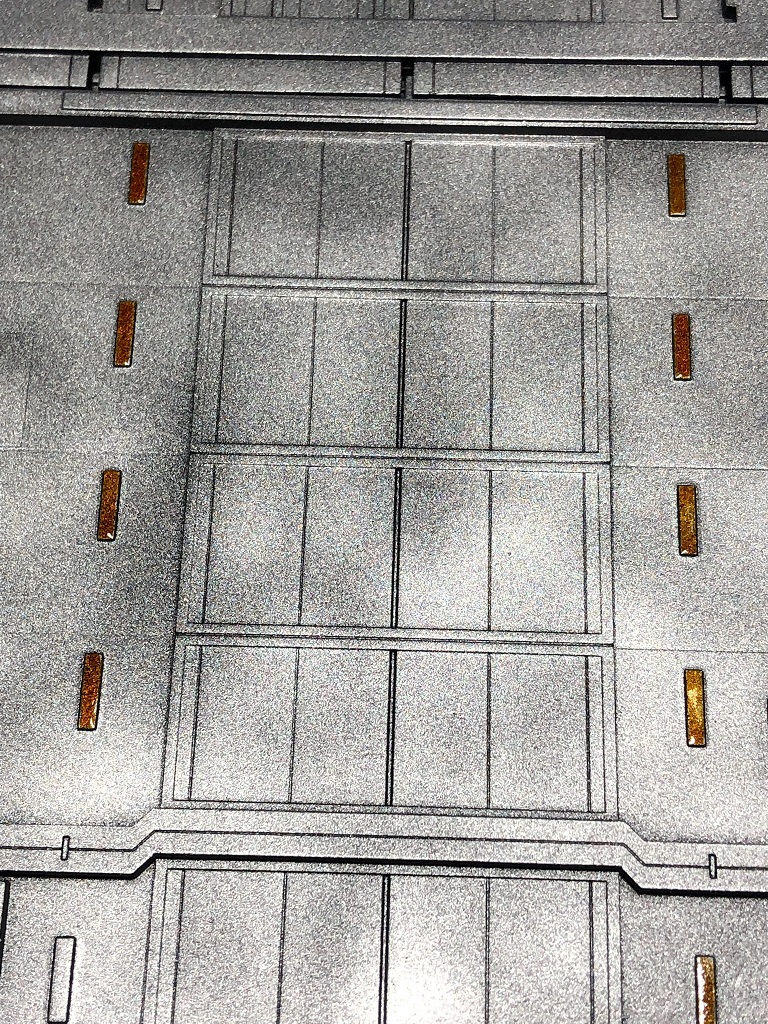
Once we are done, it’s time to apply some washes! just make sure the clear paint is fully dry.
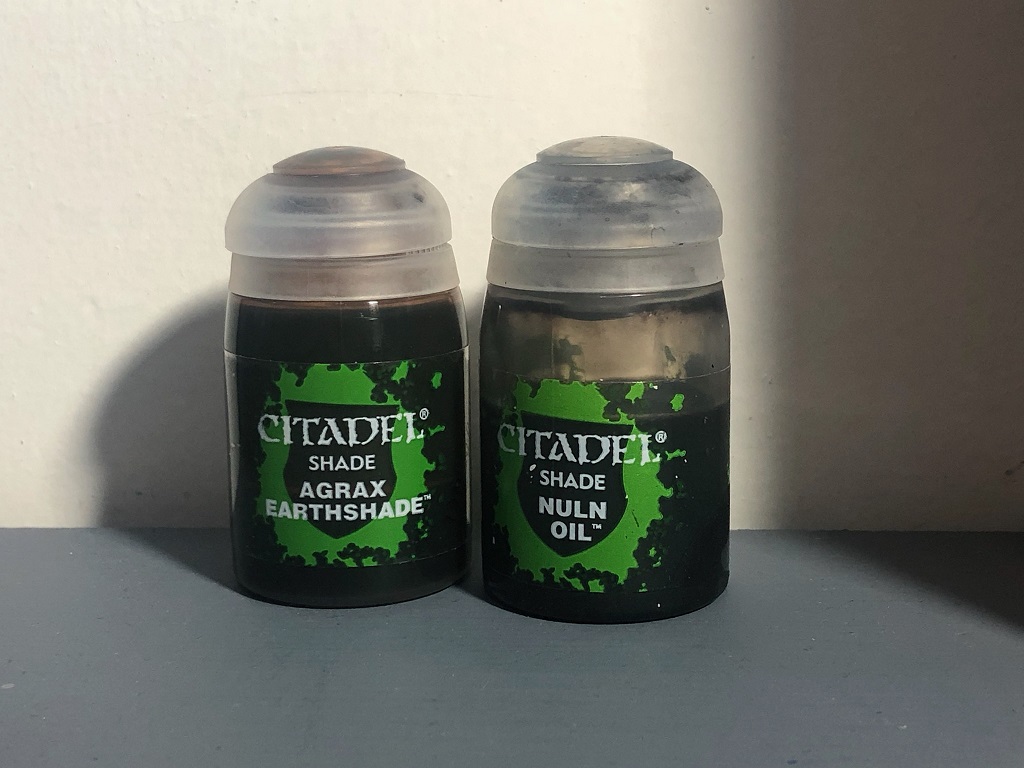
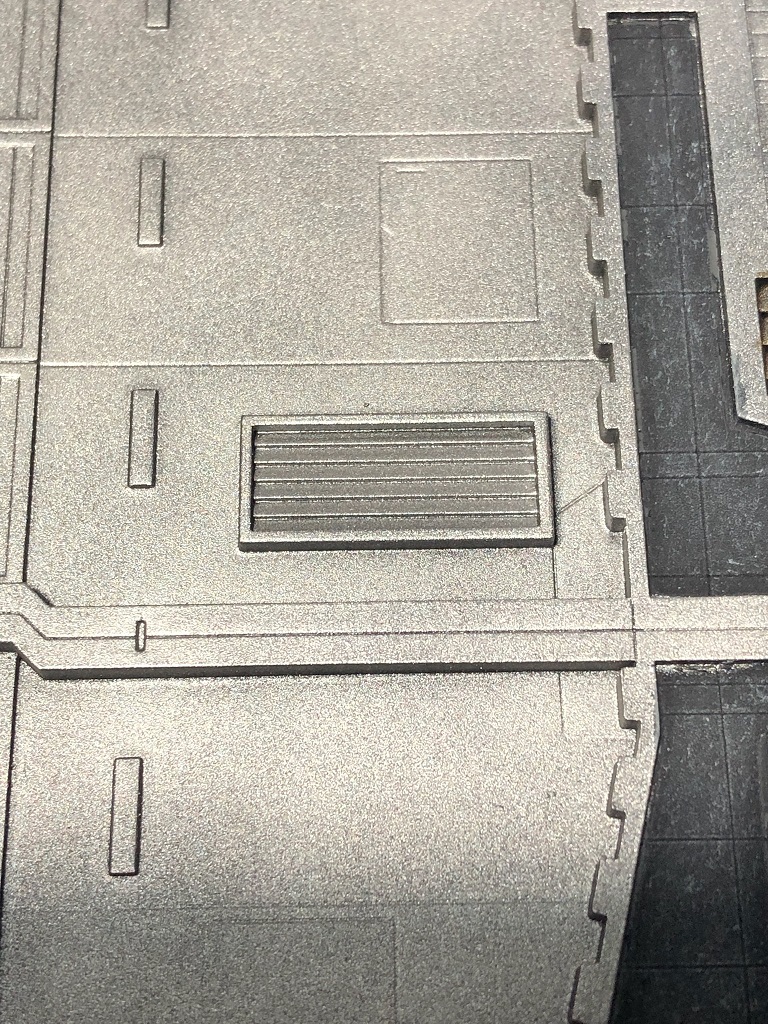
I’ll use Citadel washes Nuln oil (black wash) and Agrax earthshade (brown wash). Let me show you how to apply a wash on this vent. I’ll use Agrax earthshade. Start by applying a small amount in one side of the vent. Then, spread the wet paint to the rest of the vent. Make sure that the paint gets inside all the recesses. And don´t let it pool. Repeat the process to the rest of the metallic doors. This time, use the black wash. And with that, the B walls are done!

We could also make our own washes, just like we did for the floor tiles. Washes are very useful to add weathering to our models, but they can also be a little messy. So, use them wisely! And don´t worry if you don´t like the result, you can always fix it with some paint!


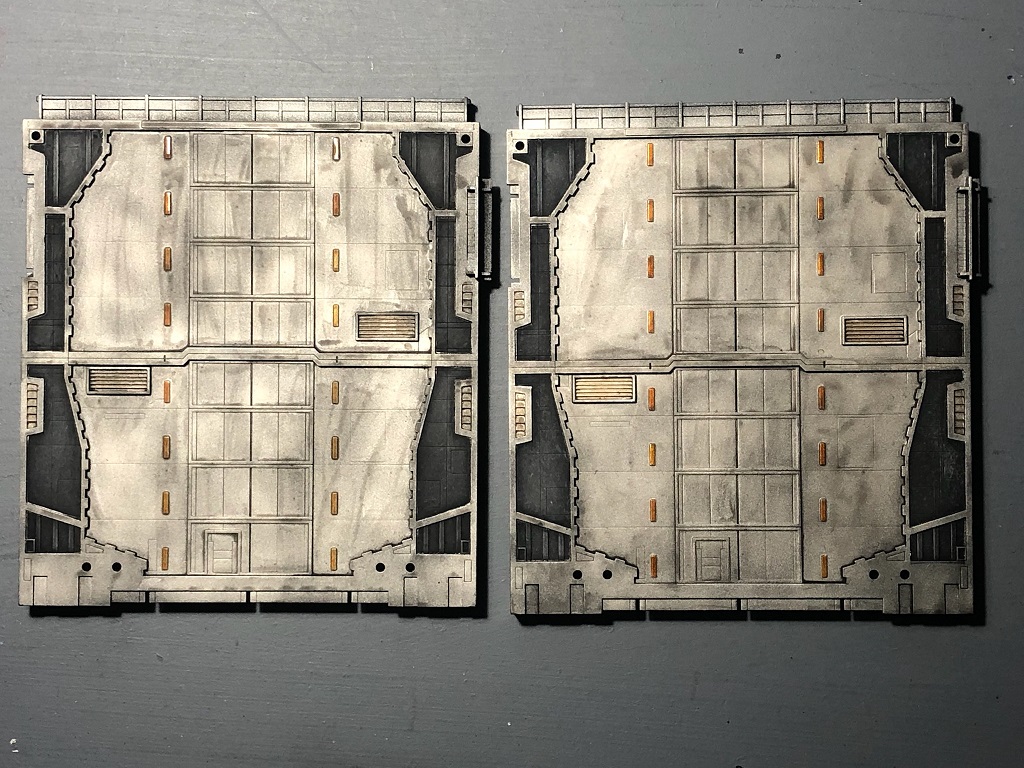
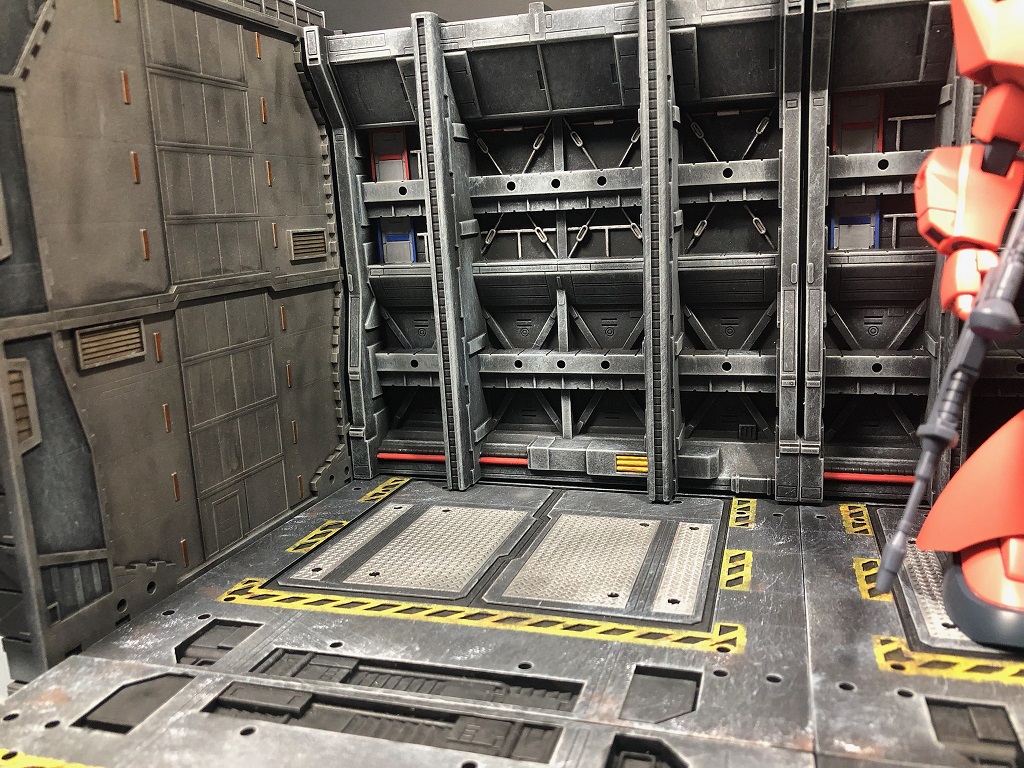
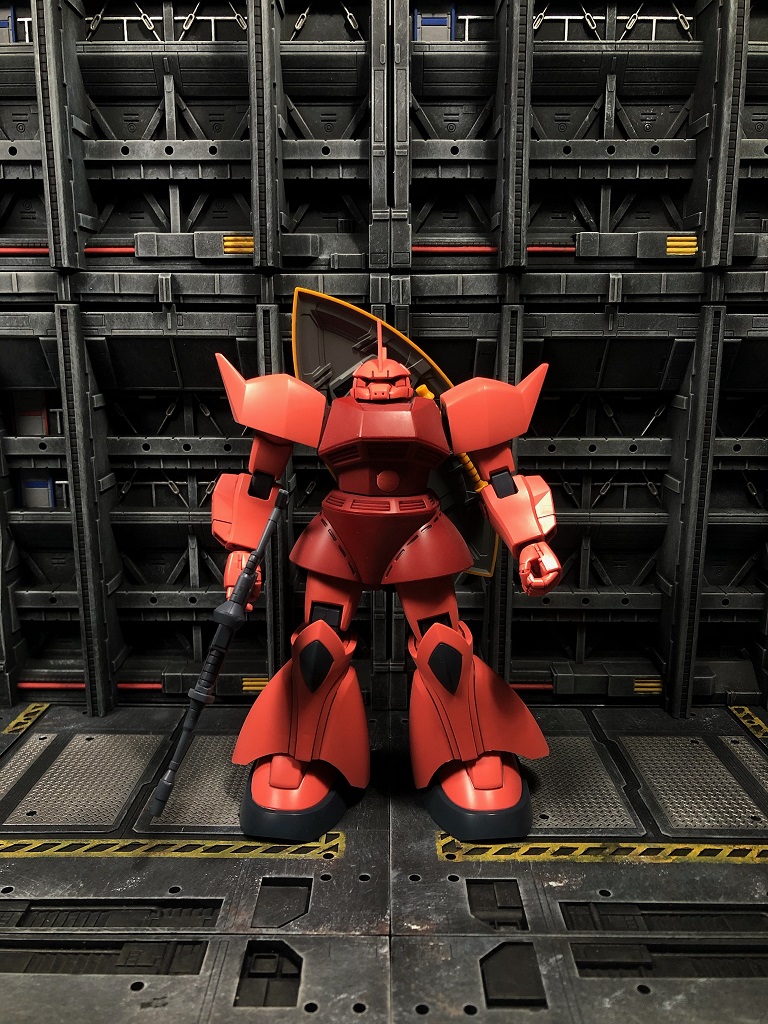
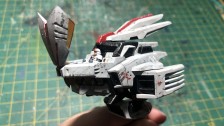
And this is how Chain Base B looks so far! It can also be used as a smaller display, perfect for small kits! And here is an example of how it looks with an HG Gelgoog.
Chain Base A
For the walls of Chain Base A, all we need is some paint and a brush. These walls have a lot of details, it´s up to you how many of them you want to paint. In this tutorial, we are going to paint the pipelines, doors, and some metallic details. Remember to always thin your paints! It may take a few coats to get a solid color but this way you won’t lose any of the small details.
These are the paints for that:
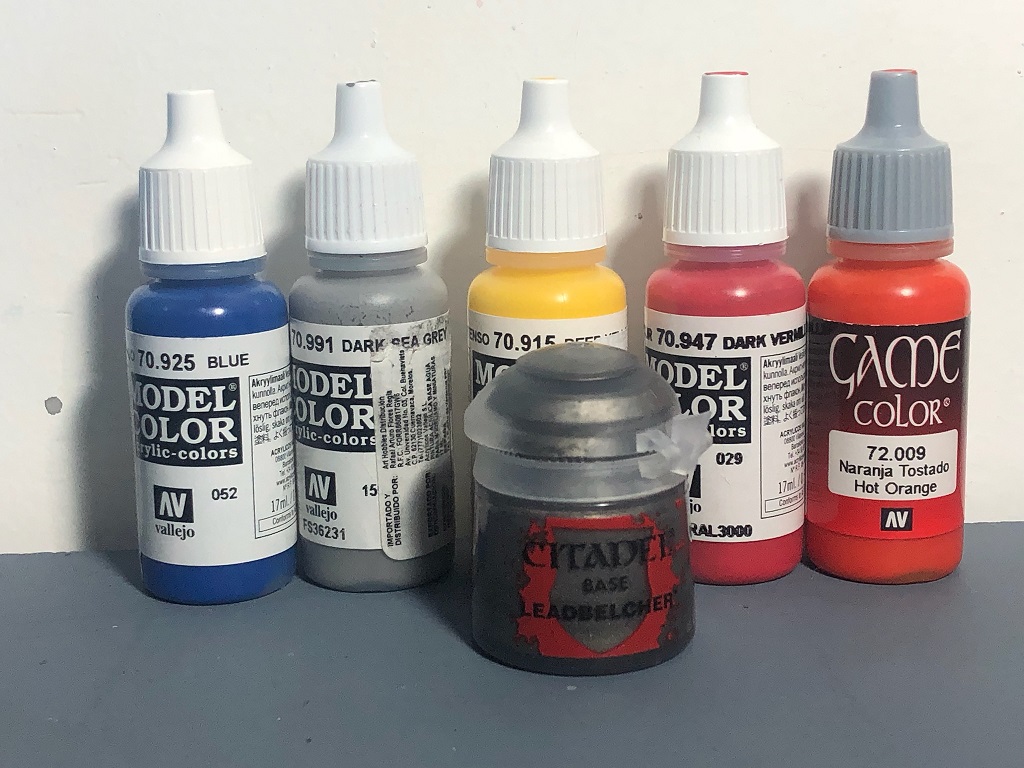
And this is how I use them:
Let’s use Citadel Leadbelcher for the metallic details. Then, let’s paint these small doors with Vallejo Dark Sea Grey Use Vallejo Game Hot Orange for these small pipelines. Then, some Vallejo Deep Yellow for these set of pipes. And some Vallejo Dark Vermillion for the last pipeline, as well for some details for the doors along side some Blue. Last, but not least, let’s add some more metallic details.


I search on the internet for some color guides for the pipelines and use some of them as references for this diorama. The yellow means fuel, red is for firefighter lines (water), and orange is for electricity. I decided to add some color markings to the doors, one color for each level, just like some buildings and malls do on their parking lots! Pretty simple, right?


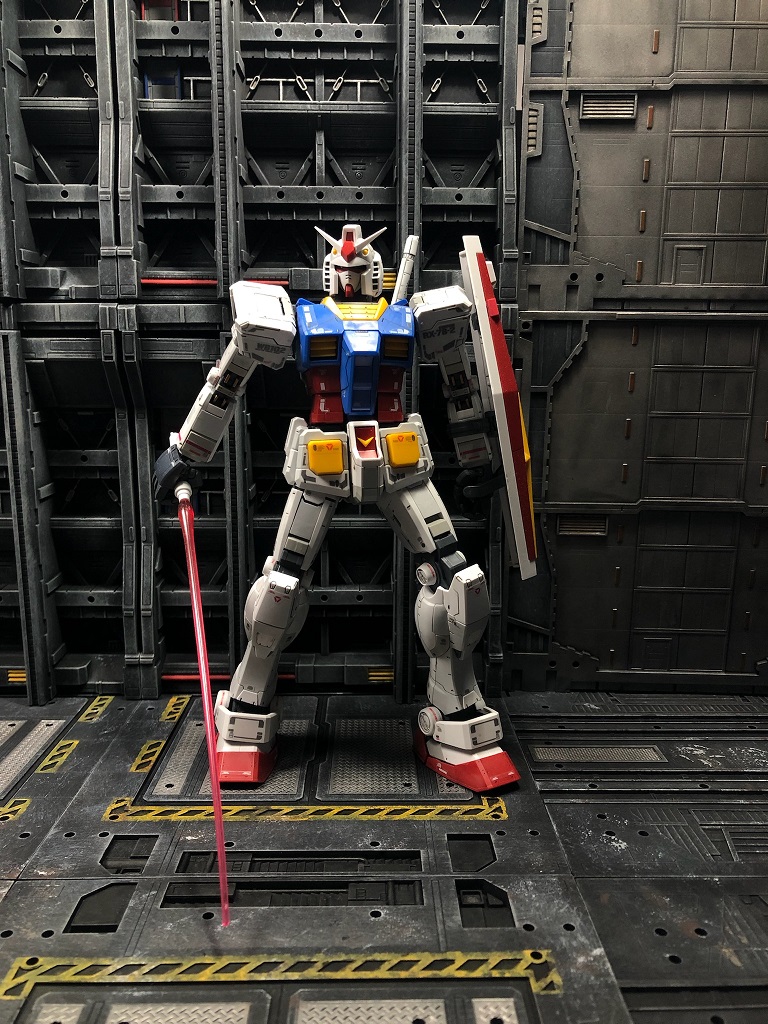
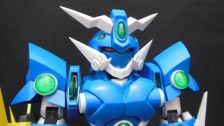
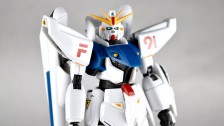
And with that, Chain Base A is almost done! Just like the other base, these work perfectly with all kinds of kits! You can use one for small kits, like those HG Char’s Mobile Suits, or combine two for bigger kits!
Combining Mechanical Chain Base R A+B
We can combine both types of bases to create a bigger display!
I combined two bases A with one B to create this hangar.
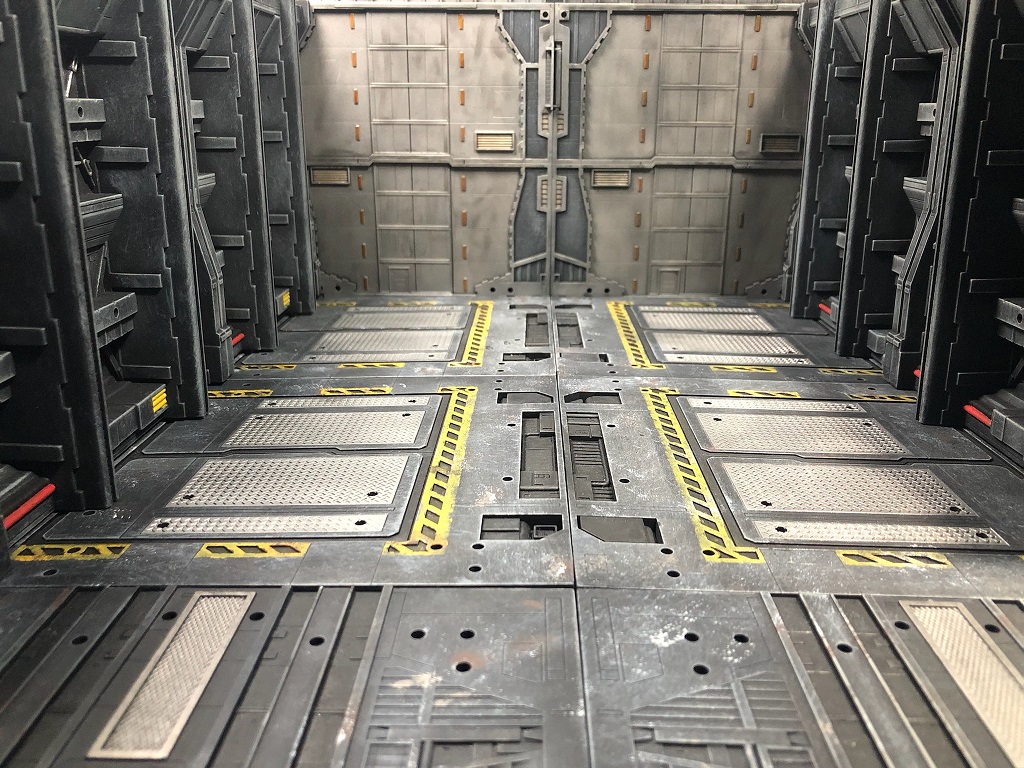
These Chain Bases are pretty cool! And with some paint, they look awesome! The results might look a little rough but, for me, that’s the idea. These pieces are meant to be used as backgrounds for displaying our model kits. Therefore, we don´t want to take the attention away from those kits. And as long as you are happy with how it looks, nothing else matters!
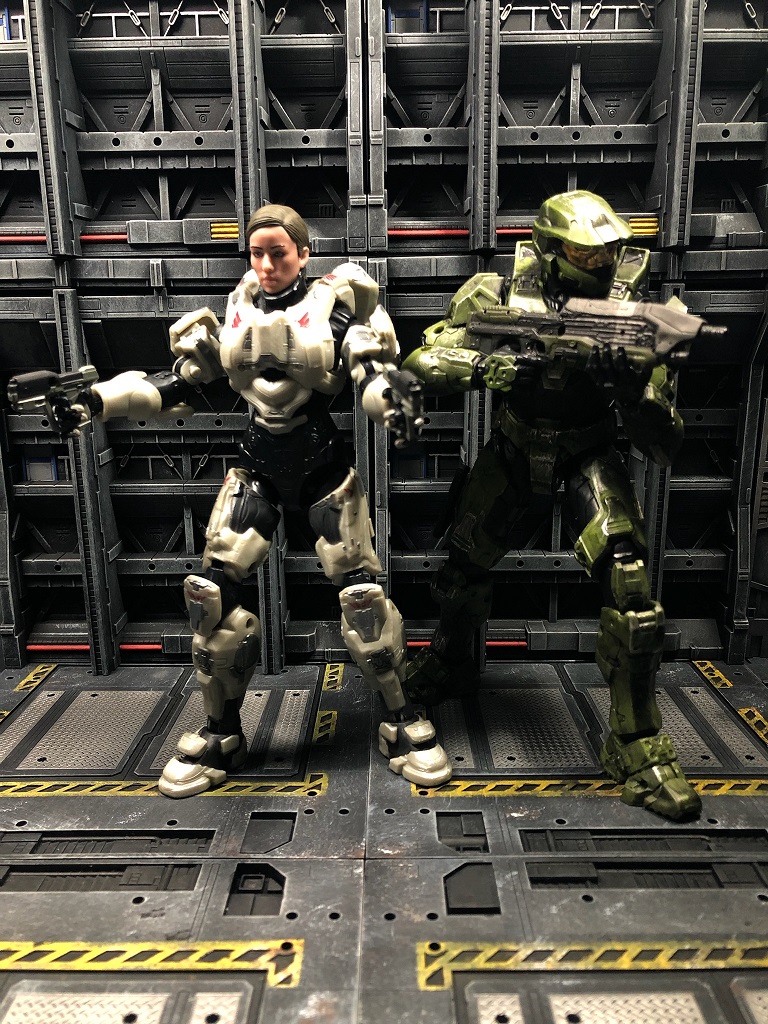
Here are some examples of how this base looks with different types of kits:


I hope you like this article and find it useful! Next time, we’ll be working with all the accessories this Mechanical Chain Bases come with!
And remember that you can buy these awesome bases and paints at hlj.com!
See you at the next one!
Happy modeling!
![All Japan Model & Hobby Show 2022 [Gallery]](https://hobbylink.tv/wp-content/uploads/2022/09/Hobby-Event-1280-High-Quality-224x126.jpg)