Hello there!
Welcome to a new guide, my name is Anthony, and today I want to show you how to build a hangar bay for your kits!
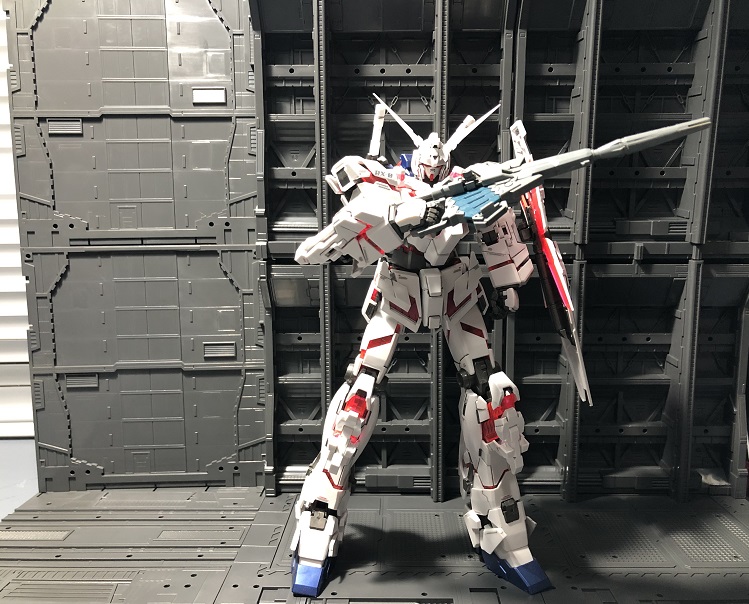
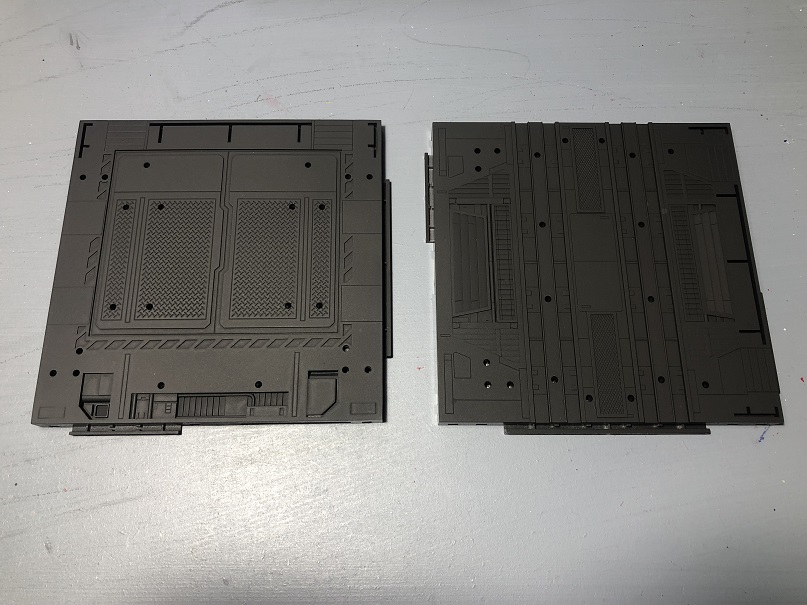
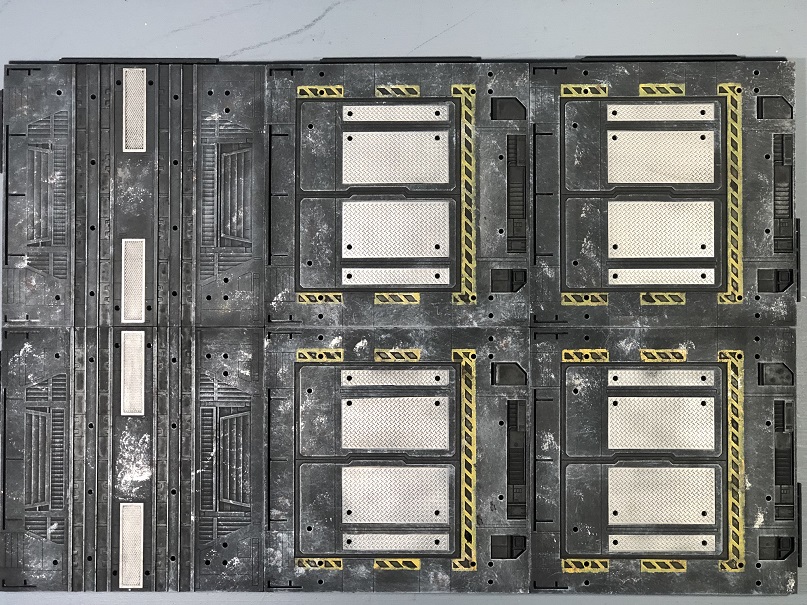
Two years ago, I built the MG 1/100 RX-0 Unicorn Gundam HD color with MS Cage and have it on display inside the cage. A few months ago, I bought a new M.S. cage to use to display some 1/144 scale kits. One day, I came across this Mechanical Chain Bases by Kotobukiya and immediately realized that these were perfect to build a small display for posing my Gunpla kits.
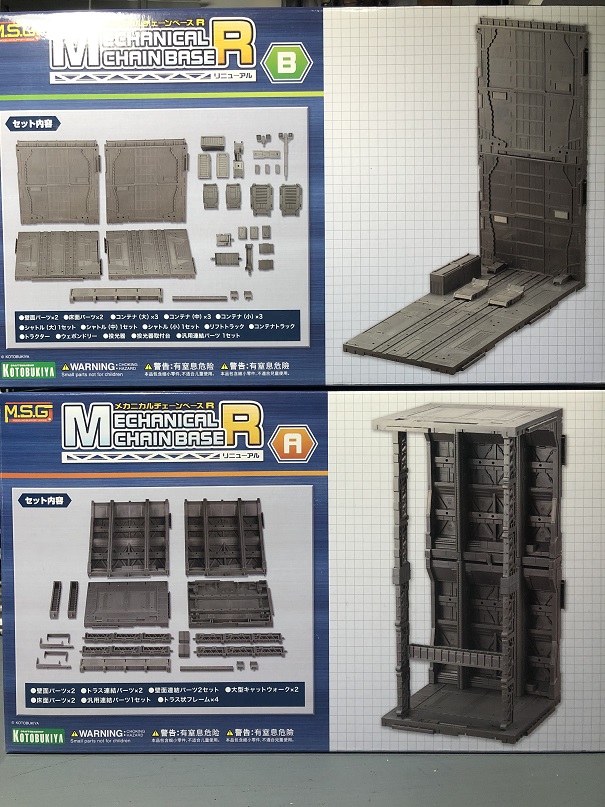
While using one of these is perfect for small kits, you will need to get a few more for bigger kits. And there’s where the magic begins. These Chain Bases are designed to connect and bigger displays as needed.
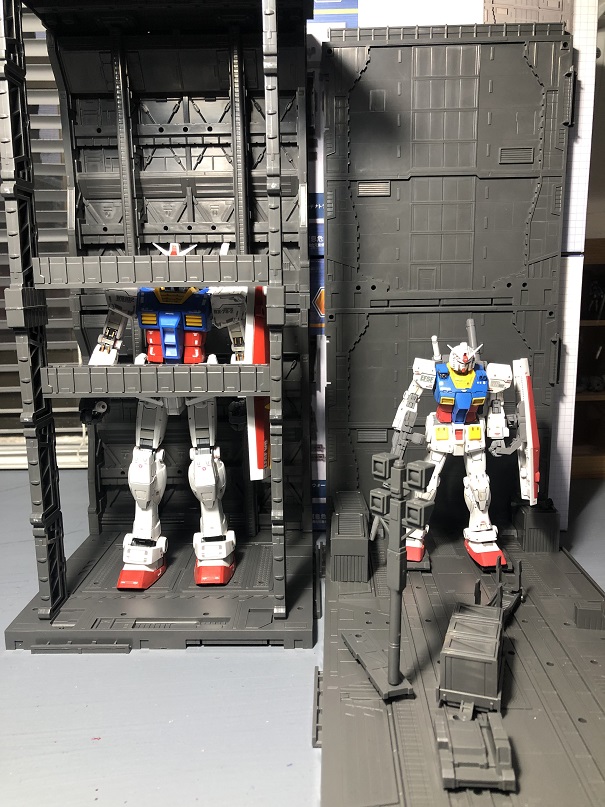
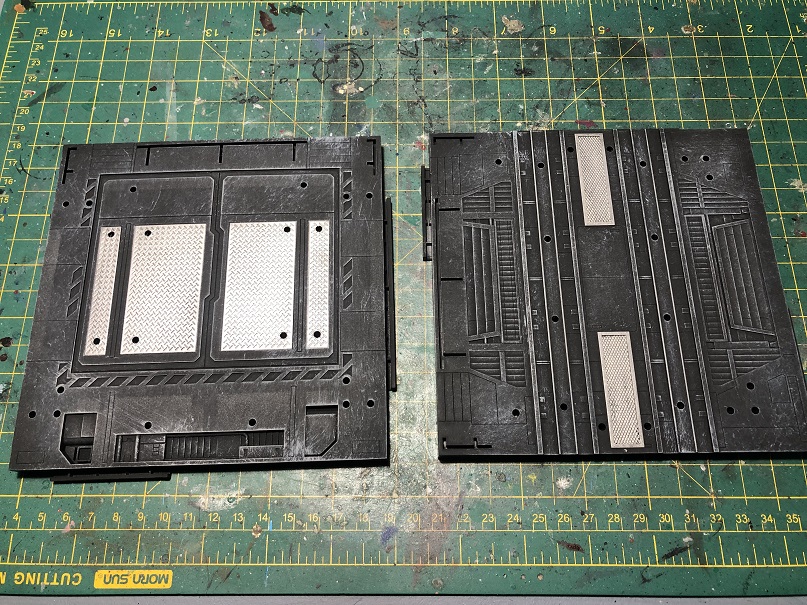
These kits can be used to create several types of hangar displays.

You could build one huge wall to display big kits Or you could build a complete hangar bay to accommodate several M.S.
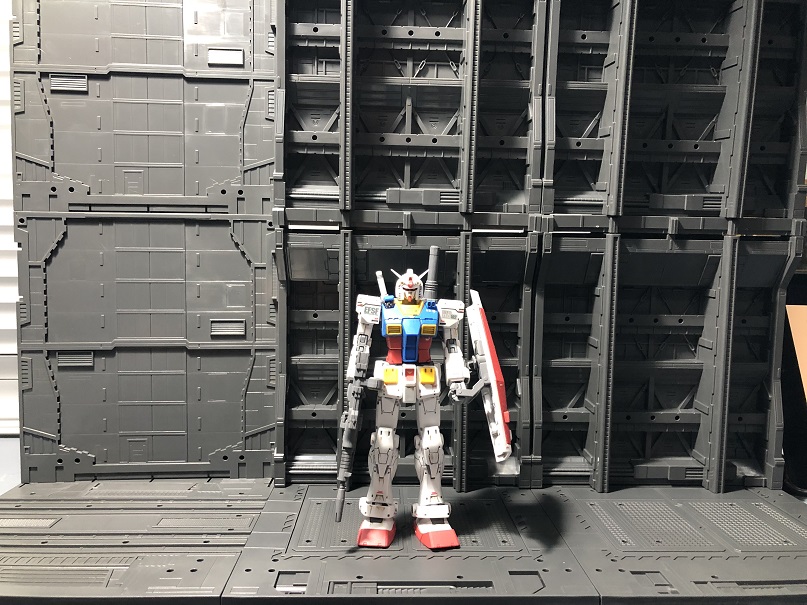

It’s all up to you!
For me at least, these kits have only one weakness and that is the color in which they are molded. And that is exactly what we are going to do on this new series. We are going to make them look more realistic with some paint and effort!
Now, without further ado, let us begin!
Where to start?
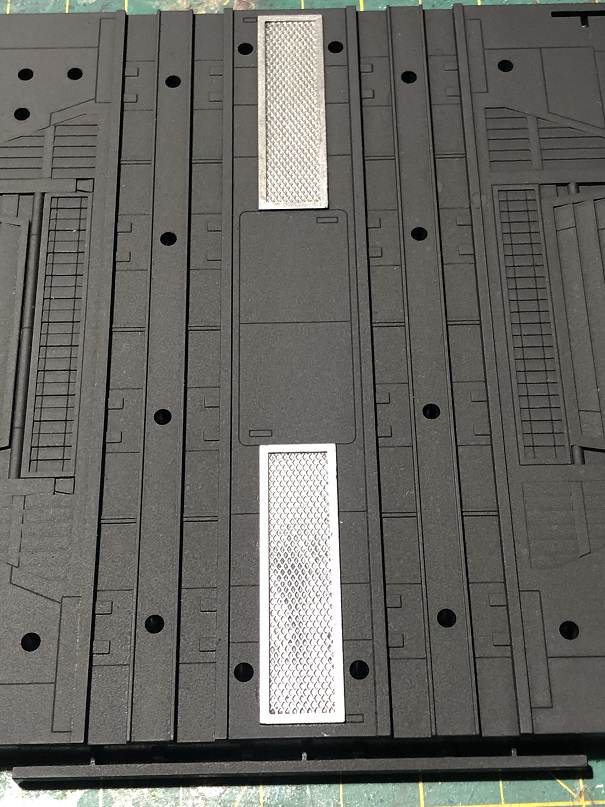
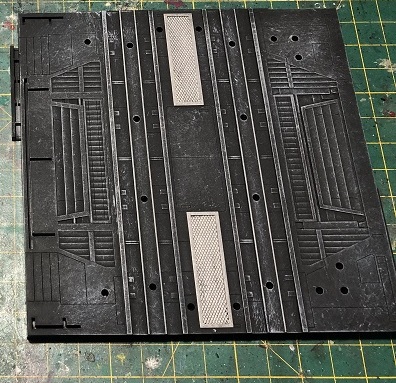
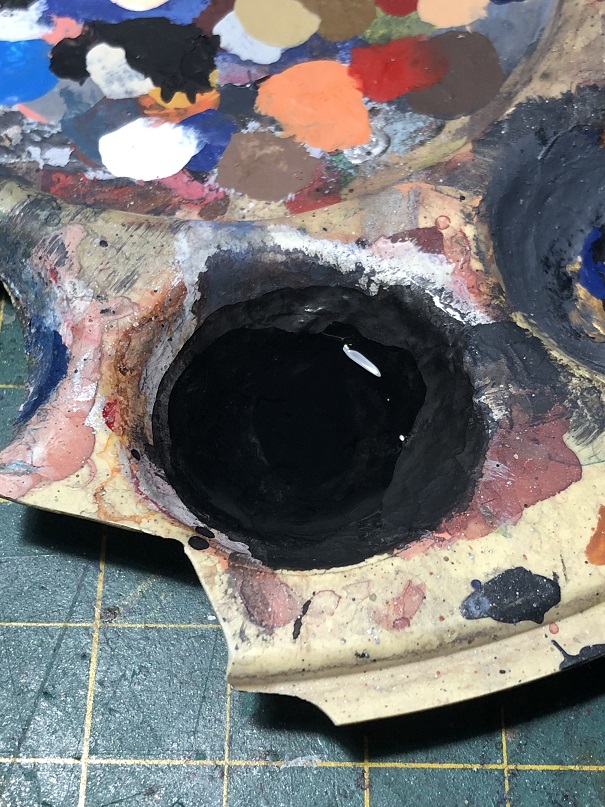
The first thing we need to do is clean and wash the pieces which we’ll be working with. For this tutorial, that would be the floor tiles. Fortunately for us, these pieces came inside plastic bags without any sprue! Therefore, removing any seam line is quick.
Once you are done, the next thing would be to wash our pieces. We need to remove any oil that was left from the factory. These oils can ruin the paint job. For this, you can use dish soap and warm water, then rub the plastic with a toothbrush and let them dry.
And now we are ready to start painting!
Primer and base coat
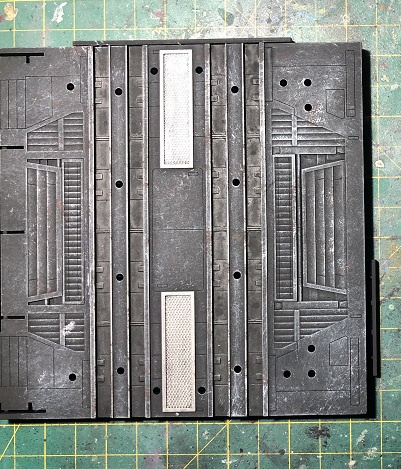
The first coat of paint that we are going to apply is primer. You can apply it with a hand brush, an airbrush, or use spray paint. Just make sure to cover the entire surface with even coats!
You can use whatever color you want for your primer. I decided to use black because this will also work as my base color. I suggest we apply two even coats of primer just to make sure we cover the entire surface. Let the first coat dry for 10 minutes or so before applying the second one. Then I let them dry overnight. If you choose to apply two different colors, one as a primer and the other as a base color, I suggest you let the first one dries for a few hours before applying the second color.
Metallic vents
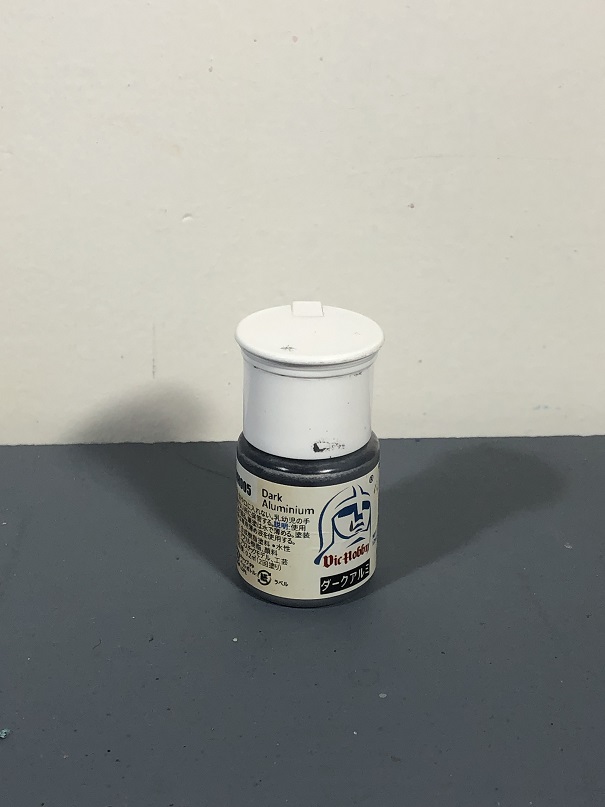
Now, it’s time to add some metallic paint to the floor tiles. For this, I’m going to use Vic Hobby Dark Aluminum.
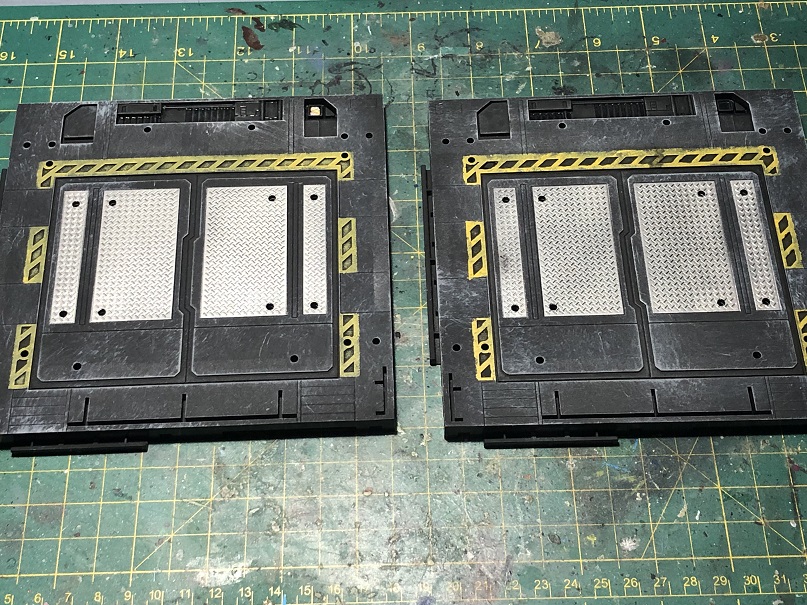
In this tutorial, I’ll use a different method for each type of floor tile.
For the B type, let’s paint the vents using a hand brush. Remember to thin your paints! Two thin coats are always better than one thick coat.
First, we pain the inside of the vents. Then, paint the edges. I highly suggest using the side of the brush instead of the tip. Don’t worry if you paint outside the vent, we can always come back with our base color.
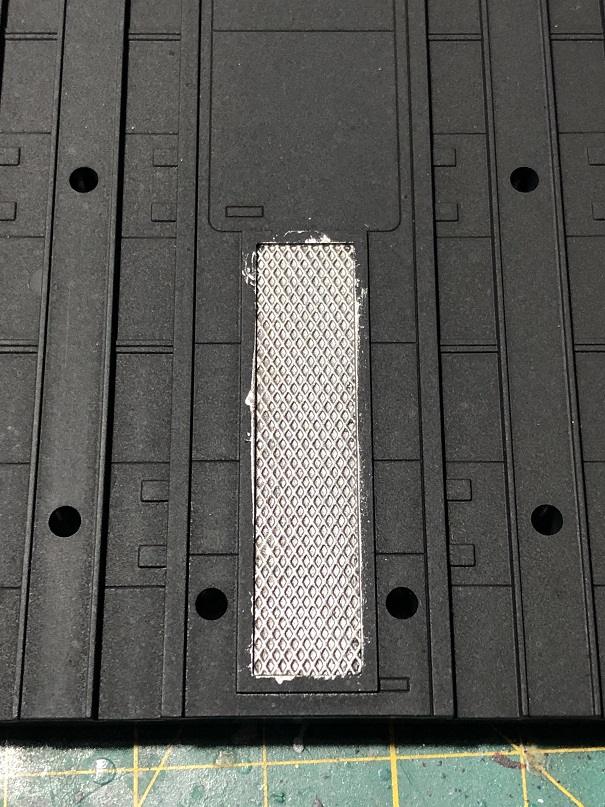
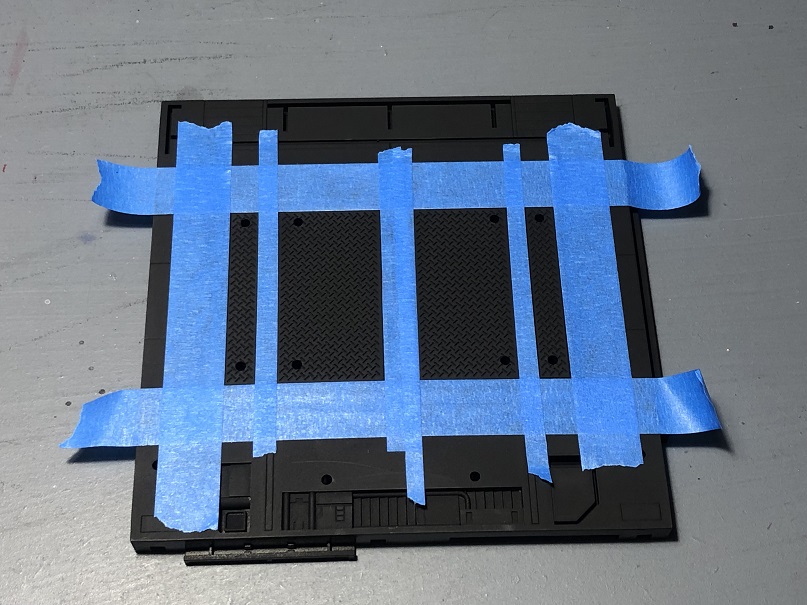
On the other hand, let’s paint the A type with an airbrush! For this, I’ll dilute the paint with airbrush thinner in a 1:1 ratio. The air pressure will be 25 psi (1.5 bar).
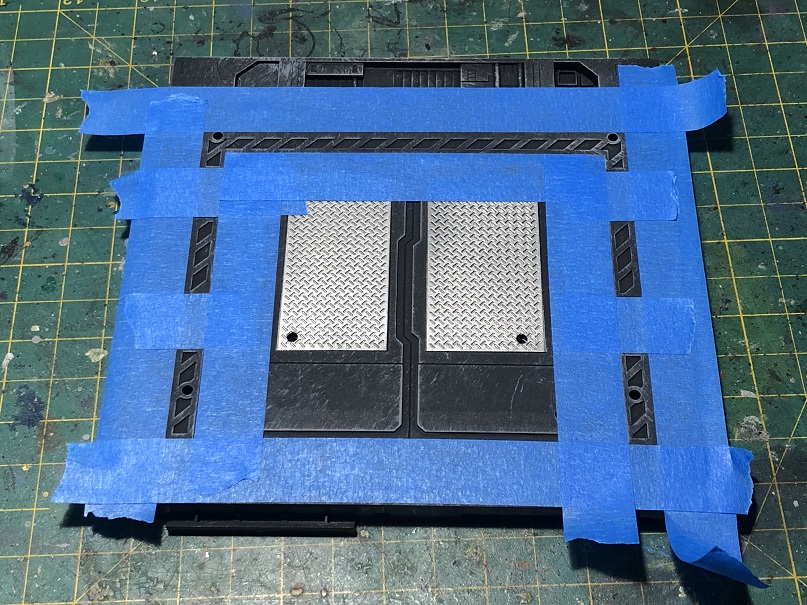
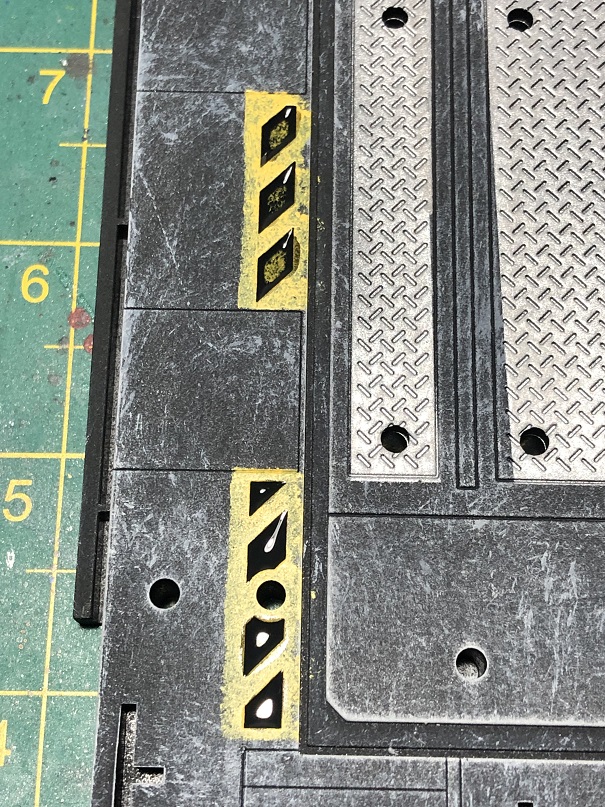
The first thing to do is mask the areas that we don’t want to paint. For this, we’ll use masking tape. I was a little lazy here and didn’t cover the whole piece. That mas a mistake. Then, apply a few even coats of paint until you cover the entire area and let it dry. Once the paint is fully dry, remove the masking tape. And we should be left with a clean color separation. Unless you made the same mistake that I did.
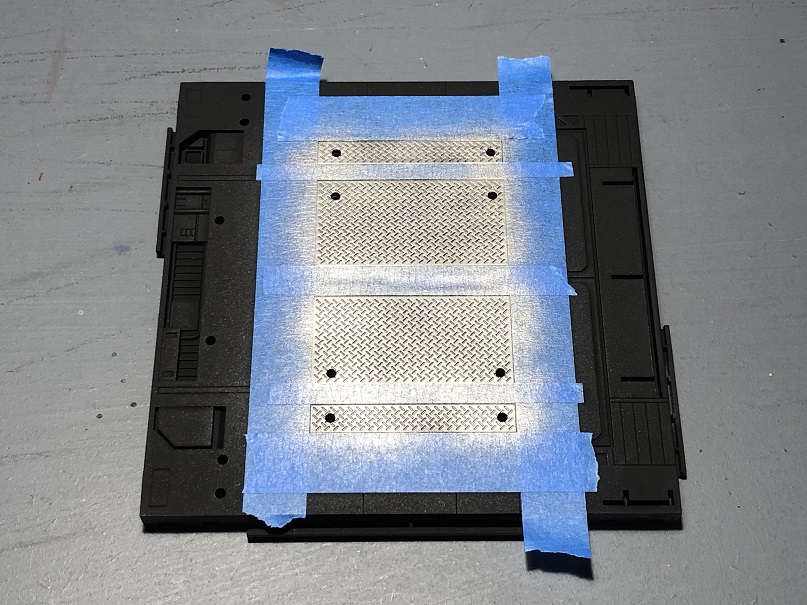
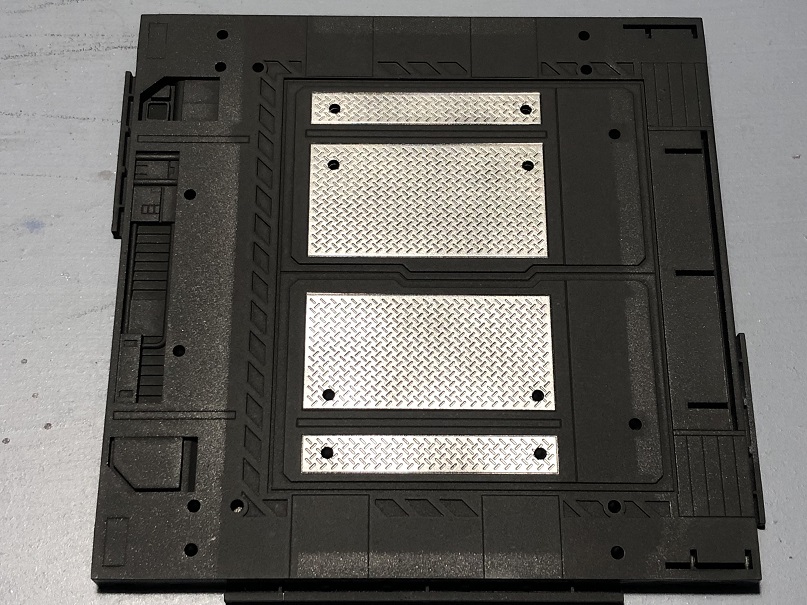
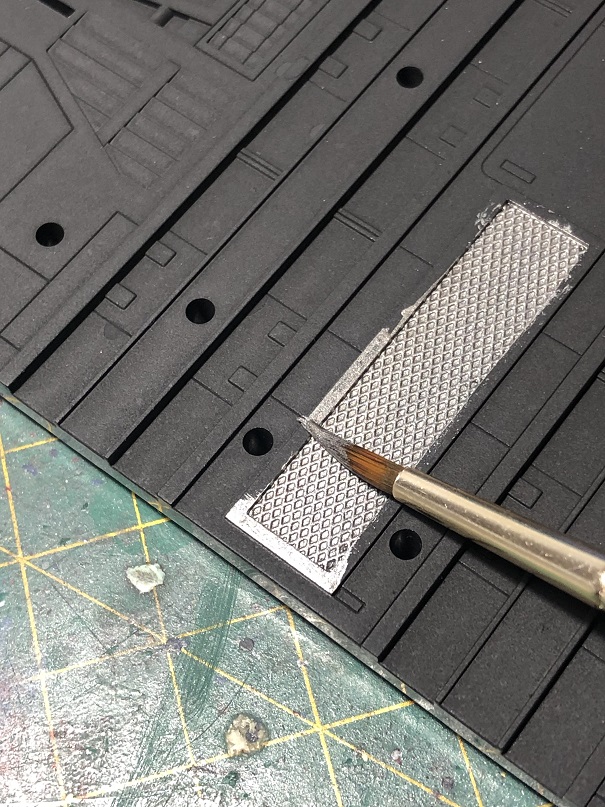
As you can see in the third picture, I should have masked the entire piece and not just the surrounding area of the vents. But don’t worry if this also happened to you! We can paint those areas with our base color using a hand brush.
This masking trick can be used with any other painting technique, as we’ll see later.
Dry brushing
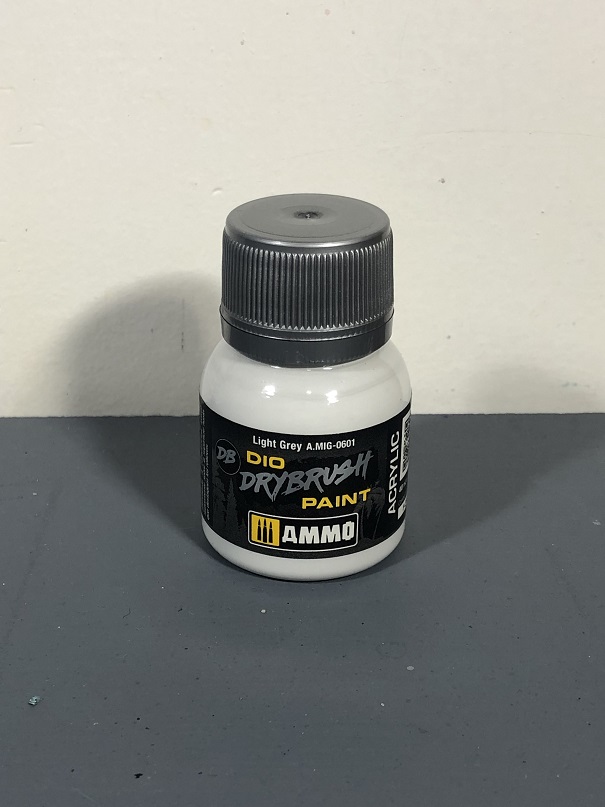
Next, we’ll use a lighter tone to add more definition to our pieces. Since the base color is black, I recommend using grey for this step. And we are going to apply it with the dry brush technique.
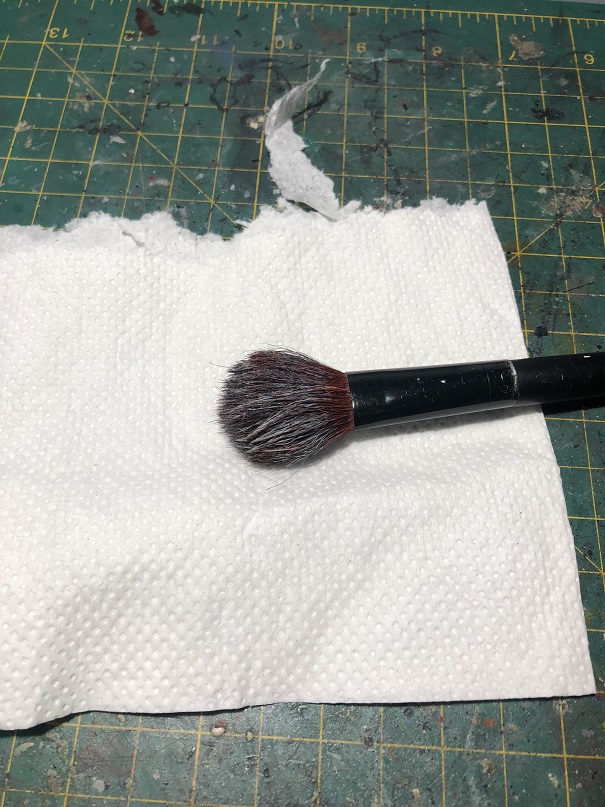
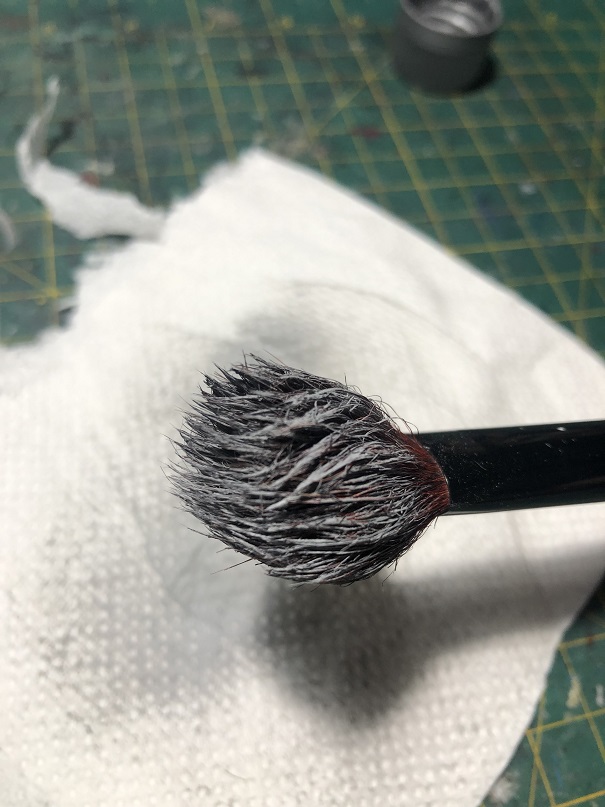
For dry brushing, we need a hand brush, some paper towel or cardboard, and paint. Dry brushing is famous for destroying fine brushes; therefore, I suggest using an old brush or one specific for this technique. A lot of brands made brushes designed for this technique, and they are wonderful. But for something like this I like to use an old make-up brush!
The paper towel or cardboard will be used to remove most of the paint from our brush before painting our plastic.
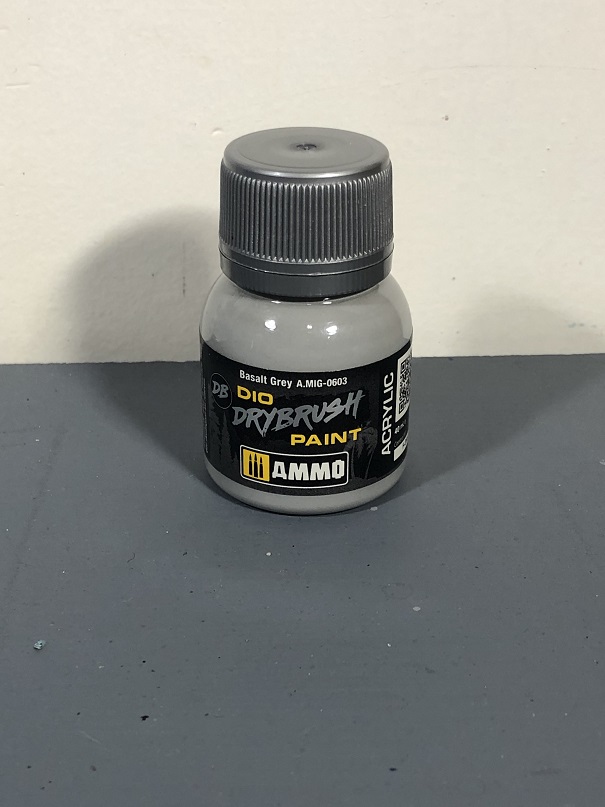
And for the paint, you can use almost any type. Except for washes of course, at the end of the day, we want our brush to be dry. Almost all the paint brads made paints specific to this technique. In this tutorial, I’m going to use Dio dry Brush Paint: Basalt Gray by AMMO.
How to do it:
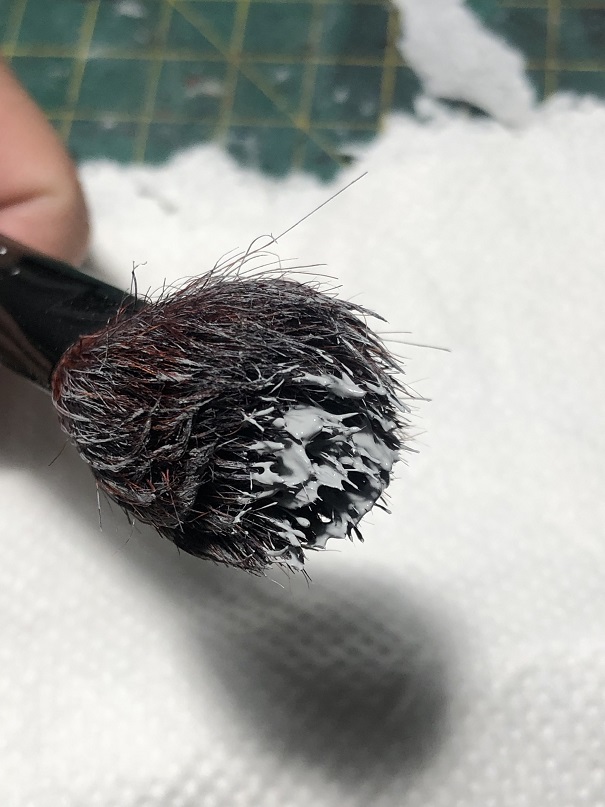
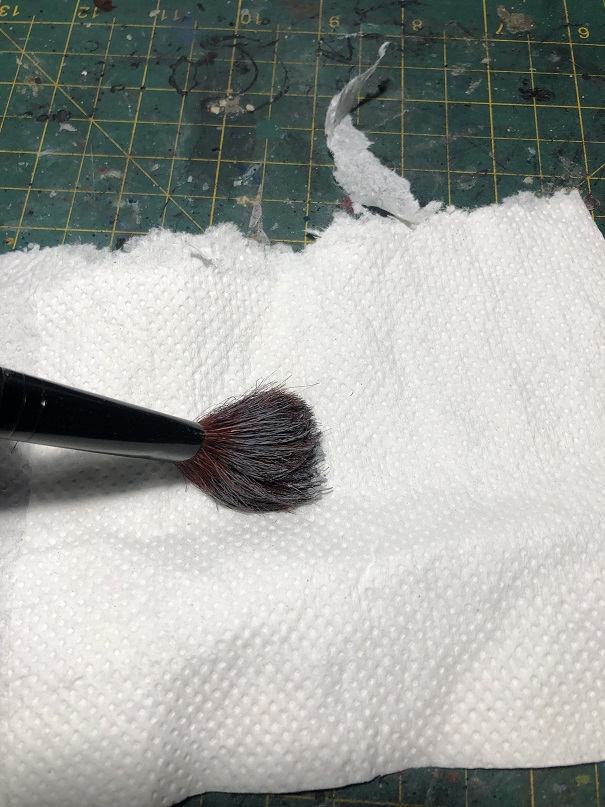
This is what I’ll use. A piece of paper towel and an old make up brush. First, pick up some paint with your brush. Then, rub your brush on the paper towel to remove the excess of paint. As you can see here, mine still has a lot of paint. Keep “cleaning” the brush until almost all the paint is gone. And now, we are ready to paint.
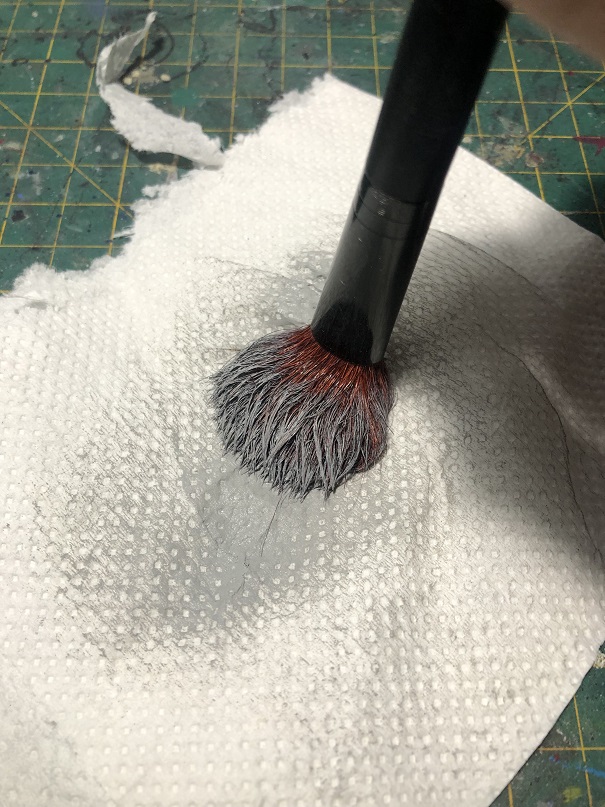
Dry brushing is an easy technique to use and offers amazing results. All we need to do is pass the bristles of our brush over our piece. Depending on the pressure you apply against the surface is the number of raised areas that will be highlighted. And the overall opacity of the paint will depend on how many brush strokes you apply to the area.
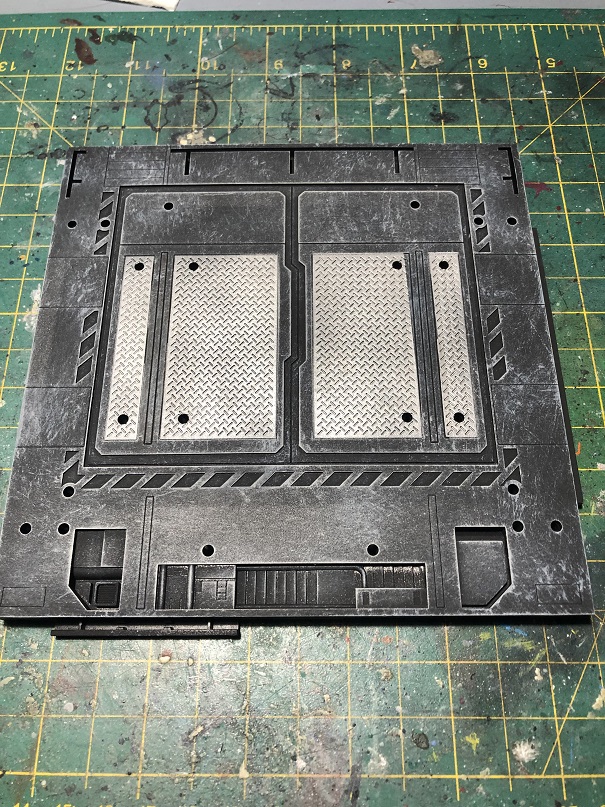
As you can see in the picture above, the flat surfaces are now covered with Basalt Gray, but the black bellow is still visible. On the other hand, the recesses remain almost black. Just make sure to reduce the pressure when passing over an area you don’t want to paint, like the metallic panels. But you can always use some masking tape to cover them.
You could change the saturation by the number of brush strokes you apply. You could keep going until the black is almost done, or just paint enough to add a little gray tone. The choice is yours. My recommendation: keep going until you are happy with how it looks. That’s the real secret of dry brushing!
Sponge technique
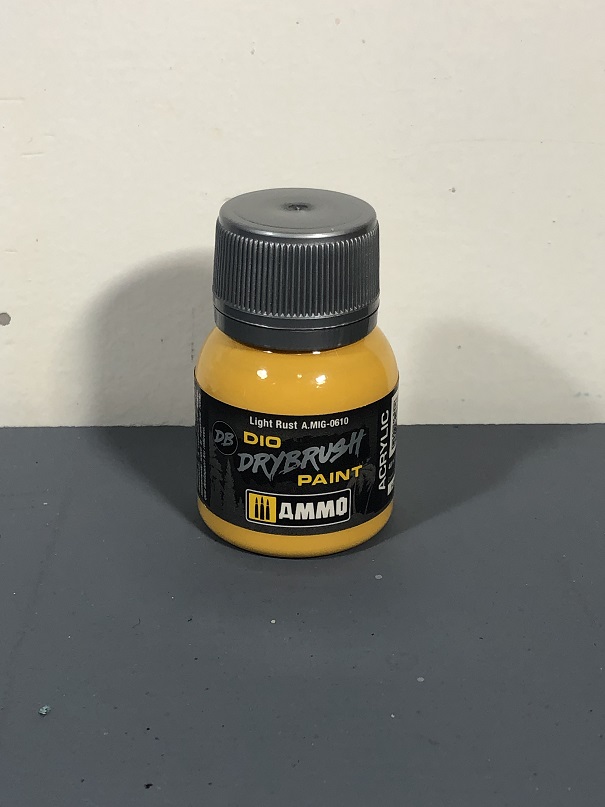
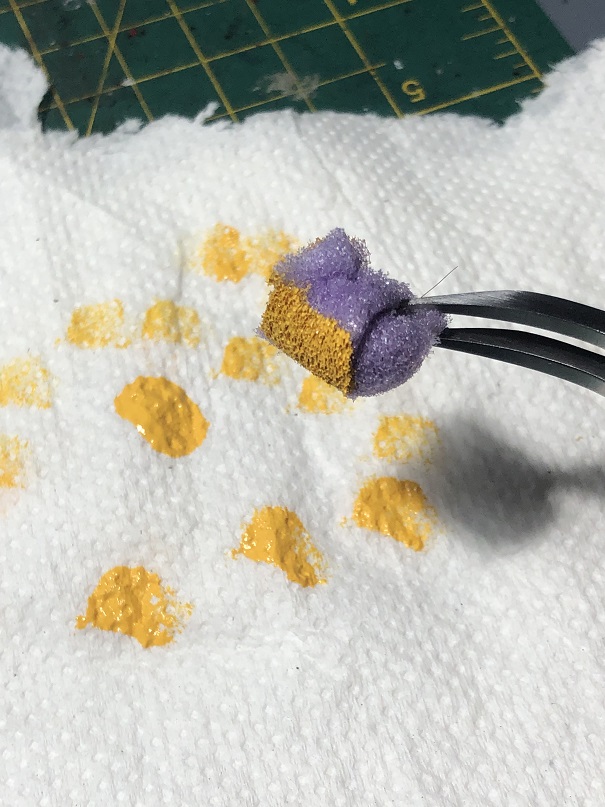
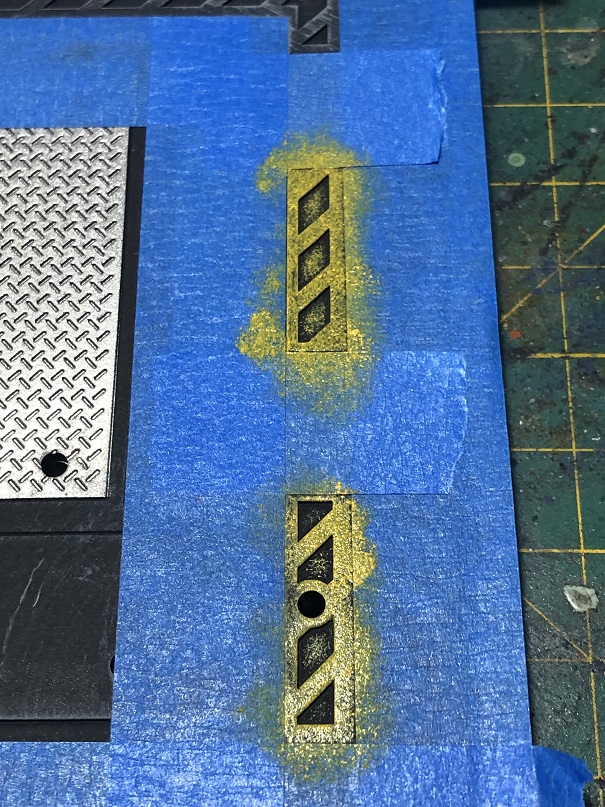
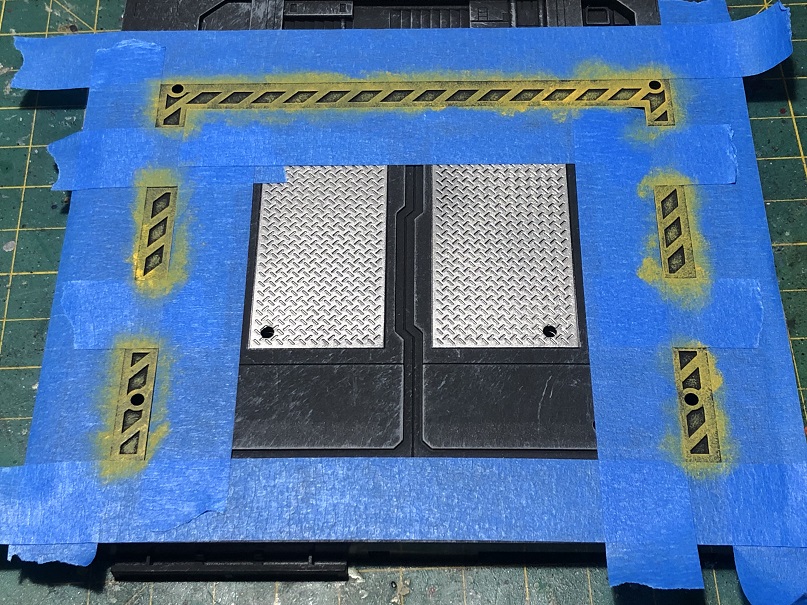
This is another easy technique to use, and with awesome results too! I highly recommend this technique for chipping, stippling, and weathering. In this tutorial, we are going to paint some yellow warning lines using this technique. This way, the lines will have a worn-out look from the beginning. All we need is paint, a paper towel or cardboard, some masking tape, and a sponge. The paint we’re going to use is Dio Dry Paint: Light Rust by Ammo.
Any sponge will do. I tore a piece from a kitchen sponge! Just make sure that is a new one.

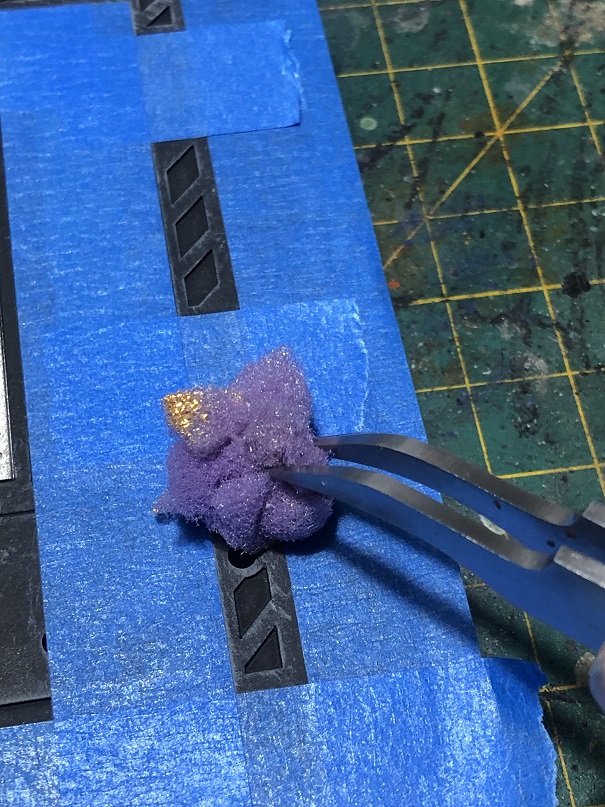
First things first, masking.
How to sponge paint
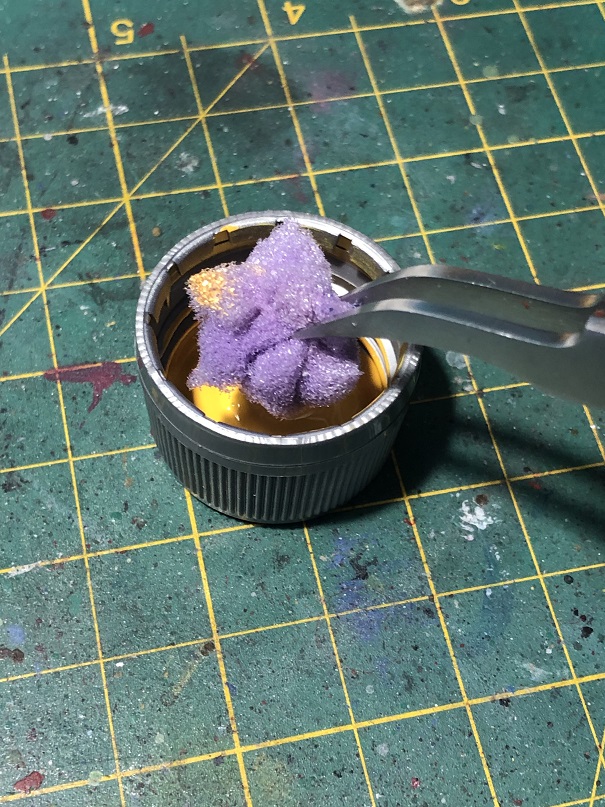
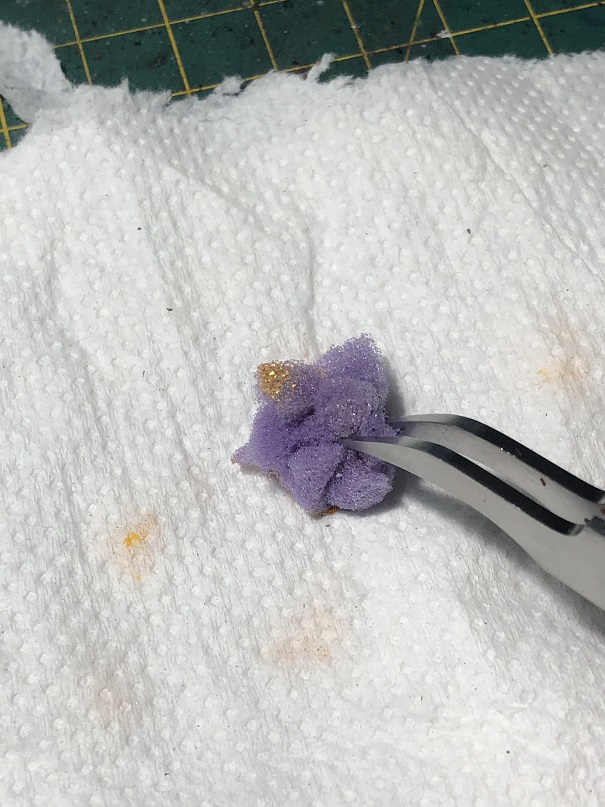
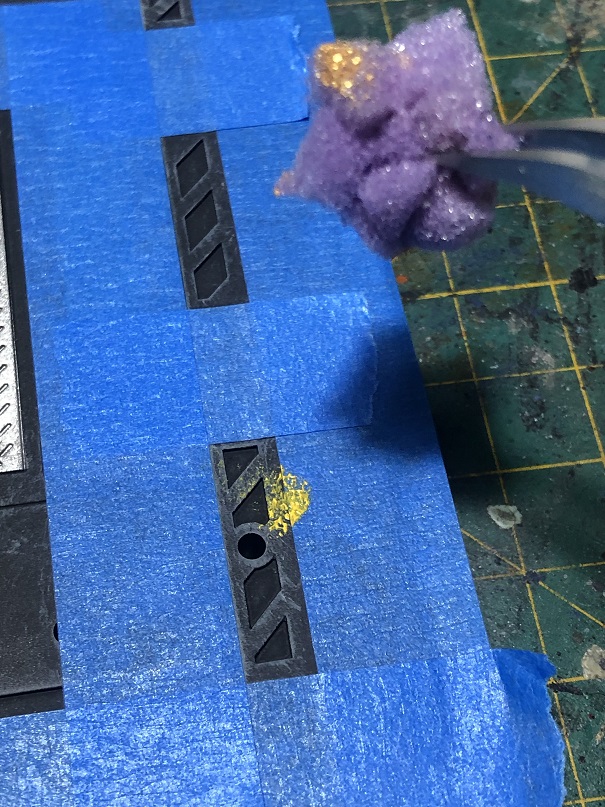
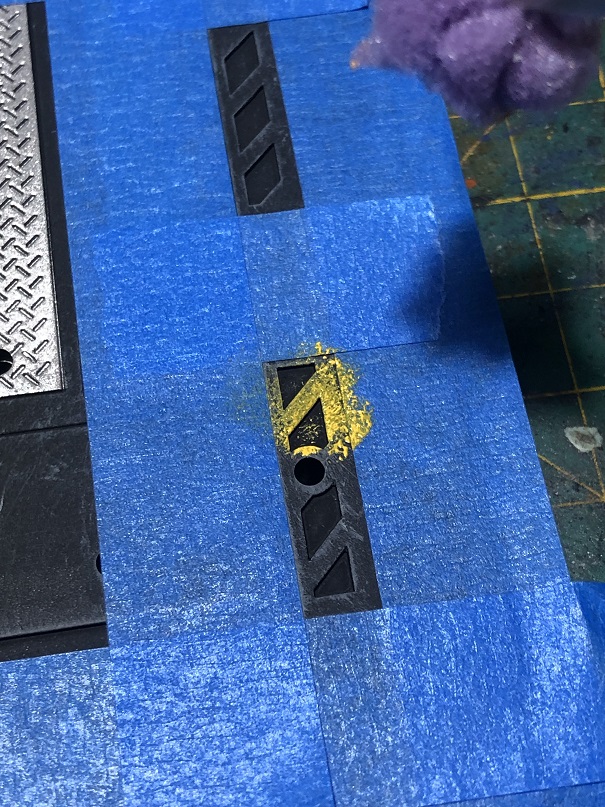
First, we dip the sponge inside the paint. This can be a little messy, so I recommend using gloves or tweezers. Then press the sponge against a paper towel or piece of cardboard to remove the excess of paint. This will also show us the pattern that the sponge will leave on the plastic surface. Press the sponge against the plastic surface to paint it. The amount of paint left on the surface will depend on the amount of pressure we apply. Even the recesses can be painted if we apply enough pressure. Repeat the process until you are happy with the result. After that, let it dry before removing the masking tape.
Just like the dry brush, the sponge technique is easy to use and it allows you to paint big surfaces quickly.
Don´t worry if you paint the recesses just like I did, that can be fixed easily with our base color. Or we can hide them with a wash, I’ll show you how in a while. But first, let’s add more “texture” using this same technique. For this, we’ll use Dio Dry Paint: Light Gray and Chipping by Ammo.

We repeat the same process we used for the yellow lines. But this time, we barely press the sponge against the plastic. We only want to paint small patterns all over the floor tiles.
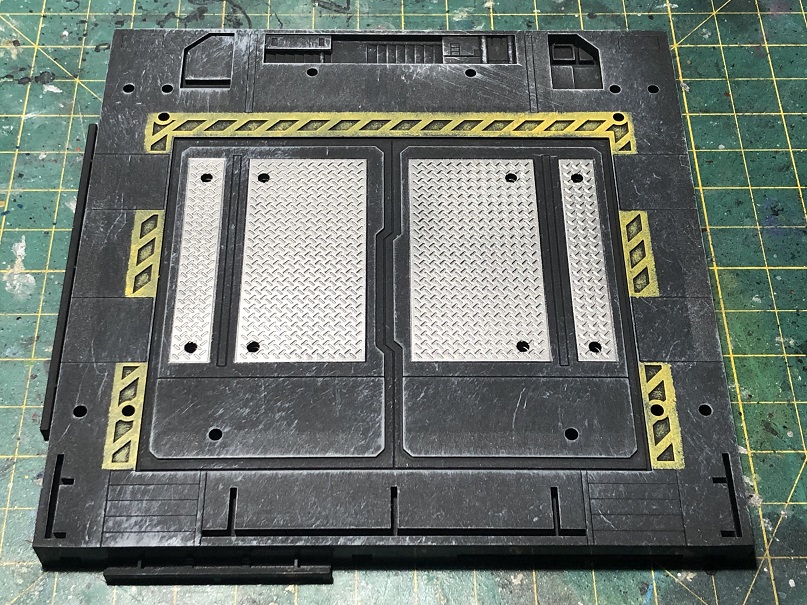
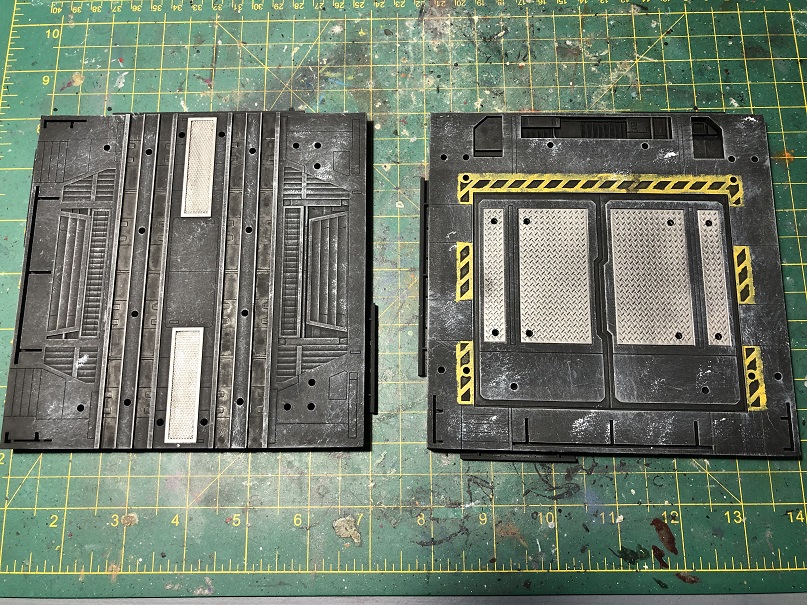
Before After
The difference between the before and after photos is quite subtle. But that’s the idea, we just want to add some patterns to make the floor tiles more “realistic”.
Using a wash!
The last thing we are going to do is apply a wash to all the recesses! This will make everything pop up!
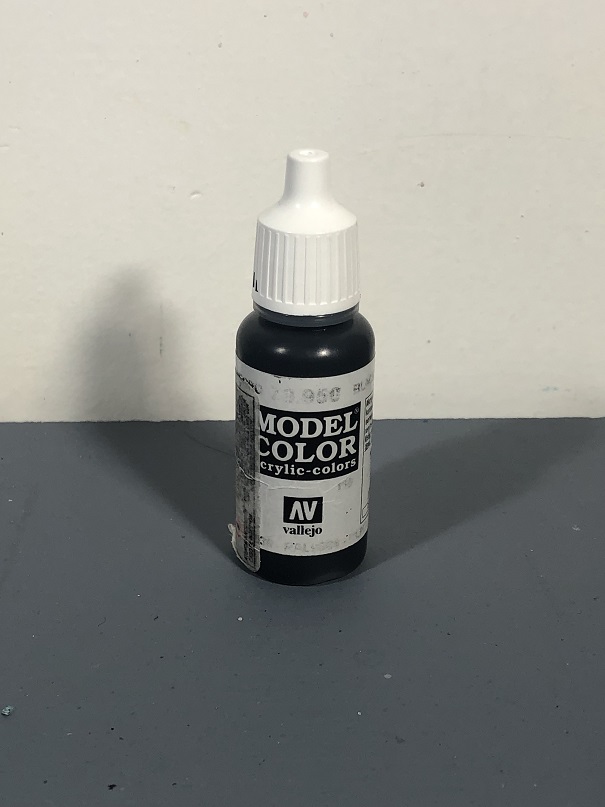
All we need is a hand brush and paint. We could either use a wash paint or make our own. Here I’ll show you how I made my own wash with water-based acrylic paint. All we need is water, water-based acrylic paint, and a pallet or small container to mix our paint. For this, I’ll use Model Color Black by Vallejo.
An easy way to make a wash
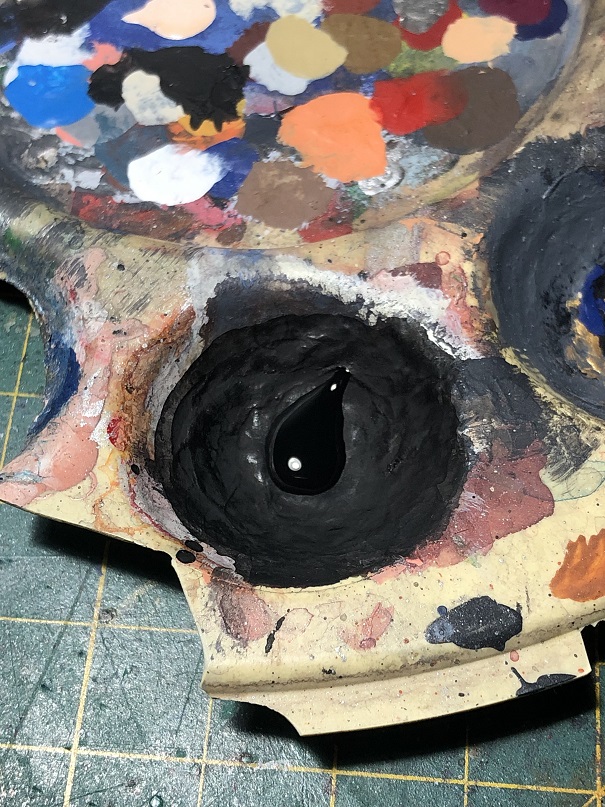
First, let’s put some paint on the palette. I used two drops of black paint. Then, add water to dilute the paint. I started with five drops of water and mix them with my brush. I suggest trying the opacity of your wash before applying it. In this photo, the wash is to dark, therefore let’s add more water. With a total of seven drops of water, the wash is ready.
Now, it’s time to apply a wash to the floor tiles.
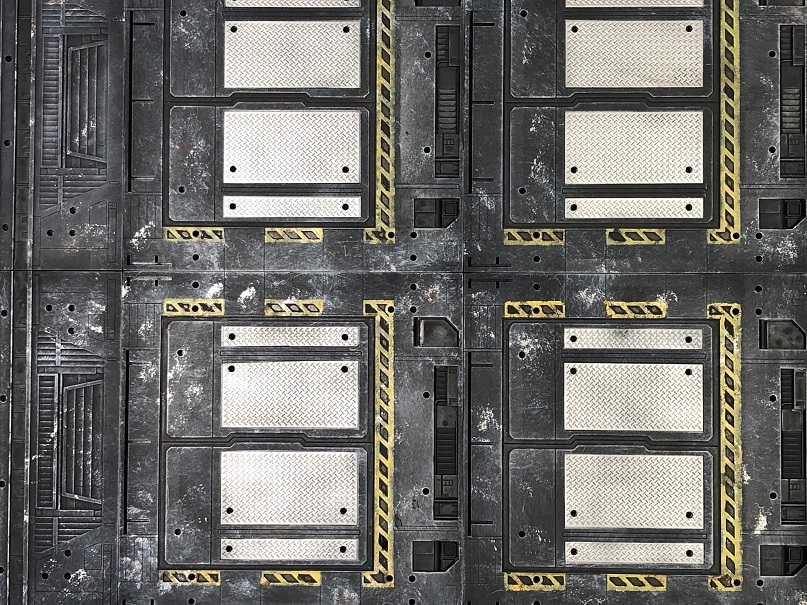
Let’s apply the black wash only inside the recesses. This black wash will help us hide the yellow paint inside the warning lines recesses.
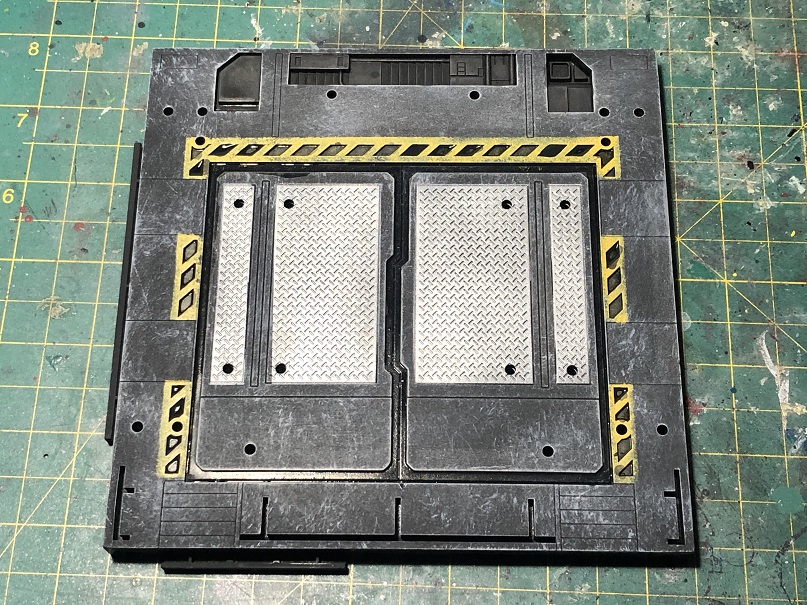
You could use this wash to add some oil stains all around the floor. Let’s also apply it to the metallic vents!
You could also apply this black wash to the entire piece to make it look darker!
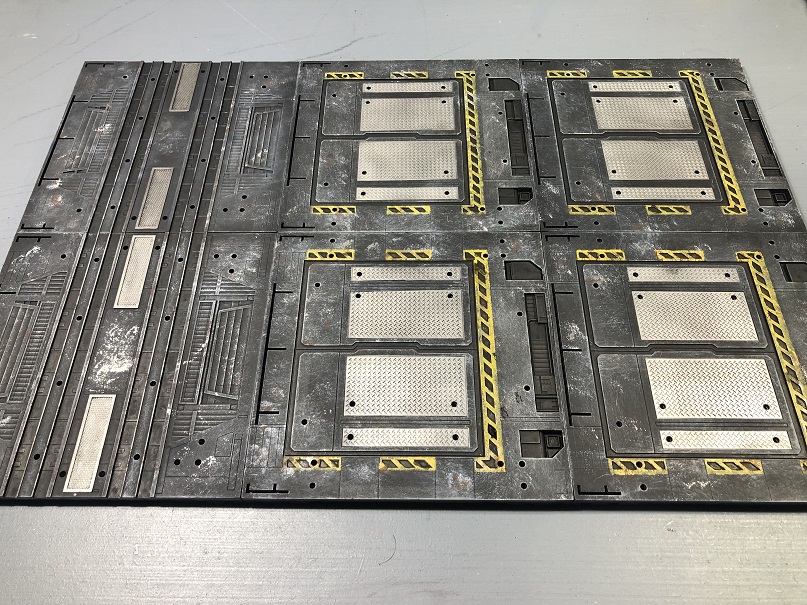
And with that, we are done!
We are done… for now!
All the techniques we used in this tutorial are easy to use and very helpful to paint big pieces quickly. The results might be quite rough but, for me, that’s the idea. At the end of the day, these pieces are meant to be used as backgrounds for displaying our model kits. Therefore, we want to keep the attention on those kits.
But the most important thing is that you like how it looks! If you are happy with the results, nothing else matters!
I hope you find this article useful! And remember that you can buy these awesome bases and paints at hlj.com!
See you at the next one!
Happy modeling!