Introduction
Hey everyone! Today I’ve got something pretty cool to show you. So, while browsing HLJ, I came across this nifty little thing: the Model Cover Base Mirror (Square) by Hobby Base.
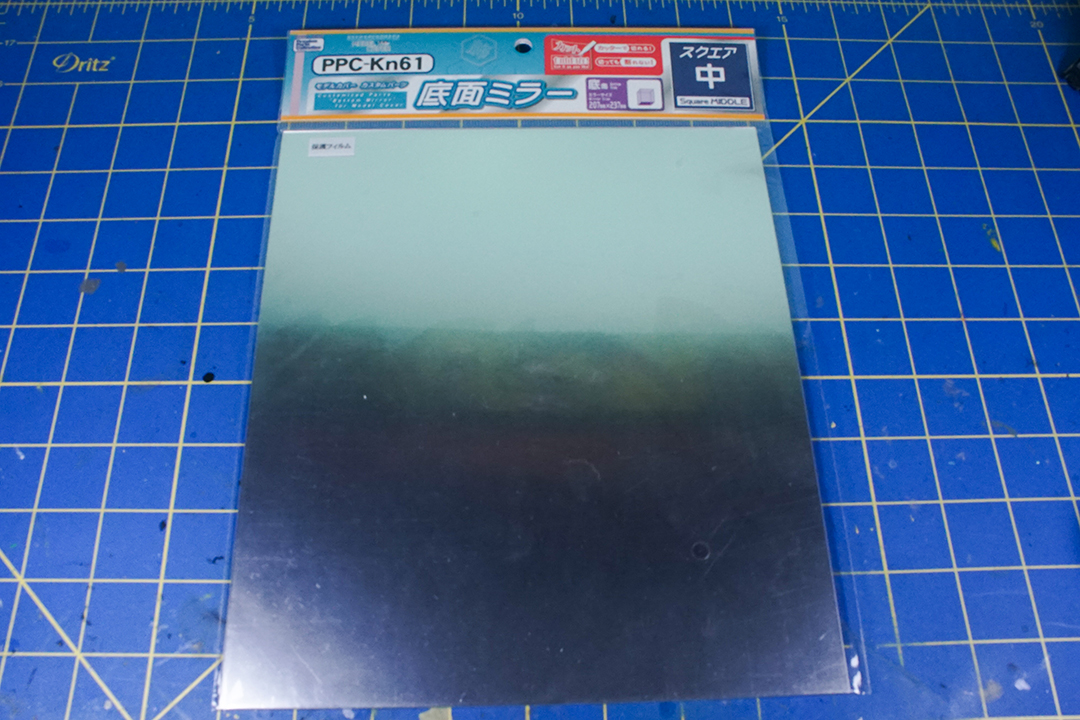
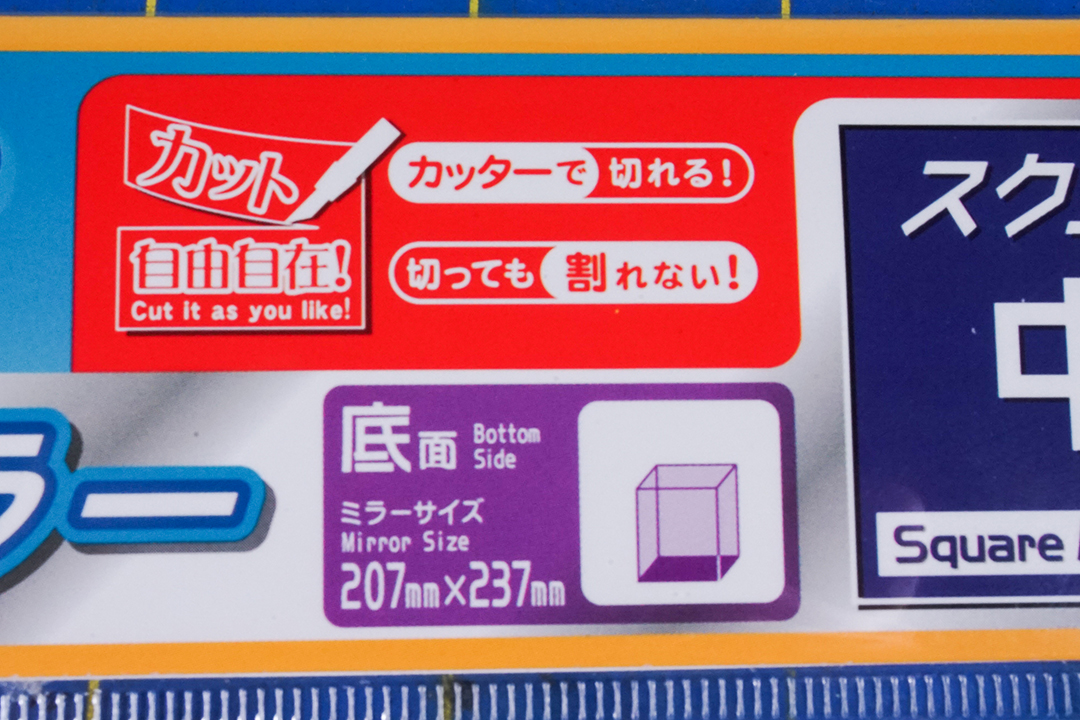
The Mirror Square is typically used to line the bottom of a display case. However, what caught my attention was, and I quote: “Use as-is, or cut it to the exact size that you need!”
And noted on the label of the mirror.
So, since this mirror can be cut/shaped, it got me thinking. Why can’t it be used for, say, model kits? So that is what we are going to do.
Let’s quickly introduce the mirror. It’s 270mm x 237mm — way too large for most display cases, let alone what we are going to do.
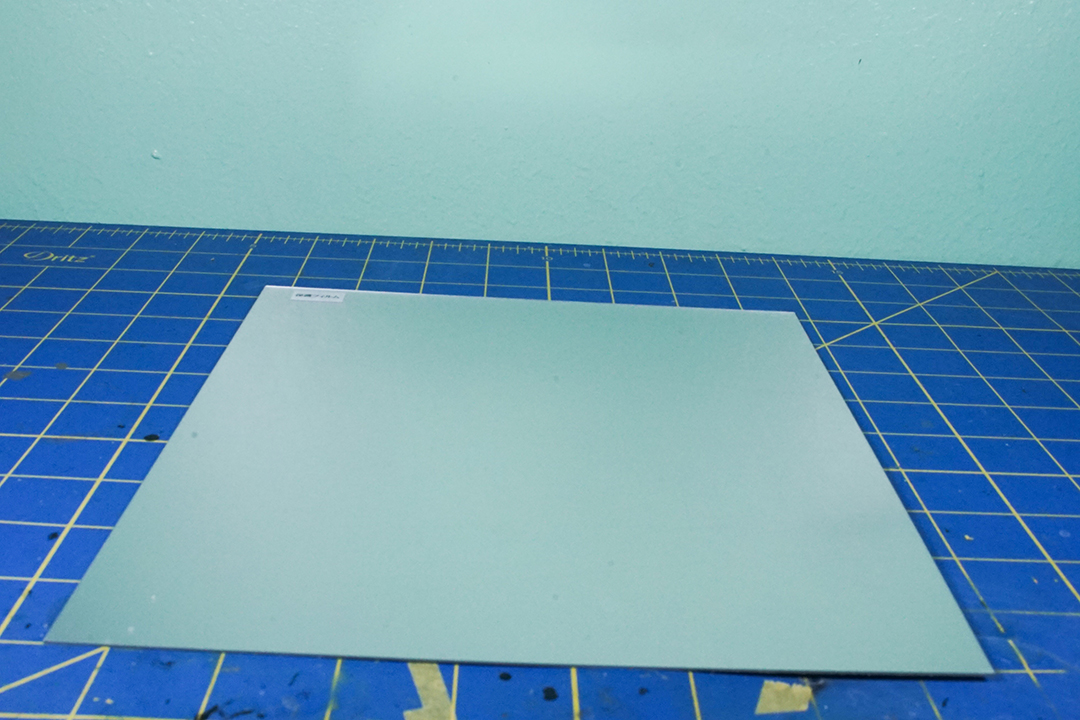
On another note, the mirror is relatively flexible, but I really do not recommend bending it too much. It takes a good amount of pressure to give it a bend. This is a very rigid mirror.

And last but not least — and this is really important — there is a protective film cover over the mirror. This is why you do not see a proper reflection in the mirror. It is removable, but I suggest you remove it after you do the cutting.

How to use it for model kits
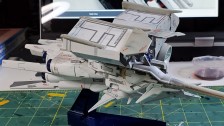
Now for the fun part. As mentioned, I was wondering how I can use this cutable mirror for model kits. Well, here is a little experiment I did. And to help me, here is an HG 1/144 Gundam X, volunteering its solar panels.

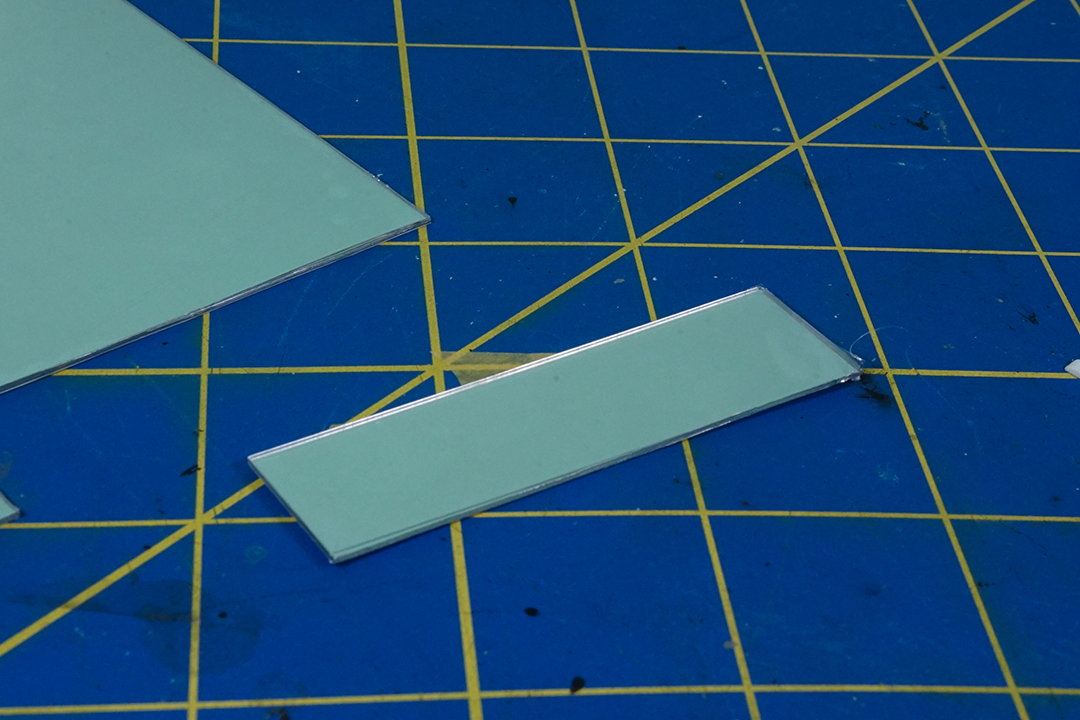
Now here we go. First, we need to cut out a few pieces from the mirror. I suggest using scissors to do this. While the material is relatively thin, it is incredibly thick in its own right.
I honestly did kind of eyeball the cutouts, tho I do suggest doing proper measurements.

Next, let’s take the solar panels and draw out a pattern on the back of the cutout.
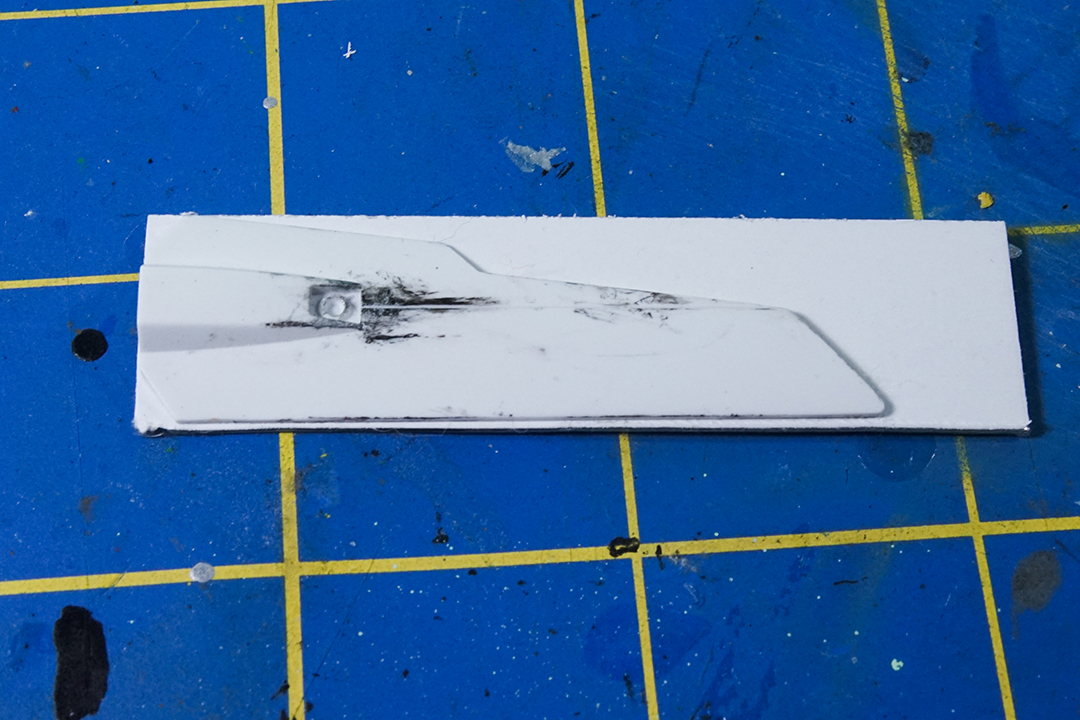
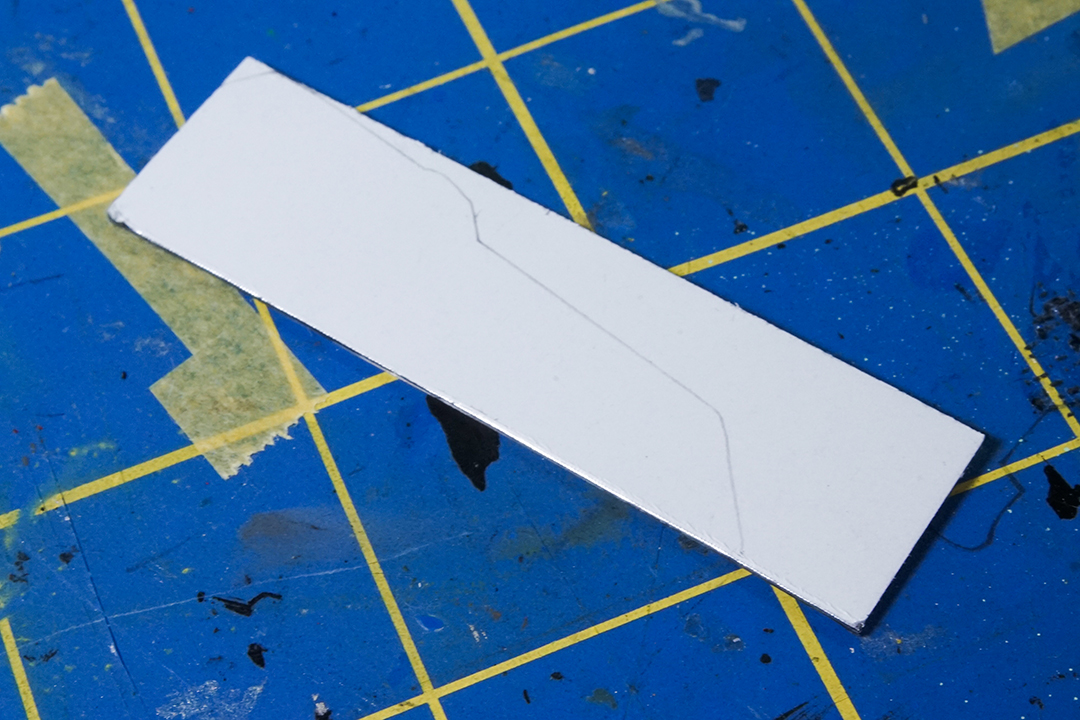
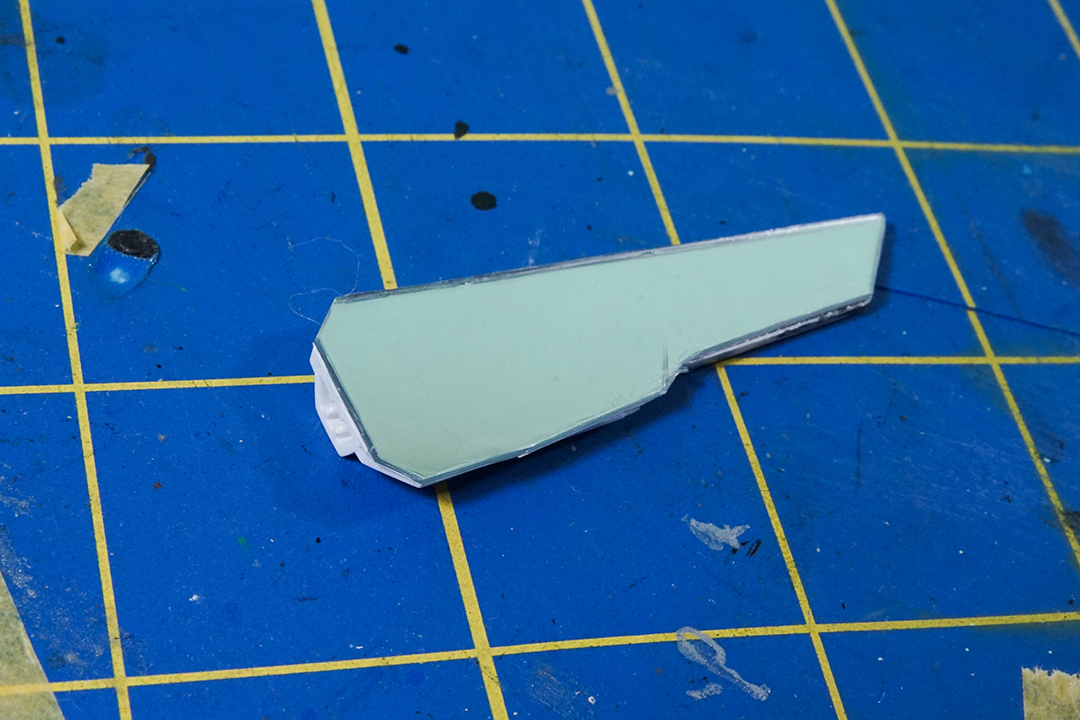
Now again, taking the scissors, cut around the pattern. Get as close as you can get without cutting into the pattern itself. Then match it up to the part.
Do what you can to clean it up. If you are happy with how the panel looks, then glue it on with your choice of glue. I personally used Loctite super glue.
And now we do it 3 more times.

Make sure to remove the film cover from the mirror.

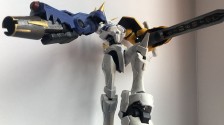
And now the final part, mounting it back onto the model kit. And to show that off here is a little gallery.


Recap:
Here is a recap of the steps to do this.
- Take mirror coat.
- Measure out the part you want to cut.
- Draw out a pattern.
- Using scissors, cut around the pattern.
- Get as close as you can get without cutting into the pattern itself.
- Then match it up to the part.
- Do what you can to clean it up.
- If you are happy with how the panel looks, then glue it on with your choice of glue. I personally used Loctite super glue.
Closing Notes
The only real downside, and this is just on the Gundam X here, is that I can’t fold the solar panels closed, but I think this looks really cool for display purposes.
Overall, this was a random repurposing idea I had, and I hope it serves as an inspiration for you with any projects you do have. Using hobby materials you wouldn’t usually think to use on your model kits. If you want to try this, check out the Model Cover Base from Hobby Base, and maybe give it a shot and see what you could do with a cut-able mirror.
Until next time,
Zeroconvoy


Jaberwak
Wrong choice of material….
You want HIQ Mirrage decals – they are 0.03mm thick and are best used for such works… This thing you are showing is way too THICK…
Jaberwak
or like they can also be called Aurora stickers
https://www.hlj.com/aurora-green-sticker-hqpads-gr
https://www.hlj.com/aurora-blue-sticker-hqpads-bl
Dont make people destroy models with that thick base mirror sheet…
Zeroconvoy
Oh wow, that is pretty nice to see. Yeah, they are a bit too thick here and there, but really it’s to get the idea of something one could do, just an experiment. Thanks for the share for those links tho, be happy to check them out.