Hi, everyone! Welcome to another tutorial for this Haro build. Today, we’re going to wrap up the series with a simple yet versatile technique. There is a bit of work left to do, but I want to move to a different build soon so as to keep the posts diverse. If you really want to follow my progress on this model, I will be posting updates on my social media pages in the near future. For now, though, let’s build a tiny box!
Concept
I feel I should provide some background on this vignette. Most of my builds have a backstory, and this scene I’m trying to depict is not an exception.
This Haro I built is supposed to be the original robot companion Amuro owned back in UC 0079. Since, according to the Gundam Wiki, Kamille’s Haro from Gundam Zeta is not the same as Amuro’s; I figured I could explain what happened to the original Haro through this vignette.
After the events of the show, it went from one place to other and never had a new owner, until it eventually ended up in a colony, surrounded by a humid environment… and junk. It is kind of a sad story, but with the rust streaks that look like falling tears, it all fits together. Sorry, Haro! It’s for the sake of art.
Designing the box

When I was still planning out the build, I had to decide what kind of junk I would make. It didn’t take me long to come up with two ideas: newspapers (which I really like putting on my diorama builds) and a cardboard box.
After thinking of other components for the base, I had to flesh out my plans for each element. The box was bugging me because I didn’t know what kind of design or purpose I wanted to go with. Then, in one of those pre-sleep stages where you close your eyes and creativity flows wildly, I realized I could make an HLJ box! I instantly fell in love with the idea, because it also meant that maybe in the Universal Century we’ll be able to ship parcels to most colonies in the Earth sphere.
“The sky isn’t the limit anymore! …Maybe Side 3 is, because they’re weird up there” echoed in my head. I chuckled to myself.
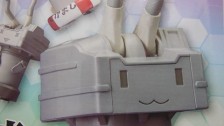
Anyway, I took a look around a HLJ box I have in my work area and basically replicated on my computer what I saw on the box. The “Handle with care” symbols took a good 10 minutes, but it was a really enjoyable process. Since I’d have to fold the cutout after printing, I made two designs: one for the inside and one for the outside. The inside has two extra flaps, which will be useful later.
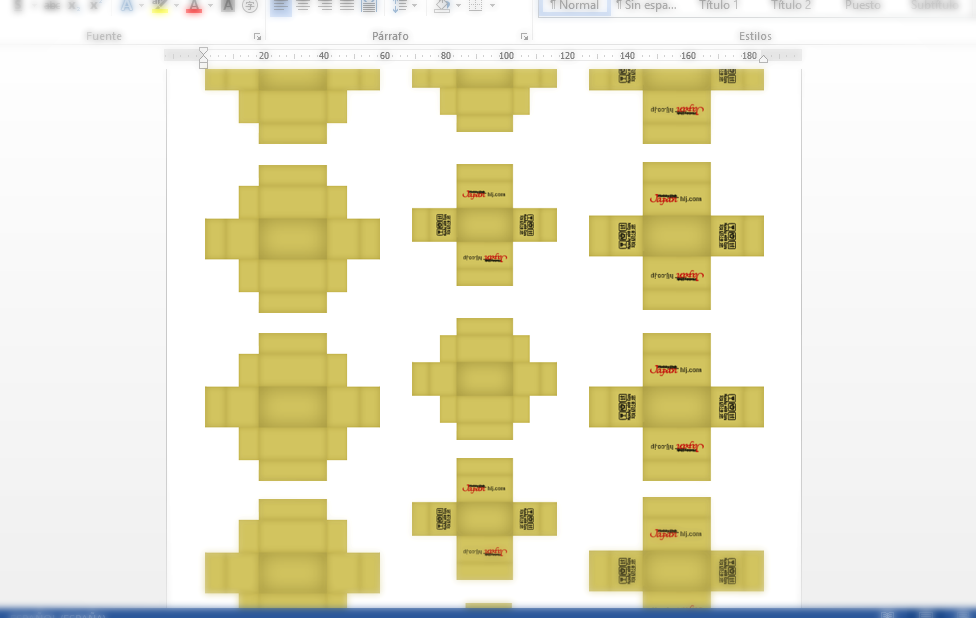
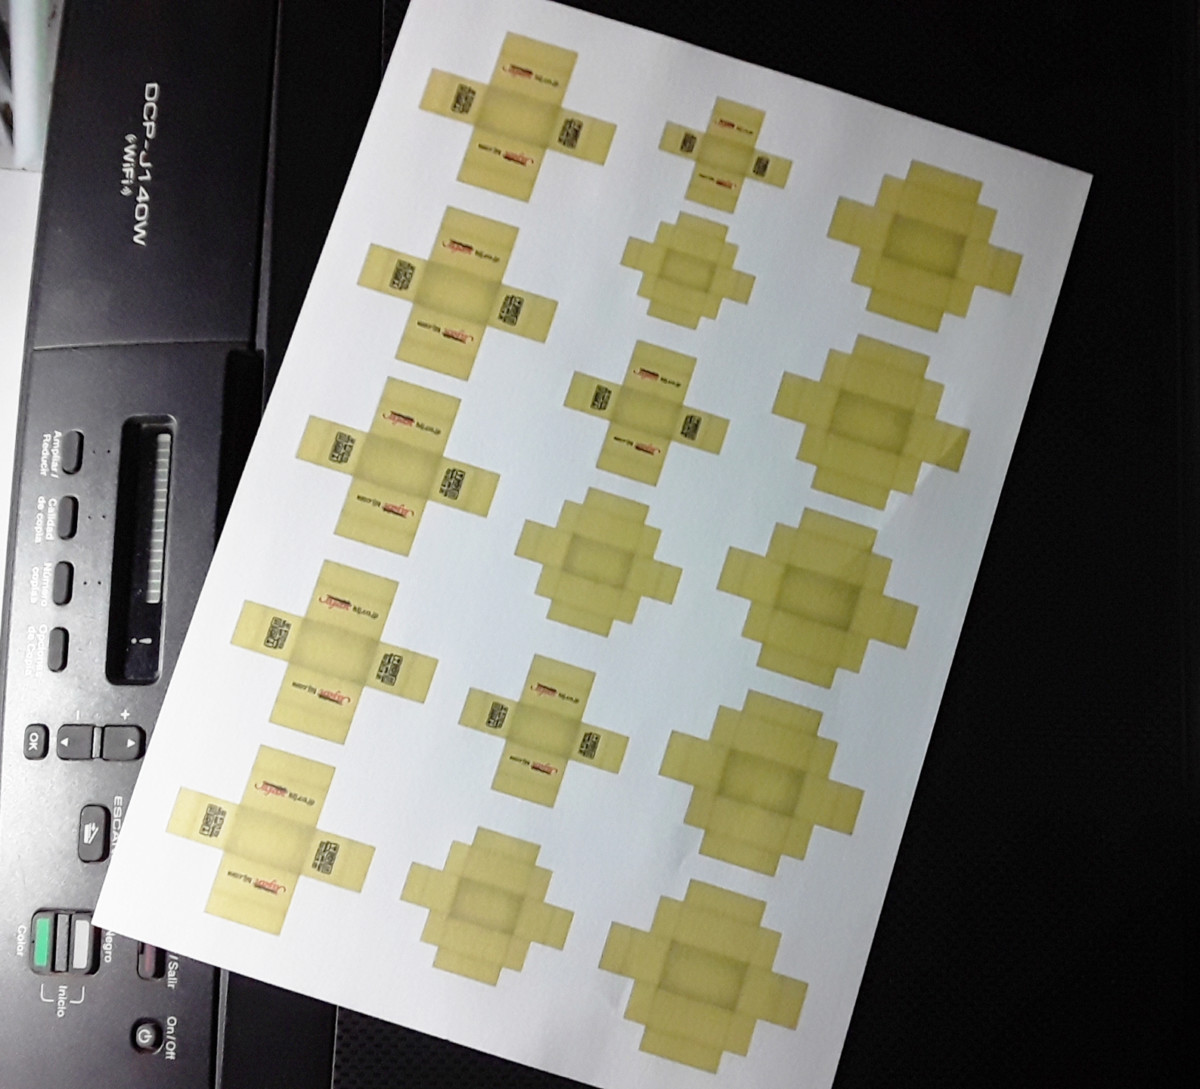
Once I was happy with the image I made, I pasted as many copies as I could fit on a Microsoft Word document. Usually I work with much smaller scales, so I doubt I’ll ever need this many boxes… but who knows, haha. I played around with the sizes so as to have more options, and printed the document in the best quality available.
Building the box
Cutting out
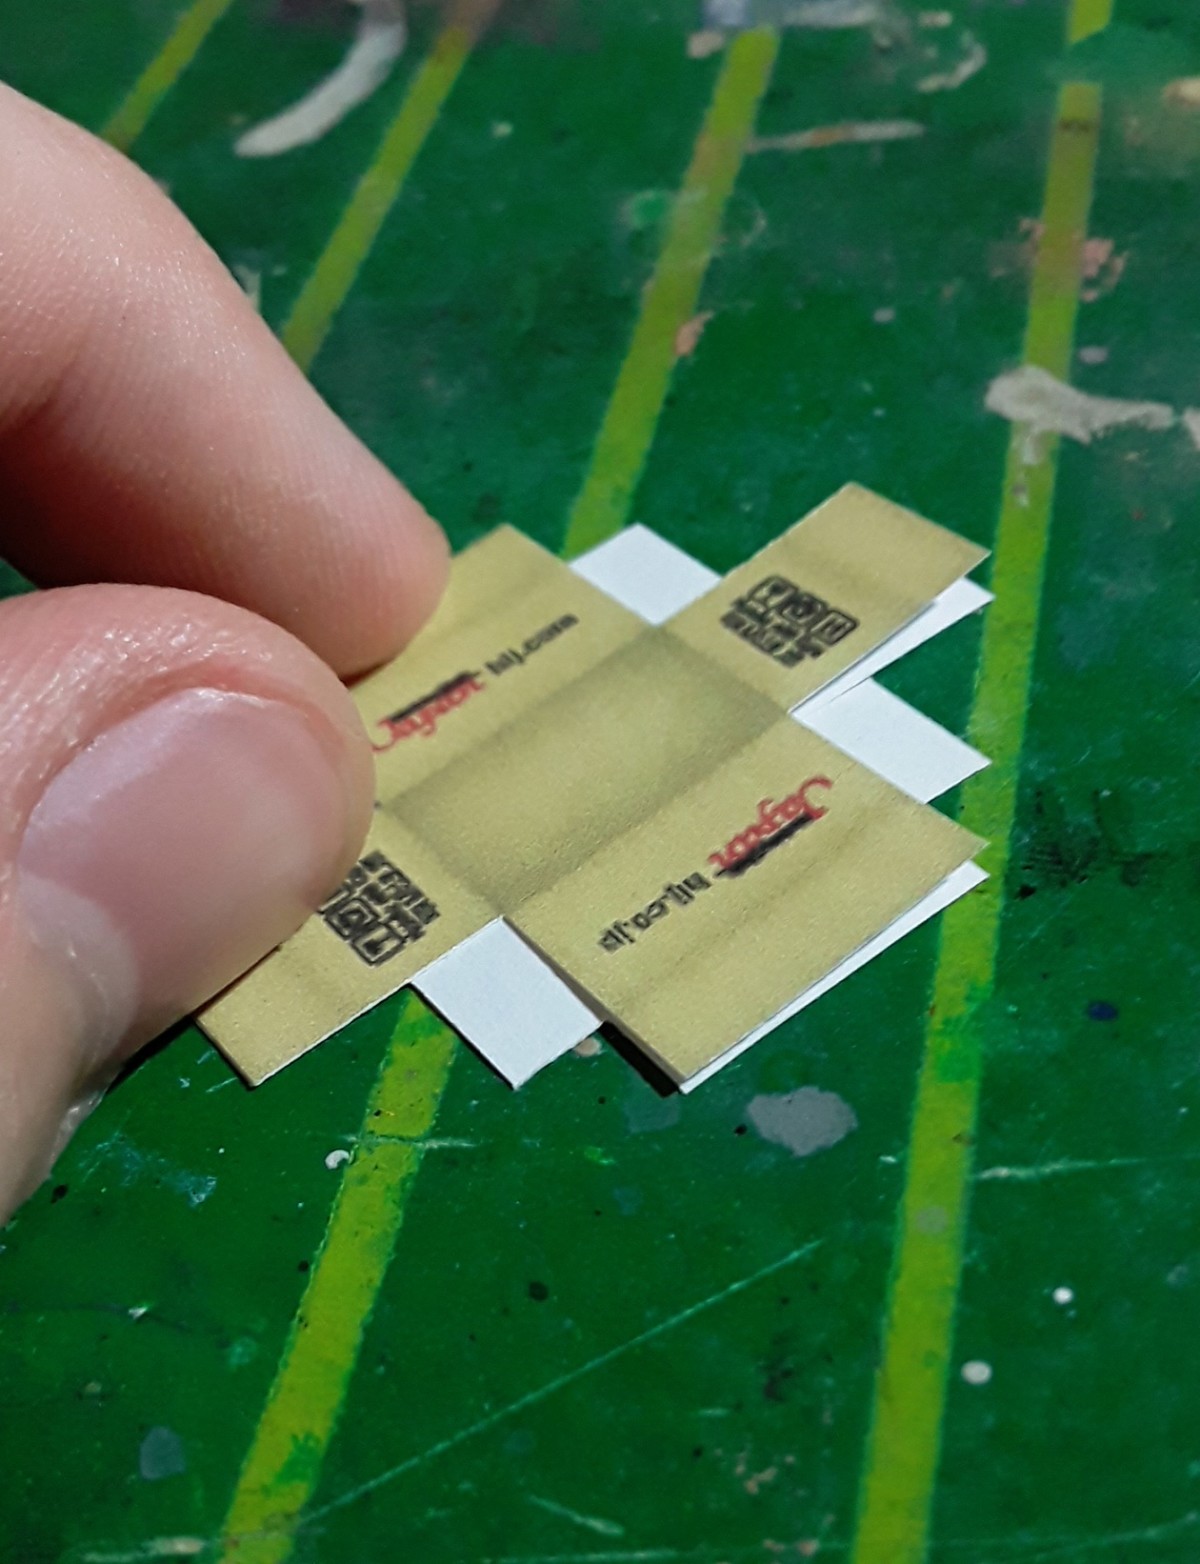
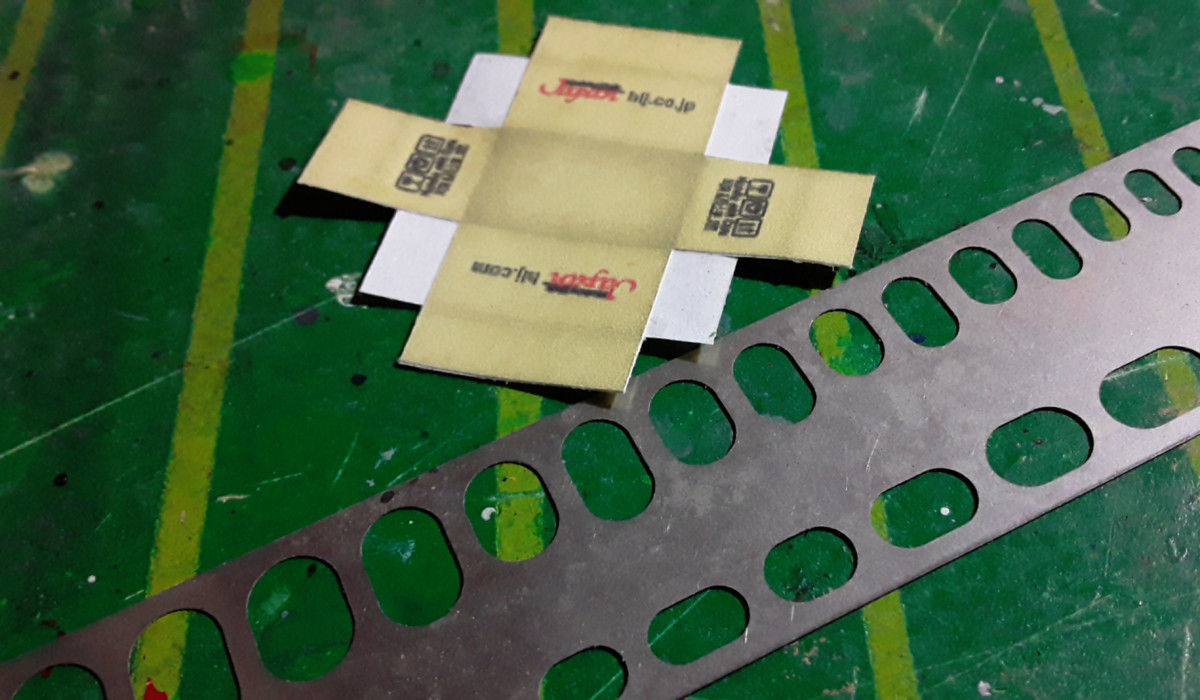
We’re at the workbench again, and the next step is to cut out the box print from the sheet. Using a sharp blade, it took only a few minutes. There is no need to rush here, so be careful and try to cut as precisely as possible. A Hasegawa scribing template came in handy as a guide, but you can also use a metal ruler.

This task consists mostly of cutting along the outline. However, on the piece with no symbols we’ll need to make four additional little cuts to separate the extra flaps from the short adjacent rectangles; which is the area I highlighted in the image above.
Assembly

Next, we have to glue both halves together. Apply glue to the white side of either piece and press them with your finger. I prefer using a glue stick over the traditional liquid PVA glue for this, because the former doesn’t create much volume. I’m not experienced with spray adhesive, but it should work just fine as well.

After a couple of hours, the glue should be set. Now we’re ready to put the box together. I used the scribing template as a guide again when folding, to make sure the edges are straight. In this stage, the only parts that need glue are the extra flaps. I apply a little amount on the blank side of each flap one by one, and press with a bamboo skewer to get a strong bond.
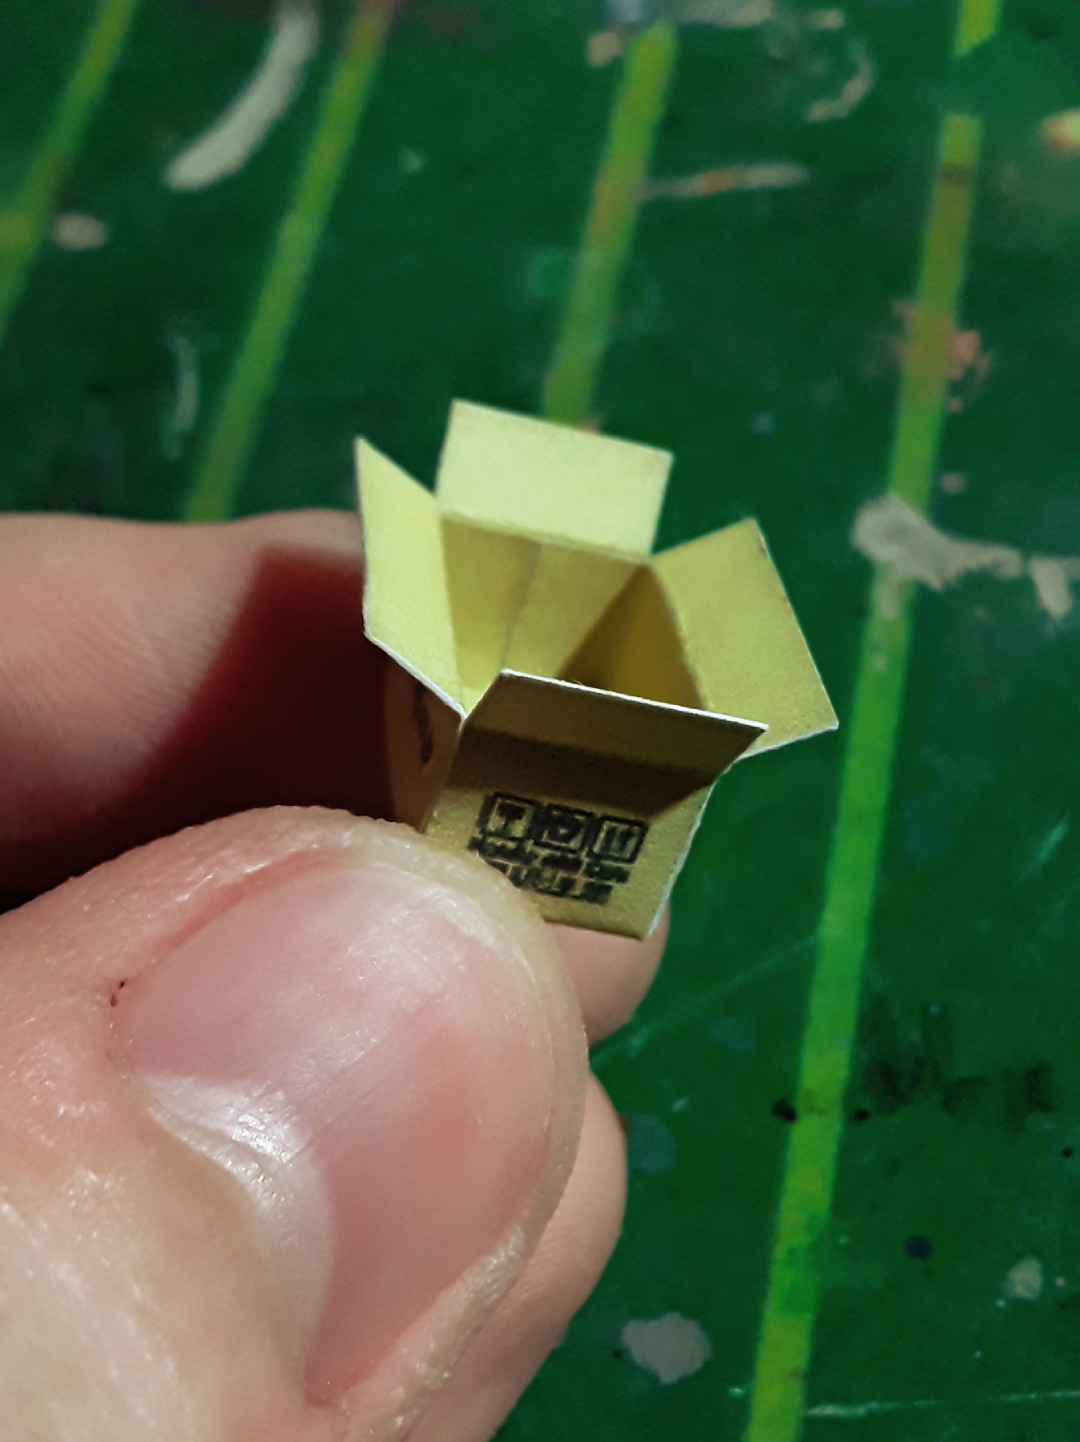
With this, the basic construction of the box is complete! Leave the glue to dry for another 2-3 hours and it’ll be ready for the next step.
Touch-ups
Painting the edges
The edges are white from cutting the sheet, so we need to go in with a brush and paint them. Mixing a color close enough to that of the box may take some time, but it’s worth the effort. Leaving the exposed paper as is would take away a great deal of realism, despite the low contrast between the khaki of the box and the white edges.


I could use a fine brush since we’re covering a small area, but lightly running a wider brush sideways along the edge works as well. Since the brush only makes contact with the raised area, it’ll produce a straight line and cover just the edge.
At this point the box is good to go, we could stop here if we wanted. However, for my build I’ll need one final step.
Weathering
The box should blend in with the terrain, since it’s supposed to have been sitting there for a long time. Therefore, we’ll do some light weathering with washes.
I mixed a sand color and thinned it down heavily with water. We want this paint runny and rather transparent.
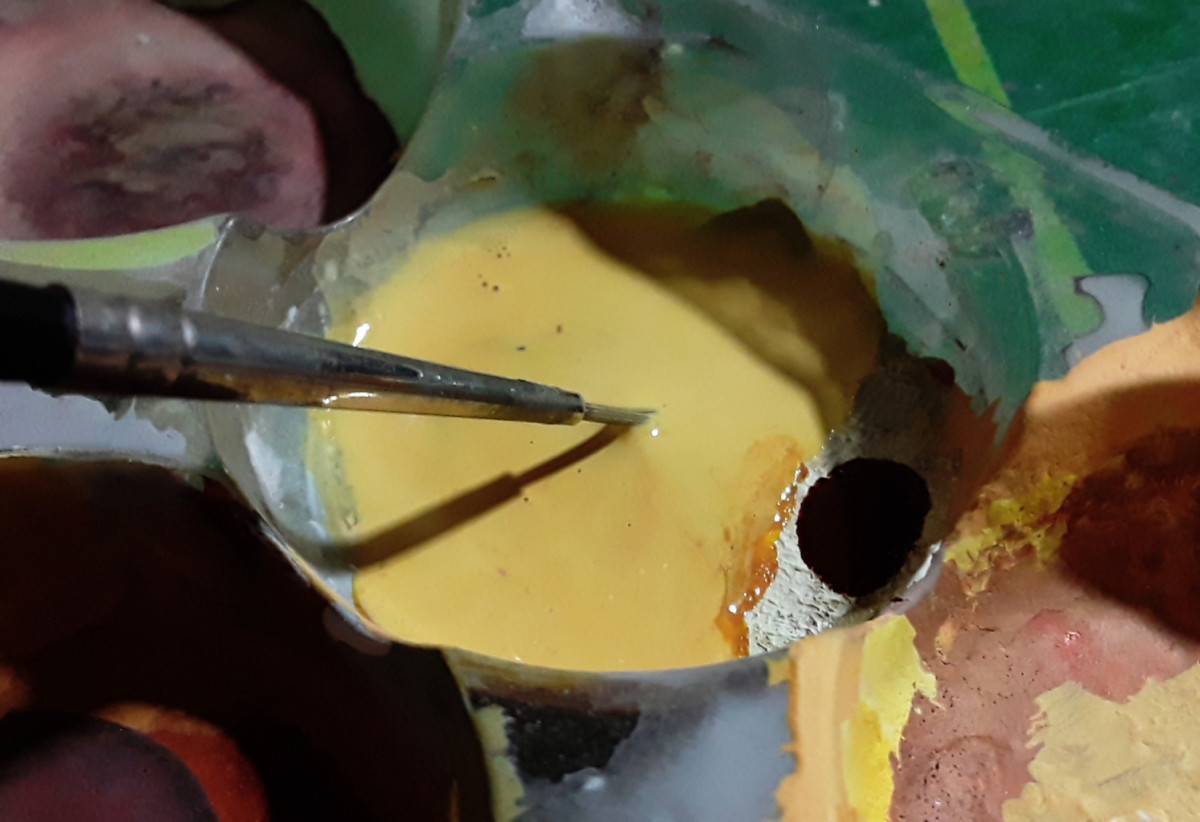
Spread a small amount with a fine brush around edges and low areas. Naturally, that’s where the box is more likely to collect dirt and sand.
If you want to achieve a more opaque effect, build up thin layers slowly.
Keep the paint thin and make use of the great deal of control this technique offers. This said, knowing where to stop is also important (just like with most cool things in art, haha). If you’re unsure about the effect, look at the object from afar; it might help you tell whether it’s enough or you should stack up more layers. One layer for the flaps and three for the bottom were enough in my case.


The result is pretty convincing; it makes me want to make more of these in different sizes. For this build, though, one box is enough.
I’ll be adding more greeblies and posting the progress on my social media (linked below). But at least here on the blog, that is all for this guide and this series! I hope you liked following my progress, it and picked up a few tips for your modeling projects. Feel free to leave your comments below; I’d love to read them!
Next time I’ll be back in my 1/144 scale world, kicking off a new fun build. Look forward to that!
Stay safe and Happy New Year!