Part 1 – The birth of an idea.
Hello there!
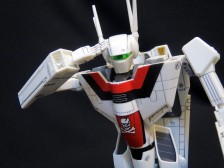
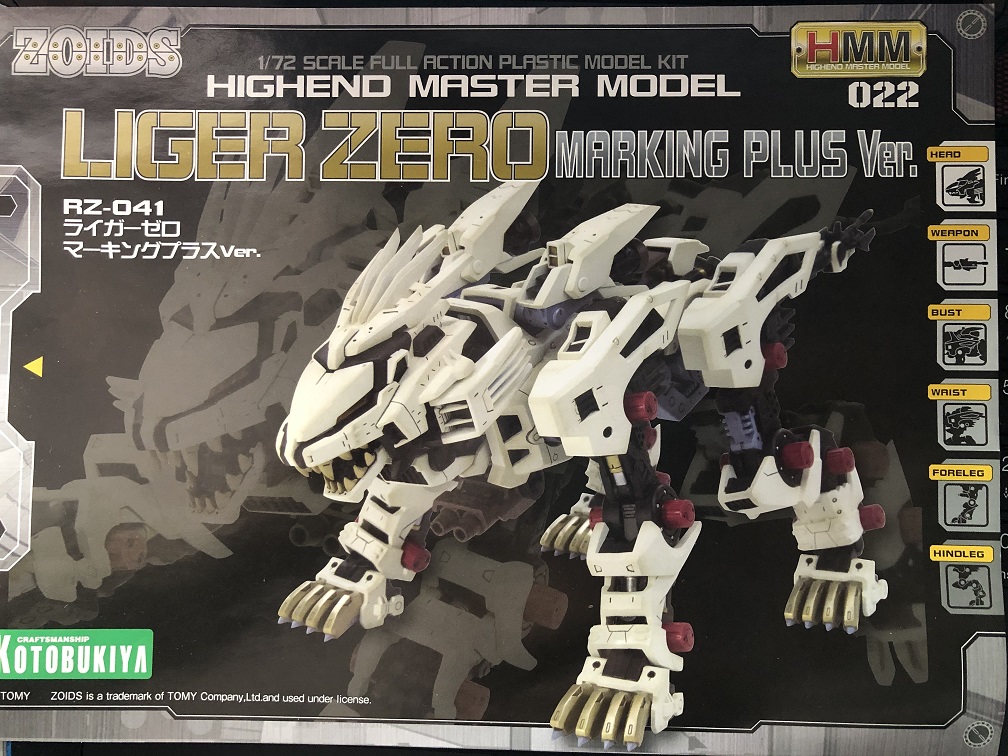
Welcome to a new “How to Guide” article series! I’m Anthony and today I’m here to share with you a few modifications and painting techniques I used to build a 1/72 Scale Kotobukiya Zoids: Liger Zero.
But this time we’ll try something different!
In this series, each article will be focused on a different body part of the Liger Zero; for this one we’ll be working only with the head. But that’s not all. We also are going to create a character.
Without further ado, lets begin.
First steps
So far we’ve seen how to paint flat white armor with Omegamon and how to paint white armor over a dark green base when we change the faction of a Godos. This time, we’ll design a new character based on this Liger Zero.
What do I mean with this? Usually, in every universe, you can differentiate a character’s vehicle from the mass produced ones, just like Char’s Red Zaku in Gundam, Irvine’s Grey Command Wolf in Zoids, and Vader’s Advanced Tie Fighter in A New Hope — or even Herby.
References
The first thing we need is an idea of what we want our character to be. For this Liger Zero I wanted to create a leader for my other 2 white zoids. Therefore, I thought of a mech with a military rank that has seen many battles and from which it has always emerged victorious, despite the wounds it suffered.
With this idea in mind, lets find some reference. I found my inspiration from the Star Wars and Warhammer universes, where the ranks in the armor of clone troopers and space marines, respectively, are represented with color stripes in the armor.
I also looked at WWII photos of airplanes and tanks for references for the decals and damage marks. And last, but not least, in wildlife documentaries for the scars. At the end of the day the Liger Zero is based on a lion and is mostly a melee fighting Zoid.
With this, my concept for this character is this one:
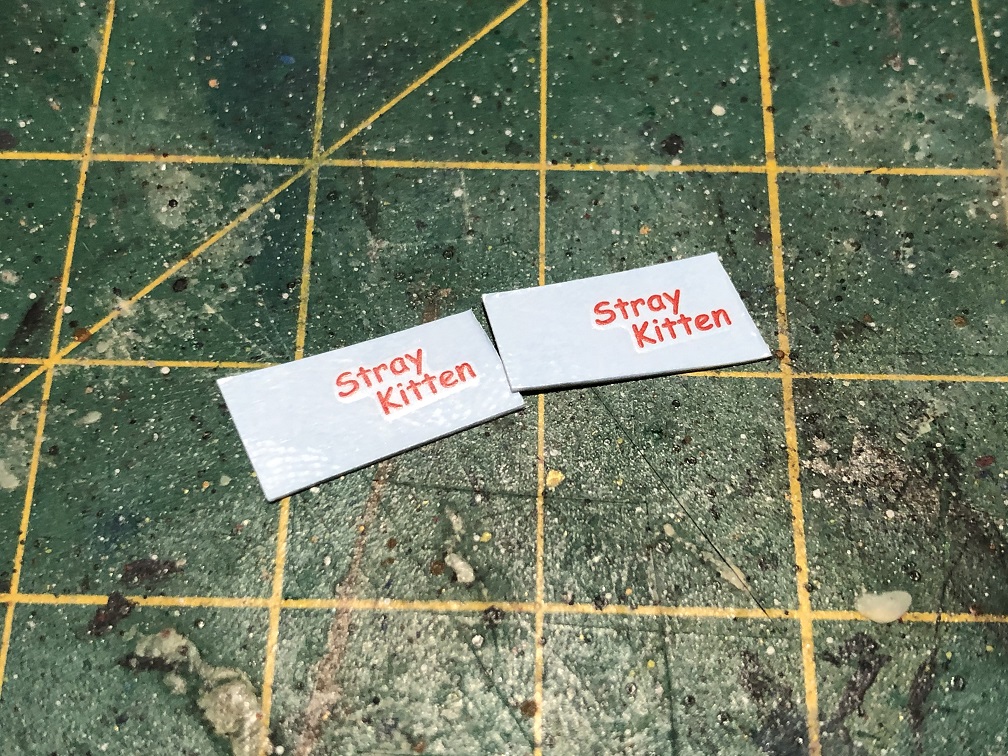
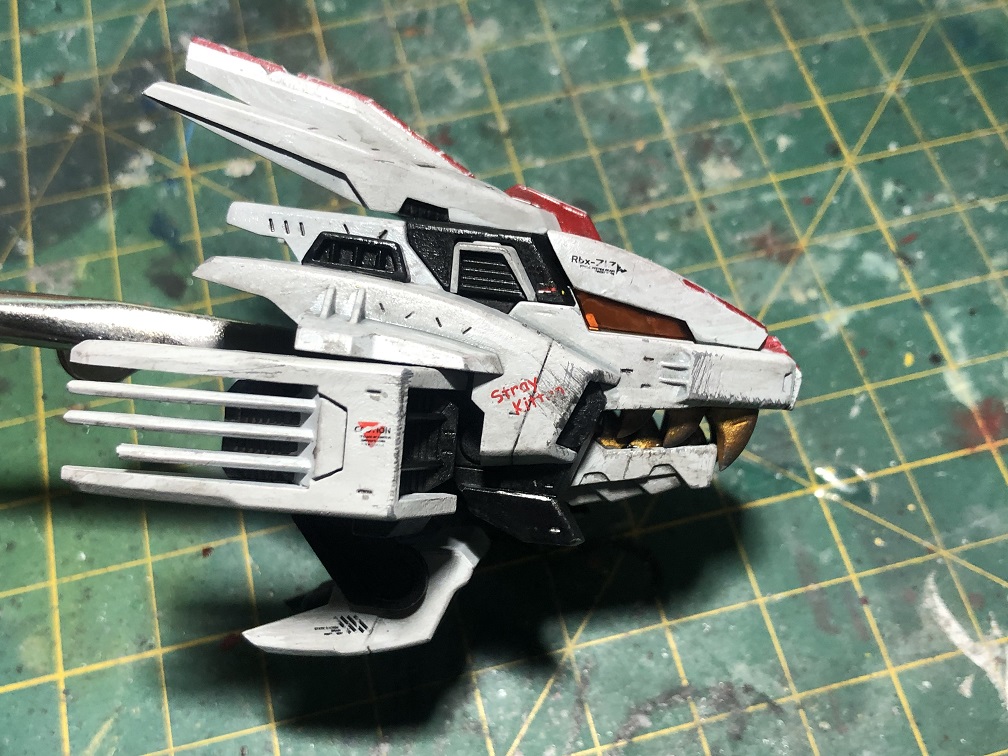
“This Liger Zero is the leader of a small task force of white armor. He’s piloted by a sergeant, an expert in melee combat that shows all his scars with pride and honor. His call sign: Stray Kitten.”
Now, let’s build it!
Starting point
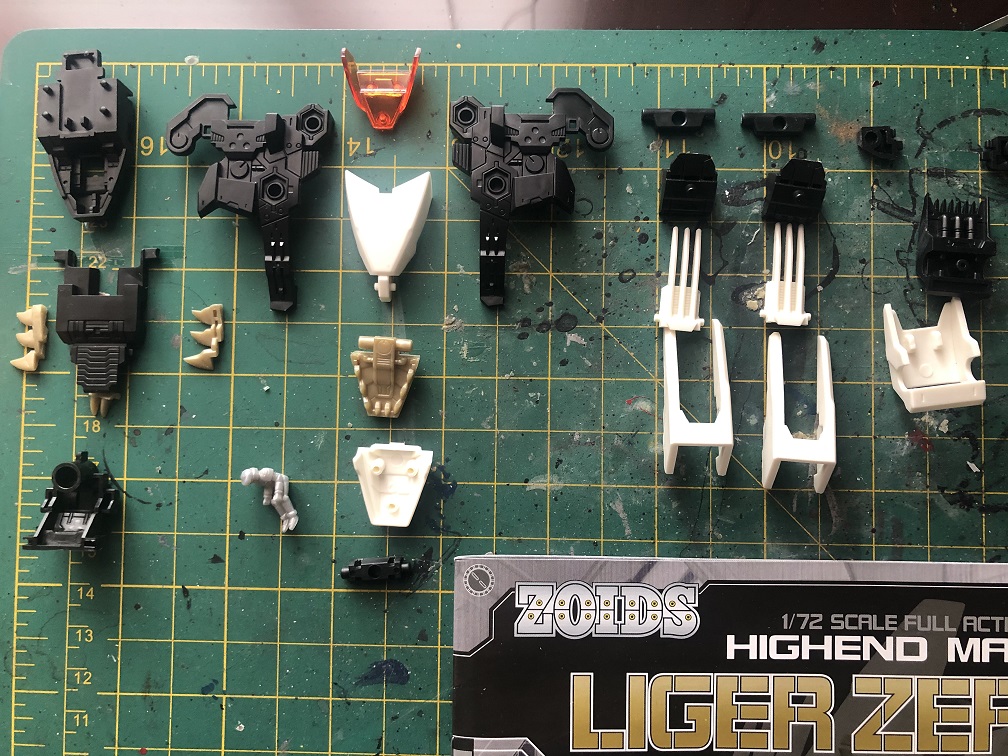
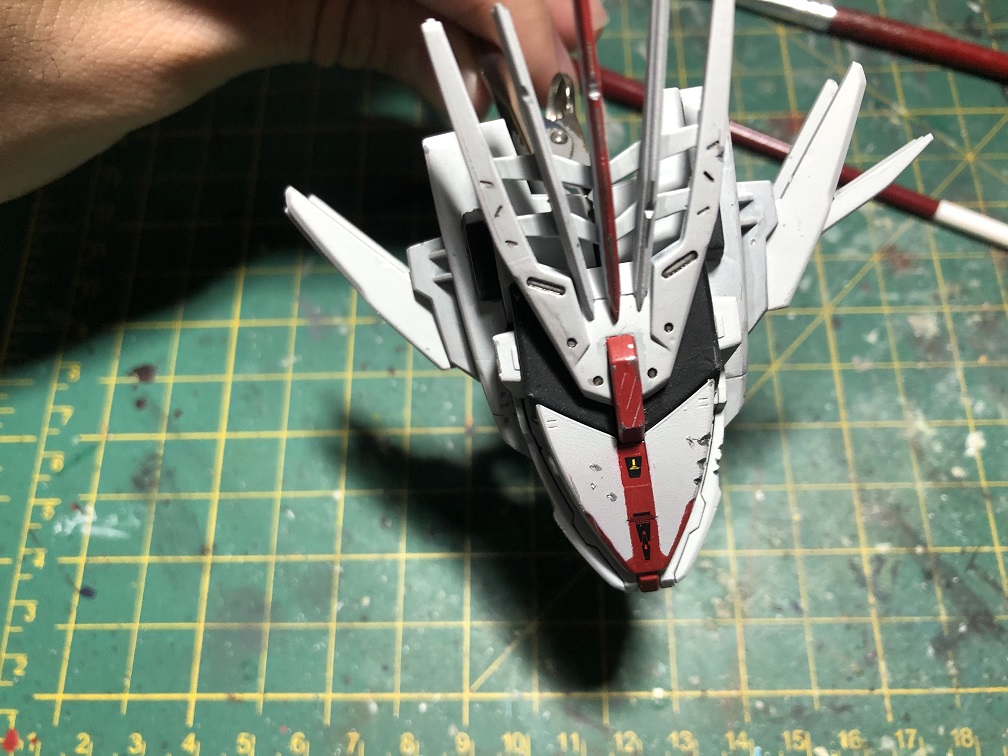
First let’s build the head. For this we need our nippers, hobby knife and sanding paper or tool.
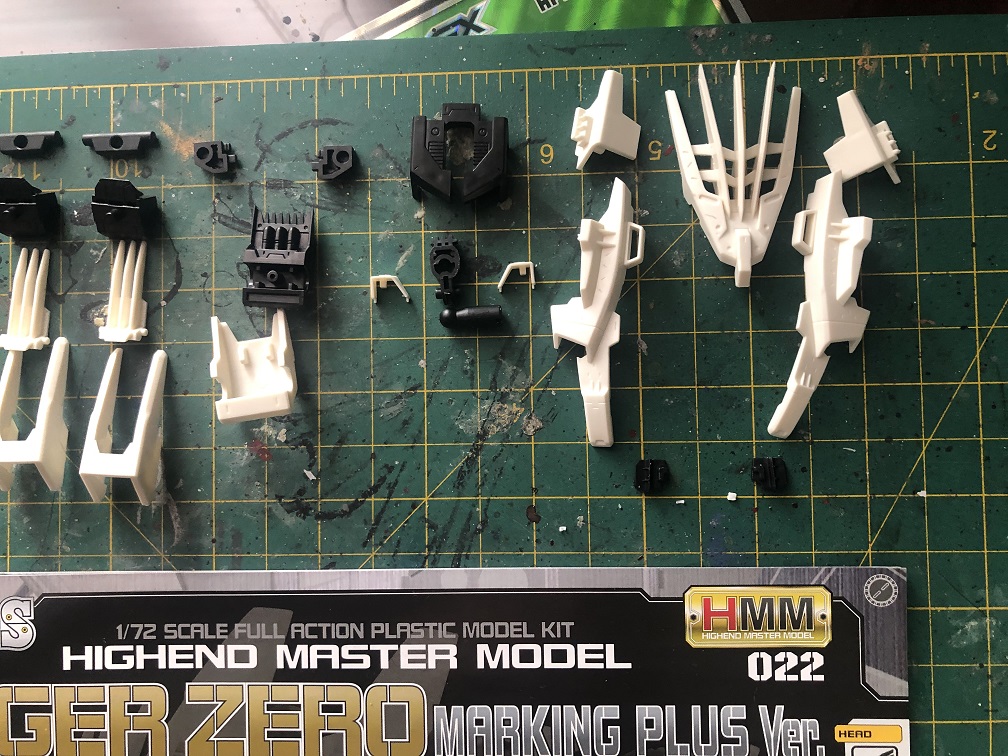
I’ll leave a list of paints and where to apply them down here, in case you wish to apply the same paint scheme as I did. Almost all of the paints I used are Citadel, with a couple of Vic Hobby and Tamiya.
- Flat Acrylic Grey spray tin – For the basecoat.
- Citadel’s:
- Abaddon Black (flat black) – For the inner frame, the cockpit seat and the gums inside the jaws.
- Corax White (Flat white with a tiny mix of Pale grey) – For the white armor of the Liger Zero.
- Retributor Armor (gold) – For the fangs.
- Gehenna’s Gold (brass) – For the inside of the mouth.
- Leadbelcher (silver) – For the screens inside the cockpit.
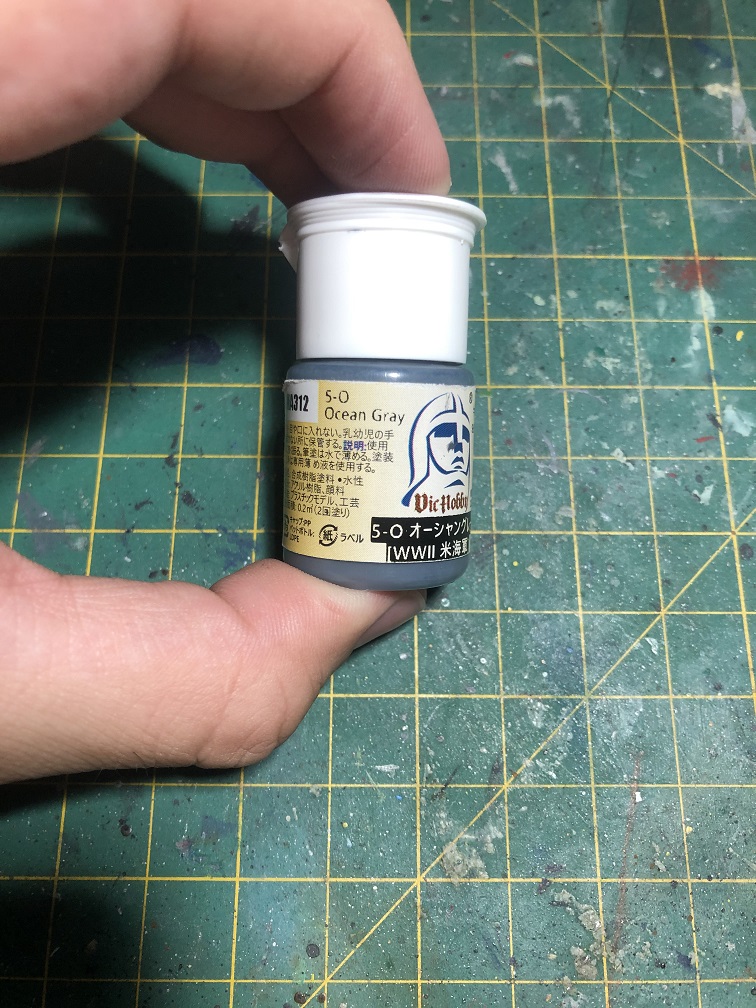
- Vic Hobby’s S-O Ocean Gray – For the Cockpit.
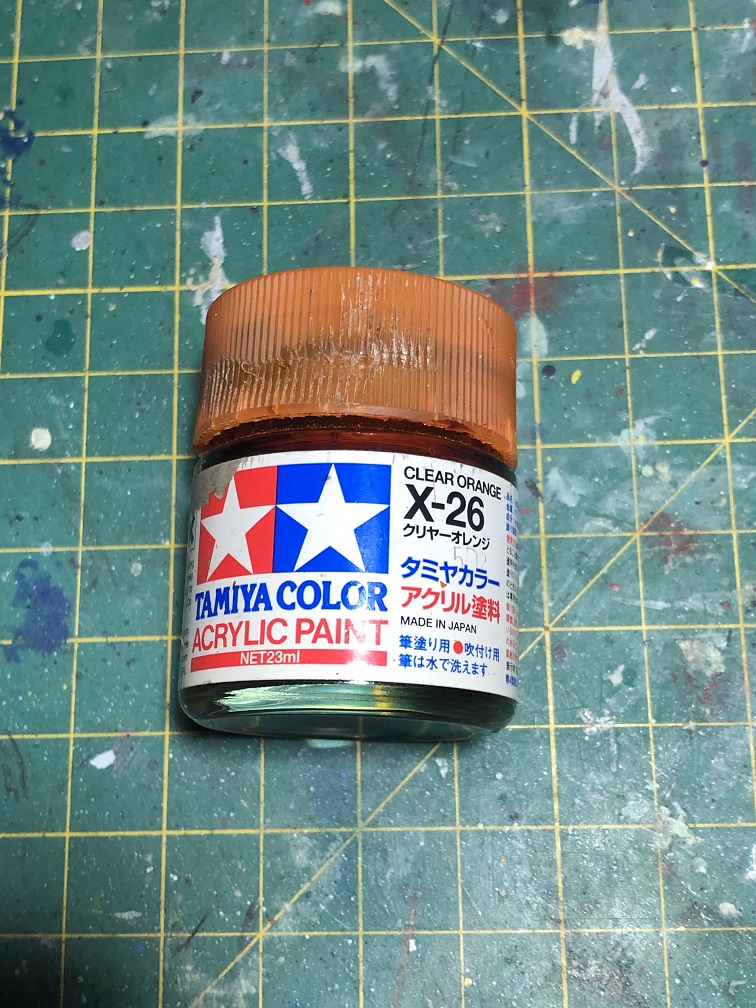
- Tamiya’s Clear Orange – For the screens inside the cockpit (over the silver).
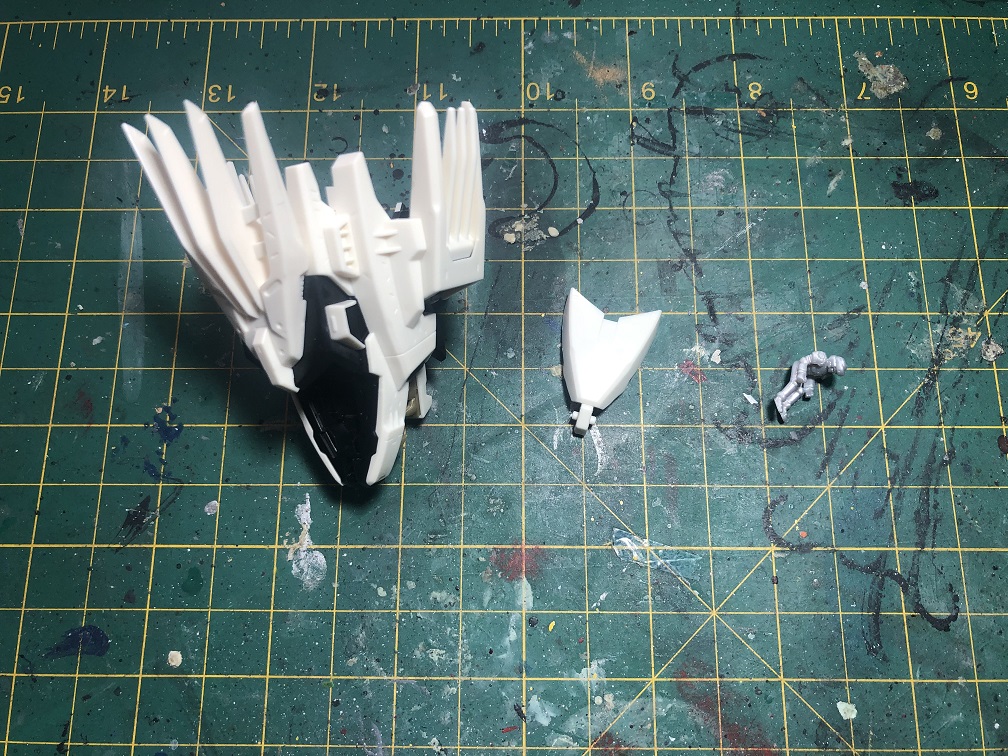

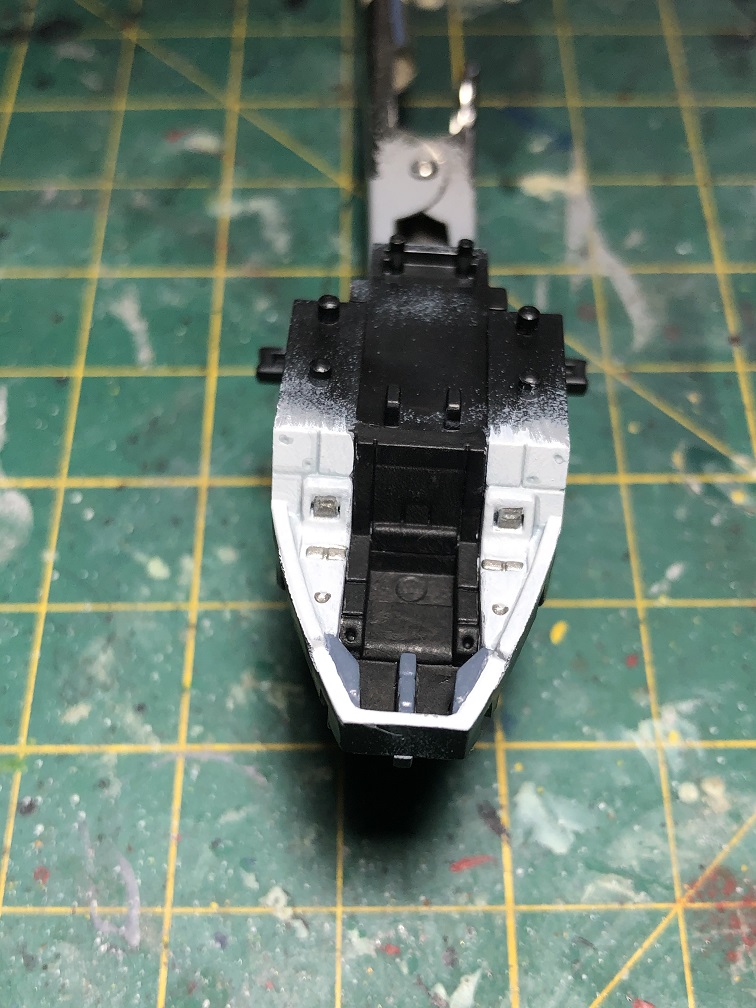
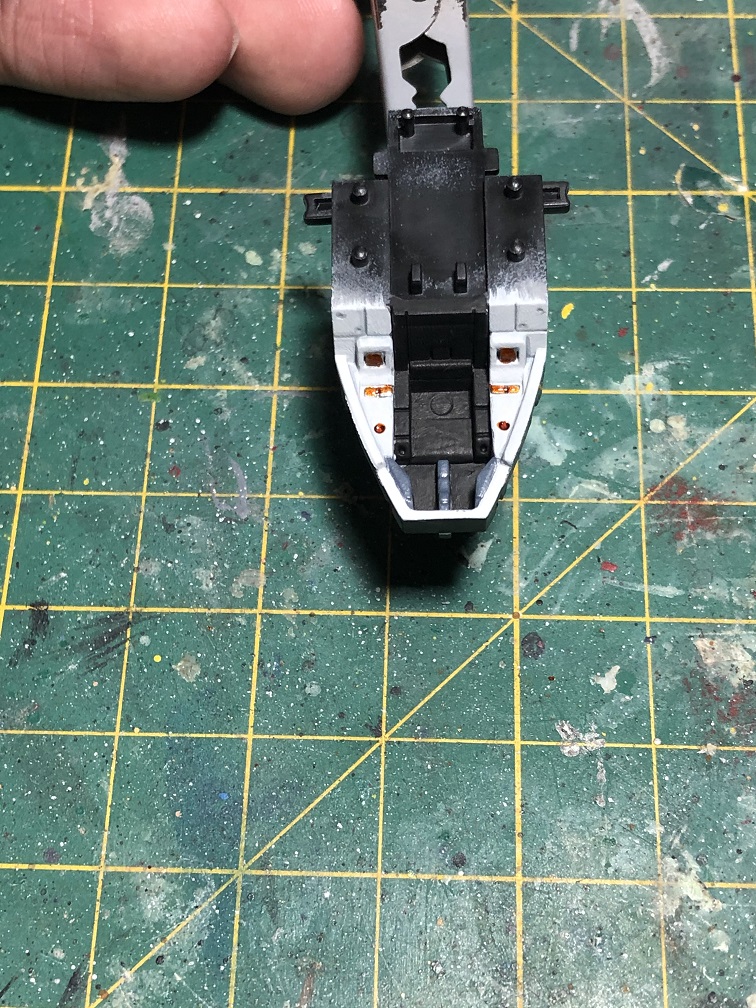

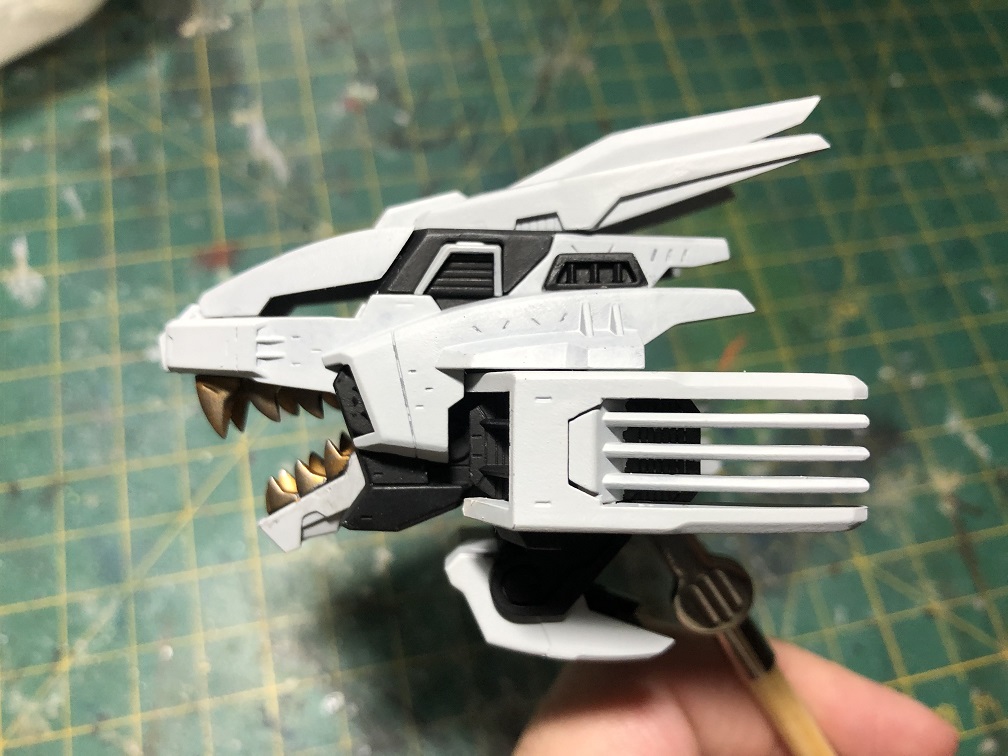
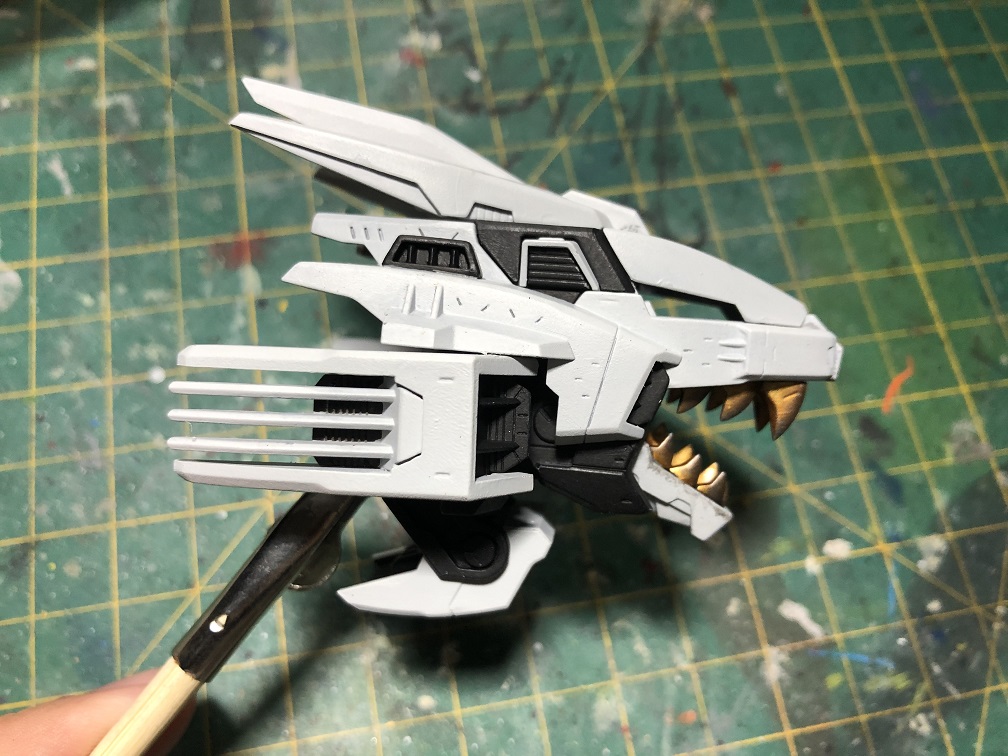

With the head fully assembled and painted, we are ready to start making modifications! Usually, I would have applied a clear varnish over the painted model, before starting the weathering, to protect the paint job. This time we’ll skip this step, and I’ll show you why later.
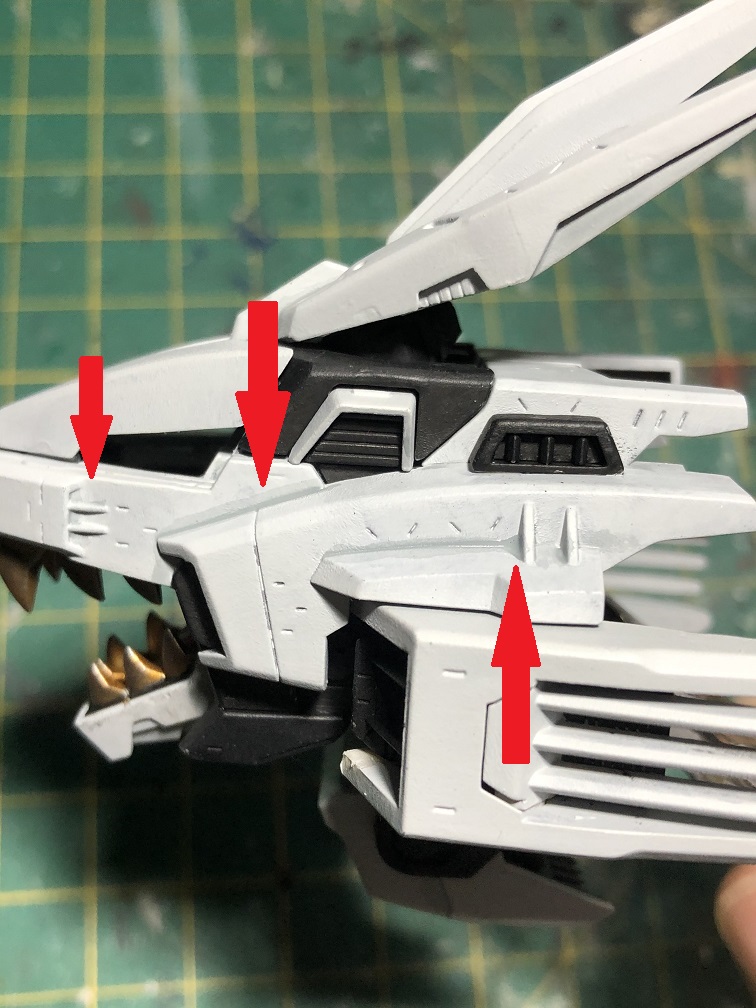
Shading
This is a simple technique but quite effective. We are going to paint some shadows in the recesses to add more depth to our model. For this we are going to use the same color we used for the armor but darkened a little. In case of white, we need to mix it with a very small amount of grey.
What we are going to do is to paint every intersection between the armor plates, like this:


Fangs
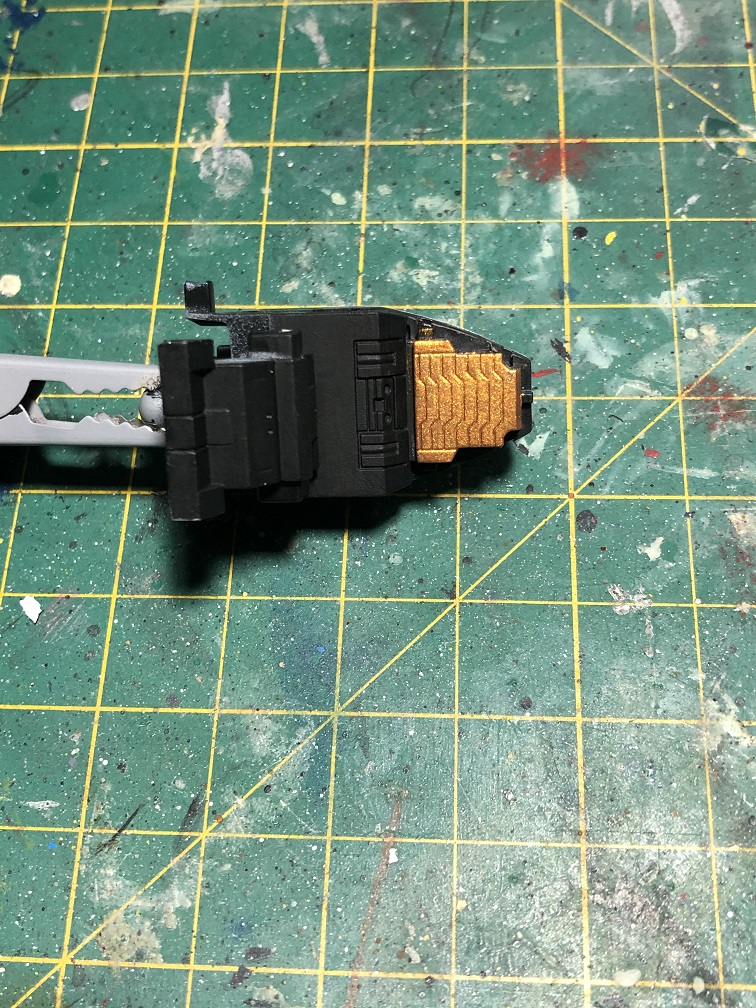
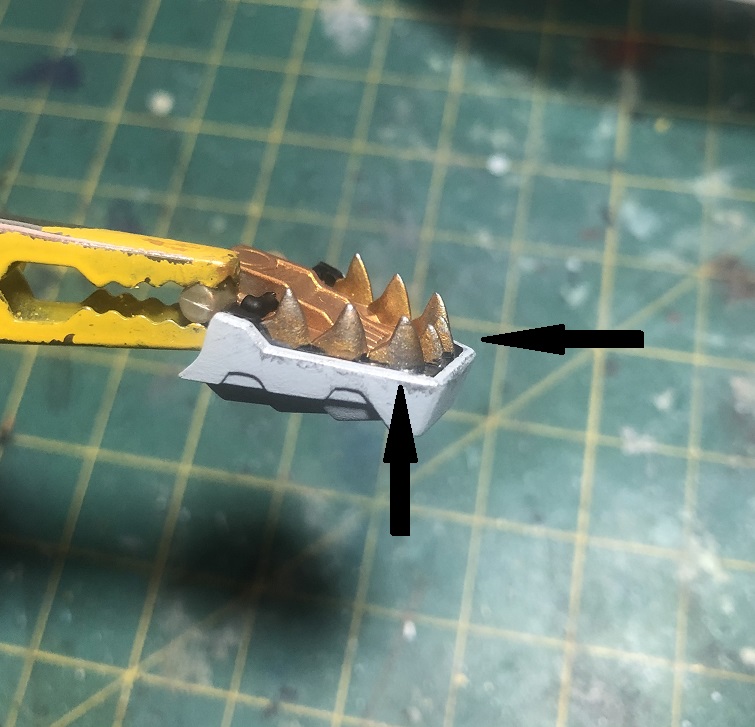
One of the main weapons of a lion are its fangs, so let’s make them shine.
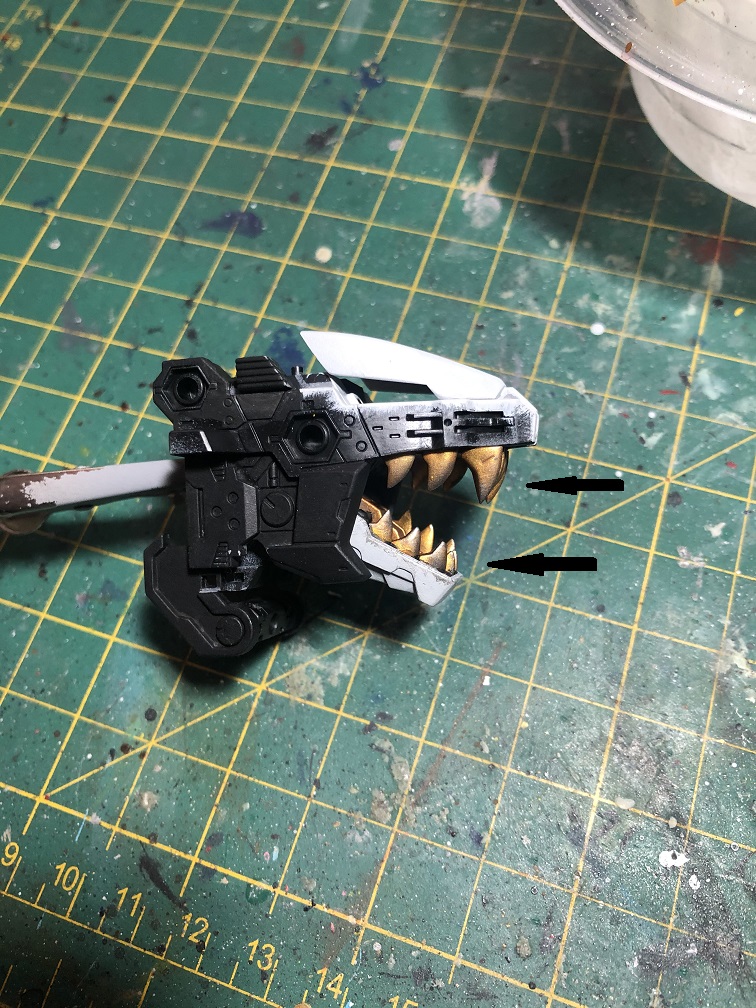
First we’ll start by adding a wash to the inner parts of the mouth (mouth floor and palate). For this we’ll use our black paint, but we’ll dilute it with water. We are looking for a very liquid consistency on our paint, almost like ink. You can also use ink, panel line accent paints or wash paints.
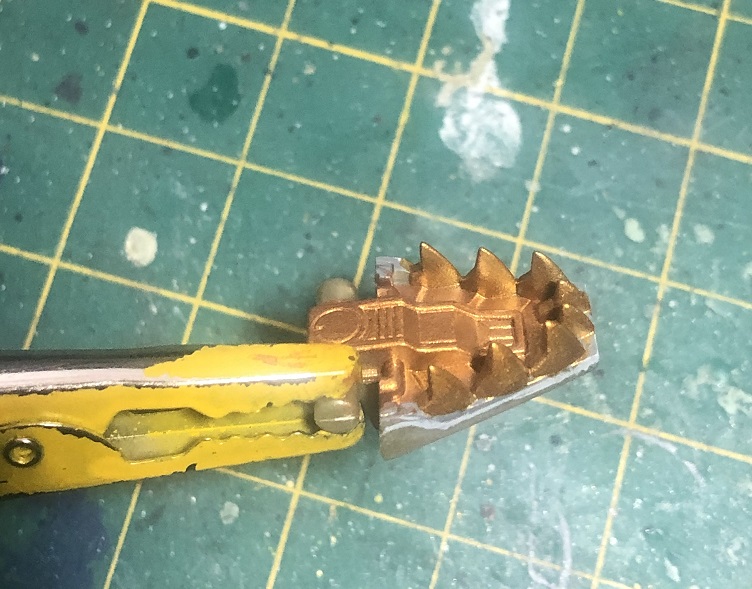

As you can see, I used a brass paint for the floor of the mouth and the palate, black for the gums and gold for the teeth.
Then we’ll add some scratches to the fangs, to make them look worn out. For this. let’s use a dry brush technique.

First, we pick some silver paint with our brush and then we remove almost all the paint with a paper towel or an old piece of cloth. Don’t use water or thinner to clean the brush, we need it to be “dry”. Then, we’ll paint over all of the teeth, starting by the tips and going down (or up) to the gums. What we are looking for is that the tips are almost silver and then it starts to vanish the closer it gets to the gums. This will create the effect that the points of the fangs are the parts most used, which is true.

Getting a promotion
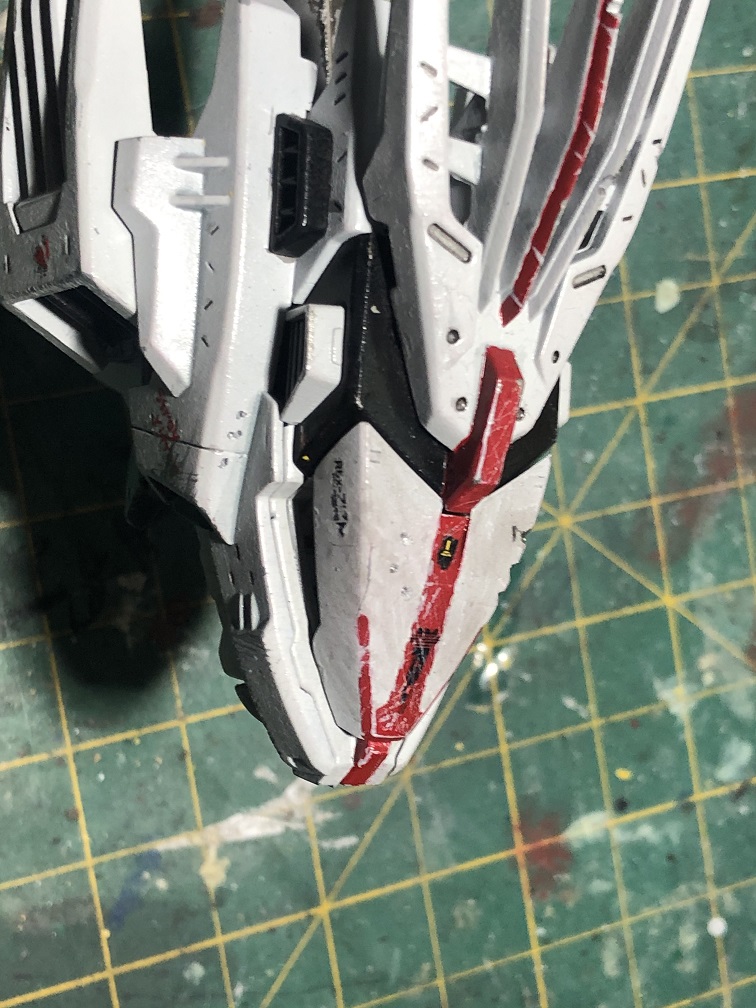
Let’s paint a red stripe to represent the rank in our mech. The idea is that the stripe goes from the nose to the end of the head. If you have a steady hand you can consider doing this without masking the white armor, but if you are more like me, you may want protect the white armor first. The paint used for the red stripe was Mephiston Red.
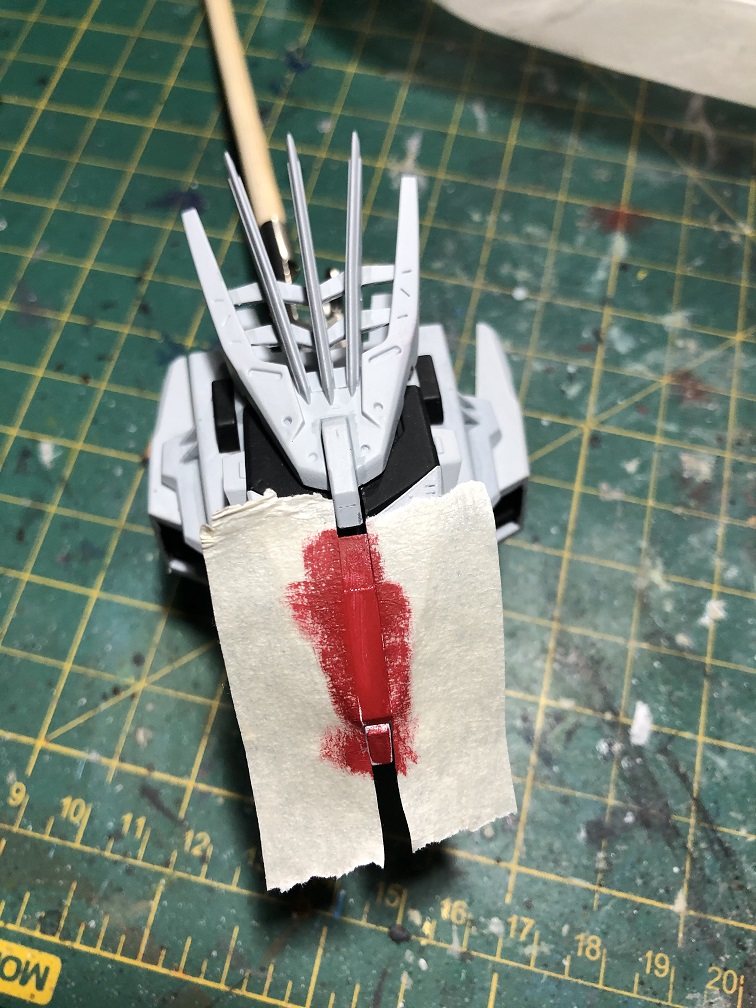
Make sure the tape sticks to the model, other wise you could end with some errors, like this one.
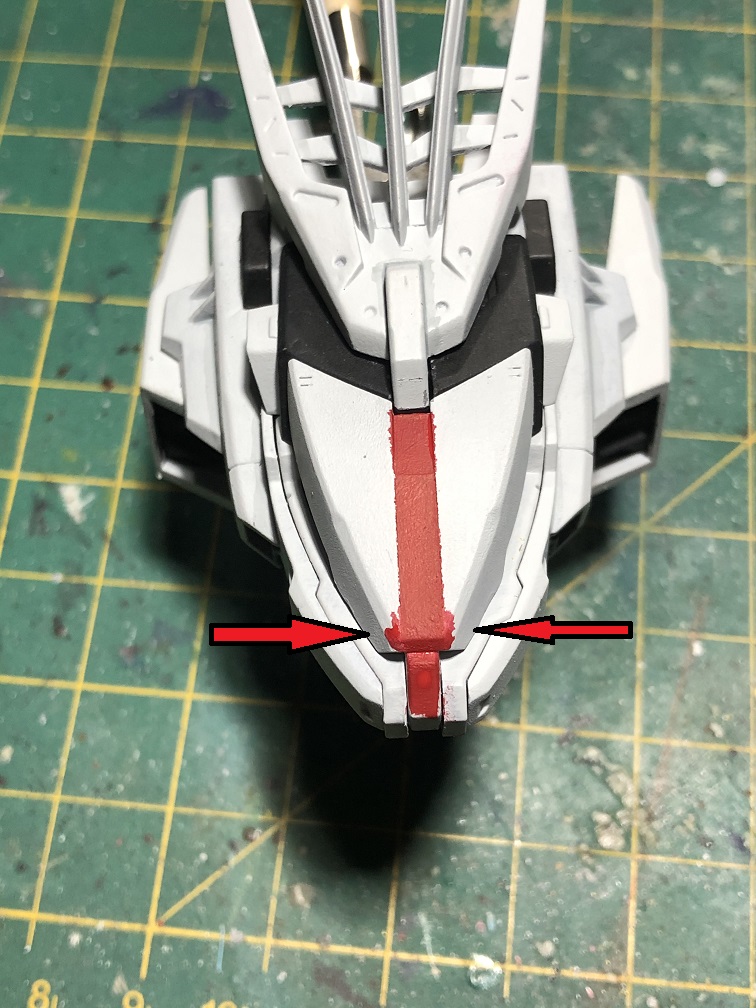
Don’t worry if this happens to you, it can be fixed by applying a few thin coats of white paint over it, or you can add more red details using this “mistakes” as a base, like this:
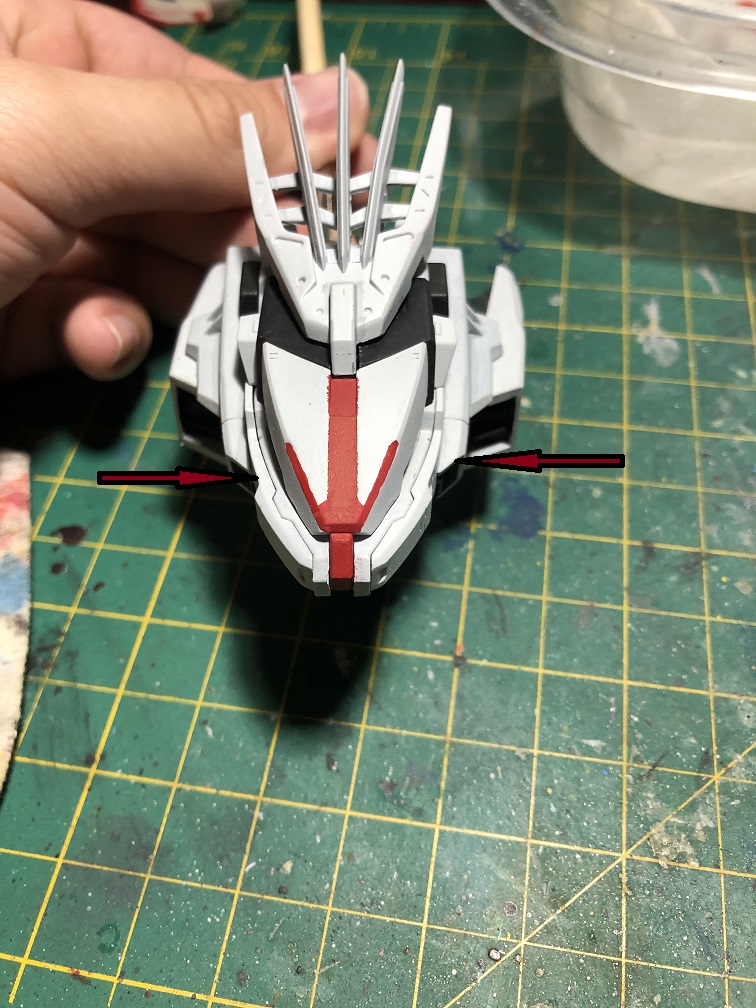
Let’s keep painting the red stripe over to the mane, using the sculpt to delimit our painting.
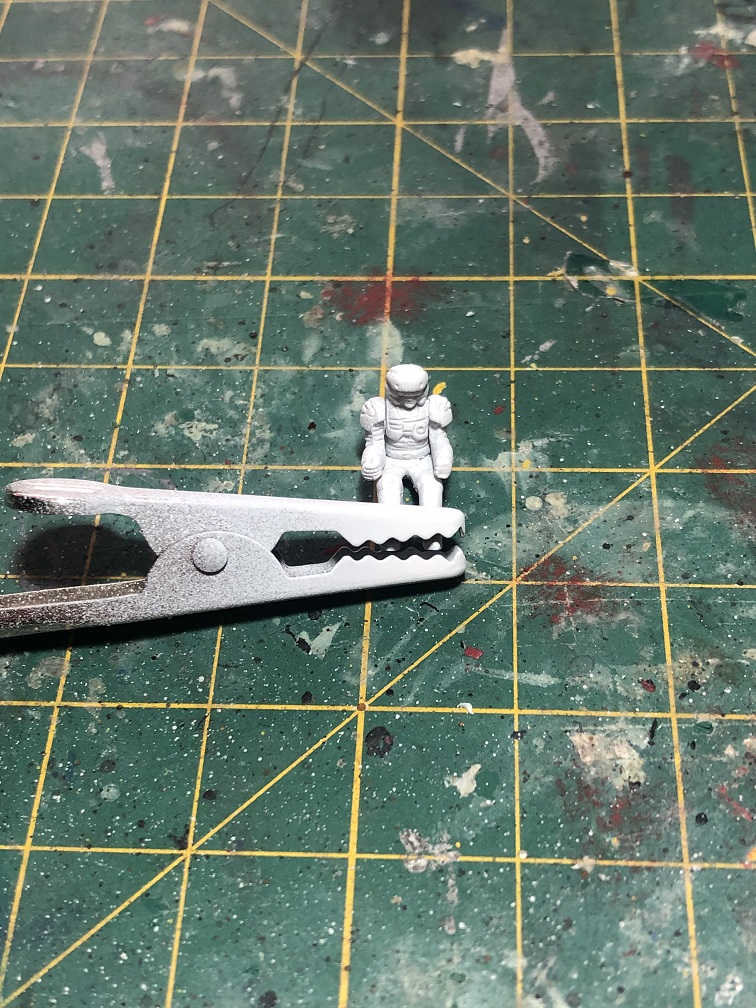
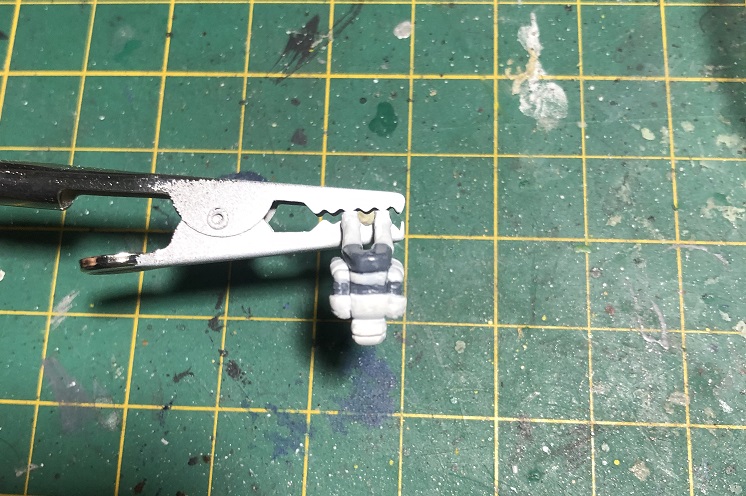
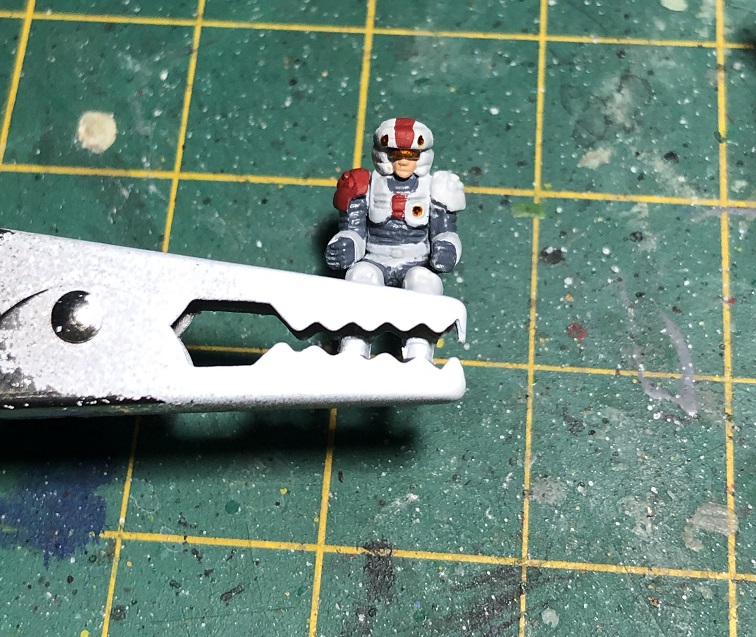
The pilot
I must confess that I really love when the pilot’s uniform or armor matches the color scheme on his/her ride! Therefore we are going to paint our pilot’s armor and helmet with Corax White, we also are going to use Ocean Gray for the uniform, clear orange for the visor and Kislef Flesh for the skin.

Don’t forget to add a base coat first, and remember to thin your paints before applying them.
Let’s start with a white base coat. Then, let’s apply a thin coat of a darker white for the armor and grey for the uniform. After it had dried, apply a second this coat of both colors. Then, let’s paint the visor and lights with our silver paint. In my case, I used Citadel’s Leadbelcher. We need to wait until the paint is fully dried before we continue with more details.
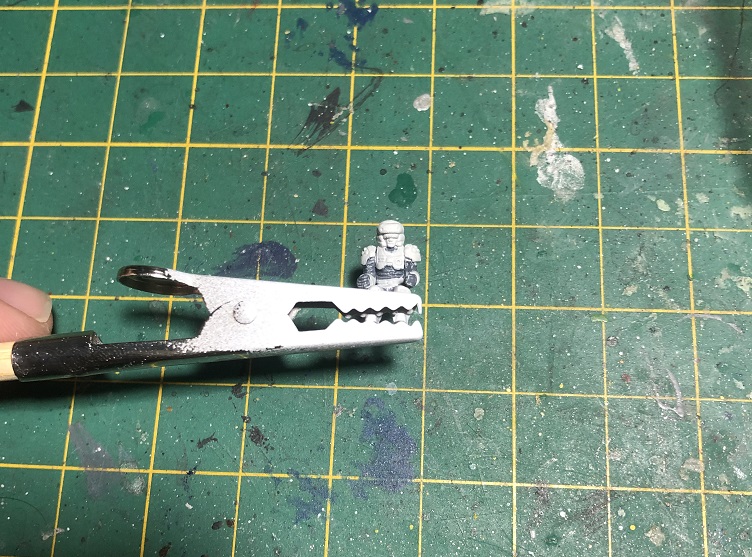


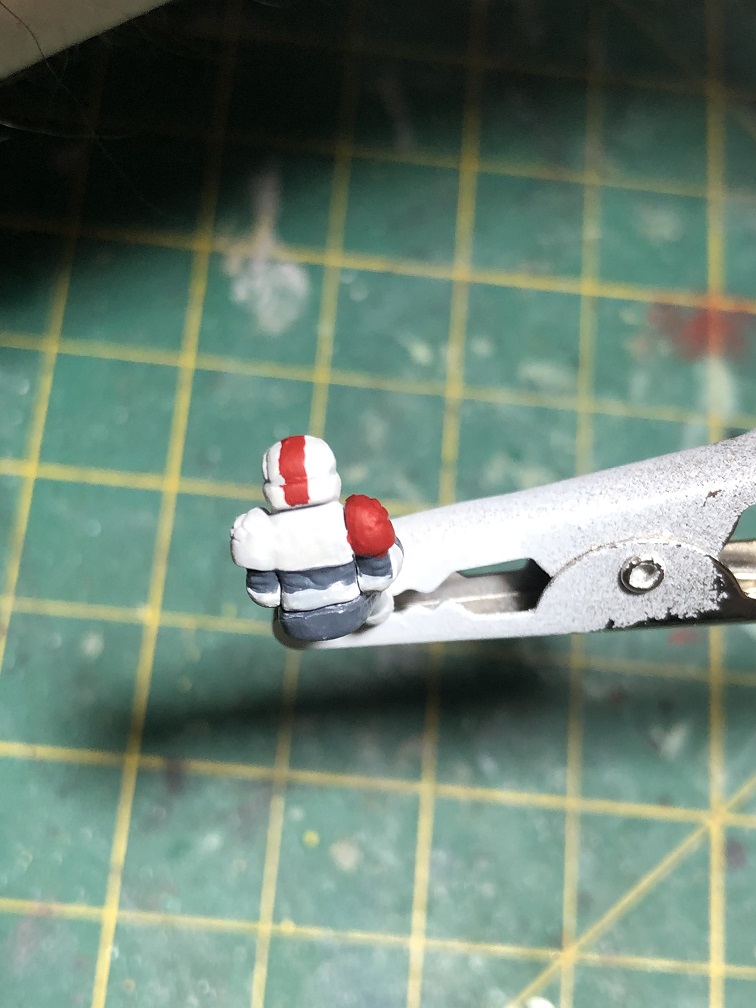
After the armor and uniform are fully dry, let’s paint the red stripe on the helmet and add more details.
Let’s paint the red stripe on the pilot’s helmet, just like we did with the Liger.
I also add a red stripe onto the chest armor plate and painted one shoulder pad. This details will be applied to the liger in the future. For the skin of our pilot we just need to use a flesh tone paint. I used Citadel’s Kislev Flesh. Now, let’s add clear orange paint over the silver paint on the visor and lights of the armor. As a final touch, let’s paint our pilot’s boots with black.
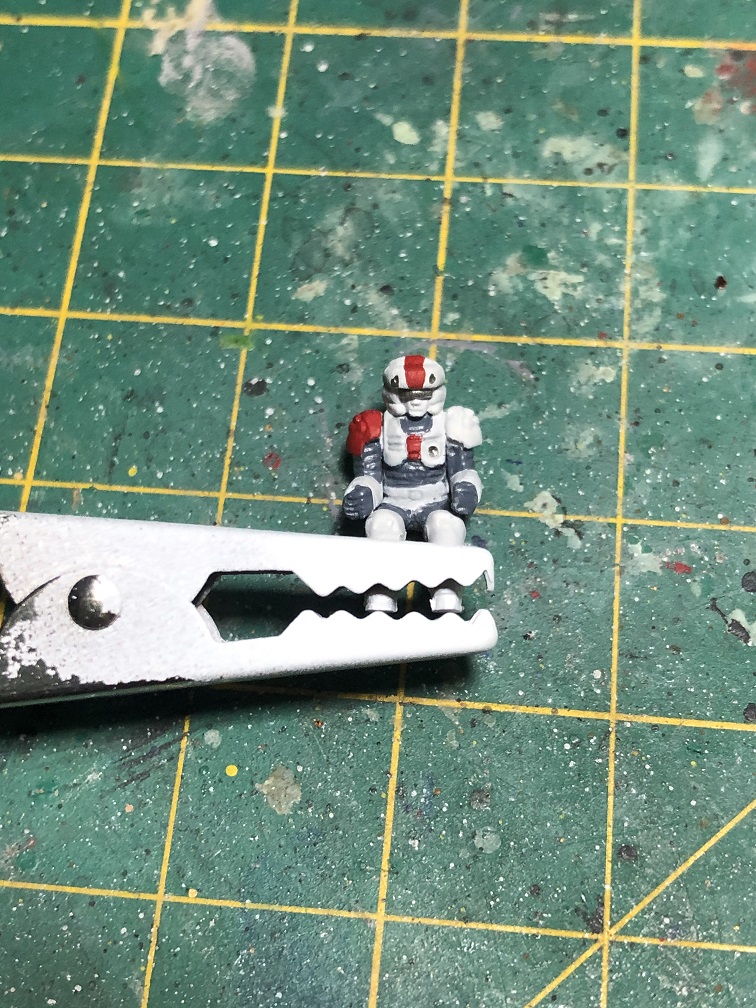
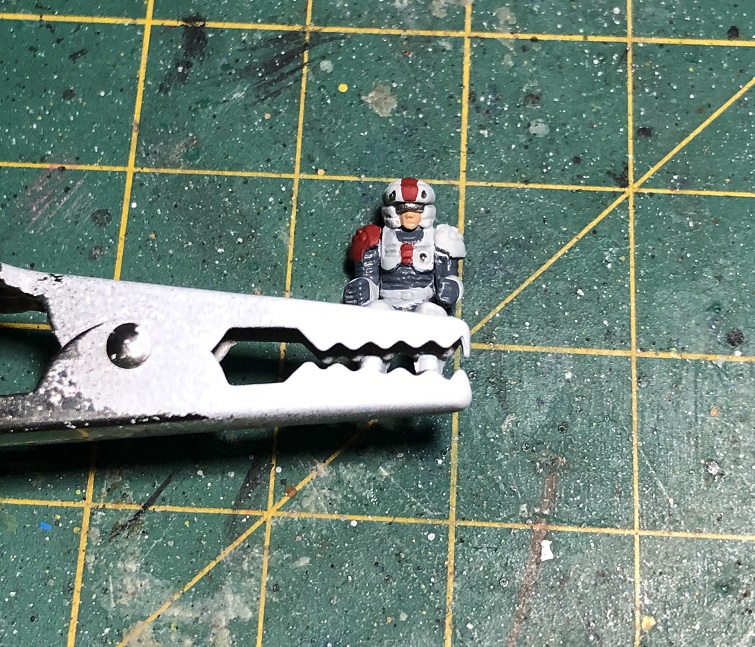
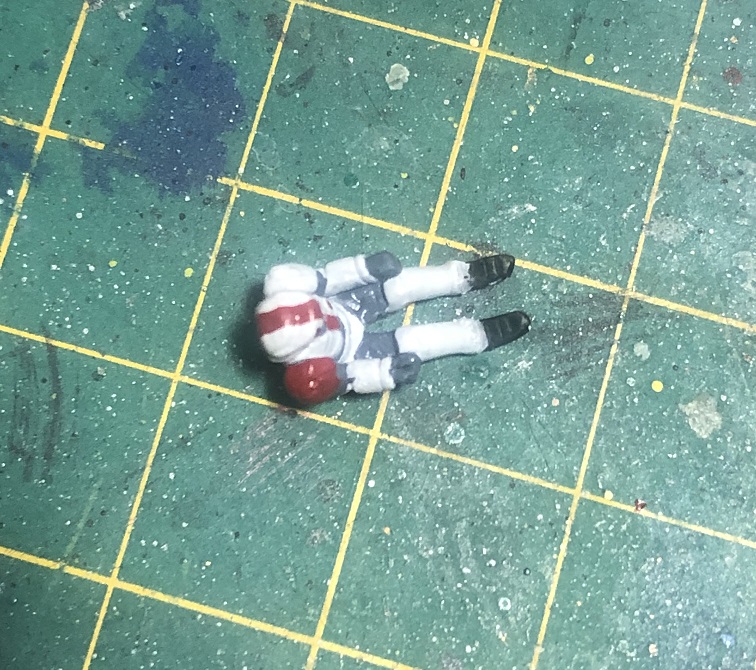
After we are done, I suggest we apply a clear mat varnish to our pilot before we place it in the Liger’s cockpit. This will protect the paint from chipping.
Battle damage
Now, let’s get rough and add some battle damage on the sculpt of the model. For this we are going to need a few tools:

Small saw, nippers and hobby knife.
Scratches
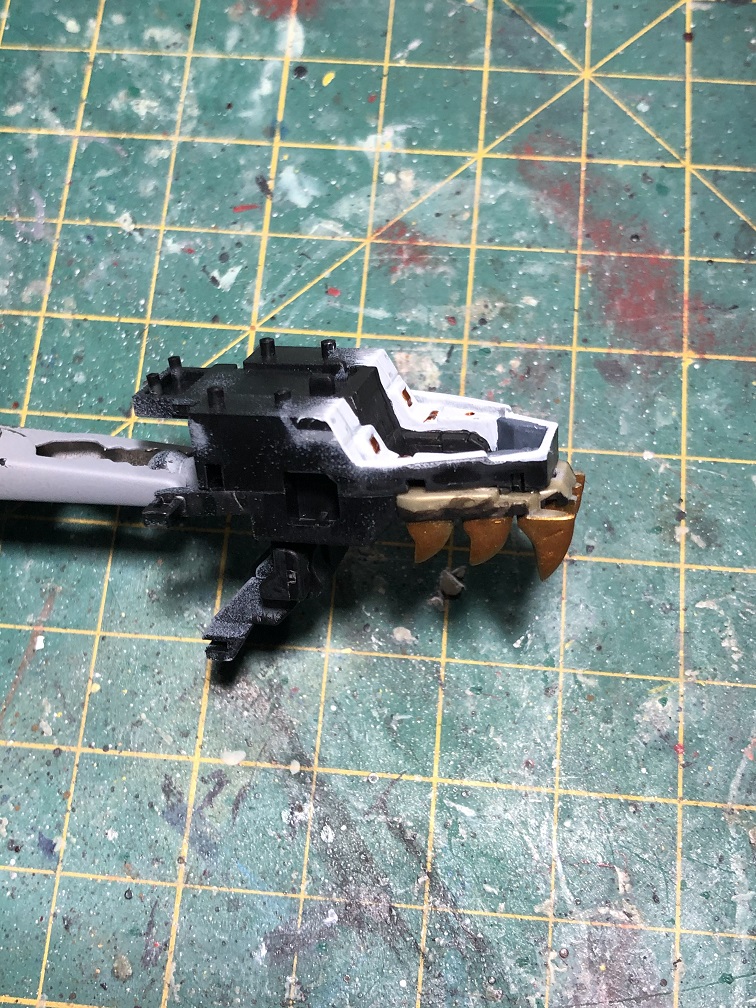
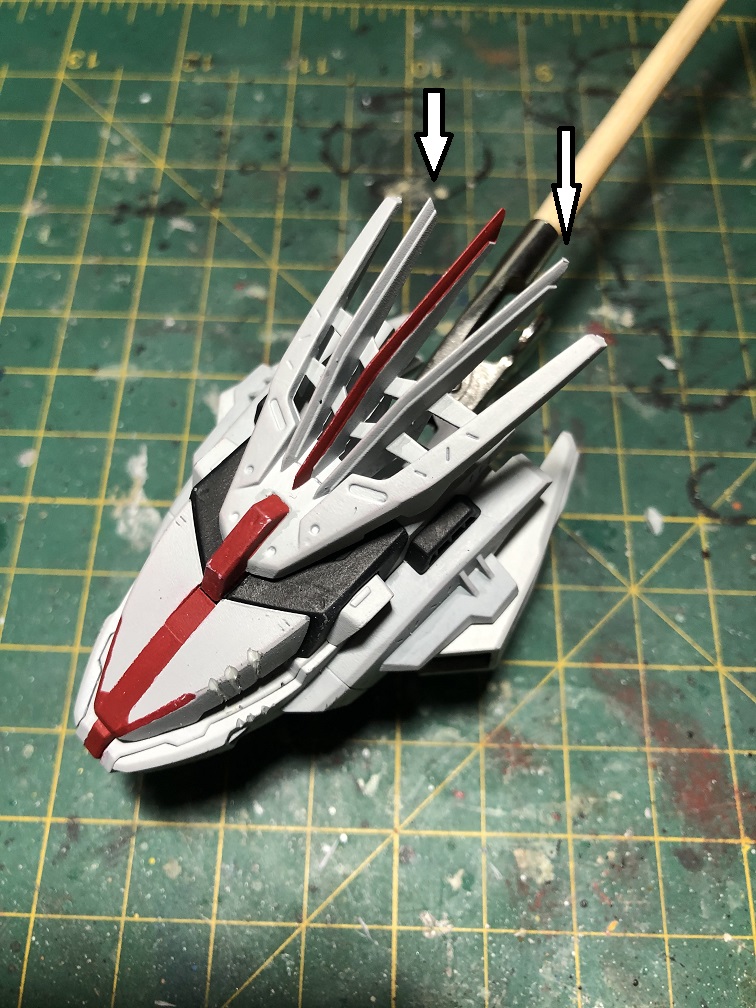
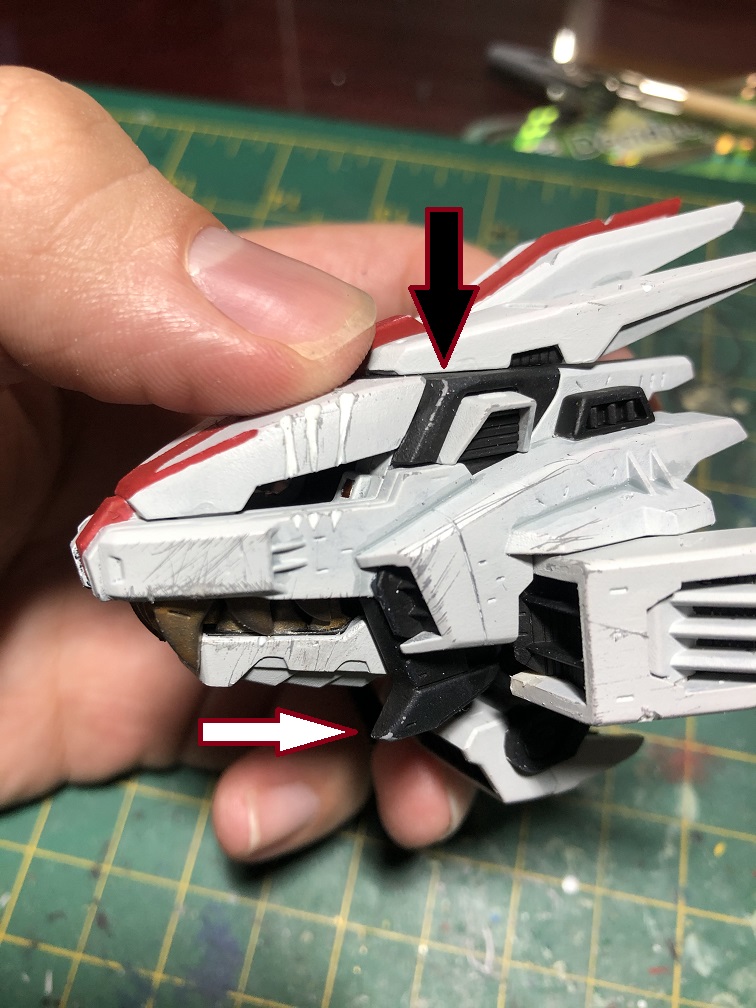
Now, let’s make some scratches in the armor with the small saw.
Usually the saw is used to create straight deep lines in plastic, like panel lines. This time we are going to use it to create some scratches on the white paint. Especially over all the edges near the mouth.
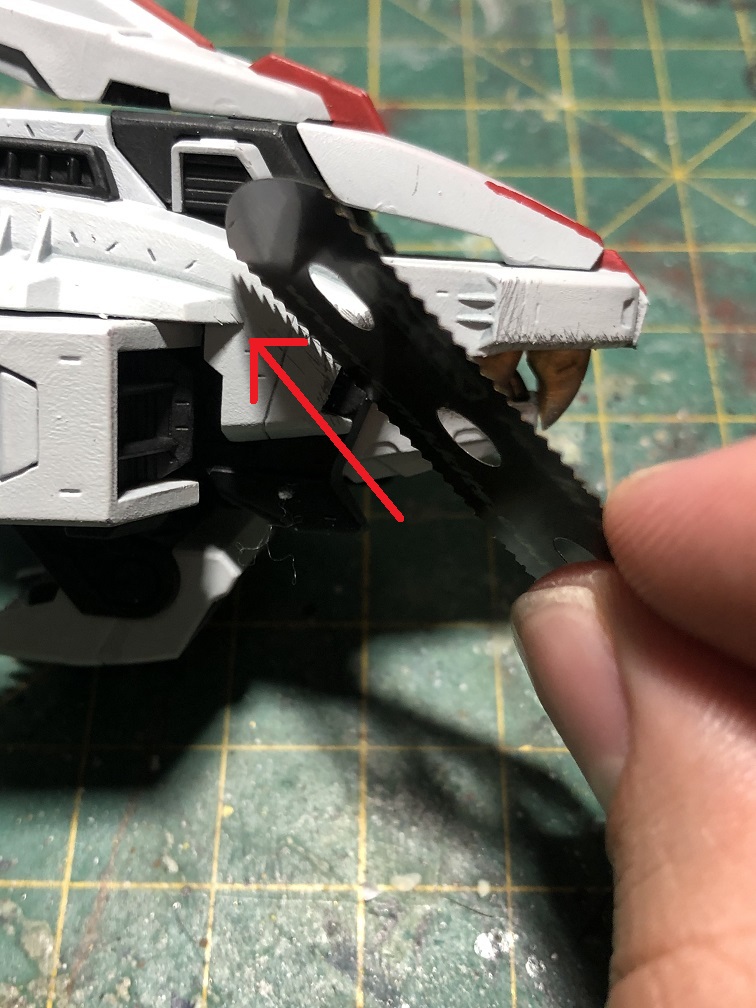
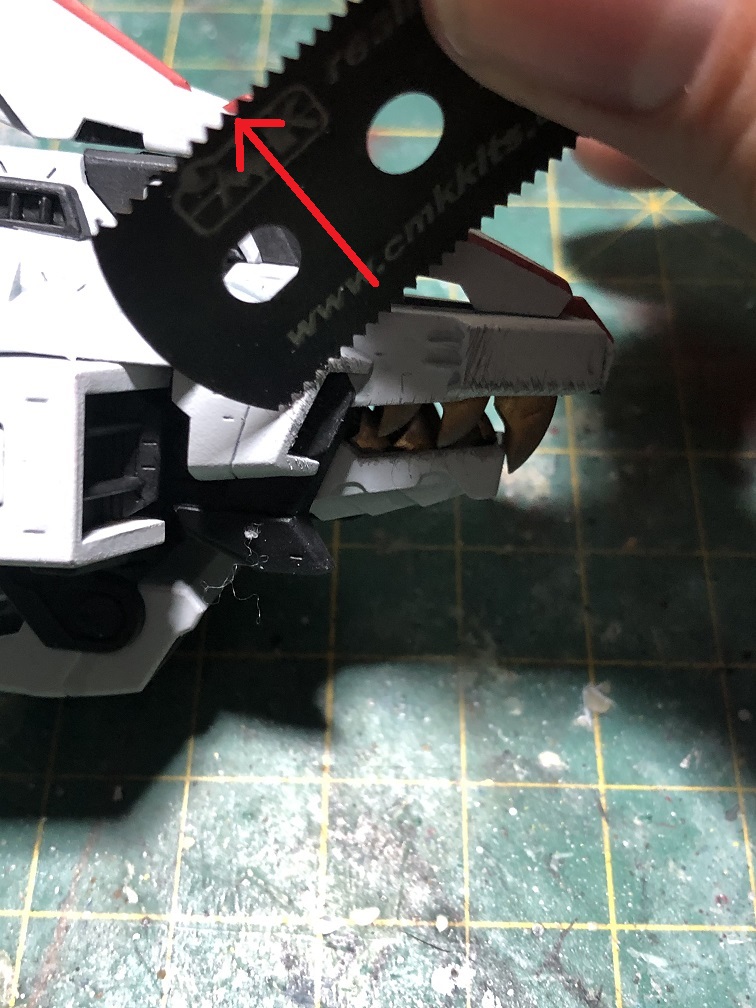
We’ll start by placing the saw’s teeth over the edges and then pull it far from the edge. We’ll end with something like this:
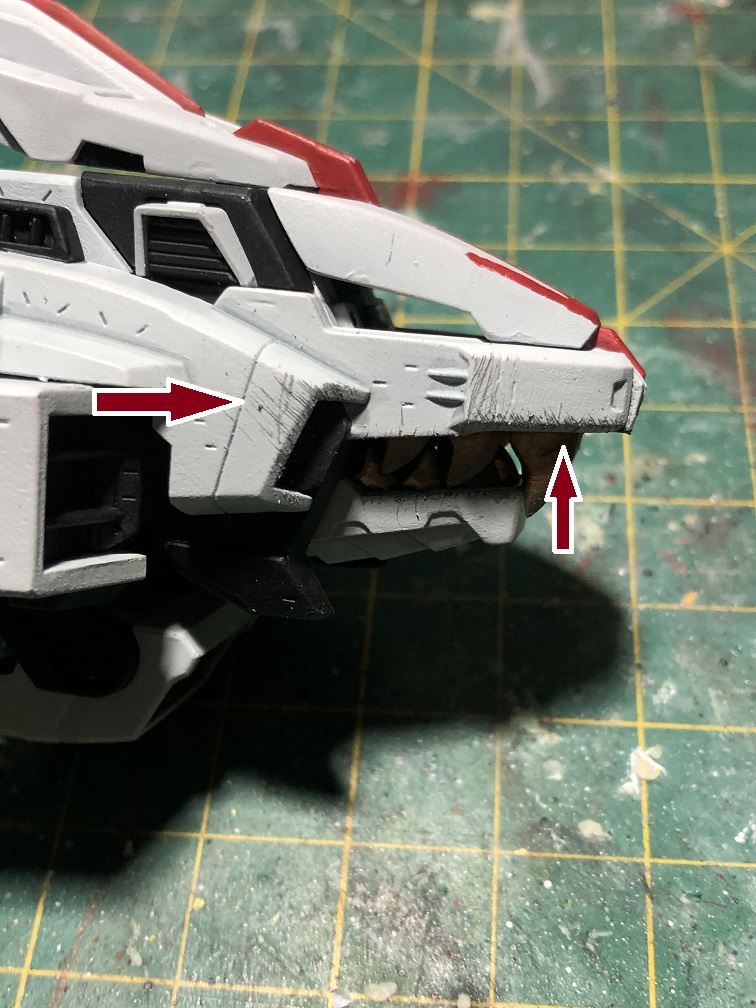
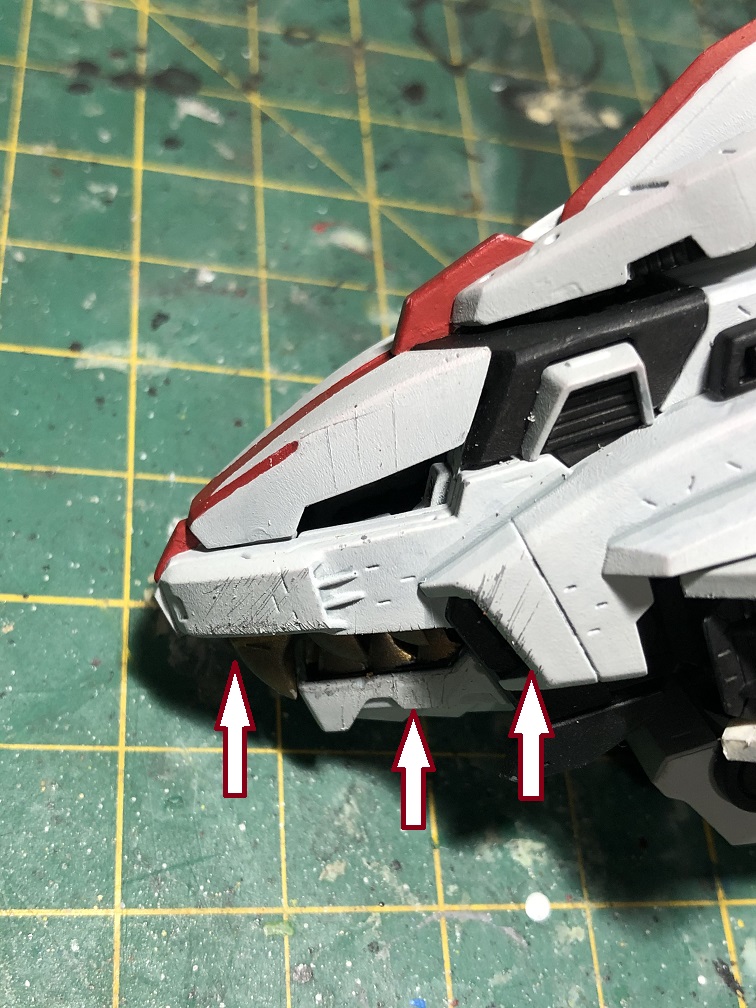
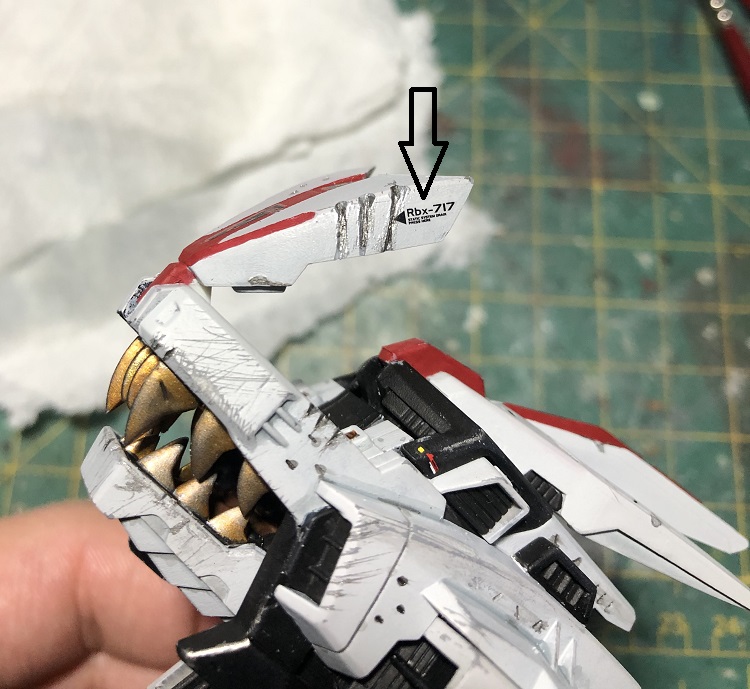
Scars
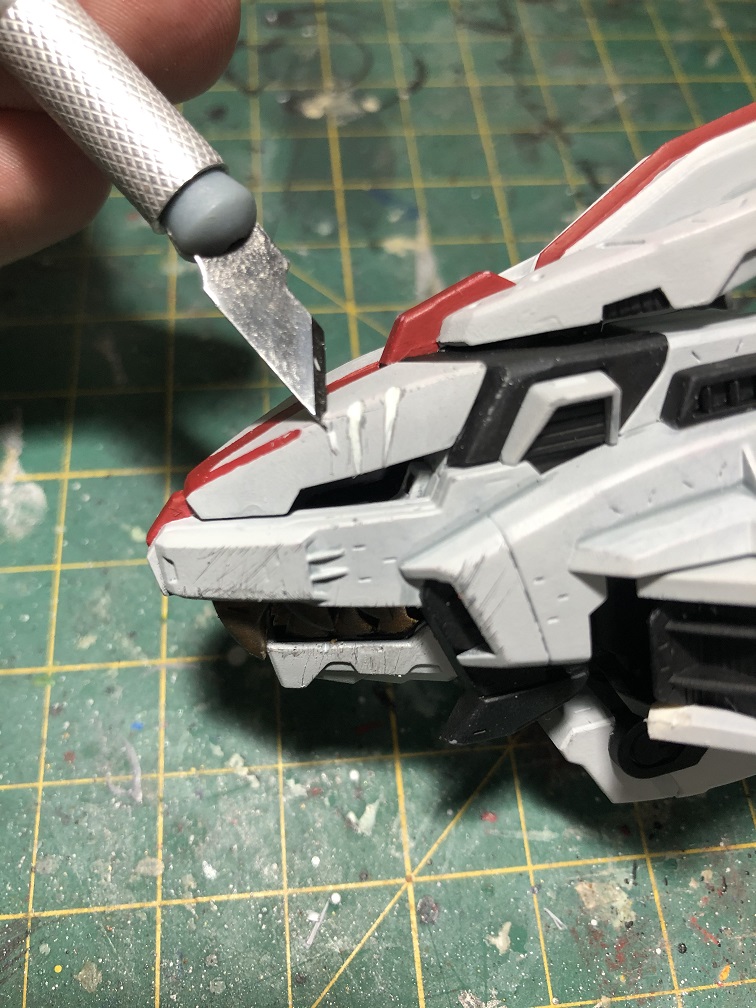
First we are going to use our nipper to chop out small parts from the “mane”. Let’s chop off the tips of some “fins” and small pieces in the middle of some others.
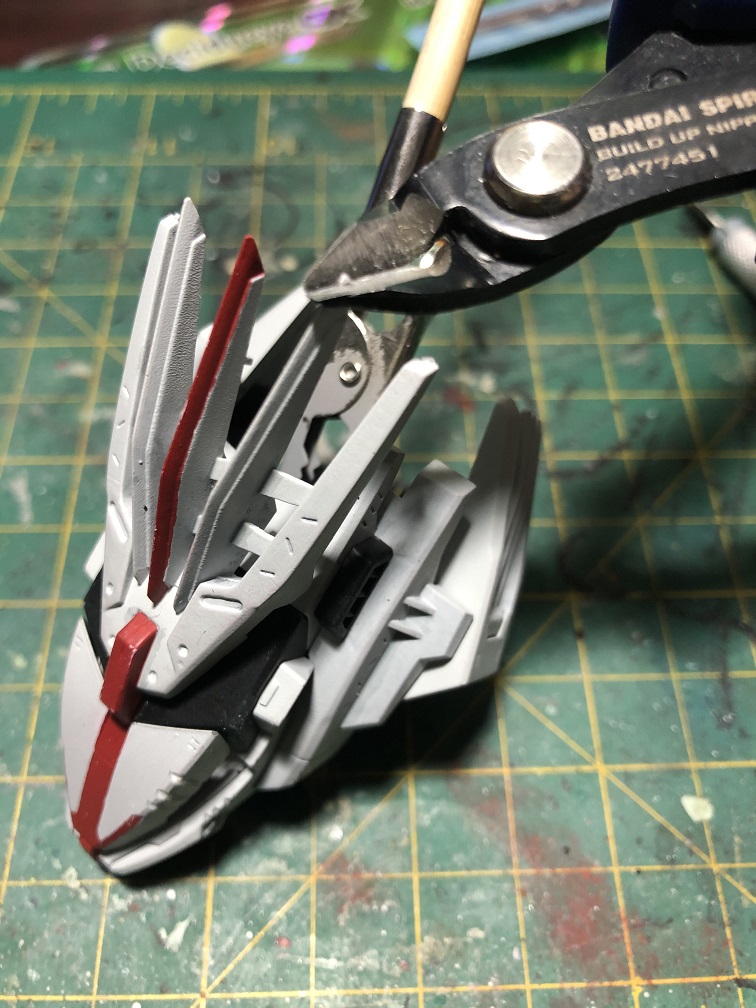
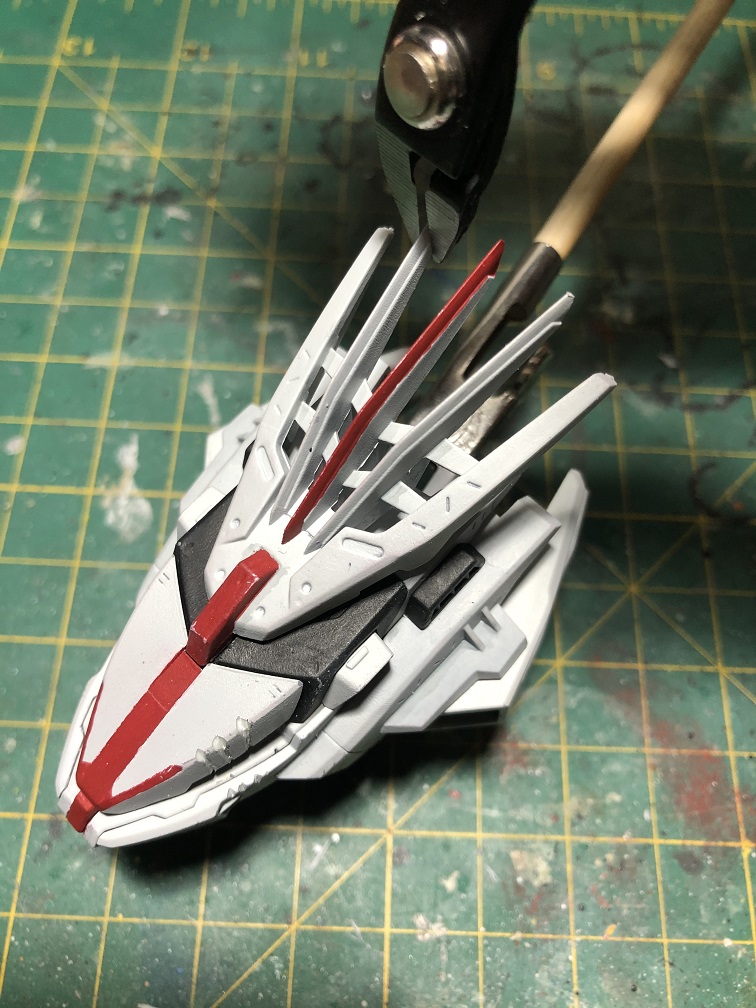
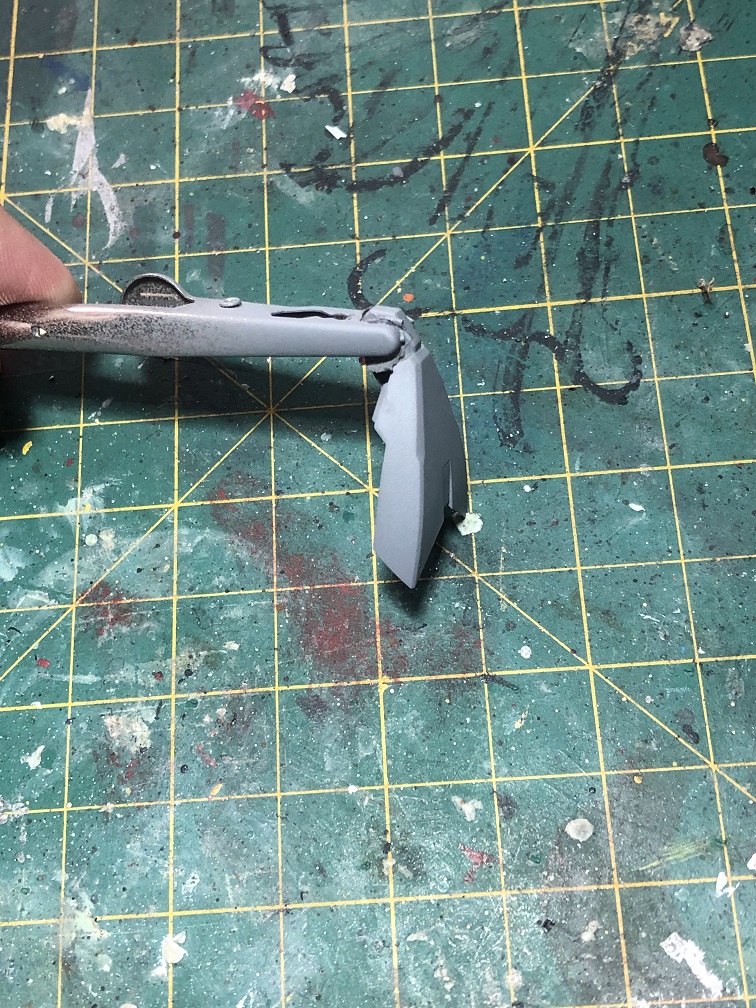
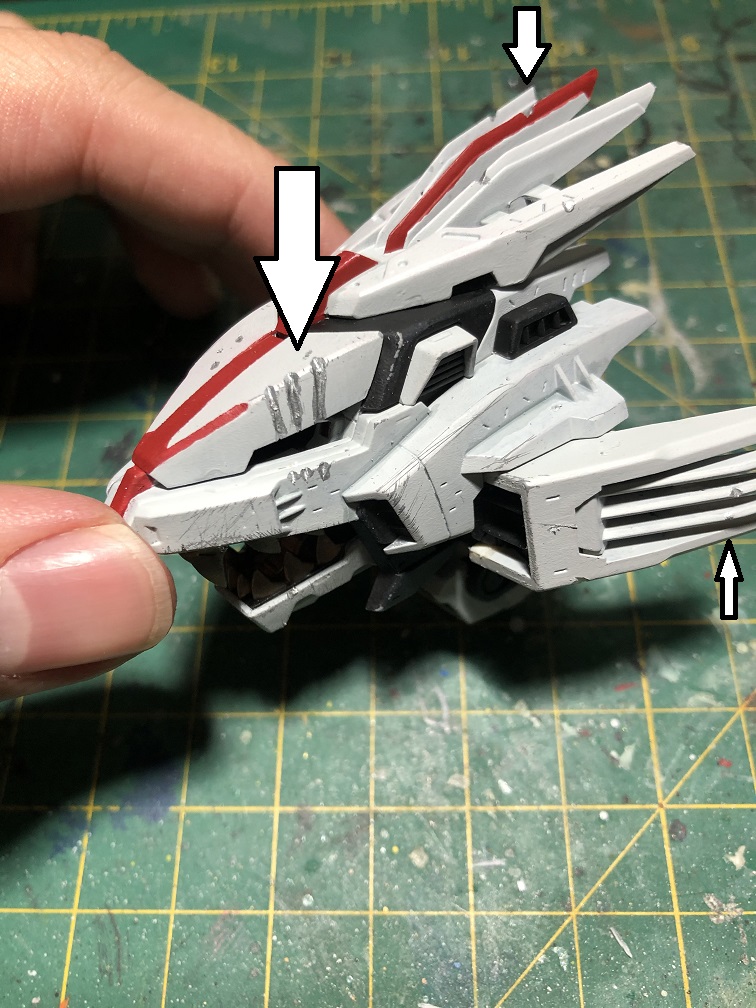
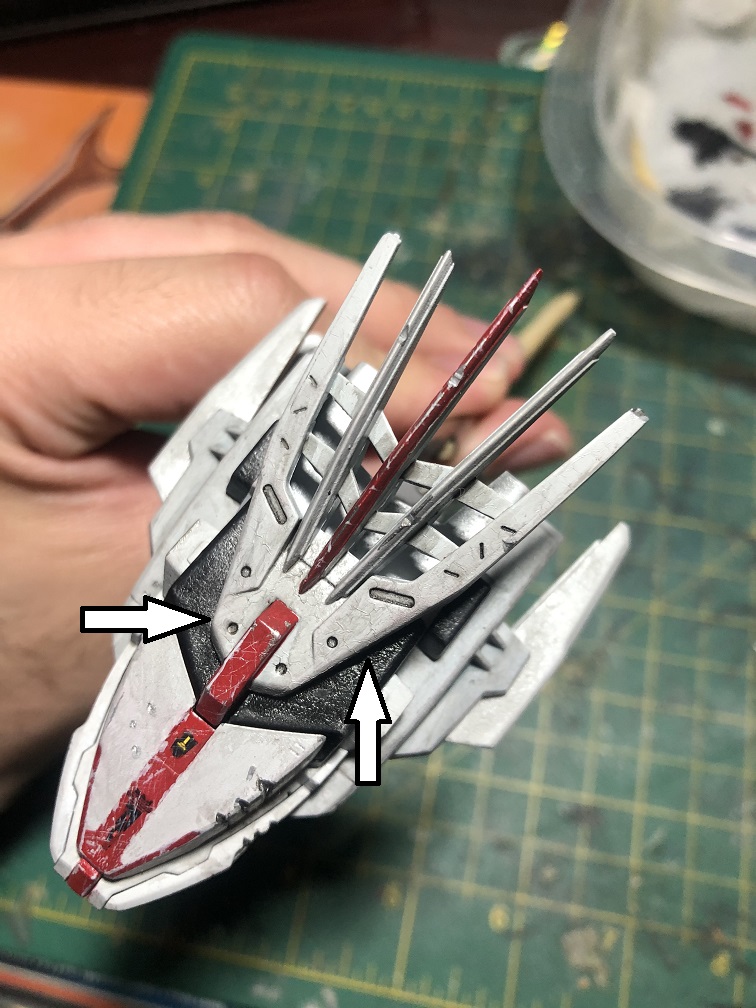
Then, we are going to create bigger scratches to the armor with our hobby knife. For example a big scar near one of the eyes. But instead of just one mark lets add 3, like it was made by a foe with 3 claws.
First, let’s mark were the scars are going to be.
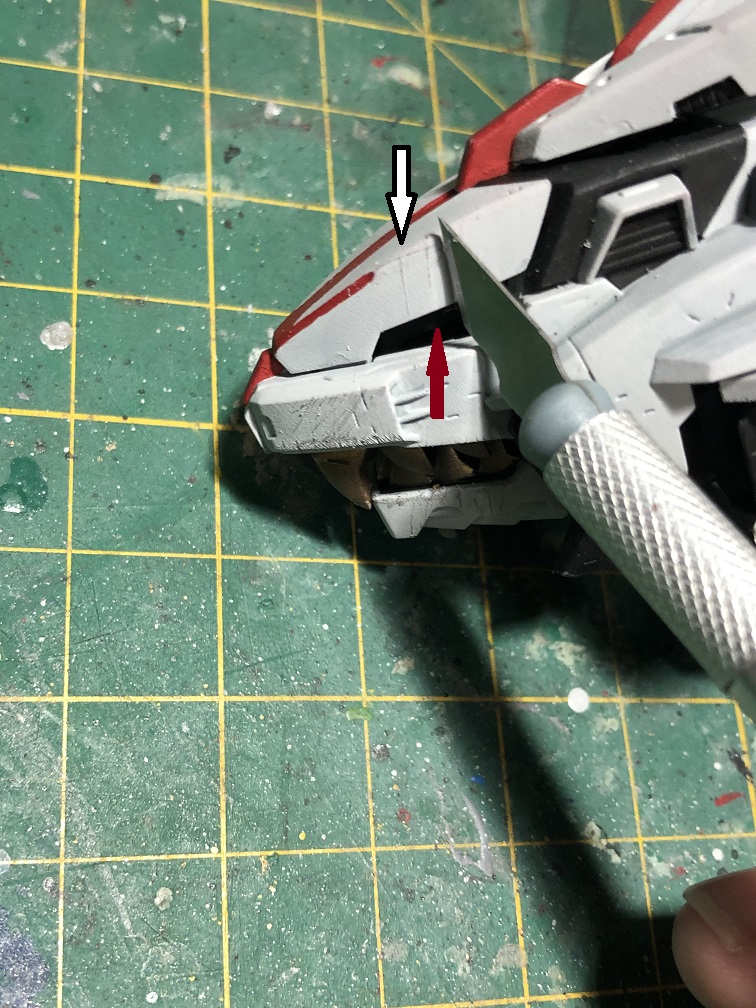
Then, we’ll start making bigger scratches.
Now, this scars need to be wider than the lines we can made with our hobby knife blade. For this, instead of cutting a straight line we are going to cut into a V shape. For this, the scar started at the edge of the cockpit canopy and all the way though the chick armor. This makes it look more realistic.


Now, all this scars need some painting on their own, but first let’s add some decals.
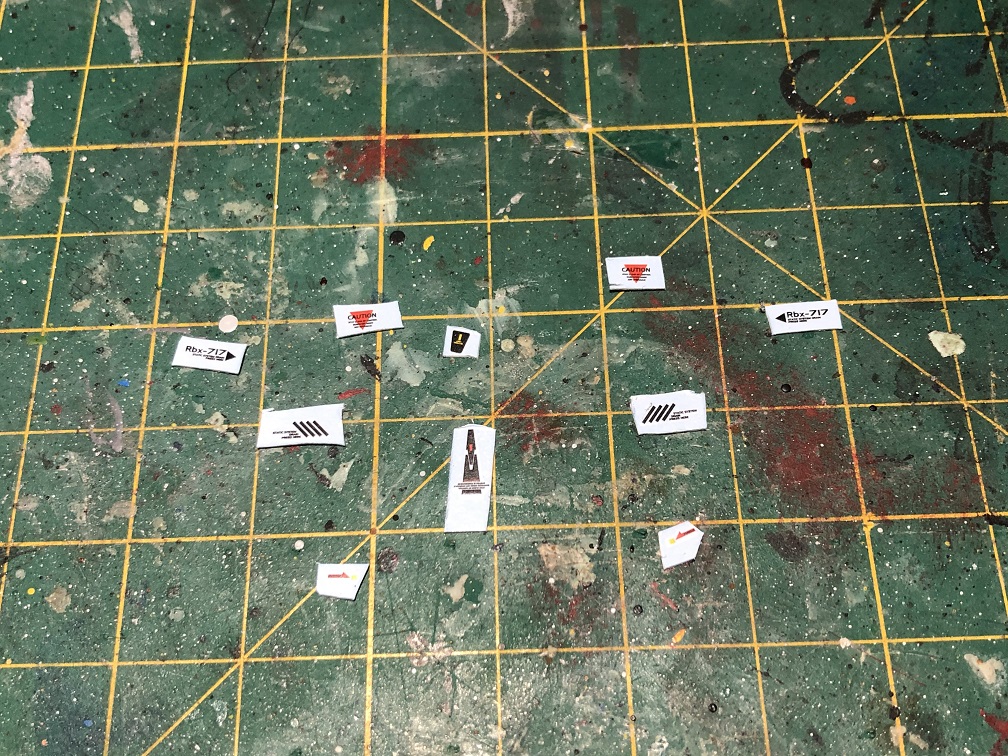
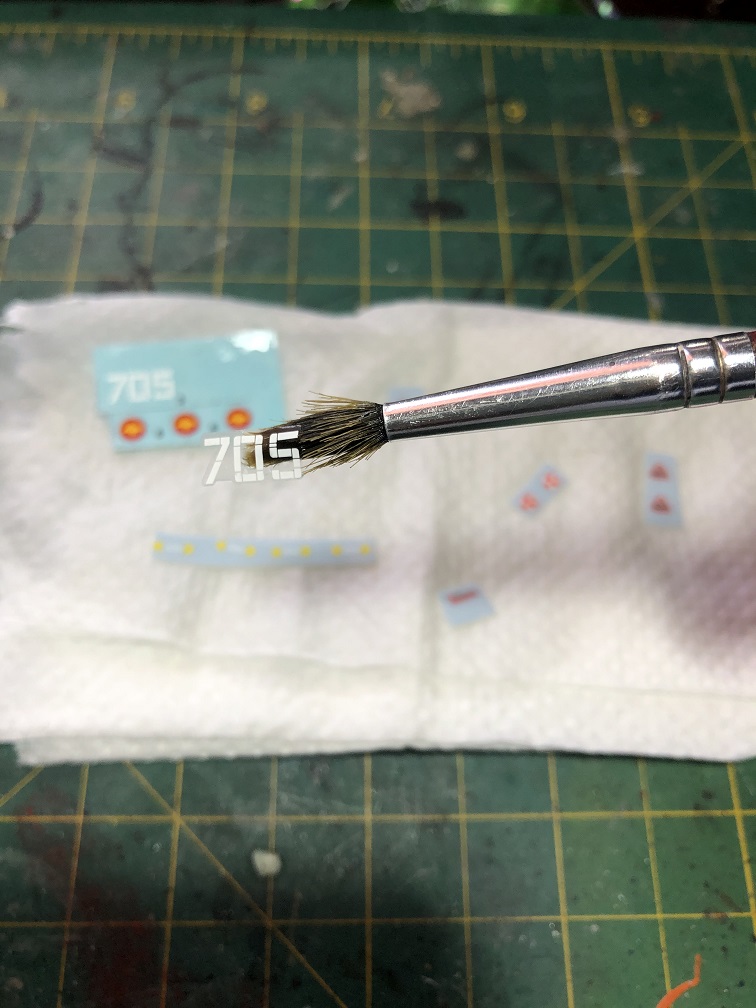
Water transfer decals
The Liger Zero came with it’s own water transfer decals, but looking around hlj.com for a while I found this awesome set of Pin up girl decals. Those are just like the markings used during WWII on the noses of the aircrafts! And to be honest, this is where the call sign “Stray Kitten” came from.
This came in 3 different sizes, I’ll be using the smallest ones.
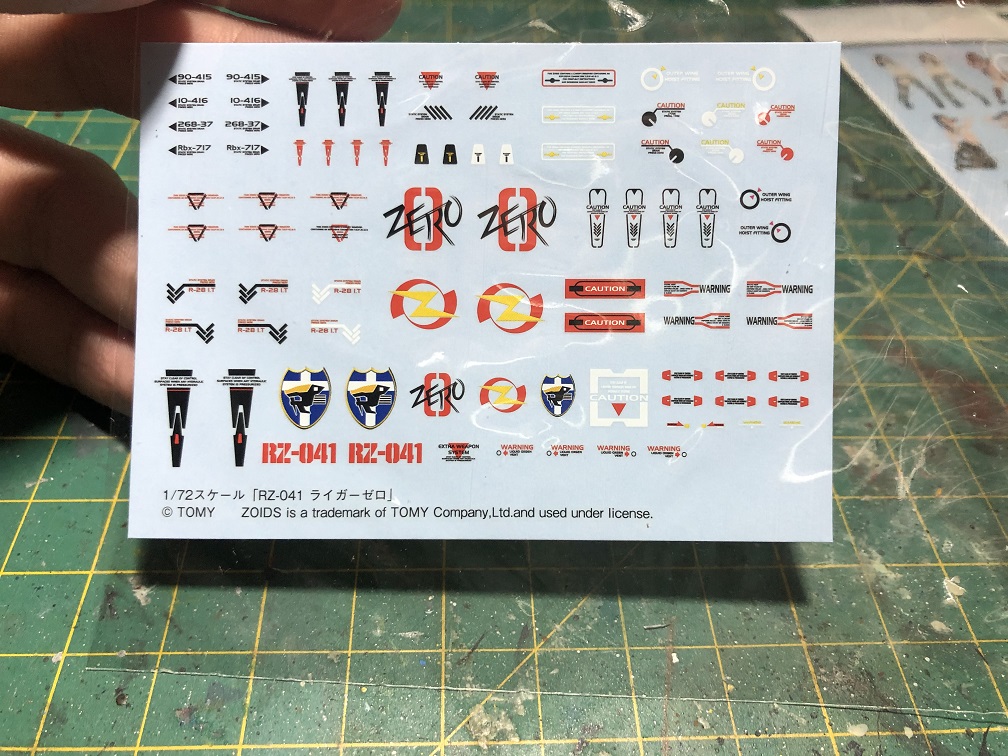

These are the decals I chose for the head.
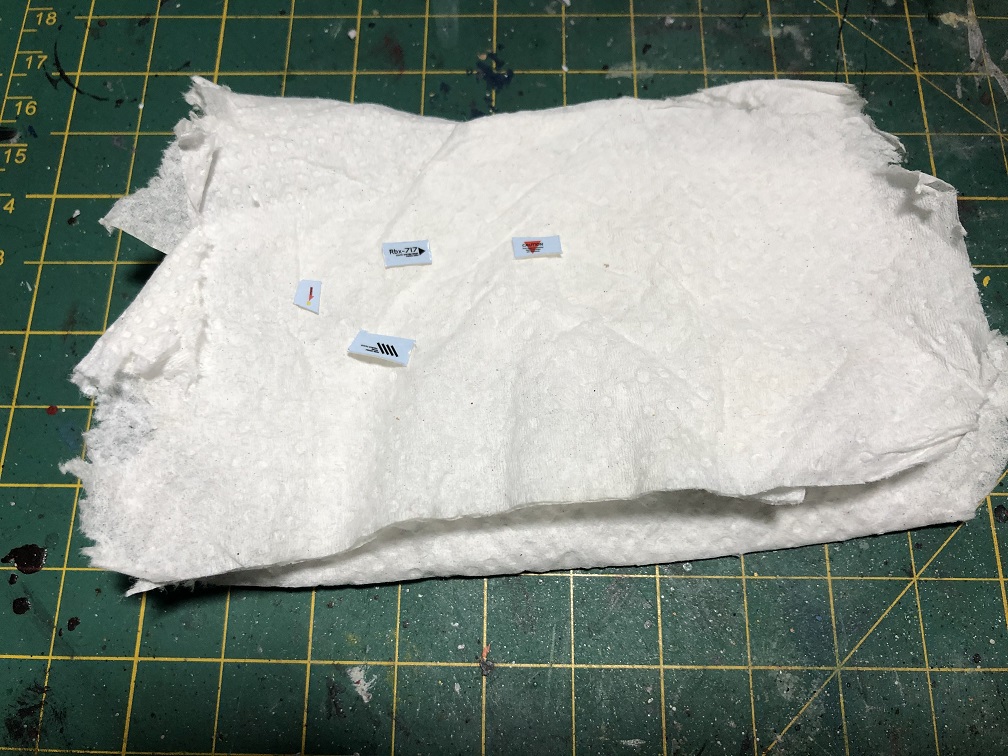
Now, I”ll show you how to apply them with this simple guide. All we need is a brush, water, paper towel and maybe some tweezers.
First, place the decals over the paper towel. Then add some water with the brush, make sure you soak the decals completely. After a minute or two, we can separate de decals with our brush. And place them on the model. Once we are happy with the position of the decals, let’s remove the water that remains with the paper towel.
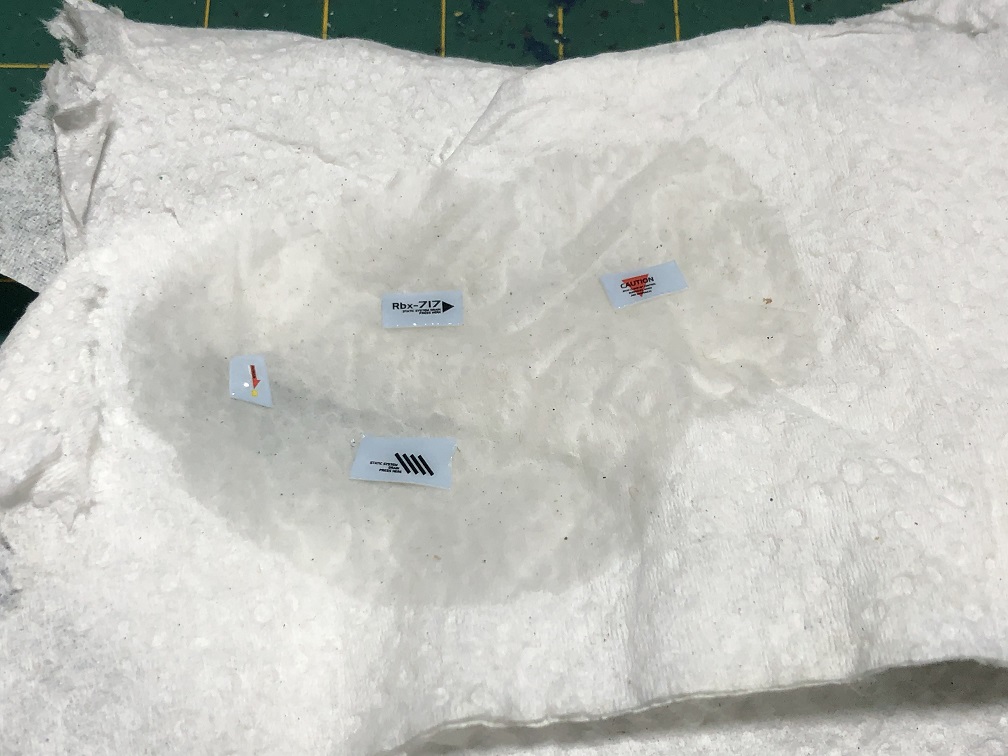
A small note here.
If that happens don’t worry, we can fix it in 2 different ways. The first one will be addressed in the next step, the second one is to cut the decal with our hobby knife.

I suggest you do this before place them onto the model. If they are already in place, don’t worry, you can still cut them, just apply pressure over it with the sharp side of your hobby knife blade.
And this is how it looks with the decals in place.

We are almost done! Just some more small details.
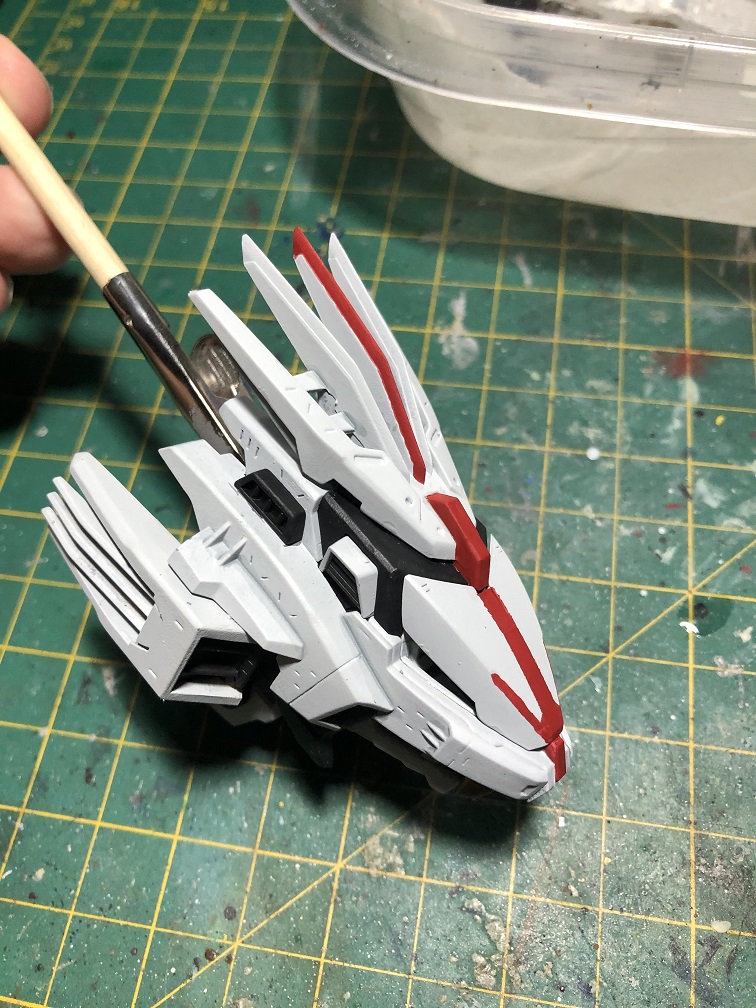
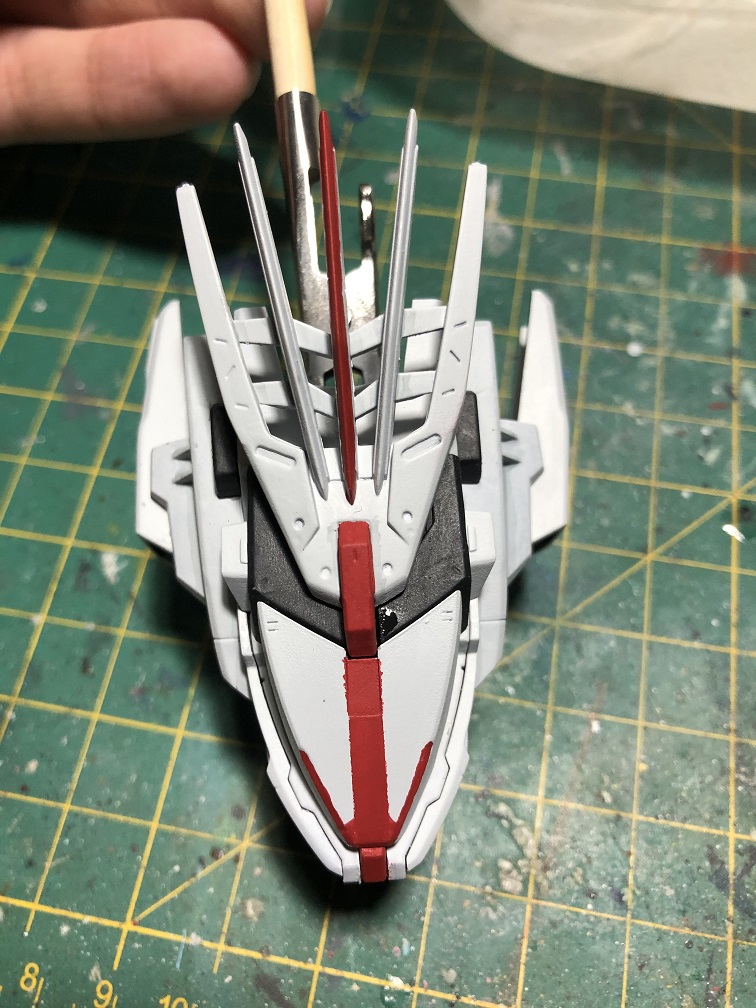
Painting scratches
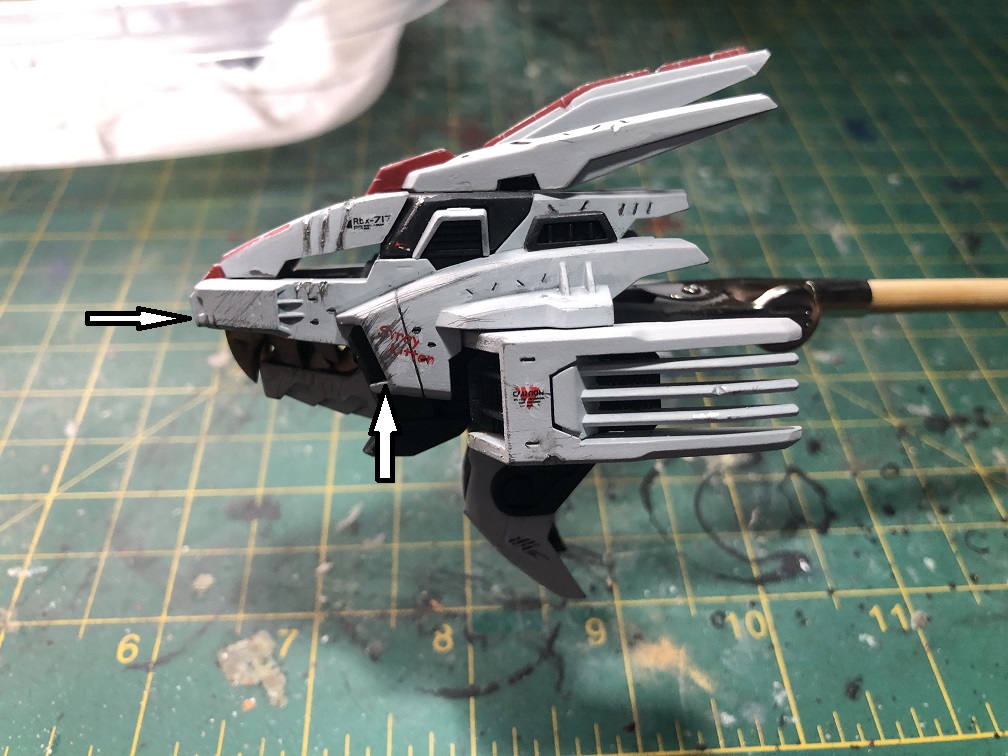
Let’s paint new small scratches on the armor while we also paint those we made with the small saw.
For this I used Citadel’s Leadbelcher for small scratches and a silver Gundam Marker for the bigger ones.

The marker is for the wider scratches and missing armor.
Also let’s use it to paint some edges in the armor. Remember when I mentioned before that not applying a clear coat to protect the paint was on purpose?
Well, this is why I did it (and why I usually apply it before weathering). There are some parts, especially edges, were the paint is gone. This is something that happens to any metallic surface in real life over the years. This make the scratches more natural on the model. Then I proceeded to paint them with the marker.


Now, let’s paint more scratches with a silver paint or gun metal. For this, we need a thin brush, and we are going to paint thin lines near the edges that we painted with the marker or where we made scratches with the saw teeth.

Scratching decals
Let’s add a few more scratches to our model, but this time we are going to paint over the decals and also the red stripe. For this, we are going to use the same thin brush we used for the silver scratches and the main color of our armor. In my case it’s Corax White.

This will create a more natural effect on the paint of the armor.

Also, lets paint with white all the armor edges were the red stripe is. Like I mentioned before, usually the edges are the first place where paint is worn out.

After all the paint has dried, we can apply a varnish or clear paint coat to protect the paint job, before adding a wash.
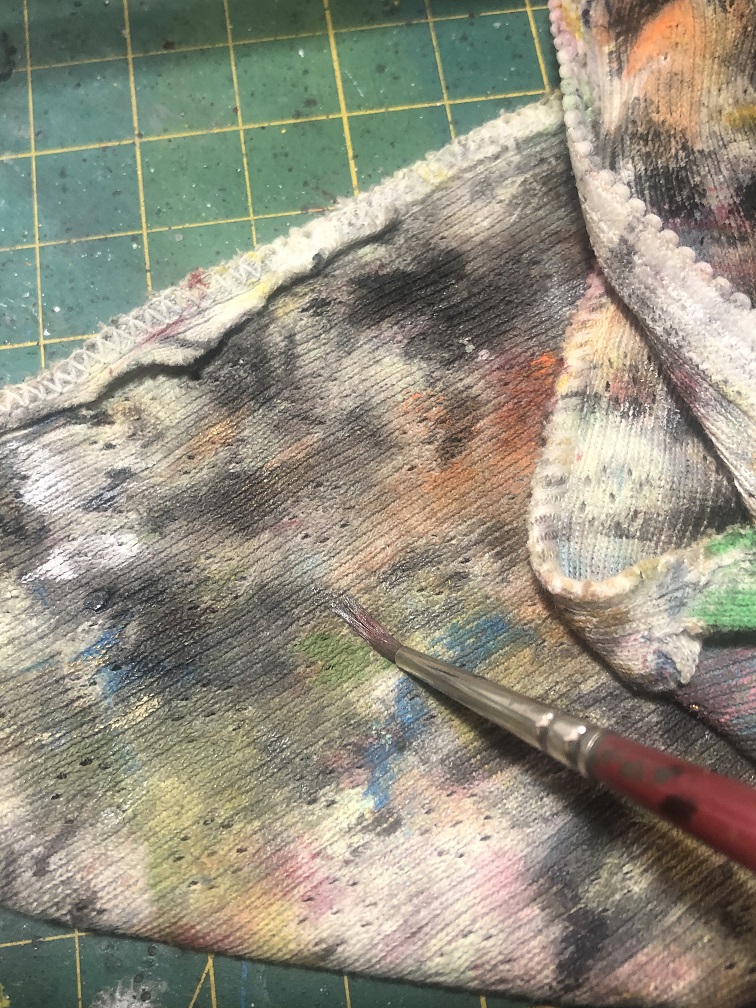
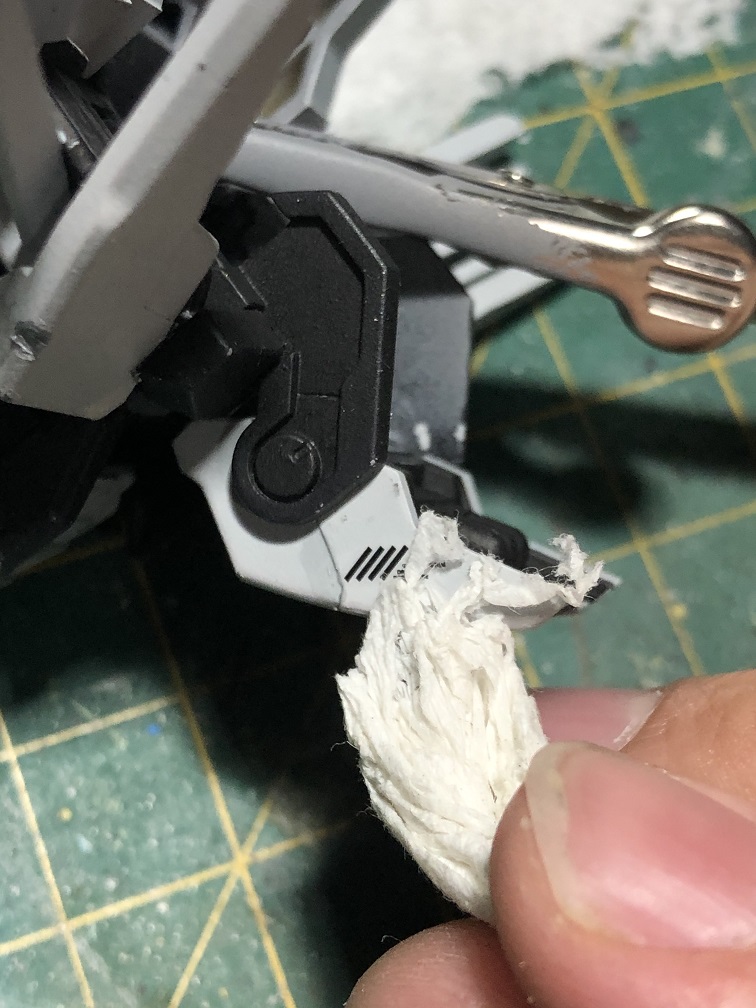
Dark wash
Now, let’s apply the same wash technique we used for the mouth but to the white armor. We’ll make sure to get inside all the recesses and panel lines. But before the wash dries, we are going to clean off some of it with a piece of cloth.
Apply the wash all over the white armor. With a piece of cloth, clean the excess from the flat areas.
I don’t recommend to use paper towel because it will absorb all the wash paint inside the panel lines and recesses. The cloth will spread the excess evenly across the flat areas instead.
Finishing up
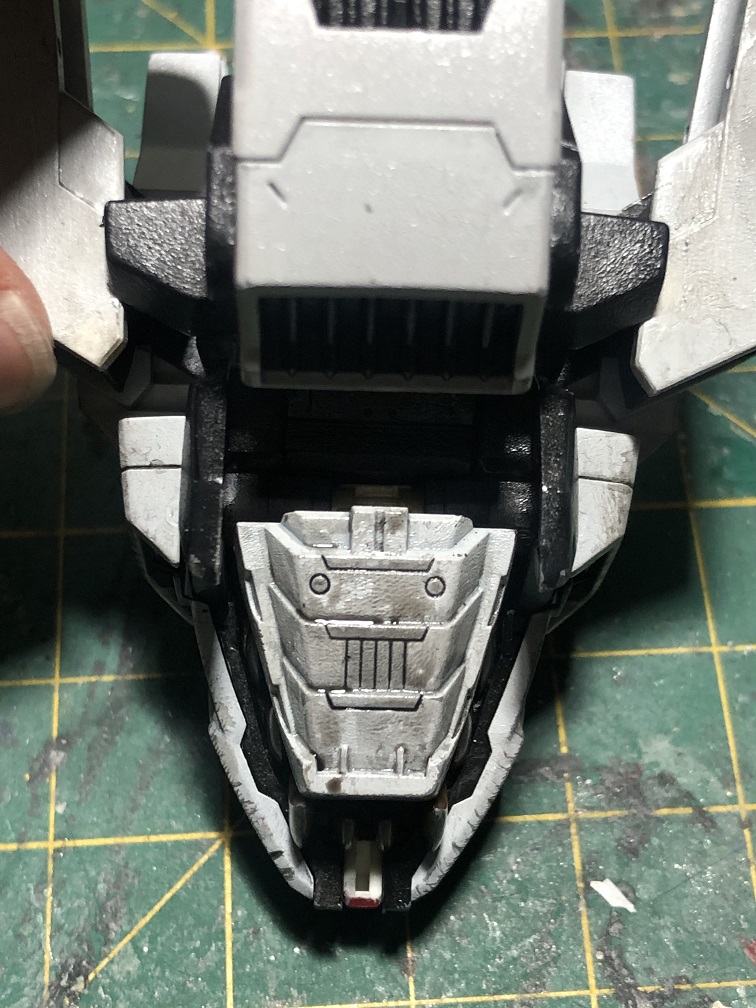
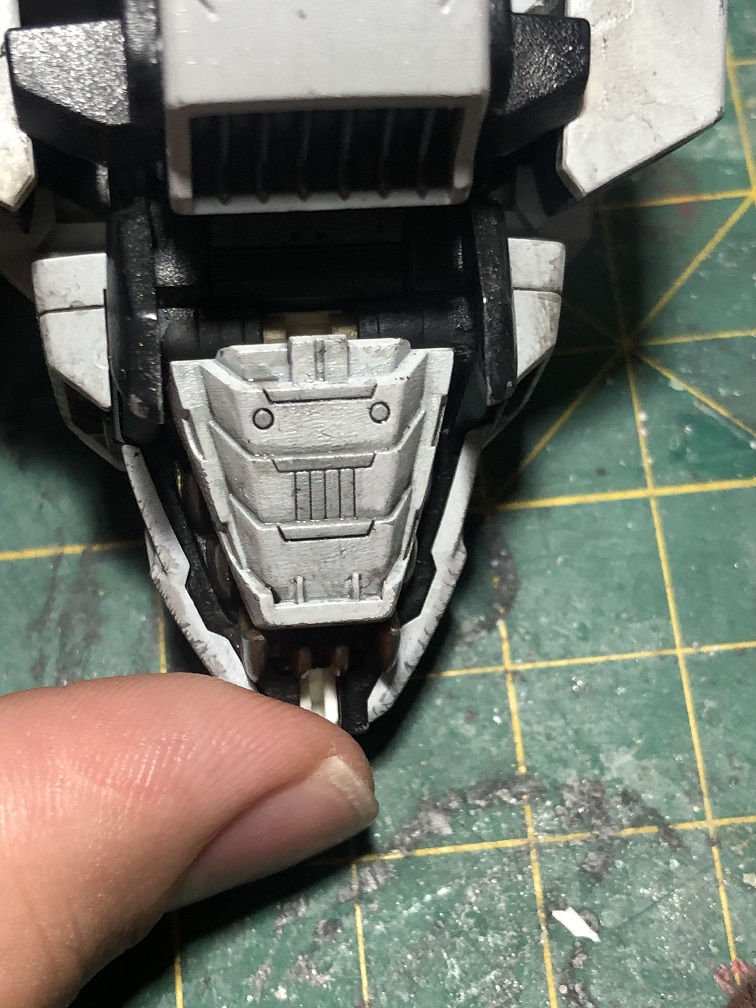
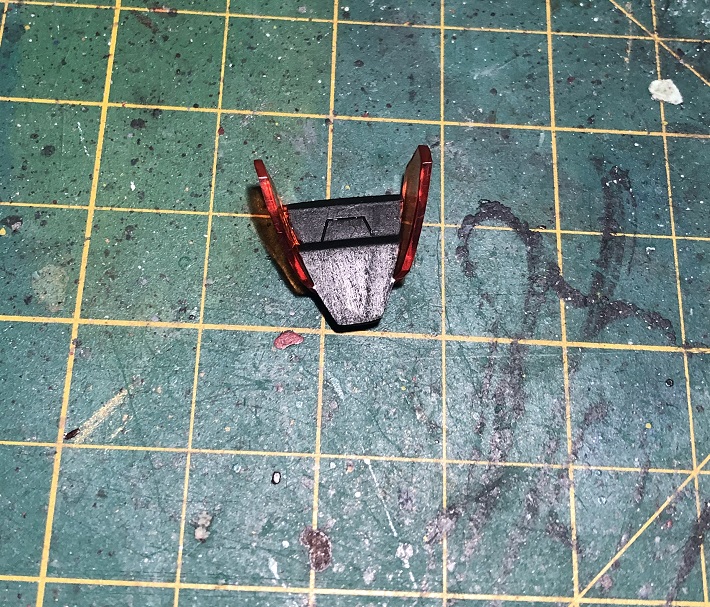
Let’s finish up by completing the cockpit canopy. You can paint the center of the clear orange piece. This is where it will be attached to the Zoid. I left this piece at the end on purpose so it wont be painted by accident.
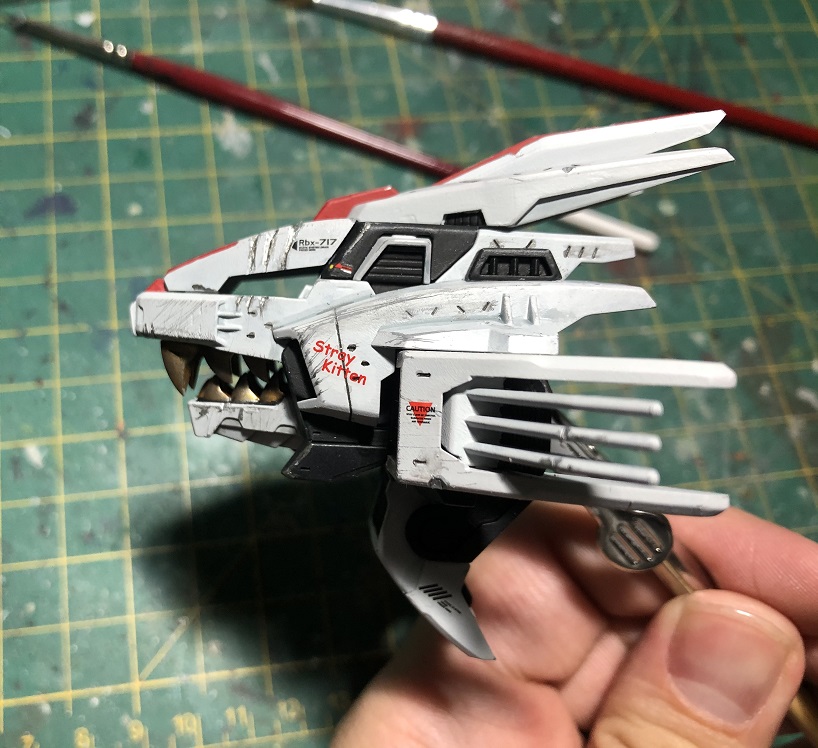
And with that the head of the “Stray Kitten” is complete.

I hope that you enjoyed this “How to guide” and it inspired you, not only to build and modify your model kits, but to create new characters and stories around them!
In the next part for this series, we’ll be building the main body of this Liger Zero, so stay tuned!
See you on the next one!
Happy modeling!