Hello there!
Welcome to the 2nd part of the Godos customization tutorial!
Today I’m going to show you how to add details to the weapons, apply decals and a simple way to weathering to your kits.
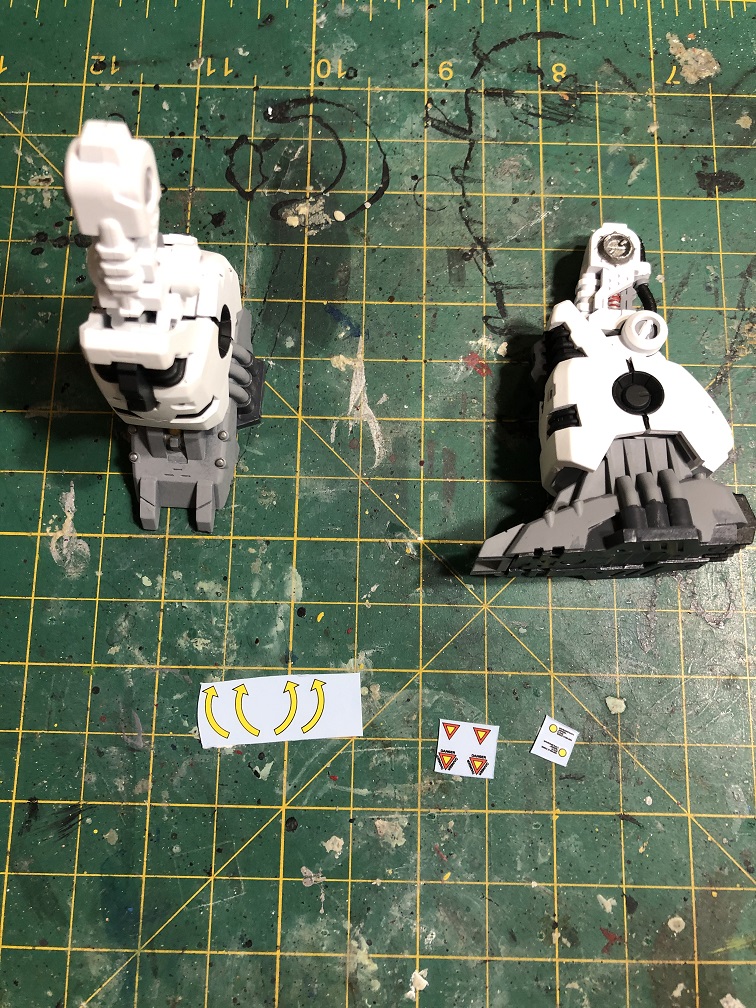
Let’s begin from were we left off last time:
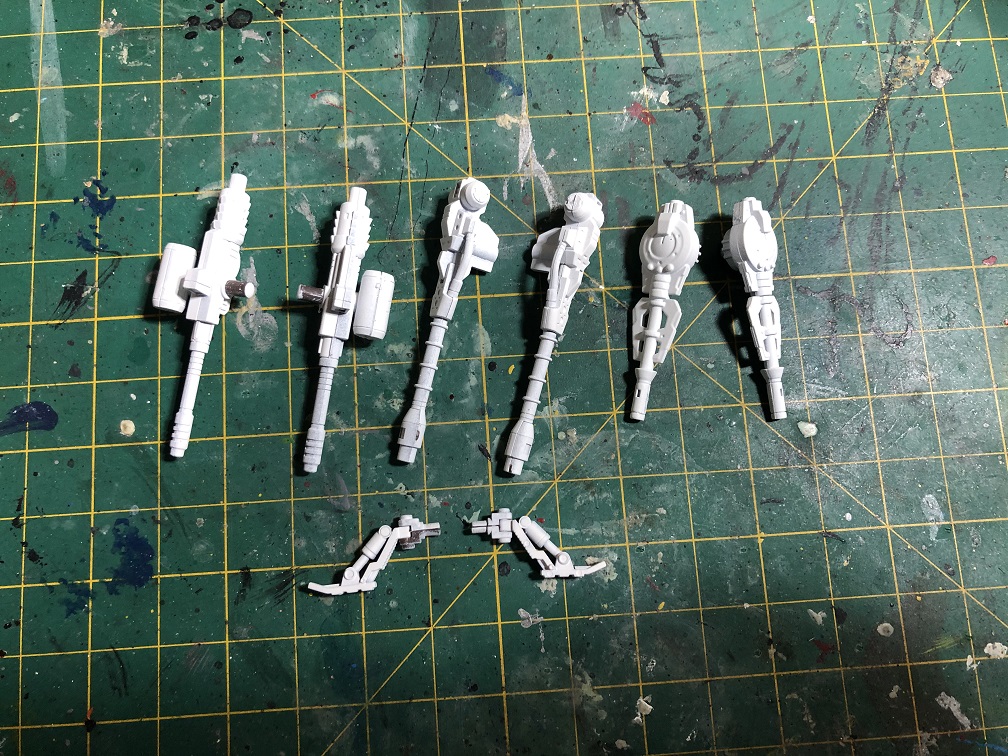
Stage 3: Painting the weapons
We’ll keep using the same colors we used in part one, with one extra:
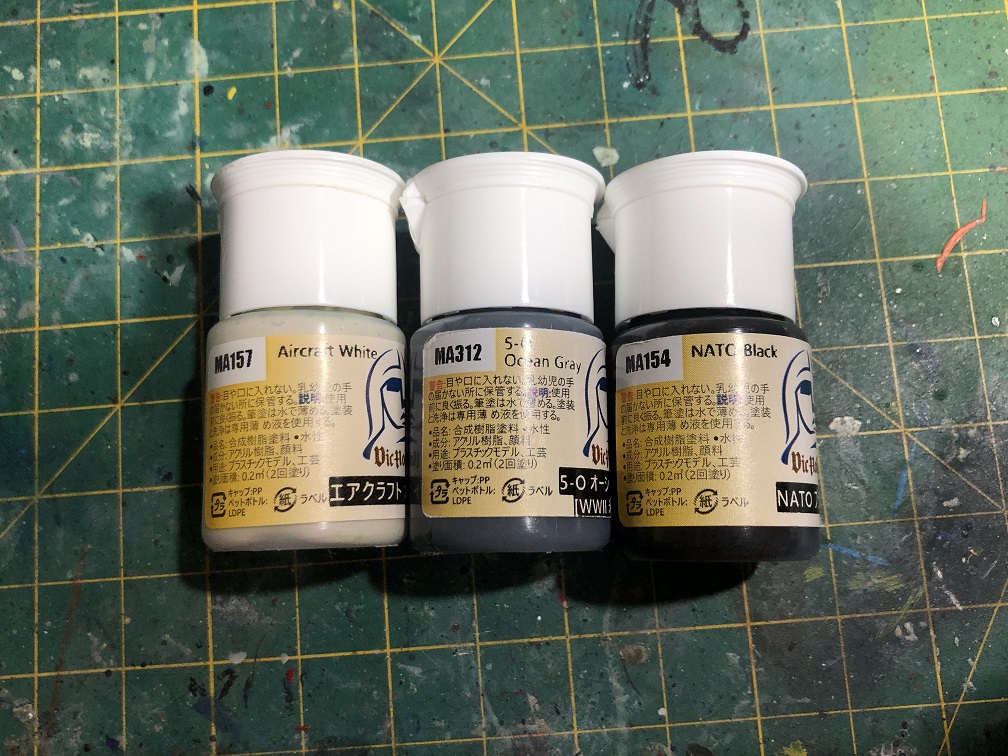
- Vic Hobby Nato Black
- Vic Hobby Aircraft White
- Citadel Leadbelcher
- Vic Hobby Pale Gray
- Vallejo 70996 Gold
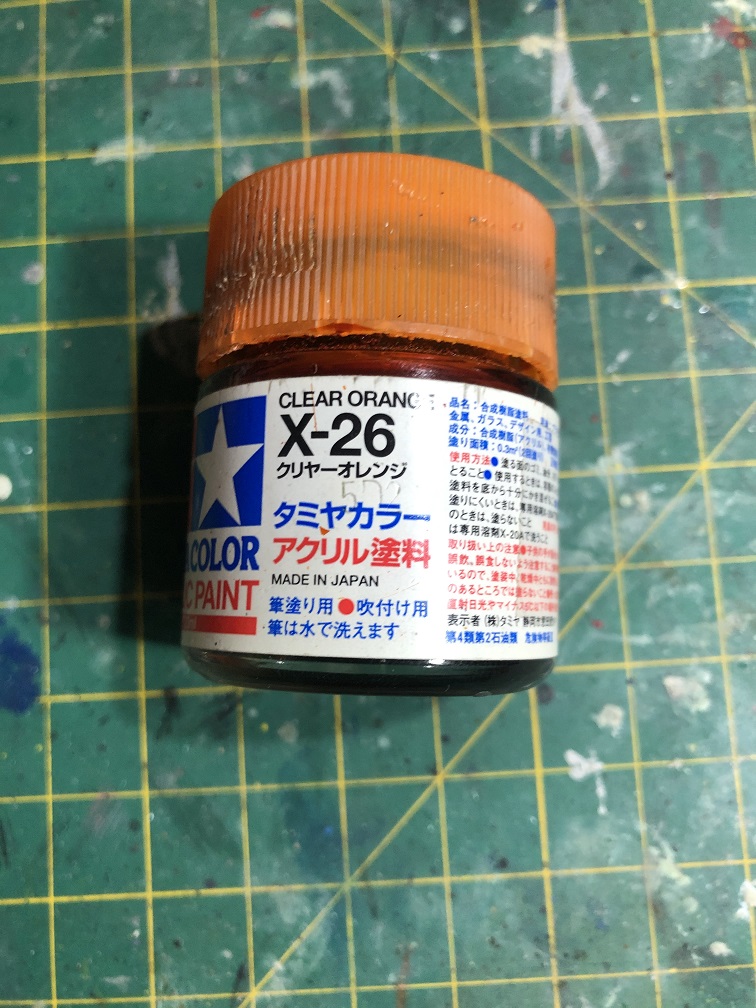
- Tamiya Clear Orange

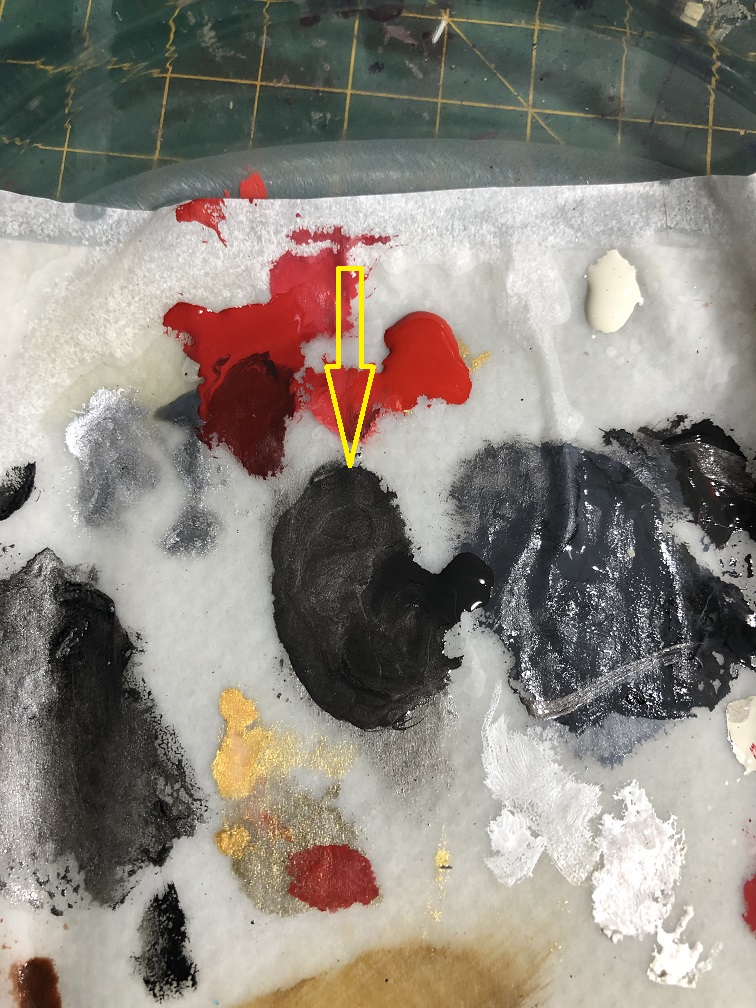
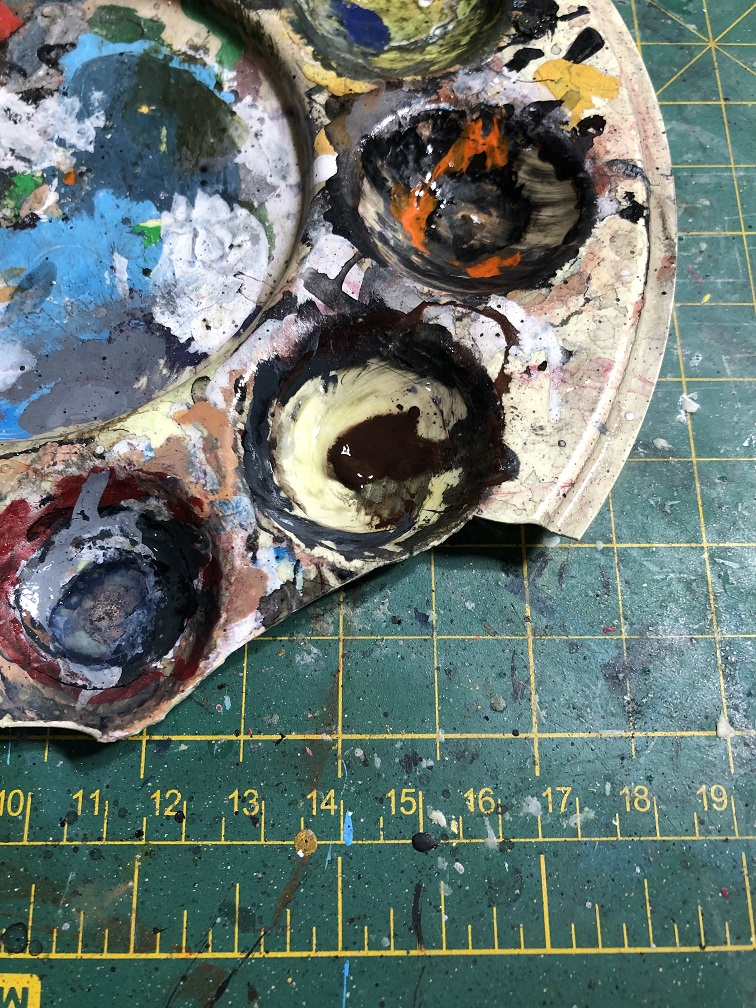
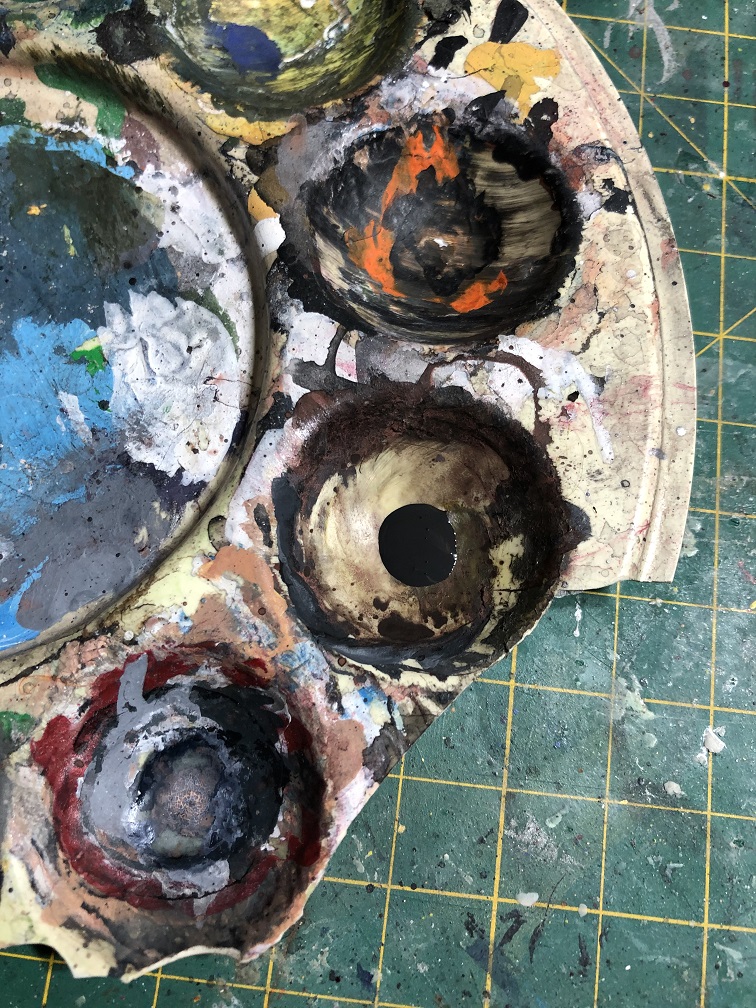
All the painting techniques that I use are for brushes, therefore I use a palette (or wet palette) for my paints. Remember, never use your paints straight from the bottles. This way it will be easier to mix and thin your paints and they will last longer. Also remember to thin your paints in the palette with some water. Several thin paint coats are always better than a single thick coat.
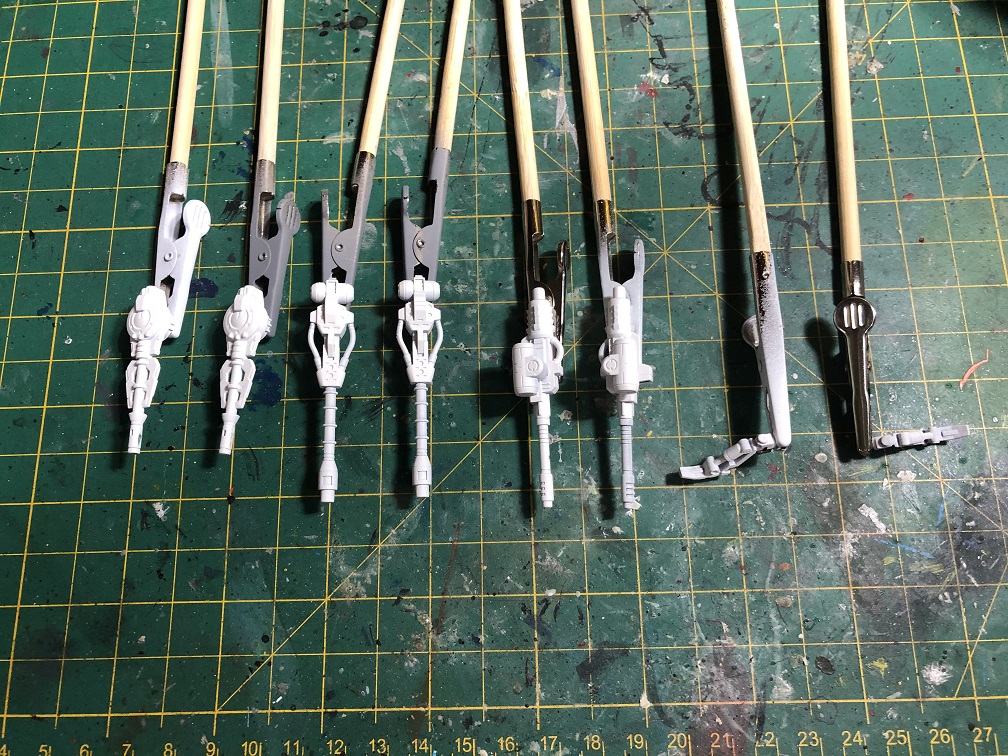
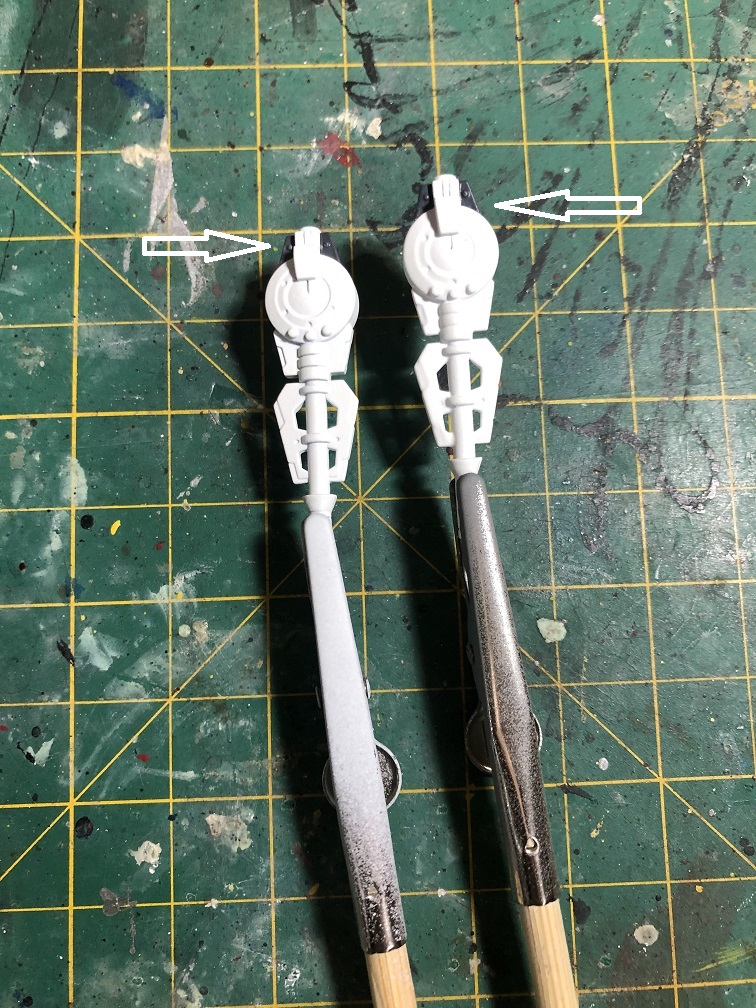
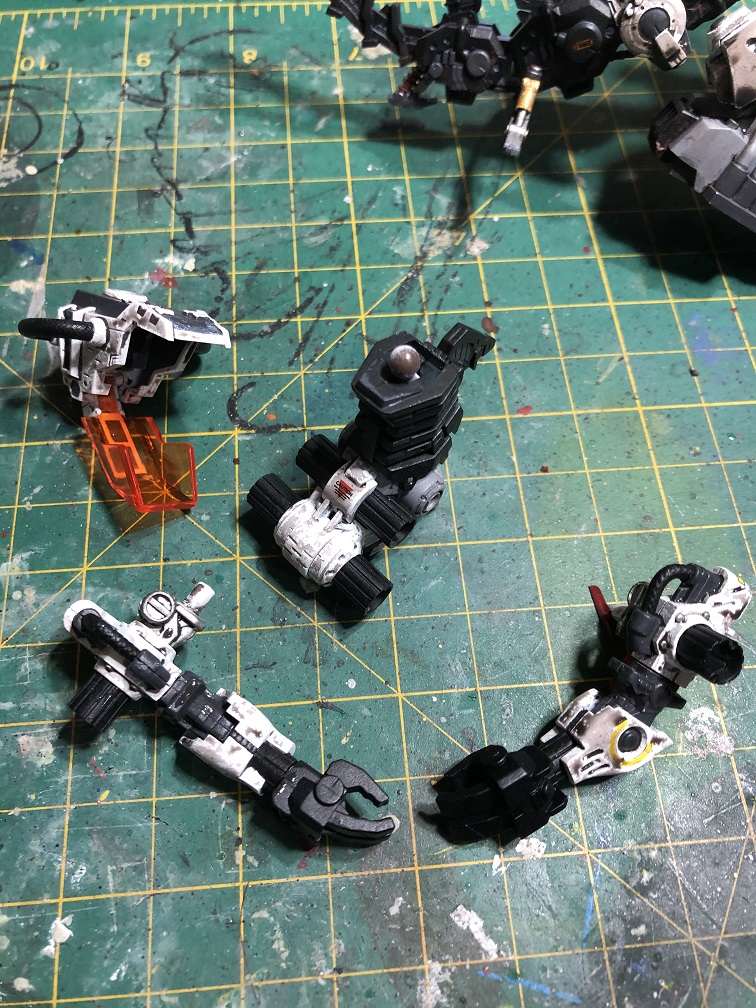
Since we’ll be working with some of the smallest pieces in the kit, I recommend you to use paint clips. This way it will be a lot easier to manipulate the small guns while painting without painting yourself.
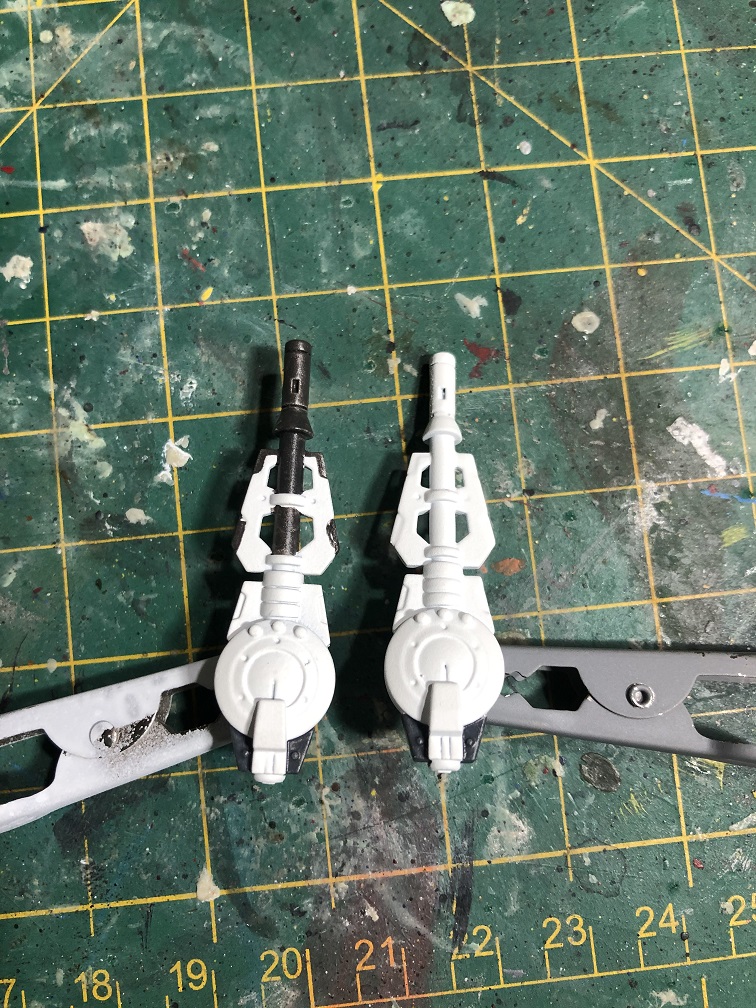
Pale Gray + Nato Black
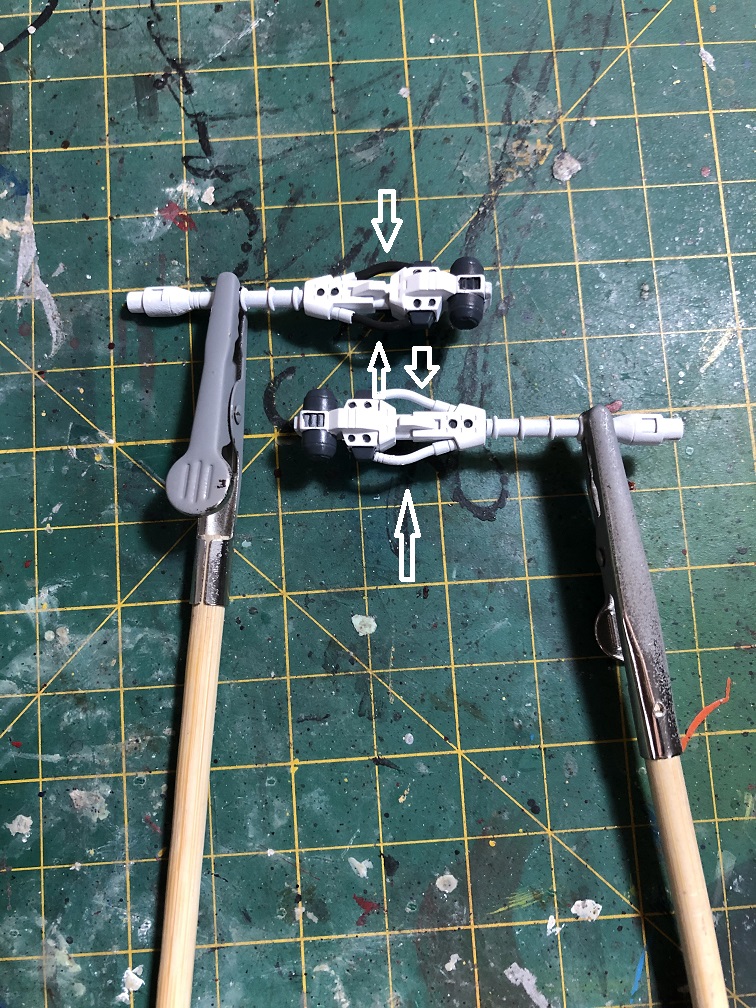
Last time we base coat the weapons in white. We are going to leave some parts of the weapons in white, this will represent the armor plating, while we paint the rest with dark grey.
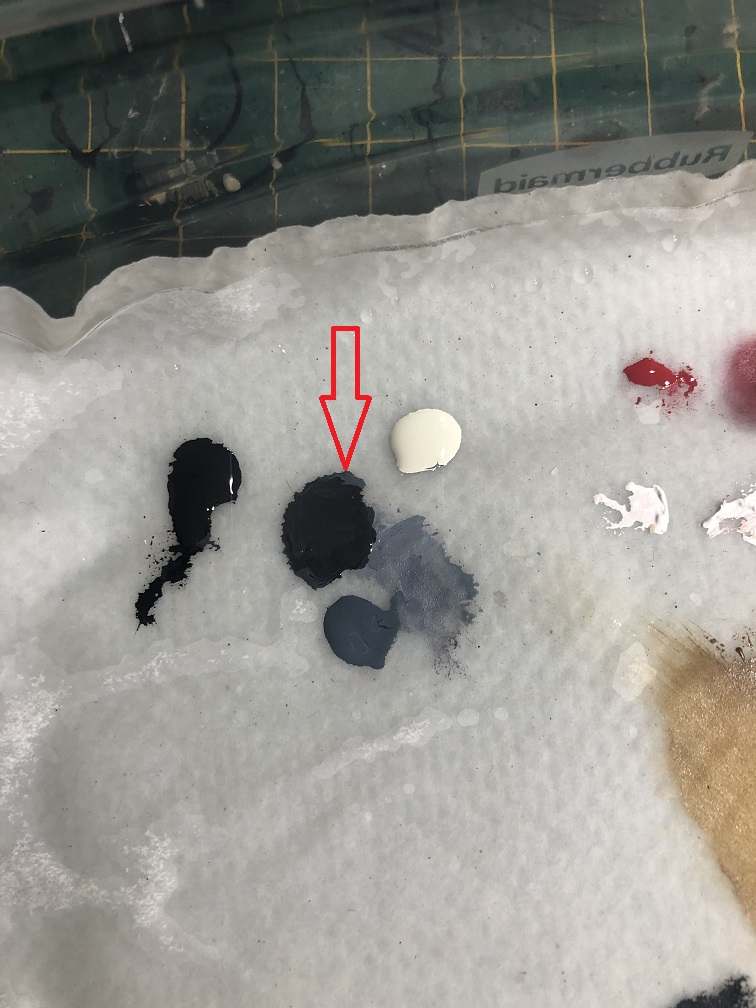
We’ll mix 2 parts of pale gray with 1 part of nato black to create a dark grey.
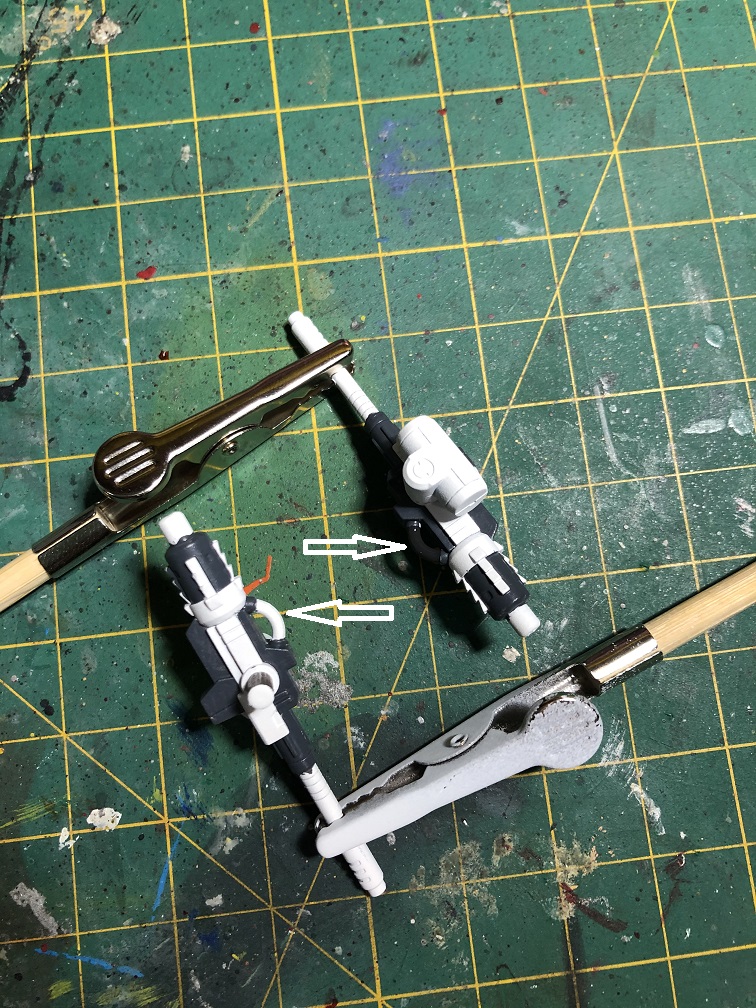
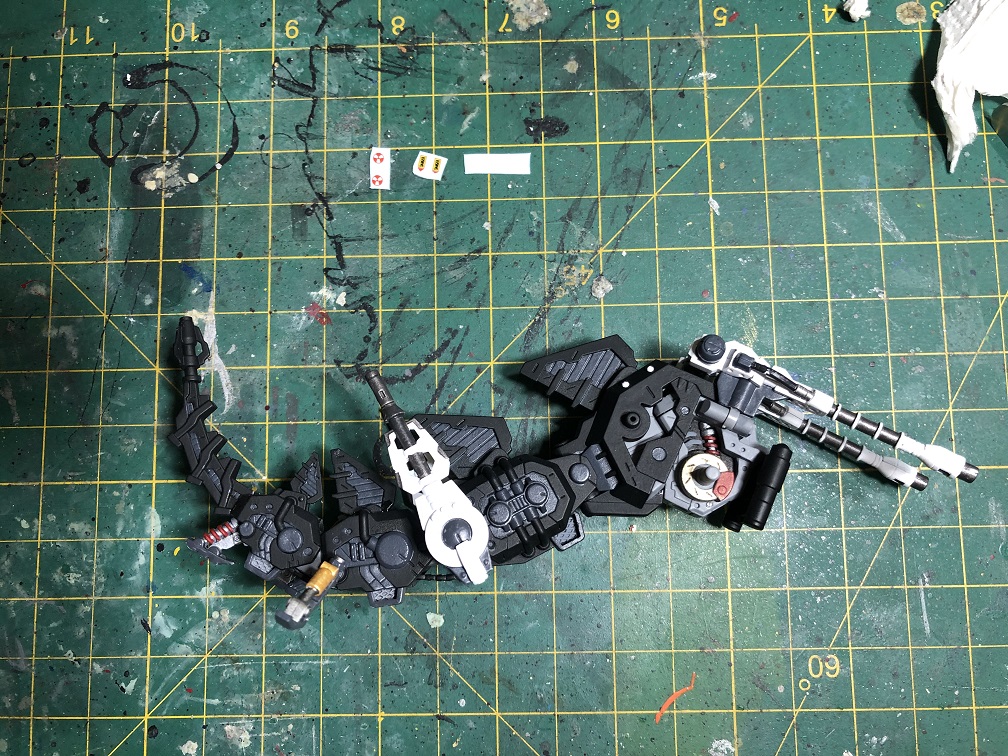
Now, let’s apply this dark grey to the inner panels of the weapons and the supports for the tail.

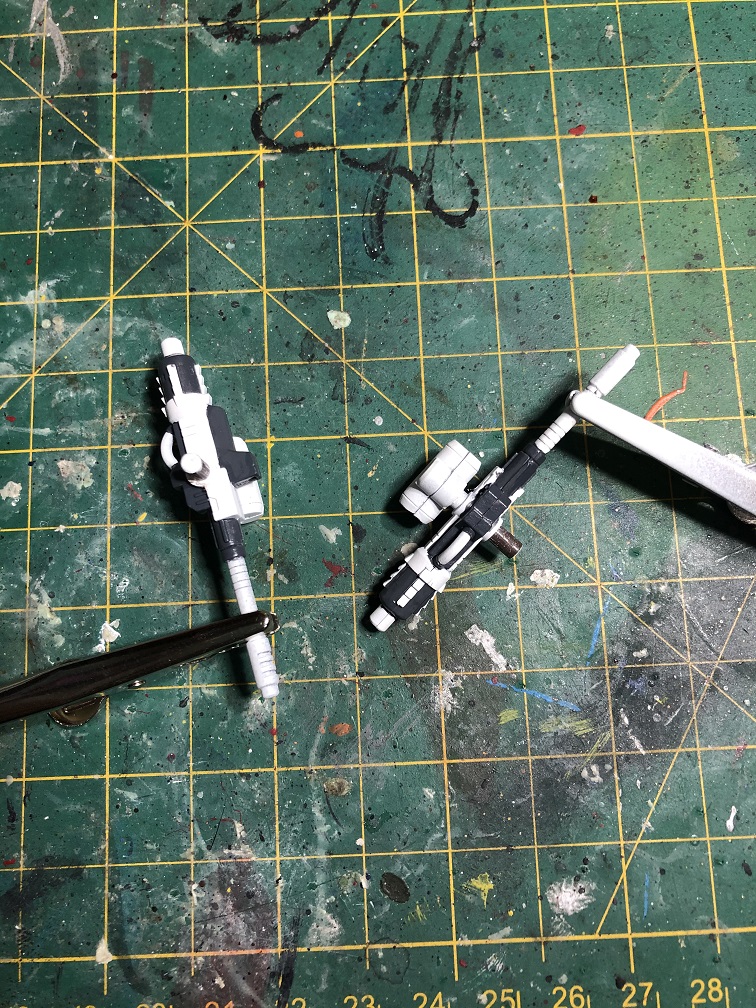
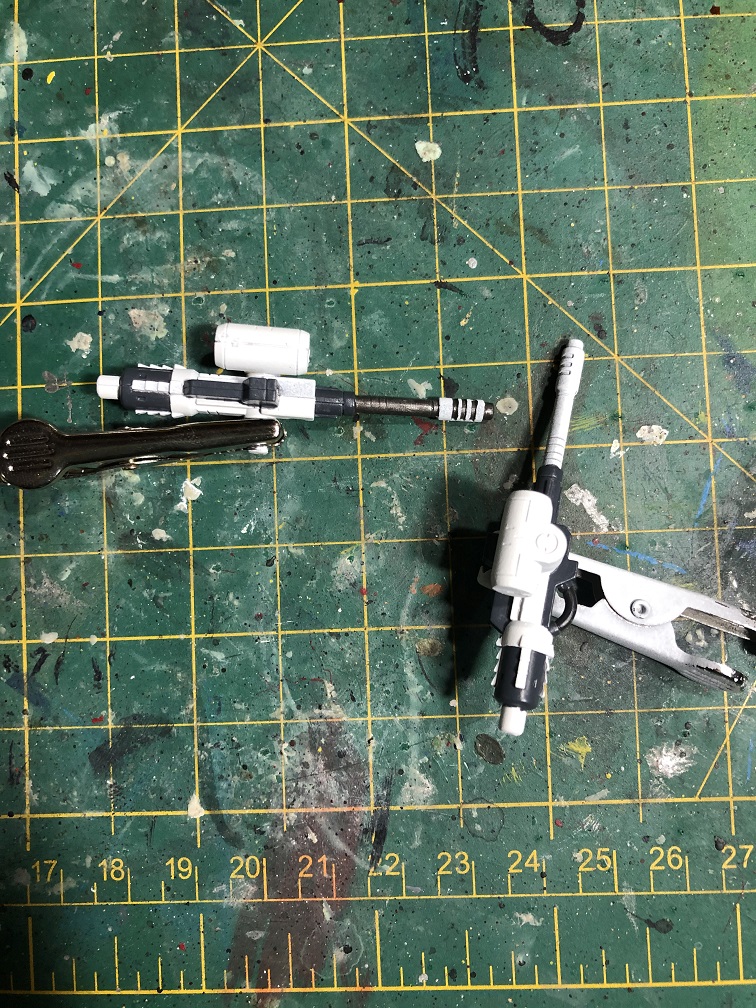
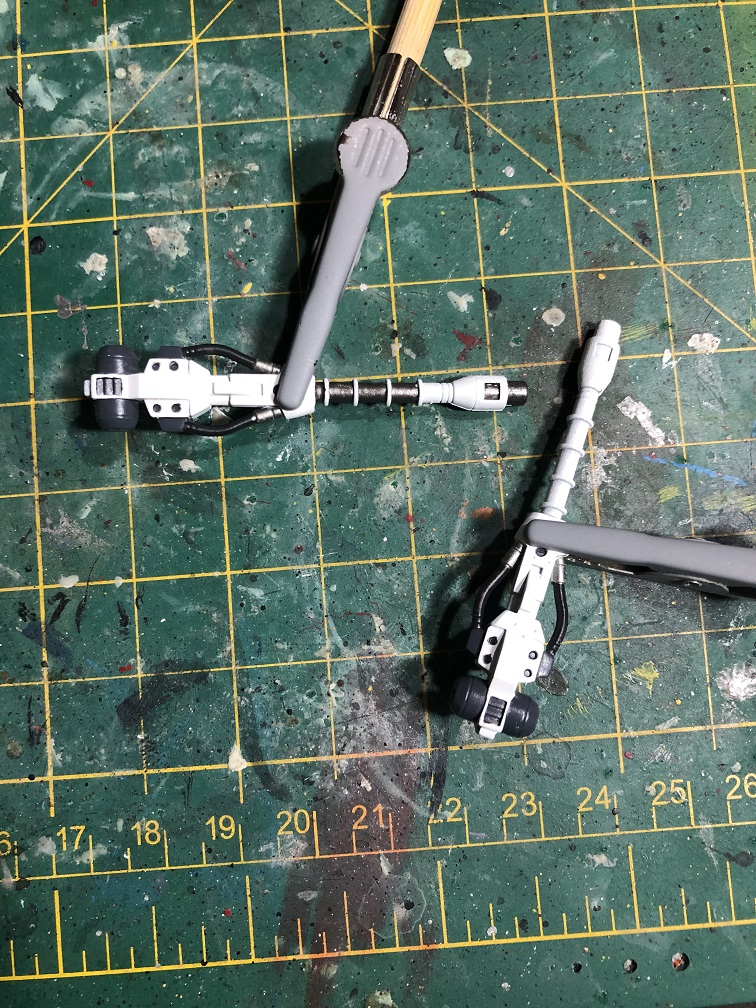
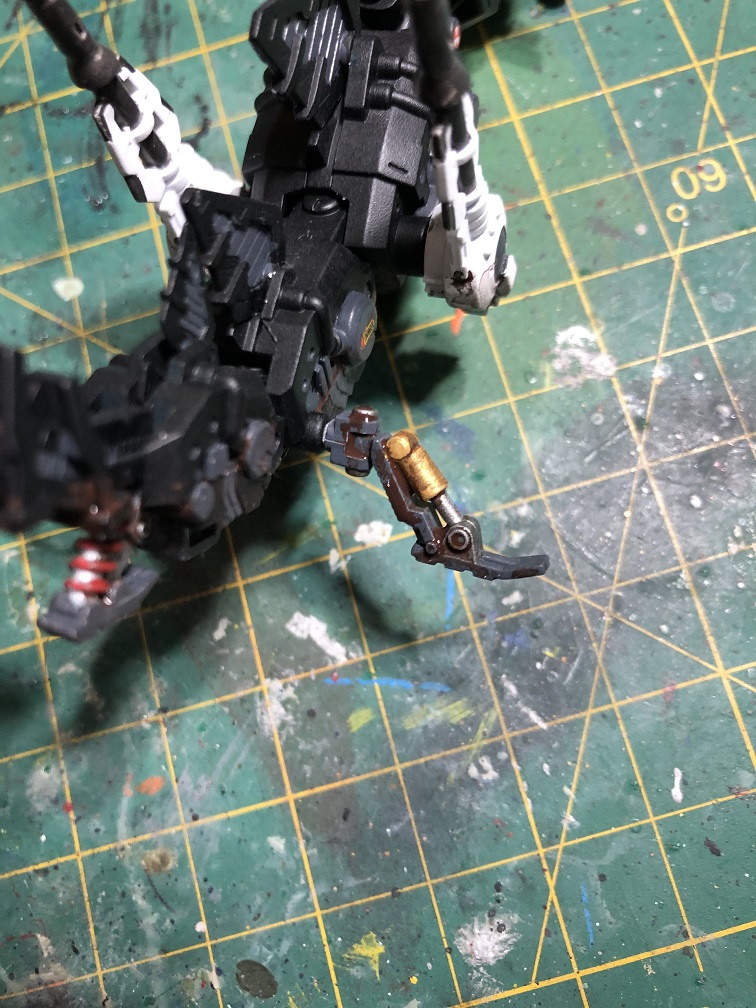
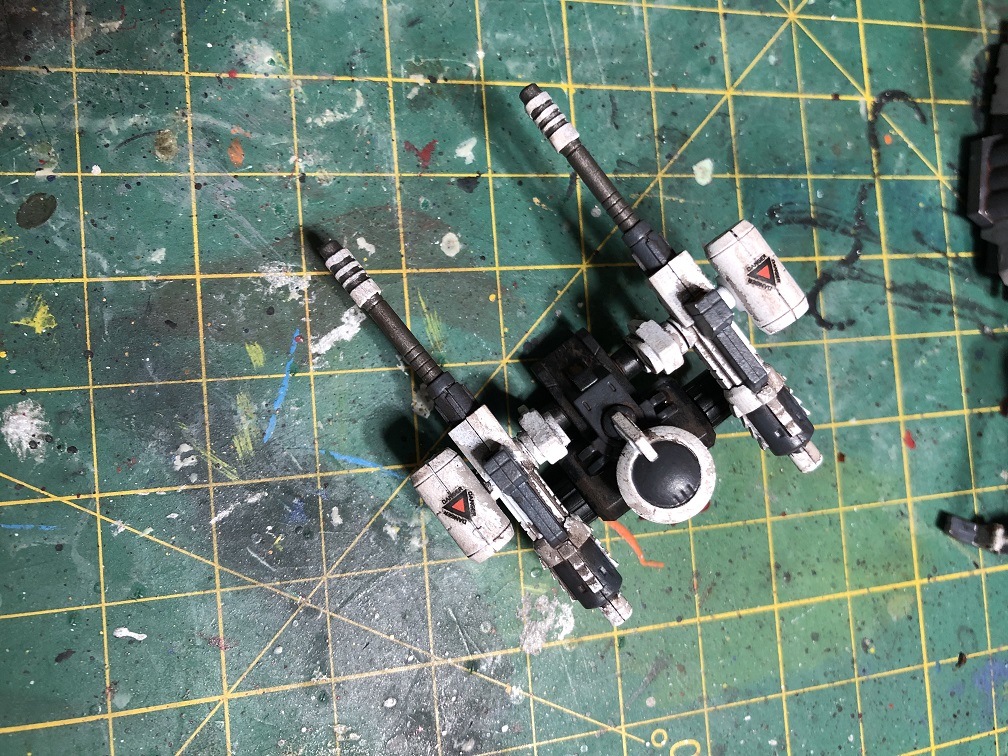
Nato Black, Leadbelcher, and Gold
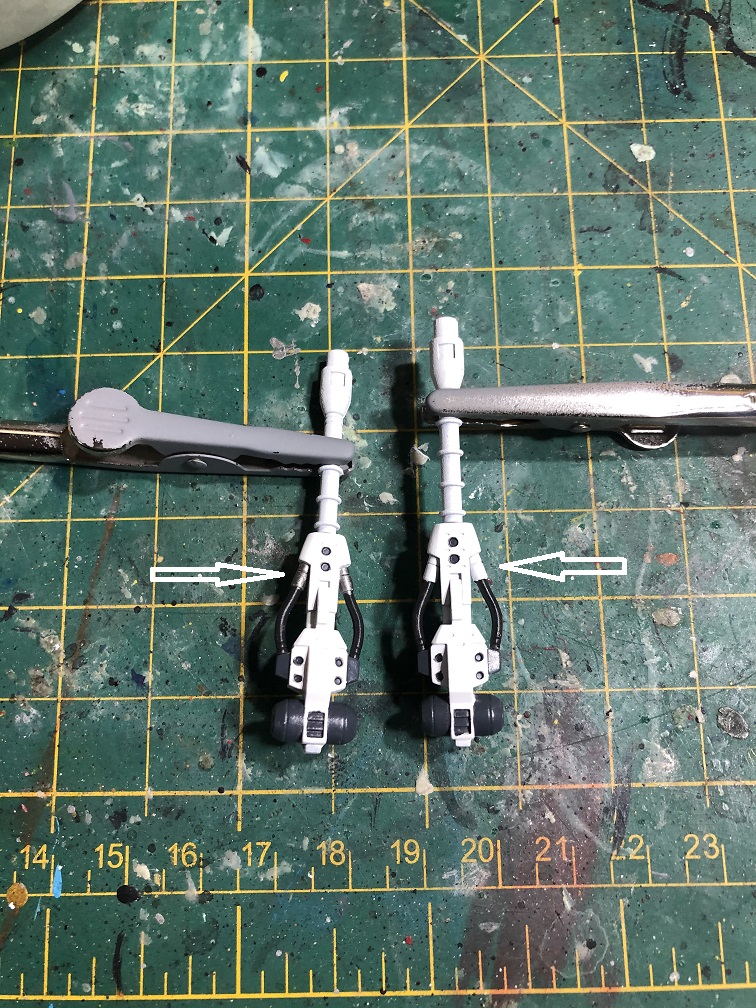
For the hose pipes in the weapons, we’ll use nato black.
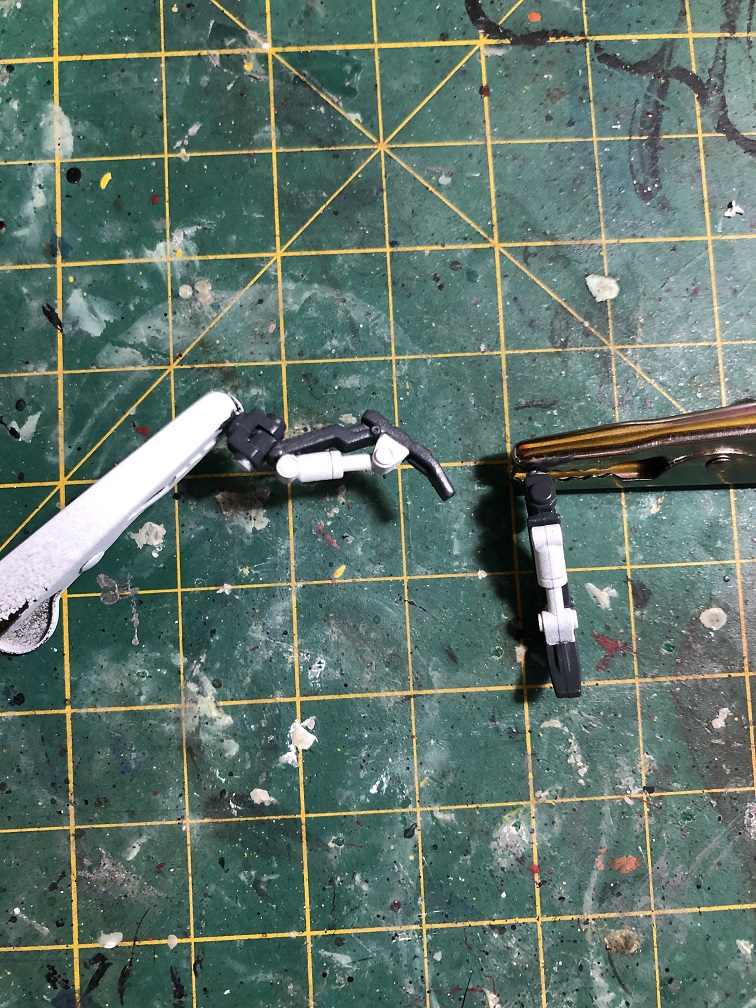
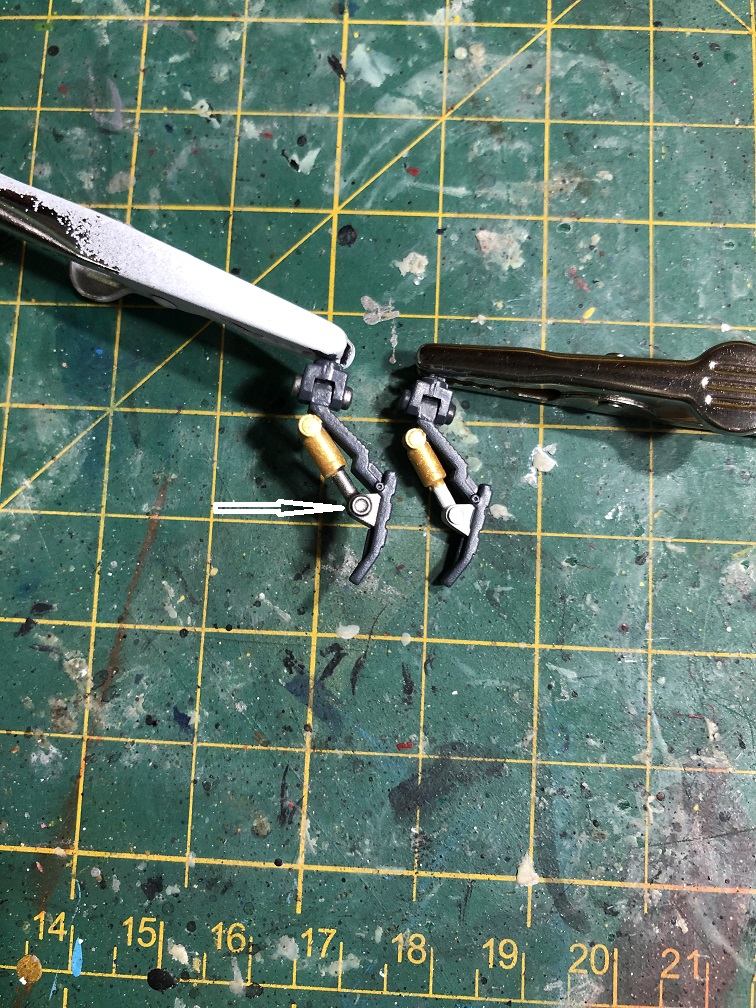
Then, we’ll apply Vallejo gold to the piston on the tail supports.
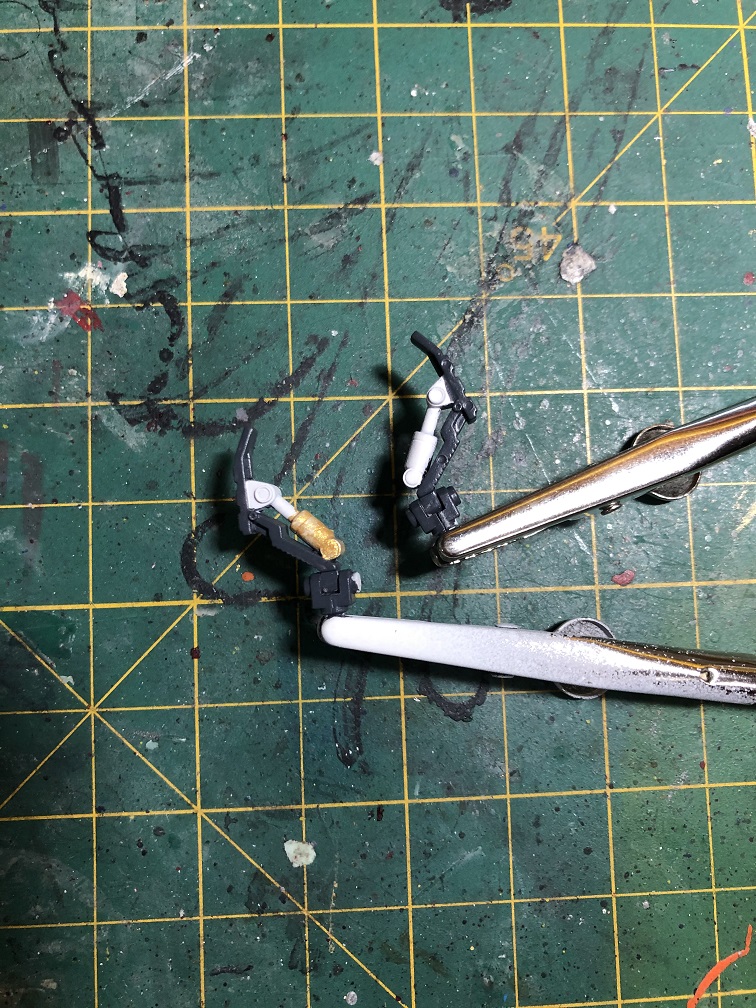
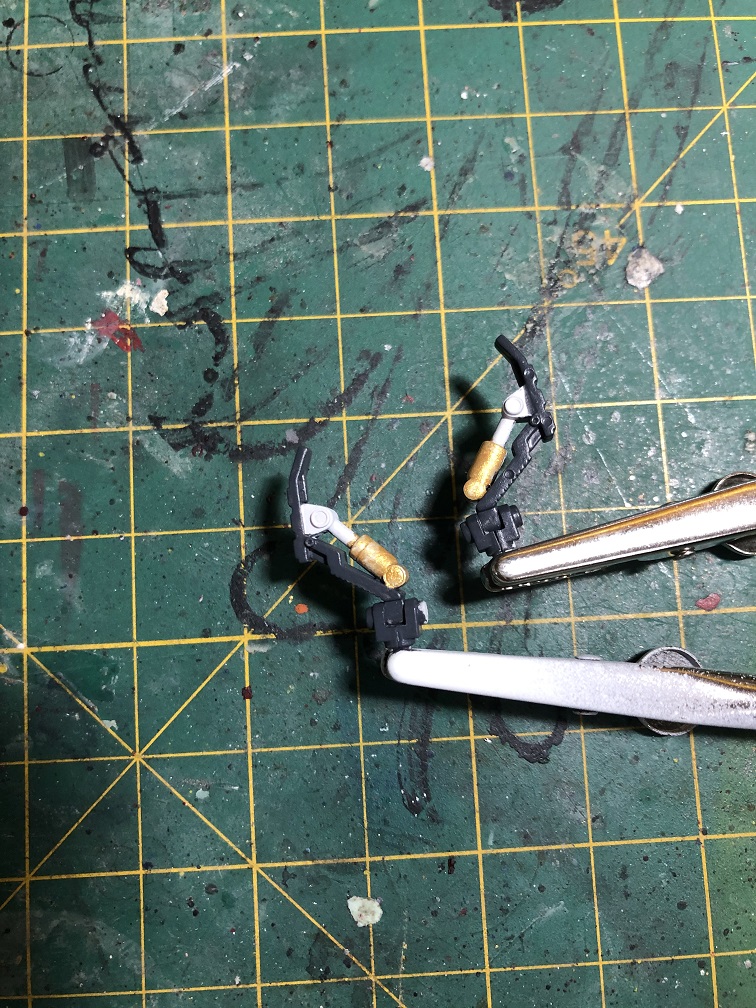
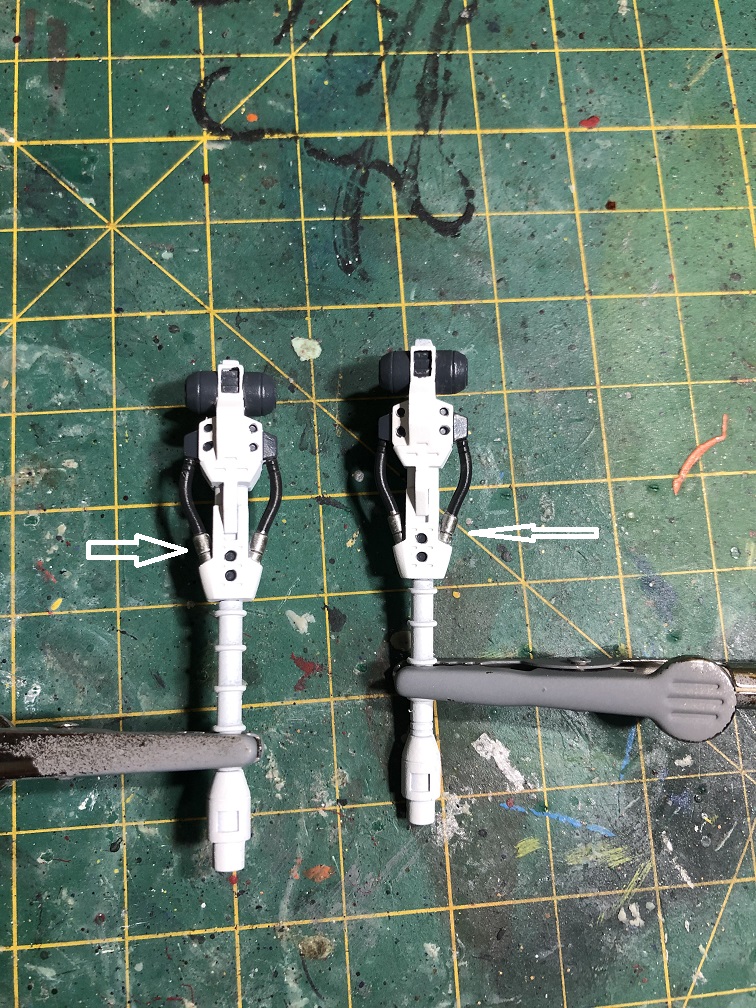
After the black and gold paint are dry, we’ll apply leadbelcher (or silver paint) to the pistons on the tail supporters, the unions of the hose pipes with the guns, and the cameras of the weapons.

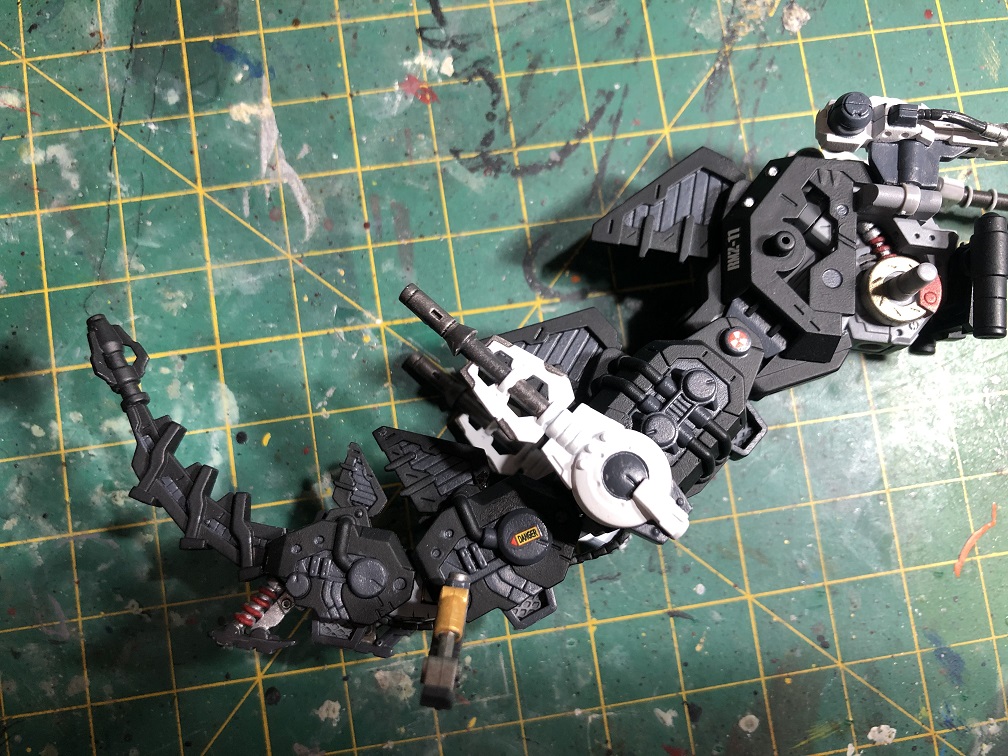
Leadbelcher + Nato Black and Clear Orange
Mix 2 parts of Leadbelcher with 1 part of Nato Black to get a dark silver, something like gunmetal.
We’ll use this for the barrels of the weapons.

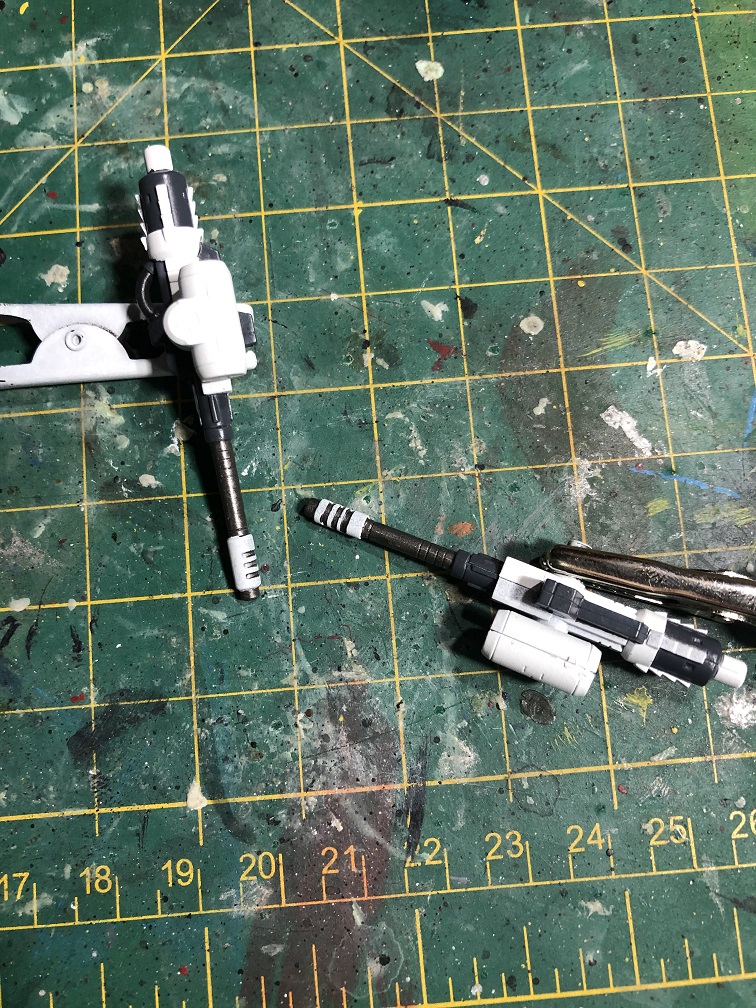

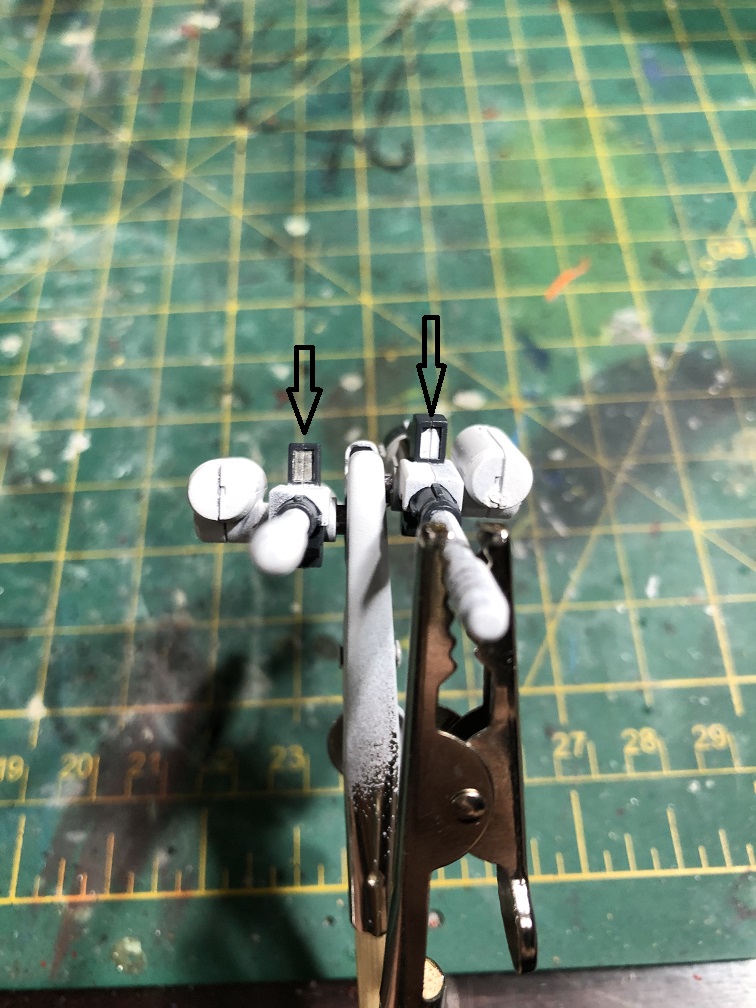
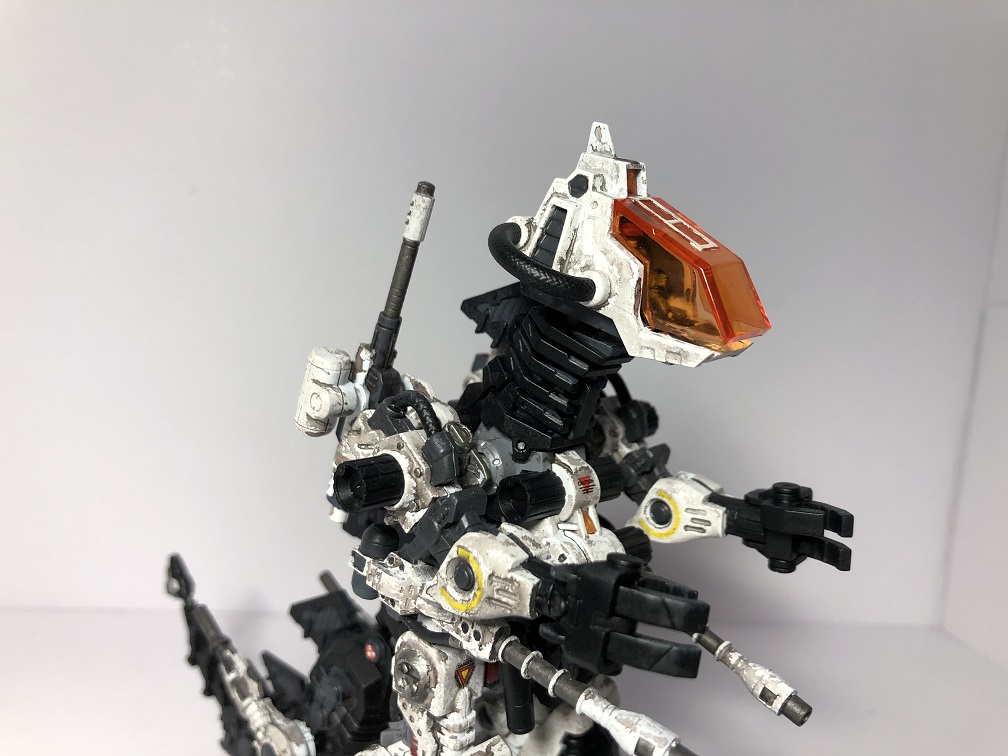
And last, but not least, we’ll use clear orange for the cameras in the cannons and the backpack.
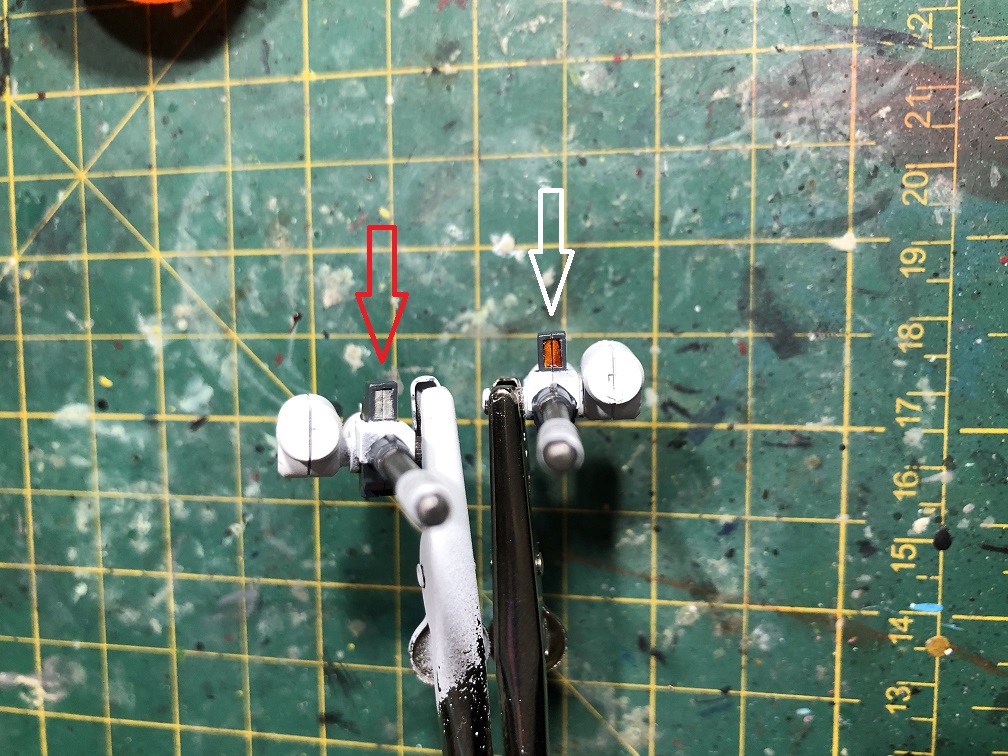
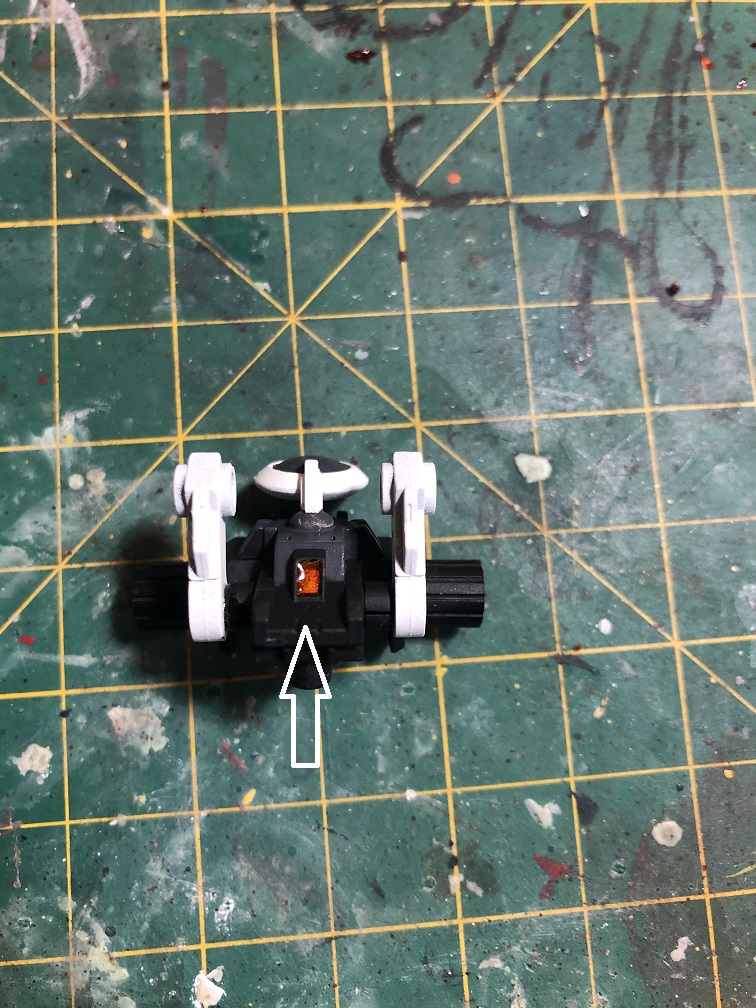
Also, we could have left the cameras without silver paint and apply the clear orange directly over the white. But the silver paint make it looks a bit darker, like a real camera.
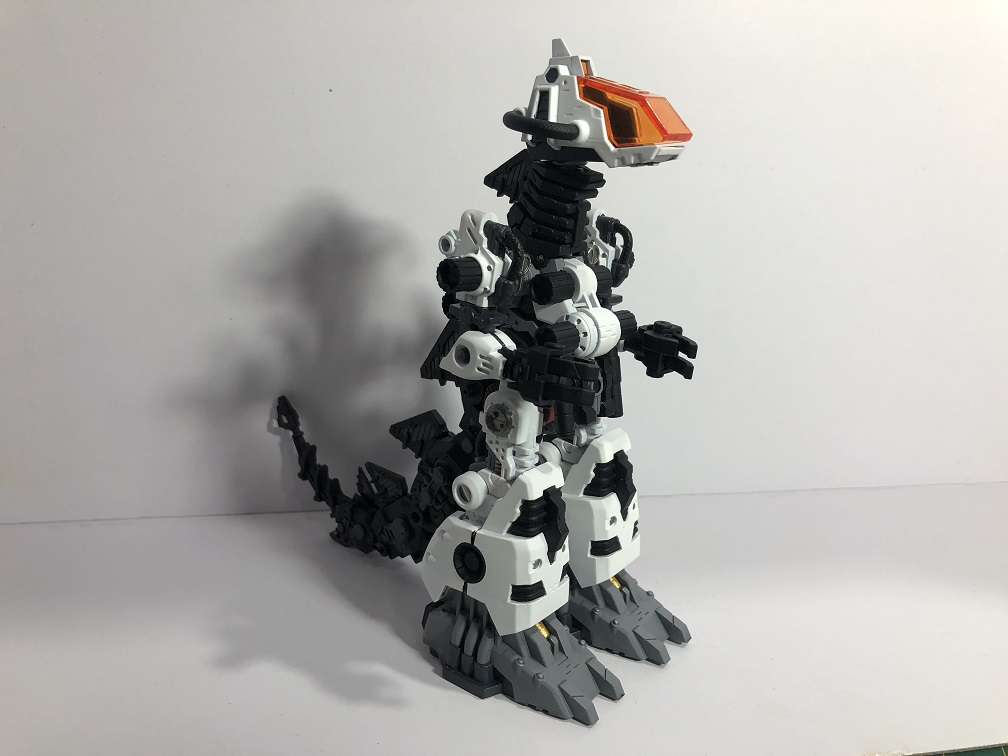
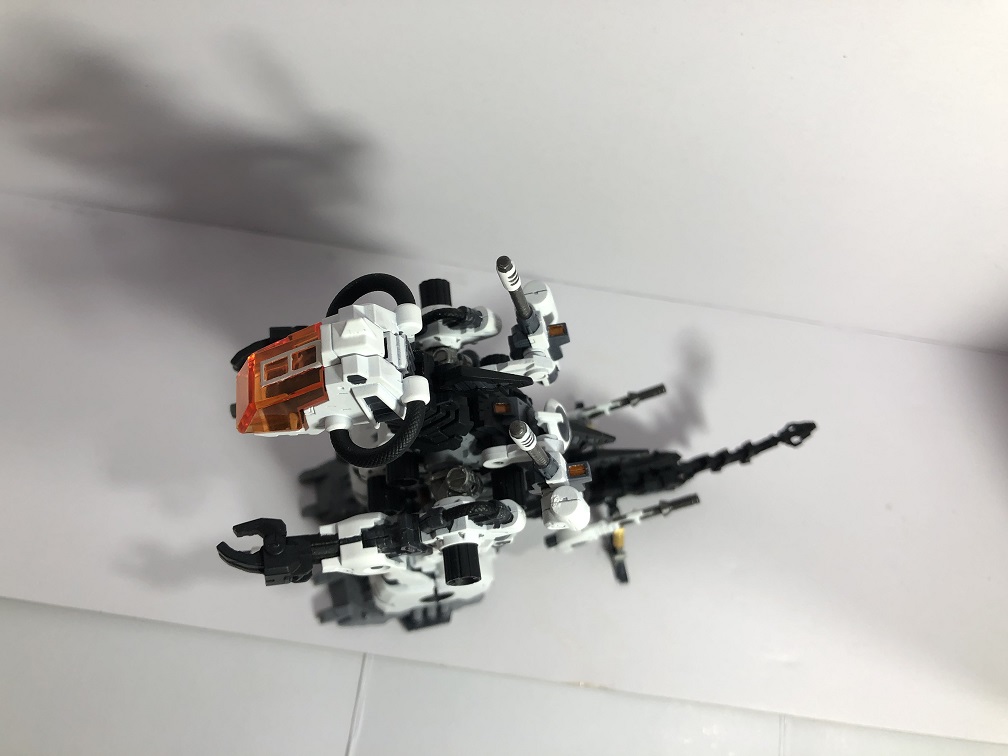
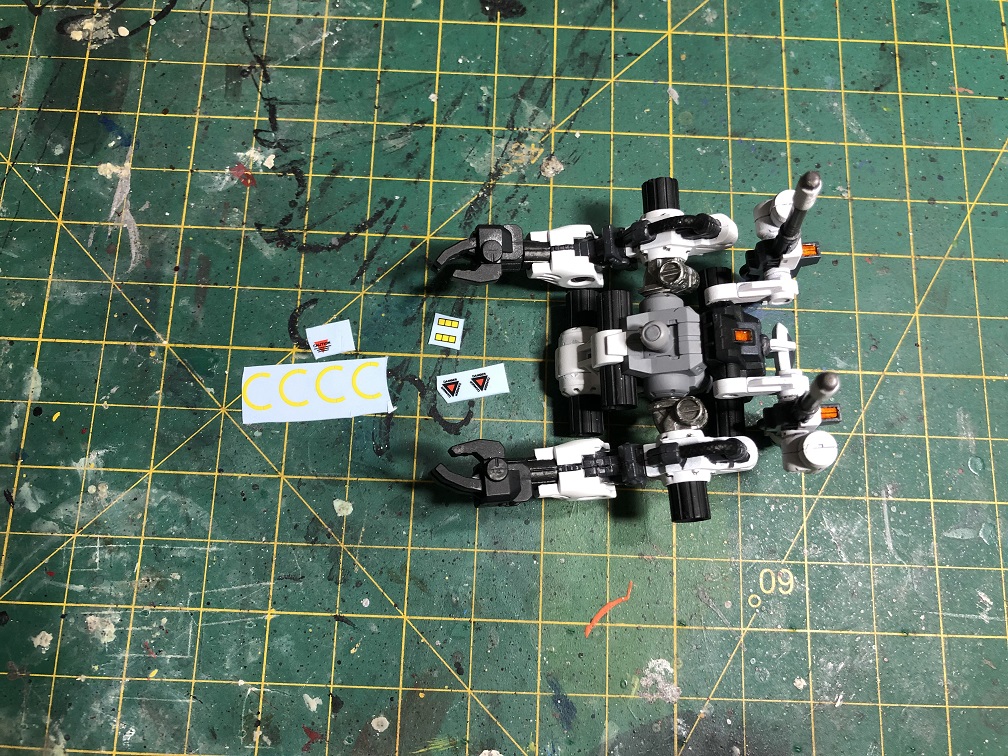
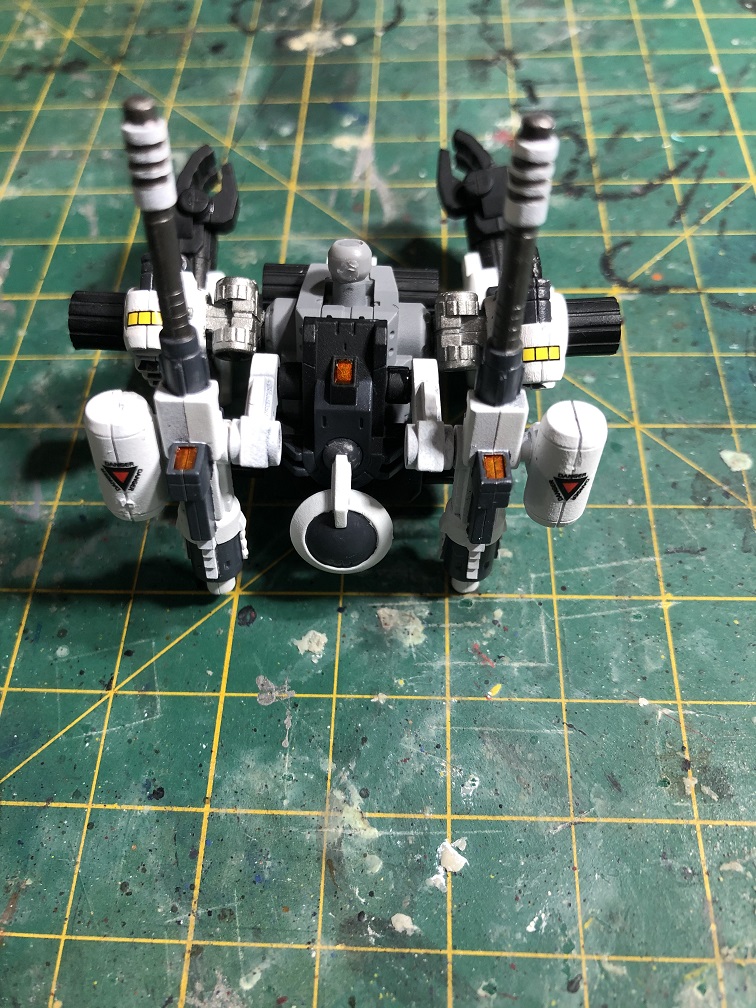
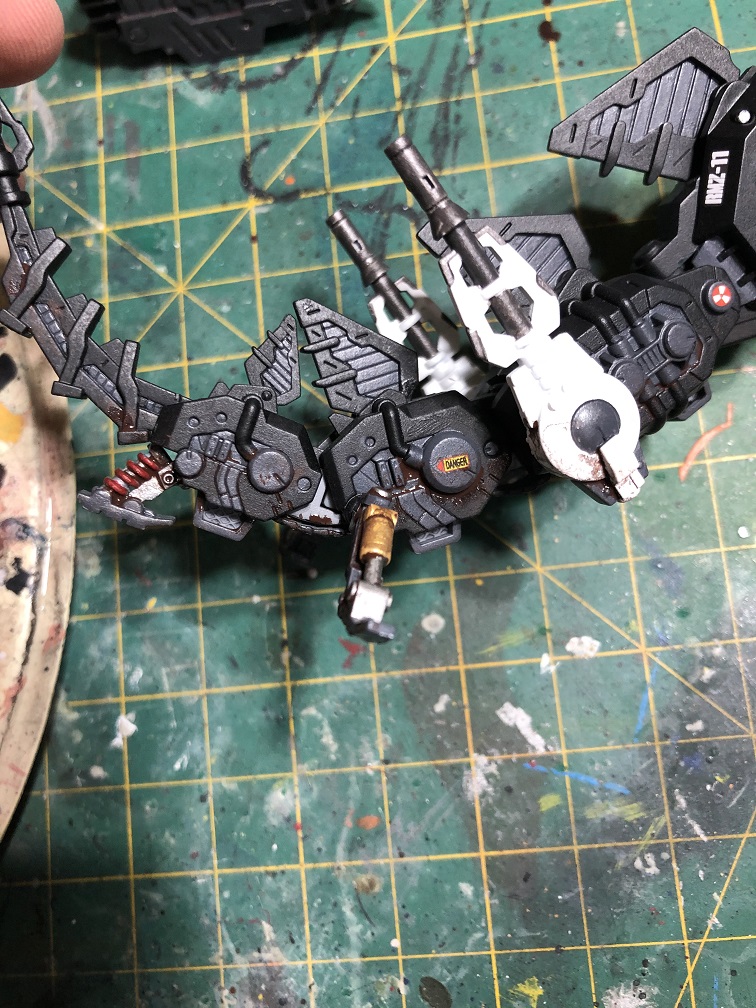
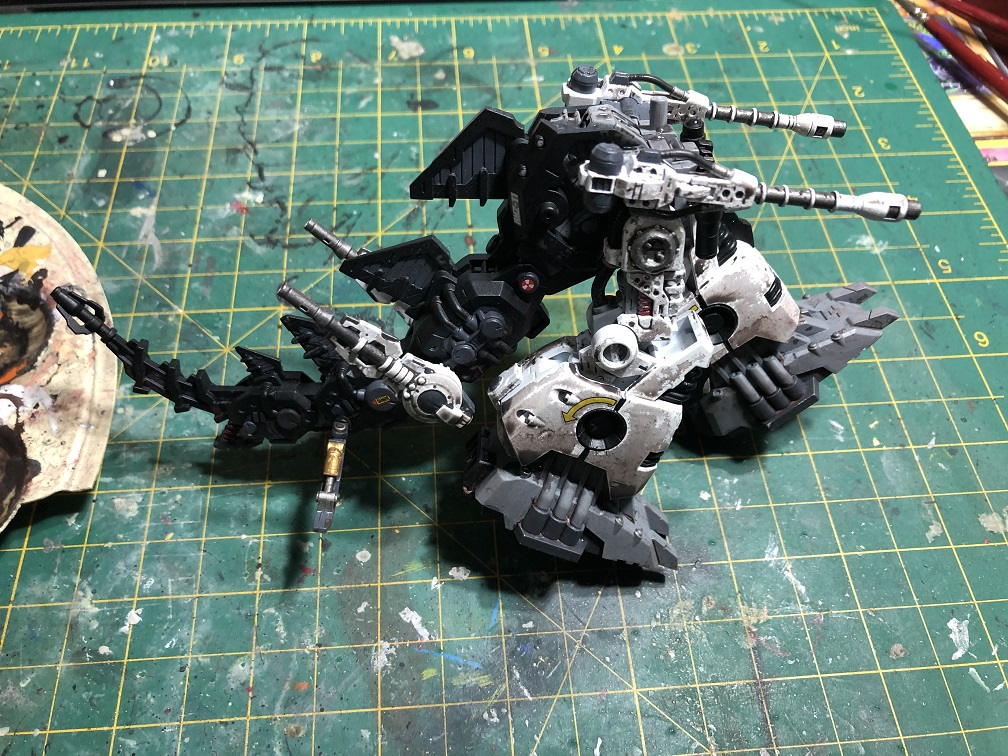
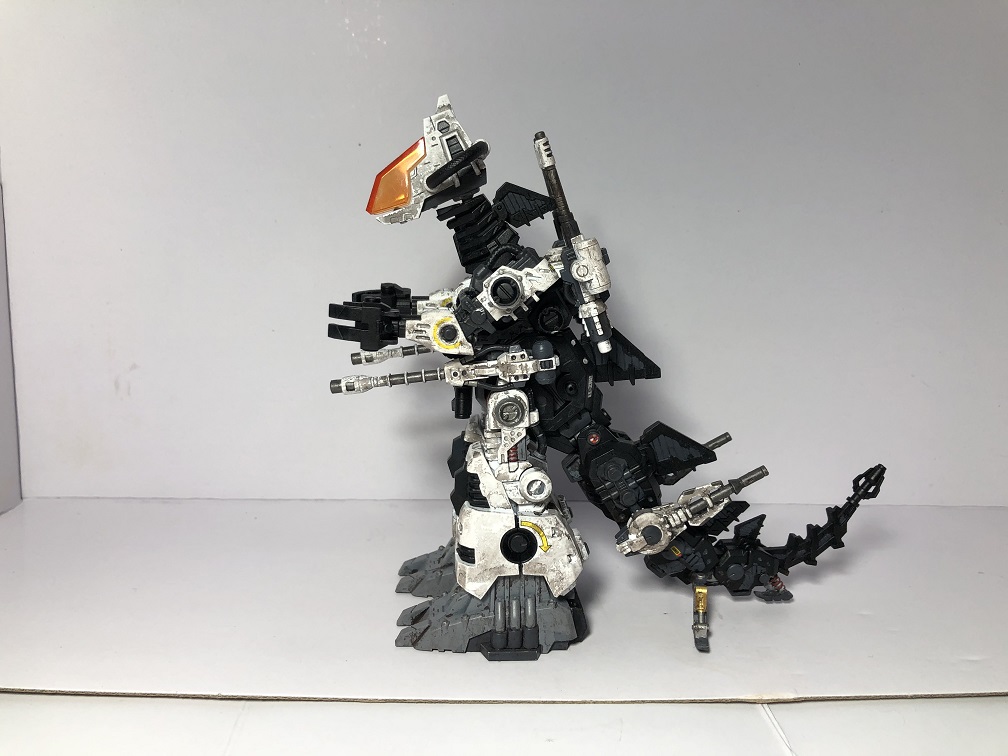
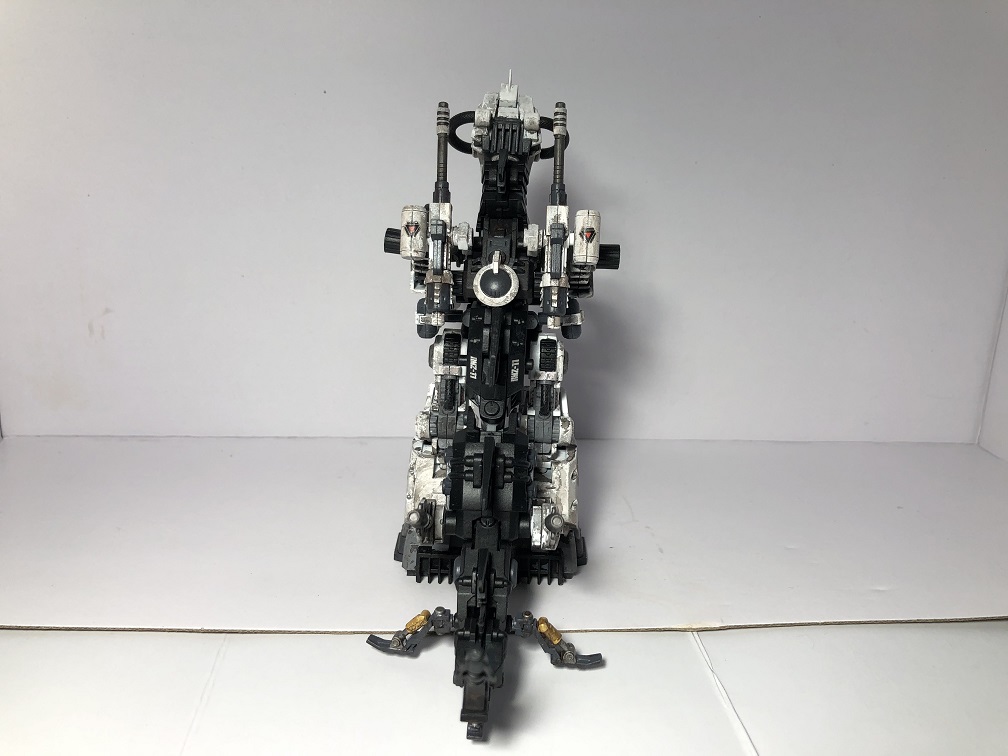
Assembly before adding decals.
With the weapons mounted on our mech we’ll have a finished model kit. It’s a combination between the look it had on the anime and the promotional pictures of this kit.
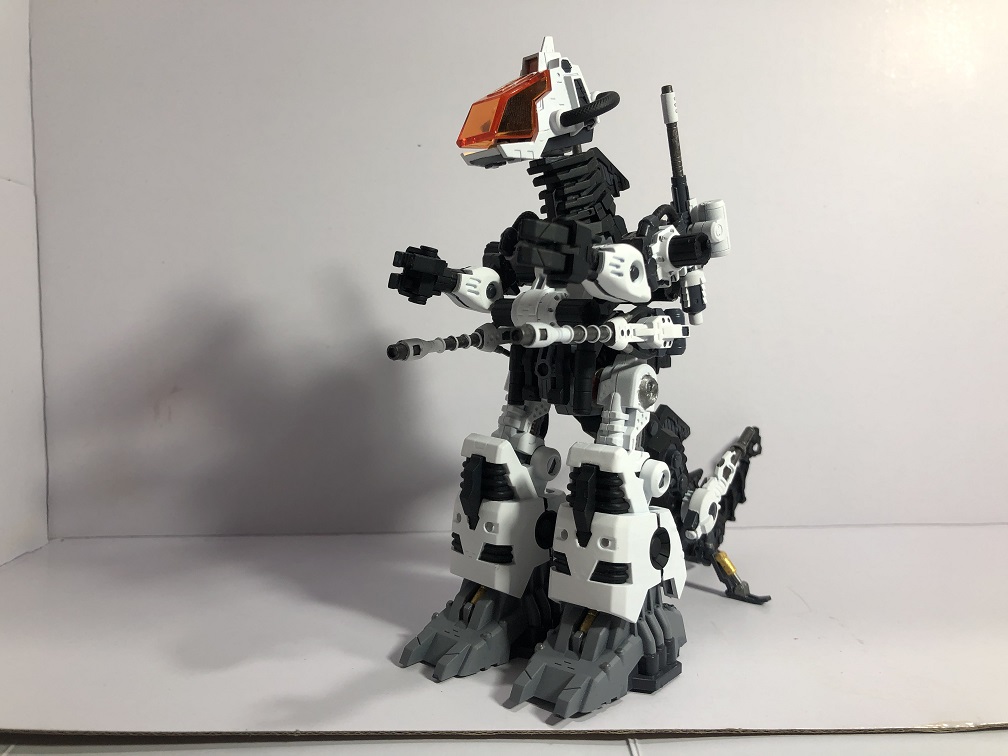
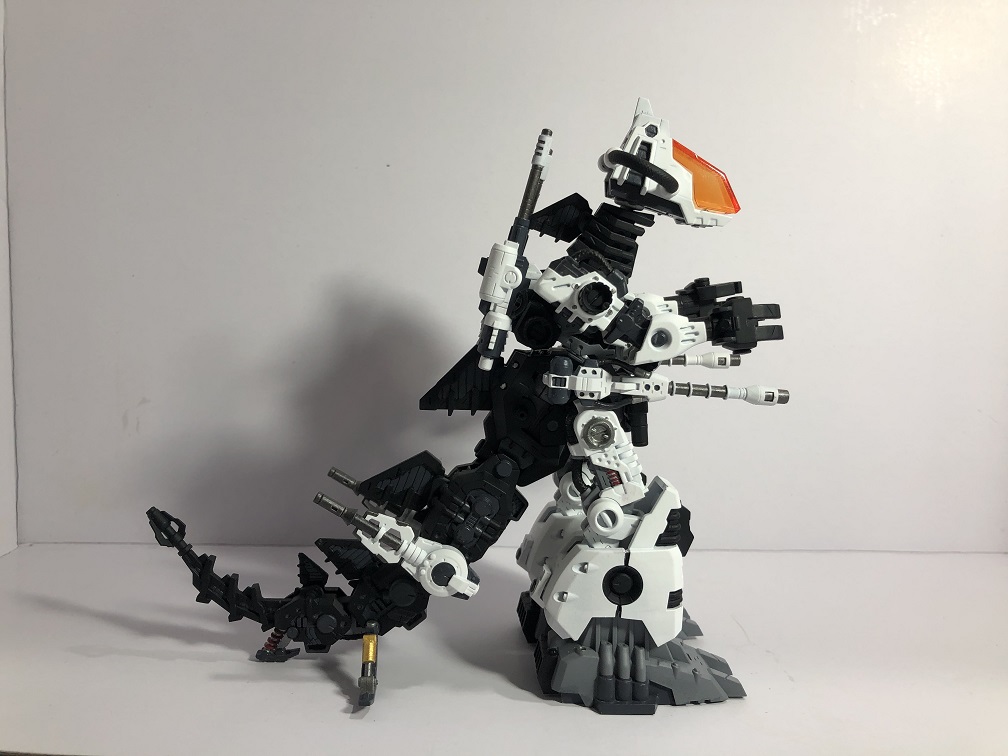

The next three steps are apply a clear coat, add decals, and weather. If you like how it looks now, you can leave it like this, just add a clear coat all over the kit to protect the paint (Stage 5). Also, you can add the decals and the clear coat or just the clear coat with the weathering, It is up to you!
Stage 4: Adding decals.
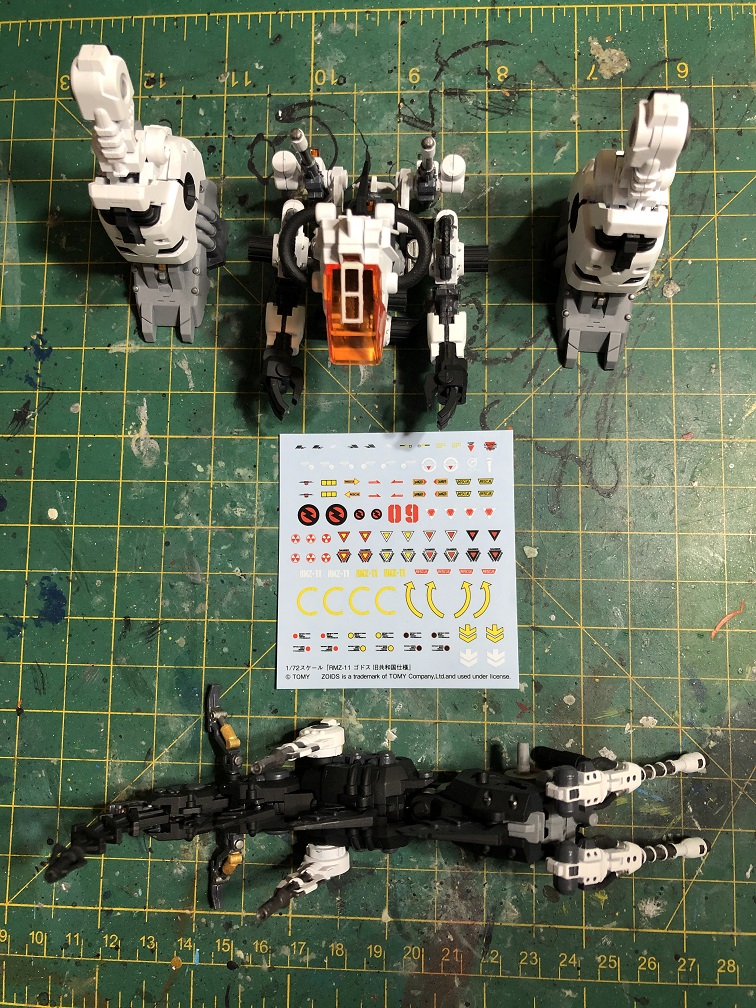
Just like many other model kits, this Godos came with a sheet of water transfer decals. I´ll show you really quick how to apply them.
What we’ll need:
- Hobby knife
- Clean water
- Tweezers
- Paper towel or cotton buds

First, crop the decals from the sheet. Then, submerge the decal in water and let it rest over a dry surface for up to 1 min Once the decals separates from the sheet, bring it closer to the kit. With your hobby knife, slide the decal over to the kit. While it’s still wet, use your tweezers or hobby knife to fix the decal in the desired position. And finally, use a paper towel or cotton bud to remove the excess of water and let it dry for a few minutes.
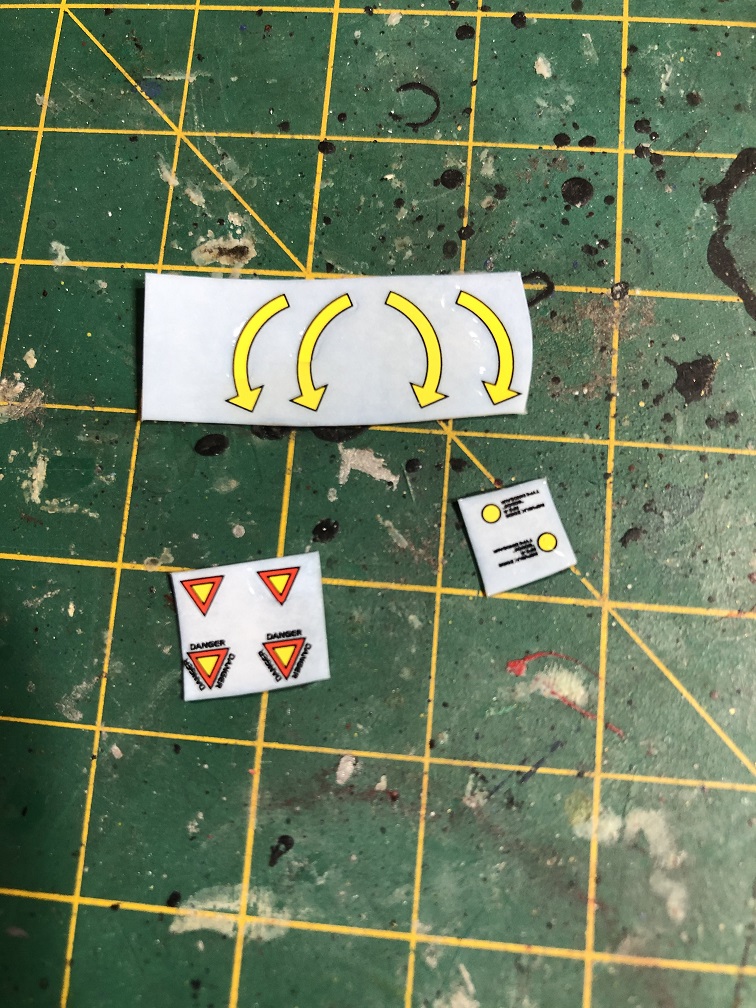
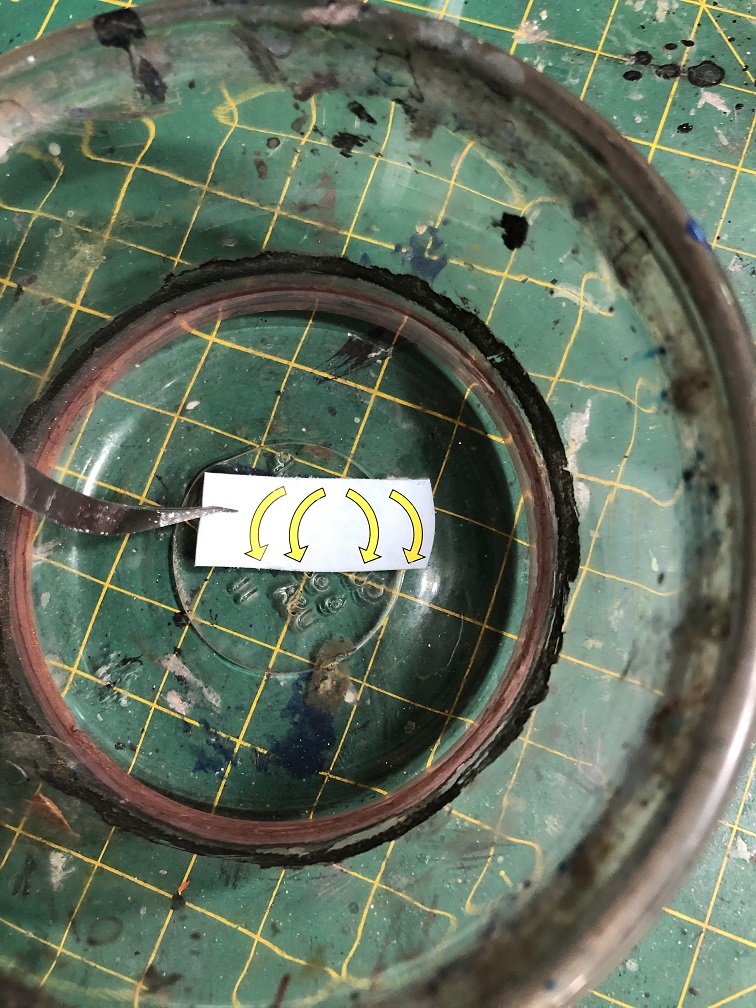
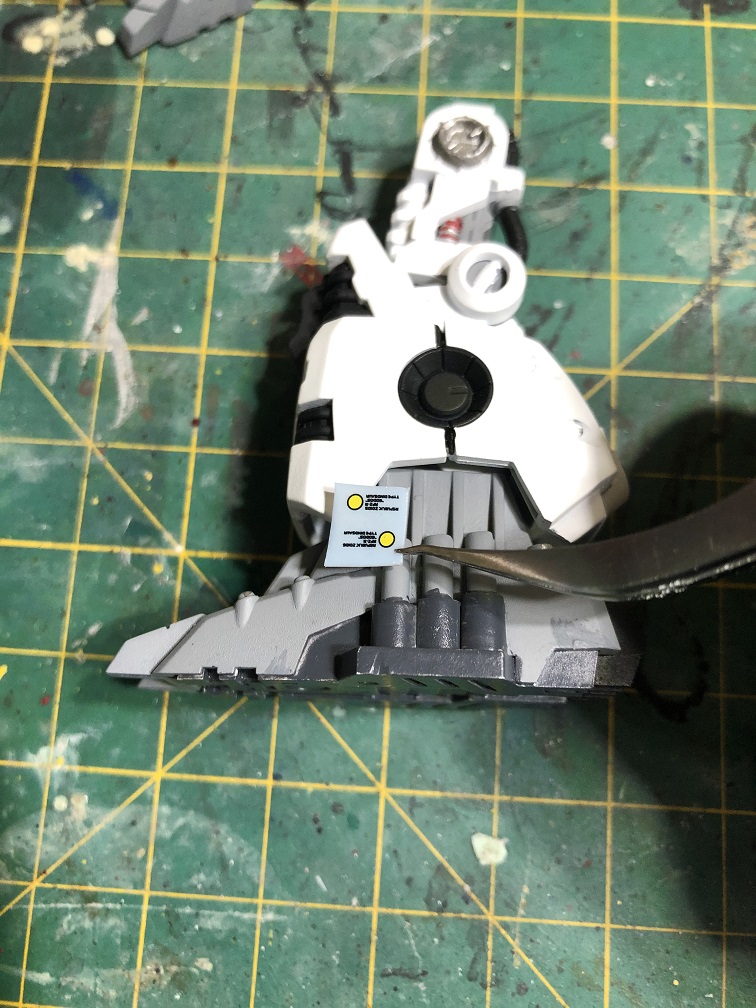

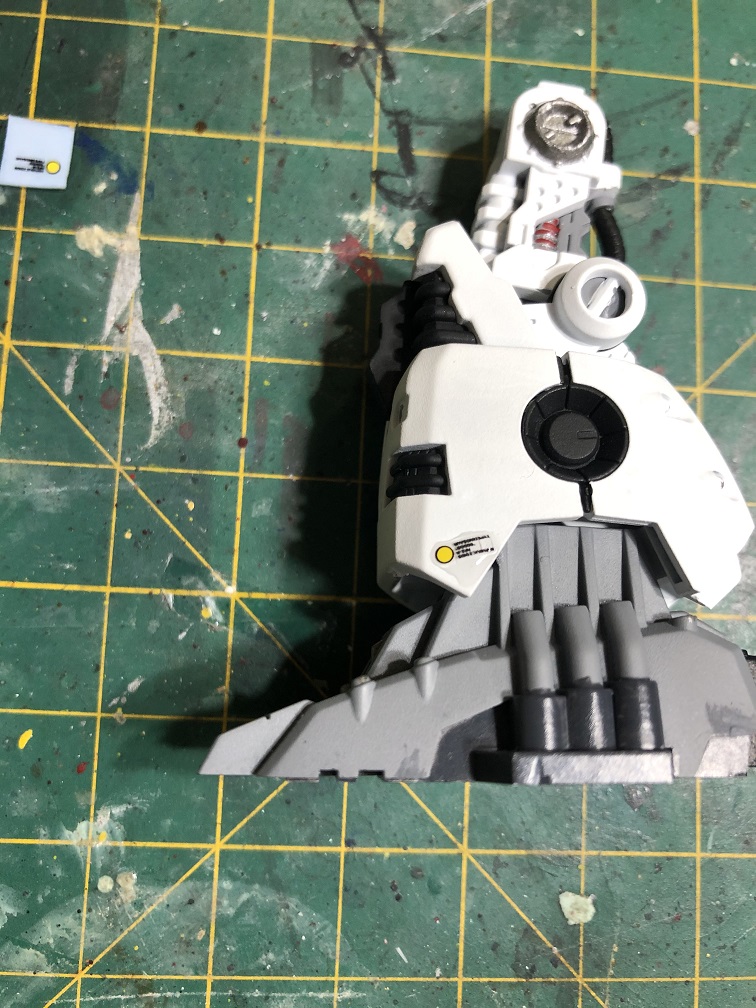
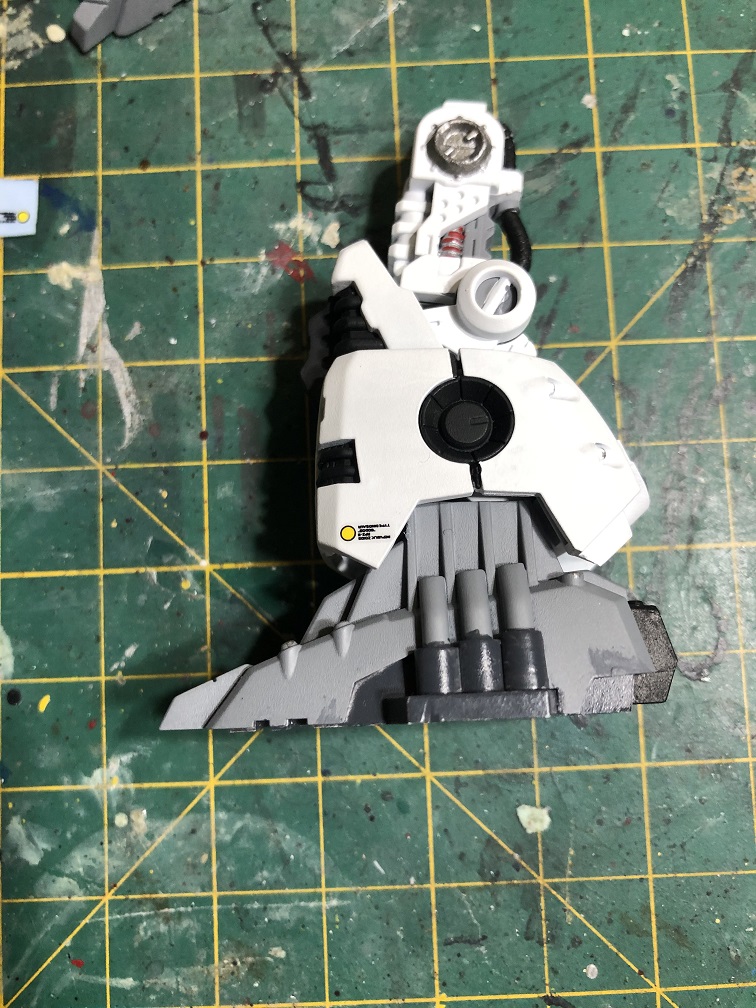
I’ll leave an example of what decals to use and where to apply them.


Stage 5: Clear Coat
For me, this is one of the most important stages of the build, especially when you add custom paint and decals to your model kit. This clear coat or varnish will protect the paint of your kit from scratches and peel off. It also protects you decals from falling off.
There are a lot of products out there that are very useful for this purpose. Some of these products can be applied with an air brush, others come in spray cans. I, for example, use plastic varnish in a spray can for acrylic paints. You can buy these at your local art supply store.
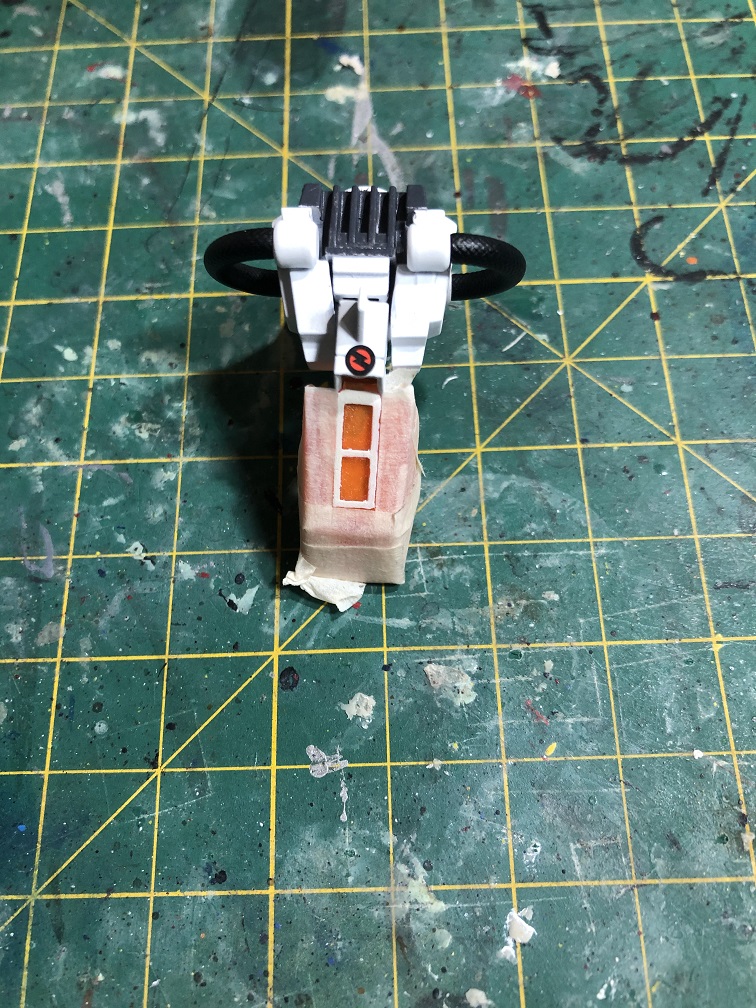
Masking Clear Parts
Sometimes, the clear paint used for the varnish leaves a thick clear coat over the kit, which is perfect for protecting the paint, but result in a weird texture over unpainted plastic, specially over clear plastic.
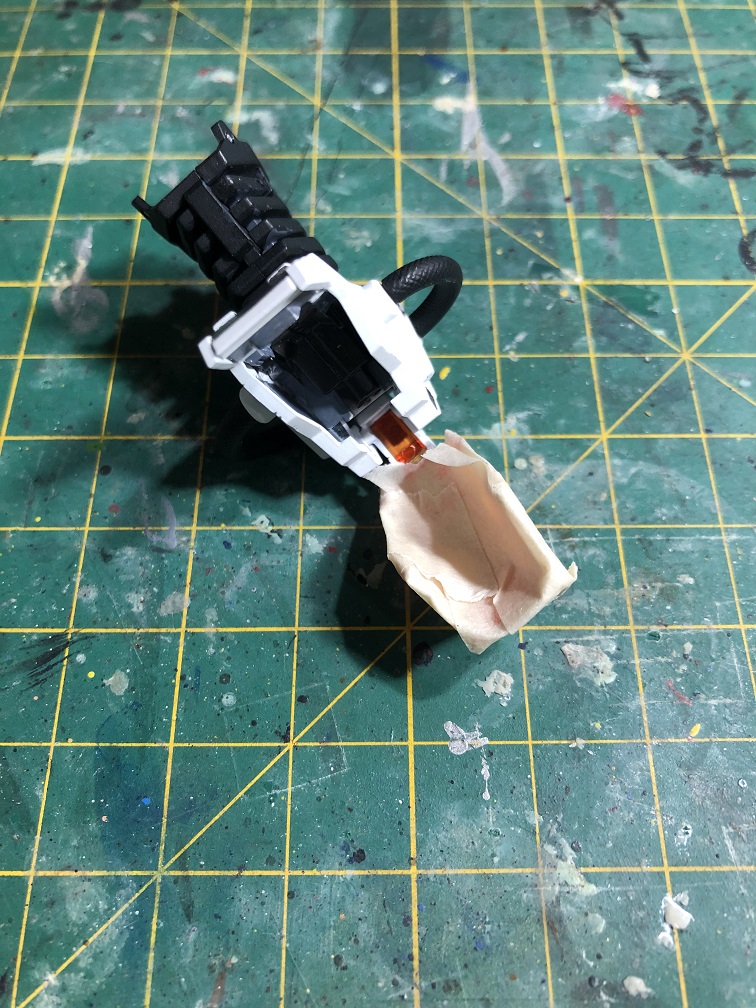
Therefore, I recommend you to mask the crystal of the cockpit before applying the varnish.

Feel free to apply this to any part you leave unpainted or to those you don’t wish to varnish.
Before we continue with weathering, I’ll leave a few tips for “varnishing”.
- Make sure the paint is fully dry before applying the varnish.
- Choose your varnish. Some of them leave a matte finish to the paint while others leave a gloss one, so make sure to choose the right one for your project.
- Apply the varnish or clear coat evenly all over the kit, it doesn’t matter if you use a spray tin or an airbrush.
- I recommend you do this with the kit fully assembled.
- If you apply the varnish with the kit disassembled make sure to mask the joints, both the socket and the ball. Otherwise the joints are going to be very stiff.
- Make sure the varnish covers the decals.
- Let the varnish fully dry before touching it or applying a new coat.
Stage 6: Weathering
There are a lot of weathering techniques and a lot of different materials for them. Today I’ll show you the simplest technique for weathering your kits with materials we have already used in previews stages.
What we need:
- Black paint (Vic Hobby Nato Black in this case).
- Brown paint.
- Water.
- A medium brush.
- Paper towel or cotton buds.
- A palette.
First, we’ll take some paint from our bottle and put it in our palette, then we’ll apply 2-3 drops of water. This time we are not going to thin our paint, we are going to dilute it in water.


Then, with our medium brush, we’ll apply the watery paint all over the kit, making sure it gets inside the panel lines and all recesses.
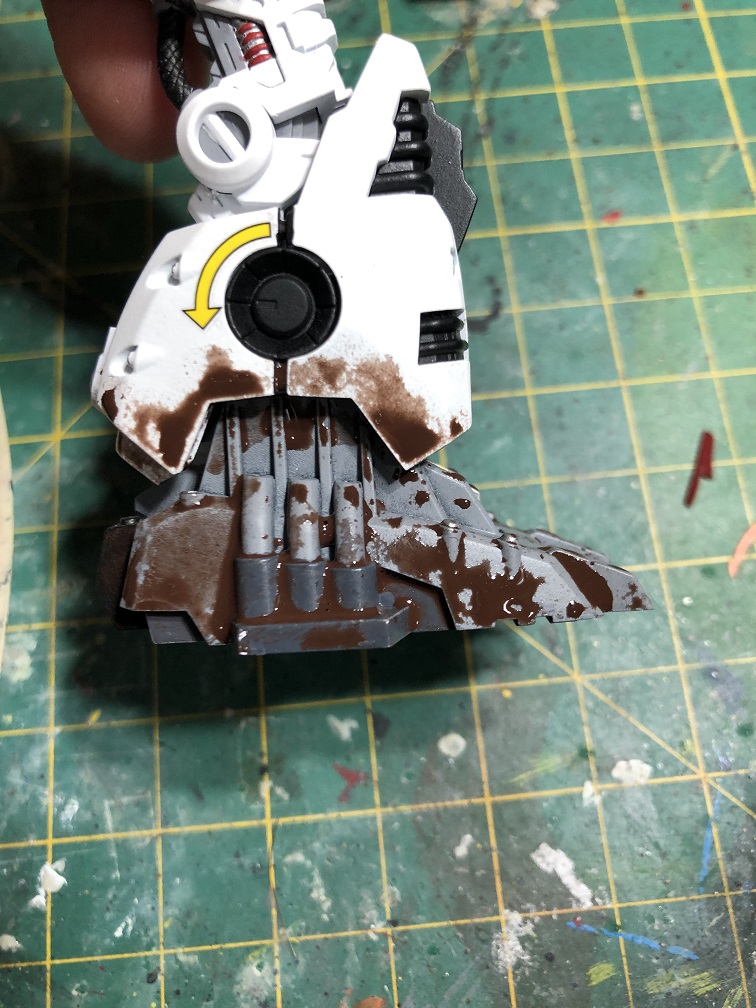
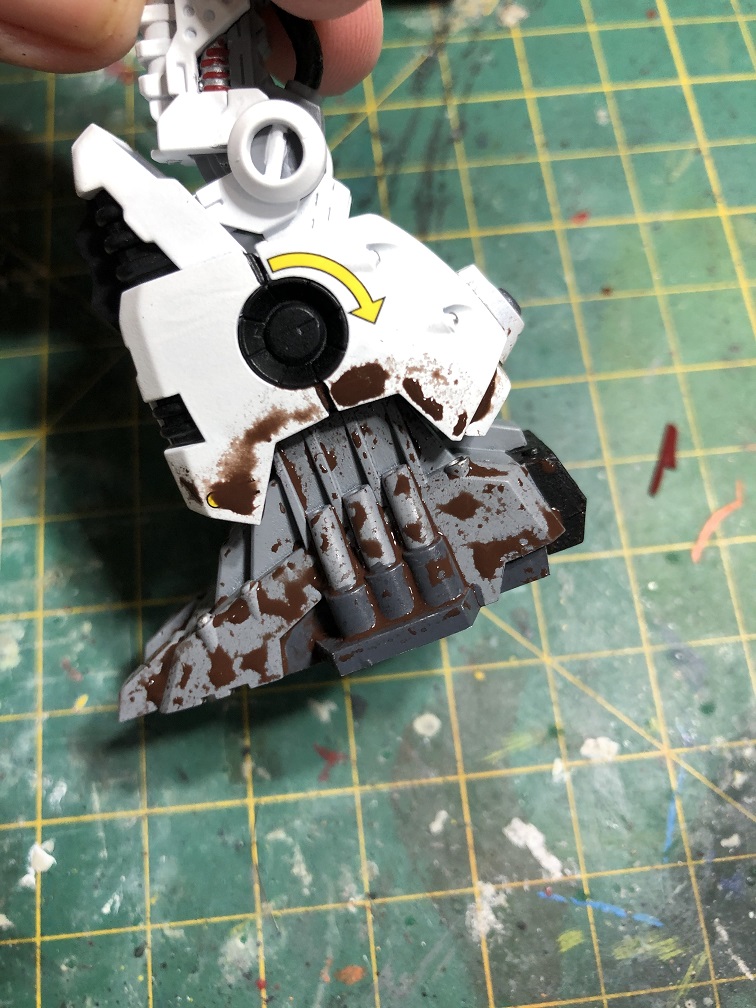

After a few seconds, remove the excess with a paper towel or a cotton bud.
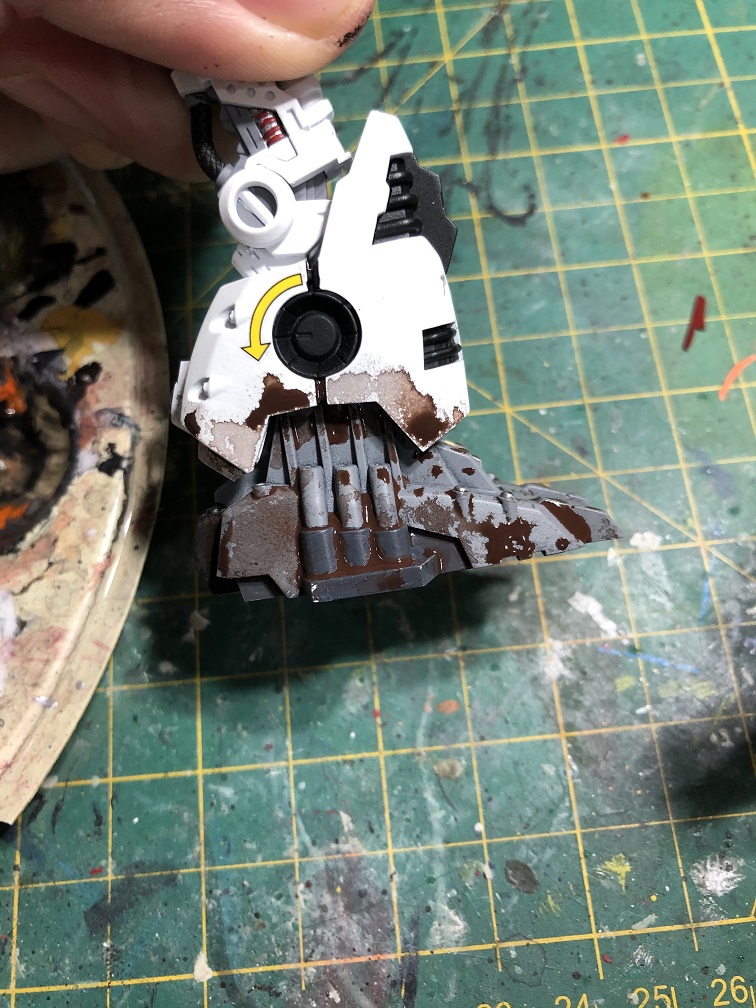
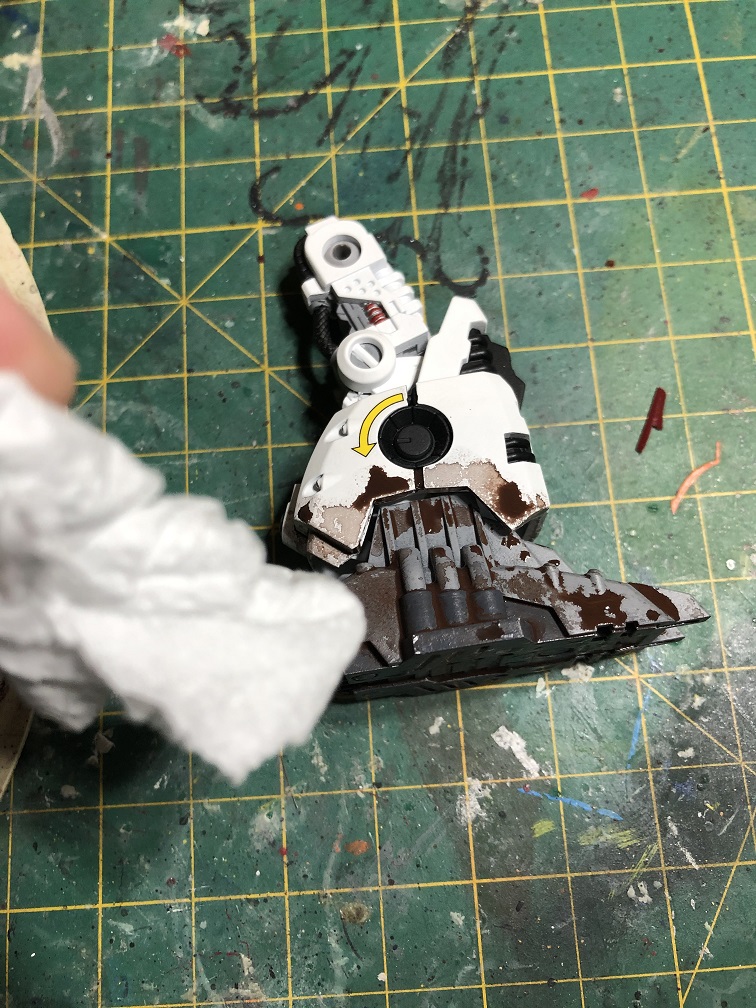
This is the critical part of the process because the intensity of the stains will depend on the time the paint is left to dry.
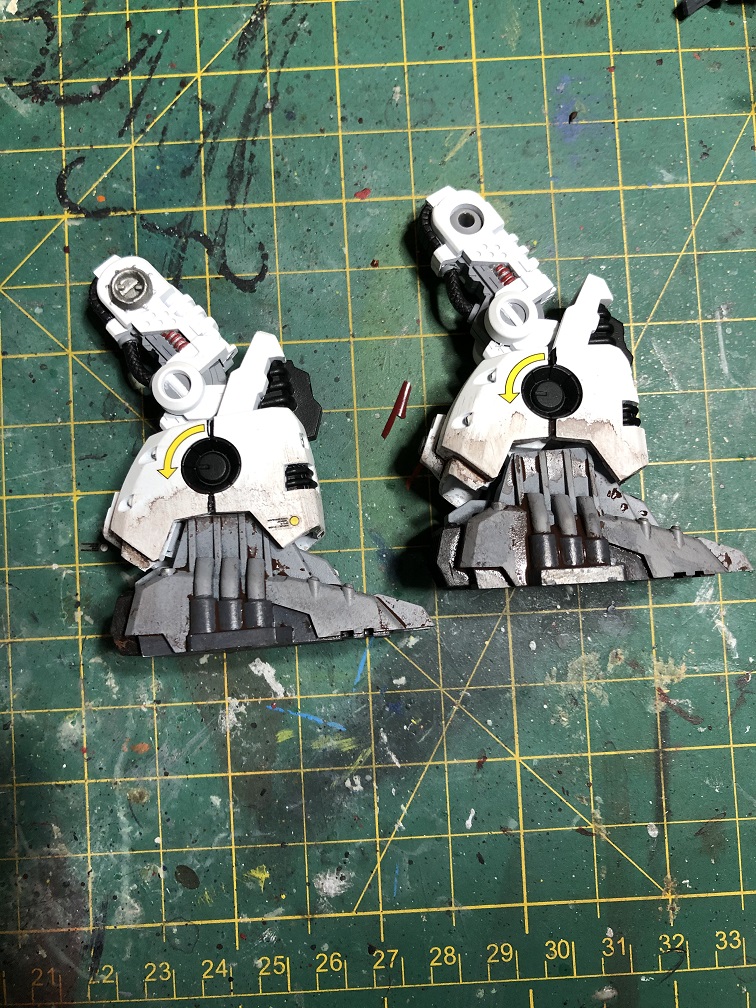
I left the paint on the kit for almost a minute before removing it and now the Godos looks like it’s been in the battlefield for quite some time.
If you don’t like how it looks you can always remove the weathering with a cotton bud and some thinner. This is why we applied the varnish before weathering. Just make sure you don’t rub it to hard or you can remove the clear coat and start peeling off the custom paint.
Now, before we call it done, let’s paint our pilot.
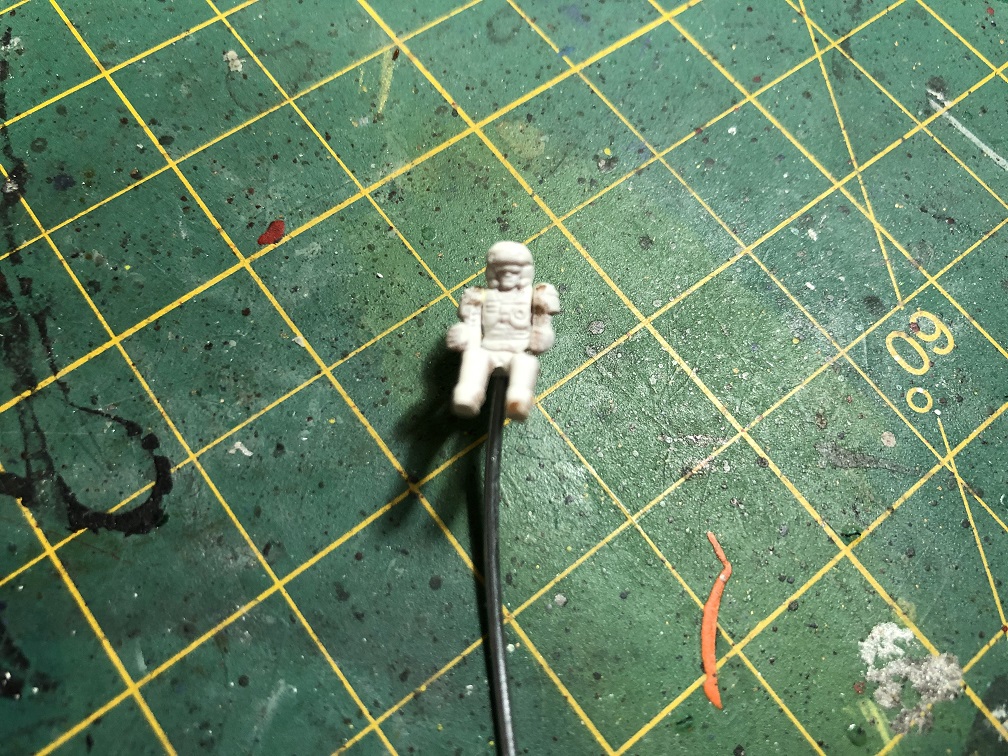
Stage 7: The Pilot
Since this model kit’s scale is 1/72 our pilot is a tiny figurine. Now, we want the mech to be the main focus but since the cockpit has a huge clear orange canopy, we need to give our pilot some color.
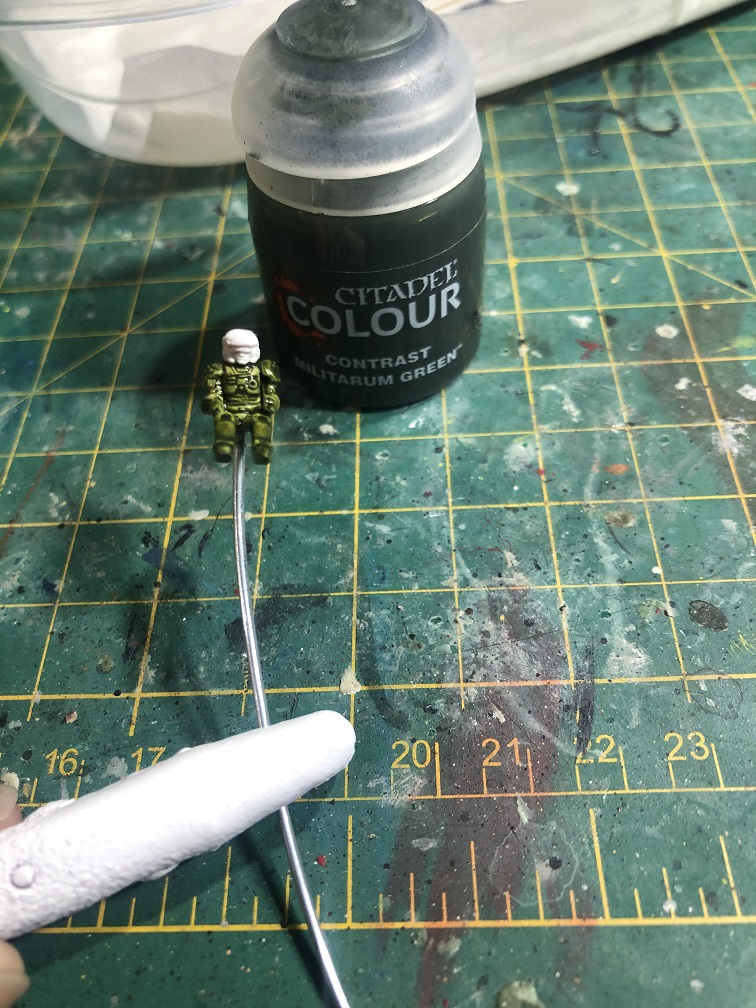
I’ll use 4 different color paints:
- Vic Hobby Nato Black for the boots and the helmet glasses
- Citadel Mephiston Red for the helmet
- Citadel Contrast Militarum Green for the uniform
- And a random skin tone for the chin.
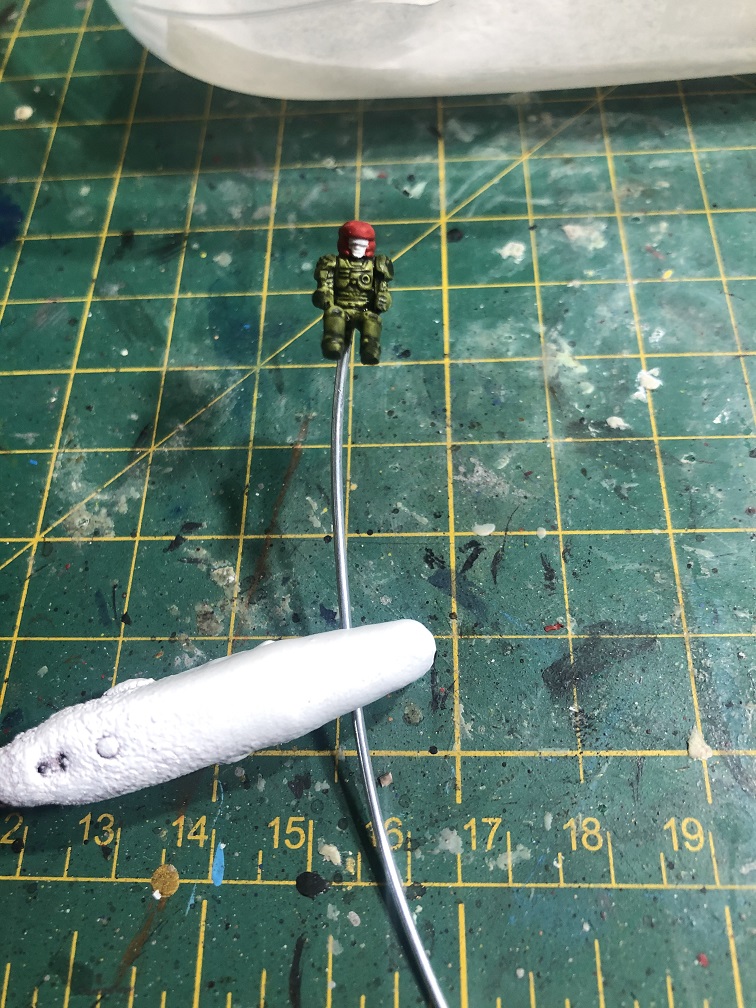
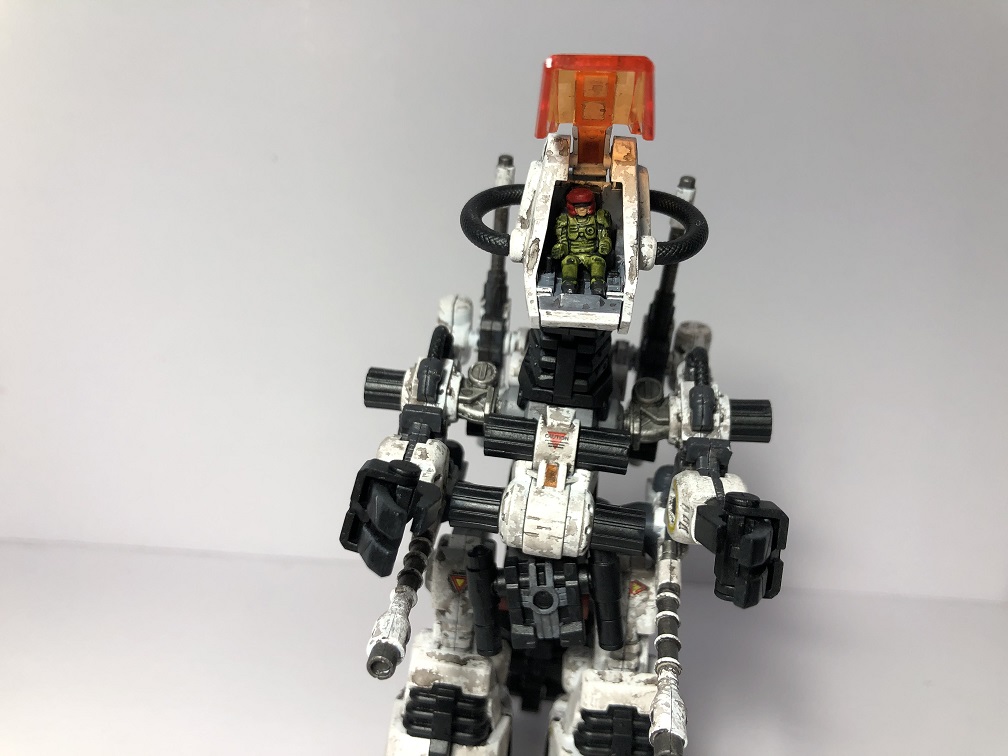
And we are done!
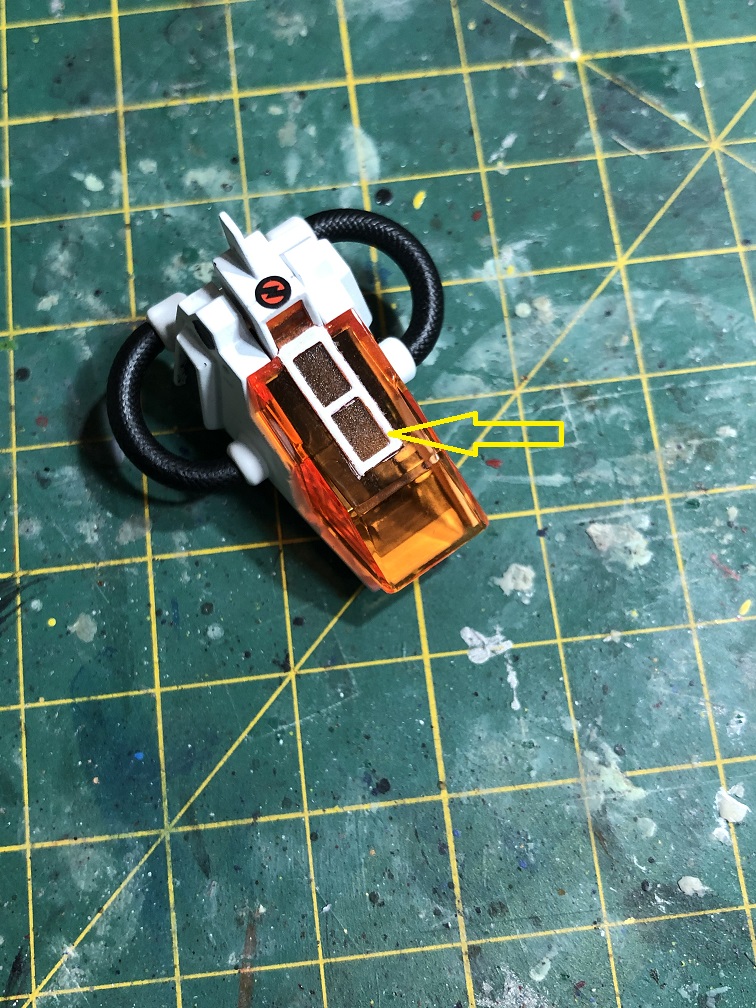
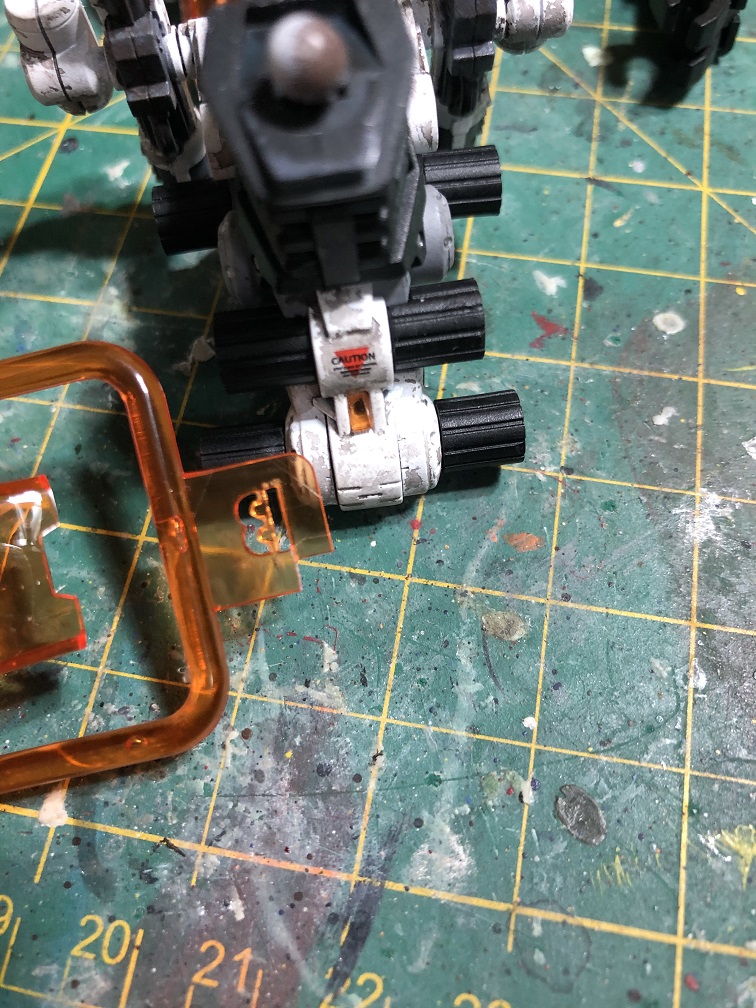
Extra: Fixing a small mistake
When I was weathering the chest of the Godos I noticed that the lens of the camera was missing! It appears that I skipped it while assembling the main body because I didn’t want it to get stained or covered by the varnish. And it looks like the lens is gone. Thankfully, this model kit includes an extra sprue with a clear canopy and camera lens. The easiest way would be to use that and paint it with clear orange.
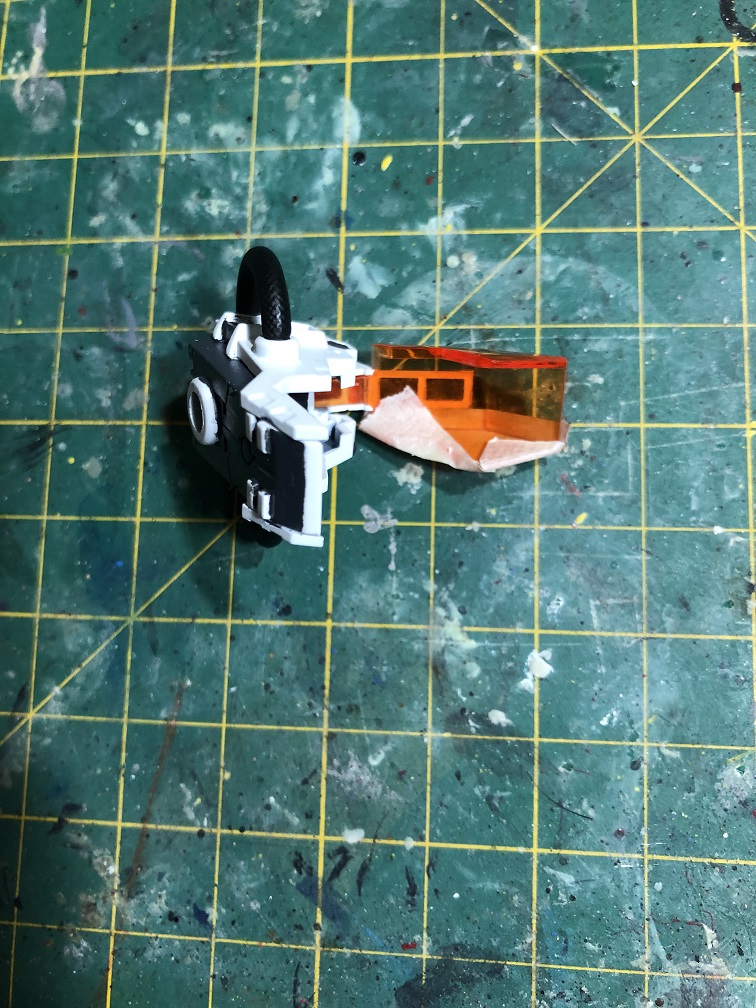
But what if the kit doesn’t come with that extra sprue? What could be done in that case? Well, what I did was to cut a part from the clear orange sprue with my nippers, like this:
The end
And with that, the Godos Former Republic Ver., now Anime Ver. is ready to join the rest of the collection!


Thank you very much for tagging along. I hope you had enjoyed this article, found it useful and it motivates you to customize your model kits and take them to the next level! If you have any questions feel free to ask them in the comments section bellow!
I’ll see you soon with another tutorial! Happy modeling!
And remember, if you want to get your hands in some of the products I used here, visit hlj.com!