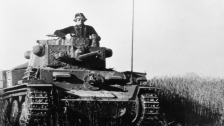
Welcome back. After a long break due to a global pandemic I’m back in the saddle. This article will deal with the upgrades to the tank commander included in Tamiya’s kit.
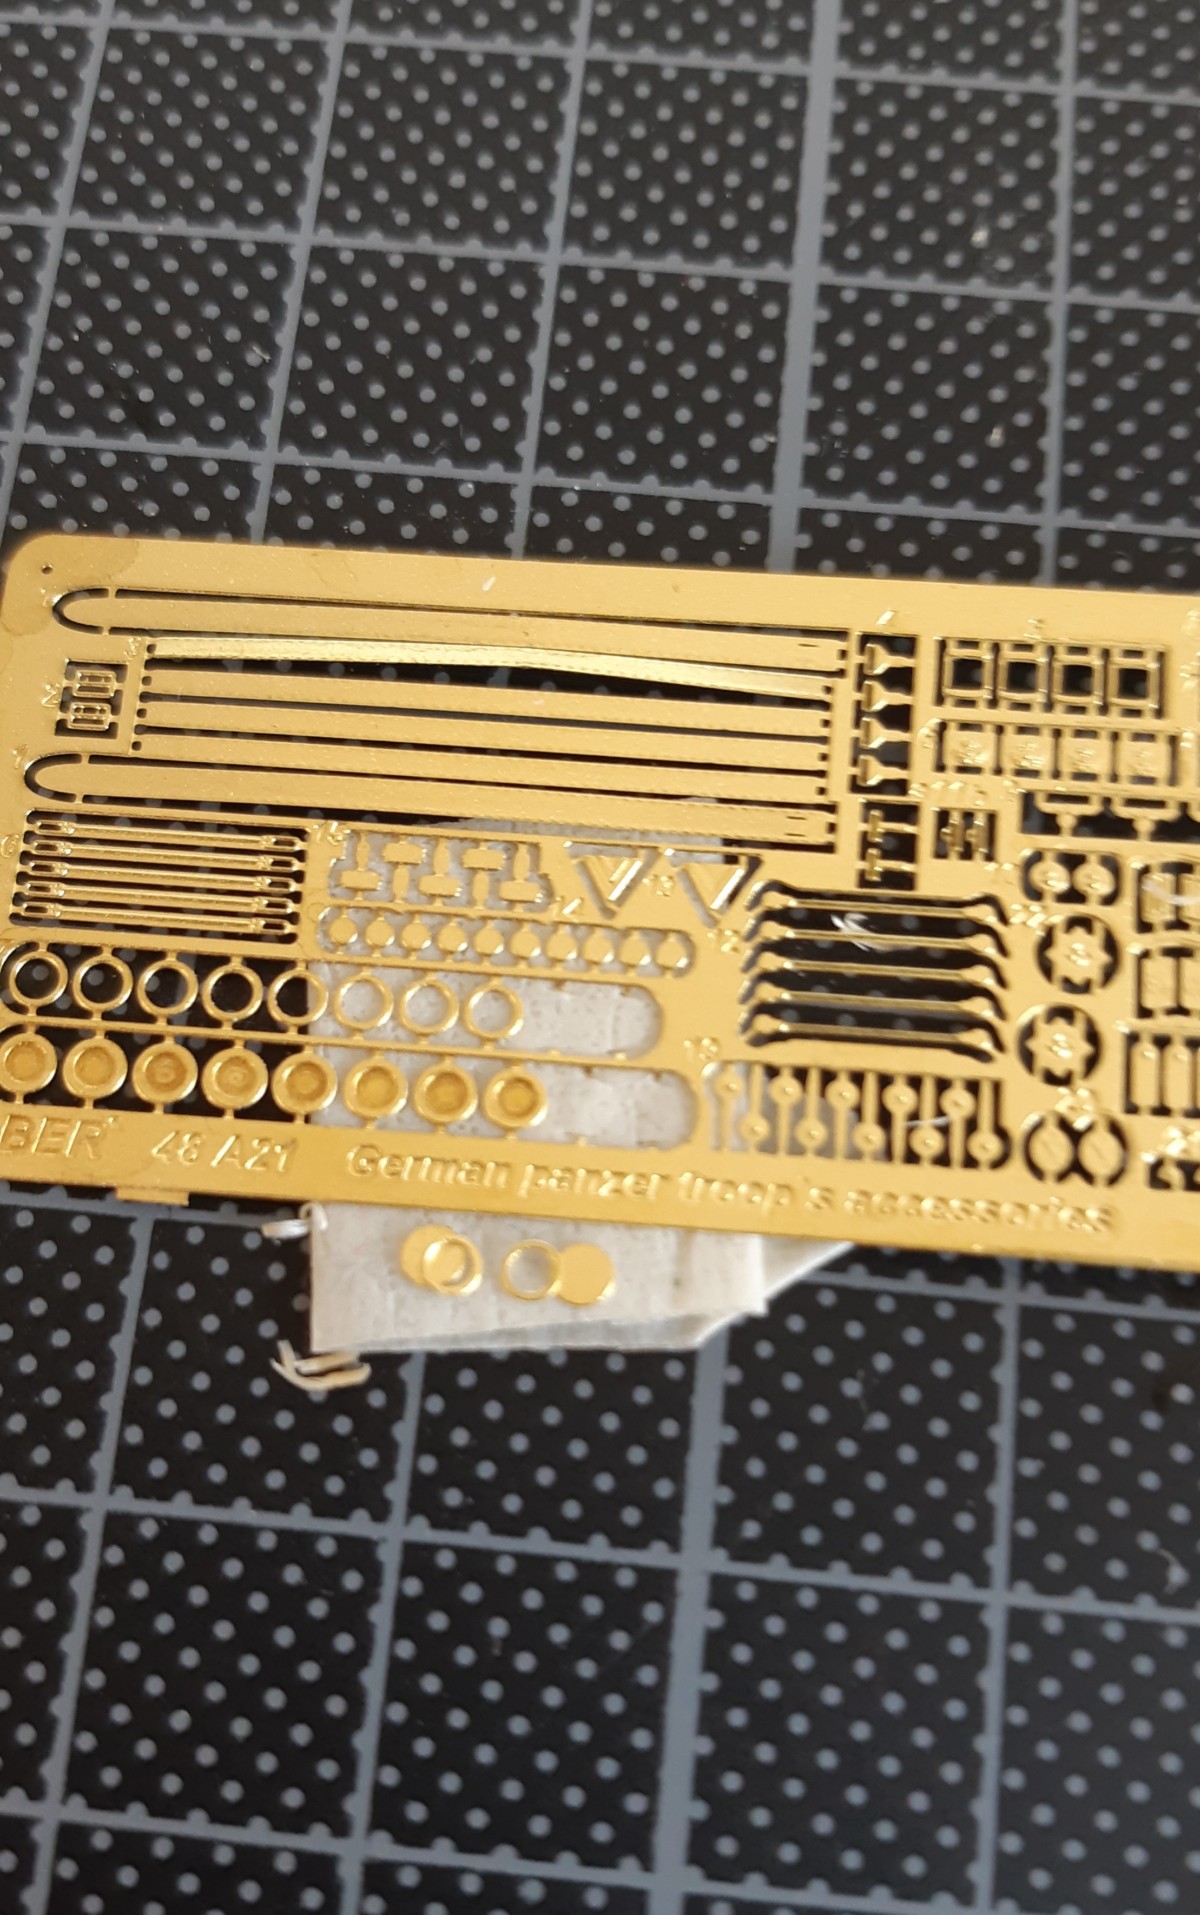
With the help of an aftermarket kit from Aber, some blood, sweat, & hair, I’m trying to improve on an already very accurate figure. Let us start by building it following the instructions.
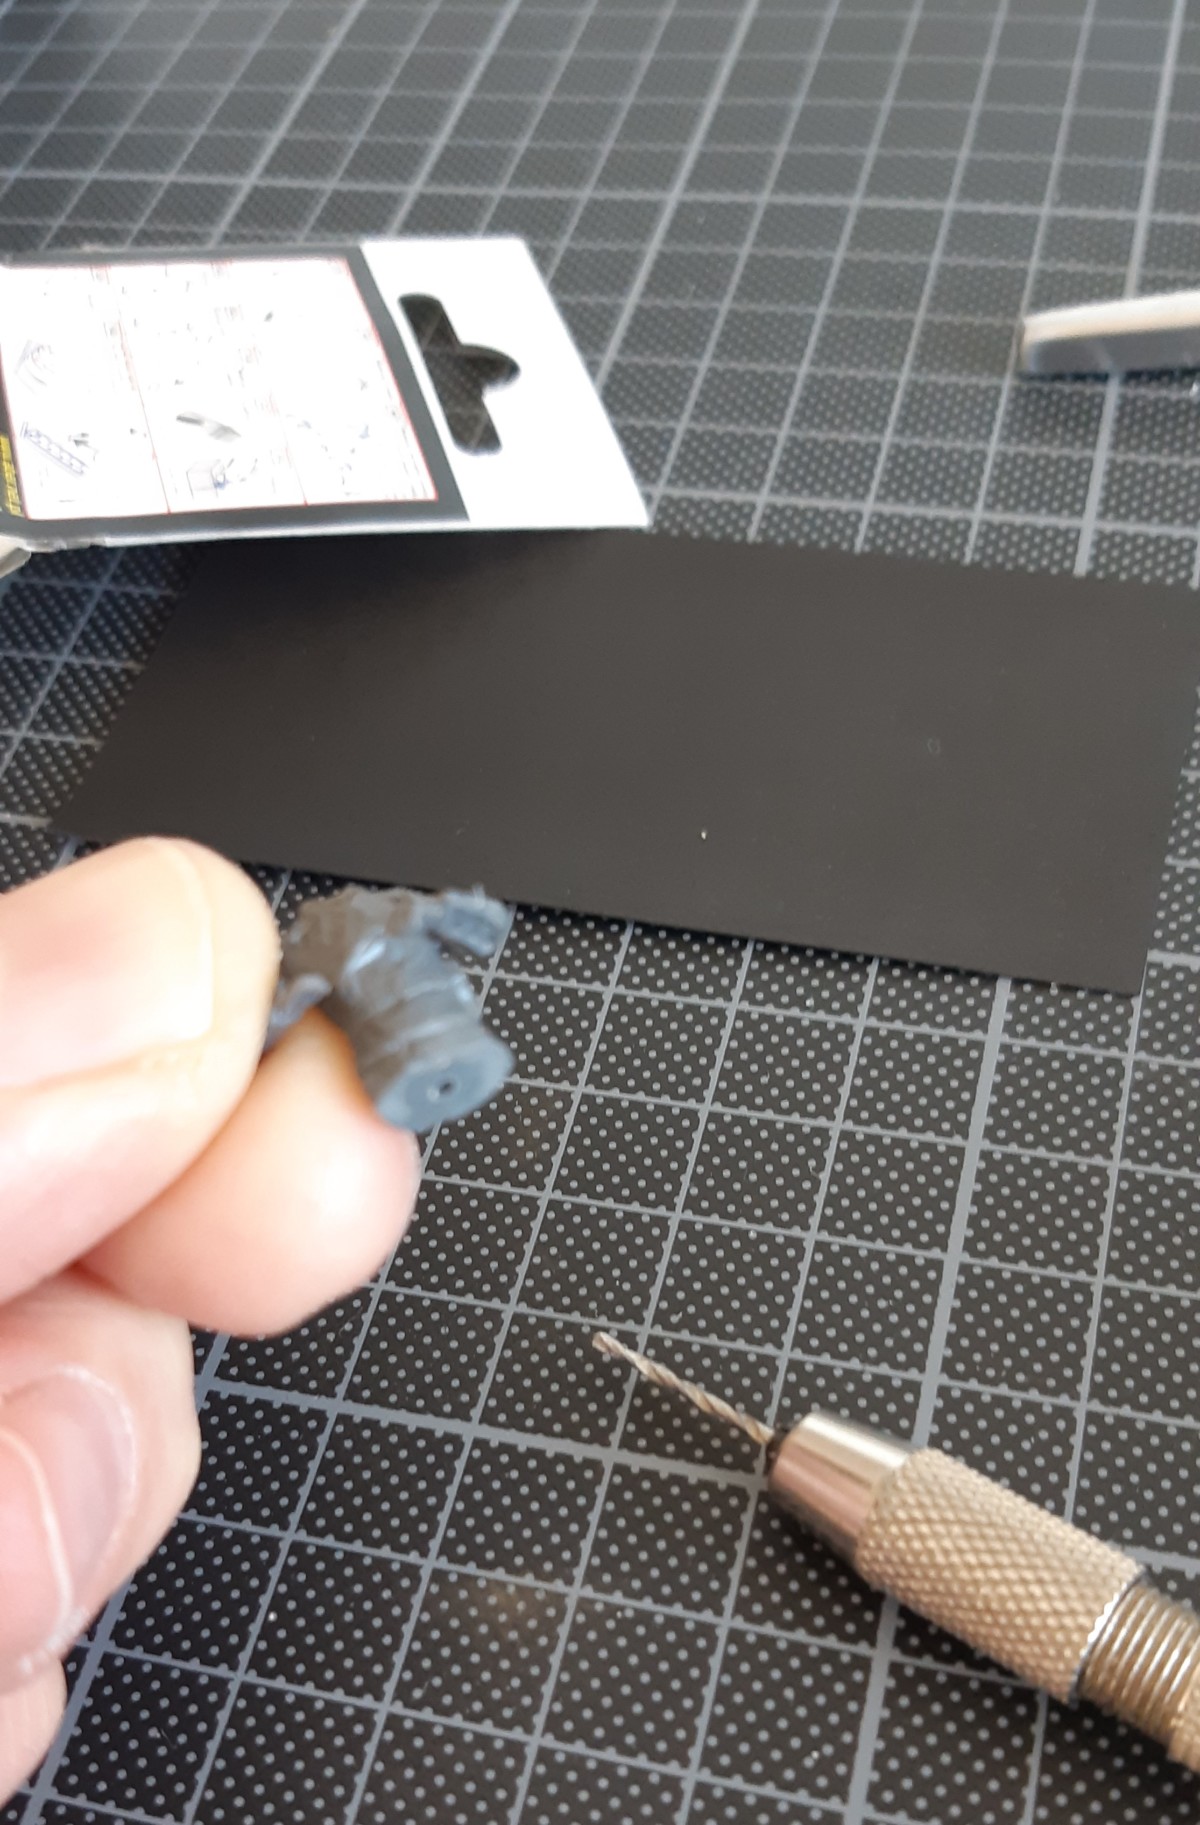

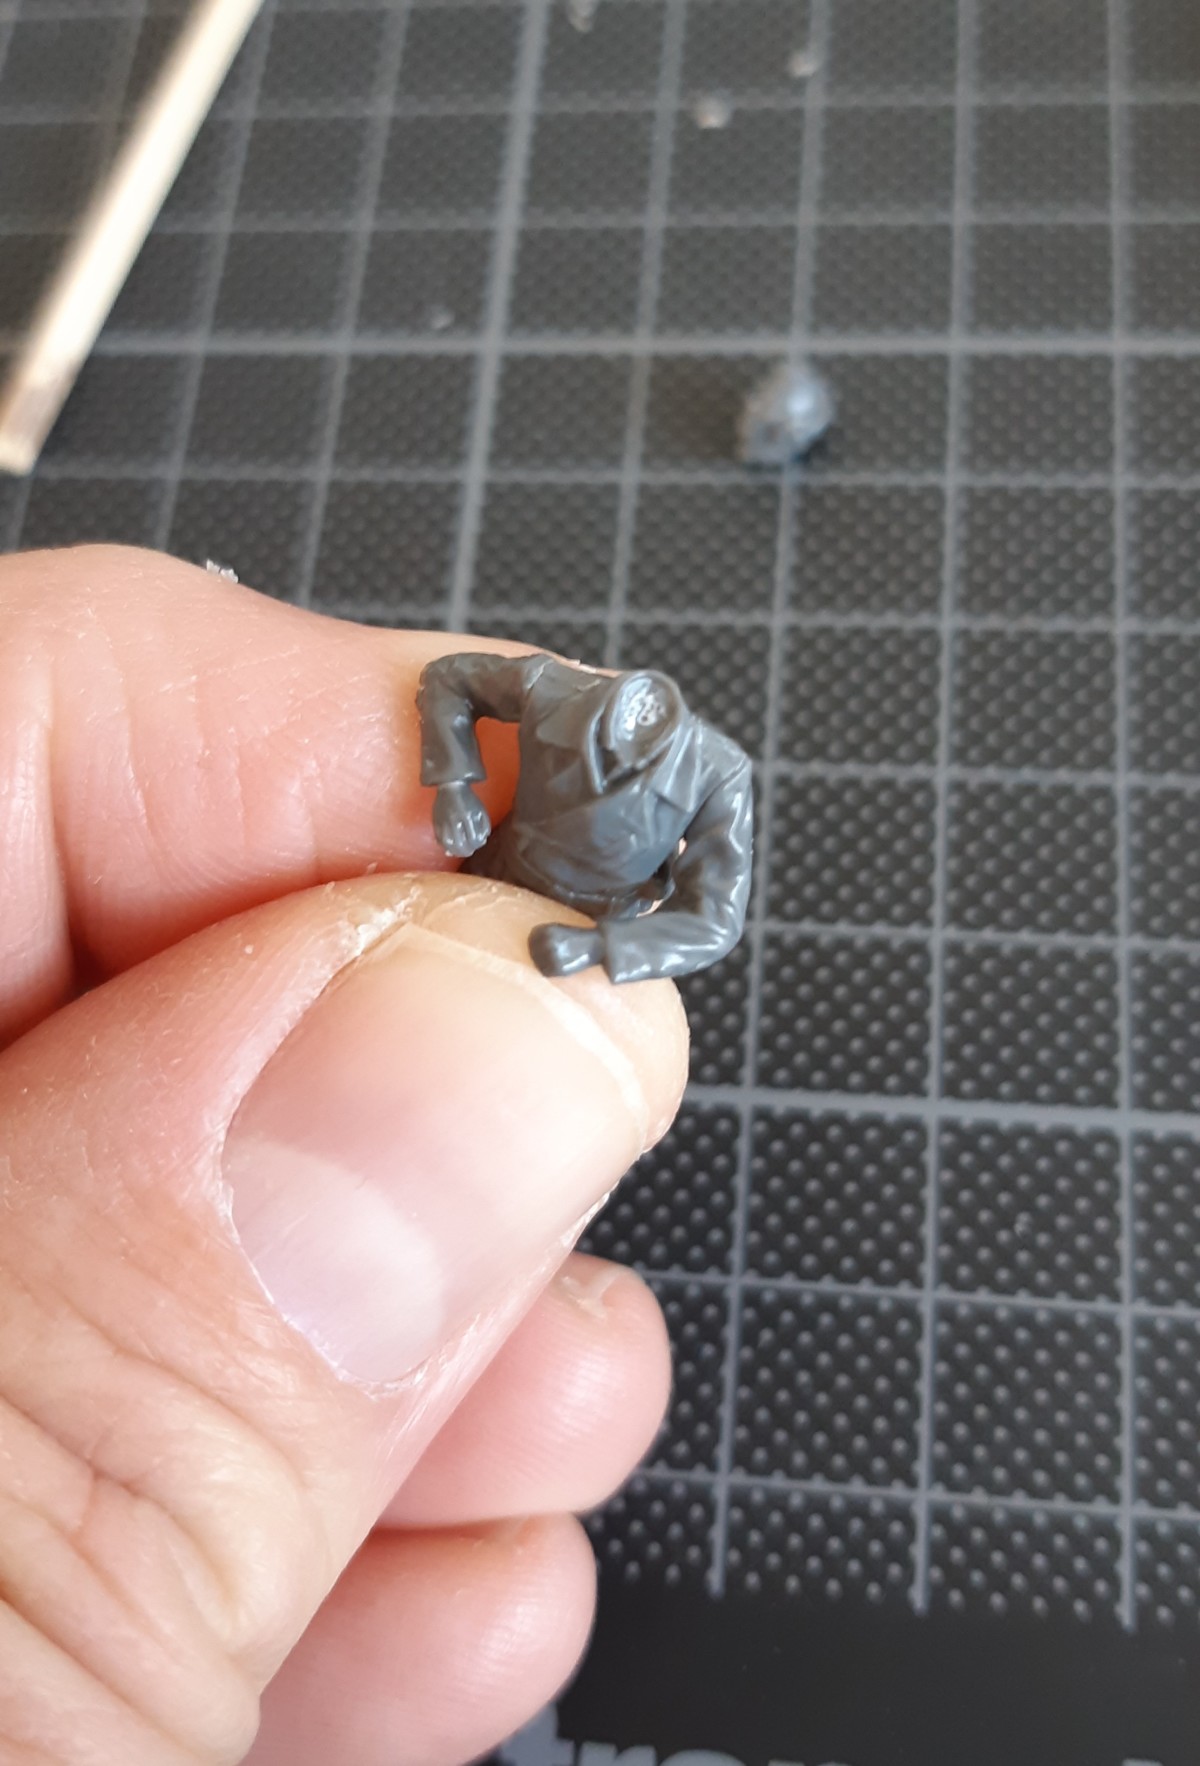
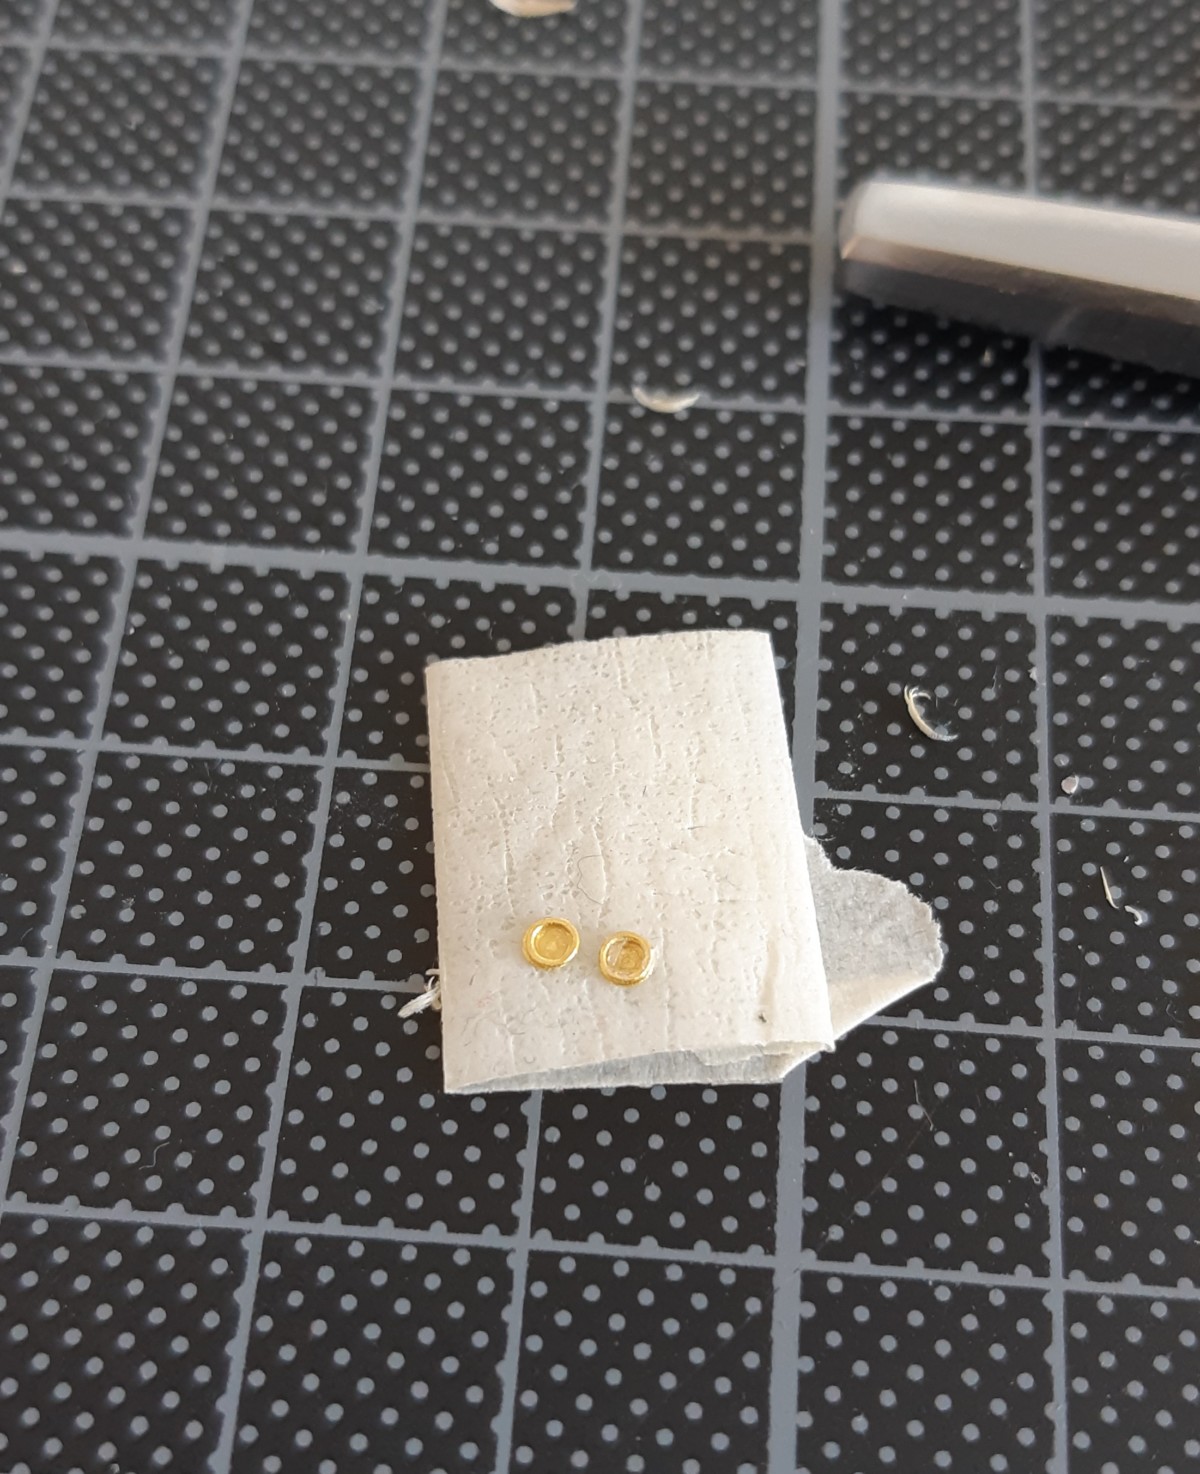
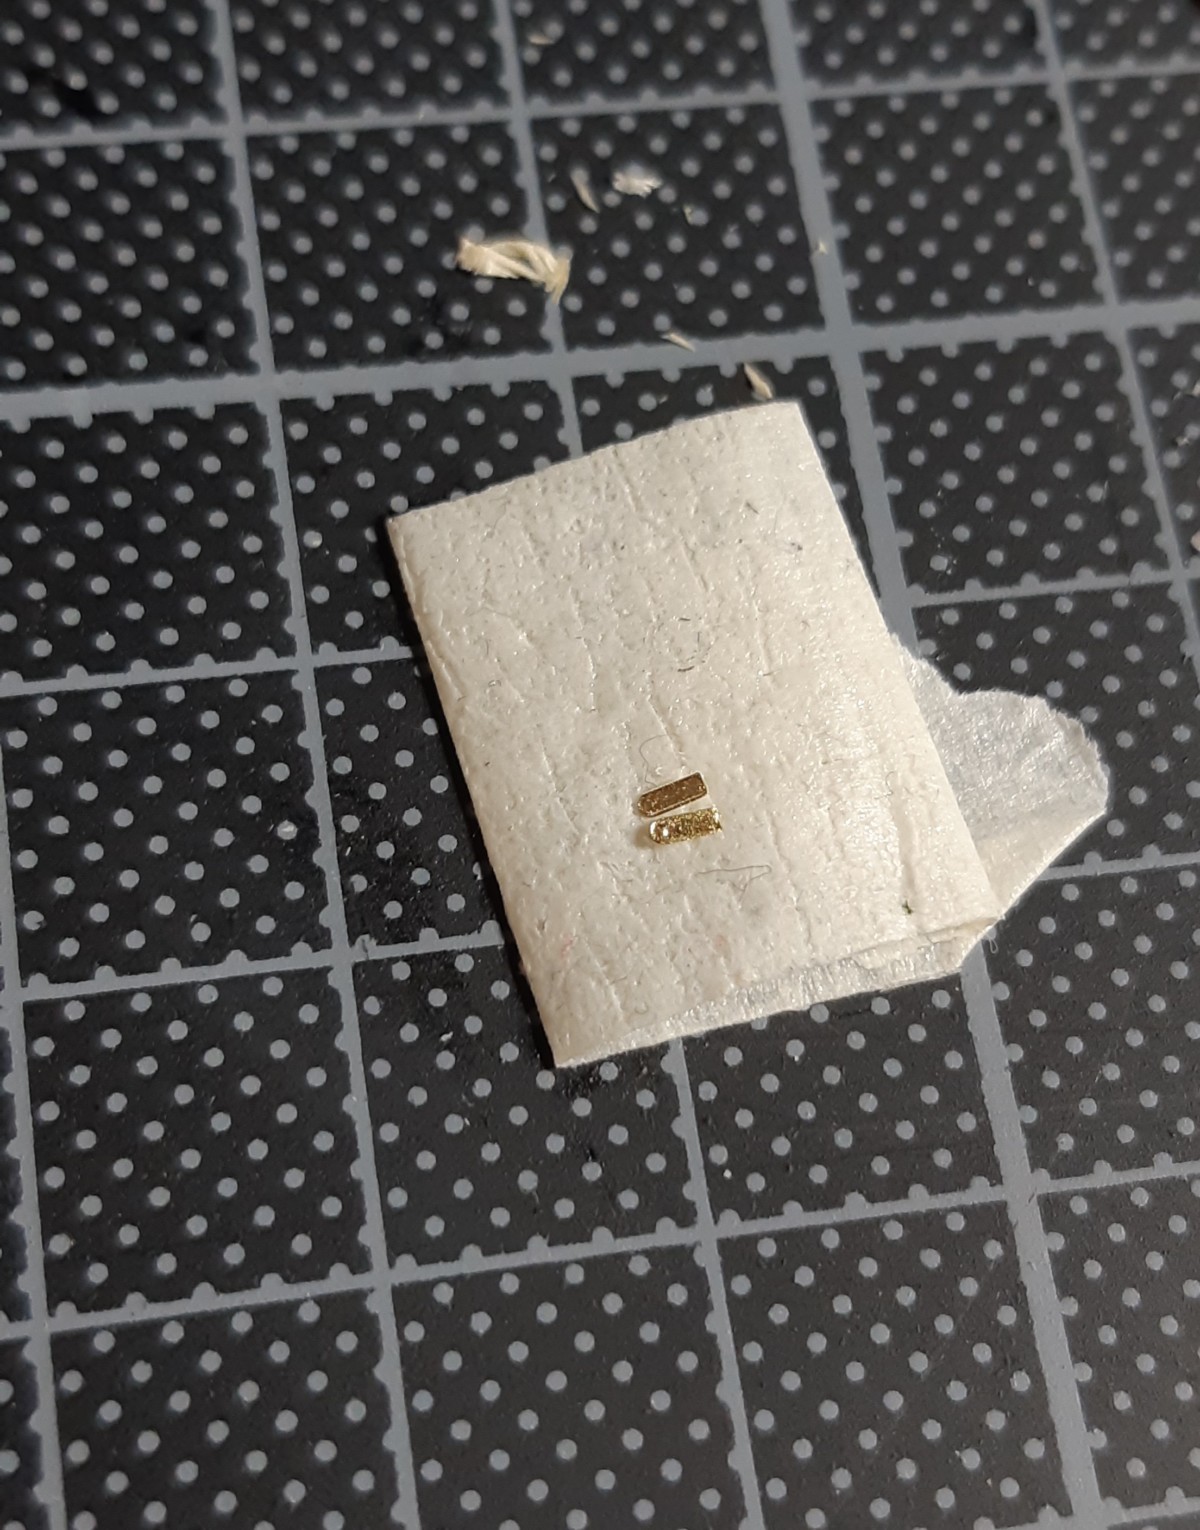
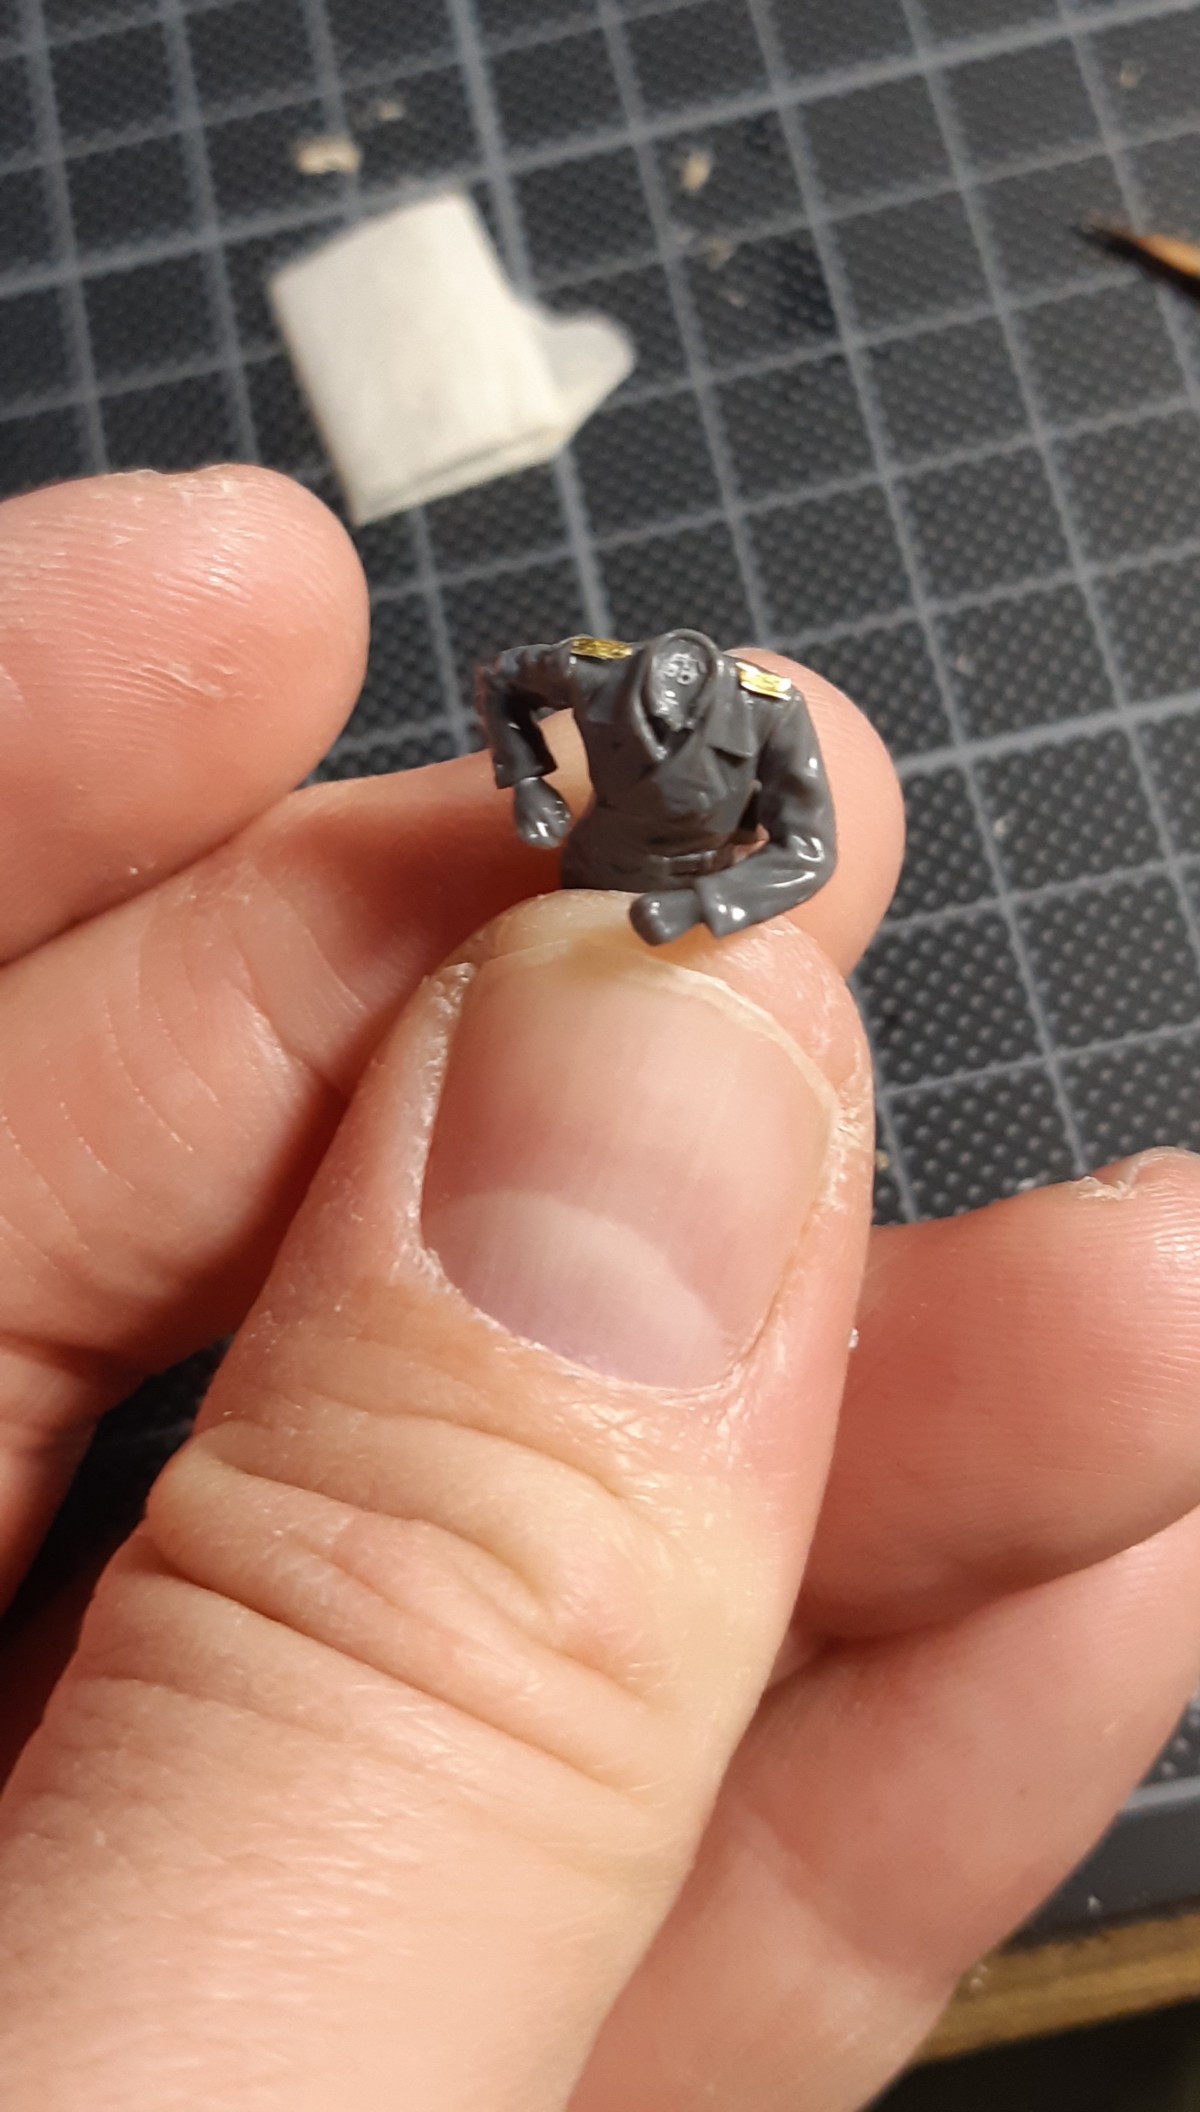
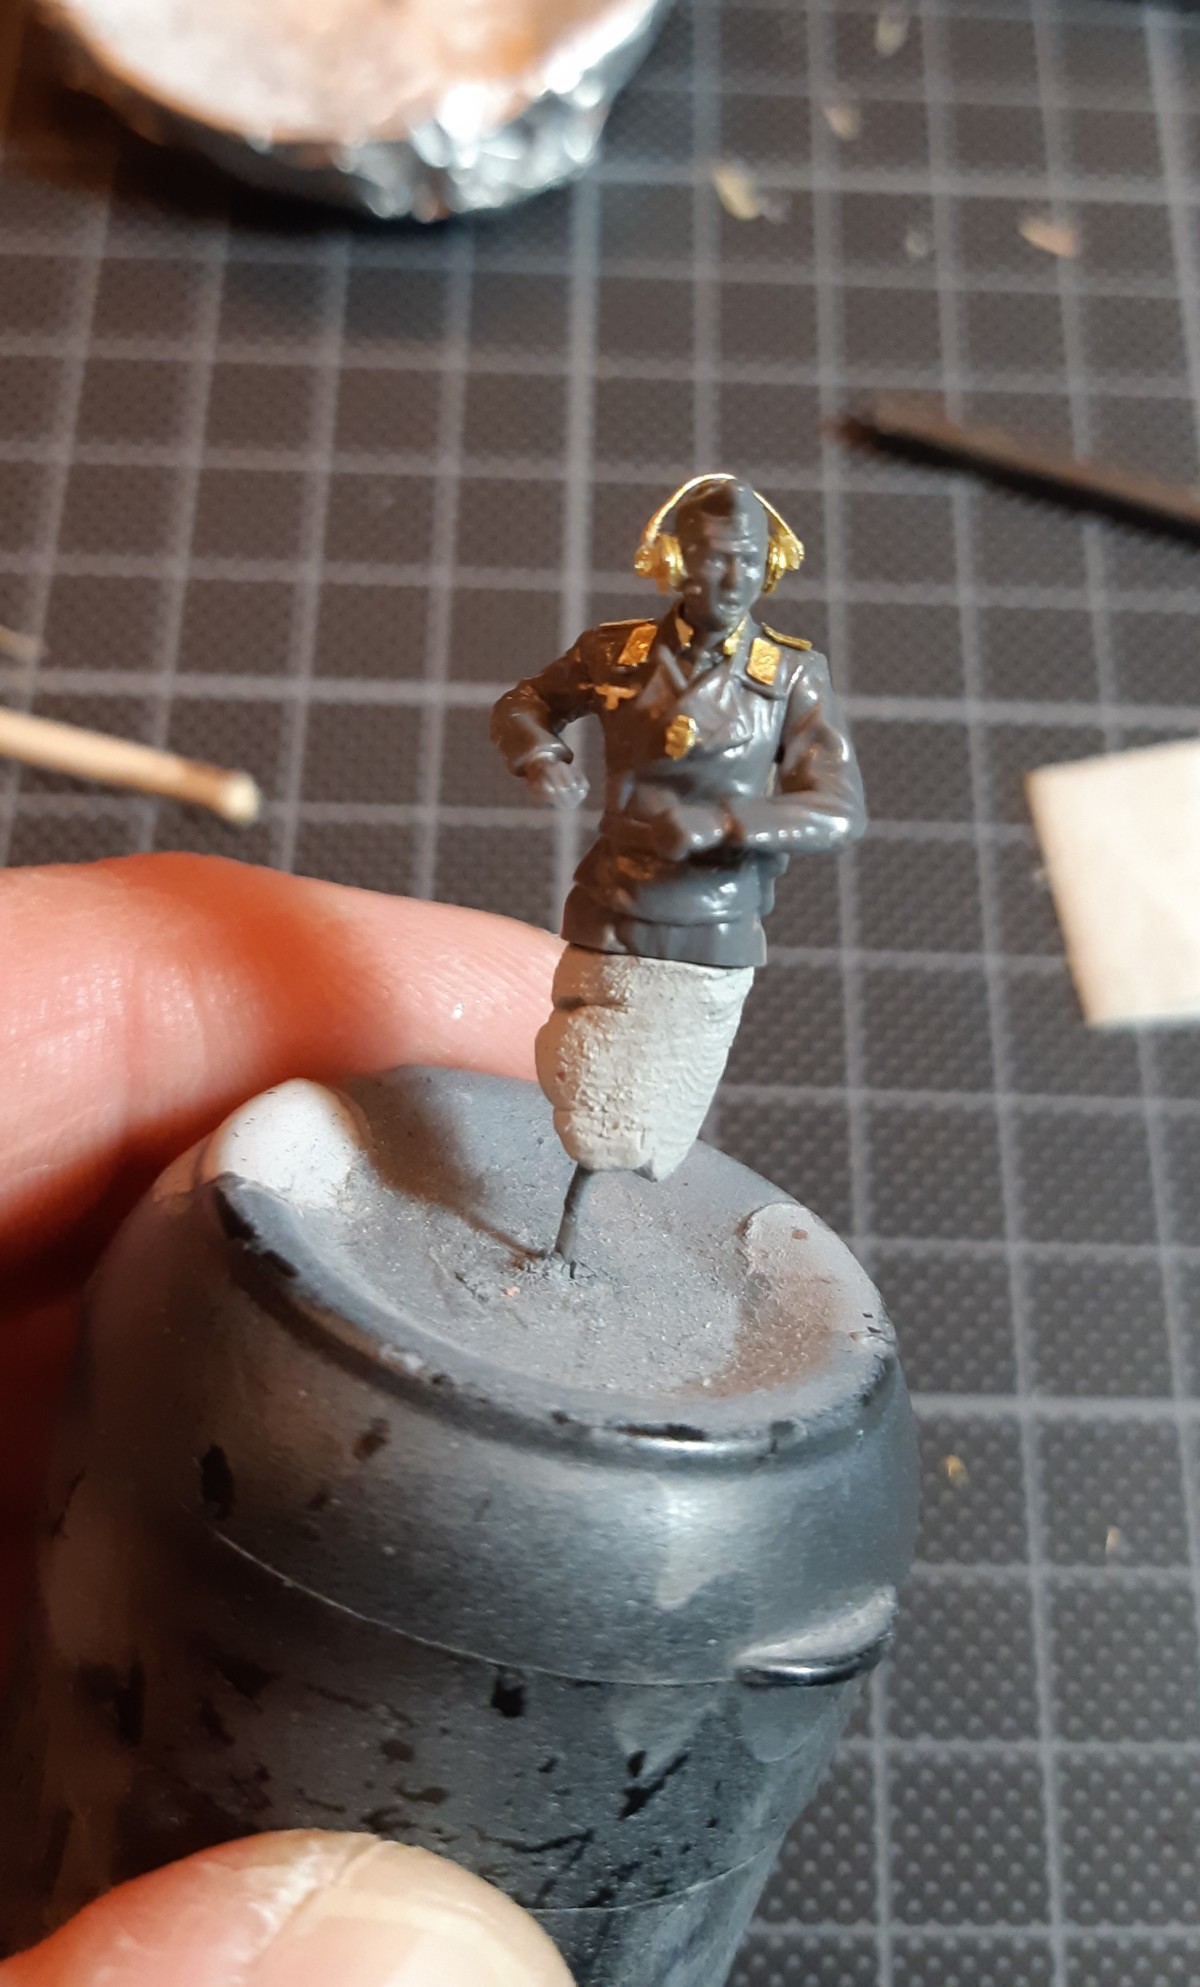
As you can see, I’ve left of the head for that will be the main focus of the upgrade. The cast headphones need to be cut away very carefully. And then I start to cut the parts for the new headphones. To prevent an endless search on my hands and knees for some tiny part that jumped away during the cutting, I use a little trick: You can use double sided tape, or as in my case, simple paper tape (used for masking while painting my house). Create a small “O” shape and press it on your desk and behold…a sticky cutting mat.


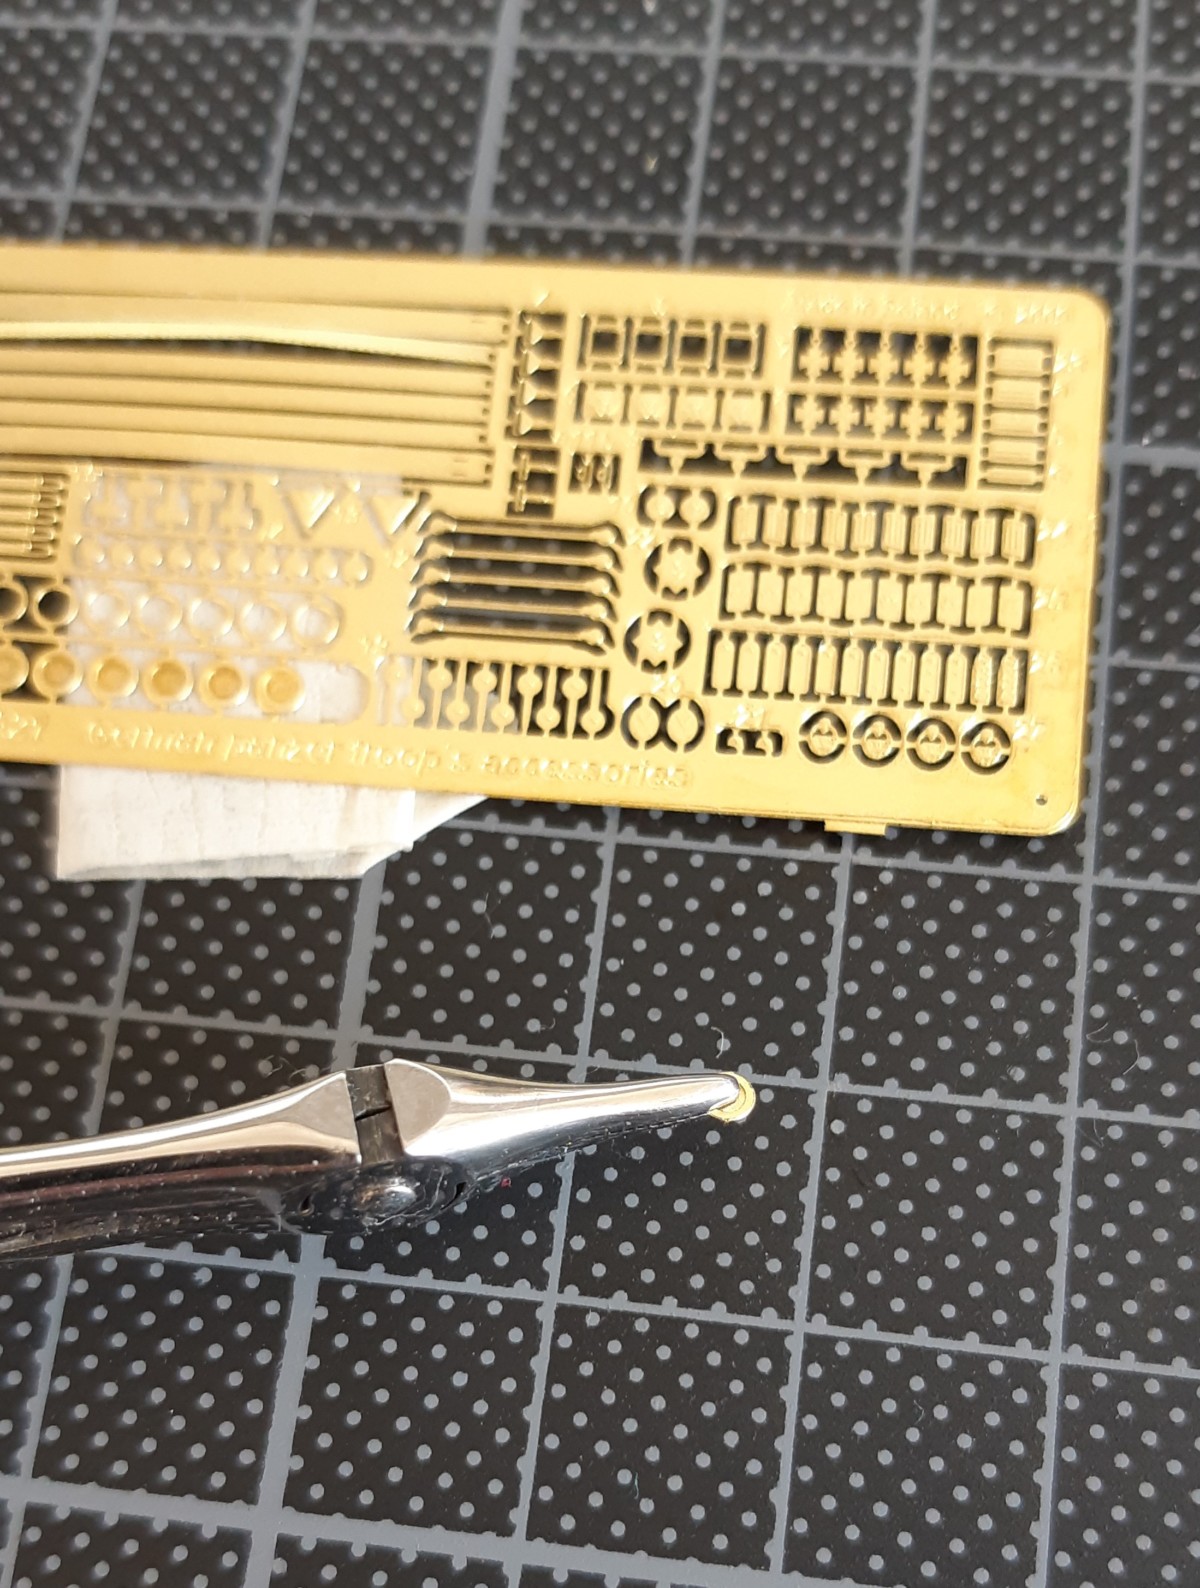
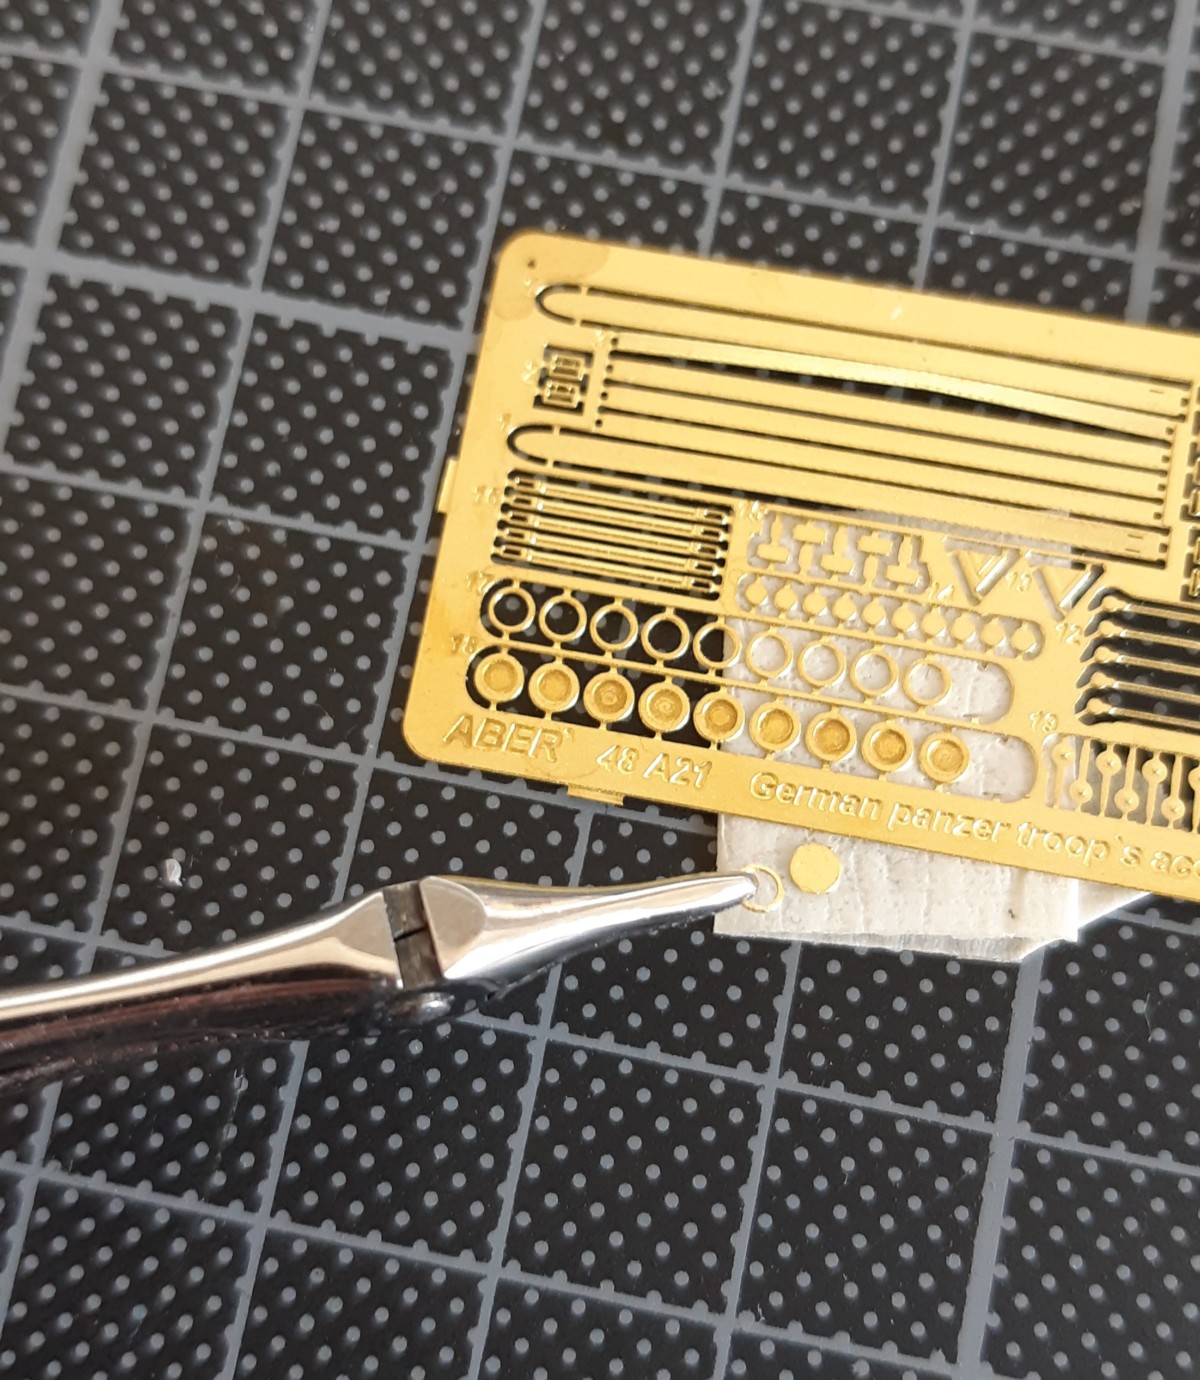
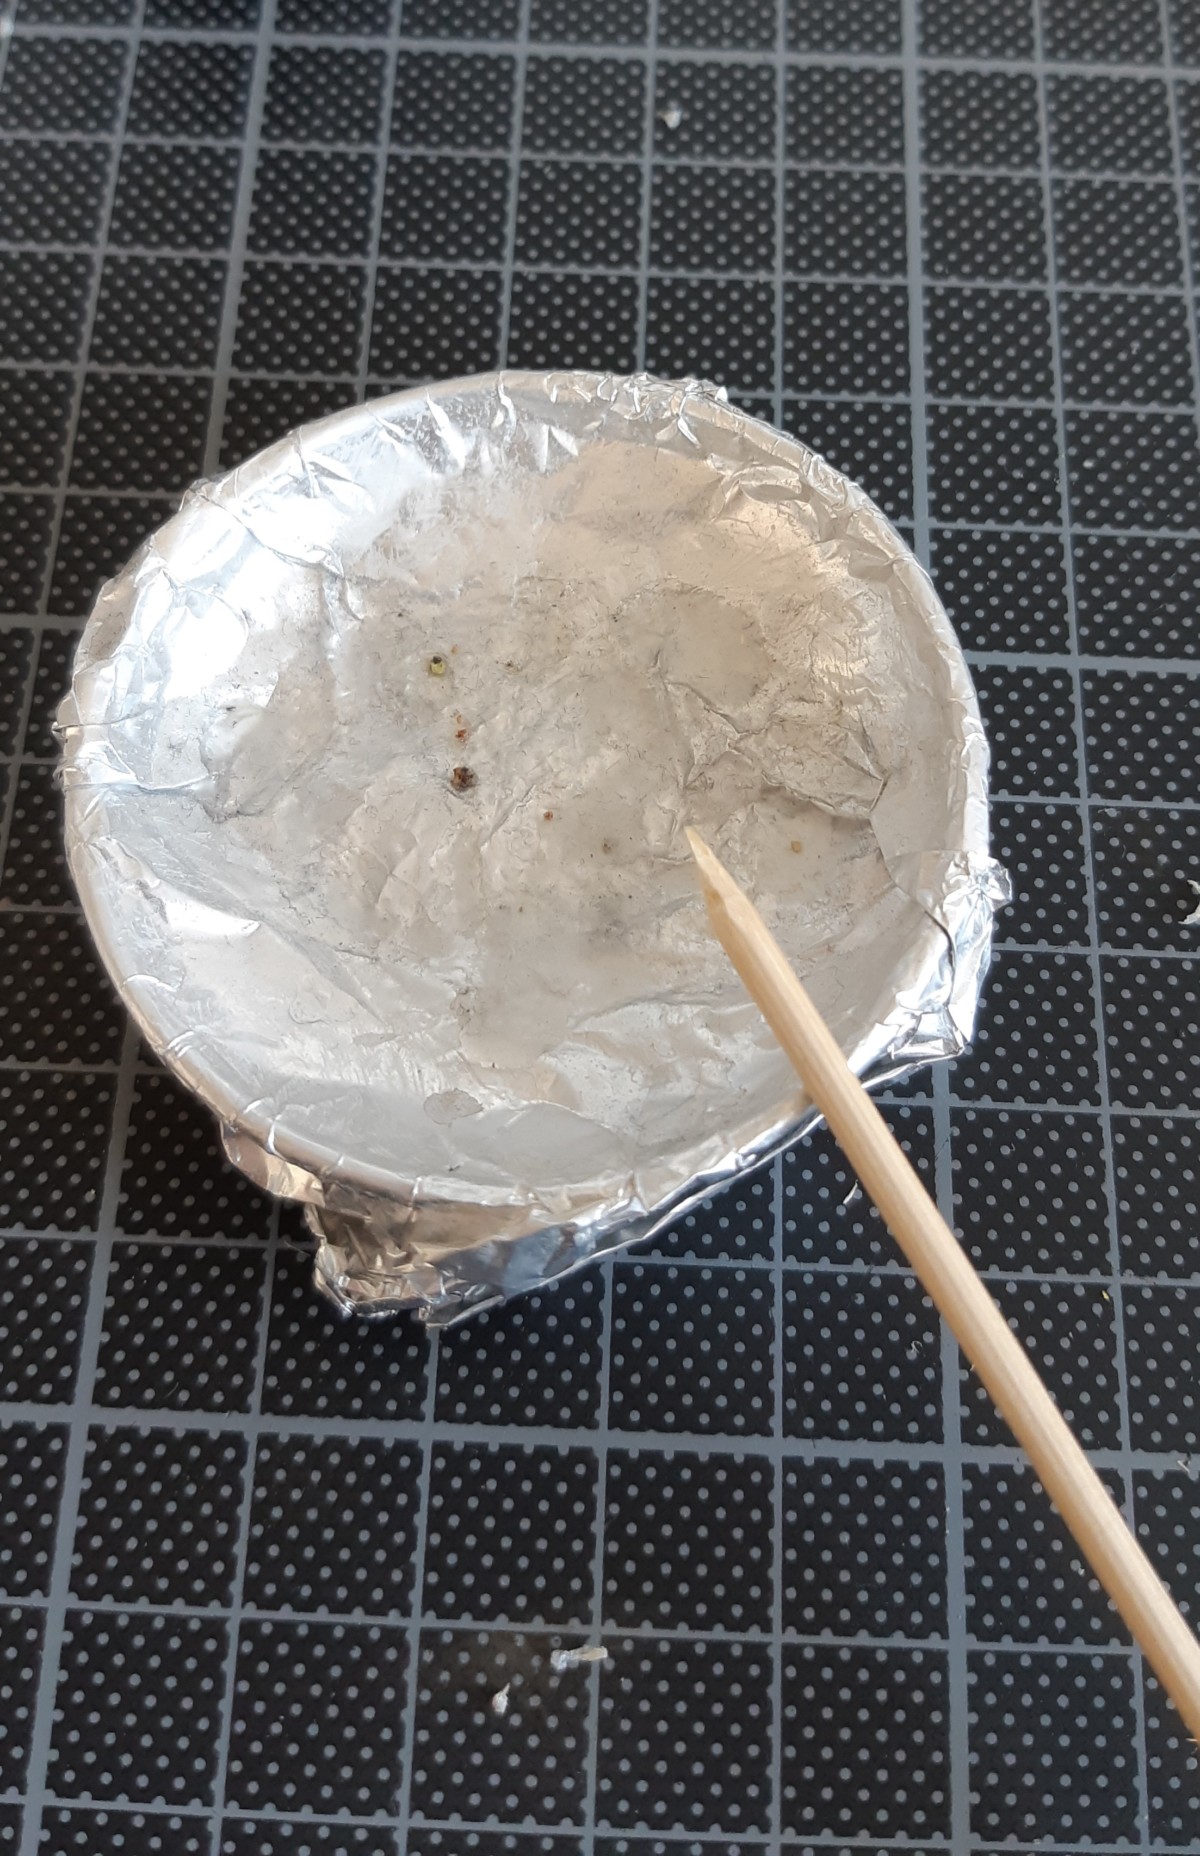
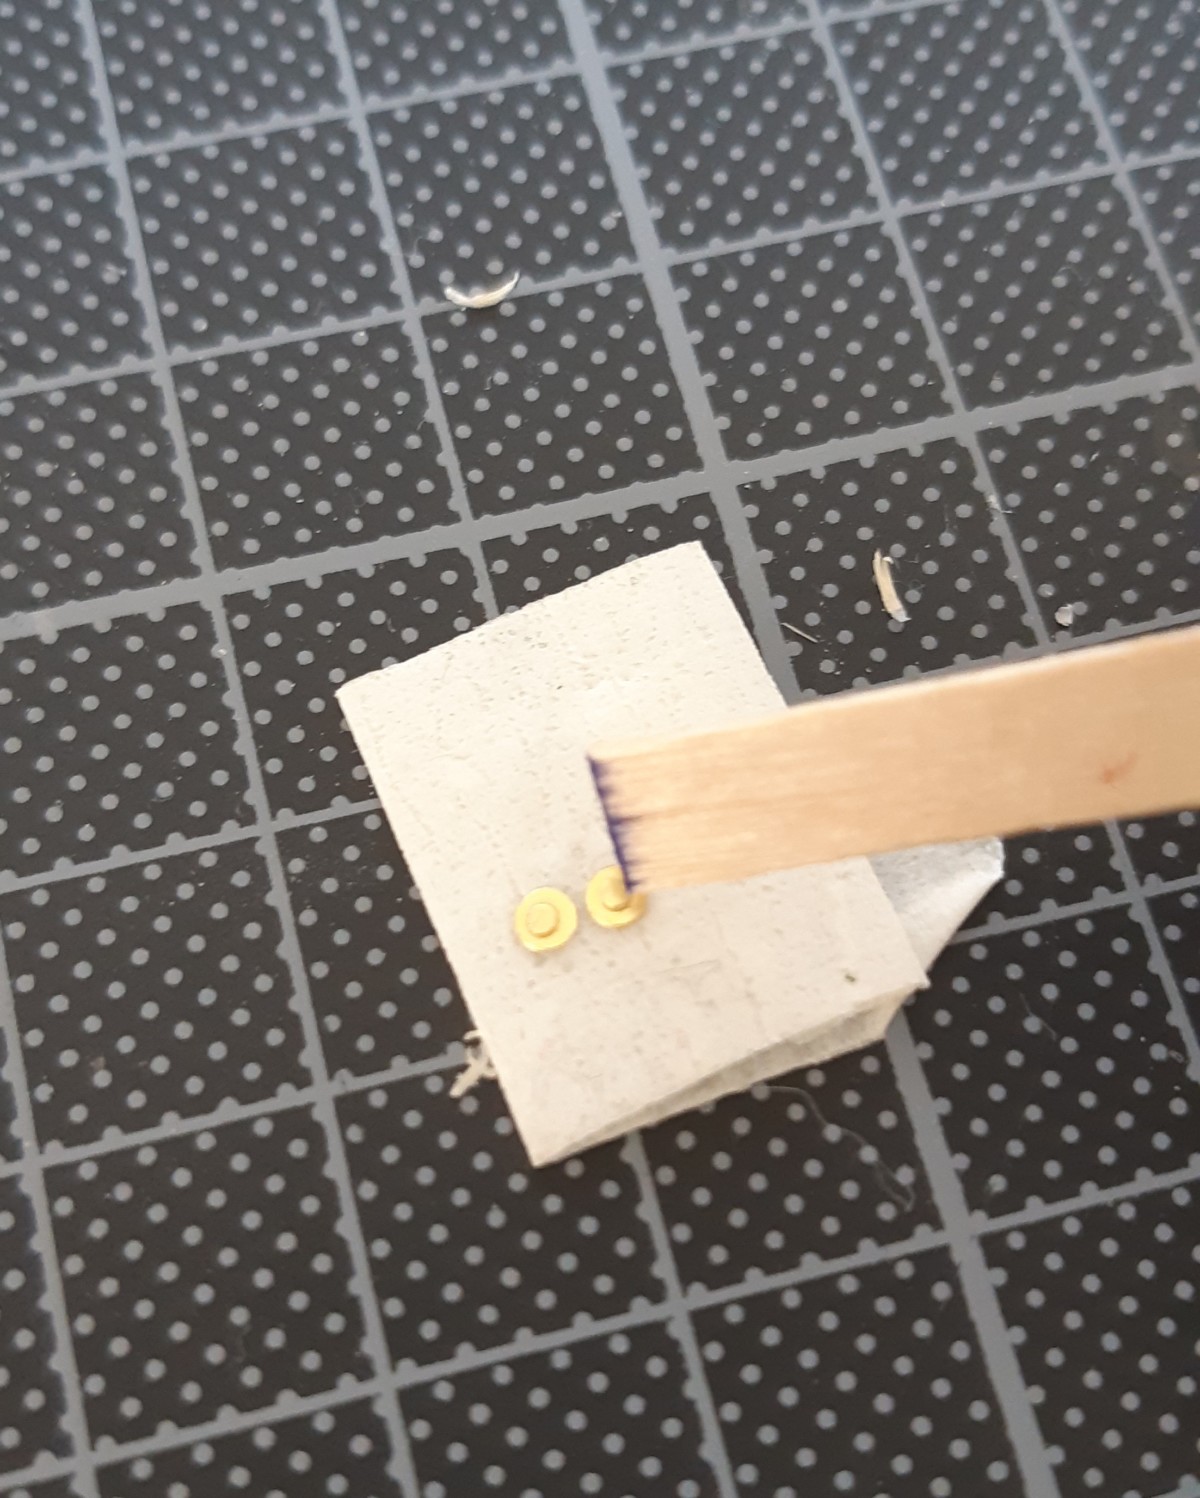
Using a pair of tweezers with a clamping functionality enabled me to precisely remove “nub marks” with a jewelers file. The above pictures also give a nice impression of the size of these individual parts. In the pictures below you can see me gluing the different sub-assemblies together. A tool that I use to prevent the super glue from drying way too quickly is the lid of a jar that I’ve covered with a layer of aluminum foil .

clamping tweezers in action

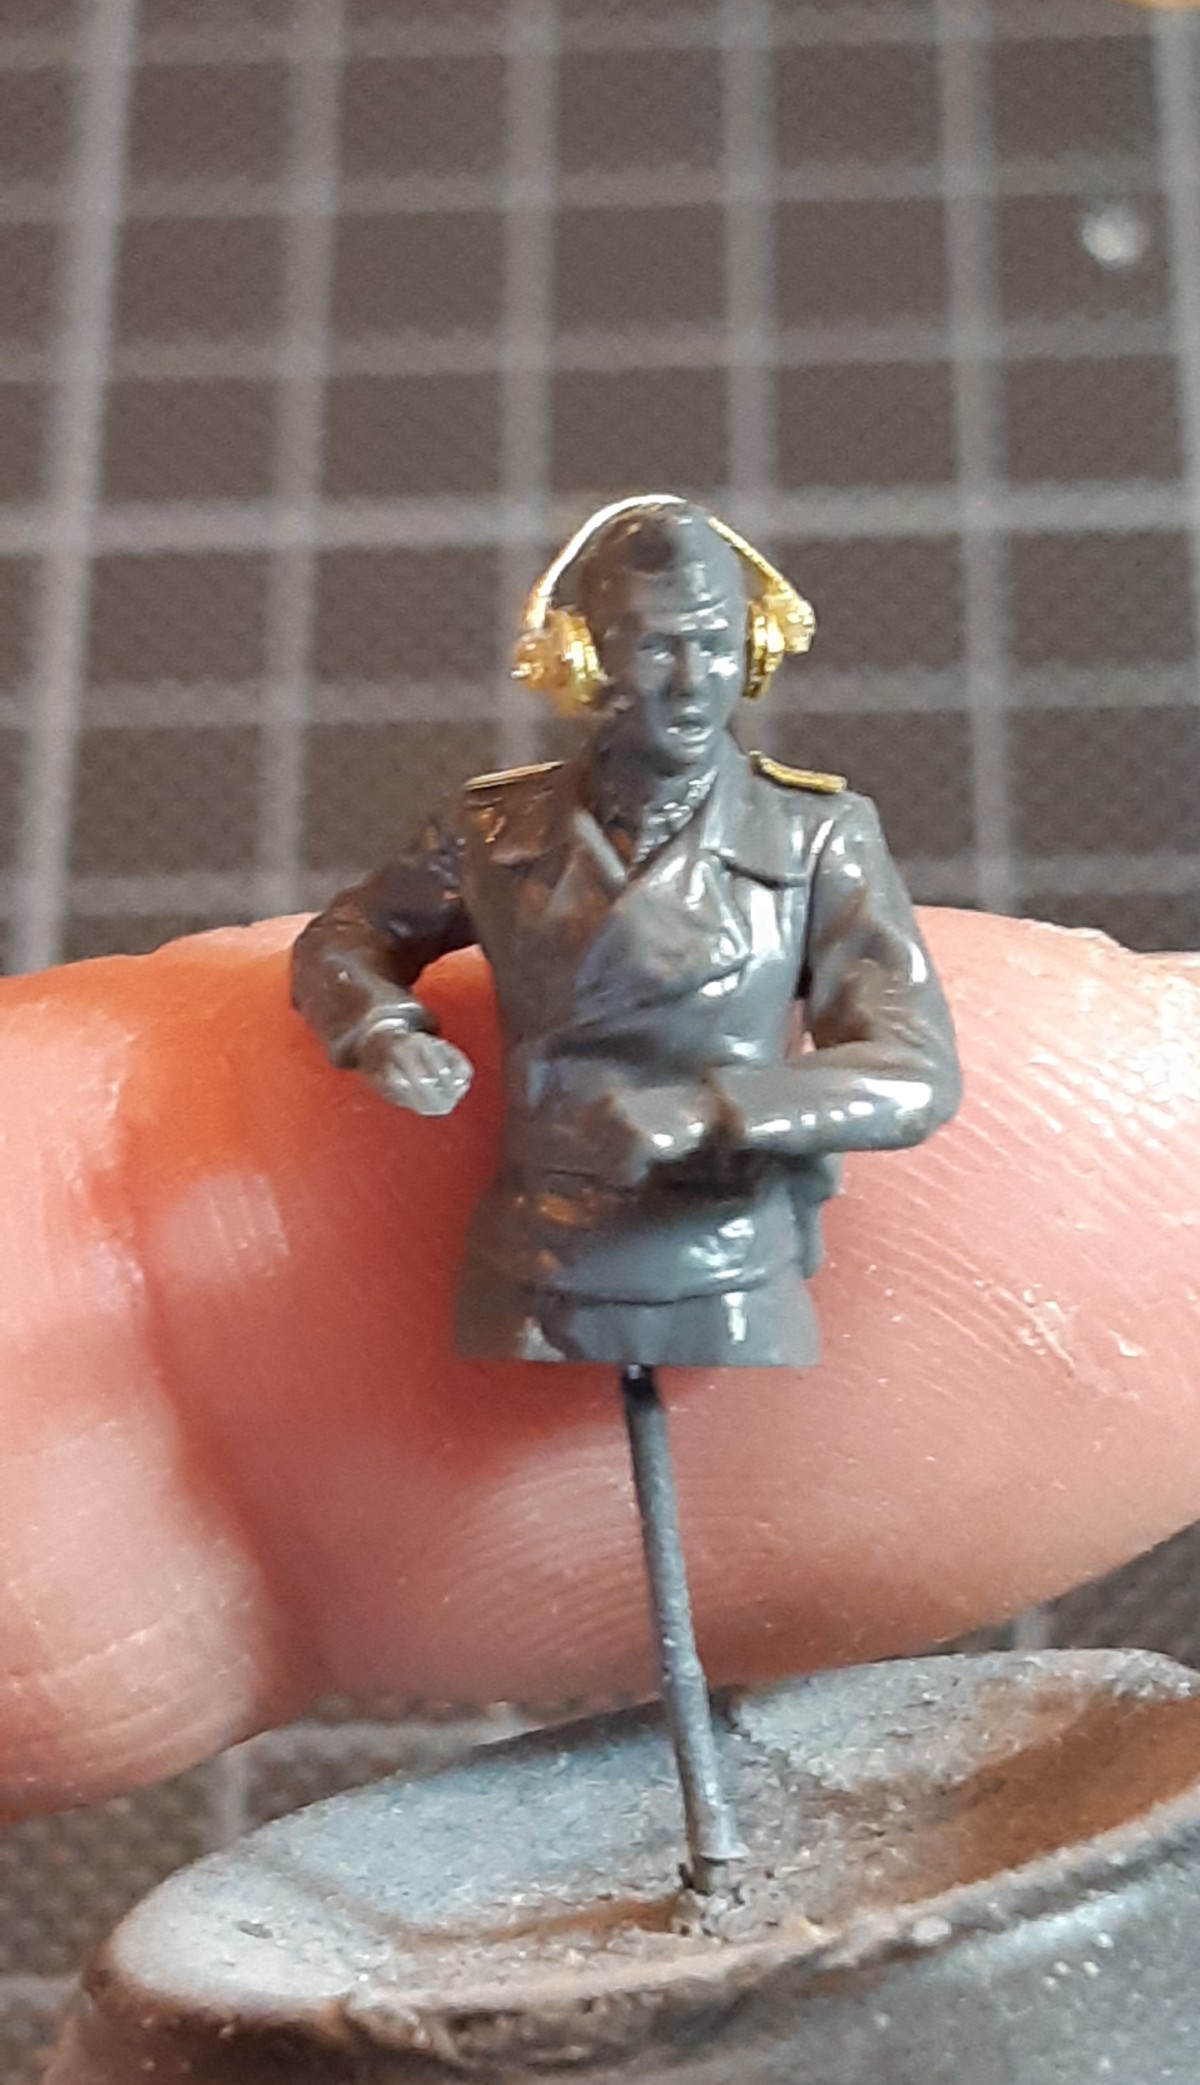
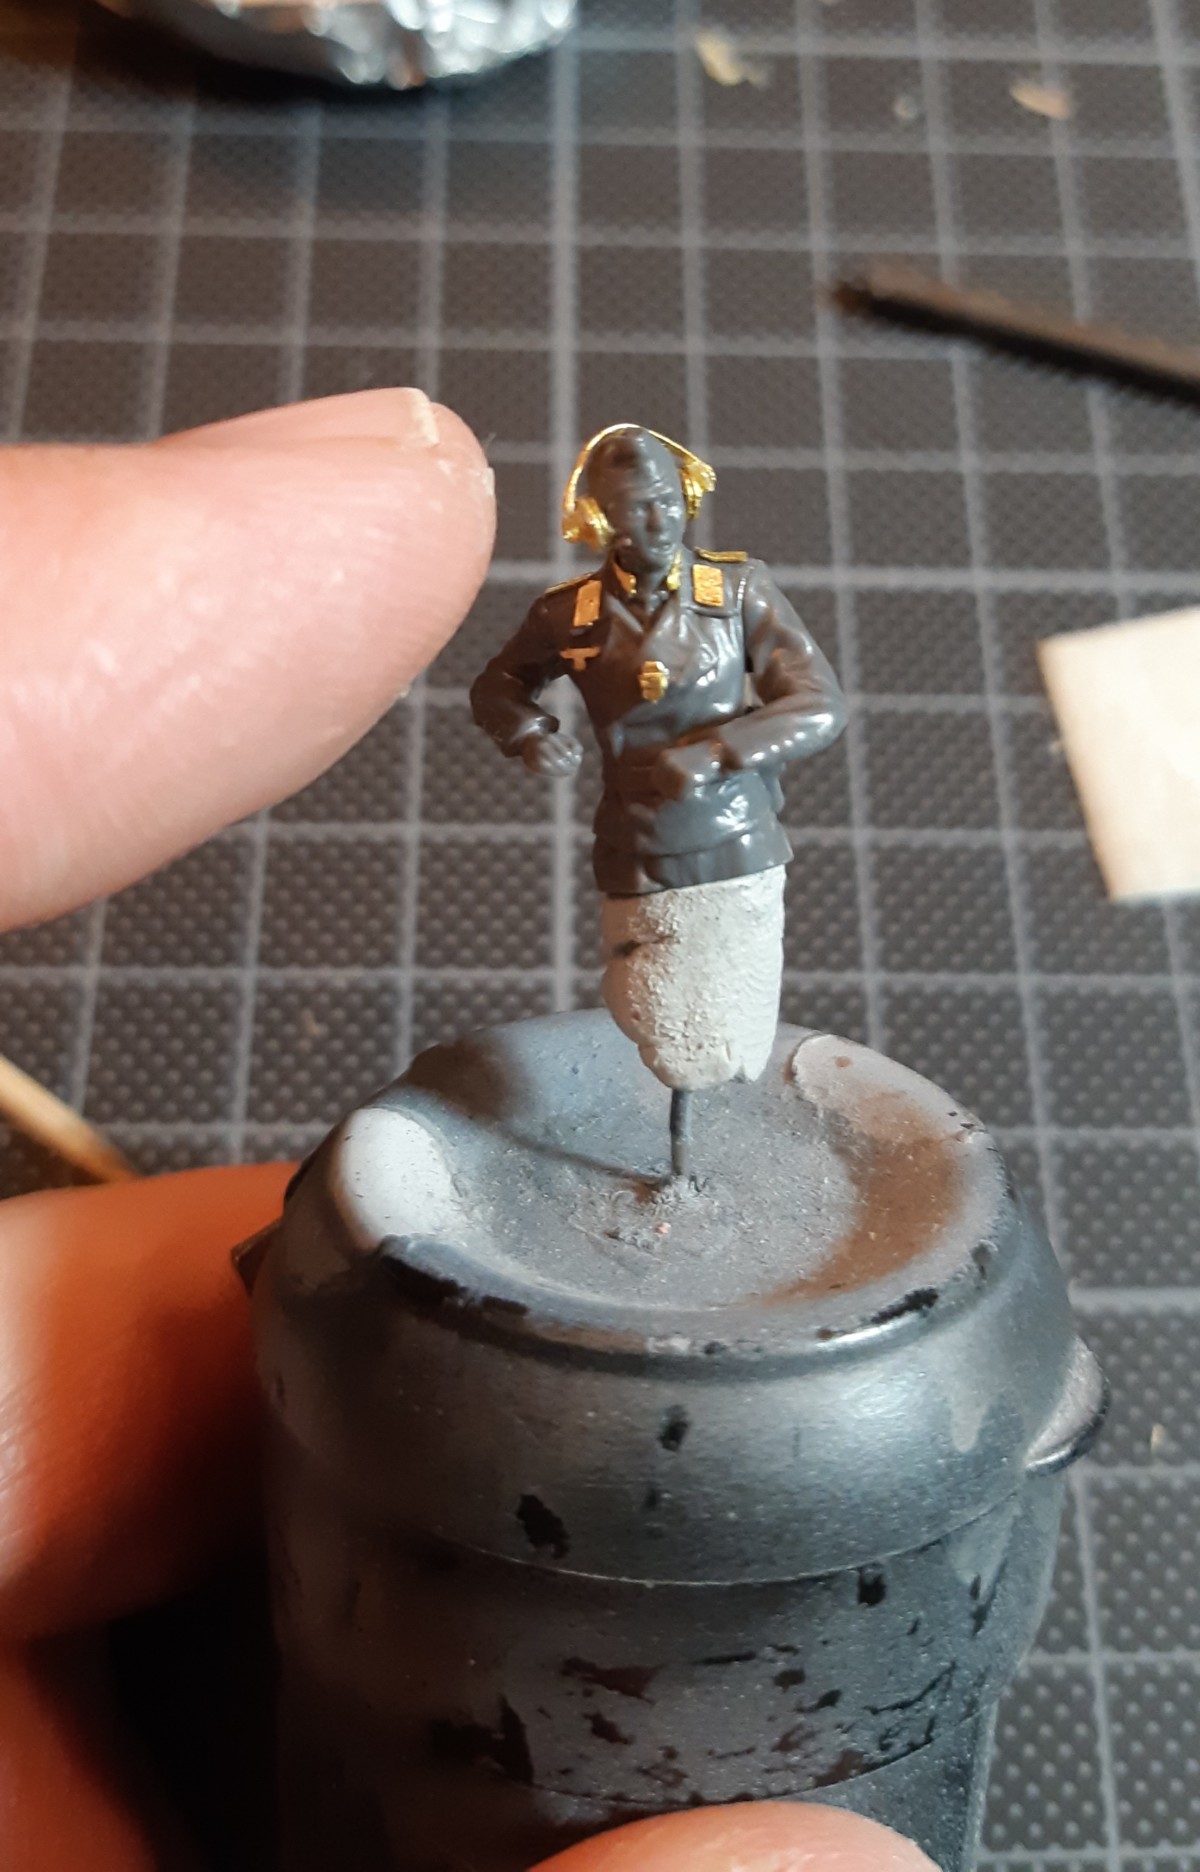
Now the hardest part was to create the right bend of the bow of the head. I started by attaching one side and gently bending. However… it took me a couple of frustrating repeat steps of filing/scraping away at the head/cap. Trial and error and some stress management (shouting and frustrating grunts) yielded a nice result! I also scraped the old shoulder markings off and replaced these with some nice brass ones. Take care that you have to compensate for the collar overlapping a part of the markings. Some extra cuts solved that issue.
Almost there, so let’s add some more markings. These were pretty straightforward. Cut the part, clean the nub marks, and position correctly with some glue. I have a small extra trick for working with these tiny parts. Something that works extremely well for me is to grab the brass part with a toothpick. I use a bit of spit on the tip to “grab” the part. Caution! Moisture accelerates cyanoacrylate glue… do not glue your tongue to the toothpick!
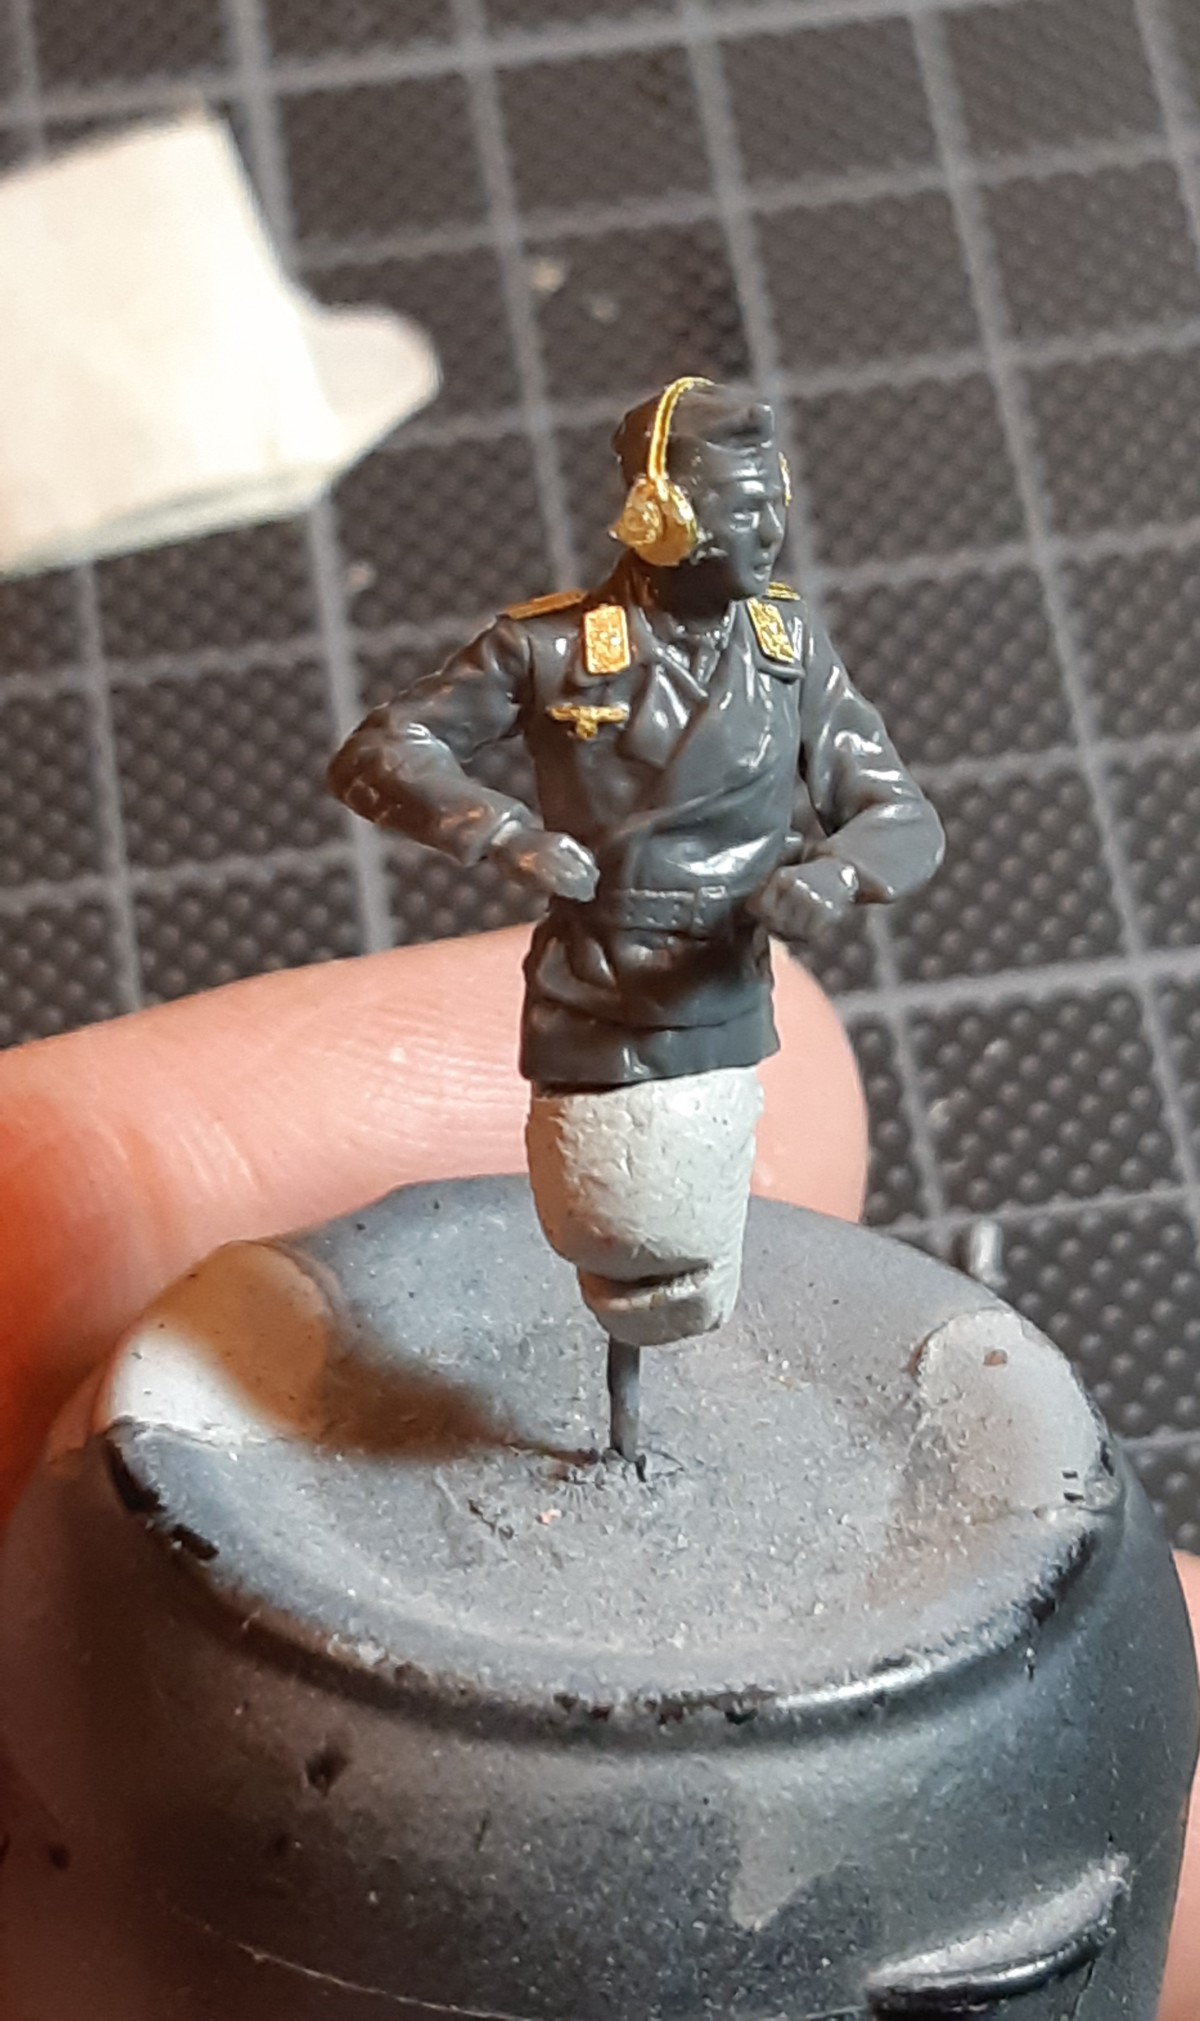
I didn’t bother replacing the belt as this will be barely visible in the commander’s cupola. The throat microphone was first gently “rounded” around the grip of a brush. The etched brass parts have a bit of spring to them so it sat pretty good around his throat before I added some tiny drops of glue, using the other side of the toothpick.
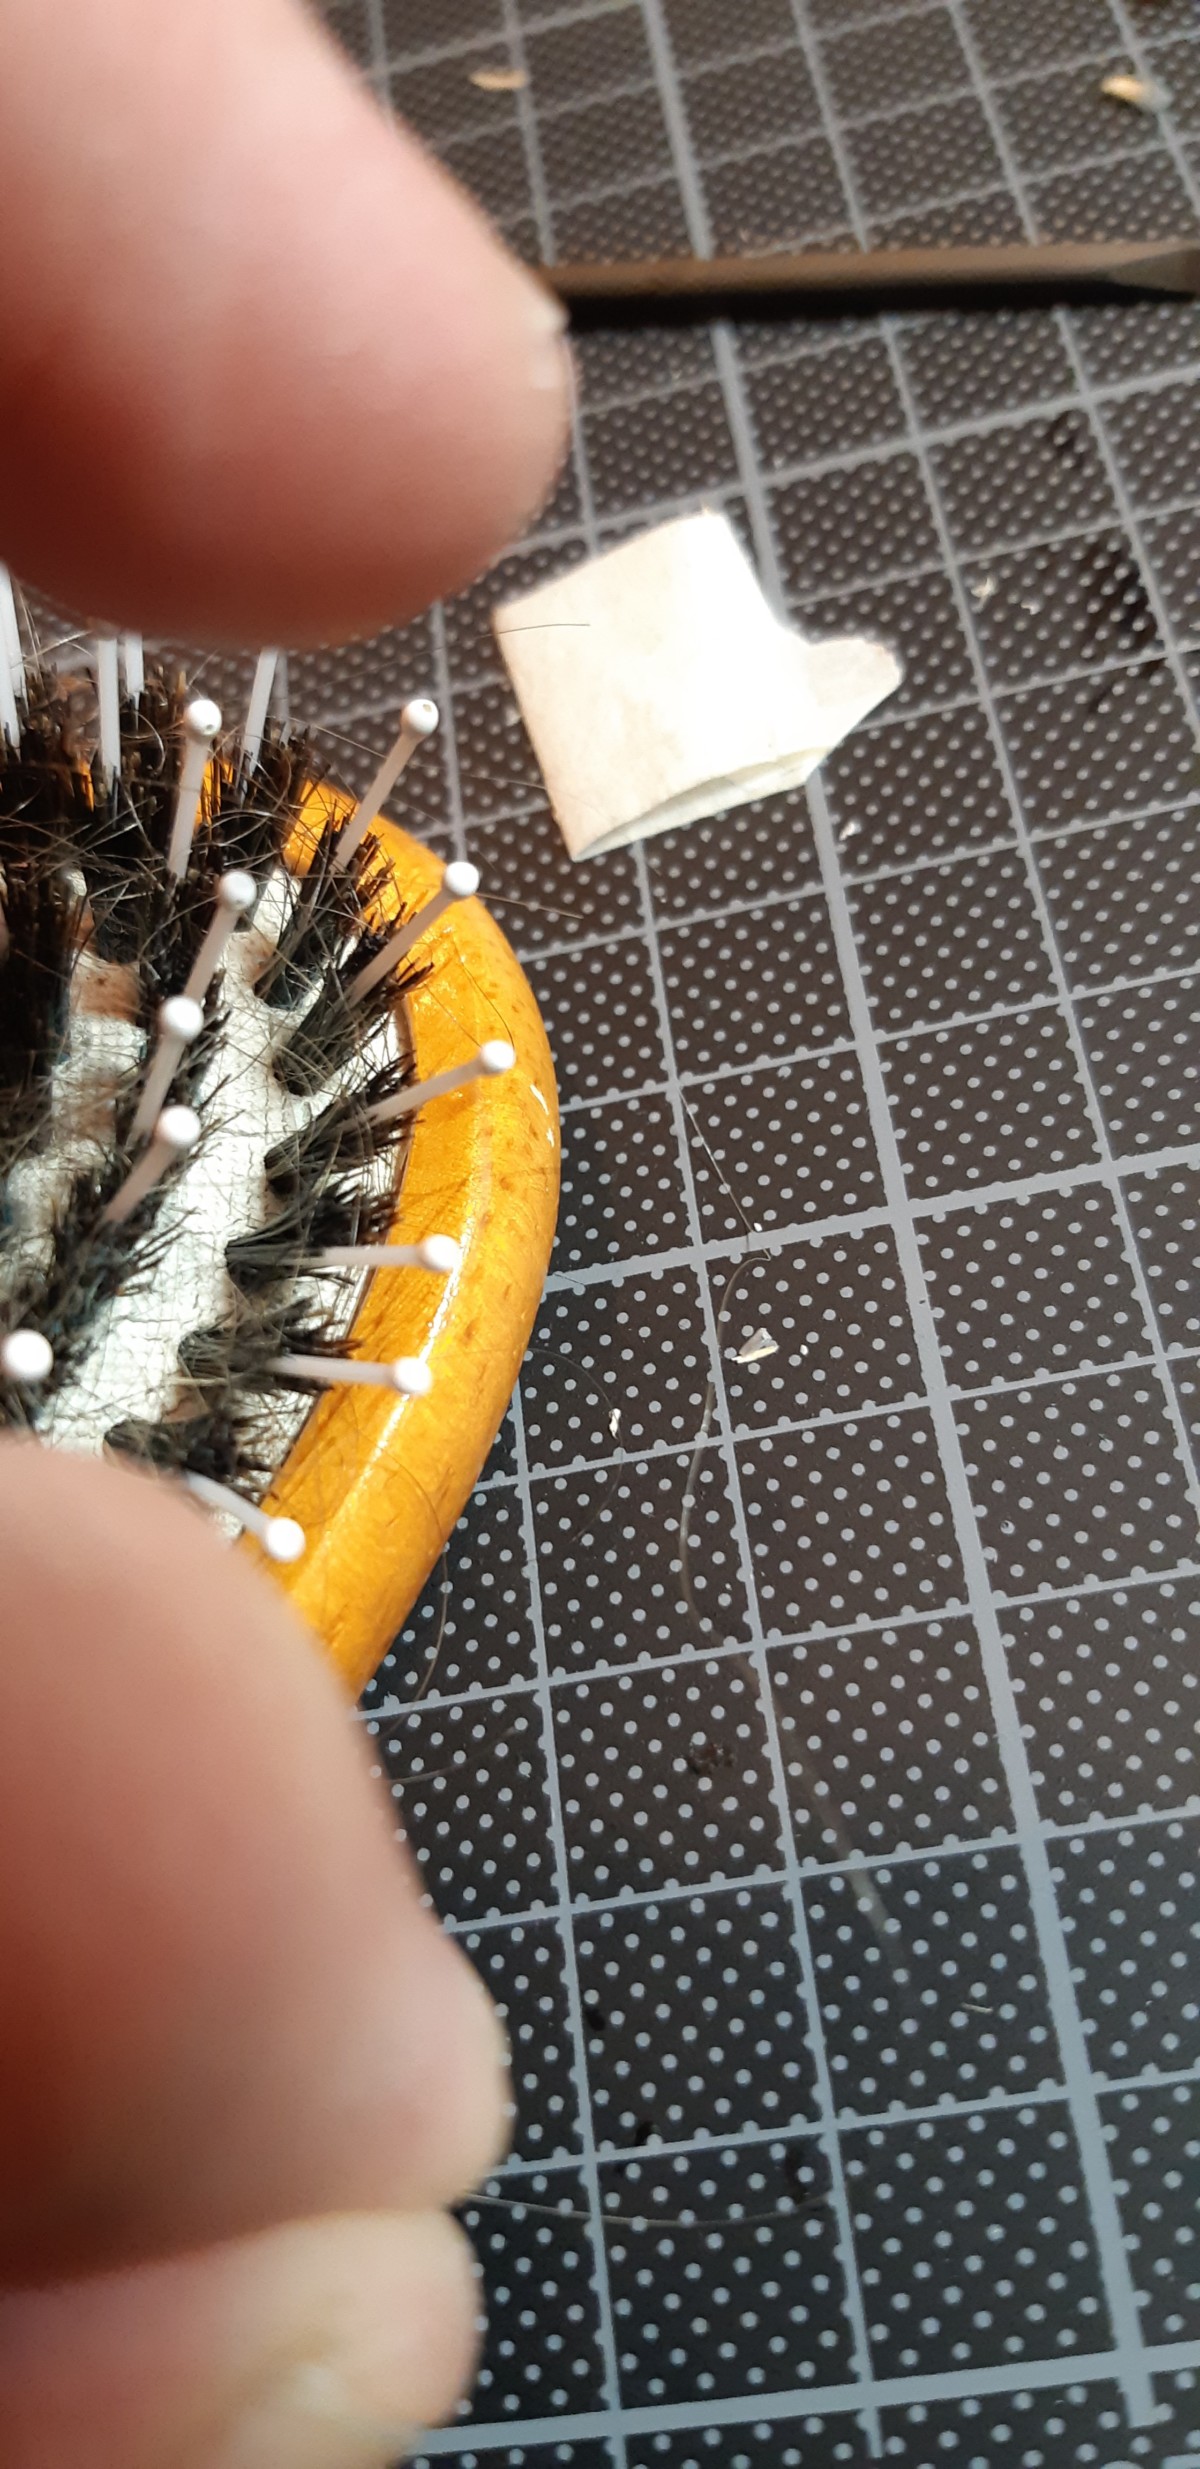
If you remember the intro I spoke about hair. Well… I took some of my hairs out of the hairbrush and glued these to the throat microphone with some super glue. Let it dry… dry fit the length to the tiny box in the center of the chest. Again I applied a tiny drop of super glue and pressed the hair into the “puddle”. Repeat with a single hair from the box to his belt and the figure is ready for some paint.

And that was it for today. Next episode I’ll paint the commander. I hoped you’ve enjoyed this step by step. Feel free to comment/ask/like!
Cheers
Gert