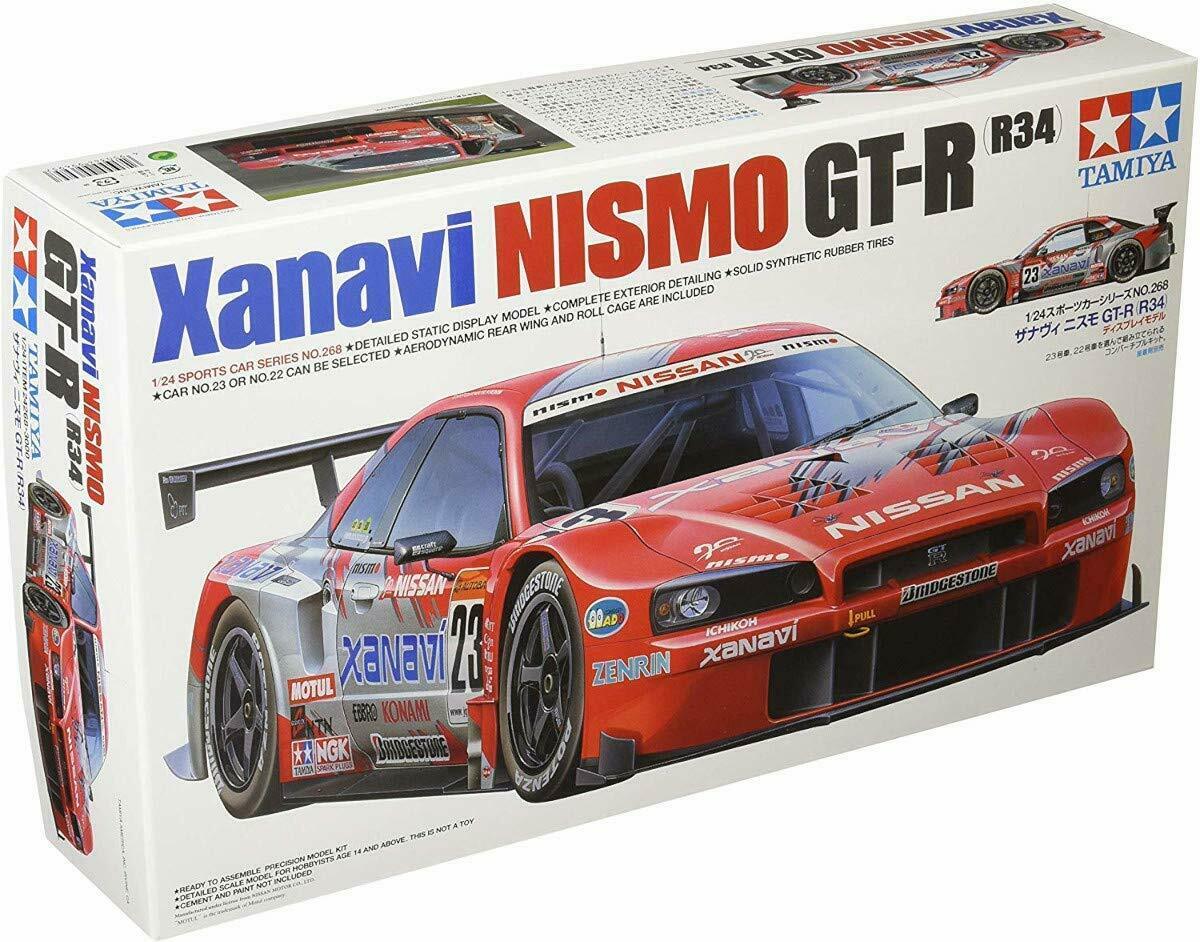
Available at HobbyLink Japan: 1/24 Xanavi Nismo GT-R ’03 JGTC
The GT-R has always been the golden child of the Nissan stable, and ‘godzilla’ has always been one of the most memorable JGTC race machines to pound the tarmac. 2003 saw NISMO enter two cars in Xanavi and MOTUL sponsorships to contest the fierce series of the Japan Grand Touring Car championship. With formidable opponents, the Xanavi entry might not have won a single race, yet would see the season out on the top step of the podium for both drivers, and constructors championships. While this kit isn’t new to the lineup, a stunning livery, and the last JGTC machine (2004 saw the series branded as SuperGT) by Tamiya, is a stunner.
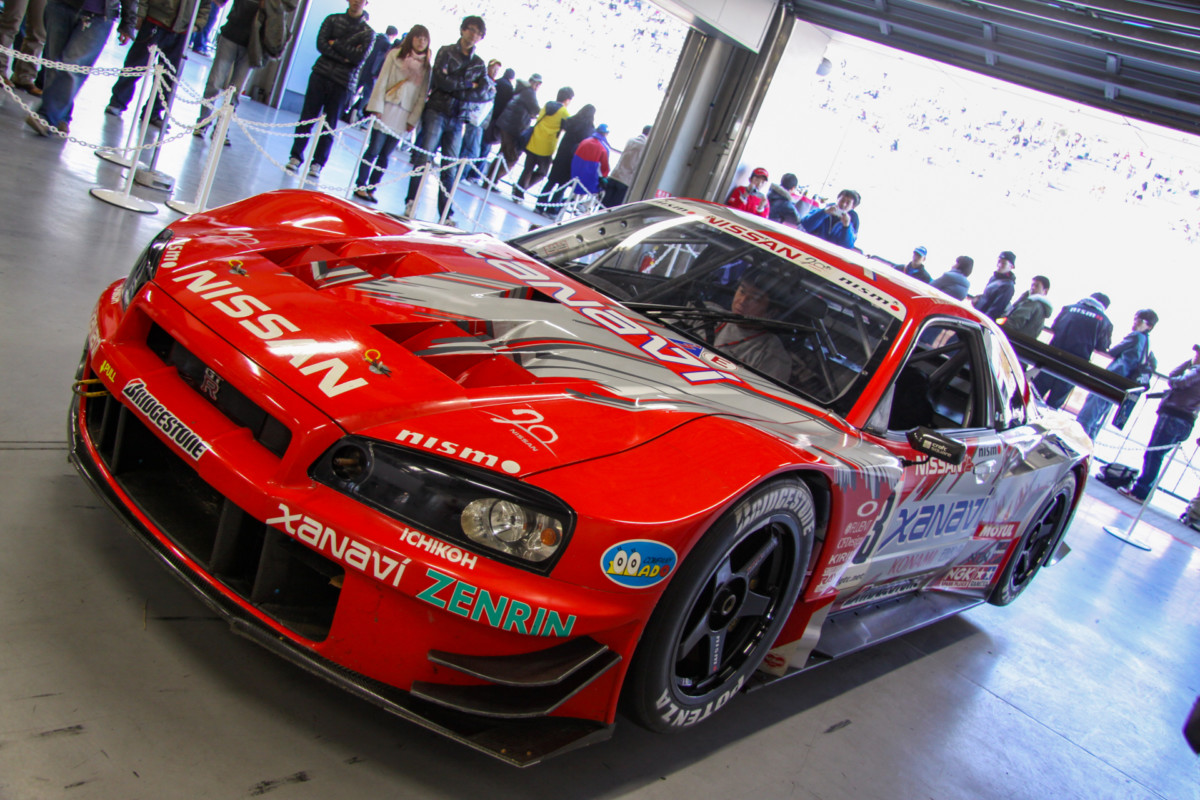
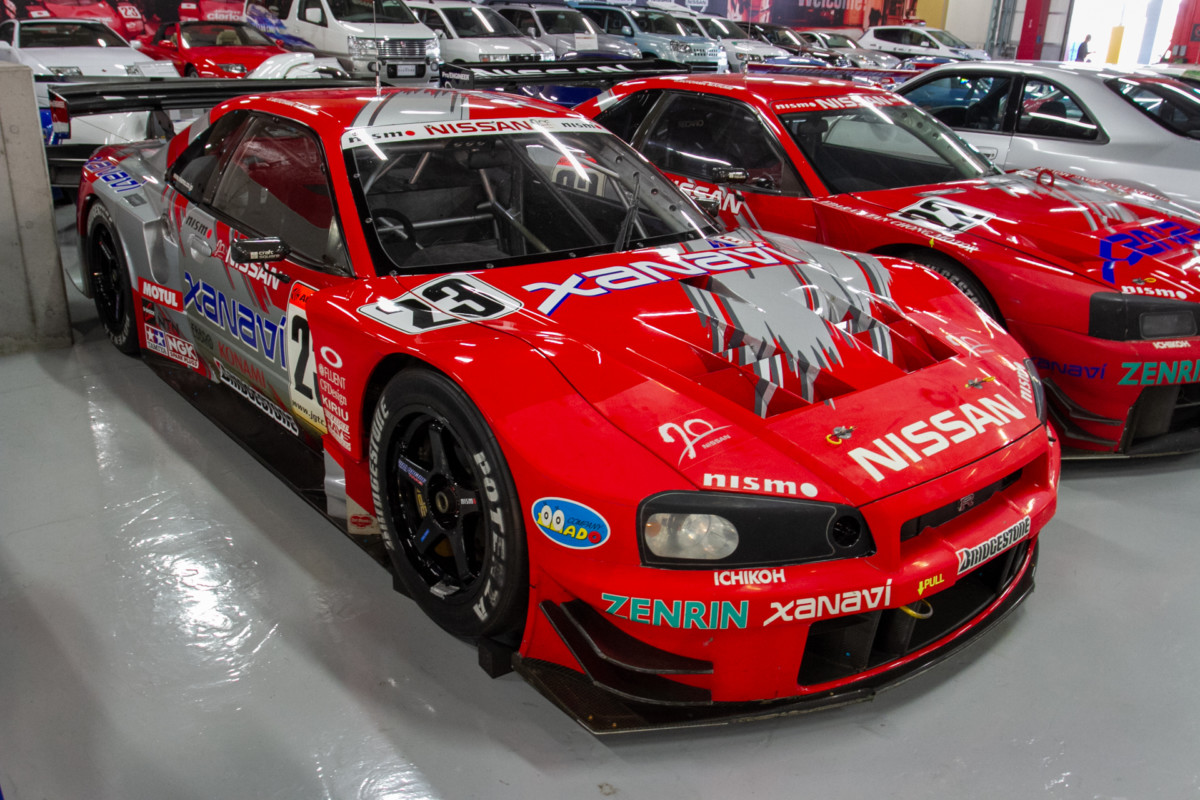
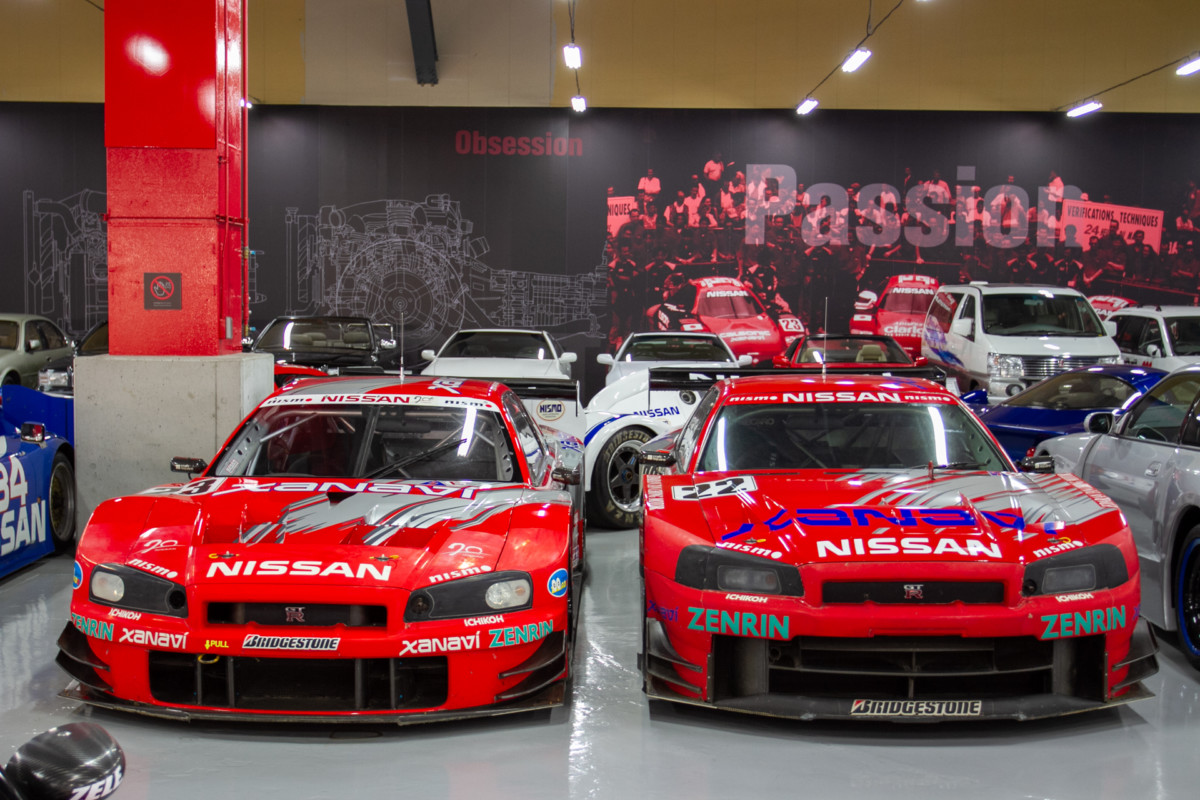
The kit is one that I have always wanted to make, but put off because of the seemingly complex livery that adorns the curvy bodylines. After biting the bullet and doing it, the paintwork wasn’t nearly as scary as I imagined. Also there was a little extra motivation when I came across the 1:1 scale machine at Fuji Speedway and the Nissan Heritage Museum.
The kitset
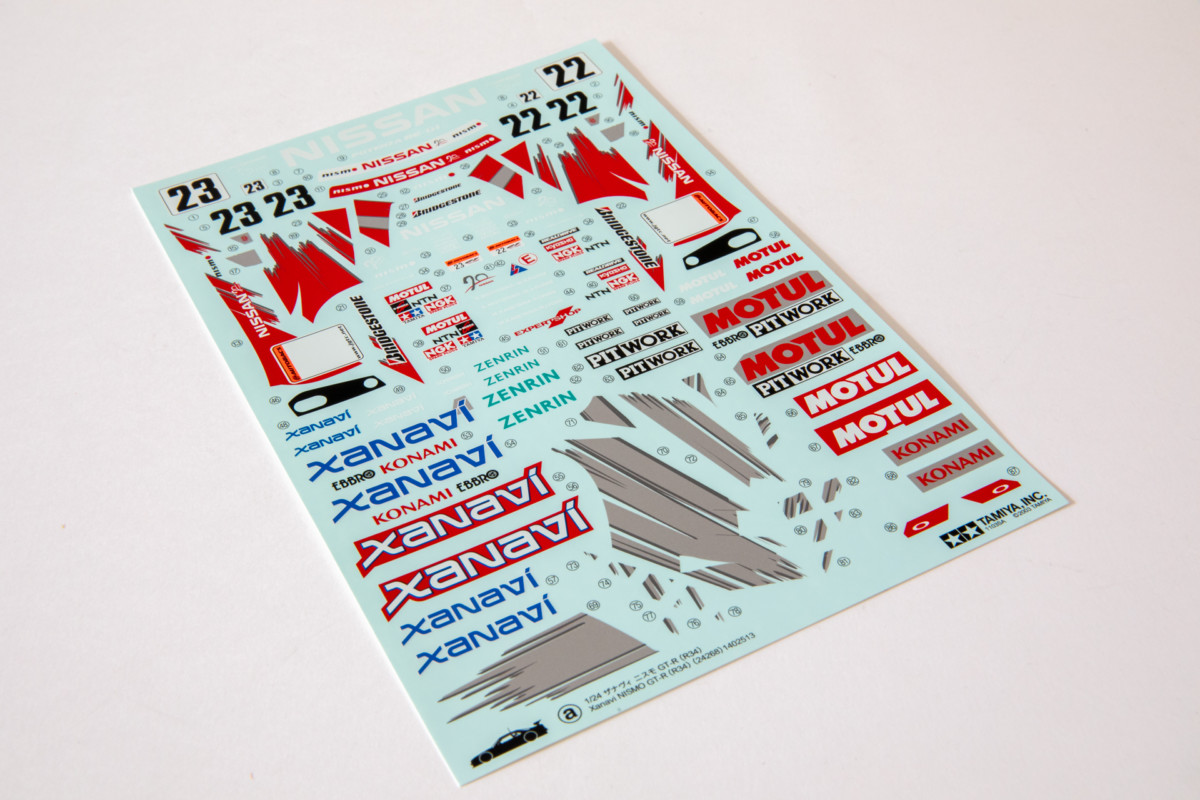
Inside the box you are greeted with all the usual excellent Tamiya bits and pieces. The sprues are precision-crafted with zero flash, and the decals are thin and borderless which makes for a stunning finished piece. The larger than life wheels and tires that these cars run look amazing, and the clever way in which this livery was worked out for the kit surprised me.
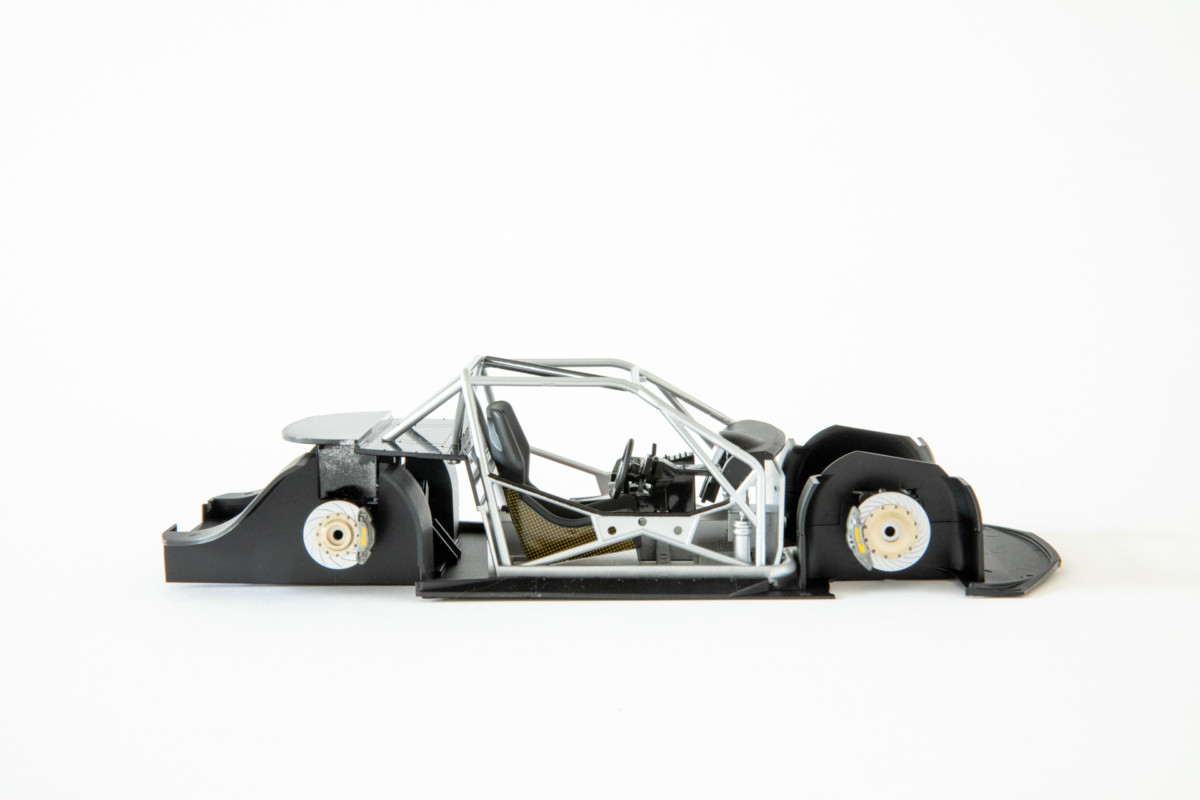
Chassis and suspension
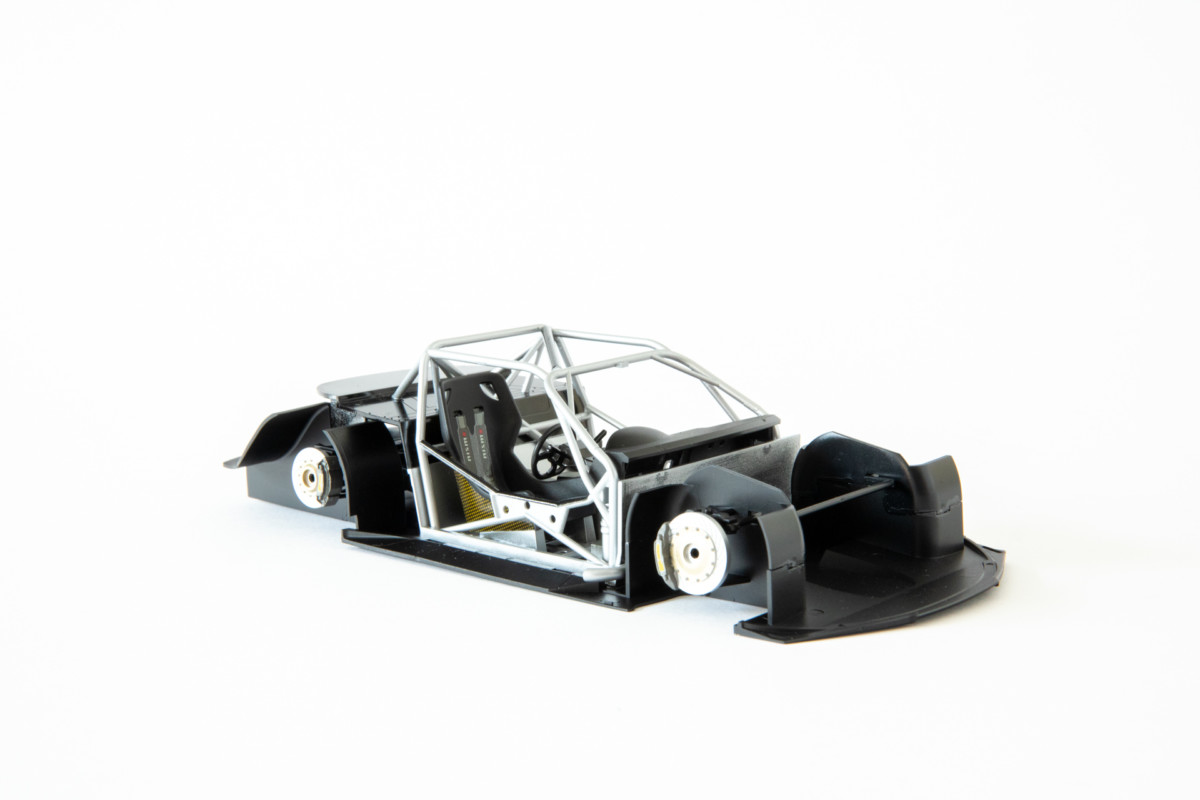
The JGTC machines are all very similar in construction: a large flat chassis upon which the interior is placed, and suspension is hung. Very low to the ground ride height and big wheel arches form the base of each kit.
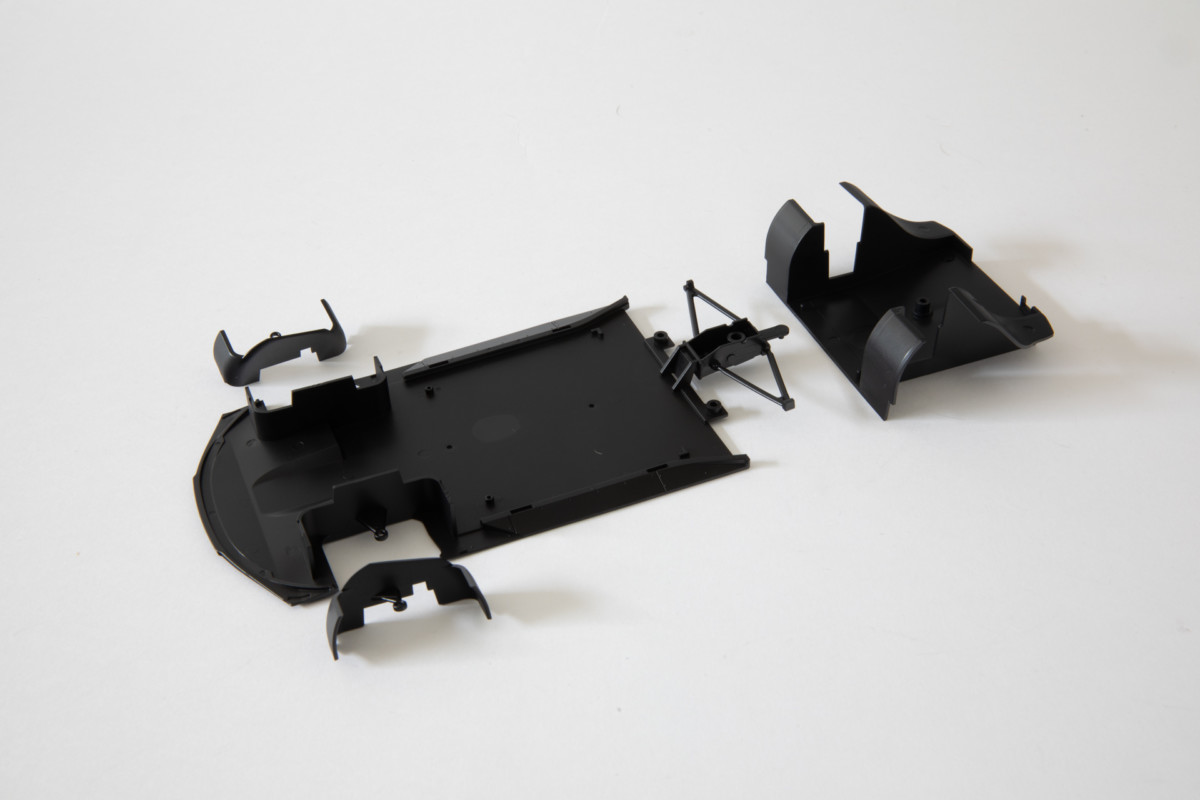

The suspension is simplistic, yet very stable and goes largely unseen once wheels and bodywork are added. A large amount of semi-gloss black is used through this step but the color comes along soon enough.

A large set of AP racing brakes with plenty of detail included are worth spending some time detailing up as these are very visible through the 5-spoke wheels. The large aluminium-painted square shows the outline of where the cockpit is to sit on the chassis.
Cockpit
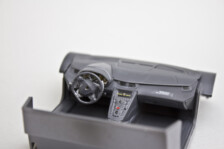
The interior of the R-34 has a criss-crossed open base so when painting the floor, excess paint doesn’t collect in corners which allows for a super clean finish to the floorpan. A bucketseat, interior center console, extinguishers, excellent detailed rollcage and dashboard with all the necessary parts, make up the office of the #23 R-34.
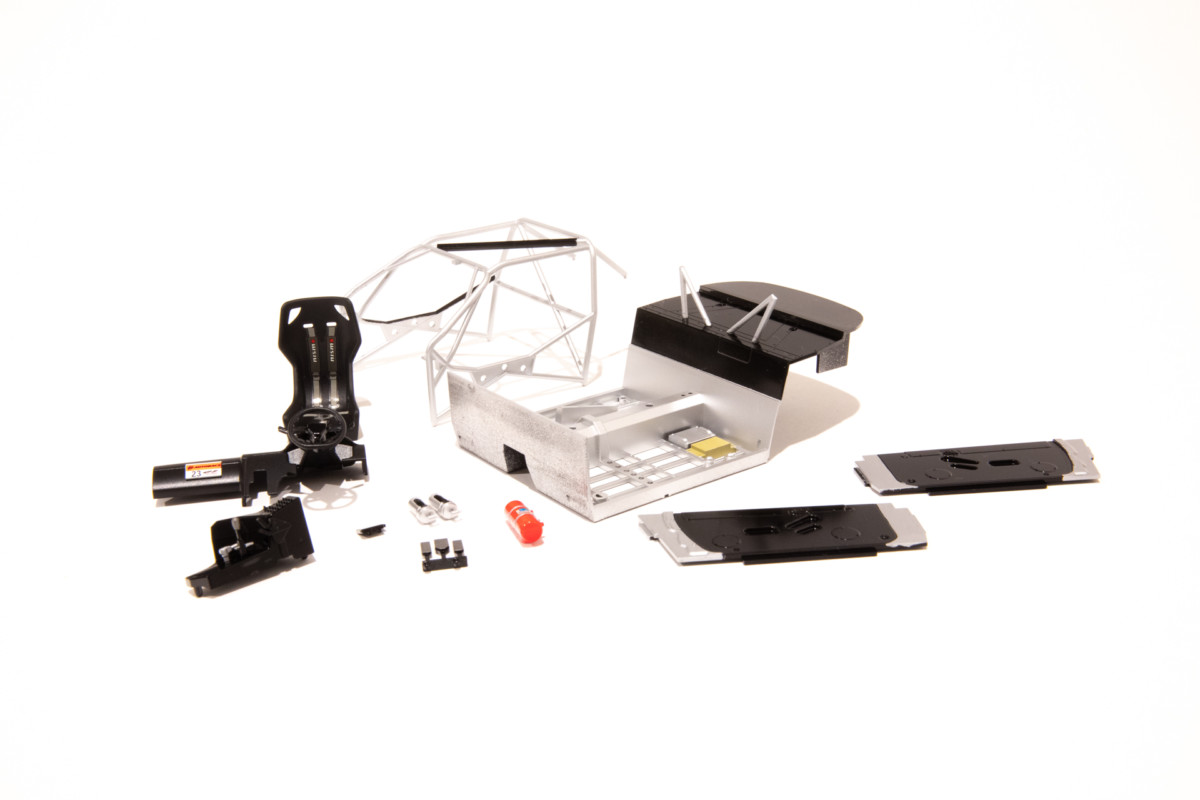
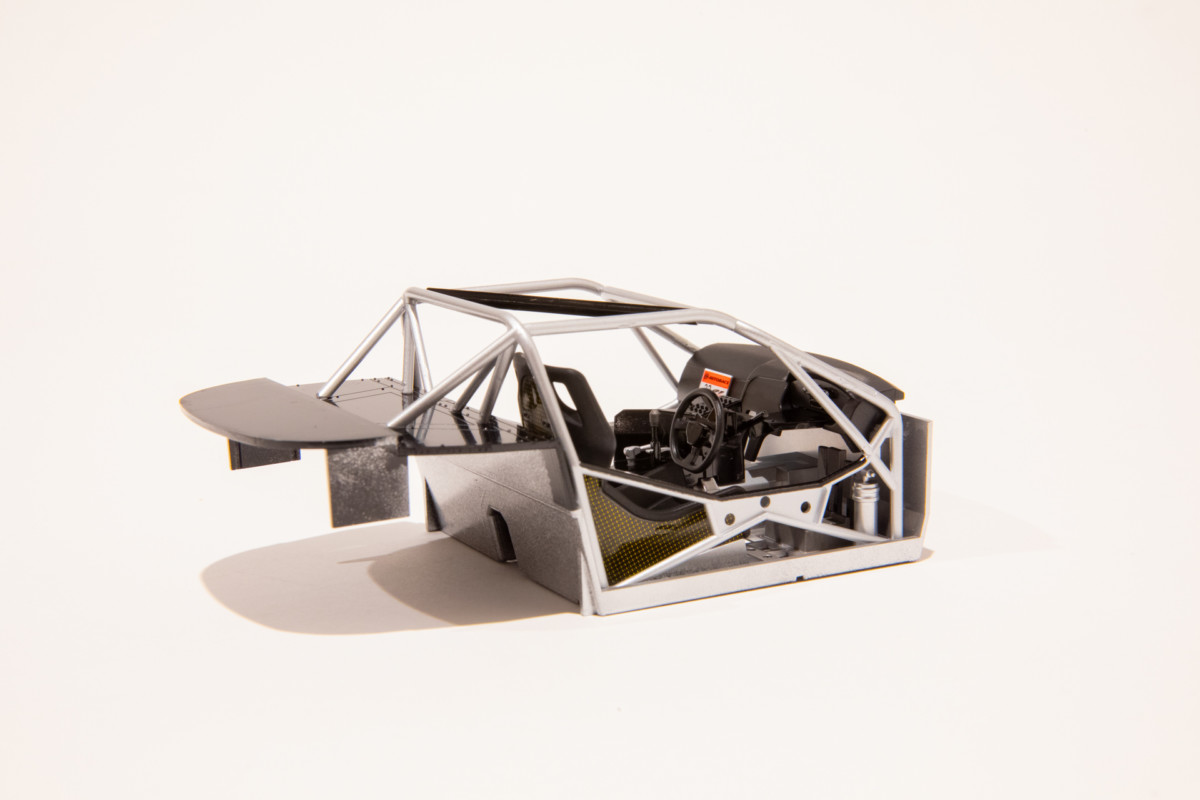

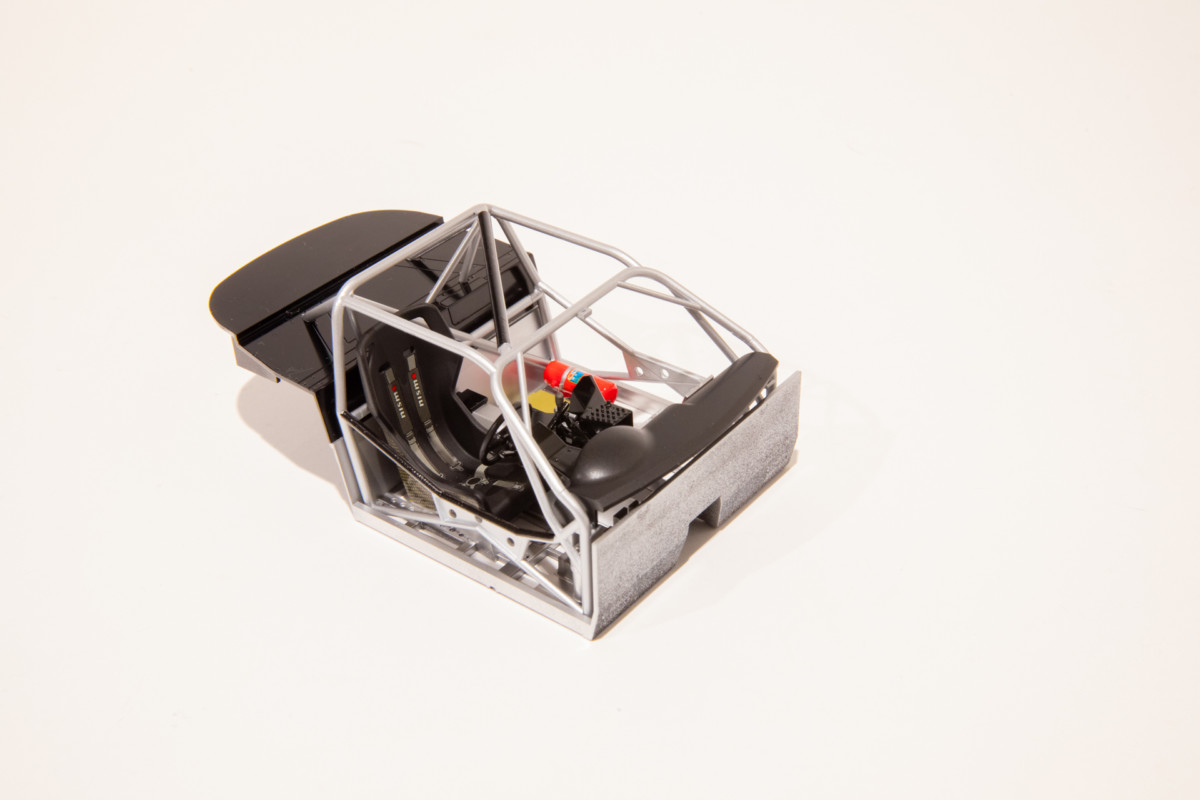
The interior has a perfect balance of silver and black accents to make it colorful and full of detail. The cockpit is very visible so once again, take some time here to really add that detail at this step.
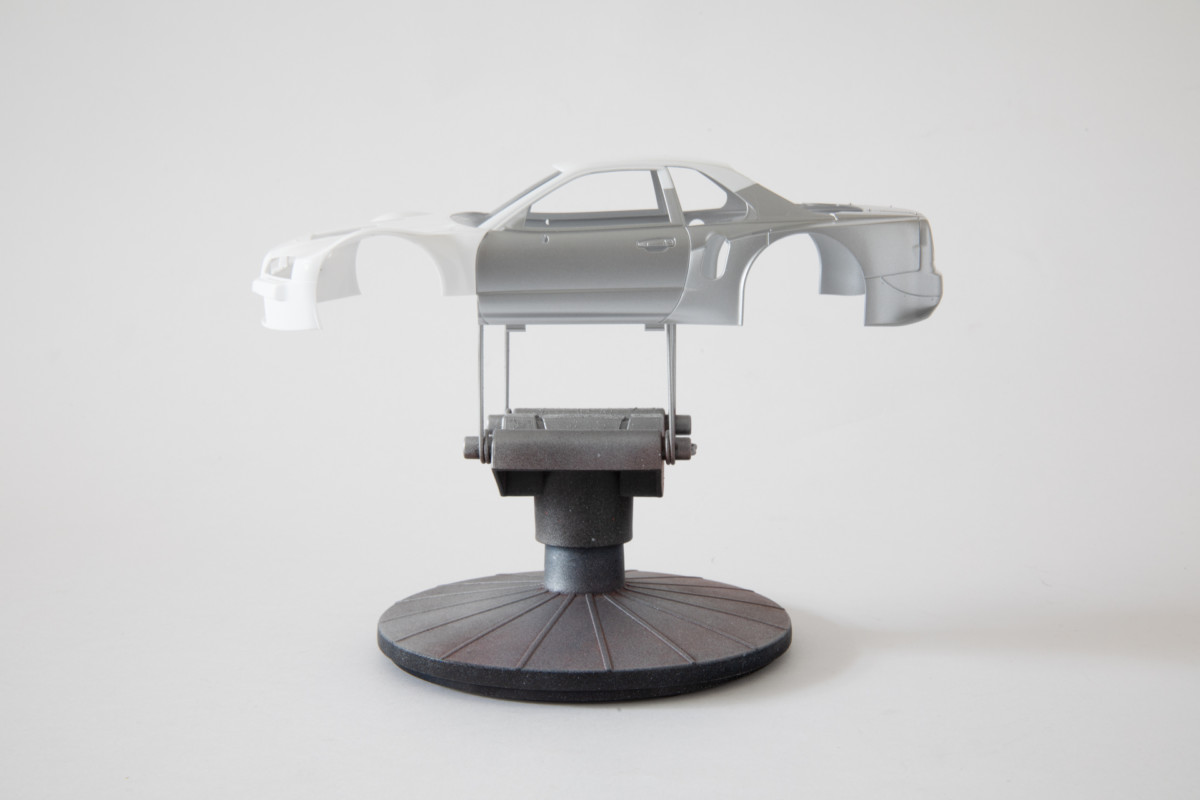
Bodywork
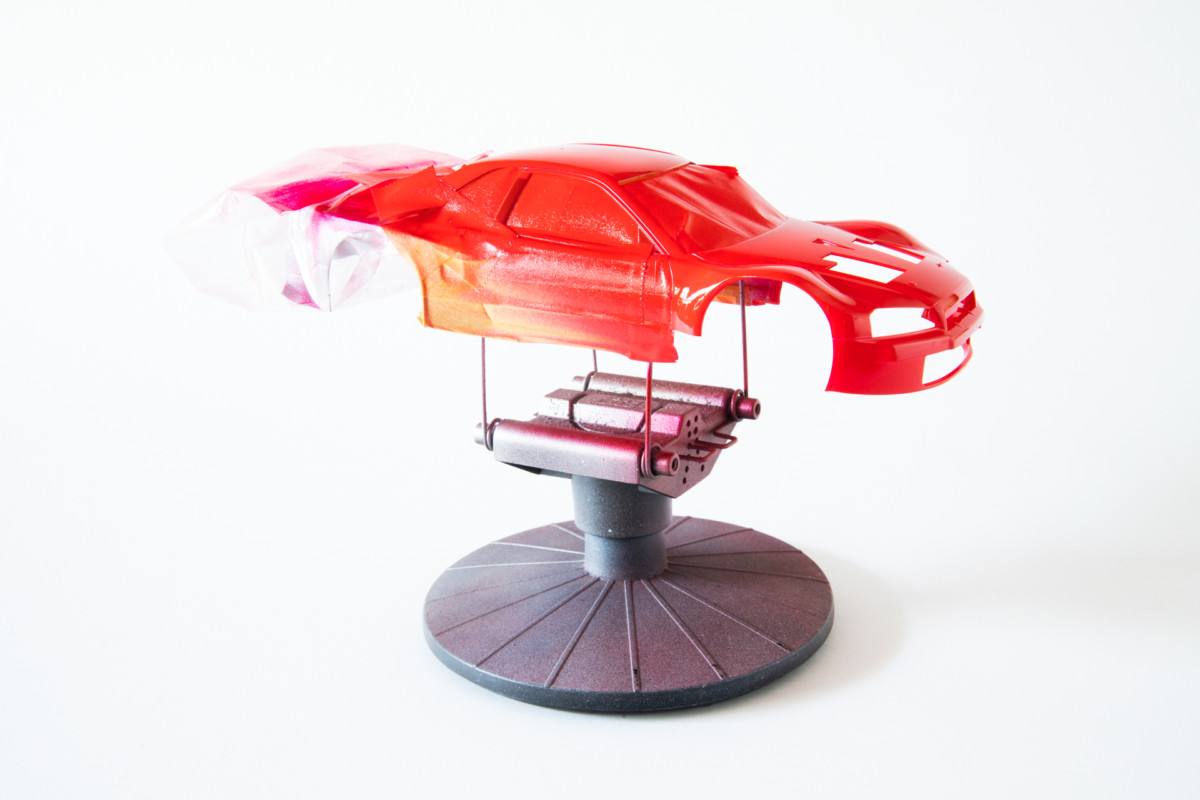
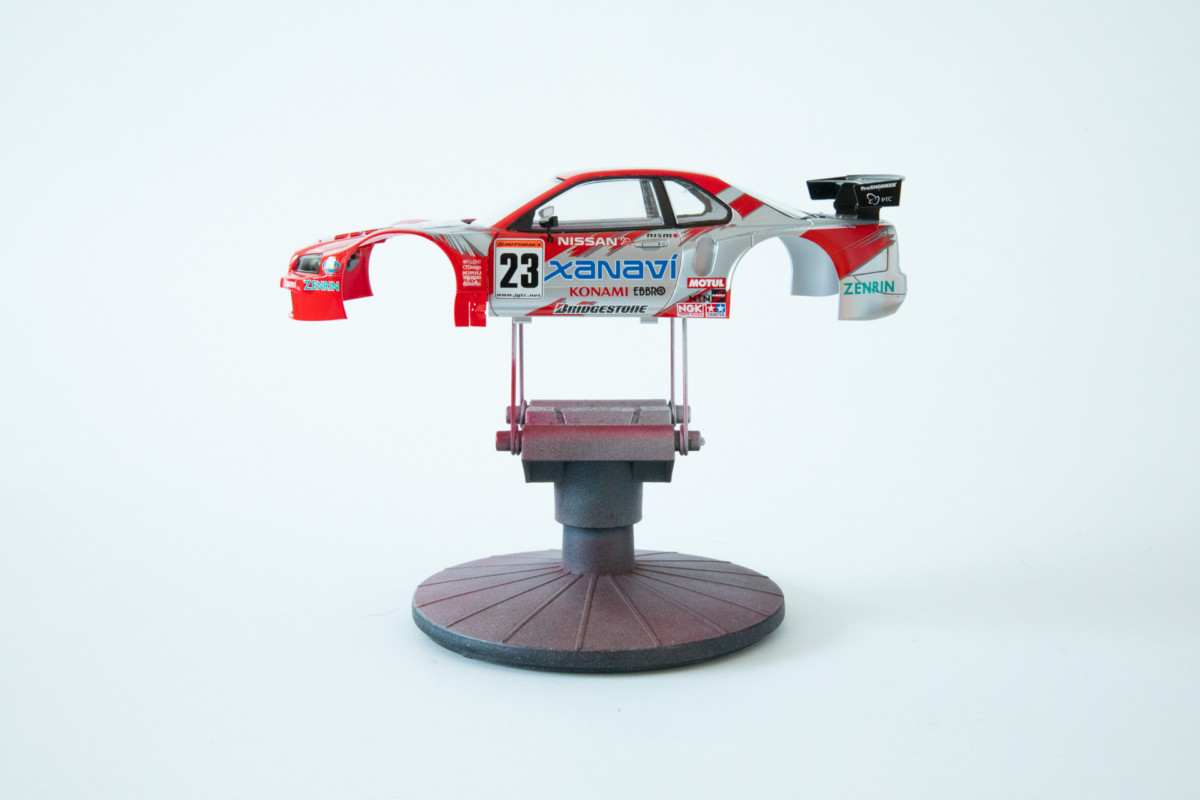
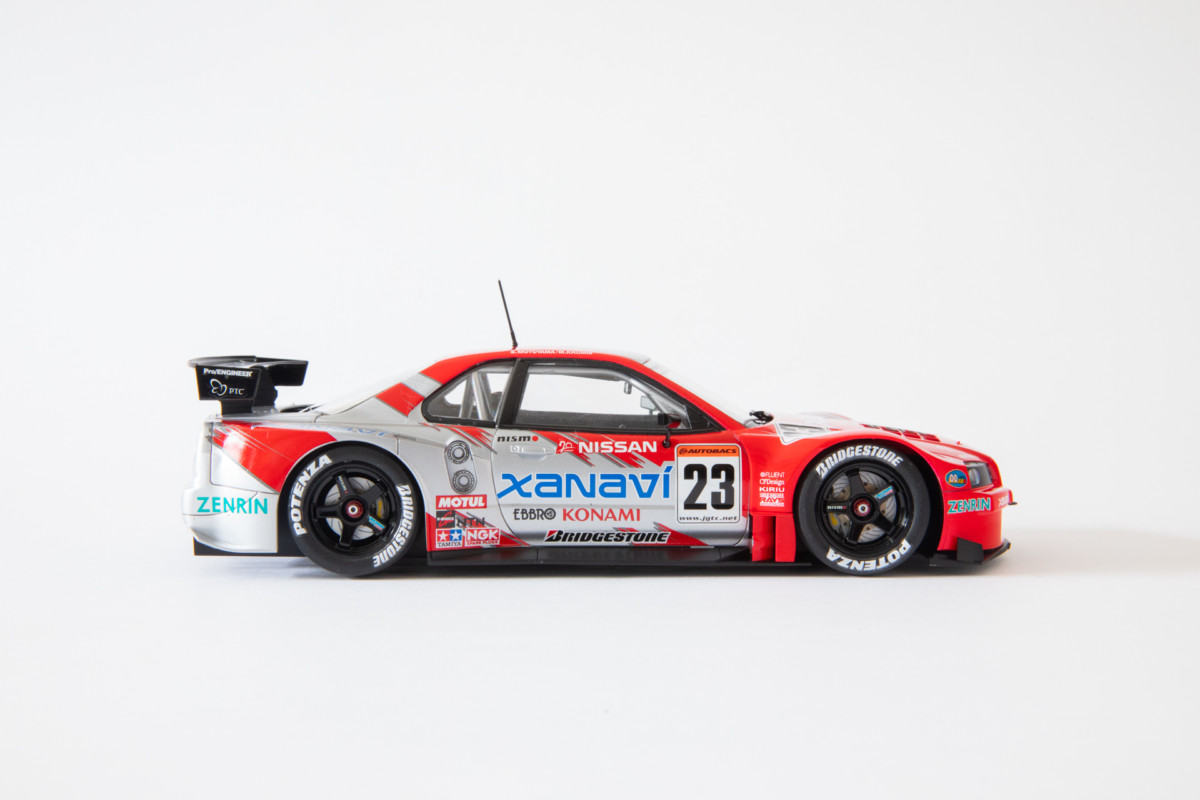
This is the part that I had dreaded for so long, the seemingly intricate paintjob to get that red and silver livery has been carefully planned by Tamiya. The first step was masking from the front of the doors to the nose off, as well as the roof. I used Tamiya masking tapes, especially their curve masking tape around the front of the doors for a perfect seal and wrapped the rest in a plastic bag so I didn’t use a whole roll of tape. Next I shot the rear of the car in Tamiya Spray for the aluminium base. I left this to cure for 2 days before masking off the rear to paint the roof and nose.

With the rear section complete, now all that was left was to add the red nose to the kit. A reverse masking job, and some more curved masking tape and we were ready to go.


With the paintwork complete all that remained was to mask off the black window trim and the body then got to sit for three days prior to thinking about adding the decals.
Wheels and tires
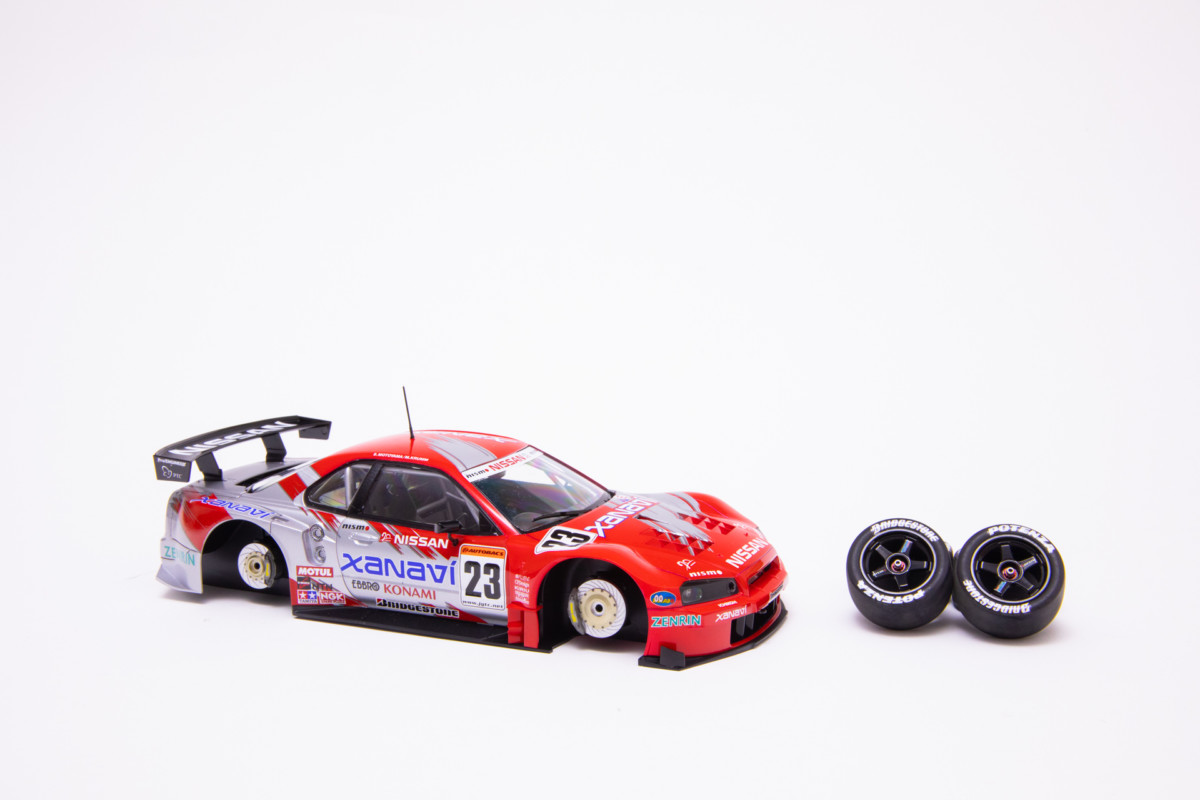
The Rays centre locking wheels are perfectly recreated with a set of Bridgestone Potenza racing slicks. The wheels on the JGTC kits are superb as Tamiya created the locking nut as a separate piece allowing for precision painting.

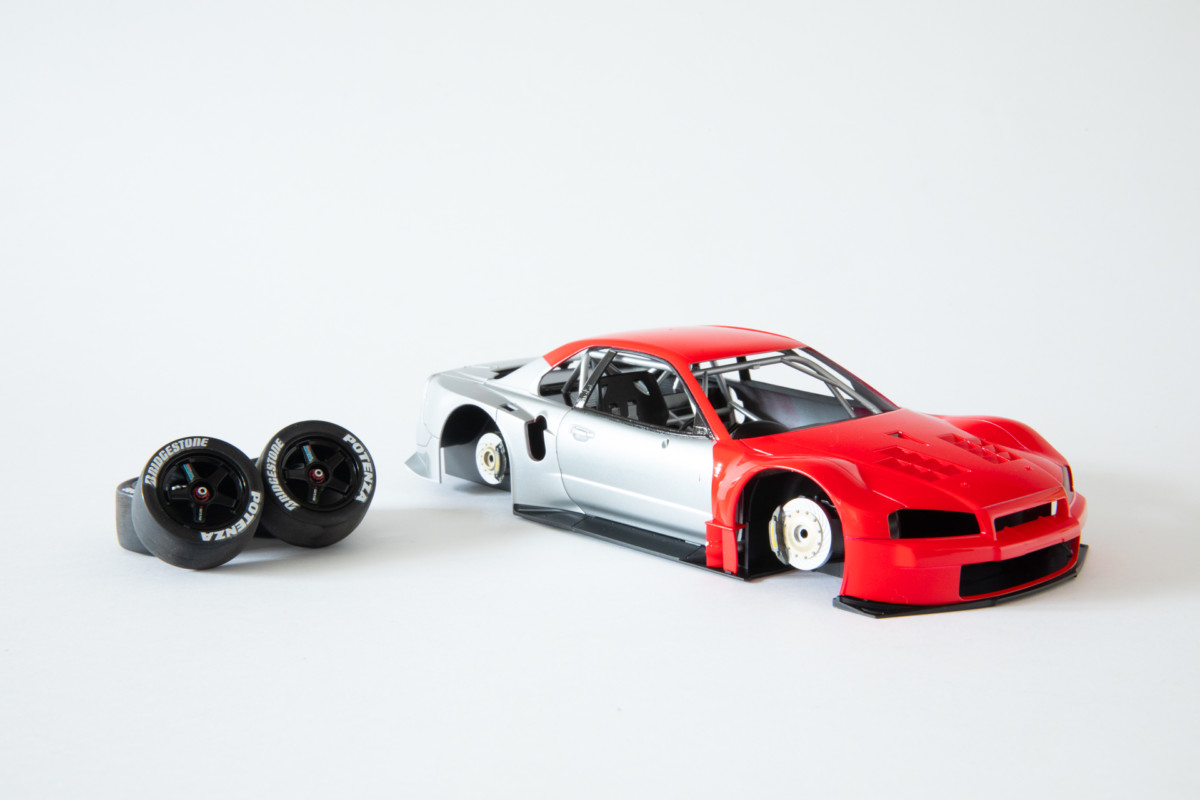
Once fitted up with the red locking nuts and bright white tire decals they just change the whole look of the car from meek and mild to aggressive. In order to attain a ‘worn in’ look I rubbed the tires on some coarse concrete to scuff the shine off them for a more realistic look.
Cockpit meets chassis
The flat chassis and cockpit come together right before the body trim is set to be applied, and once these are mated together the model really takes on a whole new look. From the front firewall little details such as the side-exit exhausts attach, and the sleek lines of the R-34 become very apparent.
Decals and body trim
The decal sheet on this one seems very involved at a first glance but don’t stress, there are actually two different cars in the one sheet so not all of them are used. You have two options: the Xanavi #23 machine and the #22 Motul version to choose from.
I decided to start off by laying all the red and silver base decals, and this got the bulk of the decals out of the way before I moved to the sponsors. The larger ones have some serious curves to conform to but with patience, and plenty of Microsol decal solution, they conformed perfectly. Take your time here, allow the solution to really soften the decals otherwise they will simply crack and be ruined.

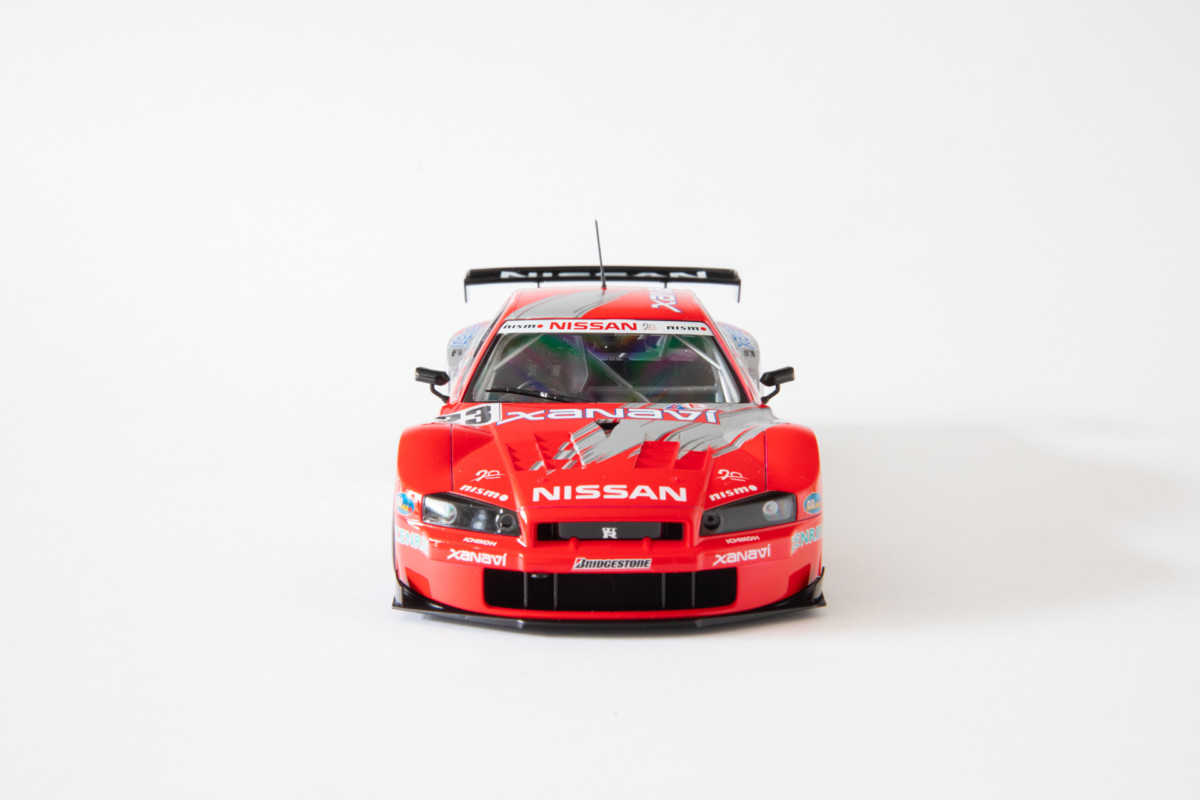
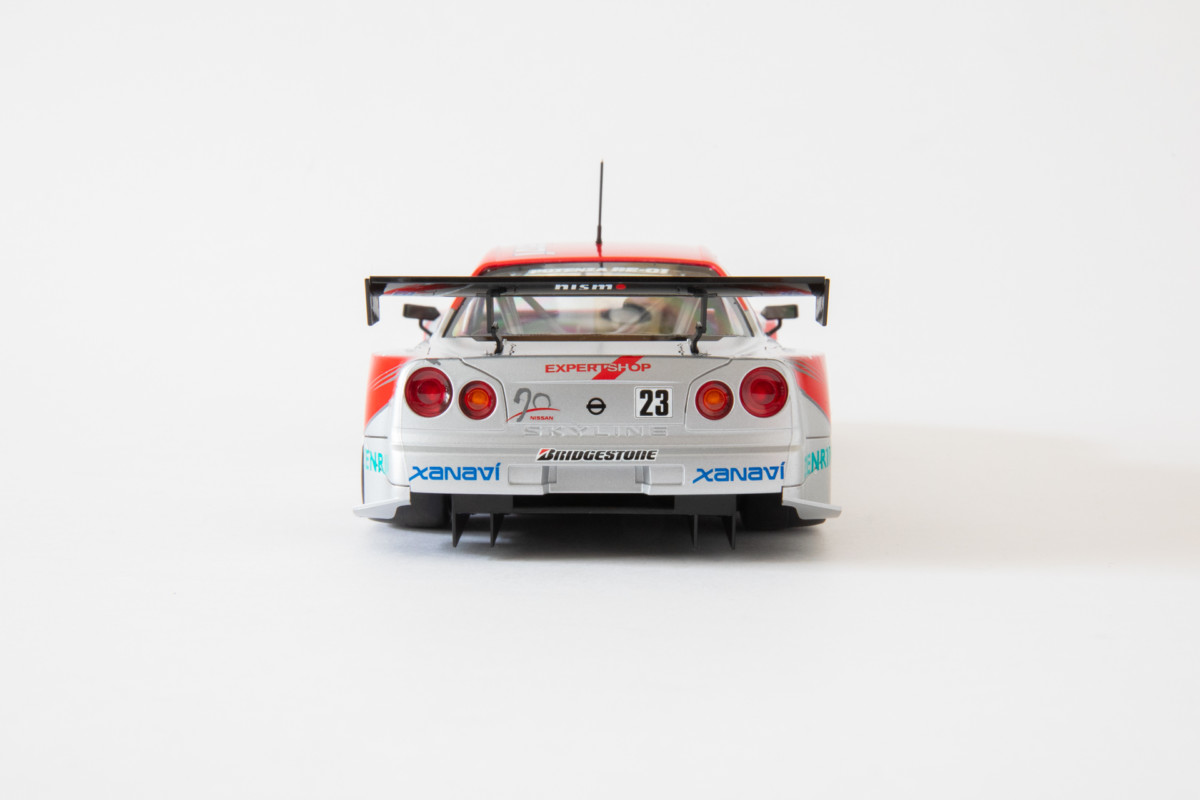
Decals done and the front end ready for installation. The entire front end on this is a single piece so no fiddly ducting and intake setups. Also the rear lights come molded in clear red to make that super quick and simple. Way to go Tamiya!
Windows installed and mirrors added. The body has some great panel lines in it, so I added a light wash of Tamiya panel accent to bring them out. Now all that is needed is to add the body to the chassis and it is job done!
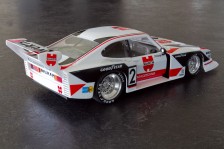
The finished kitset

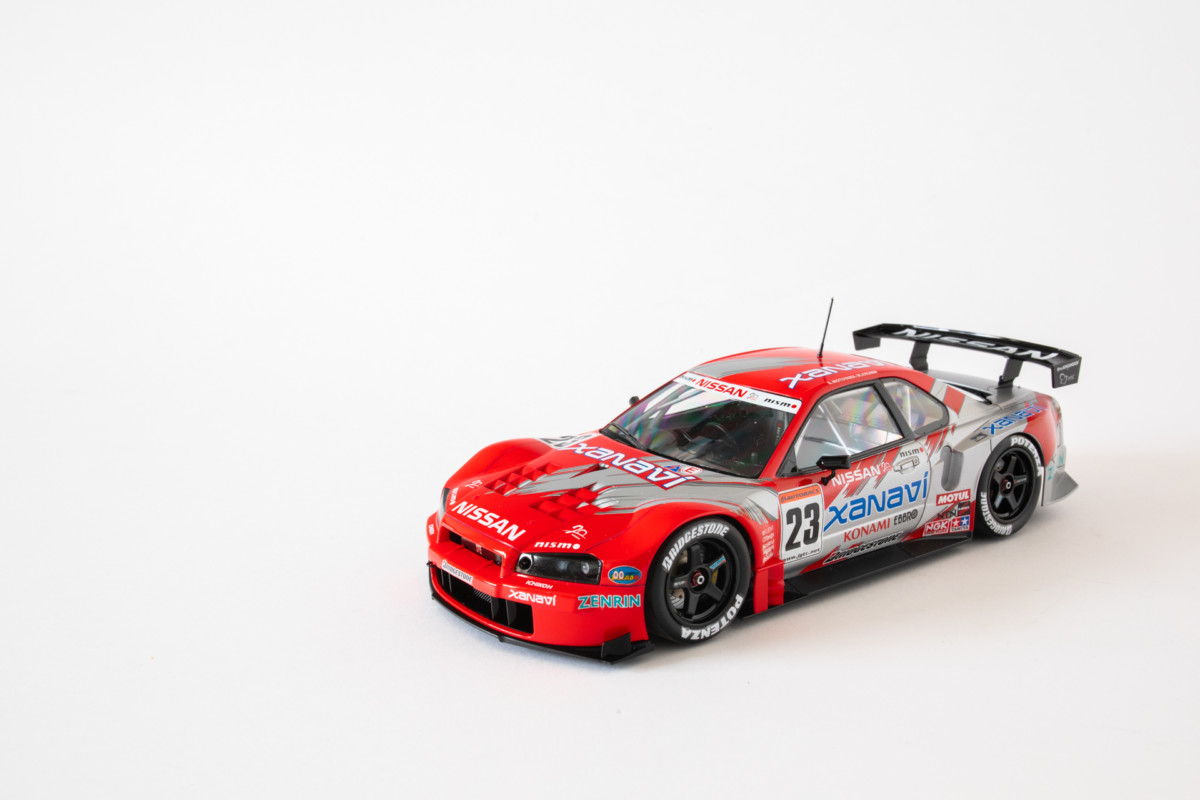

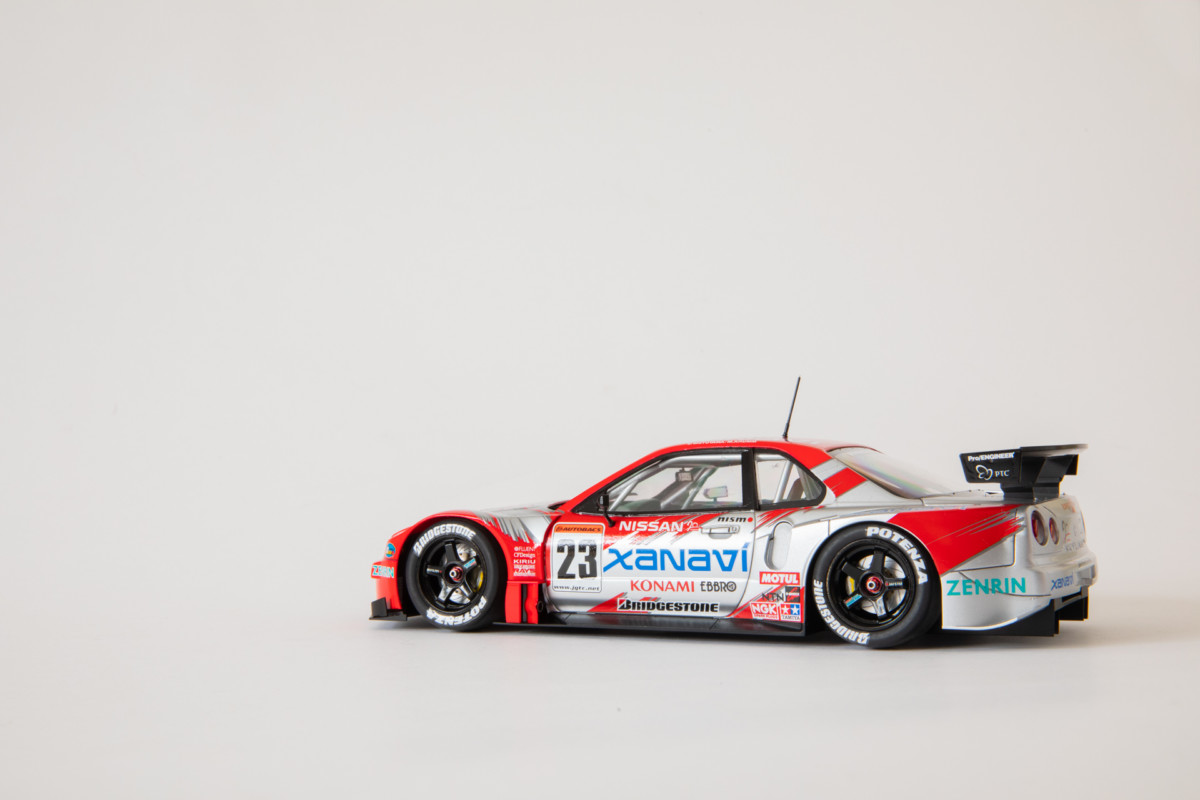
While this kit is now almost considered ‘old’ at 17 years since its initial release, the simple yet super satisfying end result makes it a must have. Fitment is perfect, and the thought that has gone into the paint and decals is excellent. Looking at the finished kit it takes me straight back to the pit garages at Fuji Speedway as the mechanics warmed the throaty 365kW engine up. A great model from a great era of Japanese motorsport!


Chet
Good review!
love old JGTC wide car. 🙂
Feeling the merge with DTM kinda destroy the spirite of Japan’s top racing series.
New NSX front engine setup? come on!!!!!!!!!!!!!!