Hello, and welcome! So today, I have a question to ask you: How many times has this happened to you? — You are putting your model or figure into a cool pose and then BOOM. A limb pops off, or it starts to droop?

Or even falls off?
Now, these problems can be caused by various issues. It could be that the joint is just too small for the socket it is going into. Or the part of the figure is just too bulky, and it is just weighing it down. Well, that is what I’m here to show you how to fix!
In this tutorial:
Tightening Loose Joints
Now I briefly talked about this in the Touching Up Moderoid Gurren Laggan post, but here I’ll go into more detail about the process.
Problem Areas
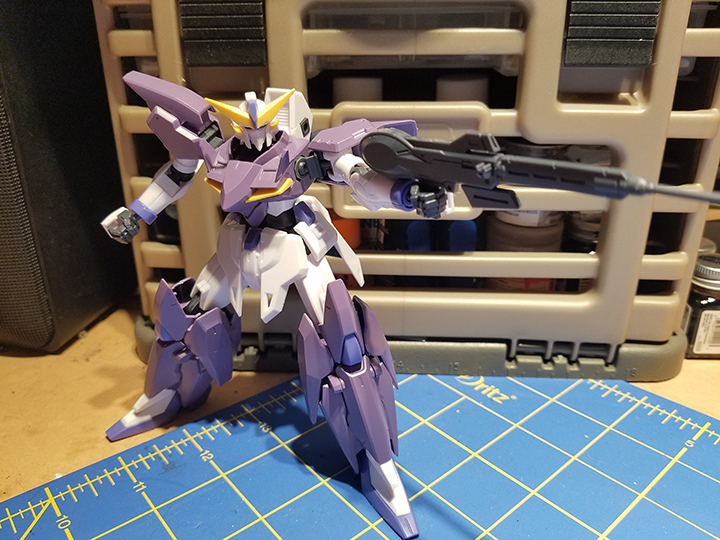
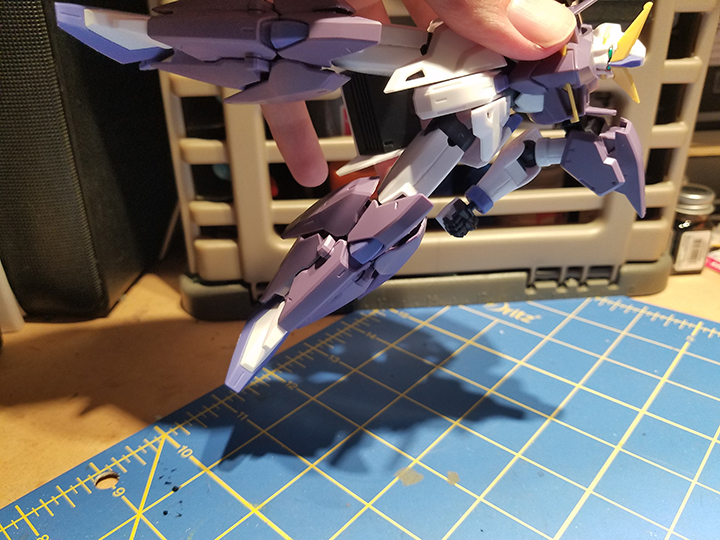
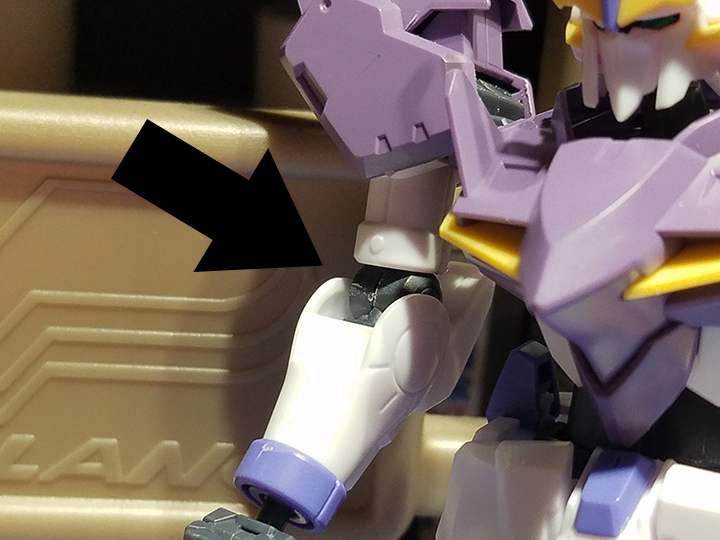
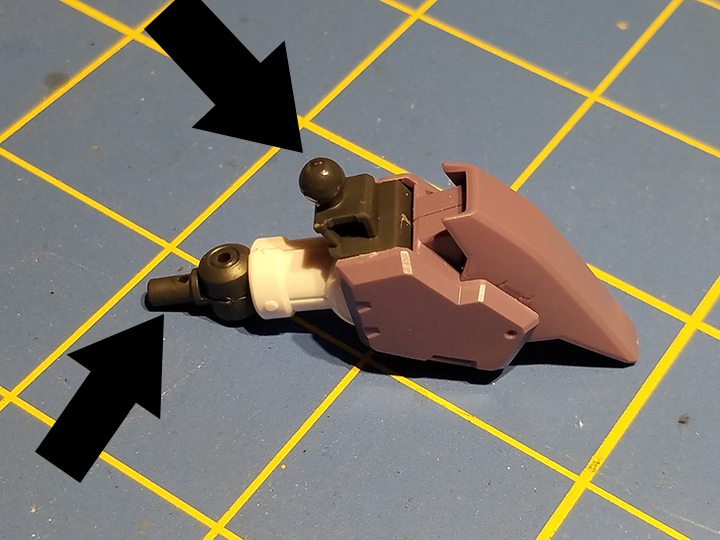
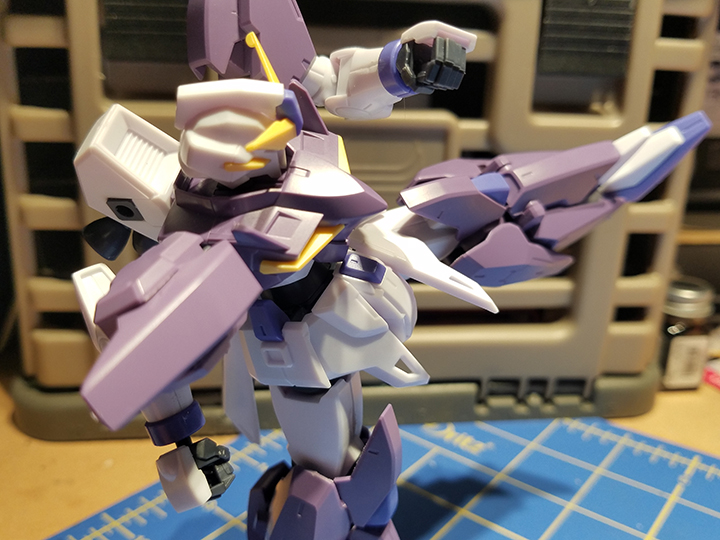
First, let’s take a look at where the problem areas may occur for loose joints. Now, loose joints can be caused by many different reasons. As mentioned above, it can be caused by manufacturer’s error. It may also be caused by having to support a heavy accessory or part. For example, in the Gundam Tertium, the leg armor is exceptionally bulky, causing the leg to droop down.
Additionally, having a figure displayed with a large, heavy weapon over time will cause it to start to droop. Or just right off the bat, being way too heavy for the figure. Or, being handled too often; the more something is handled, the looser the joints can get.
To remedy this, we will be applying a coat of either paint or glue to areas that will lose tension. These areas are:
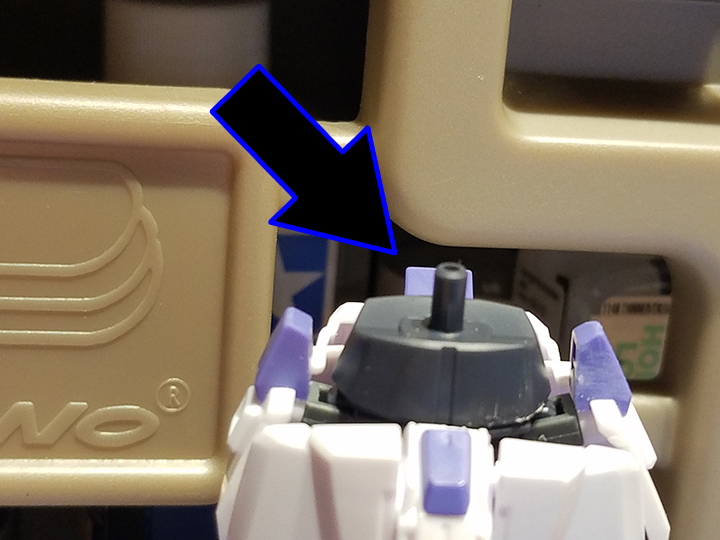
The neck,

The shoulders,
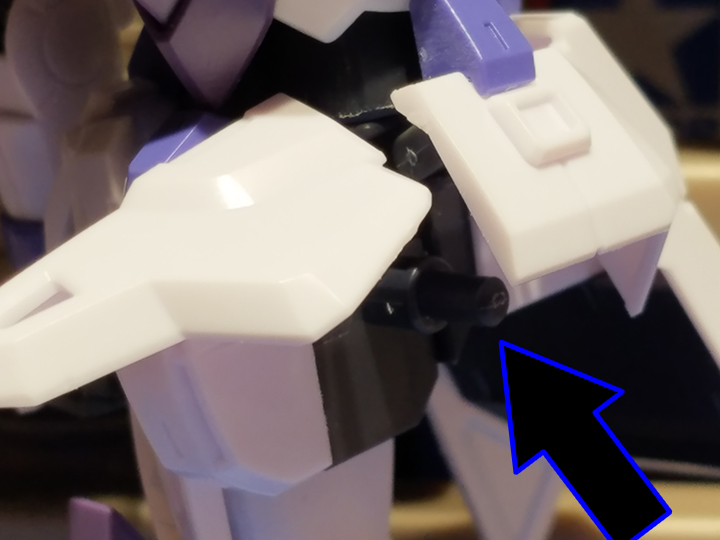
The elbows,
The wrists,

The waist,
The hips,
And the knees.
These are the common areas where tension can start to drop in joints and cause issues displaying the figures/models. However, any place where there is a moveable part is fair game to lose tension and just start to droop on its own.
Now, you’re wondering, well, how do we restore the tension? Well…
Methods
That is where we get into the tools. I’ll be going over how to use these products and the pros and cons. Now keep in mind, these methods work great for any figure, however, disassembling the figure to reach the problem area may be difficult and is more of a case by case situation. Also, you don’t have to use the exact same tools I’m using, these are just the ones I happen to have on hand. With that in mind, let’s jump in.
Liquid Cement
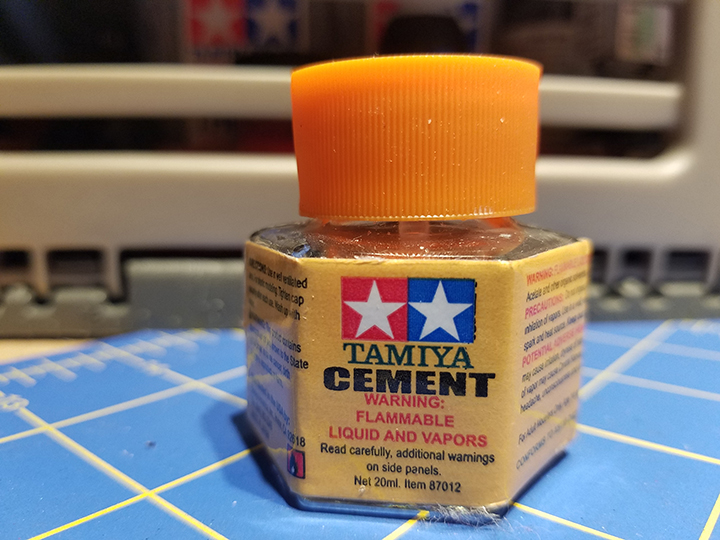
This method, I’ll be honest, doesn’t work most of the time, but in the rare case it does, I’d like to go over it. That is why it is the first on our list. Sometimes the joints are loose just because there isn’t enough pressure holding the joint in place.
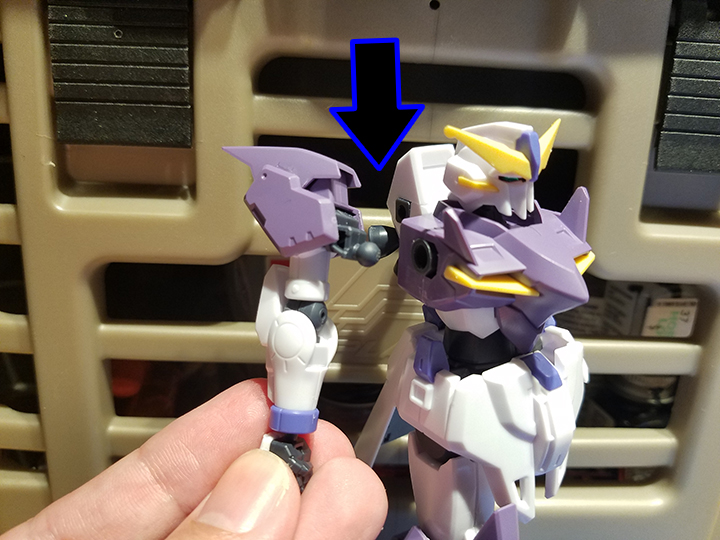
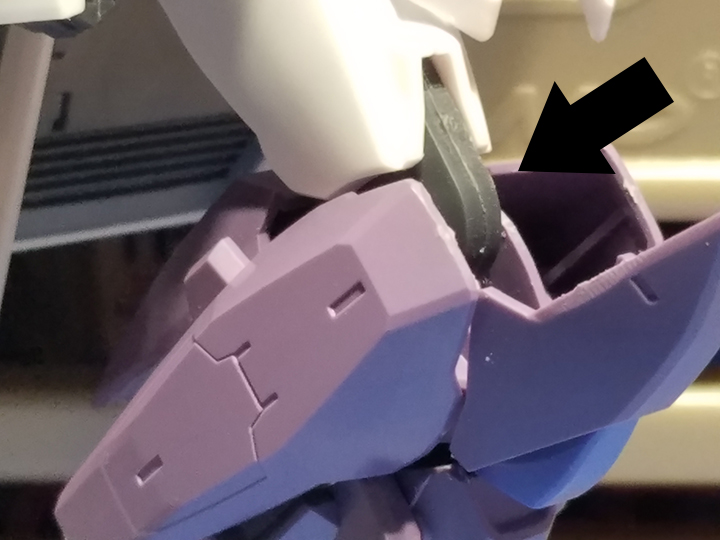
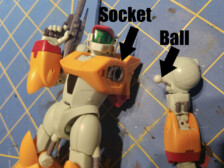
An example would be the item below. Notice how the poly cap is sandwiched between the two arm parts.
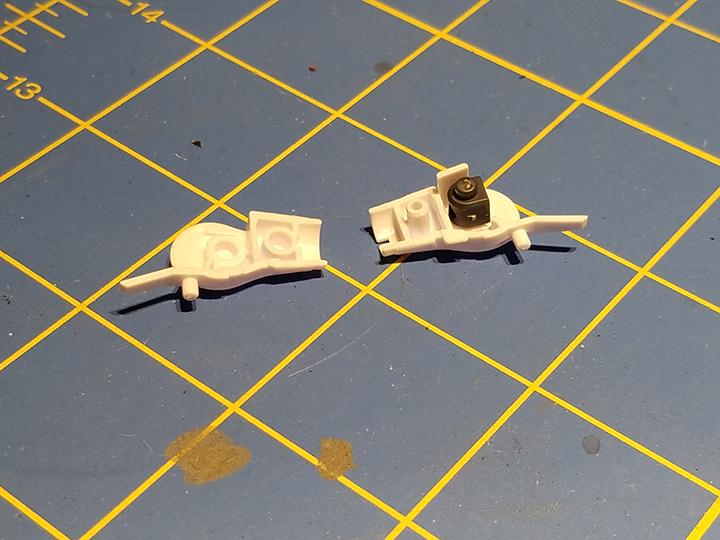
A lack of pressure is really common for older kits; the parts don’t exactly fit together, or there is some type of blockage like a little bit of nub or something along those lines stopping it. What I recommend doing is first sanding down the area to remove any discrepancies that may keep it from being flush. Then apply just enough of the liquid cement.
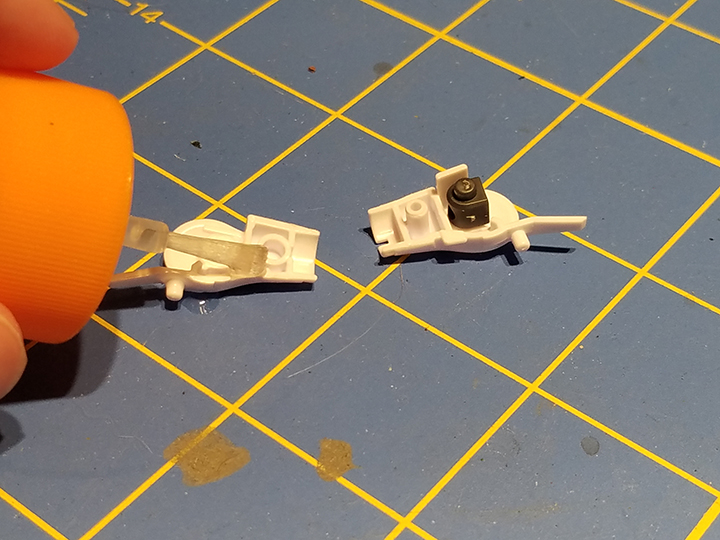
Go ahead and sandwich the parts back together and let it dry.
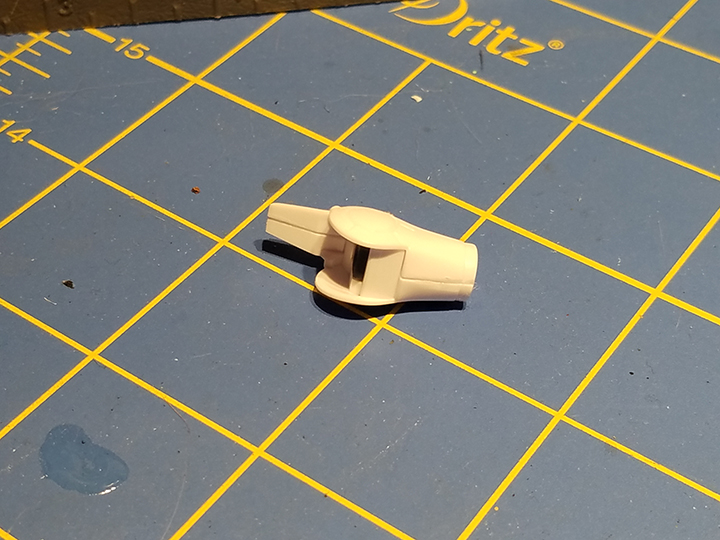
And that should (not always) increase the tension in the joint.
Here are a little Pro and Con summary for this method.
Pro and Con Summary
Pro:
- Extremely easy.
- It does not bulk up on the pegs.
- Will keep everything firm and together.
- Works great with the other two methods to firmly secure any possible tension loss issues.
Cons:
- It doesn’t always work. (Odds are, this is not the reason why the joint has become loose.)
Now, let’s take a look at the techniques that may give more promising results.
Paint
Now, anyone who has ever painted a model it or done custom work knows that once you paint over a peg, it makes the part harder to move. Basically, you’ve added a layer to the plastic, creating tension between the two parts. And that is the basic idea of using paint to increase tension in the joints.
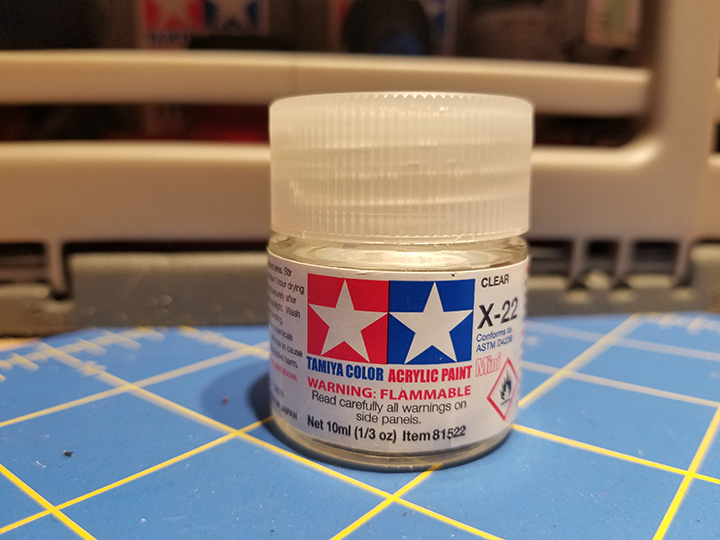
I personally suggest using clear paint for the reason that you won’t really see where the paint was applied. Using any other color may result in it kind of peaking out when you have your figure strike certain poses, which would break the immersion. Unless you like that idea, in which case I’d say go for it.
Now the method for applying the paint is straightforward, just paint it over the parts you wish to tighten.

Then let it dry, and that should be good to go! If you feel that the part isn’t as tight as you want it, or it still comes across loose, then feel free to apply some more.
However, it isn’t the most permanent method. It does come with issues despite being extremely easy and having promising results.
The issues come with the following: if you have ever painted a poly cap, you’d know the paint isn’t exactly going to stick on forever. To counter that, I suggest painting directly onto the plastic parts that either go into the poly cap or hold the poly cap in.
This will keep things sturdy for a time. But this is where our first issue comes in. As stated, the more layers you put on to the plastic, the thicker it will become. There comes a point where you put too many layers on the plastic, and you may not be able to reattach the parts, or you may create so much tension that you have locked the piece into place, never to move again. And forcing it may lead to breakage. (Trust me on this one). Another issue — and this comes from handling it way too much — eventually, the paint layer will just chip off. It’s what happens with paint over time. The more you handle it, the faster it will flake off. So you’ll have to reapply it again.
Pro and Con Summary
Pros:
- Extremely easy to do.
- Clear paint does not show up.
- Increases tension.
Cons:
- Will flake off eventually.
- Applying too much may cause problems.
- Will have to reapply over time if handled too much.
Now, I personally use this method a lot. However, I do have to reapply it a lot, and part of the reason I used this method a lot was that for a good while, I was honestly scared to use the next and last method on this list.
Super Glue

Superglue, the last method on this list, and honestly, the one with the best and more permanent results. So, let’s walk through how to apply it.
First, I ask you to find a toothpick, just because most figures are way too small, and this will let you put the proper amount of glue where needed without having a mess or ruining the figure.
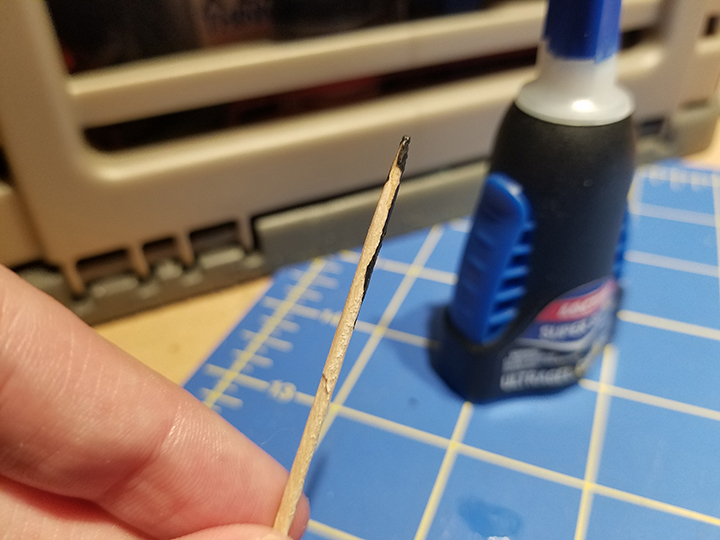
Just apply a little dab of glue, not too much, just enough. Honestly, just a little bit to start out would be best.
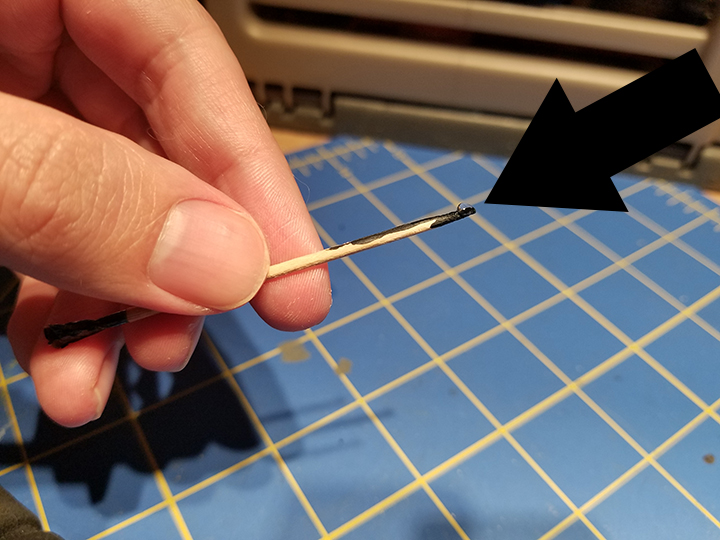
Then, apply to the selected area. Go ahead and coat the area you feel needs help. Think of the toothpick as a brush.

Now, just like the paint, I suggest applying the glue onto plastic only areas and avoid the poly caps. And again, just a little bit. After you’ve applied the glue — and I can not stress this enough — please, let it dry thoroughly. Depending on the glue you use, it could take from 30 minutes to a few hours. But please, let it dry thoroughly.
This method, unlike the paint, makes a thicker layer that won’t come off as quickly. Glue is pretty darn resilient. And the results of this are excellent.
Now, you’re asking, but Convoy, why were you afraid to use this method? We’ll I’ll tell you. When Convoy was getting into the Gunpla craze, I heard about tightening joints with glue. I did so, well, I didn’t wait for it to dry thoroughly, and I put the two parts together and basically ruined the model in doing so. So for the longest time I was honestly pretty scared to use that method again and focused primarily on the paint method. But as of late, I’ve been using the glue method and letting it dry thoroughly, and well, the results work out really well.
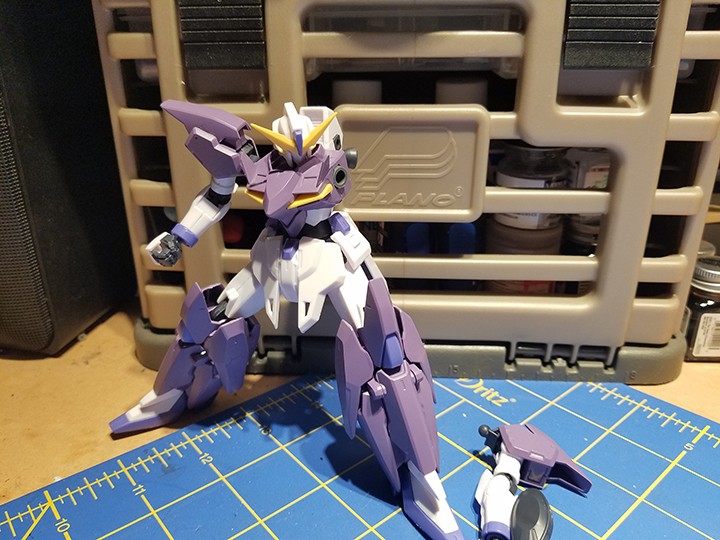
For instance, Tertium here can legit do a kick now without his leg drooping down.
And just like the paint, if the part still comes across as loose, then feel free to add some more by repeating the method above, just let it dry thoroughly first.
Also, just like the paint, if you add too much, you’ll cause the same tension issue that may entirely lock up the articulation.
Eventually, and I mean that with a huge eventually, the glue will wear down, but and this holds true for anything; the more you handle something, the more wear is added to it.
Pro and Con Summary:
Pros:
- Extremely sturdy
- Clear colored so no one will notice
- Lasts longer even with handling
- Doesn’t chip as easy
Cons:
- It may not be easy for beginners.
- Be patient and let the glue dry.
- Applying too much may cause significant issues.
- May glue together parts that shouldn’t be glued together if you put the piece back together way too soon. (So please wait for it to dry)
Other Applications
Now, we talked about how these three methods can be used to tighten joints, and so on, but they have another excellent application. This primarily using the paint and super glue method. In the same way you applied those, apply them to weapon handles.
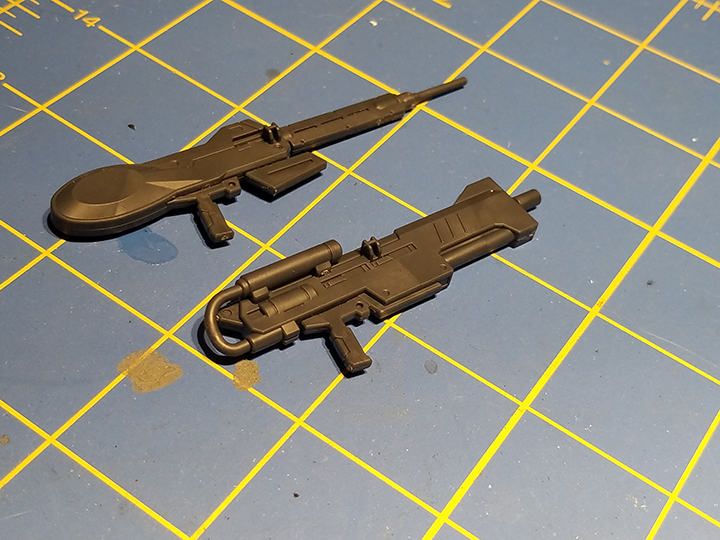
I know this may not seem like an issue nowadays, but on older kits, weapons were not the most sturdy of things and would literally just pop out. These methods worked great to keep weapons in place.
I know this was a pretty straightforward tutorial on how to tighten joints, and there are a lot of exceptions and things that happen in figures that can cause them to lose tension. And like I said, this is a case by case situation. But I hope this helps you out with any lack of tension in your figures
– Zeroconvoy

Ramrod
Thanks for this great tutorial!
mysterious homan
OH MY GOODNESS AFTER ALL I HAD DONE WITH THE SUPERGLUE WAS WRONG I PASTED IT WHEN I APPLIED IT AND I THOUGHT IT WAS GONNA WORK. After like 3 weeks or less it started to pop off and i applied even more and made it worst,my gunpla kit was HG Astaroth,the polycaps on the arm were so annoying it pops off, i was so frustrated i wanted to apply more but would make it worst, I am so proud with your tutorial i promise i wont make the same mistake