Hello there!
I hope you all are doing well!
Welcome to the 3rd and last part of “The Rise of Omnimon: Customization Tutorial”. A 3-part of tutorial with a few simple, but effective, painting techniques, tips, and tricks that you can apply to your action figures and model kits to take them to the next level!
As you may already know, I’m working on Bandai’s Figure-rise Omegamon Amplified, also know in America as Omnimon. And, today we are going to build the last part of the model kit: the cape.
But that’s not all! I also want to share with you how to create a new cloth cape for your action figures.
Without further do, let’s begin!
The cape
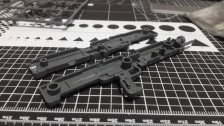
This model kit came with pieces to build a plastic cape for our character. As we did in part 1 and 2, first we need to cut out the parts from the runners. The tools for this are a pair of nippers, a hobby knife and sanding tools, as usual. Then, we proceed to apply a base coat.
Base Coat
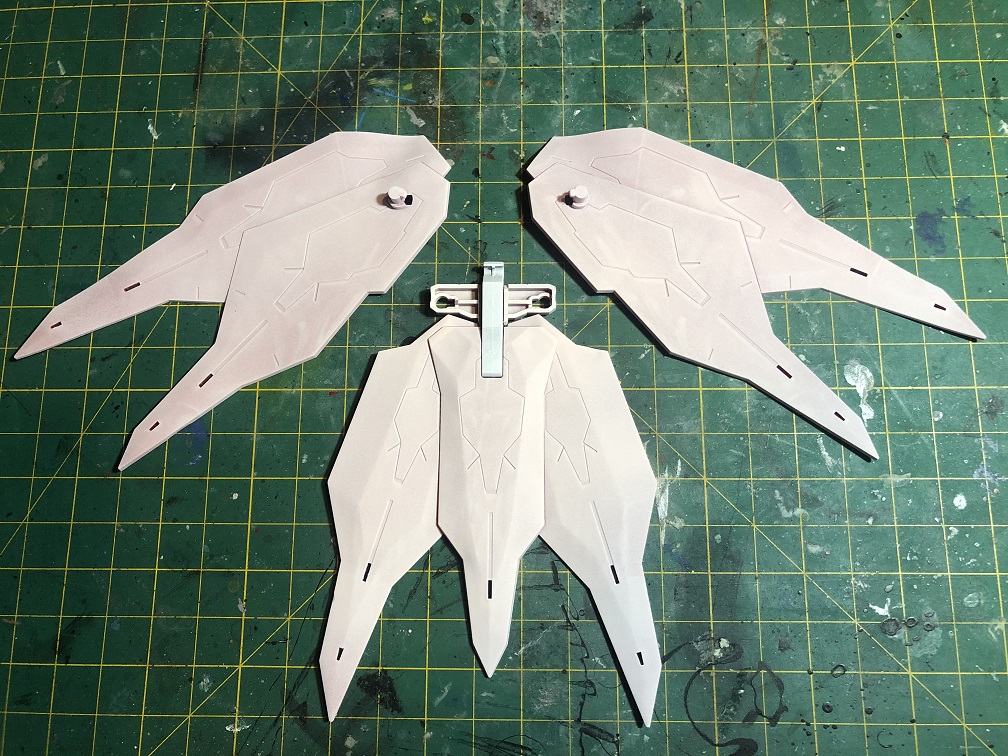
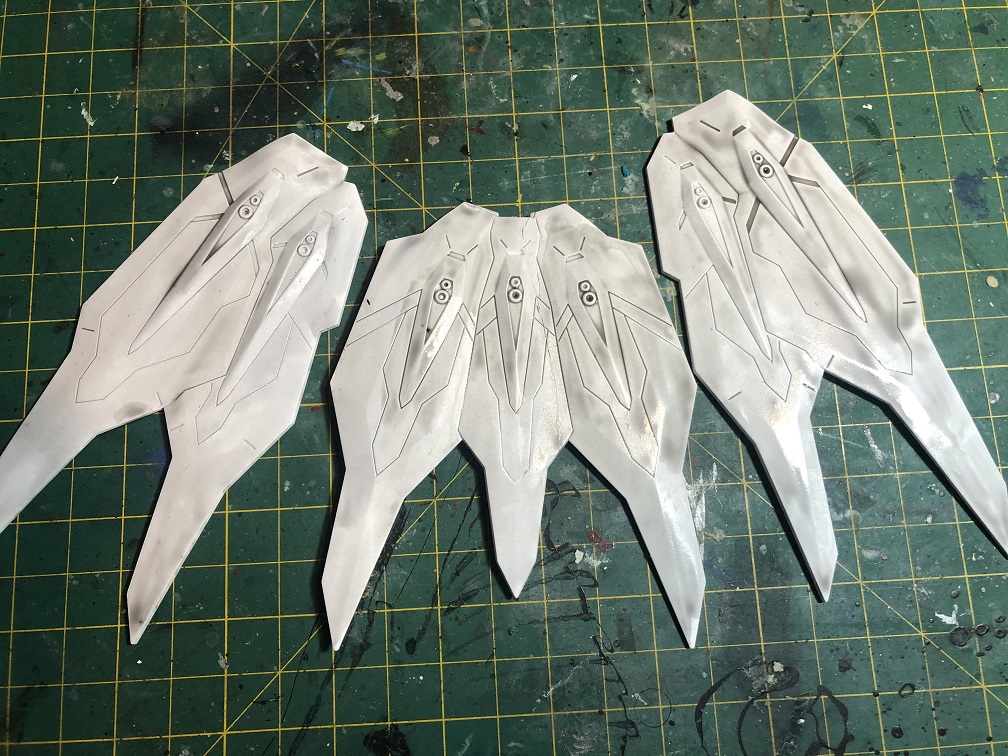
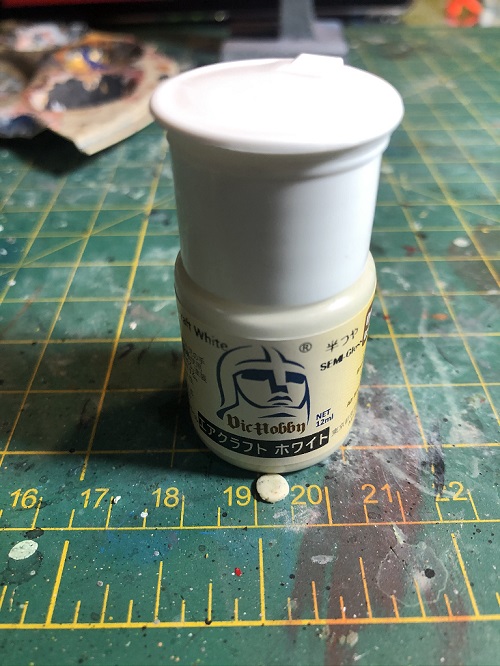
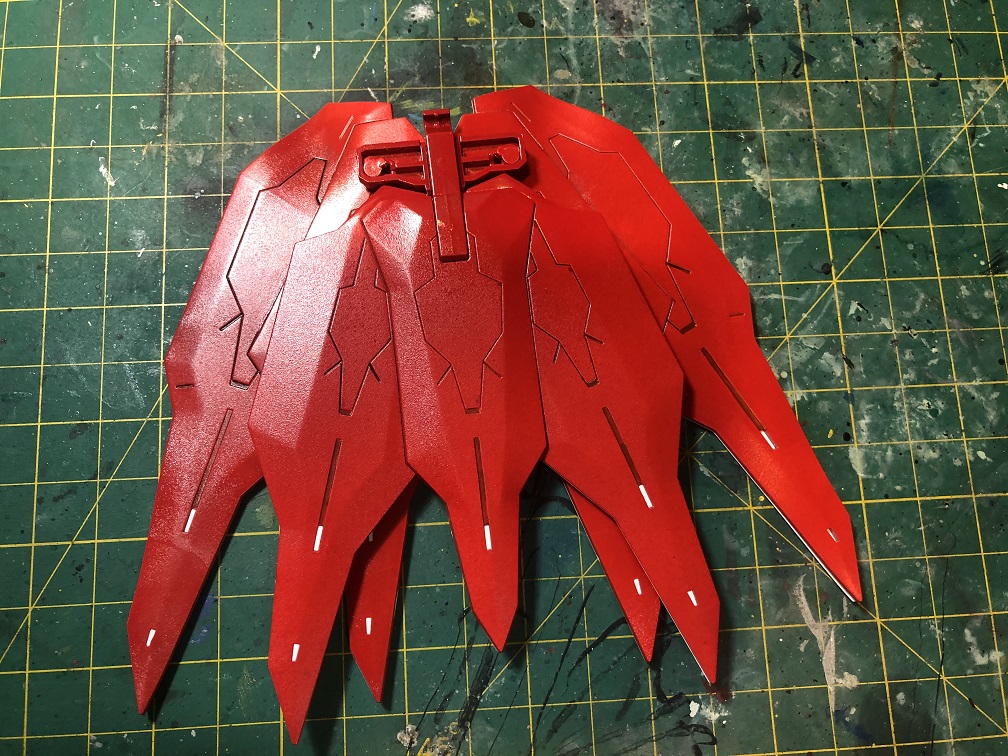
The cape was molded in two different colors, white for the outer face and red for the inner face. It also requires a dark grey piece for the assembly. This time we are going to apply a white base coat to all the pieces. This can be done piece by piece or in sub assemblies. I decided to build a sub-assembly with the dark gray piece.

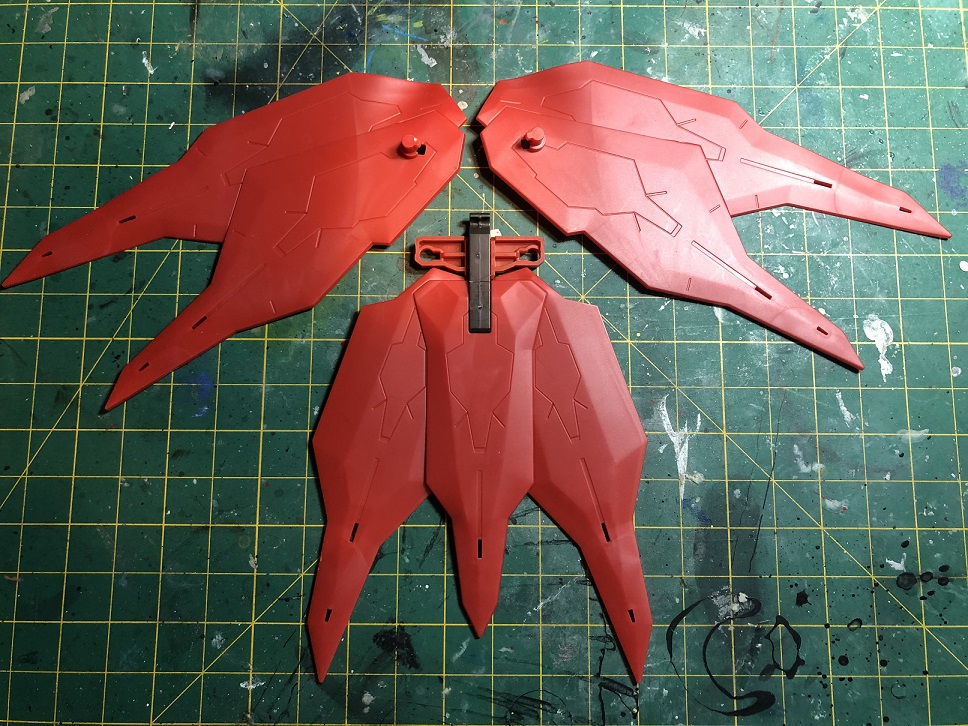
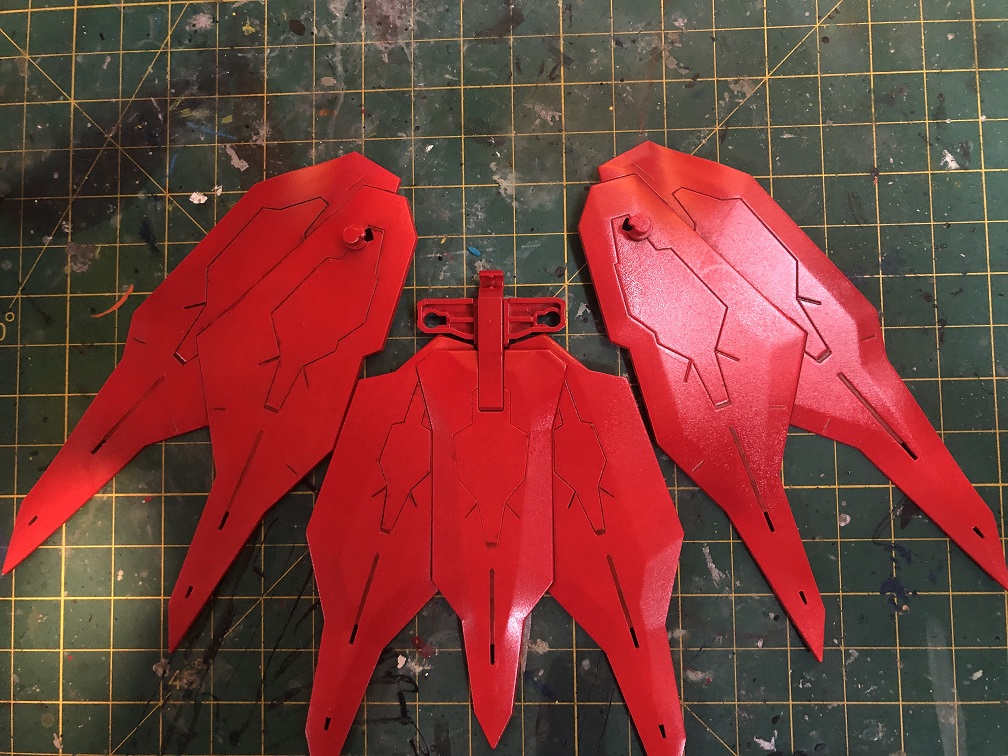
As you can see in the second image, the gray piece will be completely exposed after being assembled. Therefore, It will be best if we paint it in the same color as the rest of the cape. In my case I paint it with red.
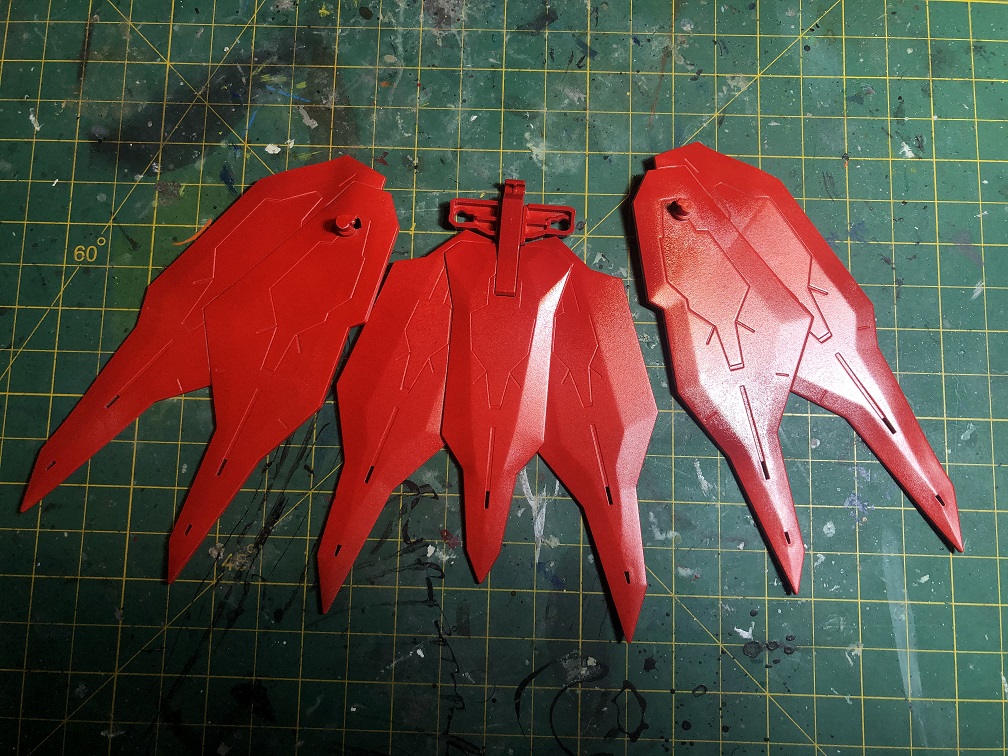
After applying the base coat, I used red acrylic tin spray paint for the inner parts of the cape. The outer part will remain in white.
Detailing the Inner Face of the Cape
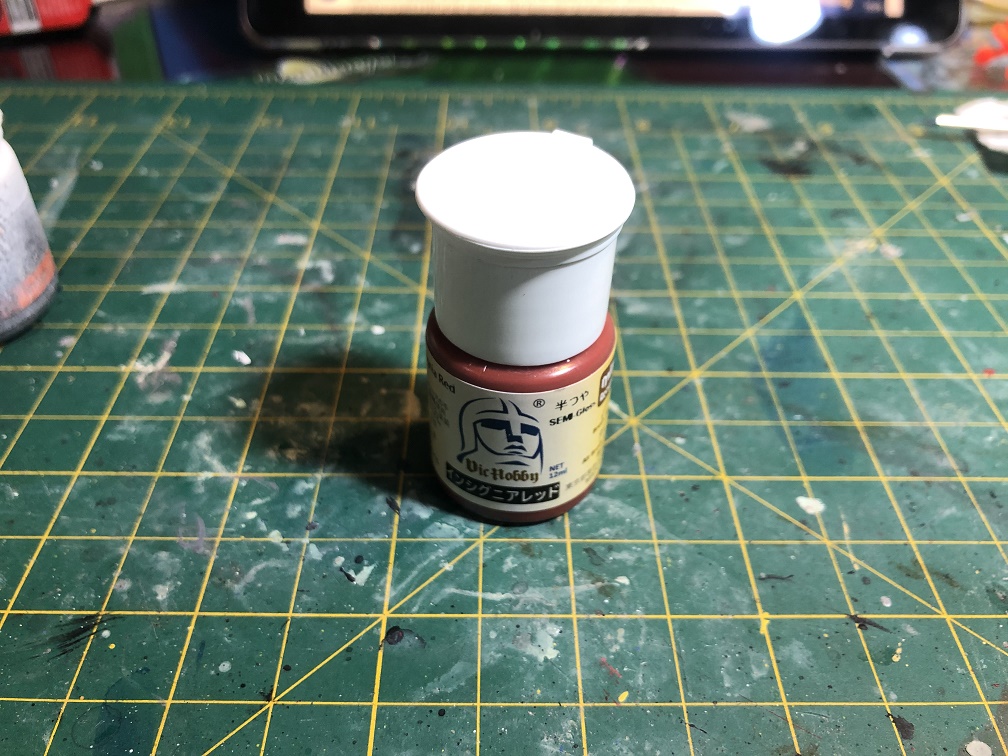
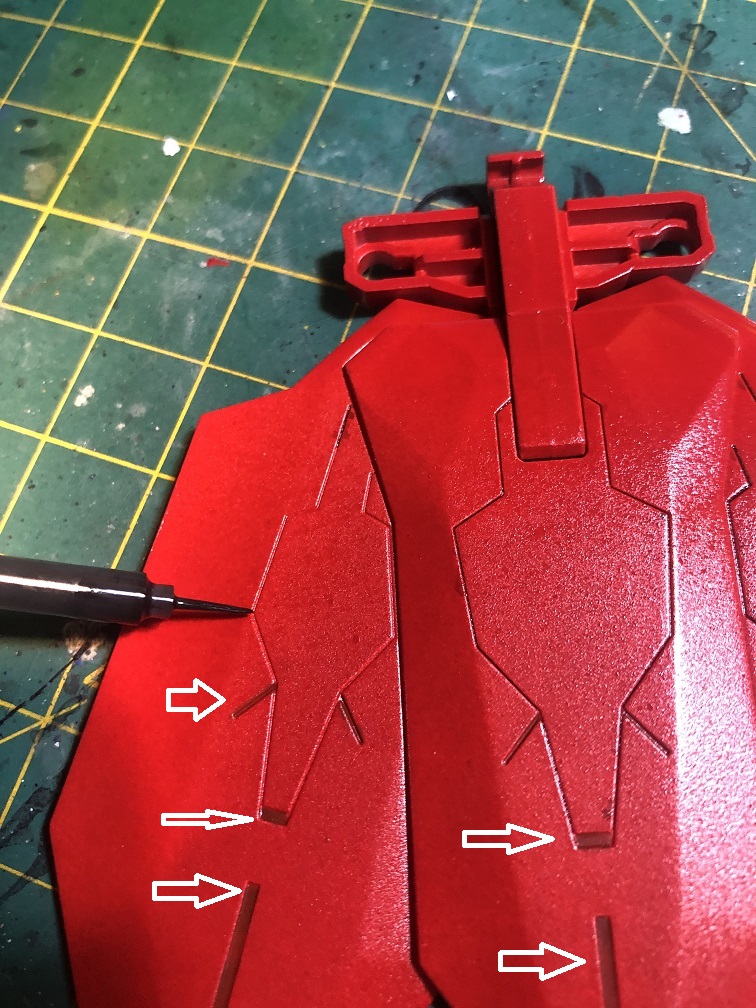
This time, I wanted to use a different procedure for detailing. I used Tamiya’s Panel Line Accent Color and VicHobby’s Insignia Red for the panel lines in the red side of the cape.
This Tamiya paint is very useful for this kind of work. Since its consistency is like water, you only need to touch the panel line with the tip of the brush. Then the paint will start flowing inside that line. I recommend you apply a coat of clear paint before painting the panel lines. This way the paint is going to be safe against enamel thinner. Just in case we make a mistake when painting the panel lines.

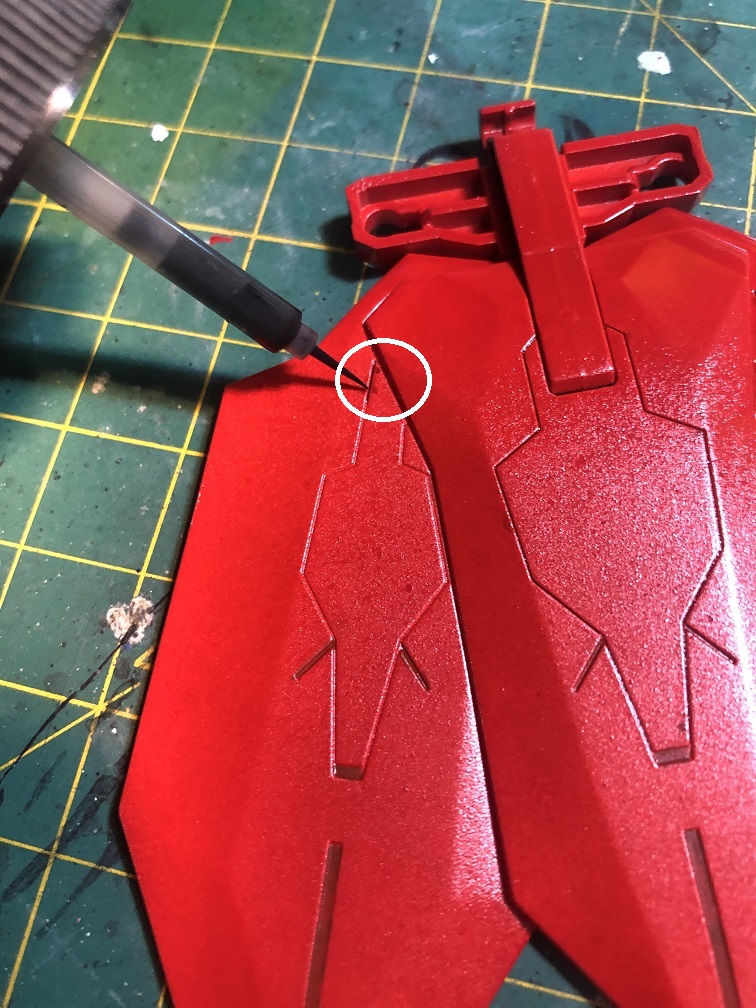
Here I used VicHobby’s Insignia Red . As you can see, the paint flowed through the panel line. Don’t worry if the paint spreads out of the panel line, you can clean it while it is wet with a paper towel or use a cotton dub with enamel thinner after it dries.

And with that, the inner face of the cape is ready. Painting the panel lines with black and dark red creates a contrast and highlights volume. You can darken it a little more if you wish. Just apply a darker red with the dry brush technique or a glaze. Just as we did with the armor in part 1 and 2.
Before After
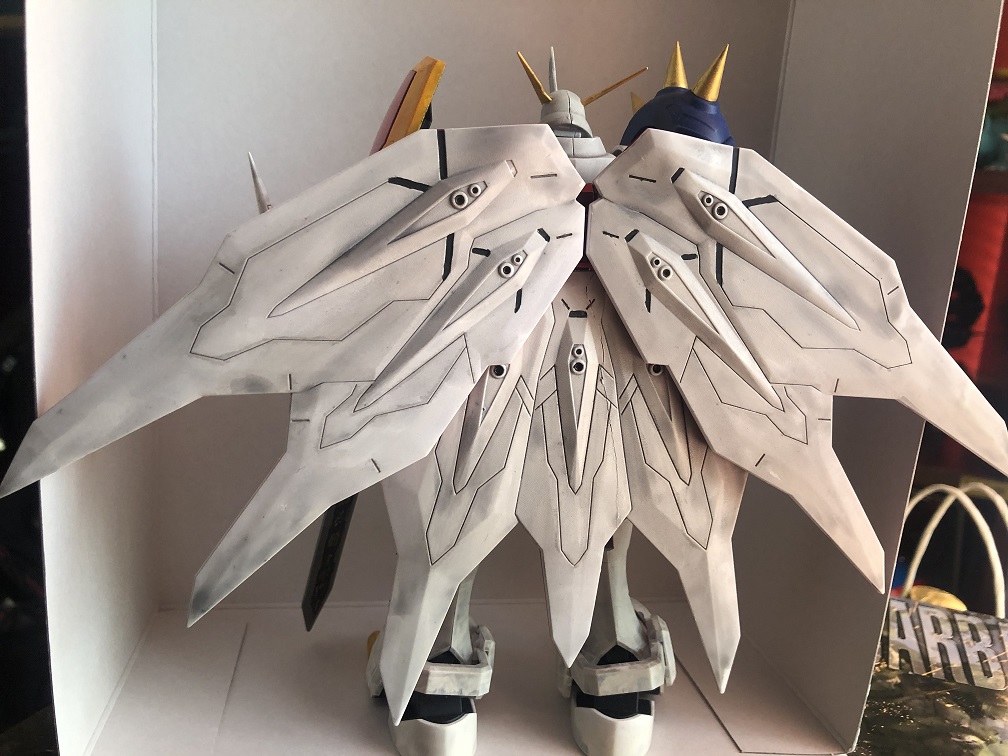
Detailing the Outer Face of the Cape
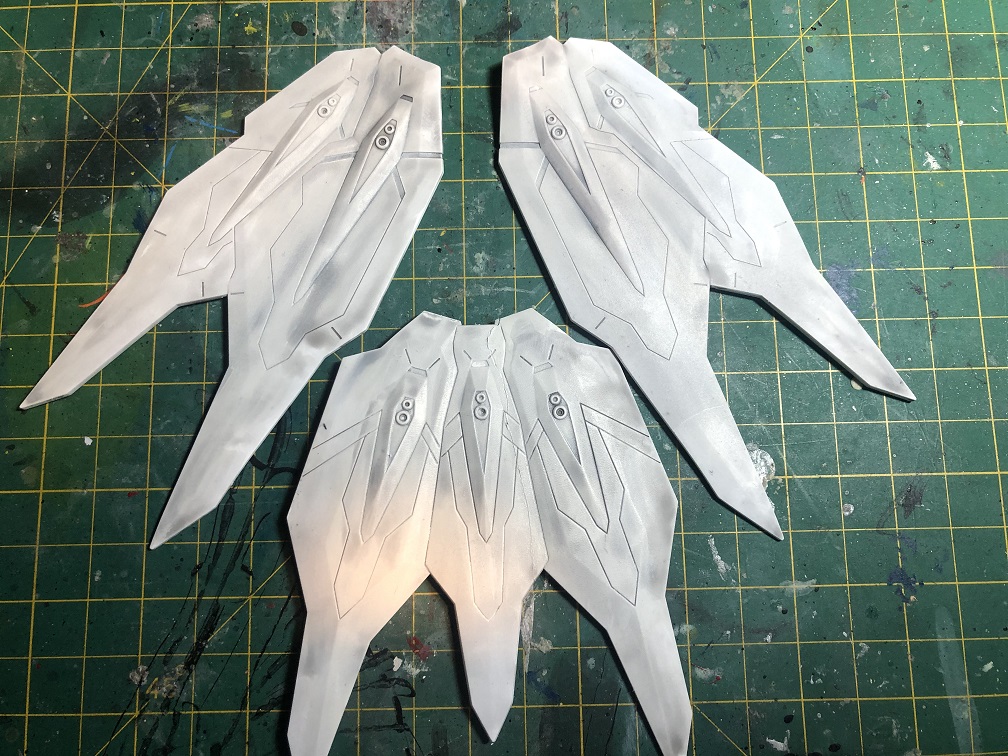
We are going to mix the techniques used for the armor with the process of the inner cape. After applying the white base coat we apply a glaze. For this purpose I chose a 50/50 mixture of Citadel’s Shade Nuln Oil and Lahmian Medium. Just like the armor, we’ll apply the glaze all over the surface and let it dry.
If you like how it looks you can leave it that way and start painting the panel lines. This way it will look darker. I decided to apply some VicHobby’s Aircraft White with the dry brush technique. Remove the majority of the paint from the brush, but leave enough pigment left on the bristles of the brush. This way we can paint over the glaze without covering it up entirely. Then, let it dry.
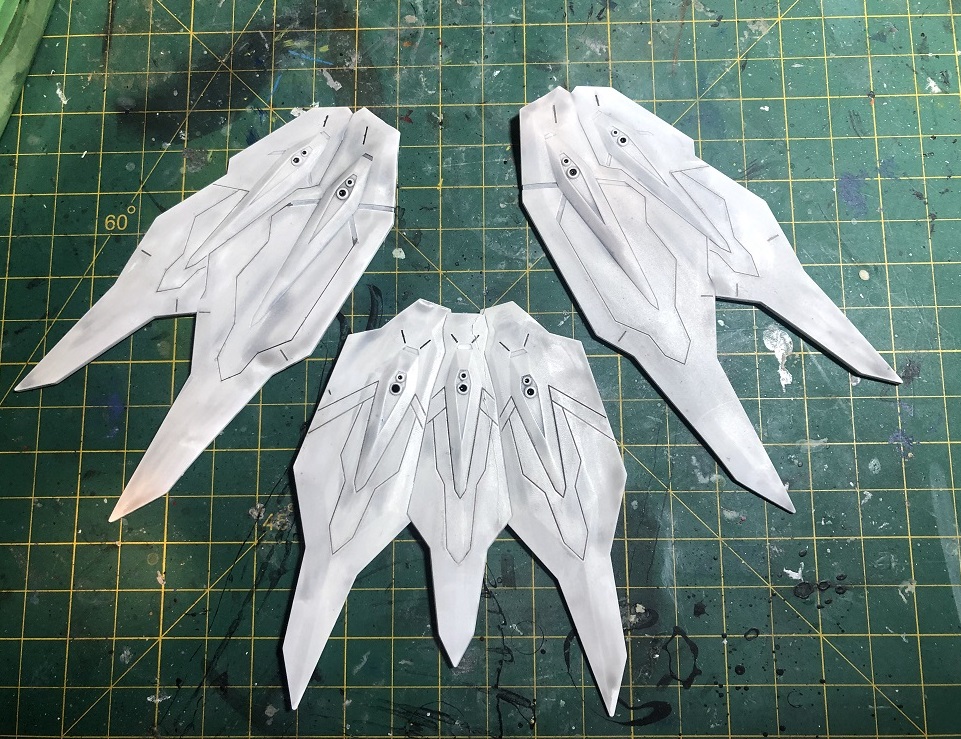
I suggest you to apply a clear paint coat over all over the cape to protect the paint. Now we can start painting the panel lines with Tamiya’s Panel Line Accent Color. I also painted the small circles inside the central panels.
Last but not least, let’s paint the wider panel lines. For this I chose Contrast Black Templar from Citadel. This way they will pop even more.
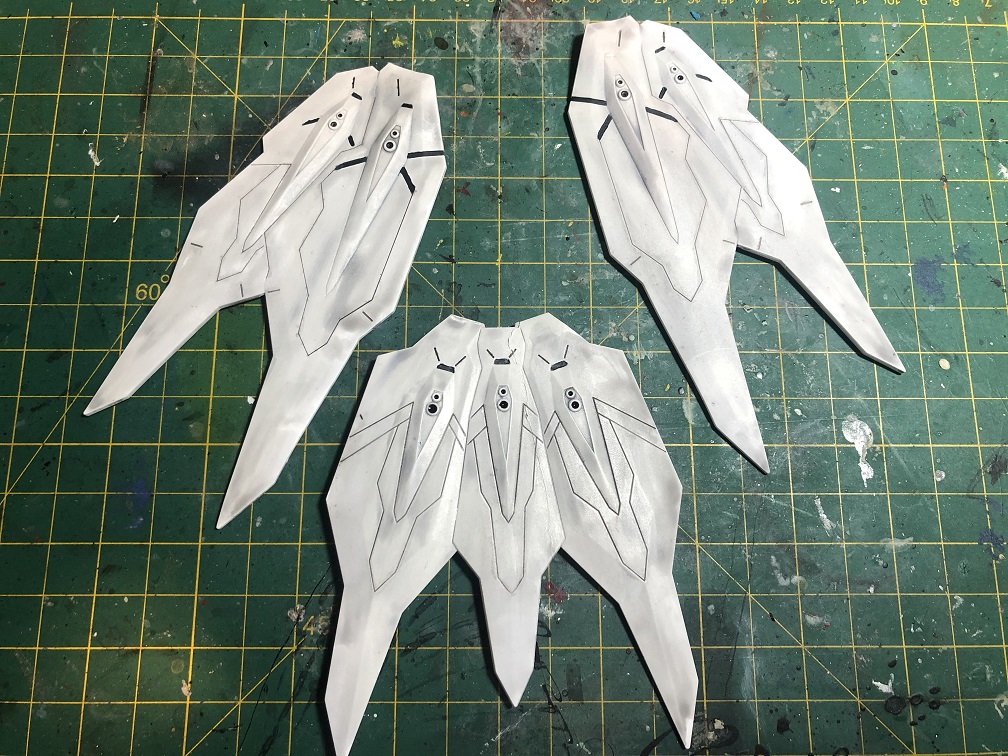
And with this we can finally assemble the cape.

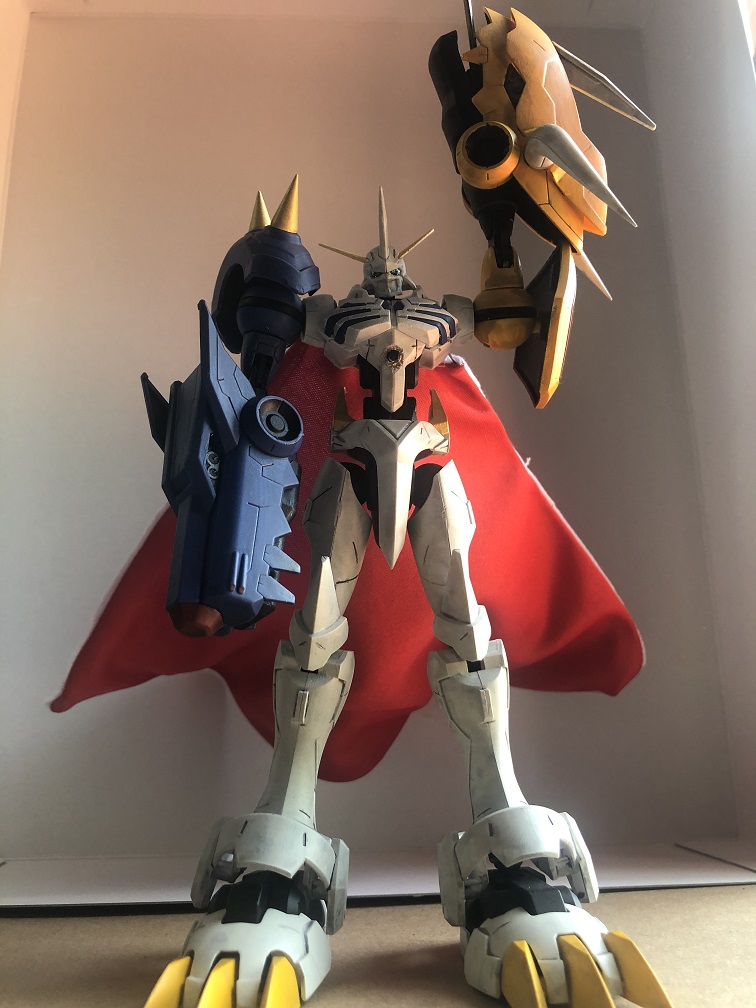
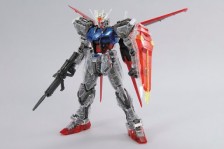
Omegamon (Amplified) Completed
Now, we’ve finished building Bandai’s Figure-rise Omegamon Amplified. You can apply all of this techniques to any figure or model kit you wish, and with as many colors as you want.
This is how it looks with the custom paint:
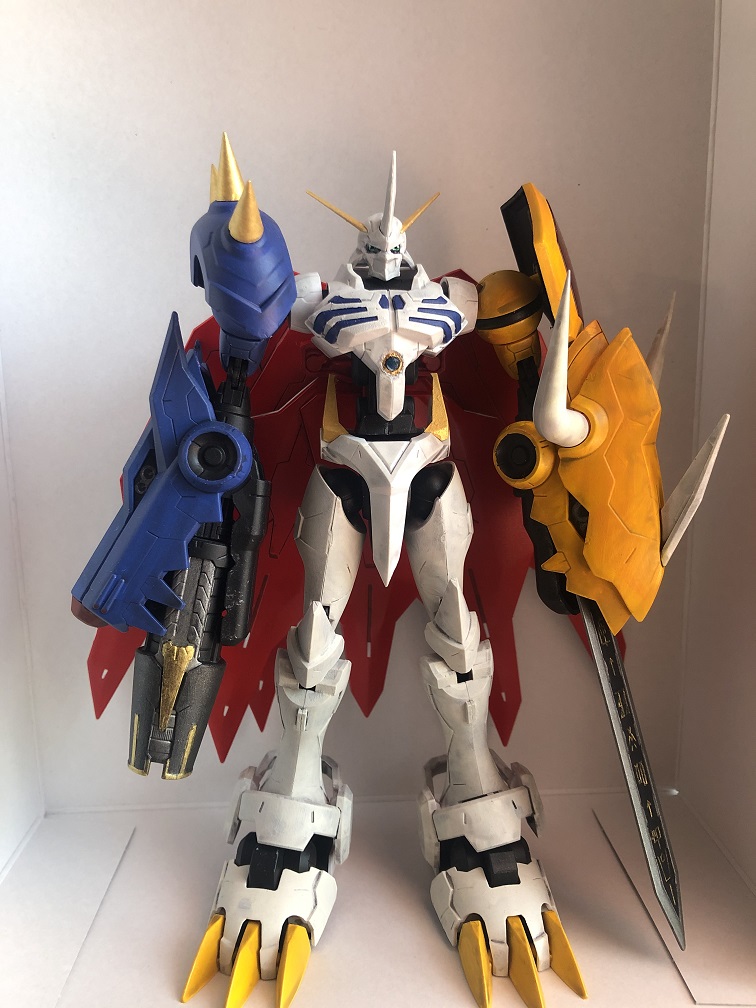

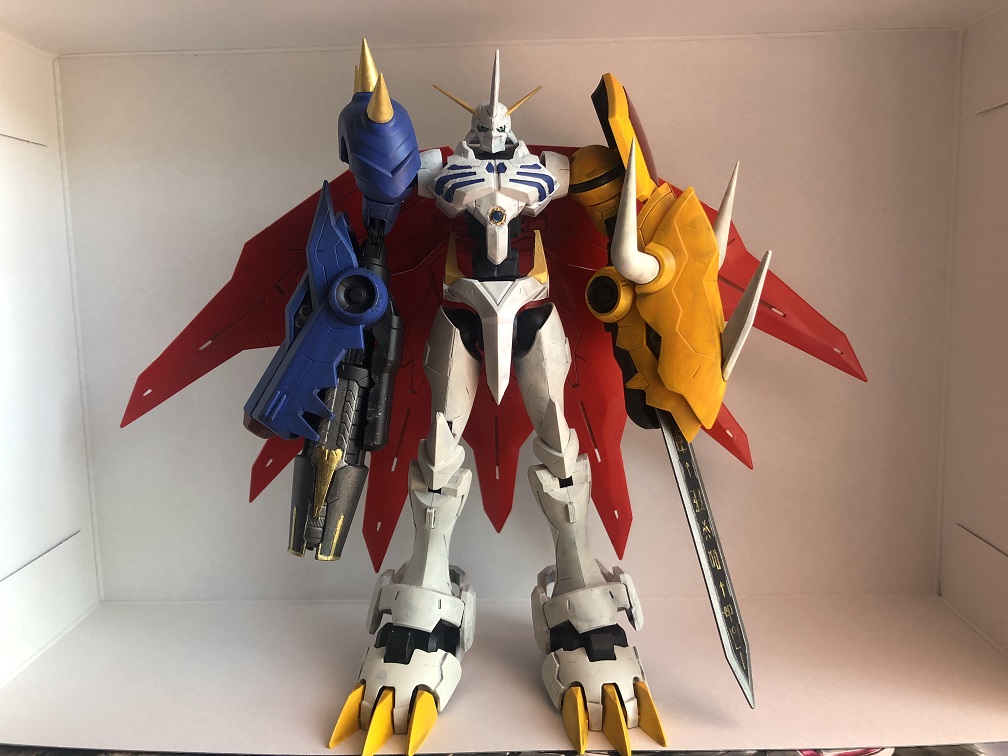
I love how it looks. If you wish, you can paint all the panel lines of the body, like we did with the cape. This will highlight it even more and create depth and more volume.
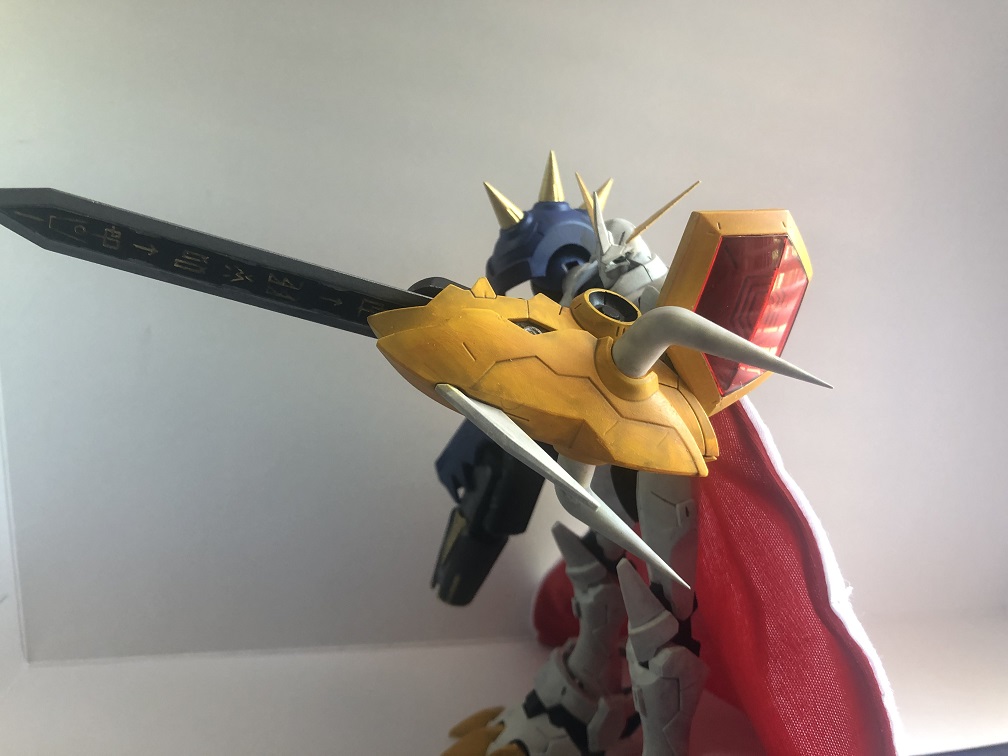
While I was playing with it a little, I noticed that it had something odd. The plastic cape was right, but how do you think it will look with a cape made of cloth? Let’s find out and craft one, alright?
Crafting a Cloth Cape
I’ve made simple cloth capes for action figures before. And this was the first time I tried to do something like this. There area lot of ways of doing this kind of thing. It depends on what you have, your skills and, above all, what you want.
Because of the actual situation I know that it may be difficult to find some of the material needed for this. And, to be honest, I used some old cloth that was laying around. Therefore, I’ll divide this section in stages. I designed each stage to be a cloth cape on its own, with each stage improving what you make in the previous stage.
Materials:
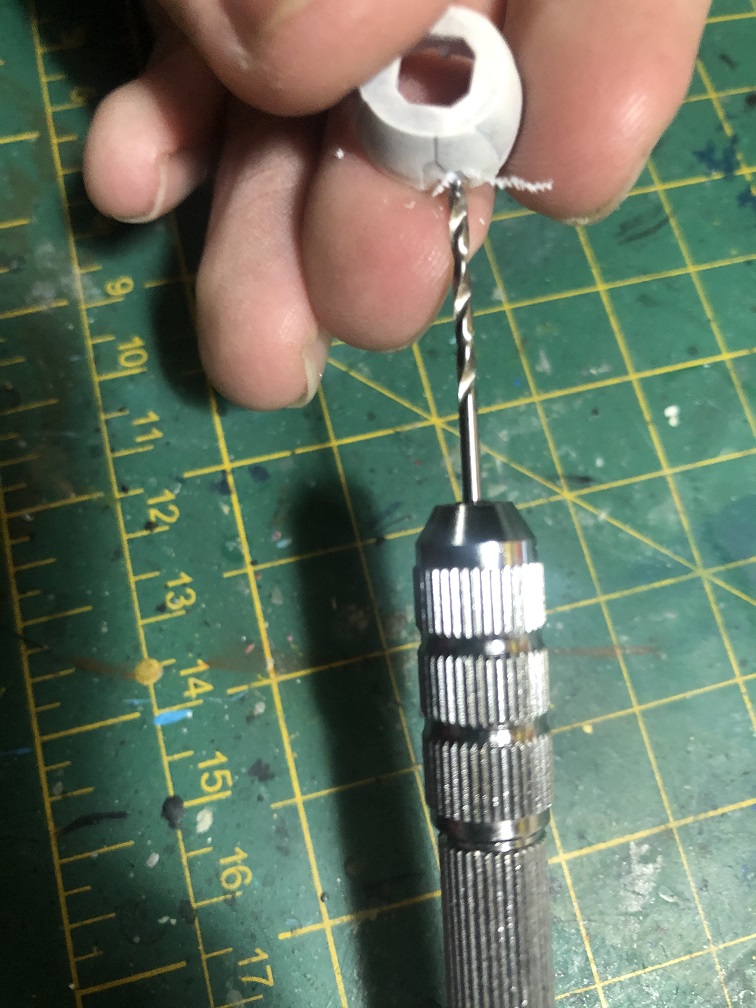
- Drill tool: this can be manual or electric, I used a Pin Vice with a 0.1 mm drill bit.
- Cloth: I used a thin cloth. This way it will flow more naturally around the figure.
- A ruler
- Needle & thread or a sewing machine, if you want.
- Scissors
- A marker
For the last stage you’ll need wire cutters and some wire; I used a 0.73 mm (22 GAUGE) Galvanized Steel Wire. You can find this at your local hardware store. You can use any other type of wire, just make sure that it can be bend with your own hands easily.
First steps
First, we’ll decide were we want our cape to be attached to the figure. In this case, I decided the best place will be the shoulder pieces, those that are part of the torso.

I drilled one hole in each piece with the Pin Vice with a 0.1 mm drill bit.

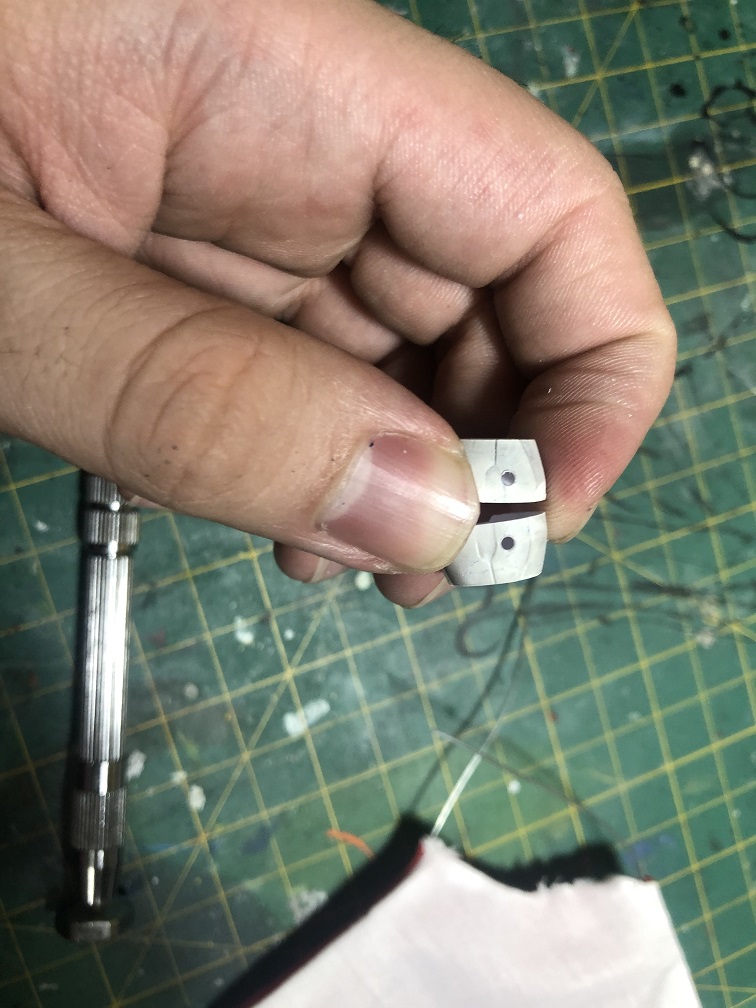
I recommend you to do the same if you want to craft a two side cape or a wired one. If you wish to craft a simple one (stage one) you can skip this part and use instant glue instead.
Stage 1 – Simple Cape
This will be the simplest of the 3 capes, and actually is the most common used by toy companies in action figures. First, we need to take the measurements of our action figure.

For this measurement we’ll need a cloth piece of 19 cm x 28 cm; always pick a bigger piece. Then, we need to fold our cloth in half to get a 19 cm x 14 cm piece. This way it will be a easier to draw and cut the cape.
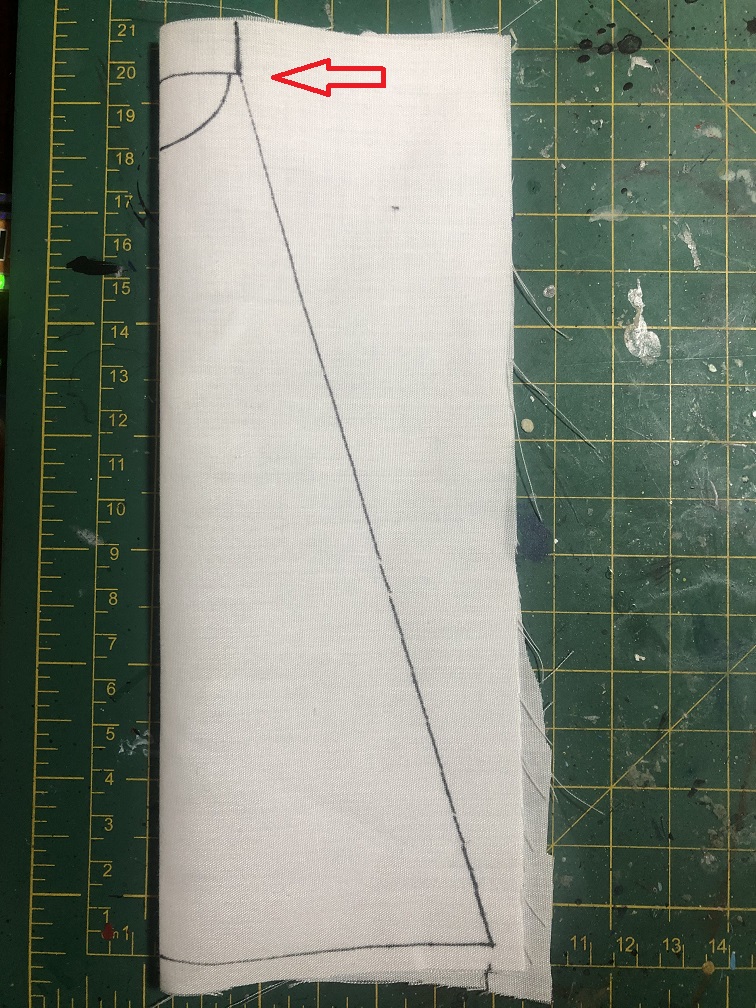
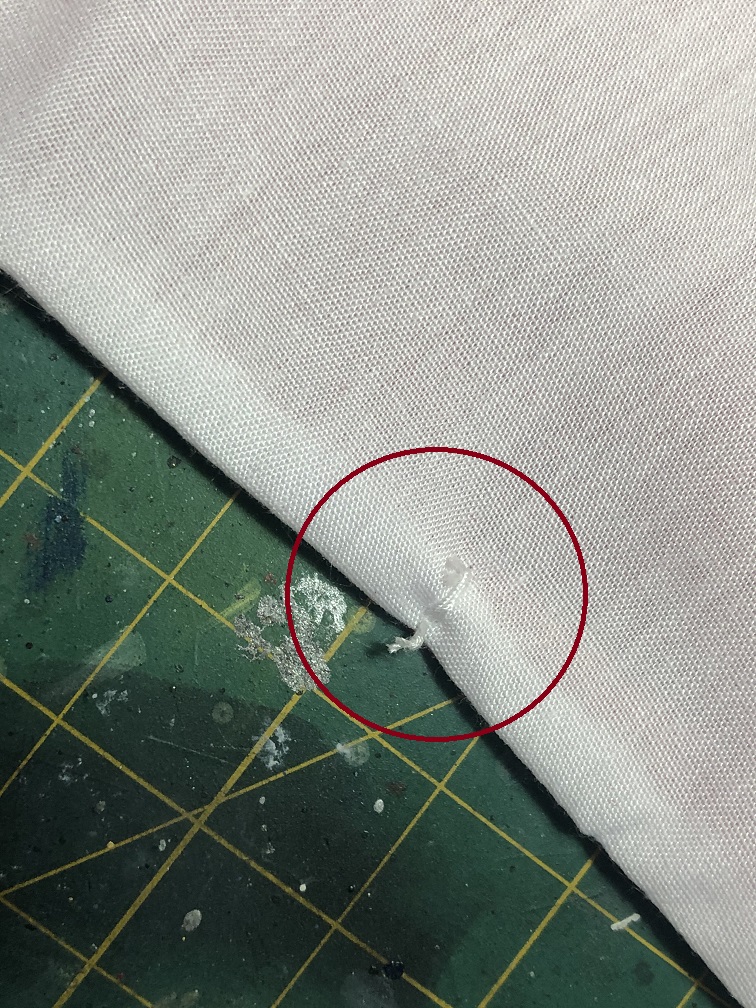
If you wish you can draw 1/4 circle on the shoulder area for the neck. This will depend on how you’ll attach the cape to the figure. Then we’ll cut over the lines, and make sure to cut both halves of the cloth. And with that you will have a cloth cape. It would be simple, but it will look great once is attached to your figure. And for that, simply add some super glue (where the red arrow points in the picture above).
Stage 2 – Double Sided Cape
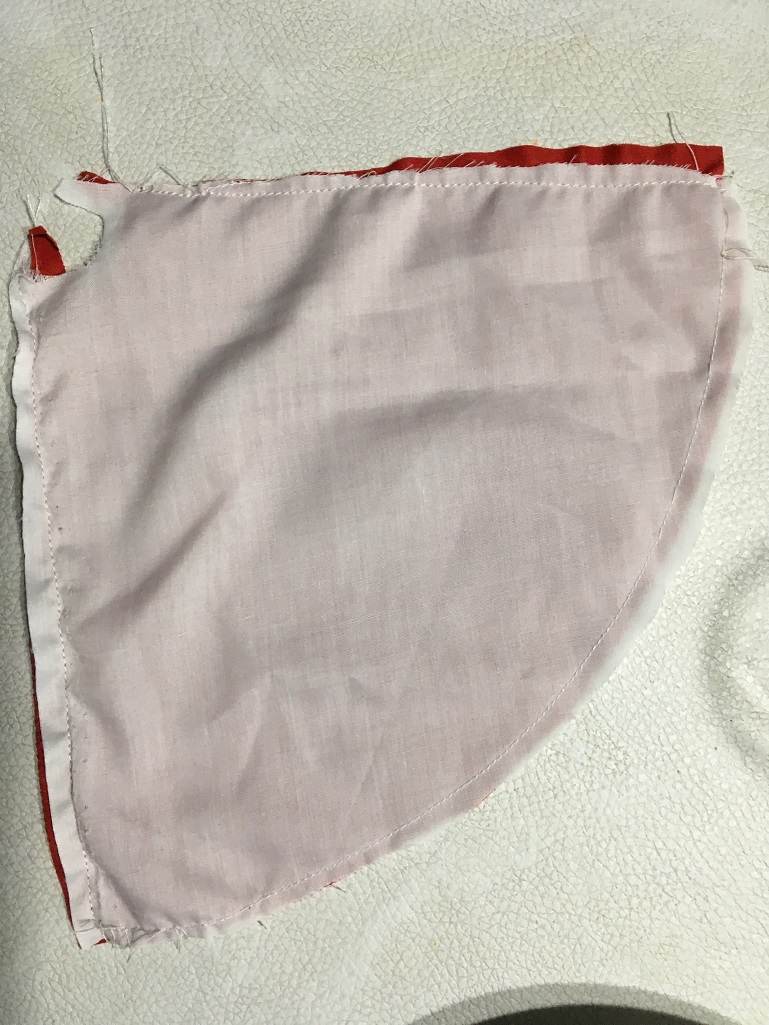
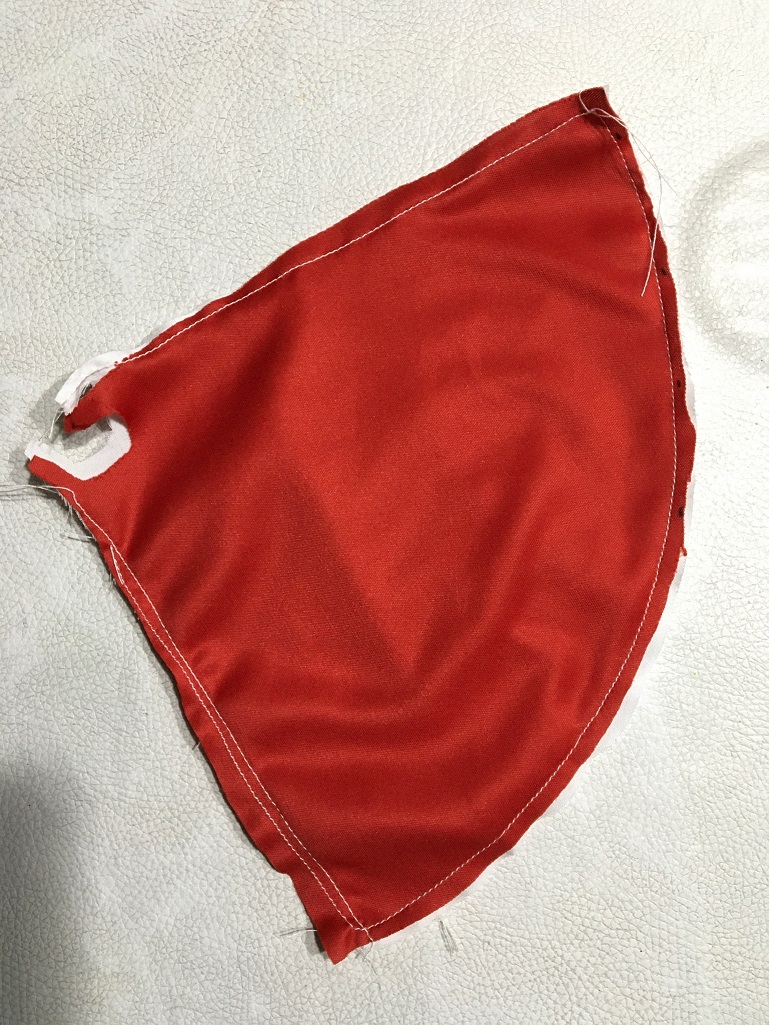
First, we need to repeat the same process of stage 1. But this time with a cloth of a different color, for this case I picked up a red cloth.

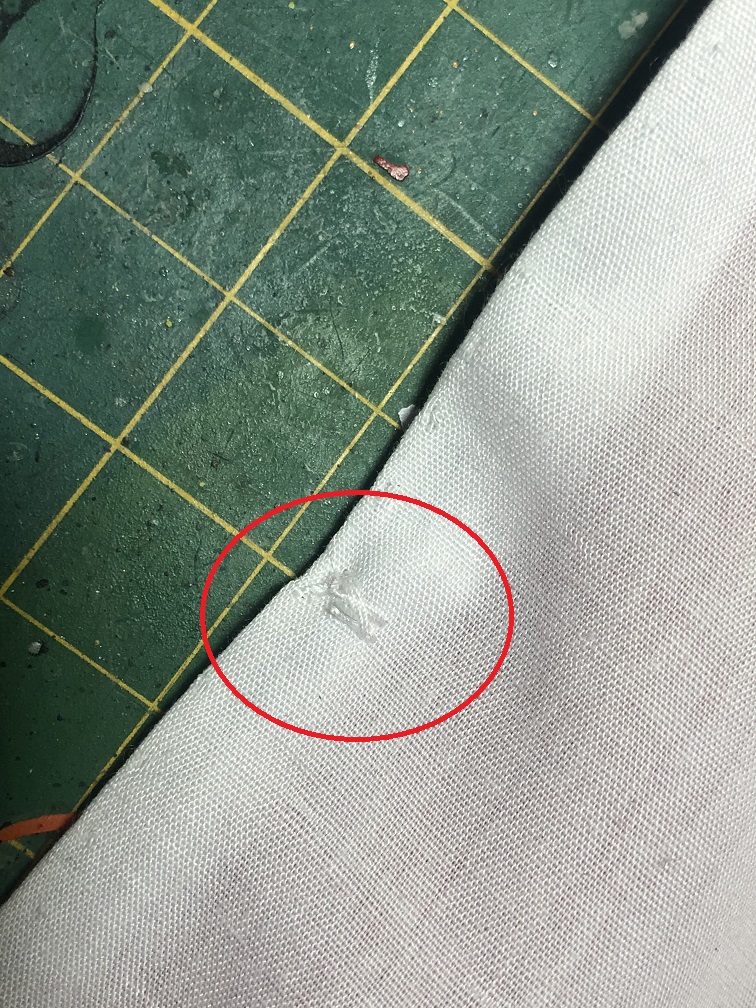
Unfortunately for me, I measured wrong on the red part and needed to start over. But this could be fixed easily by using one part as a mold for the second part, as seen in the picture above. At the end the white part was slightly bigger than the red one but that’s ok.
For the next step, we’ll need to sew both parts together. I recommend you to sew the border on the bottom and the sides of the cape. Leave the upper part without sewing.
This way we’ll be able to flip it inside out to hide the seams.
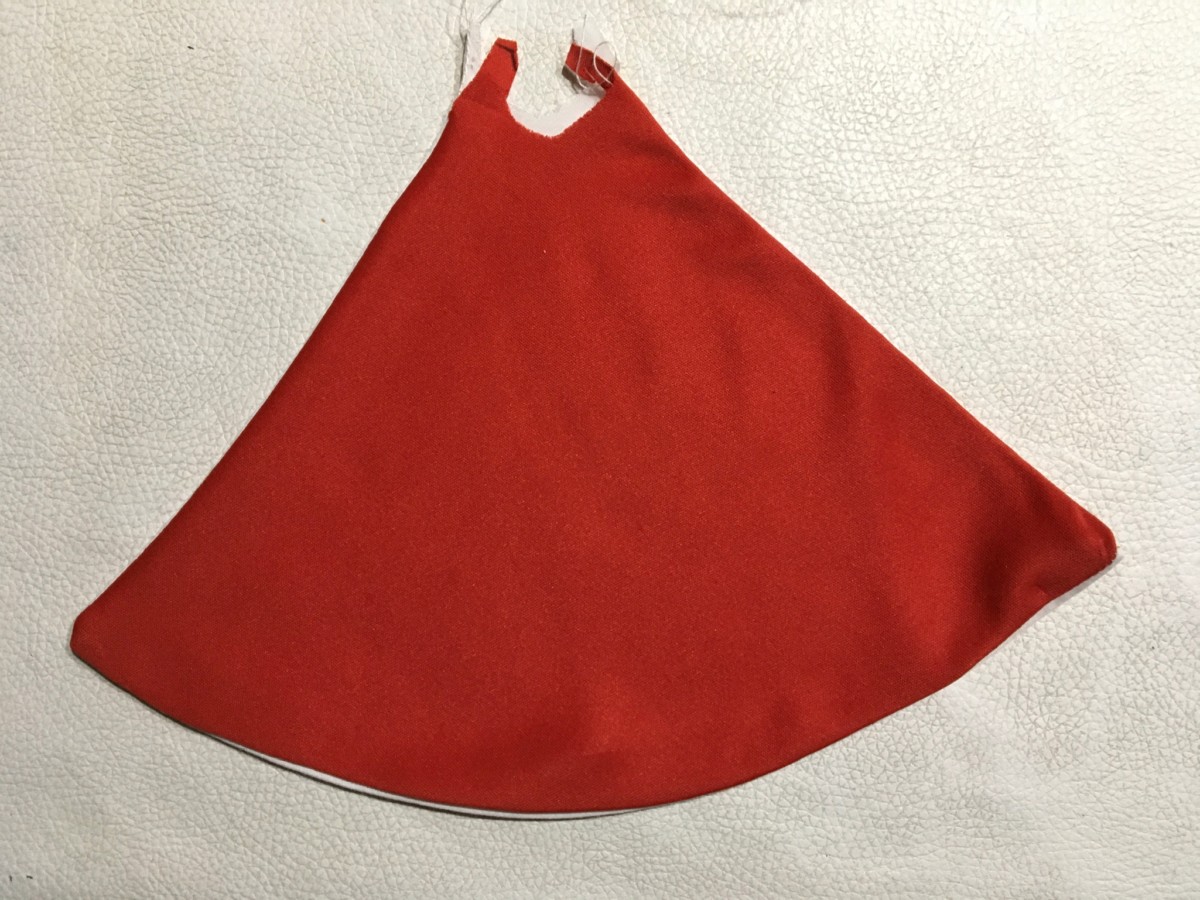

With this our cape is ready. To attach it to our figure we can glue it with super glue. Or we can tie it up through the holes that we drilled on the shoulder armor. If you are going to keep your cape this way, remember to sew the upper part of the cape.
Stage 3 – Wired Cape.
I tried to keep this part as simple as possible. The first thing to do is cut 3 wires, one for the bottom and one for each side. They need to be longer than the cape.
For example, using the measurements from stage 1, the cape should be 17 cm long and 13 cm wide, therefor the sides of the cape should measure 18.6 cm. What we are going to do is make the wire for the bottom of the cape 1 cm longer (18 cm), and those for the side at least 5 cm longer (23.6 cm); this will help us attach the cape to the figure.
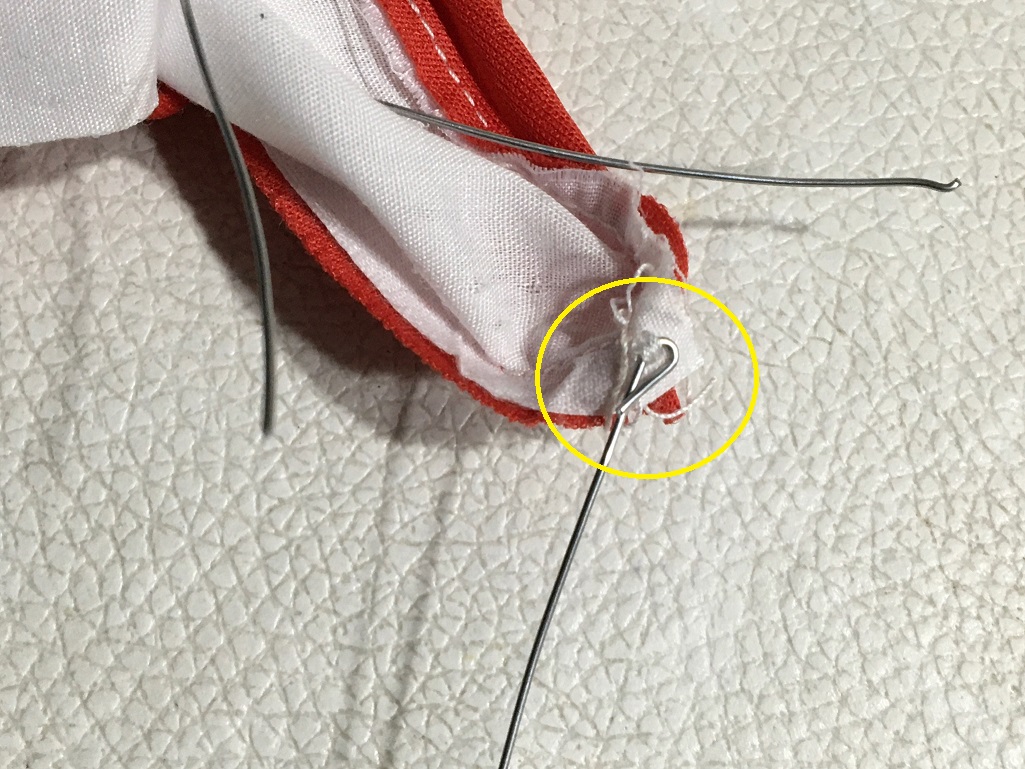
Now, before inserting the wires inside the cape we need to bend the tips. This will allow us to sew them to the corner of the cape. Like this:
We need to bend both sides of the wire for the bottom and only one end of the side wires. This way the wires will be secured to the cape and therefore the cape will follow the shape of the wires.

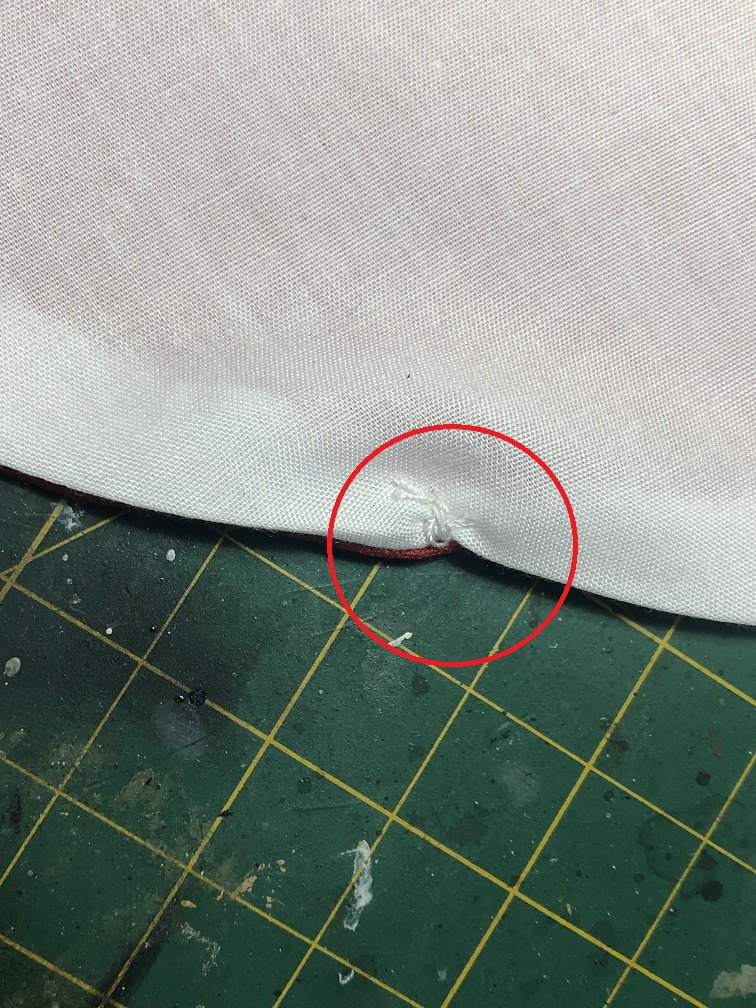
Remember, the wires need to be inside the cape (between the two pieces of cloth). I recommend we make a seam in each side of the cape, just to make sure that the wires stay in place.
Here you can see where is each one of the seams.

Now it is time to attach the cape to the figure. And for that we are going to use the excess of wire that remains outside of the cape.

What we are going to do is to insert the wires through the holes that we drilled in the armor. Then, we are going to bend it inside those pieces. Like this:


As you can see, I tried to follow the inner shape of the armor pieces, and left enough space to allow it to be placed where its suppose to be.
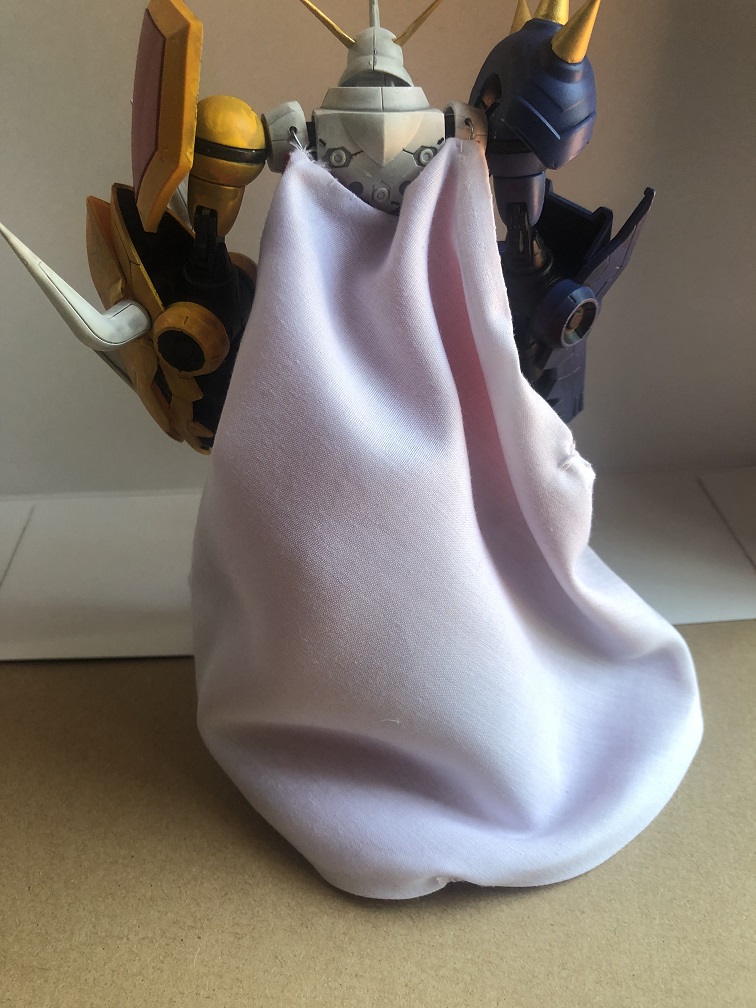
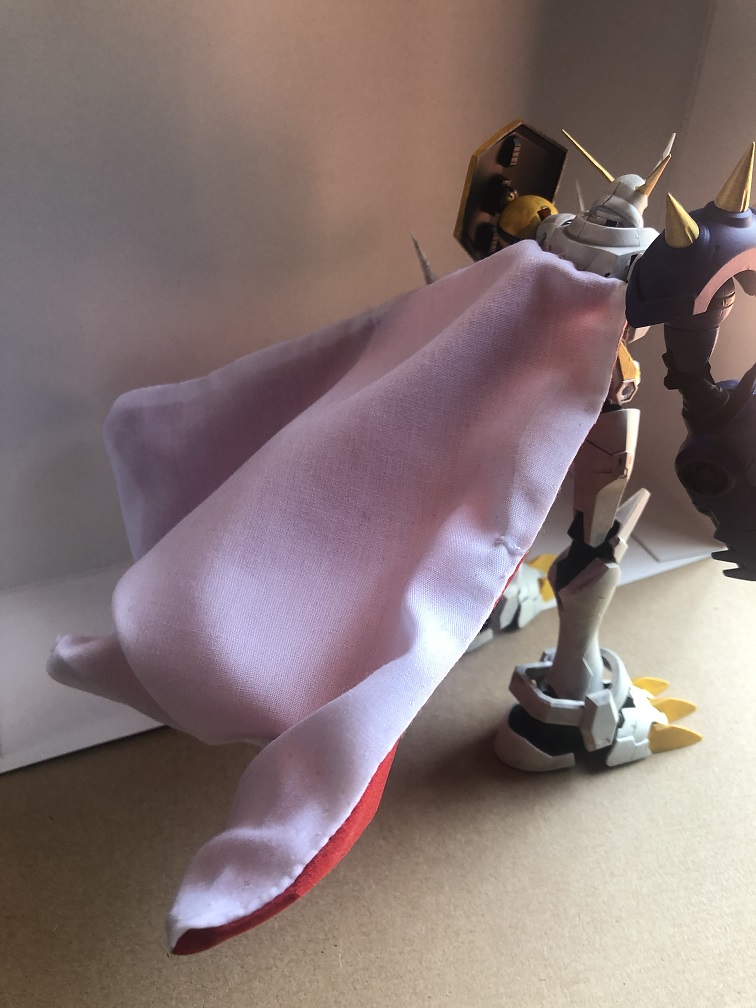
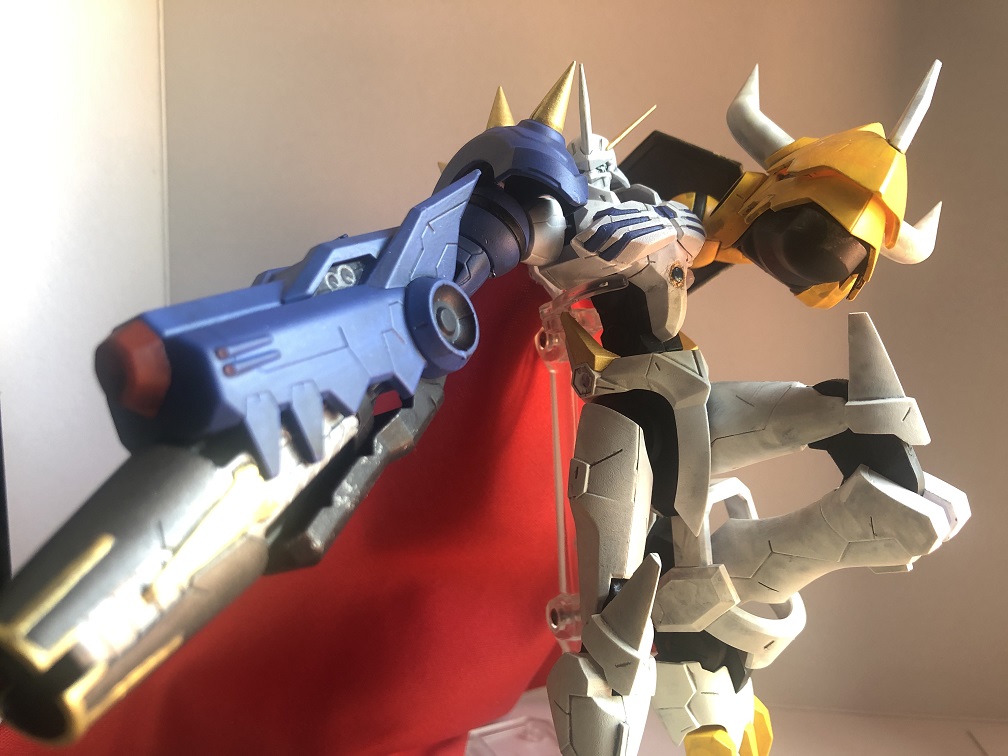
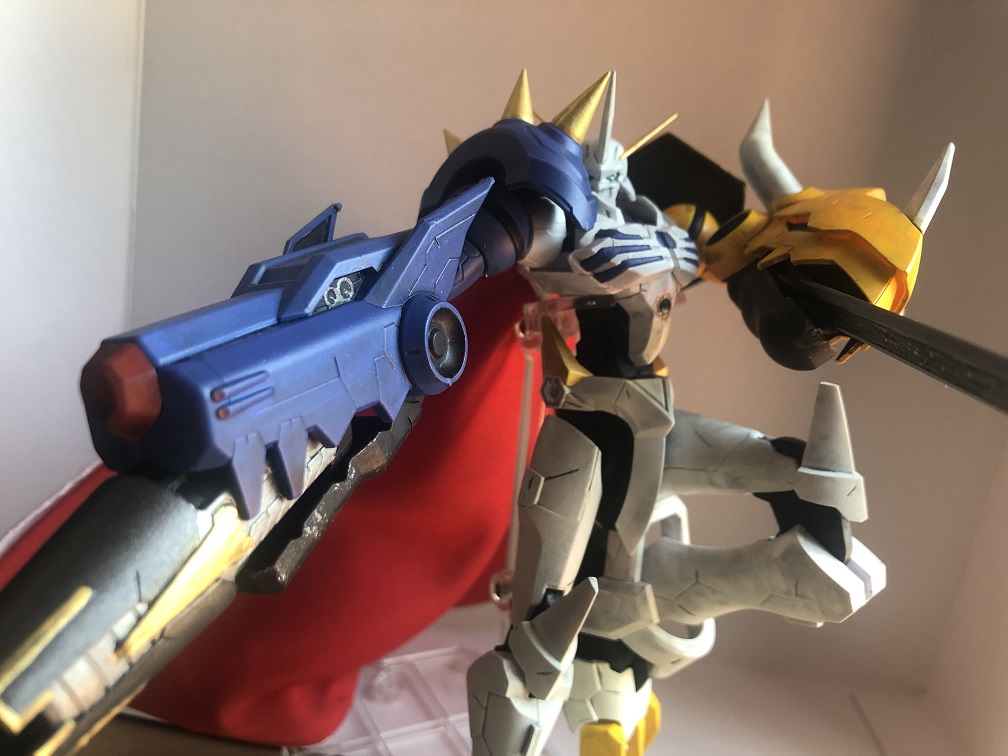
And with that, we are done. Just re-assemble the figure and you can start posing it along with its new cape!
The inner wire allow you to create a great variety of shapes. Since the wire runs up to the shoulders, you can raise the cape as far as you wish

The end?
With this our work is finished. I hope these tutorials have helped you with your own customization, or even inspired you to challenge yourself to use new techniques to enjoy this beautiful hobby even more.
Thank you so much for joining me in this journey. I’ll keep working to bring you more content with new ideas and simple techniques for your future builds.
If you wish to acquire some of the items I used in this series, including Bandai’s Figure-rise Omegamon Amplified, remember to visit hlj.com.
Stay safe out there and remember to wash your hands!
Until next time!


Gabriel V
That cape looks awesome! Adds great detail, I might even do it for some of my figures.
Pedro
Thanks for the fabric layer tutorial, it looks better with it than with the molded one