Welcome back to the Galbaldy build series! This is the last part before we spray a coat of primer on the model and get ready for paint.
There is one last modification I want to make to enhance the overall look of the model. It’s not as easy as the detailing we’ve done before, but it’s certainly worth the effort.
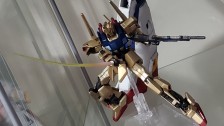
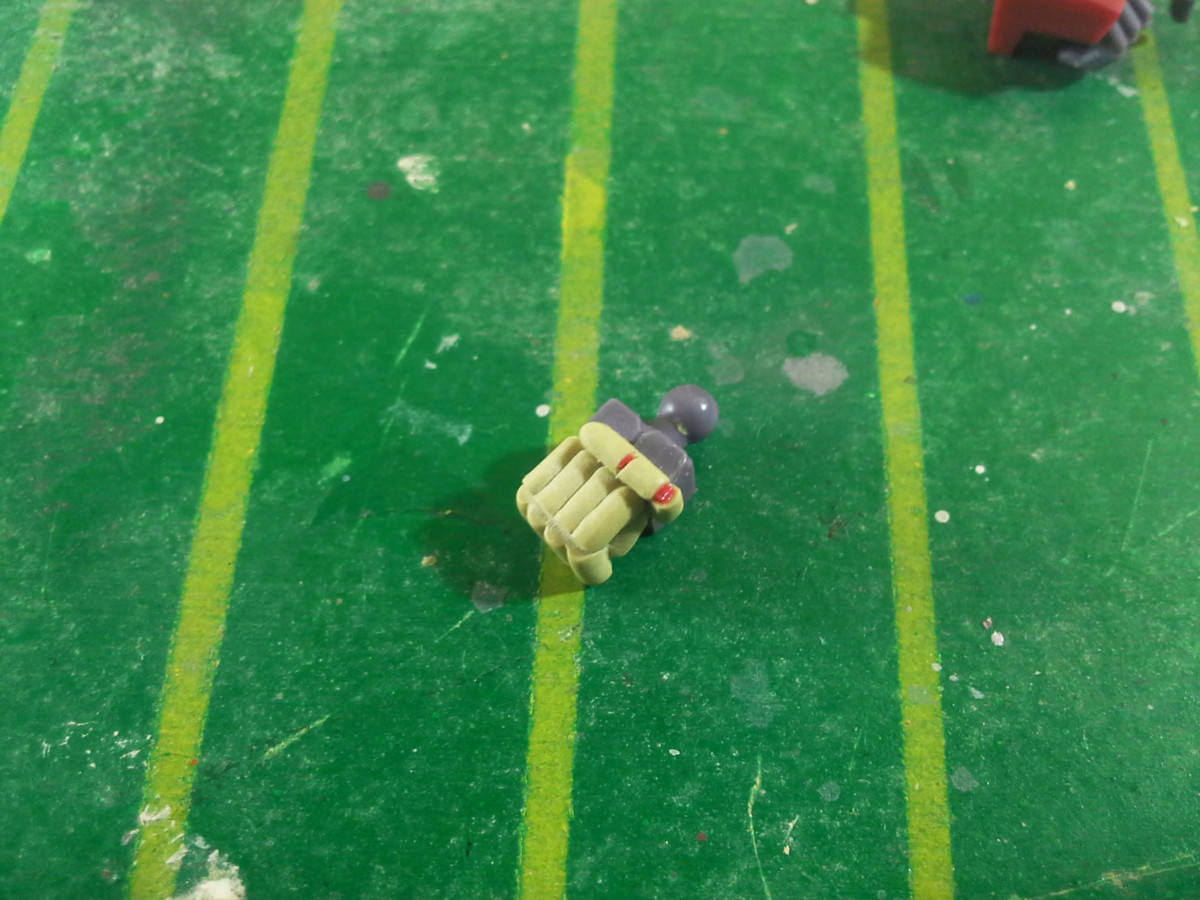
The starting point


The trigger finger hand is fine, but the left hand has a big hole (in which the beam saber is intended to fit) that looks toyish and unnatural. What we are going to do today is get rid of the stock fingers and sculpt new ones without the hole.
Cutting the fingers off
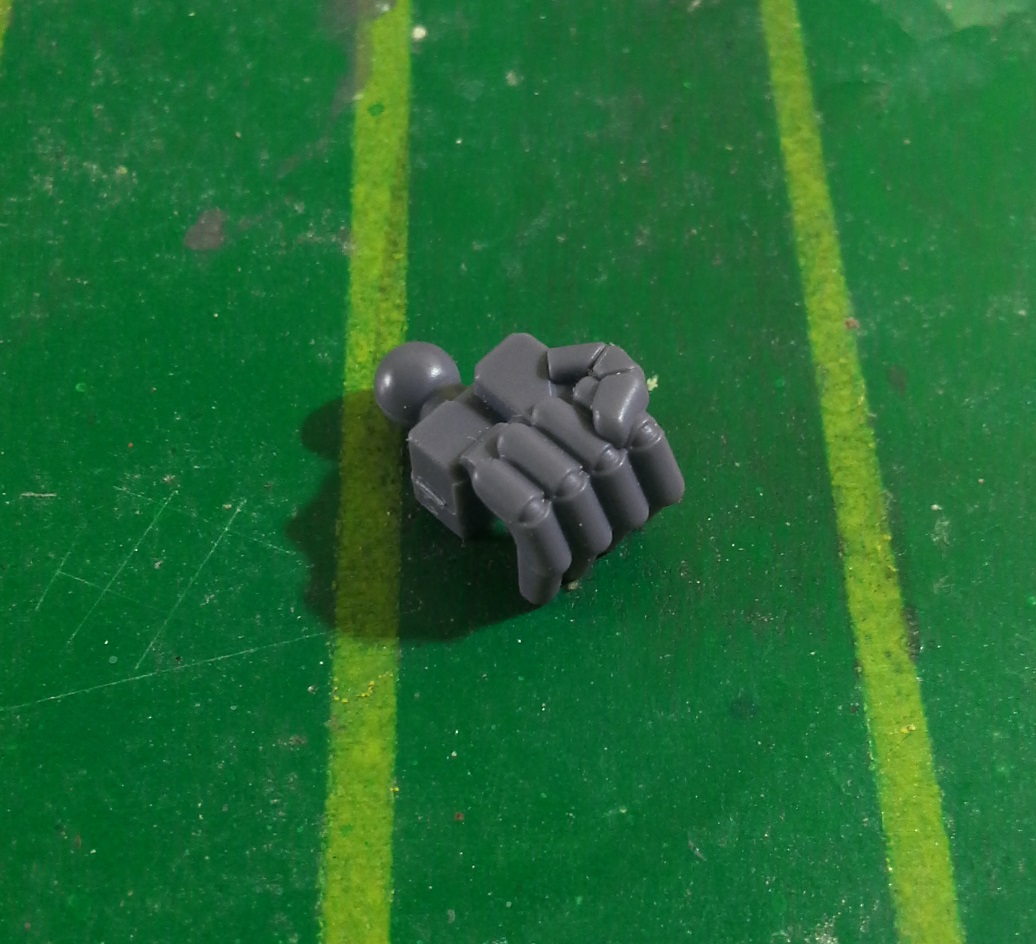
First, we take the hand apart to avoid damaging the crimson armor part. Then, using some nippers, we just snip off the fingers. Finally, some filing and sanding is done, to ensure the surfaces are nice and clean before we start sculpting over the plastic.
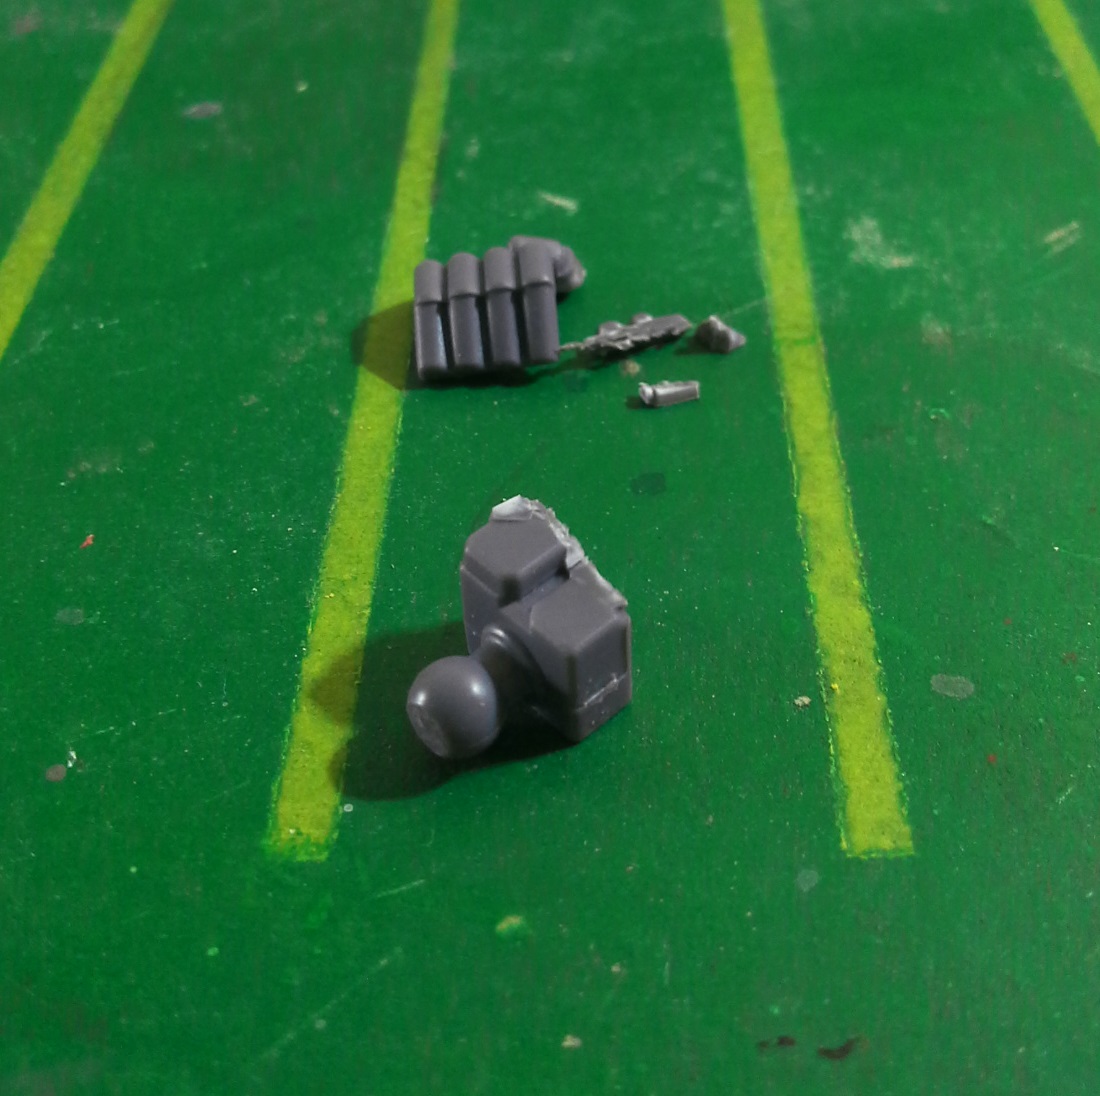
“Wet” sculpting

The wet part of the process is the sculpting work we do before the putty hardens. Naturally, we can’t sand the surface at this point, but we can carve the basic shapes to saves us a bit of work in the future.
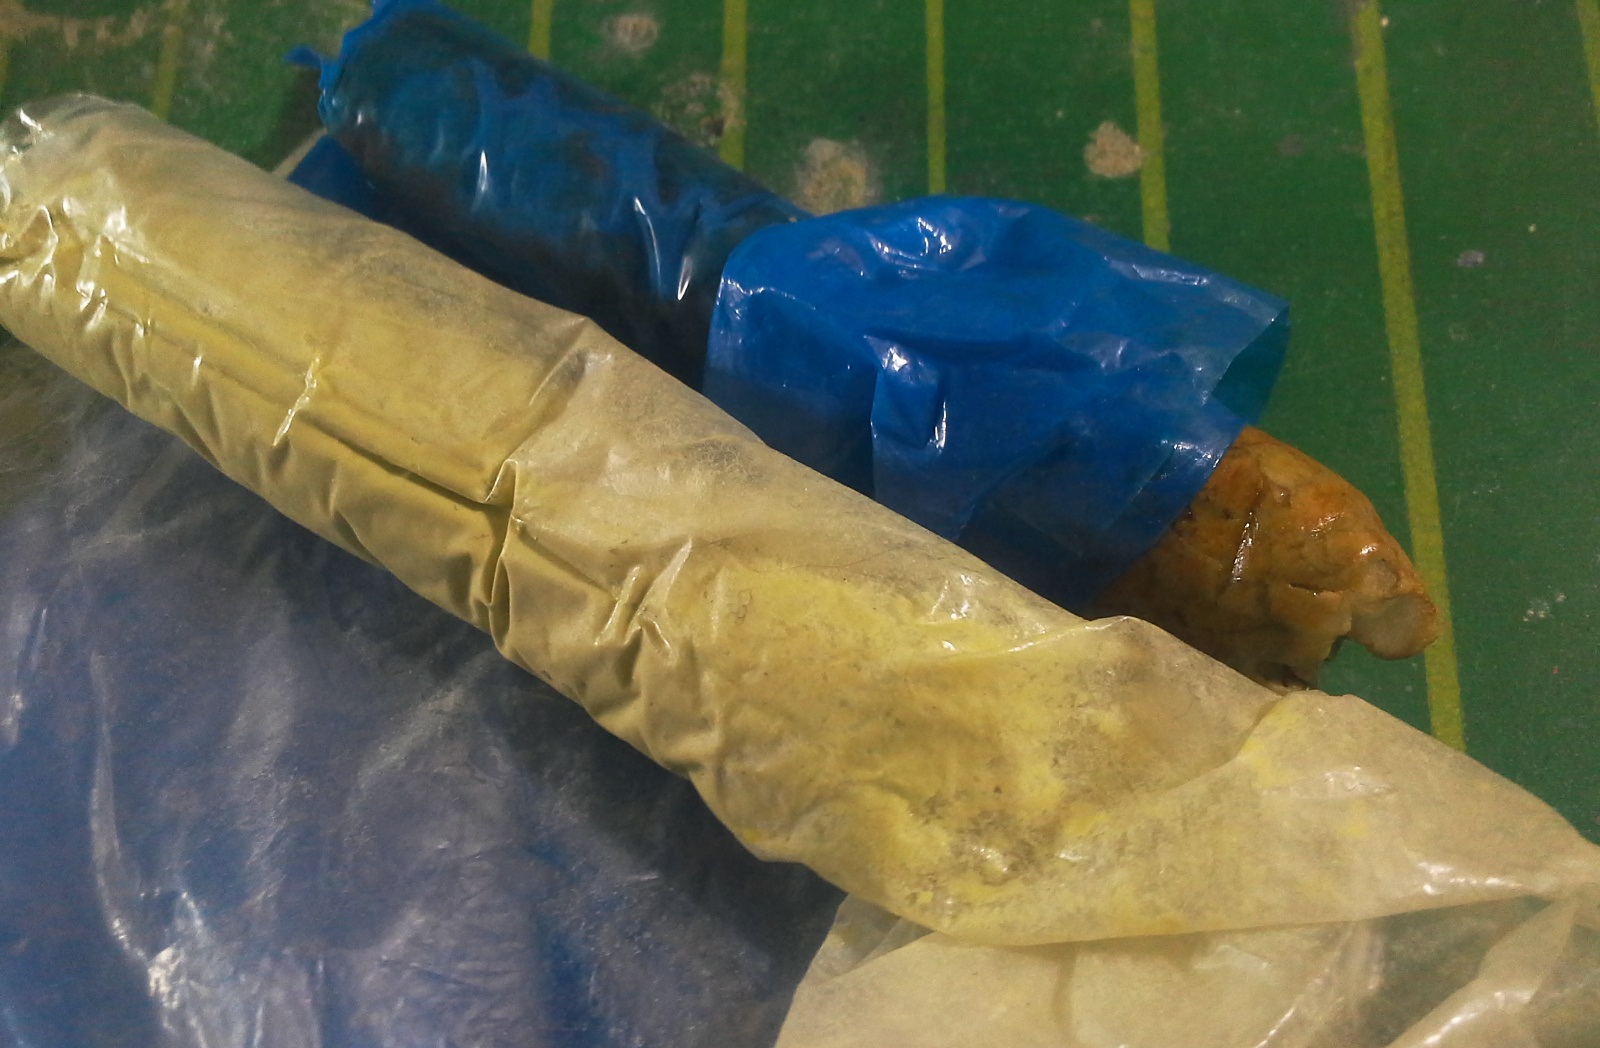
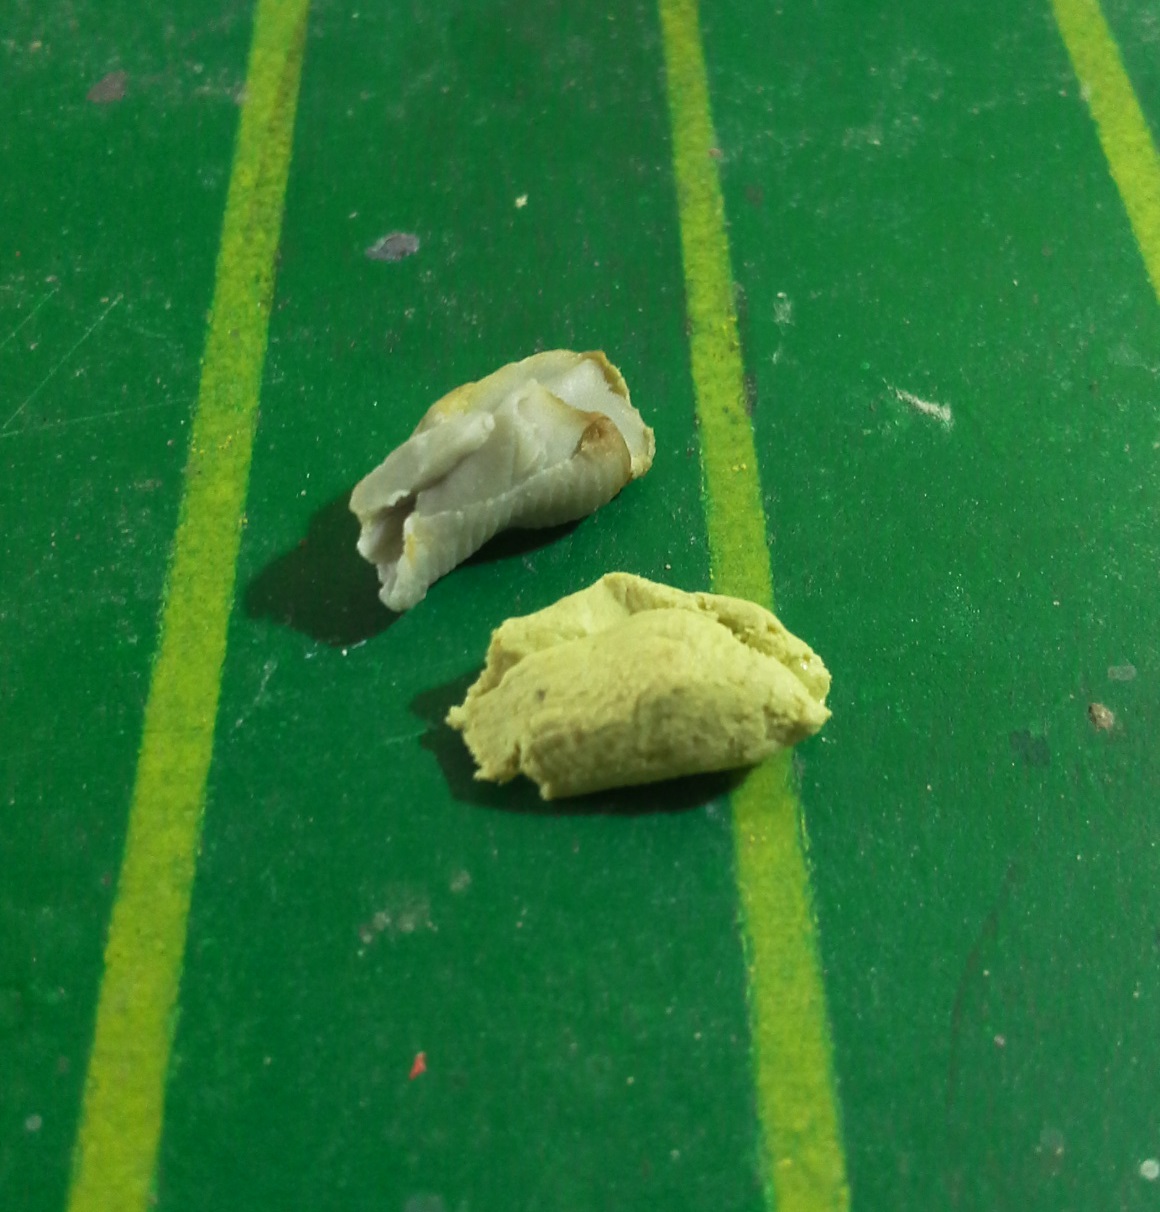

This is a two-part putty. Neither of these components can harden on its own, but once we mix them together in a 1:1 ratio, they will start to solidify. This process can take less than one hour if the portion of putty is really small, but it usually takes several hours, which gives us a comfortable working time.
If the putty is still not hard after 24 hours, we most likely didn’t mix the two parts well enough. Mixing the components with our fingers is of utmost importance, as we do not want to wait half a day only to find out that the piece we are working on will not harden completely. With that said, we can go ahead and start scultping!
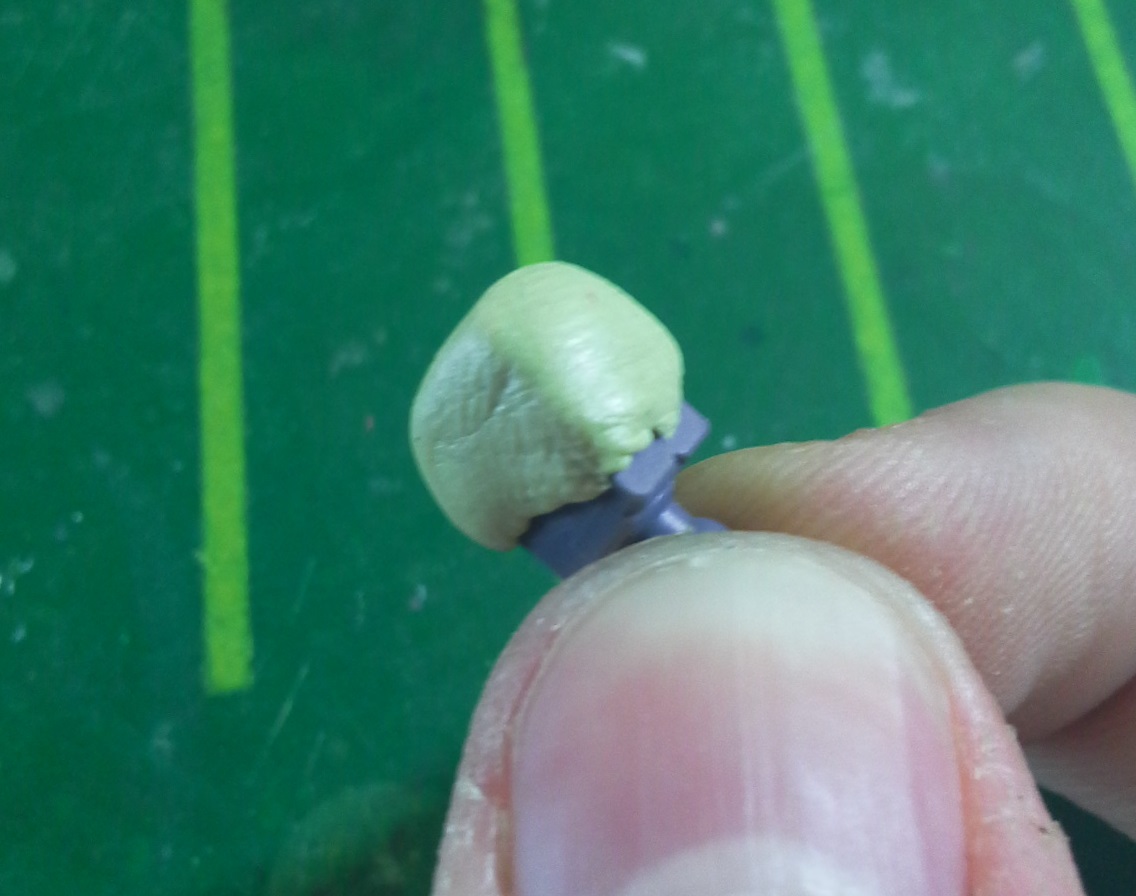
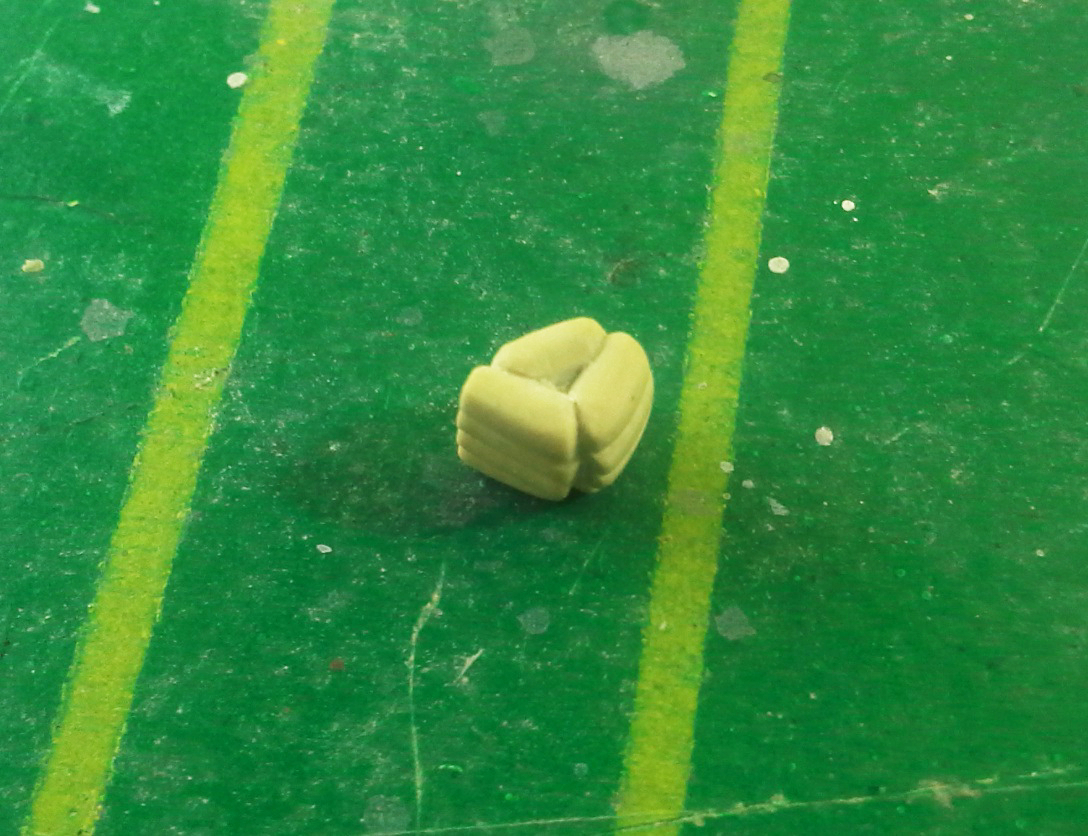
We begin by covering the entire area with putty. Remember that it’s better to use more than needed and remove the excess afterwards than put too little and end up having to mix more putty later.

I used my Wave carving needle (this fella keeps proving to be versatile, haha!) to form depressions on the putty. This mostly determines the width of the fingers, as the shape can be changed significantly through sanding in the next stage of the sculpting process.
“Dry” sculpting

At this point the epoxy putty has hardened completely.
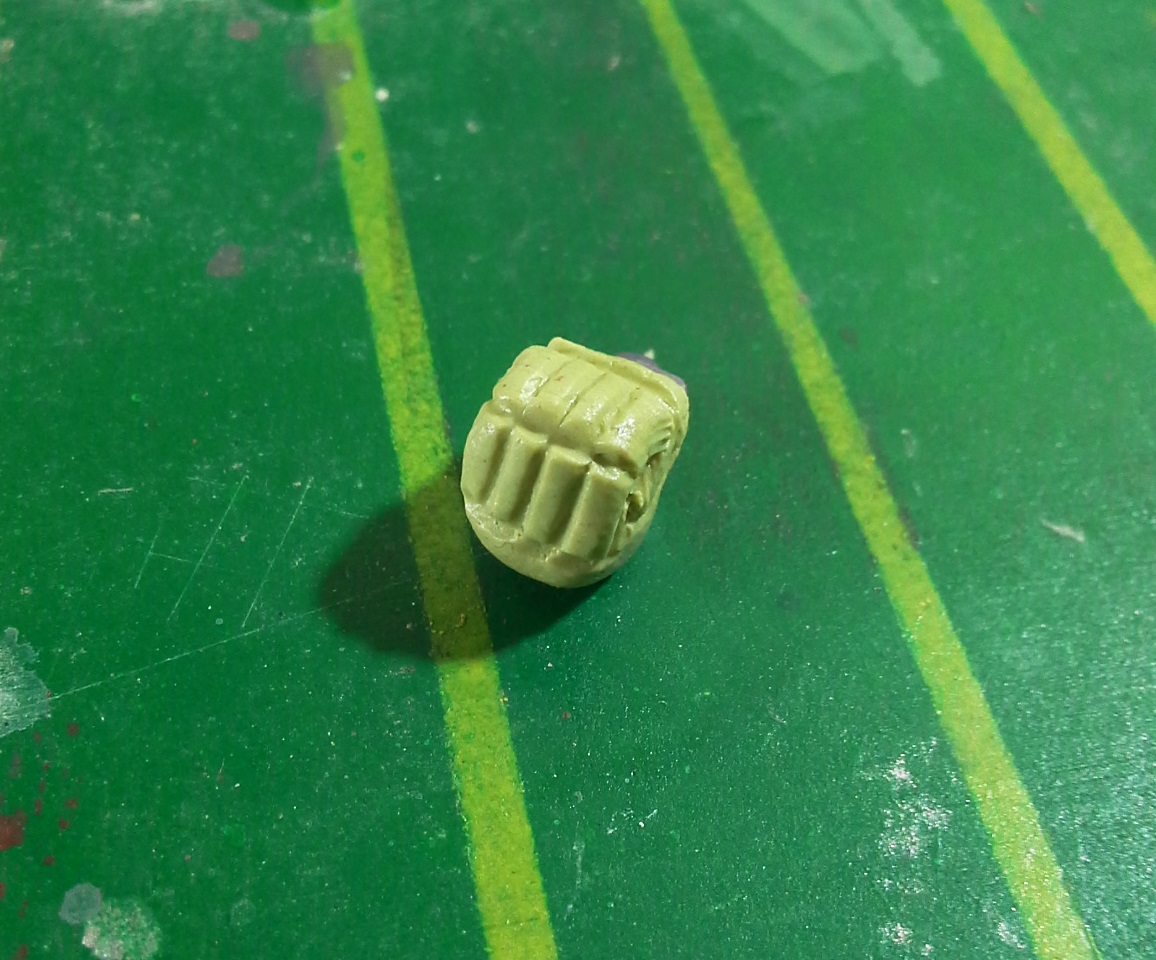
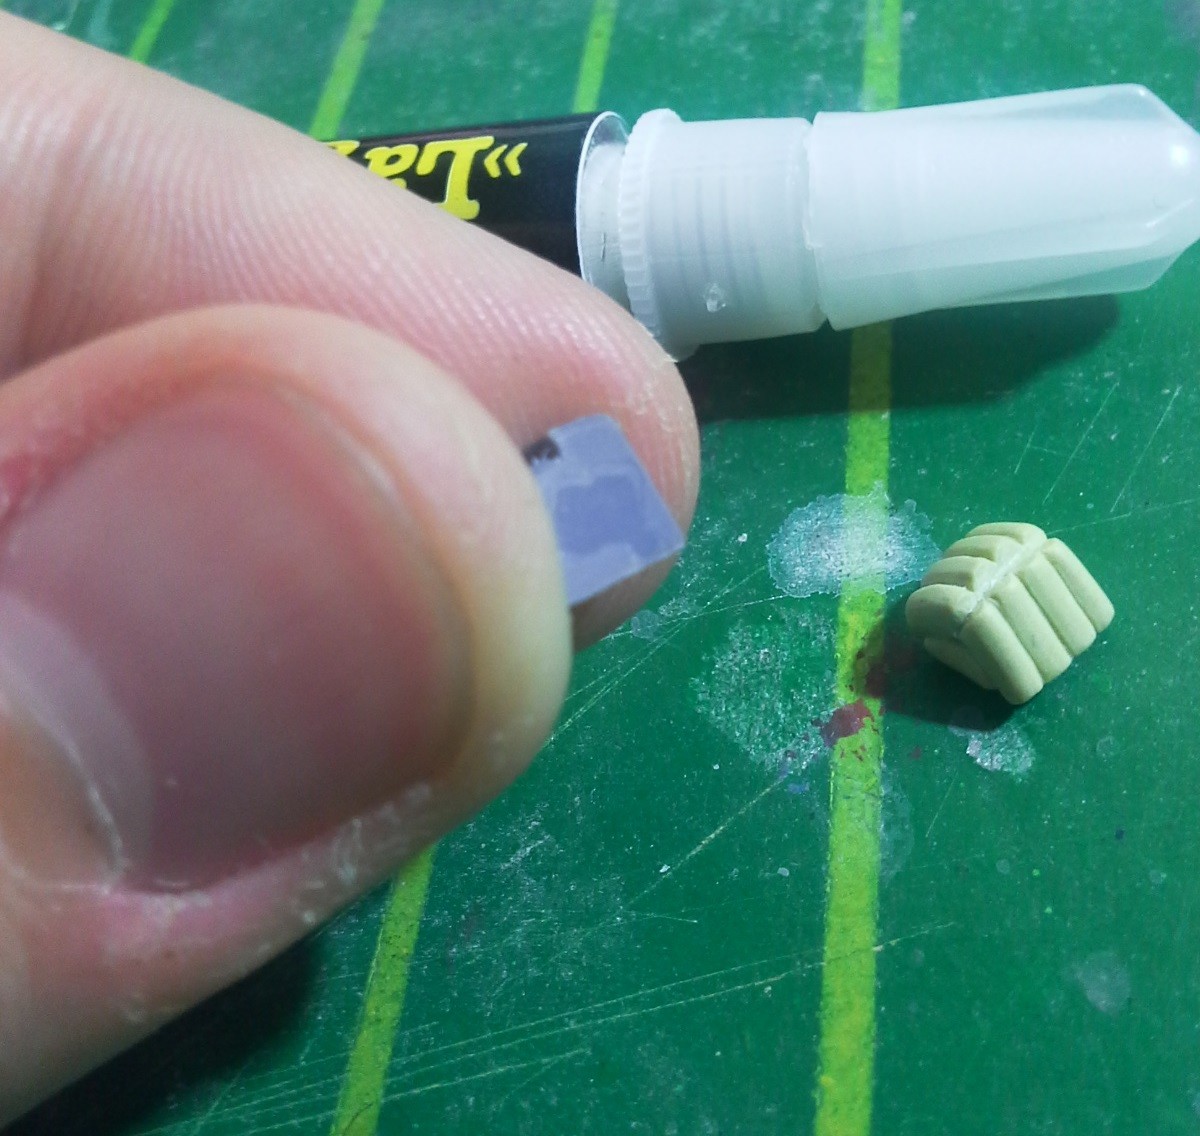
To begin with, I remove the excess material with a hobby knife. Next, I sand the edges in order to achieve smooth rounded corners.
Our chunk of epoxy putty is starting to look like an actual hand (or fingers, rather). Now we are going to use a small, sharp blade to reshape the fingers. Scraping off material between them requires precision, as we want all four fingers to look the same.
I didn’t document the whole reshaping process since that would have been more suitable for video format, but I can tell you that that task took a lot of time to be finished.
I’d suggest you take your time with this kind of work. Take a good look from different angles every now and then to compare the curvature and diameter of the fingers. Keep in mind that we are not using uniform scratchbuilding materials for this (like 1.2mm plastic rods), we sculpted it all from scratch. If we want this hand to blend in with the design, we’ve got to put in that extra amount of work.

Using CA glue, I glue the epoxy putty fingers to the original hand part. The shape of the former still needs some work, but it can be done with the two pieces attached.
The thumb
The thumb is a simple piece, but sculpting it requires some special attention. We should keep in mind that it will have to adapt to the shape of the piece we made earlier.
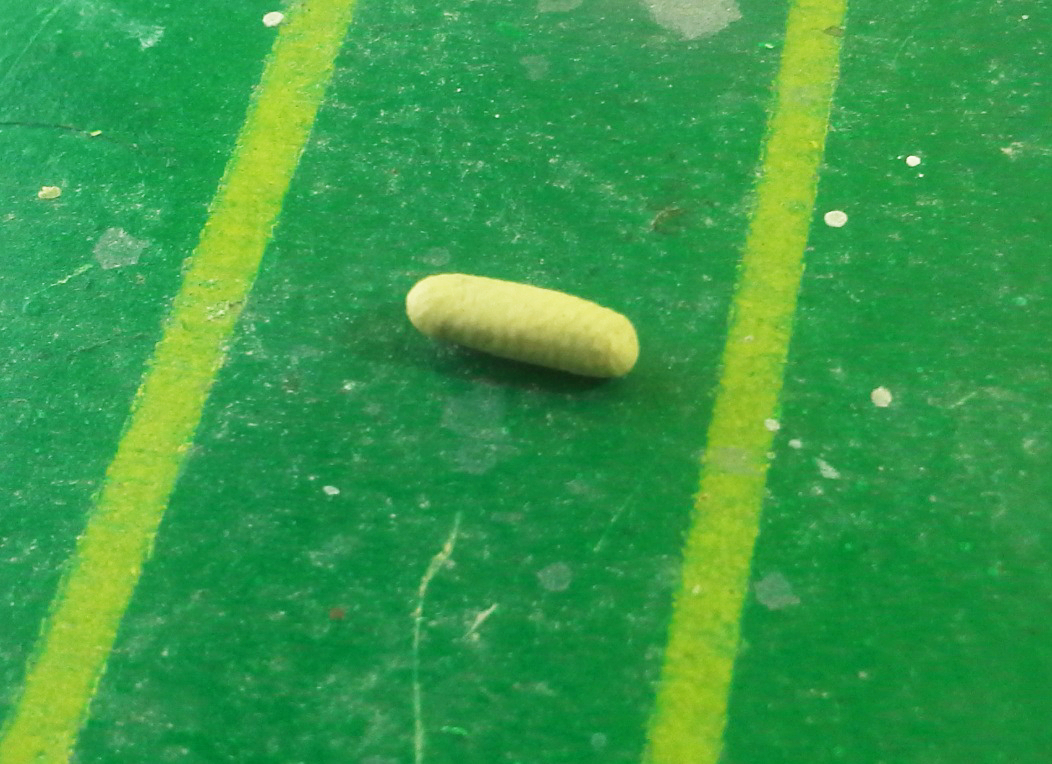
The pictured thumb was my 2nd attempt out of 4 in total. The first two were basically just test pieces, in which I tried to get the length and the angle right. In every attempt I had to be careful not to stick the thumb to the other fingers too much. Although we are going to glue them together later, all the sanding and reshaping work becomes considerably easier if the thumb is on its own.
Bend and adjust as much as needed, and then just leave the thumb to harden separately. I waited 24 hours and, using soft sanding sticks and a hobby knife, reshaped it into a thin, round piece.
Once I was happy with the size and angles, I glued the thumb onto the original plastic piece. I also had to snap it into two pieces to adjust the angle slightly, and then glue it back together.
As you can tell, I went ahead and made some hinges on the thumb, to match the ones on the stock hands. Let’s see how I did that.
Hinge details

I went with the stretched sprue technique to replicate the hinges featured on the hands that came with the kit. It’s a simple process but it may take a good amount of attempts, as we can’t measure something this small. Trial and error.
Knowing that the pieces of streched runner are cylindrical, our goal is to achieve a quarter of a cylinder. The 90º angle will fit right on the corner formed between the phalanges. I cut lengthwise once and obtained a half, then cut the resulting piece in half again and we’ve got our tiny hinge detail! I kept comparing the size of the hinge to the width of the individual fingers to ensure it would look good when glued on.
Once again, this technique is all about trial and error. It’s tricky but the theory is quite simple.

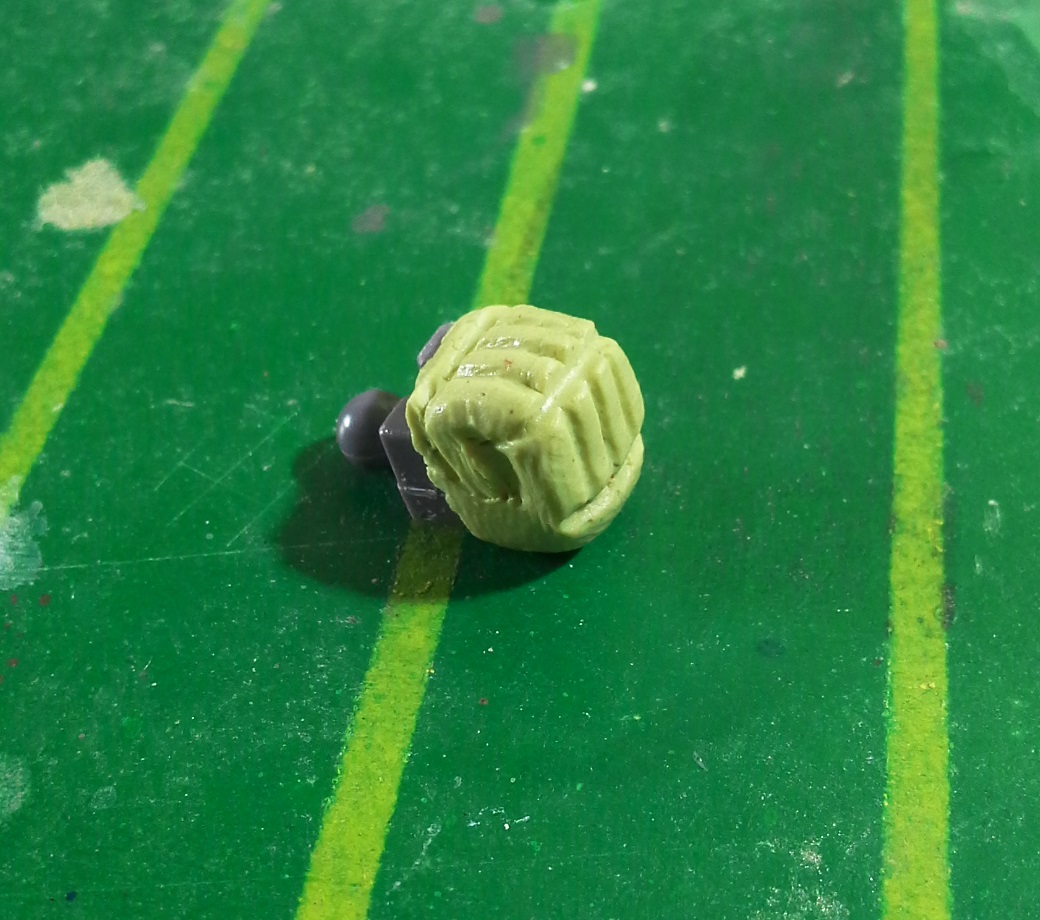
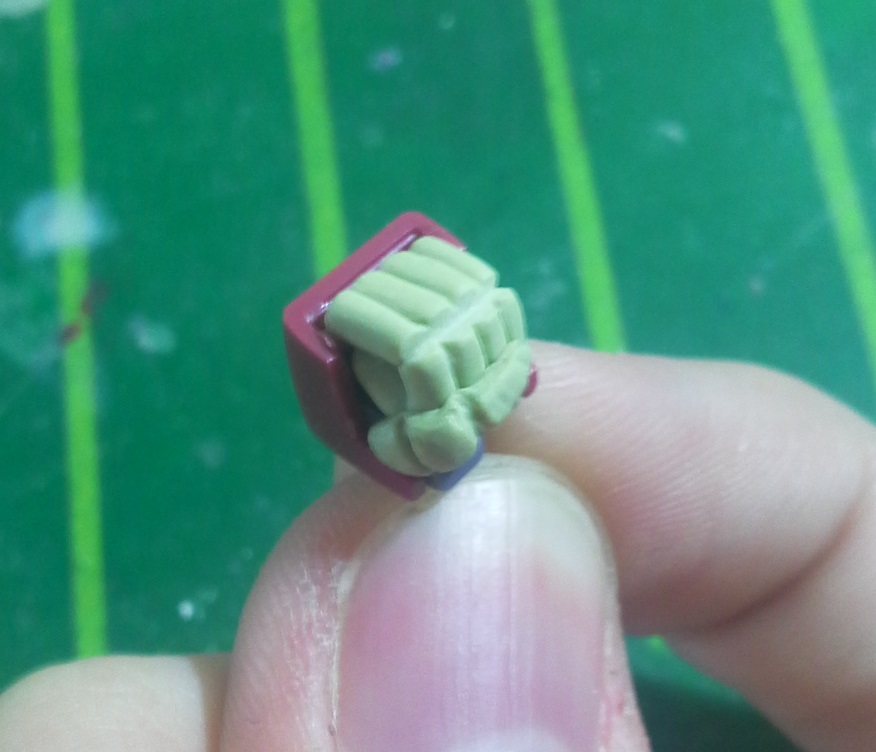
After gluing all the sprue pieces onto the epoxy hands, we let the plastic cement dry. We’ll need them to be strongly attached to the hands before proceeding to the last step.
Finally, we had to give these hinges better appearance. For that purpose, I used a hobby knife once again to round the edges. Patience and a steady hand are vital. Rounding these corners took about one hour.
After I finished, I applied a little bit of thin plastic cement on the plastic to smoothen the plastic and get rid of any imperfection.
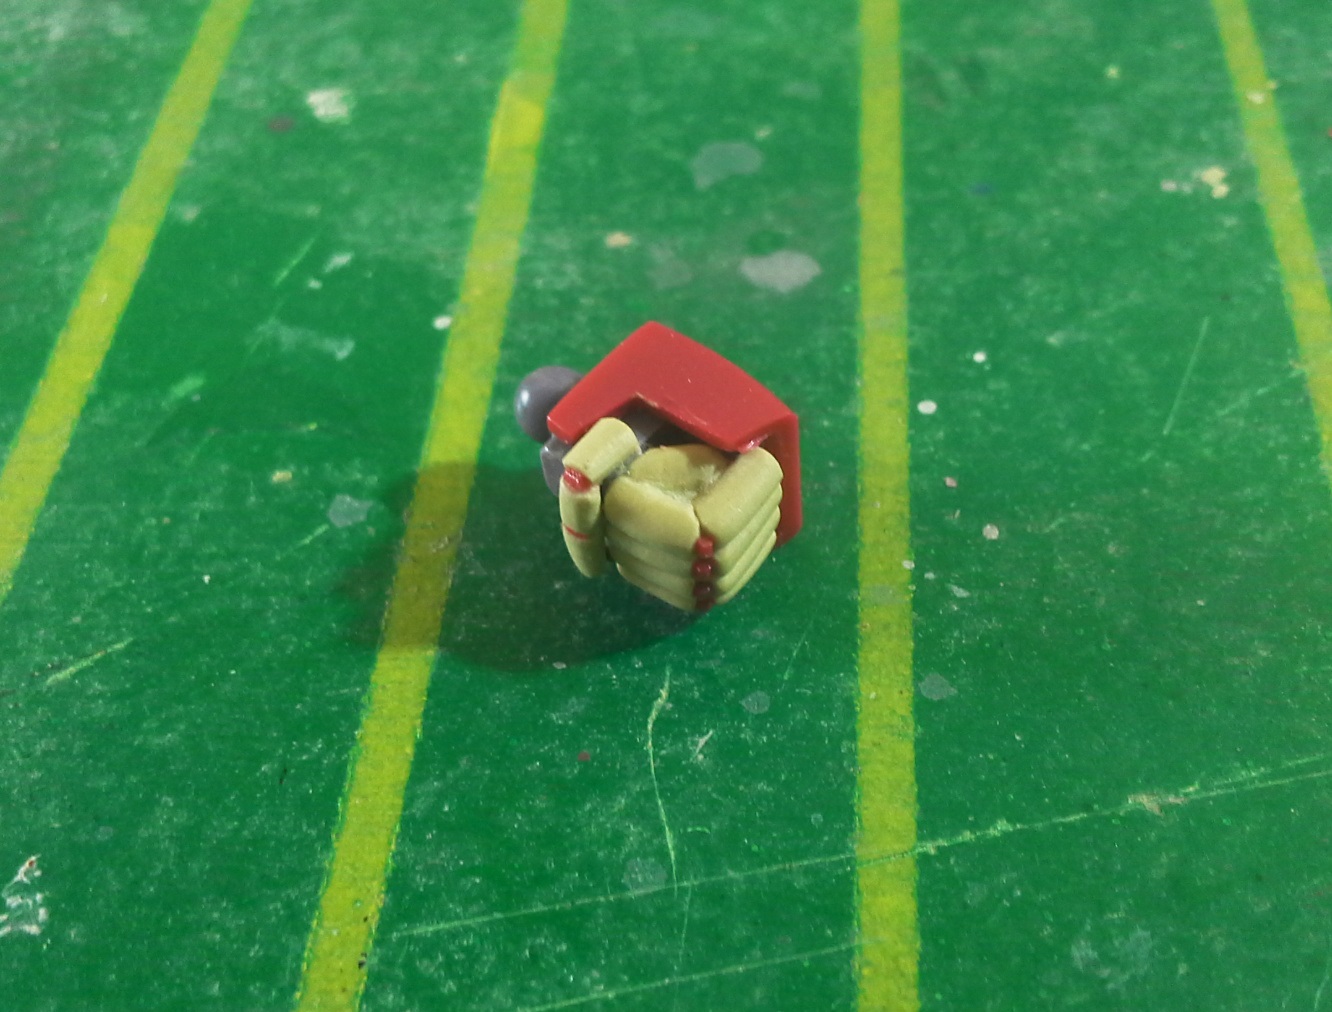
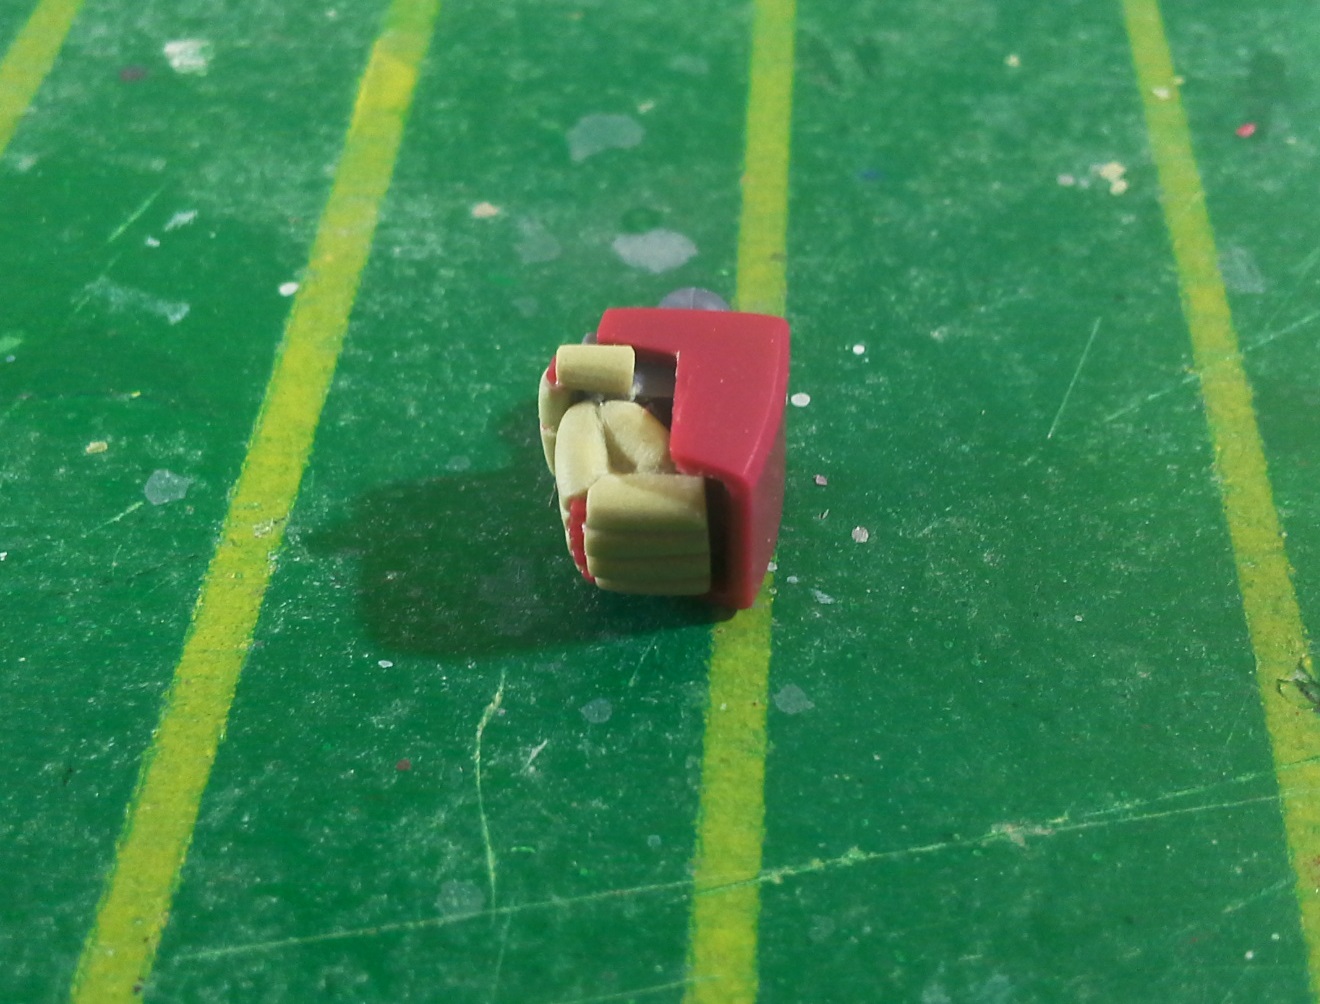
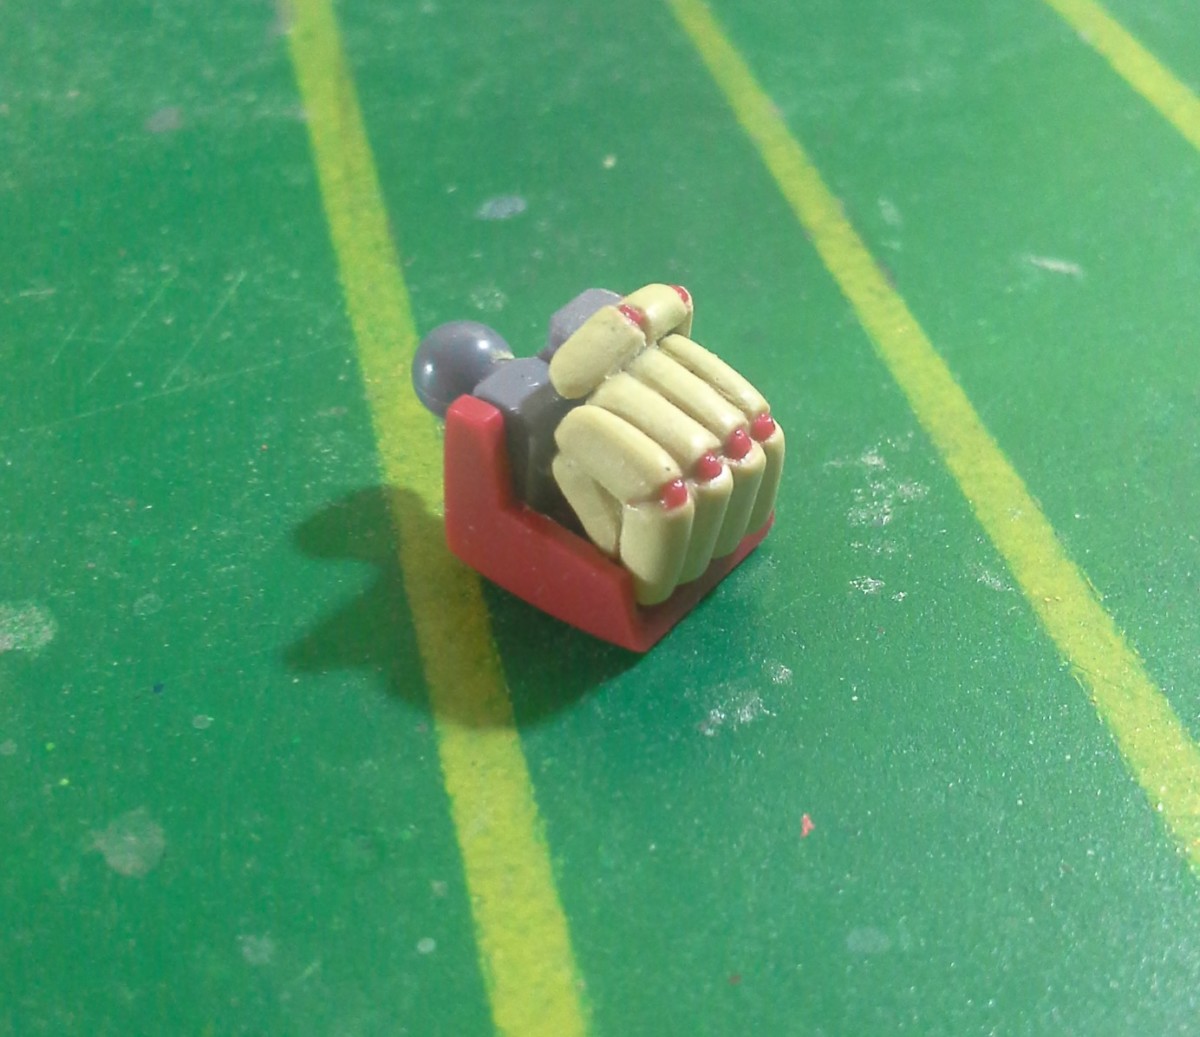
The end product

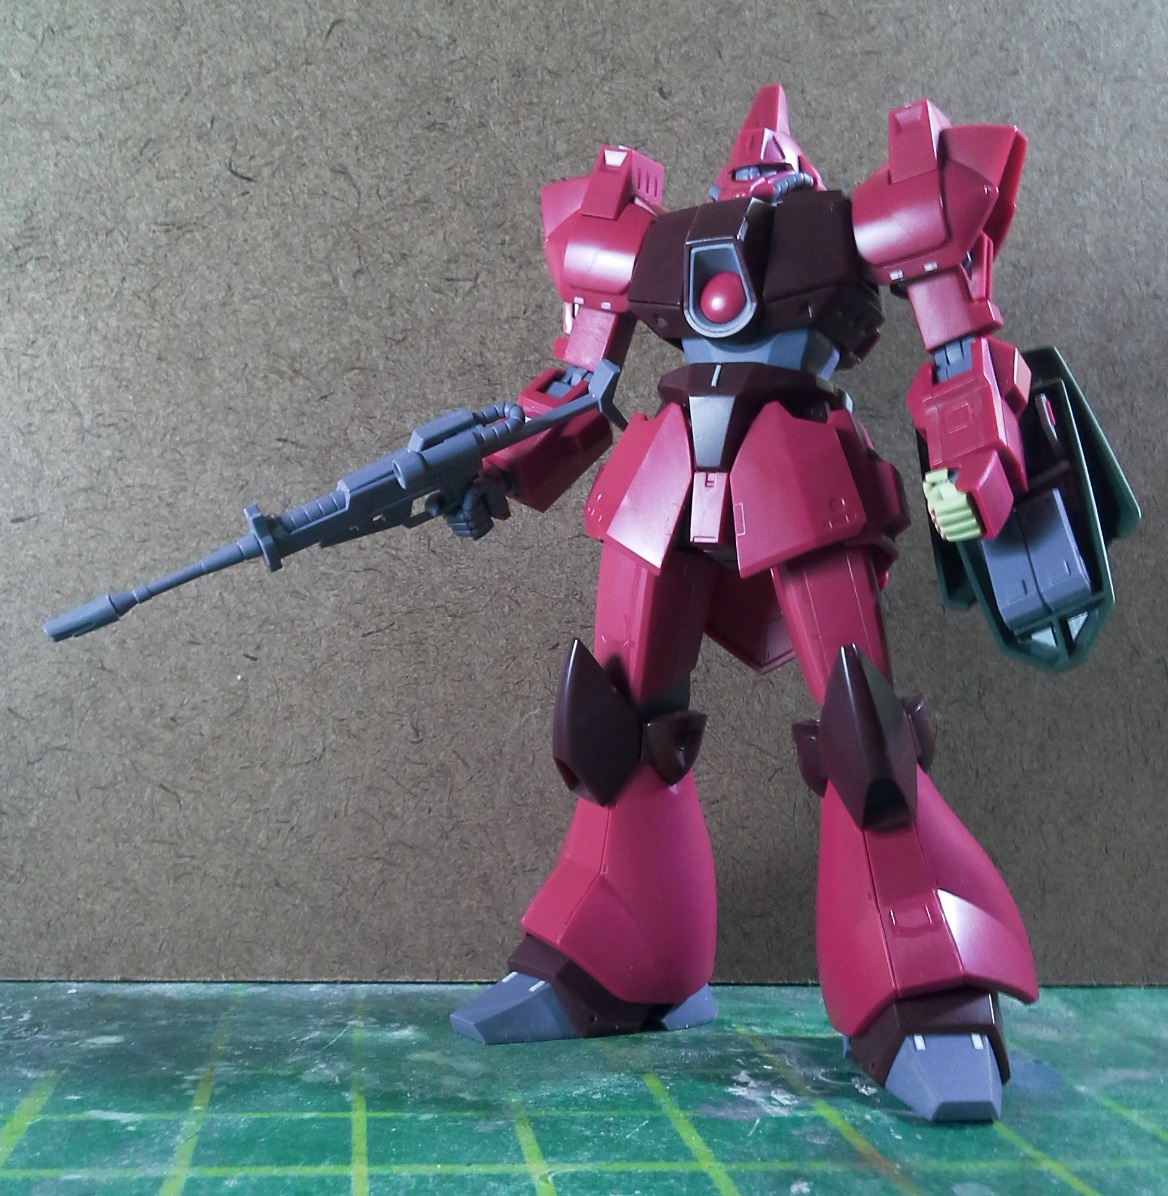
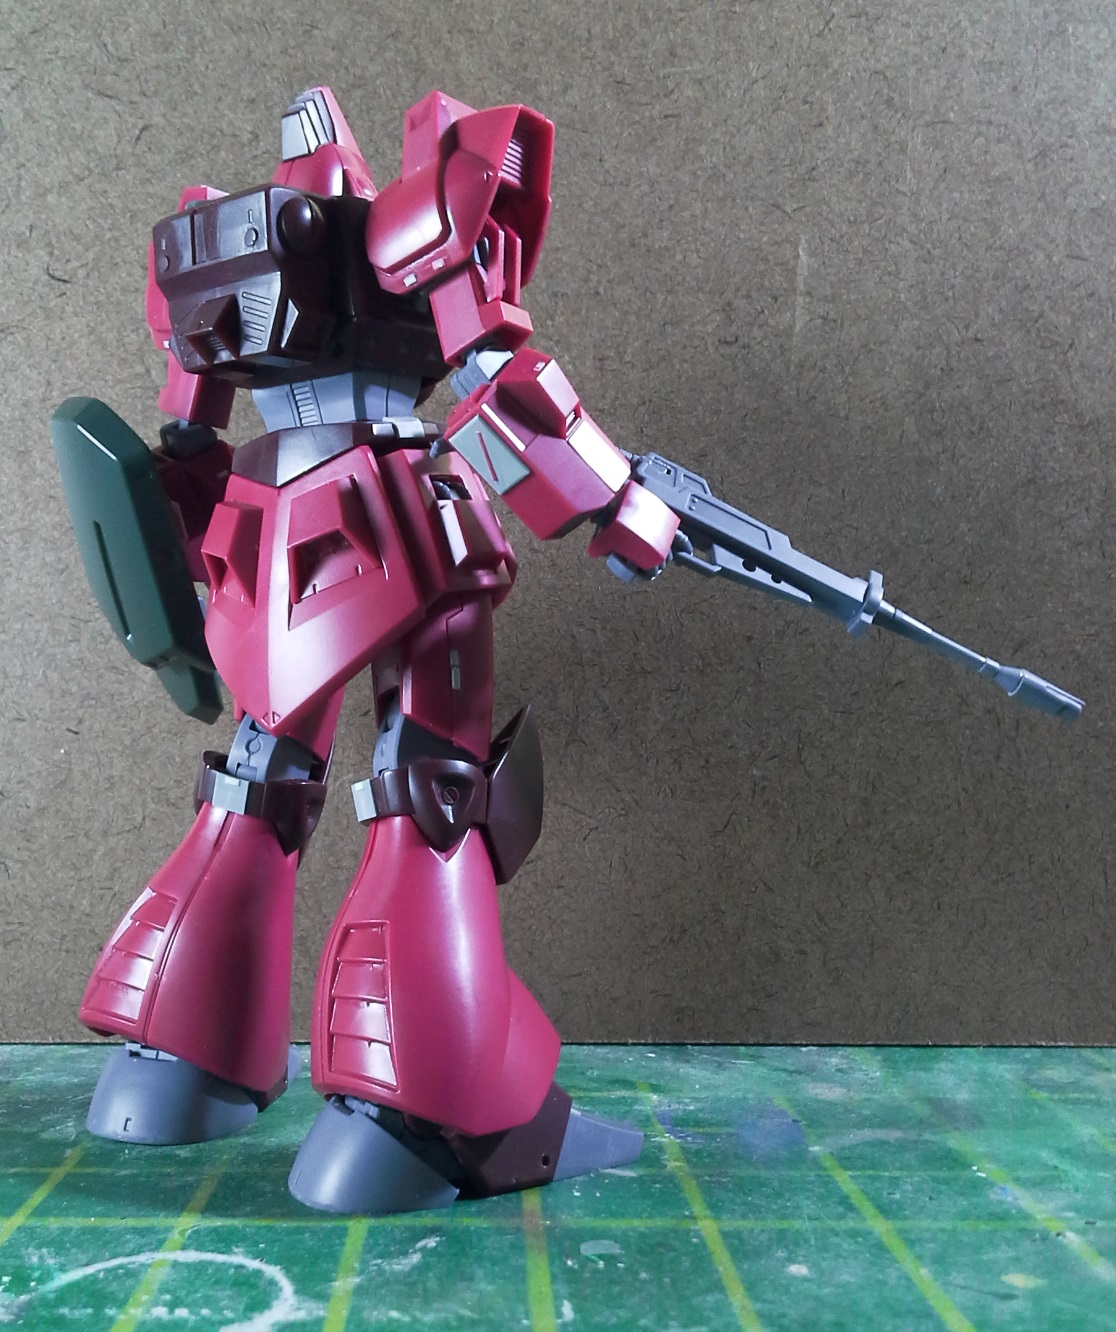

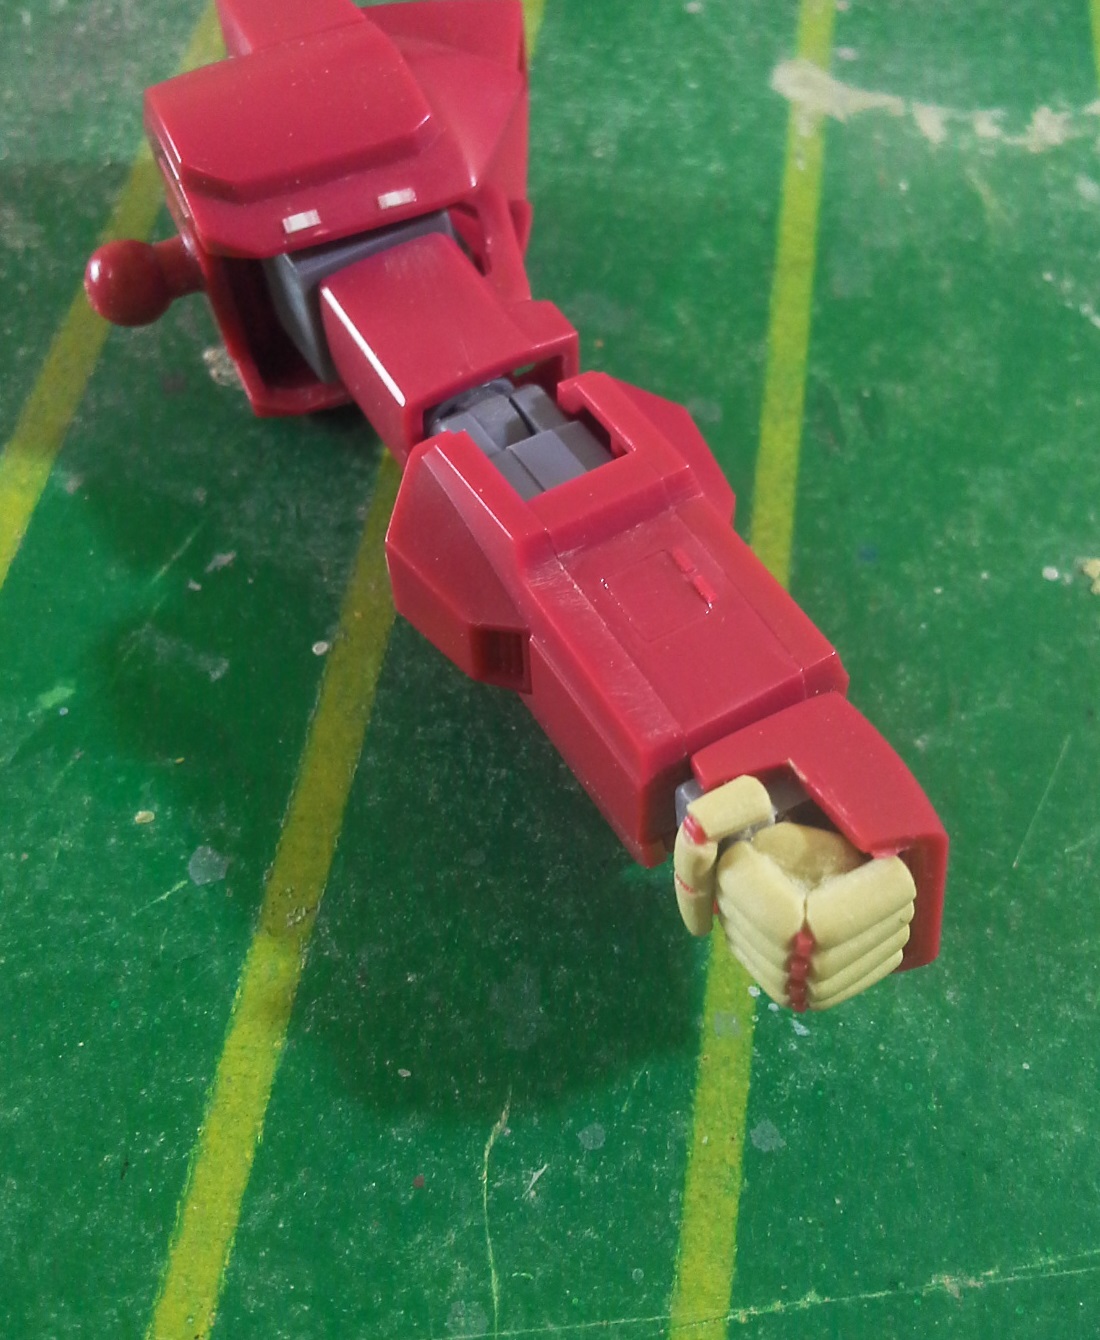
Not only did we finish the hand, but the whole construction process has come to an end as well!
In the next part, we are going to spray some primer and check for possible flaws on the surface. The hand we just sculpted isn’t 100% perfect, so the coat of primer is probably going to expose a few imperfections we’ll have to deal with. Until then, happy modeling!