Hello! This is part 3 of the build series on the HGUC Galbaldy Beta.
Today, we will conclude the detail work on the bottom half of the body, that we started doing in the last post.
Styrene sheet details
In the first part of this series, I showed you my technique to hide seam lines without having to glue the parts together. I just glue a piece of plastic plate onto one of the parts, and the overhang reaches the other part, thus covering the seam in between.
I actually missed one of those seam lines (on the back of the lower leg) at the time. So in order to hide it, I used a piece of 0.3mm Wave plastic plate on each leg.
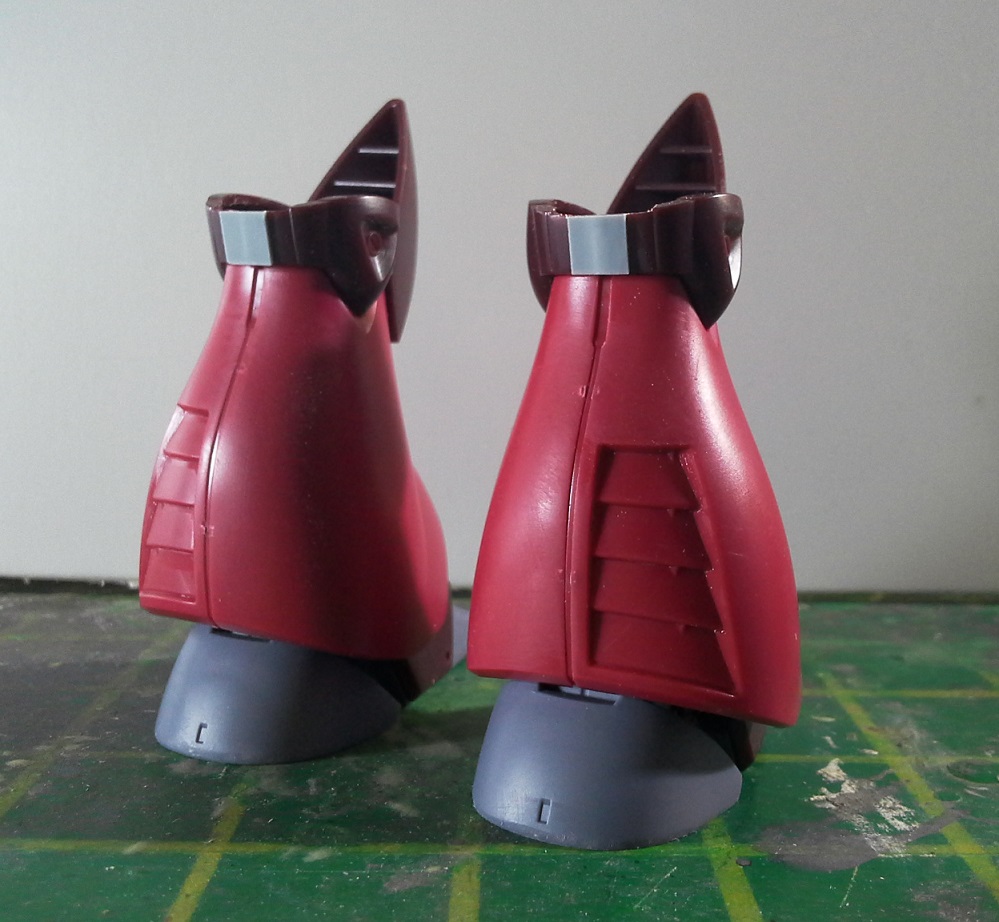
Now the seam lines are hidden, but the panels look too plain and boring. I dealt with that issue by gluing a tiny piece of 0.2mm-thick styrene sheet on top of each of the original panels.
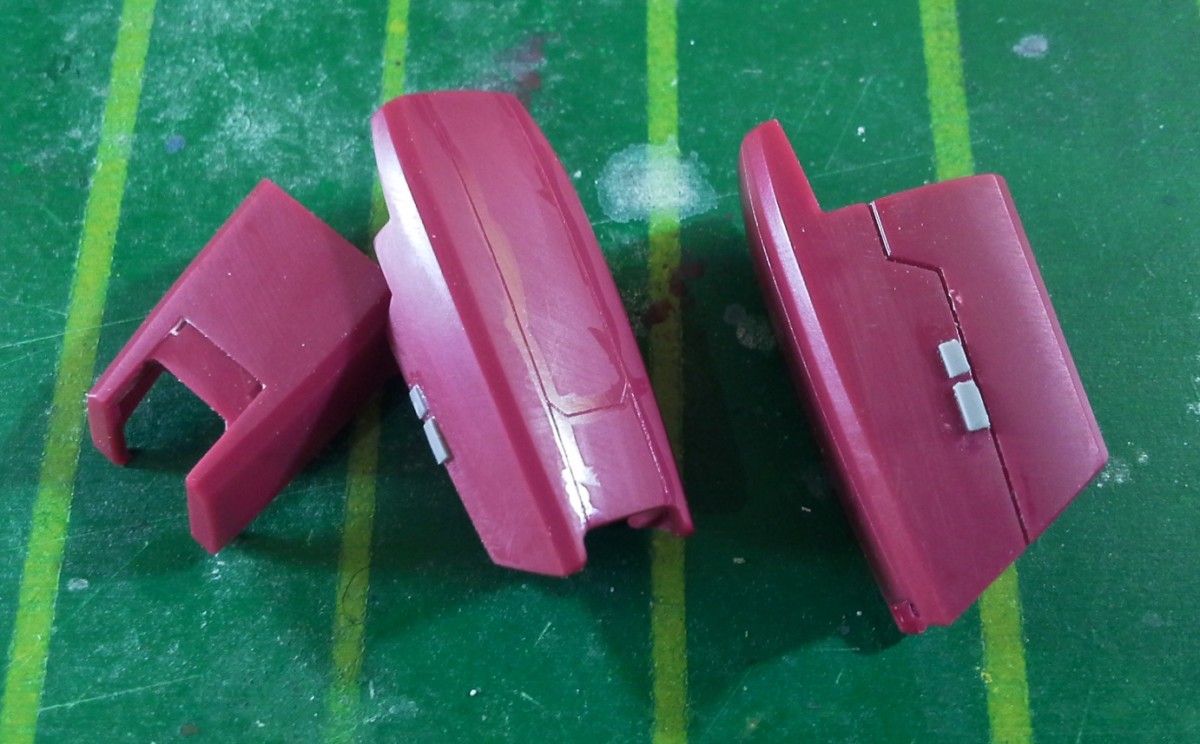
For the outside of the thighs, I decided to go with two small pieces of 0.5mm-thick styrene. I like the idea of having one short and one long piece right next to each other.
I used 0.3mm styrene to detail up the waist section as well.
This assembly is a good example of how I like to distribute details. A few large open spaces, most details concentrated near the edges, and a few on central areas.
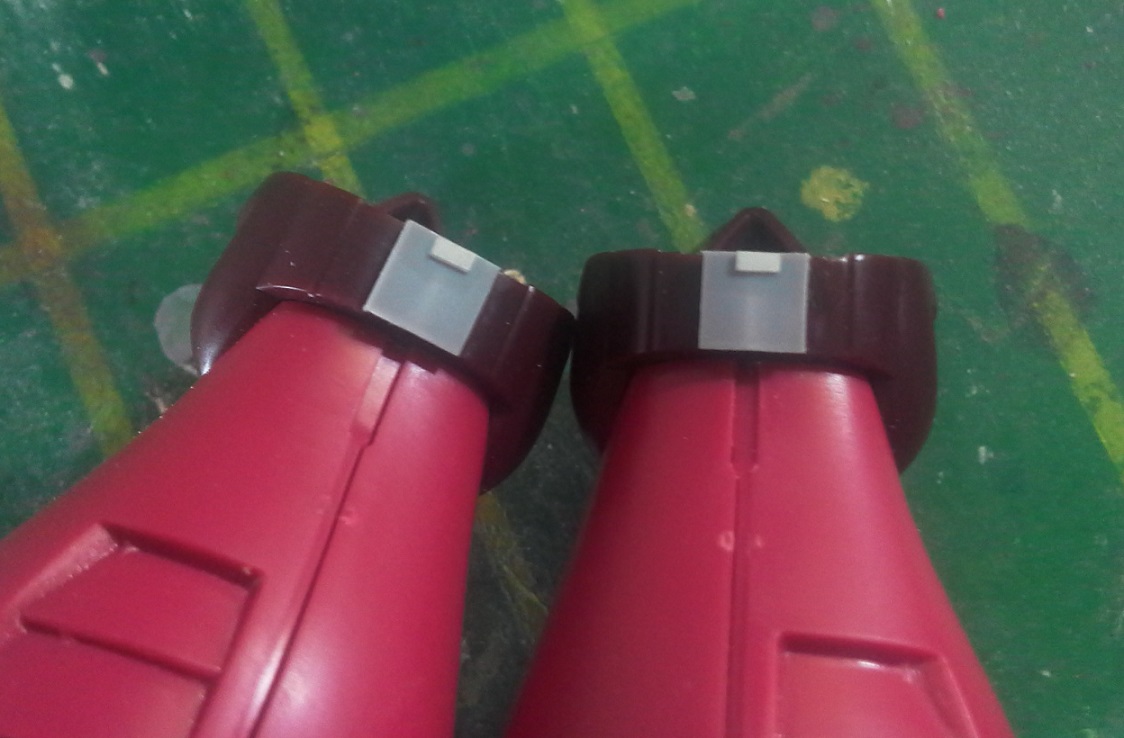
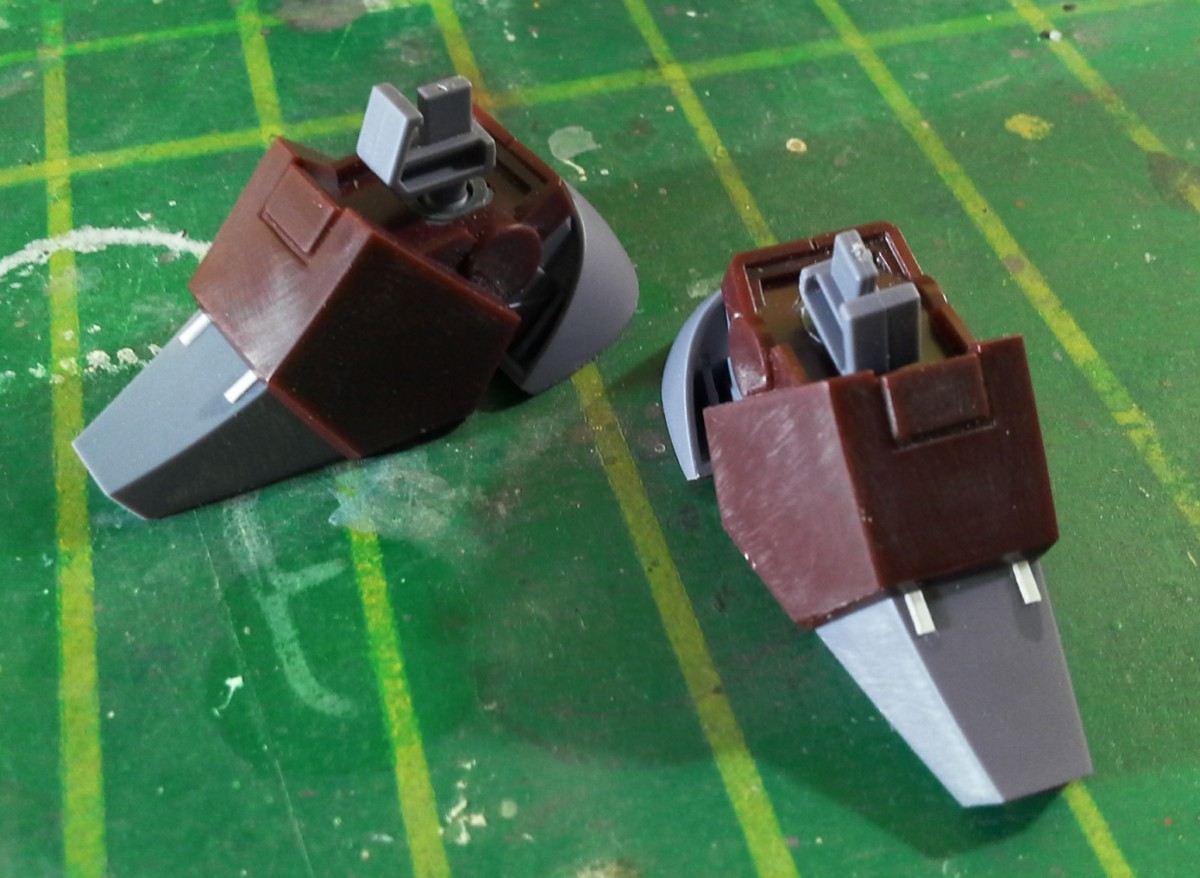
Lastly, the feet. These symmetrical 0.2mm-thick details and the rectangular panel above will draw our eyes towards the feet when the model is assembled.
Detail parts
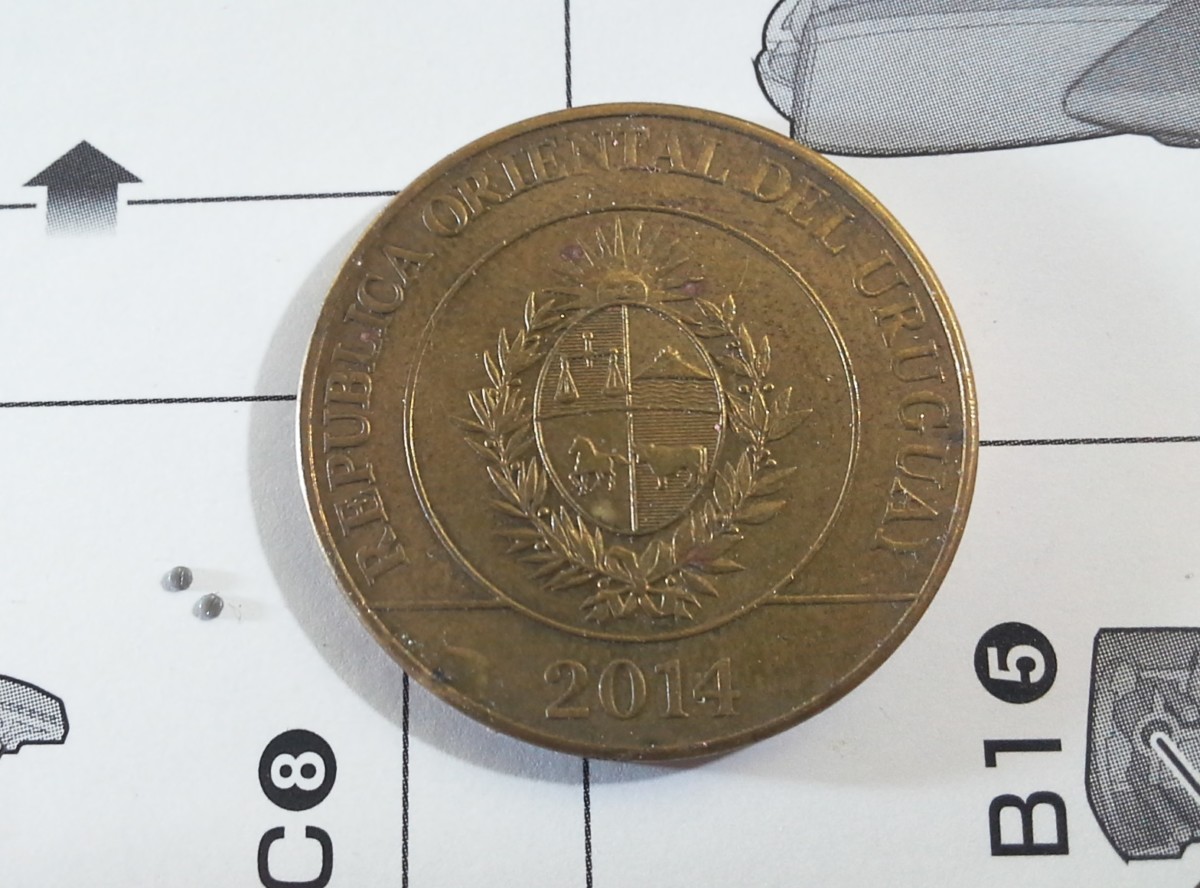
As in the last update, we’re going to use Kotobukiya plastic screws/ rivets to add detail. However, this time, the rivets are even smaller!
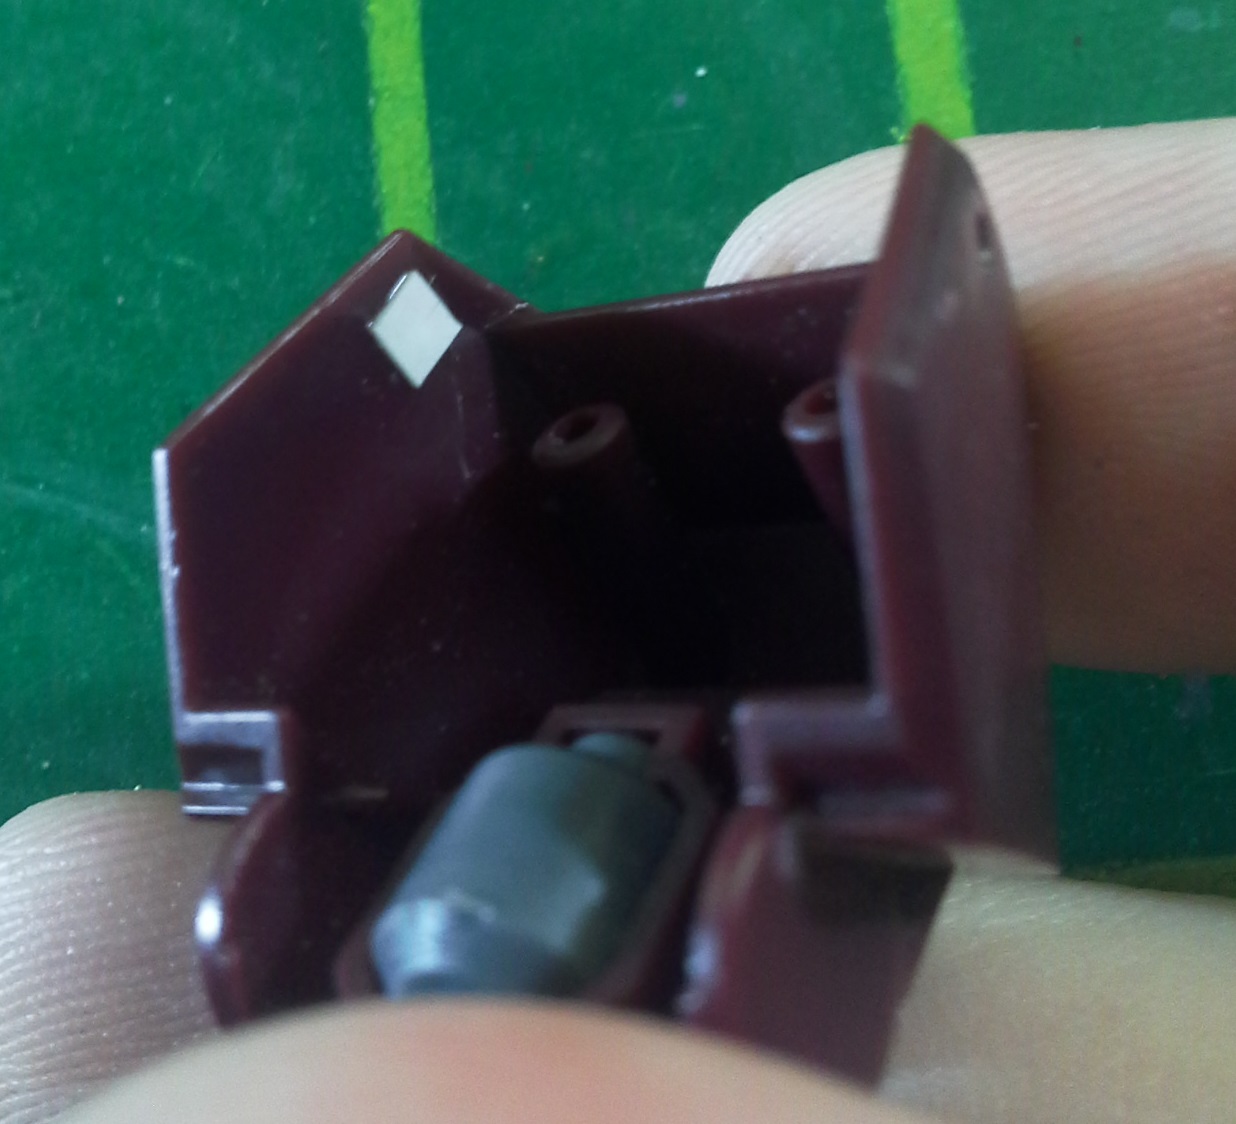
As I don’t want them to protrude from the part – and rather be sunken into it – I will drill a hole. This step wasn’t necessary last time, since the recess was already molded on the part.
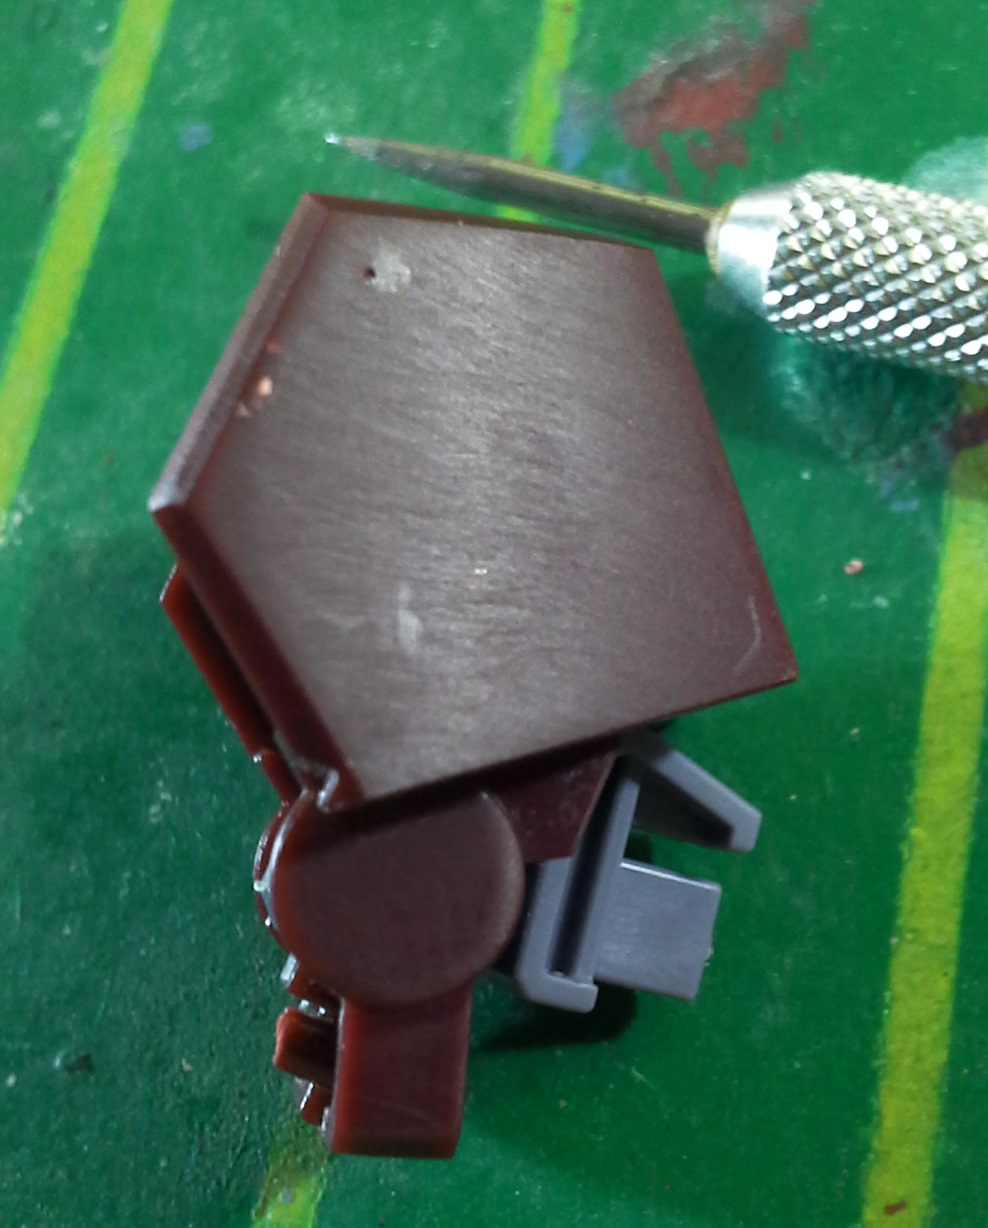
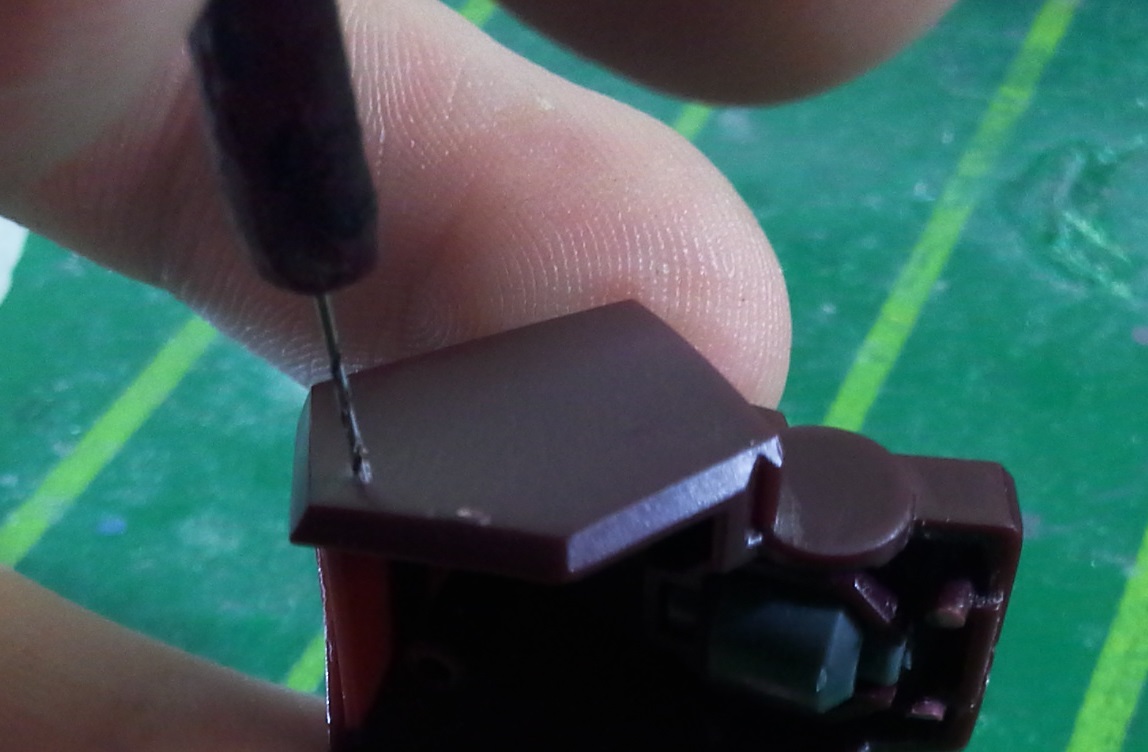
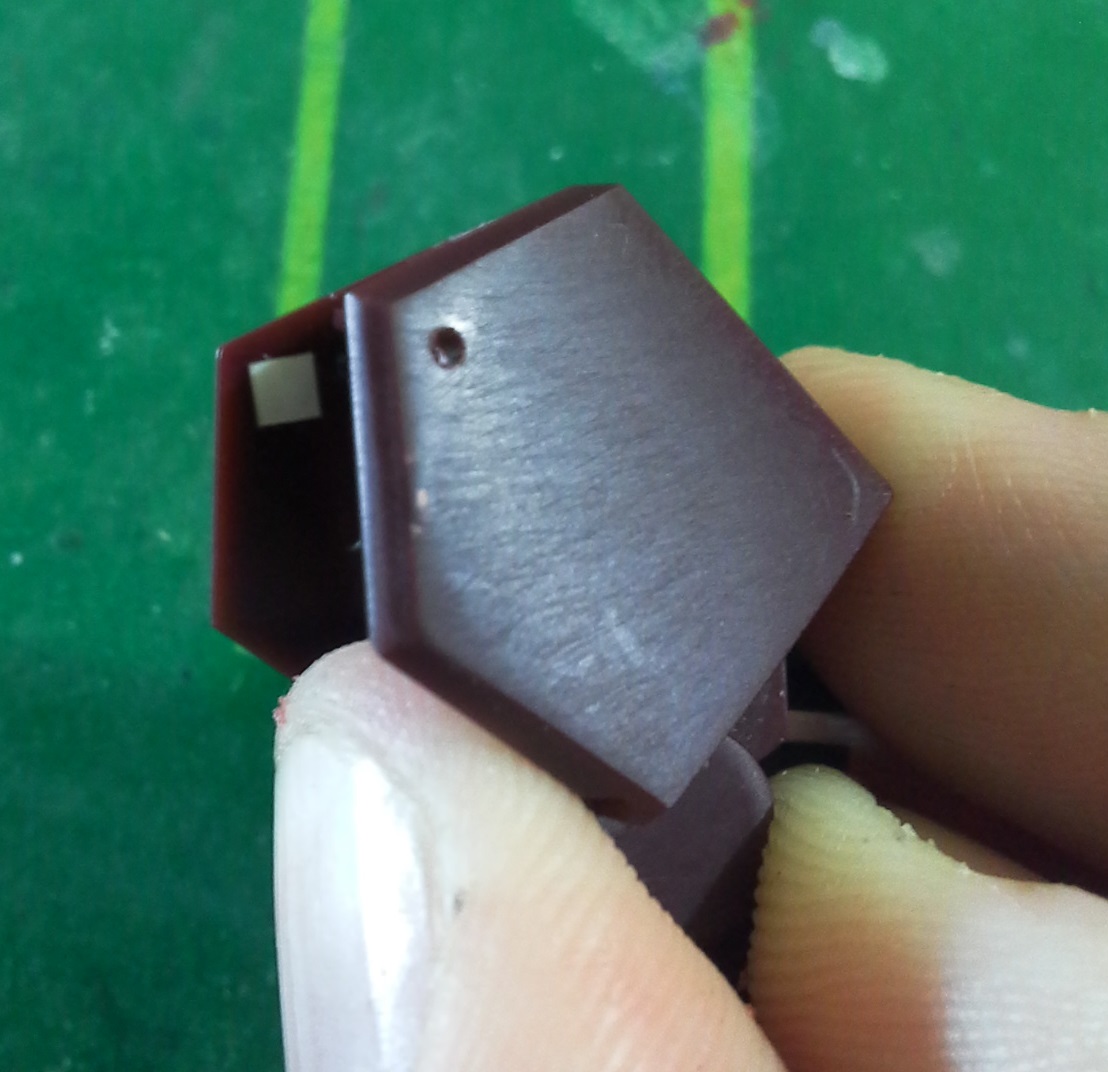
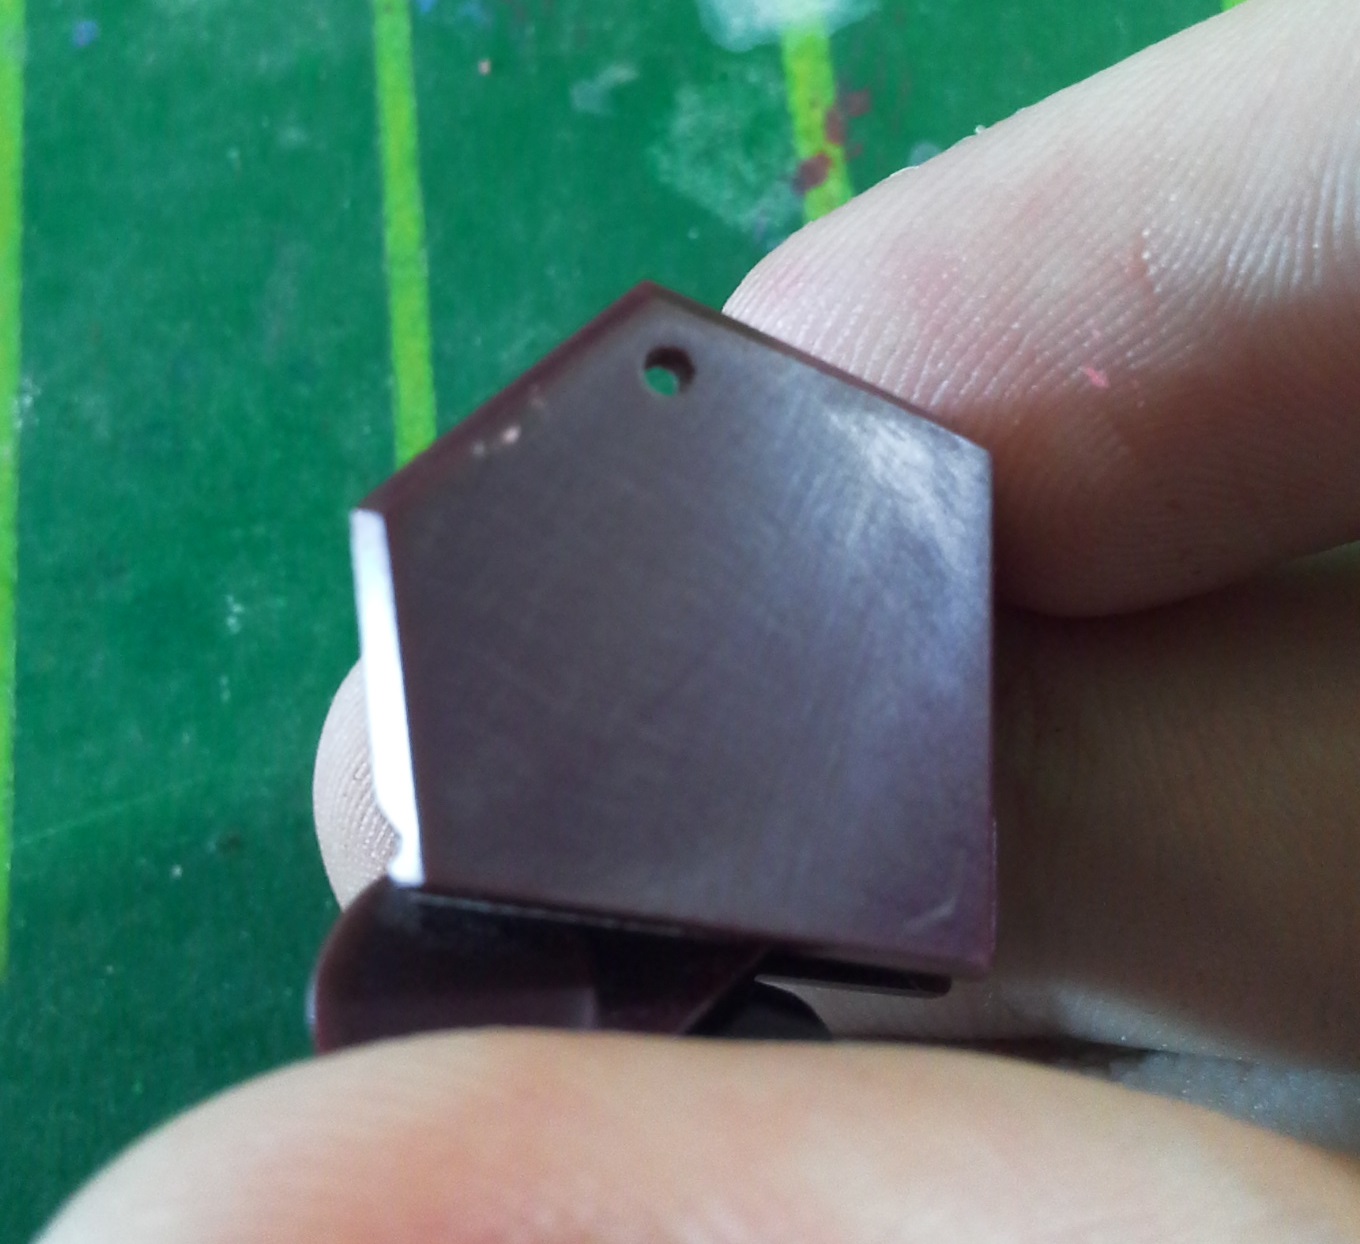
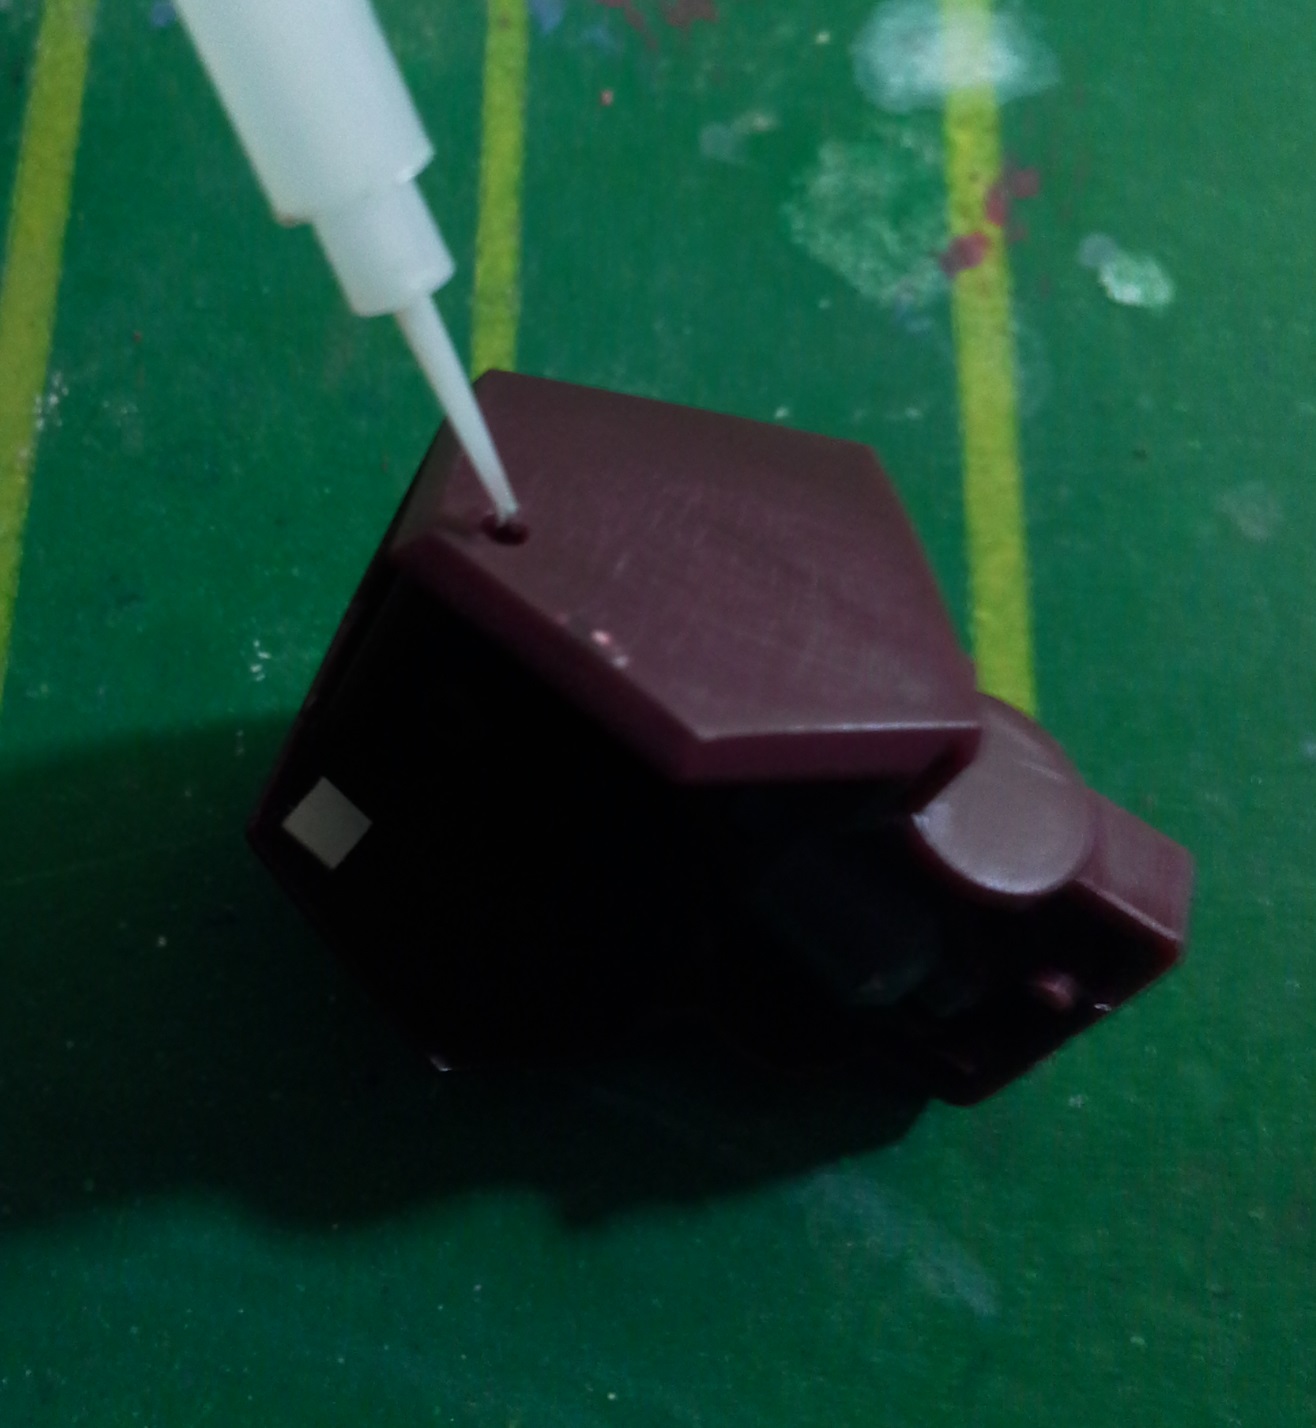
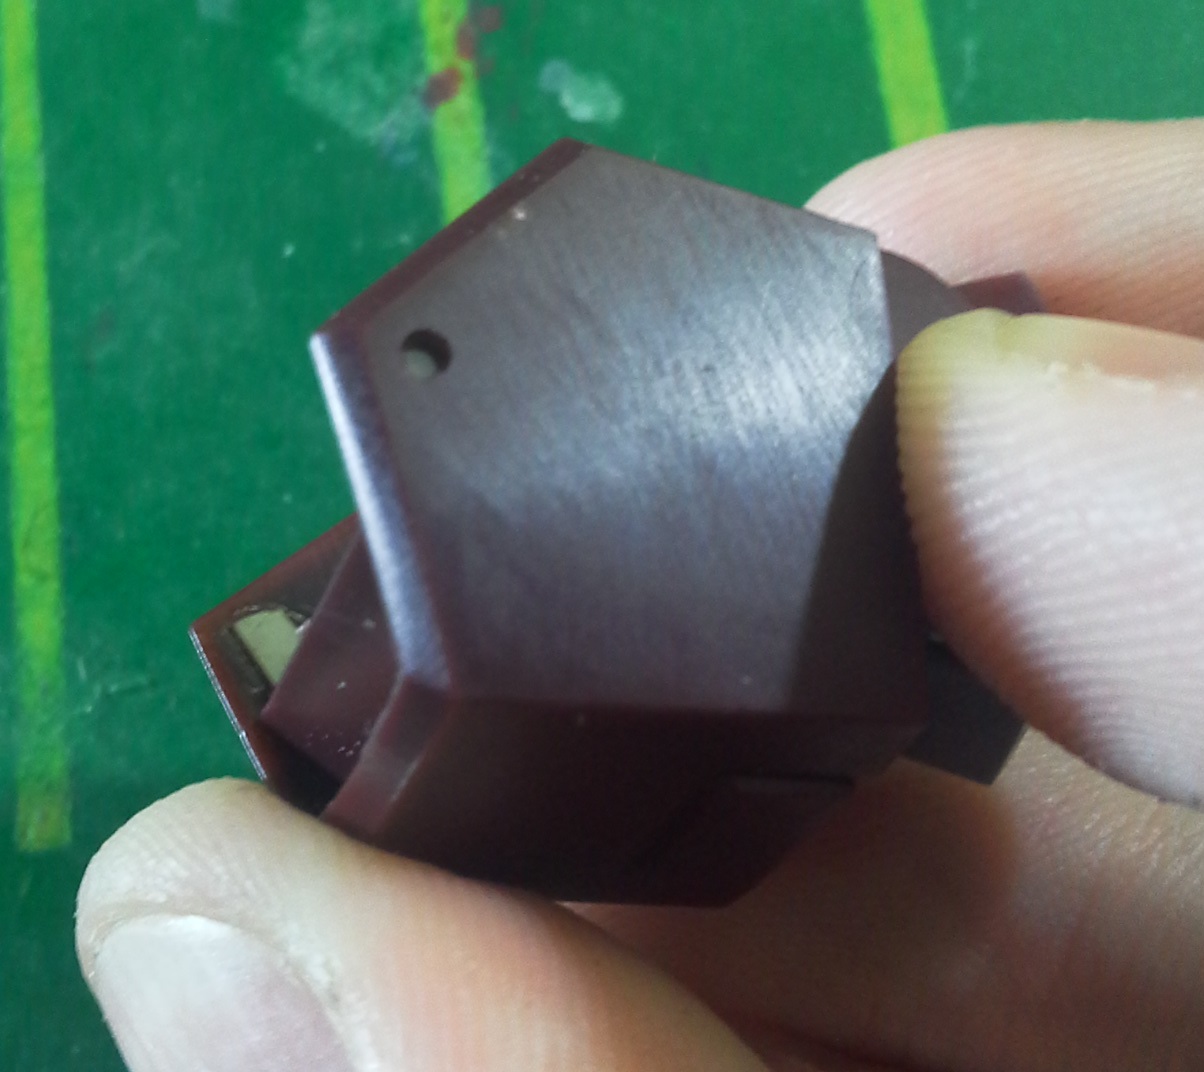
First, I marked the center with my carving needle. Next, I drilled the hole, using a 0.5mm drill bit. Then, to smooth up the surface and slightly enlarge the hole, I filed the area with a round file. A tiny bit of plastic cement was applied to further smooth the plastic.
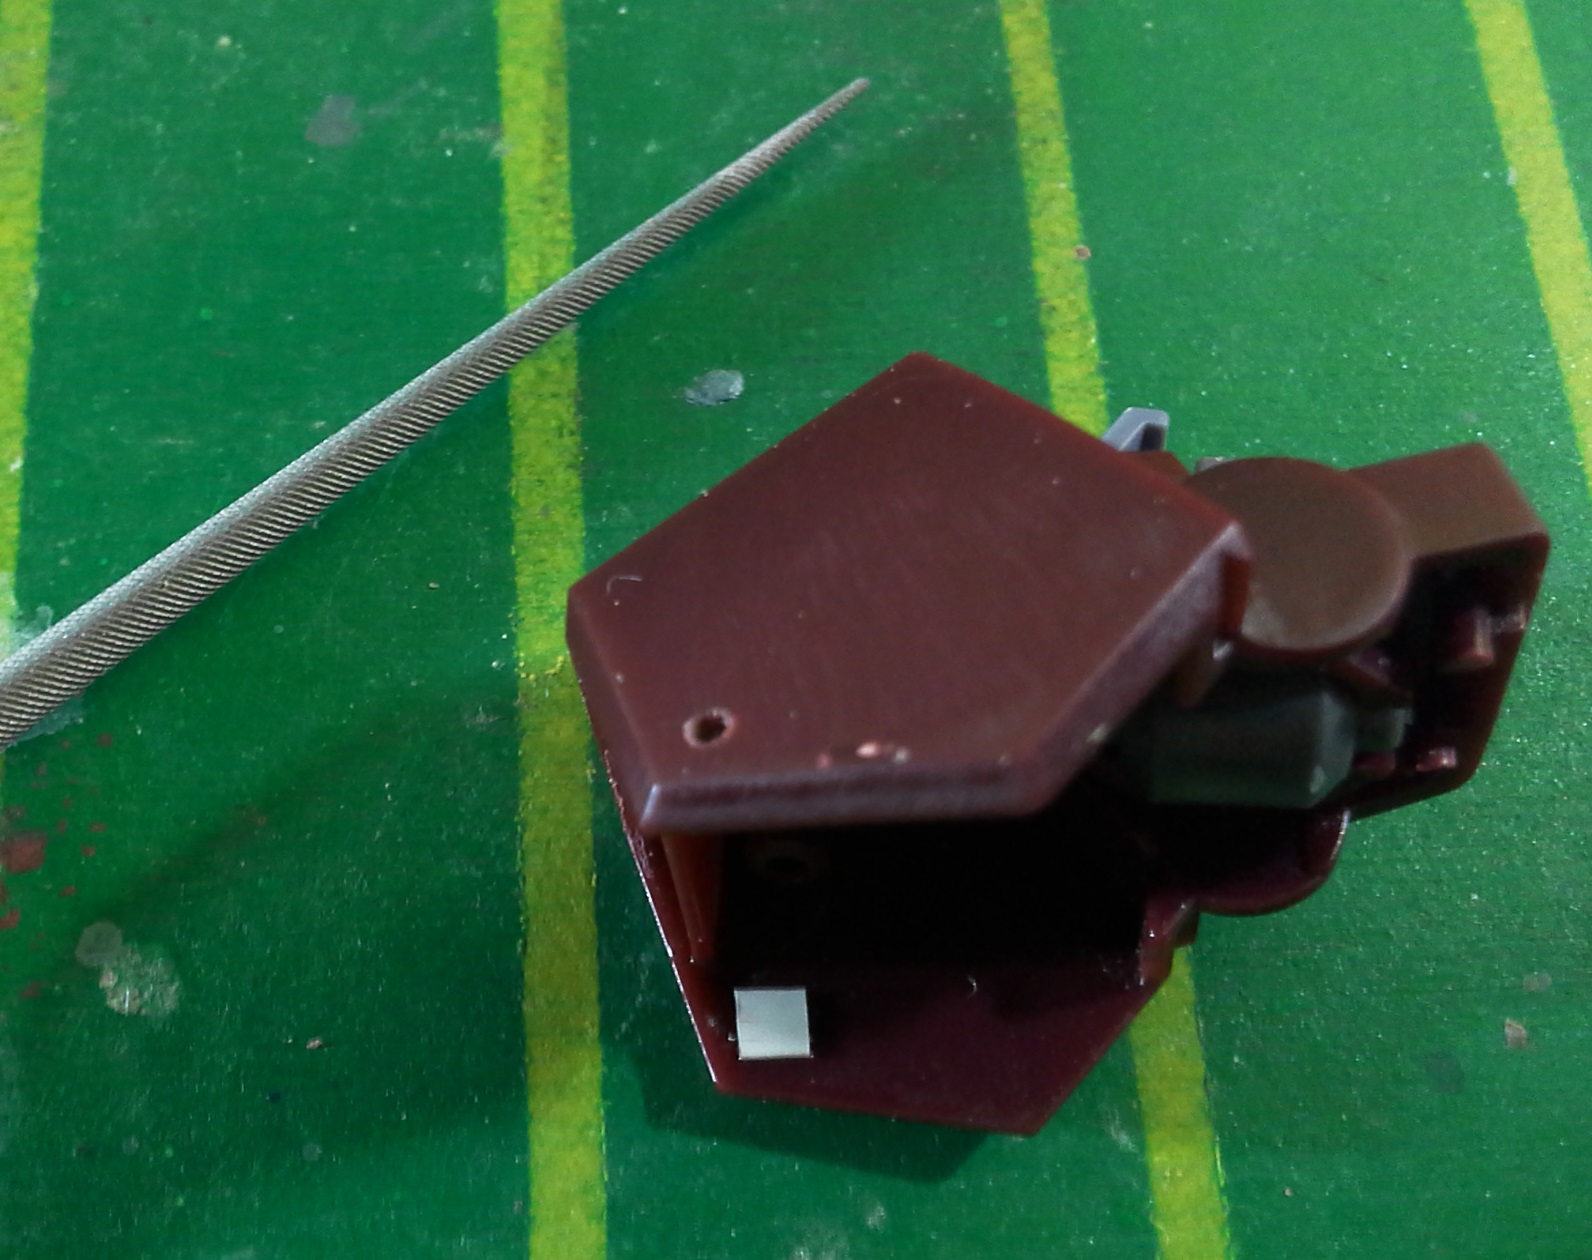
The detail part will need somewhere to sit on. I swiftly cut out a little piece of styrene sheet, and that will do.
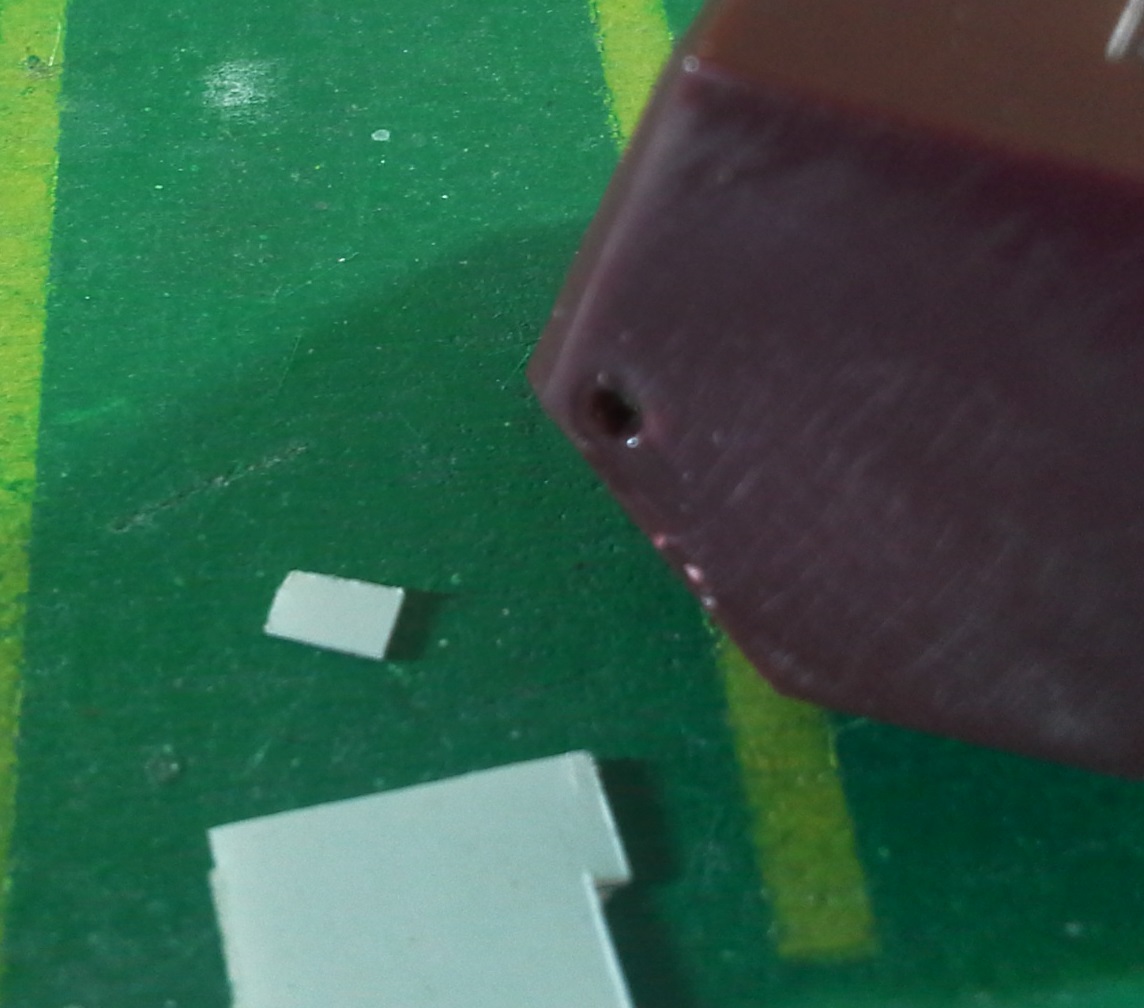
The piece of plastic plate doesn’t necessarily have to be cut too precisely, as the part will always look clean from the outside.
As for the plastic rivets, we won’t glue them yet. To avoid masking, I’m going to paint them separately. Until we get to the painting stage, I’ll have to store it somewhere safe (it’s really, really small!).
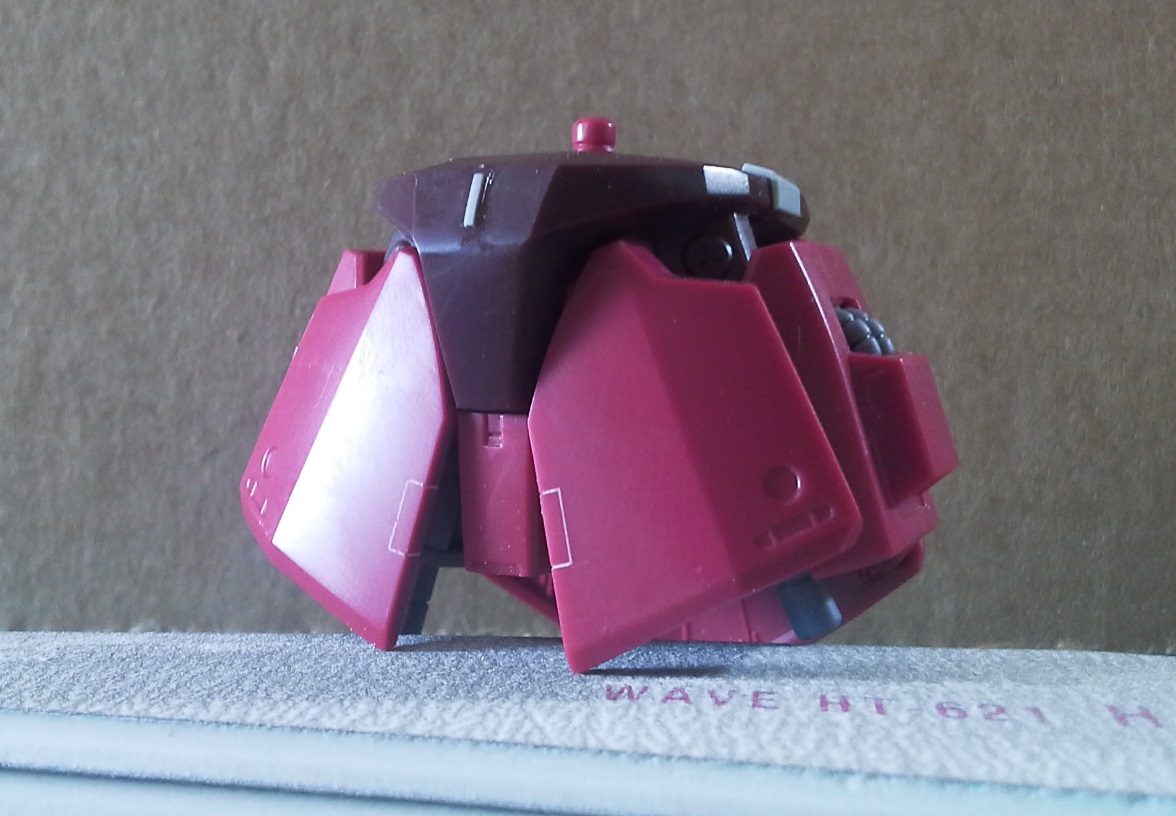
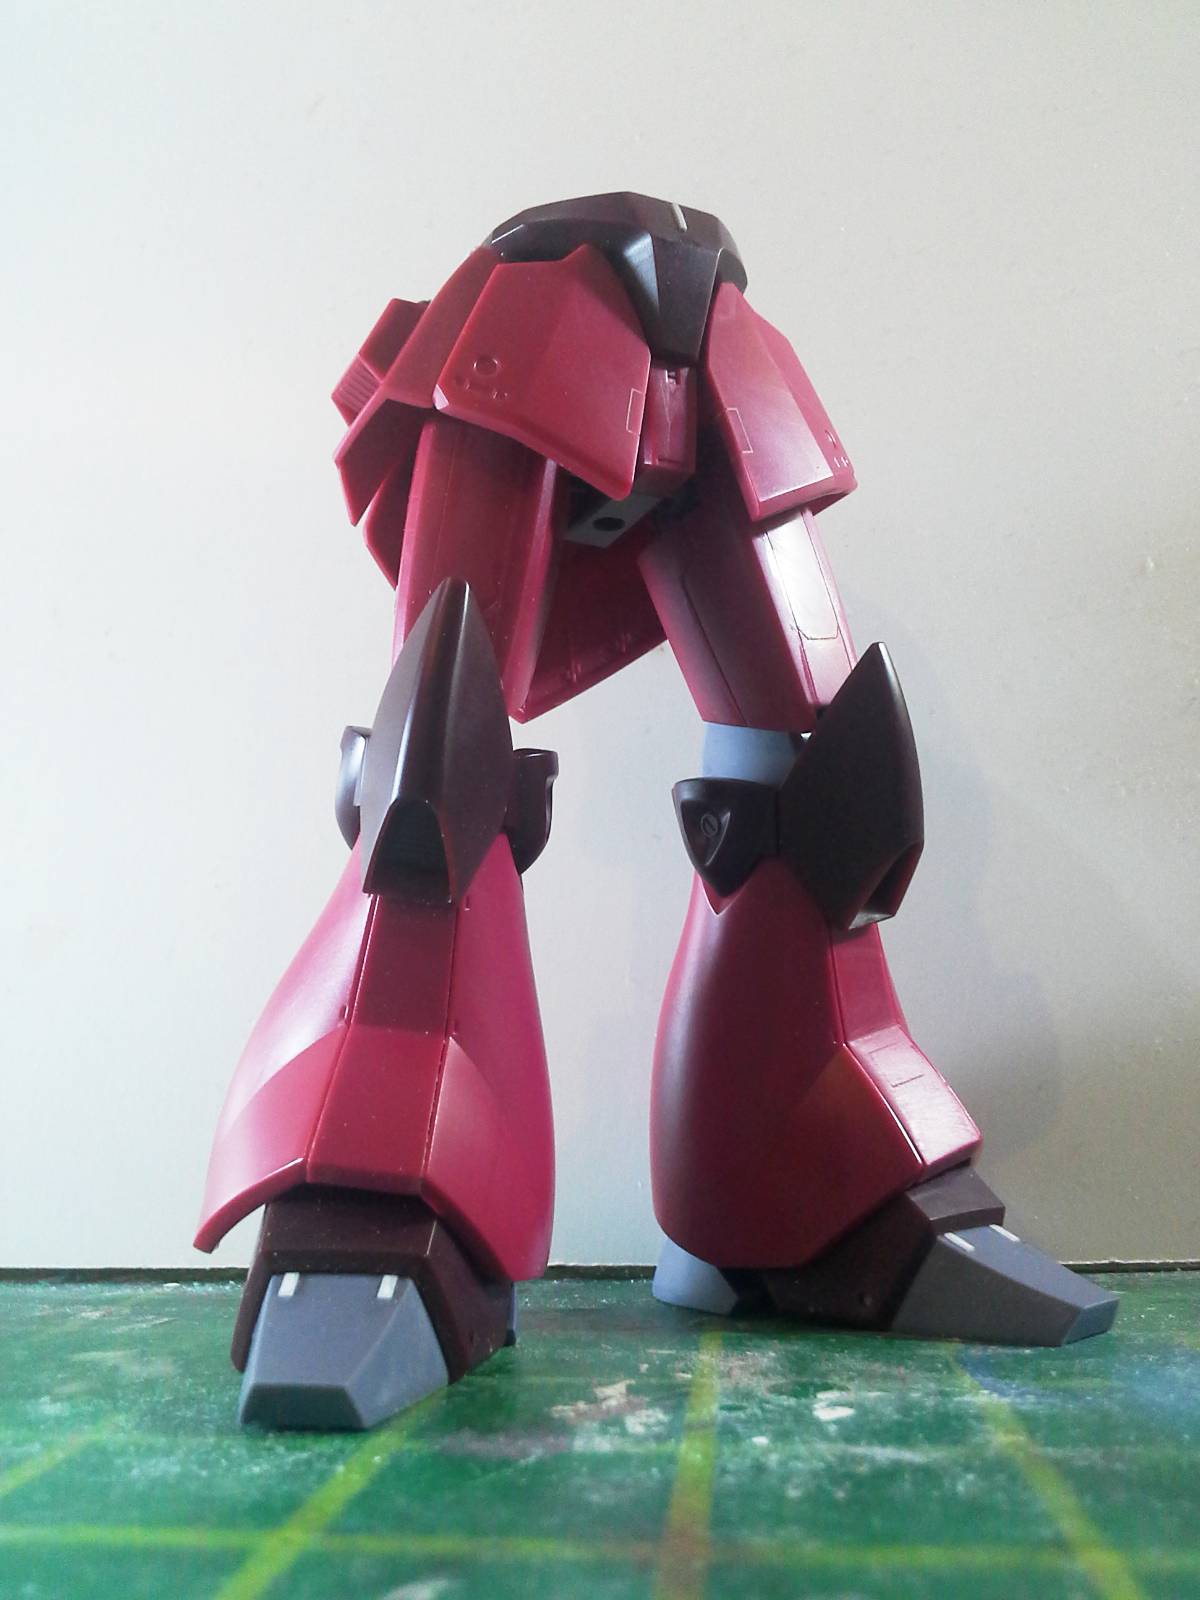
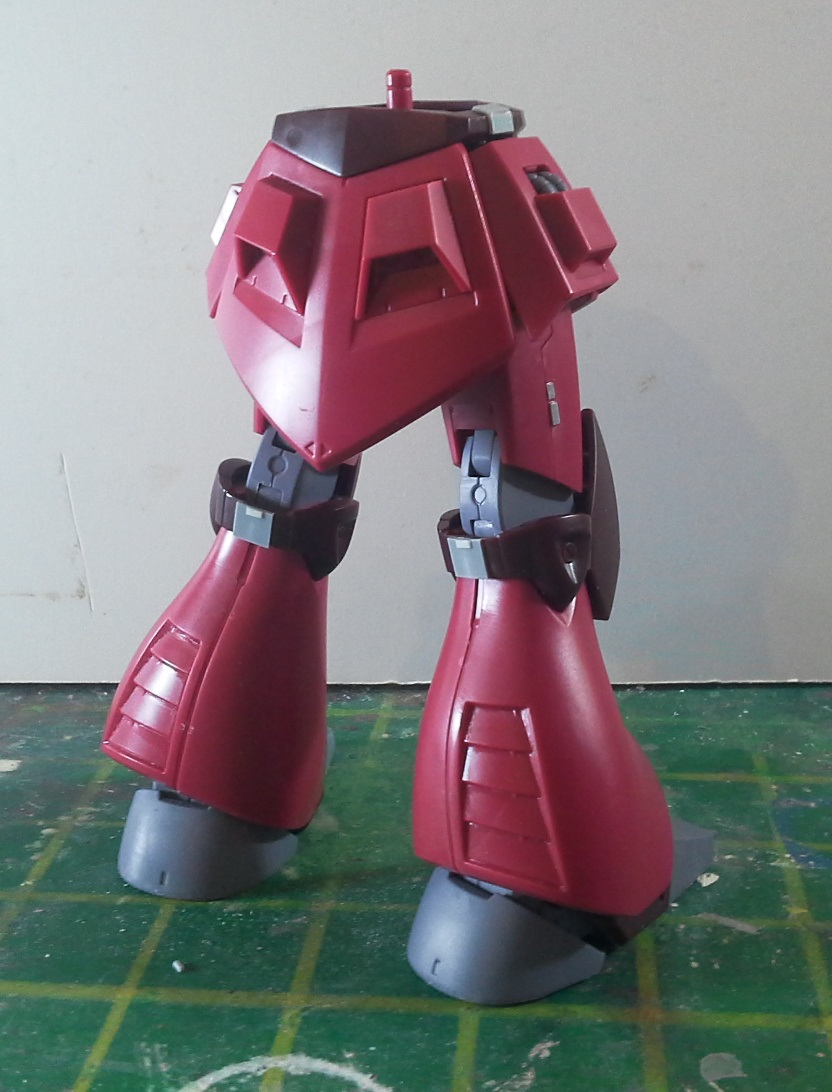
The end product
This is what the bottom half of the body looks like after the detailing stage is complete. I’m digging it! We’re keeping it simple, but still making it our own. Also, the combination of large empty spaces (the lower legs, for example) and unevenly spread small details works really well, in my opinion.

That brings today’s update to an end. Look forward to part 4, where we’ll do detail work on the upper body. Take care, and happy modeling!