In my unboxing post, I talked about Gundam Markers and how we’re throwing the stickers out for this build to get a better completed model than we have before with the Pokemon plamo kits.
Before I started my build, I took the Gundam Markers straight to the parts while they were still on the runners. For me, this works well because my fumbly fingers would probably smudge things up if I tried holding the pieces. I did go back and touch things up after the parts were off the runners, but for starters, here’s what I did:
Painting
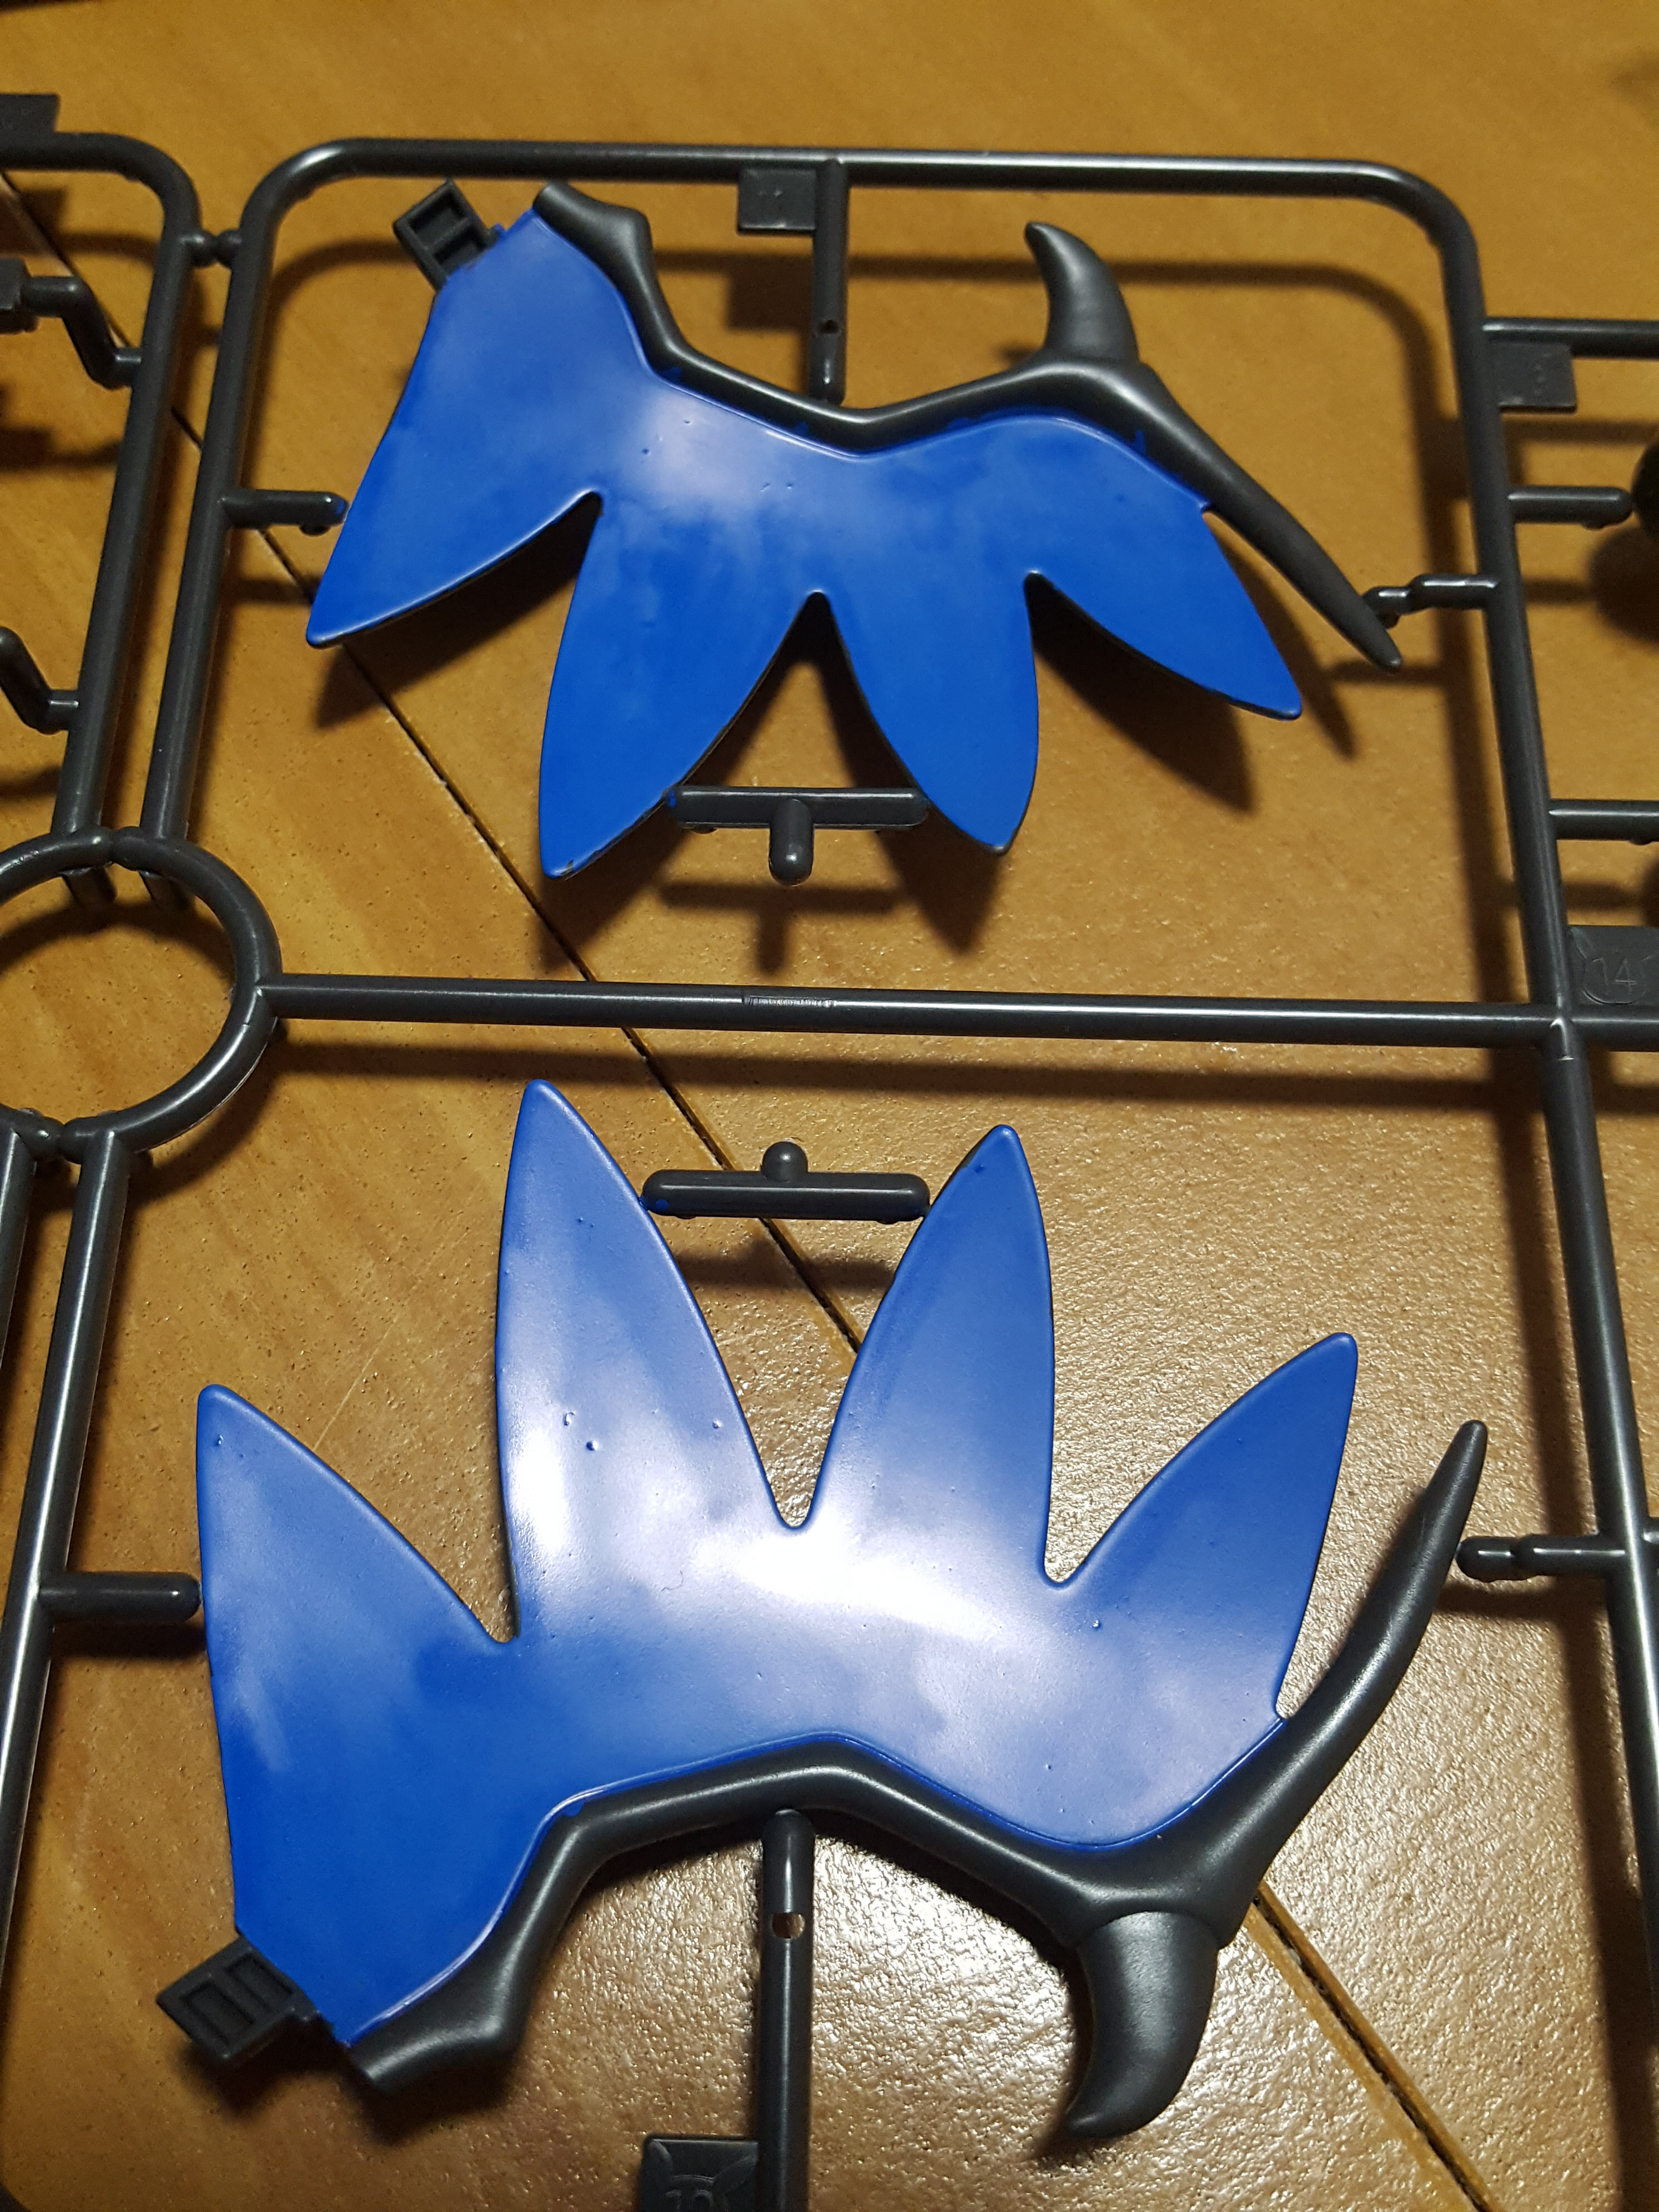
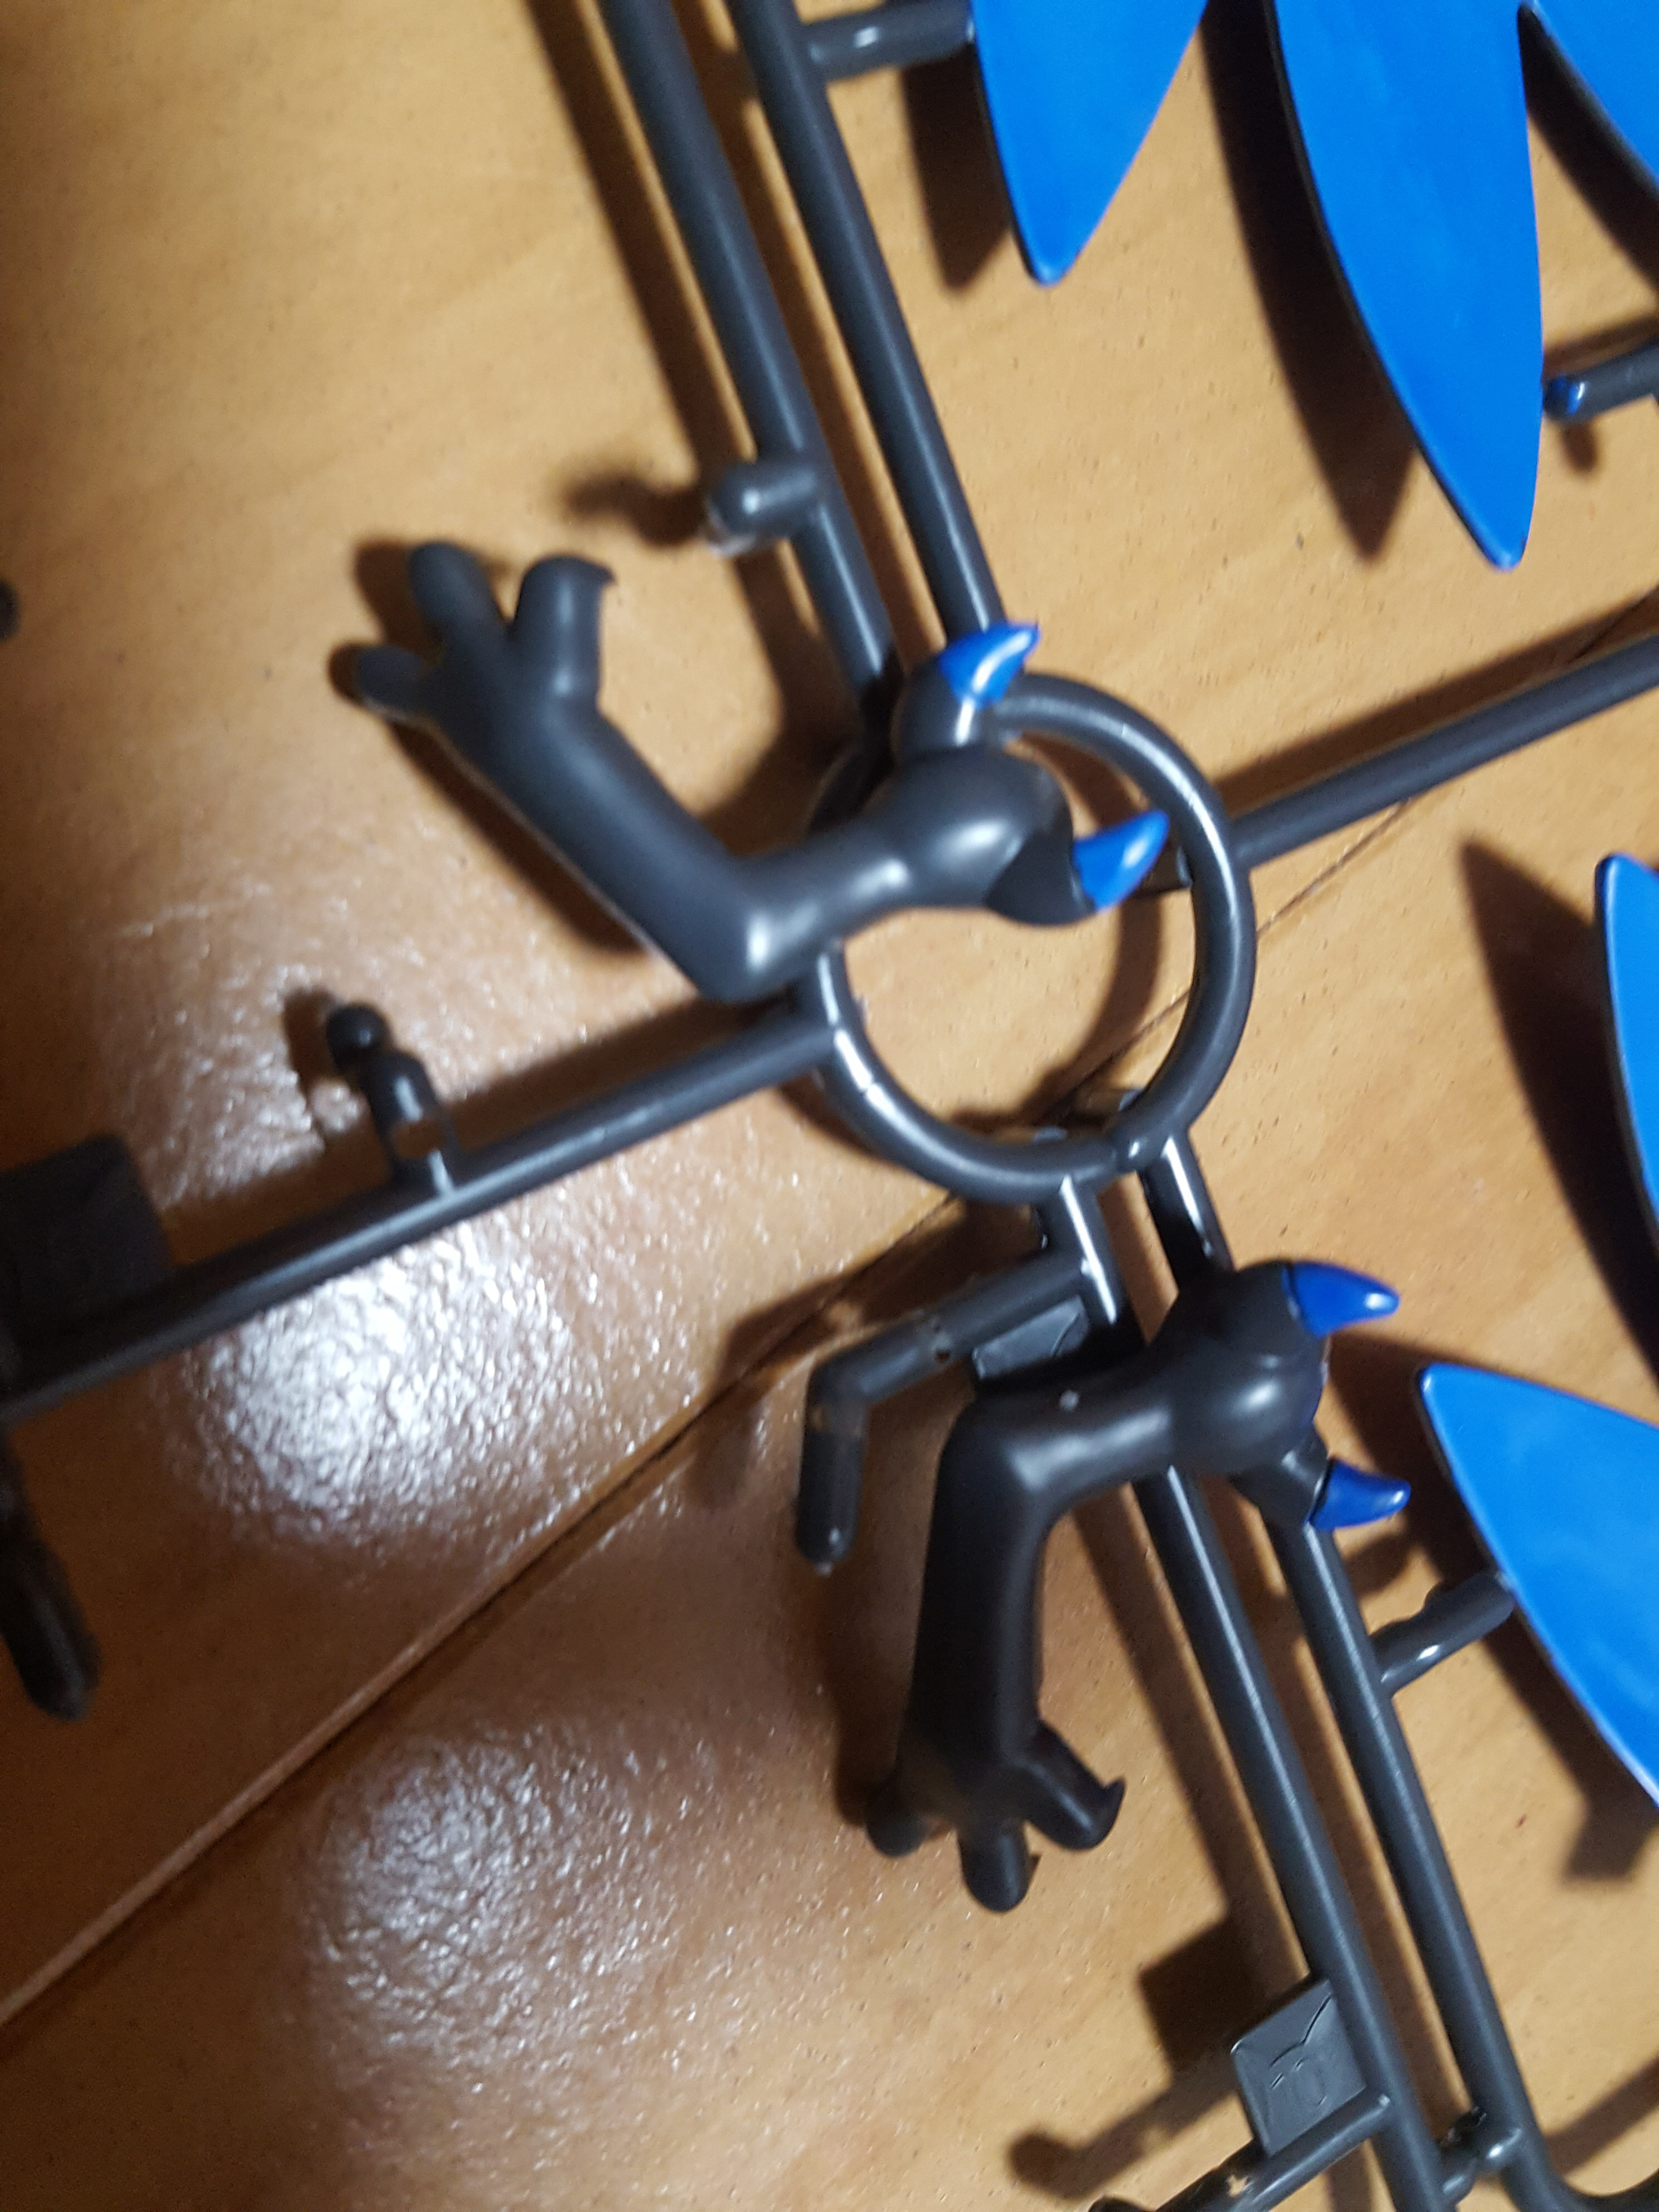
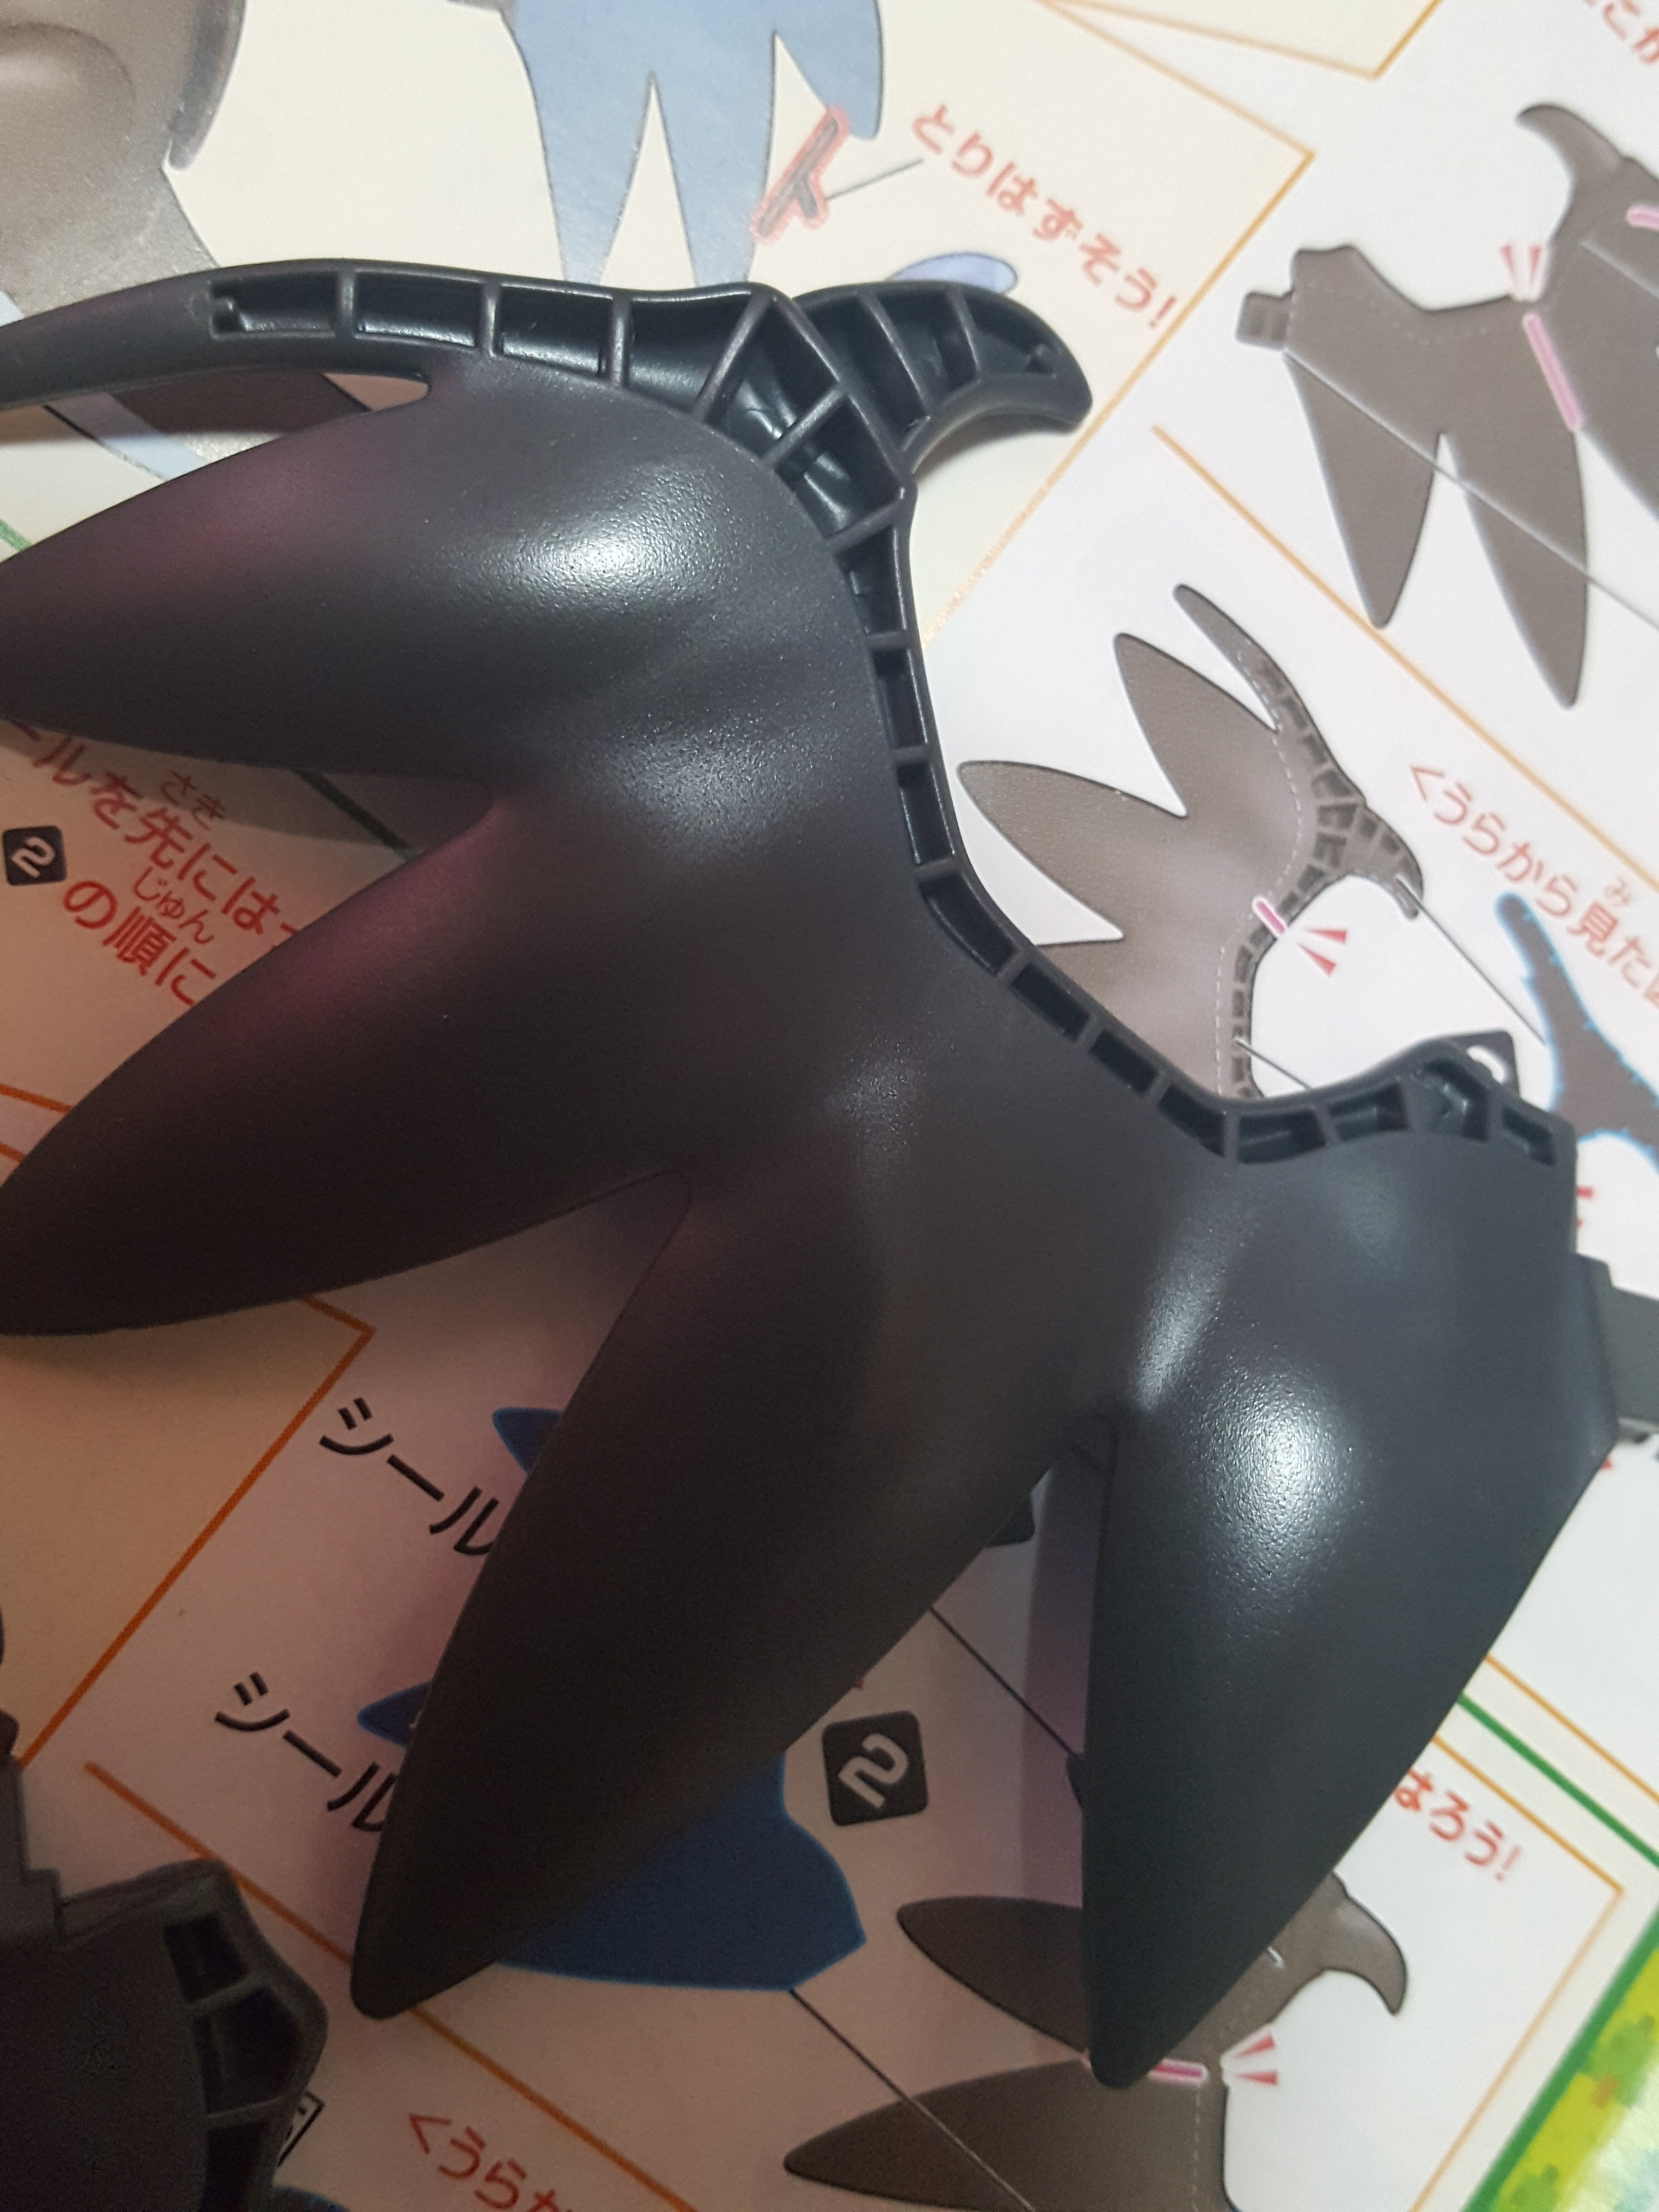
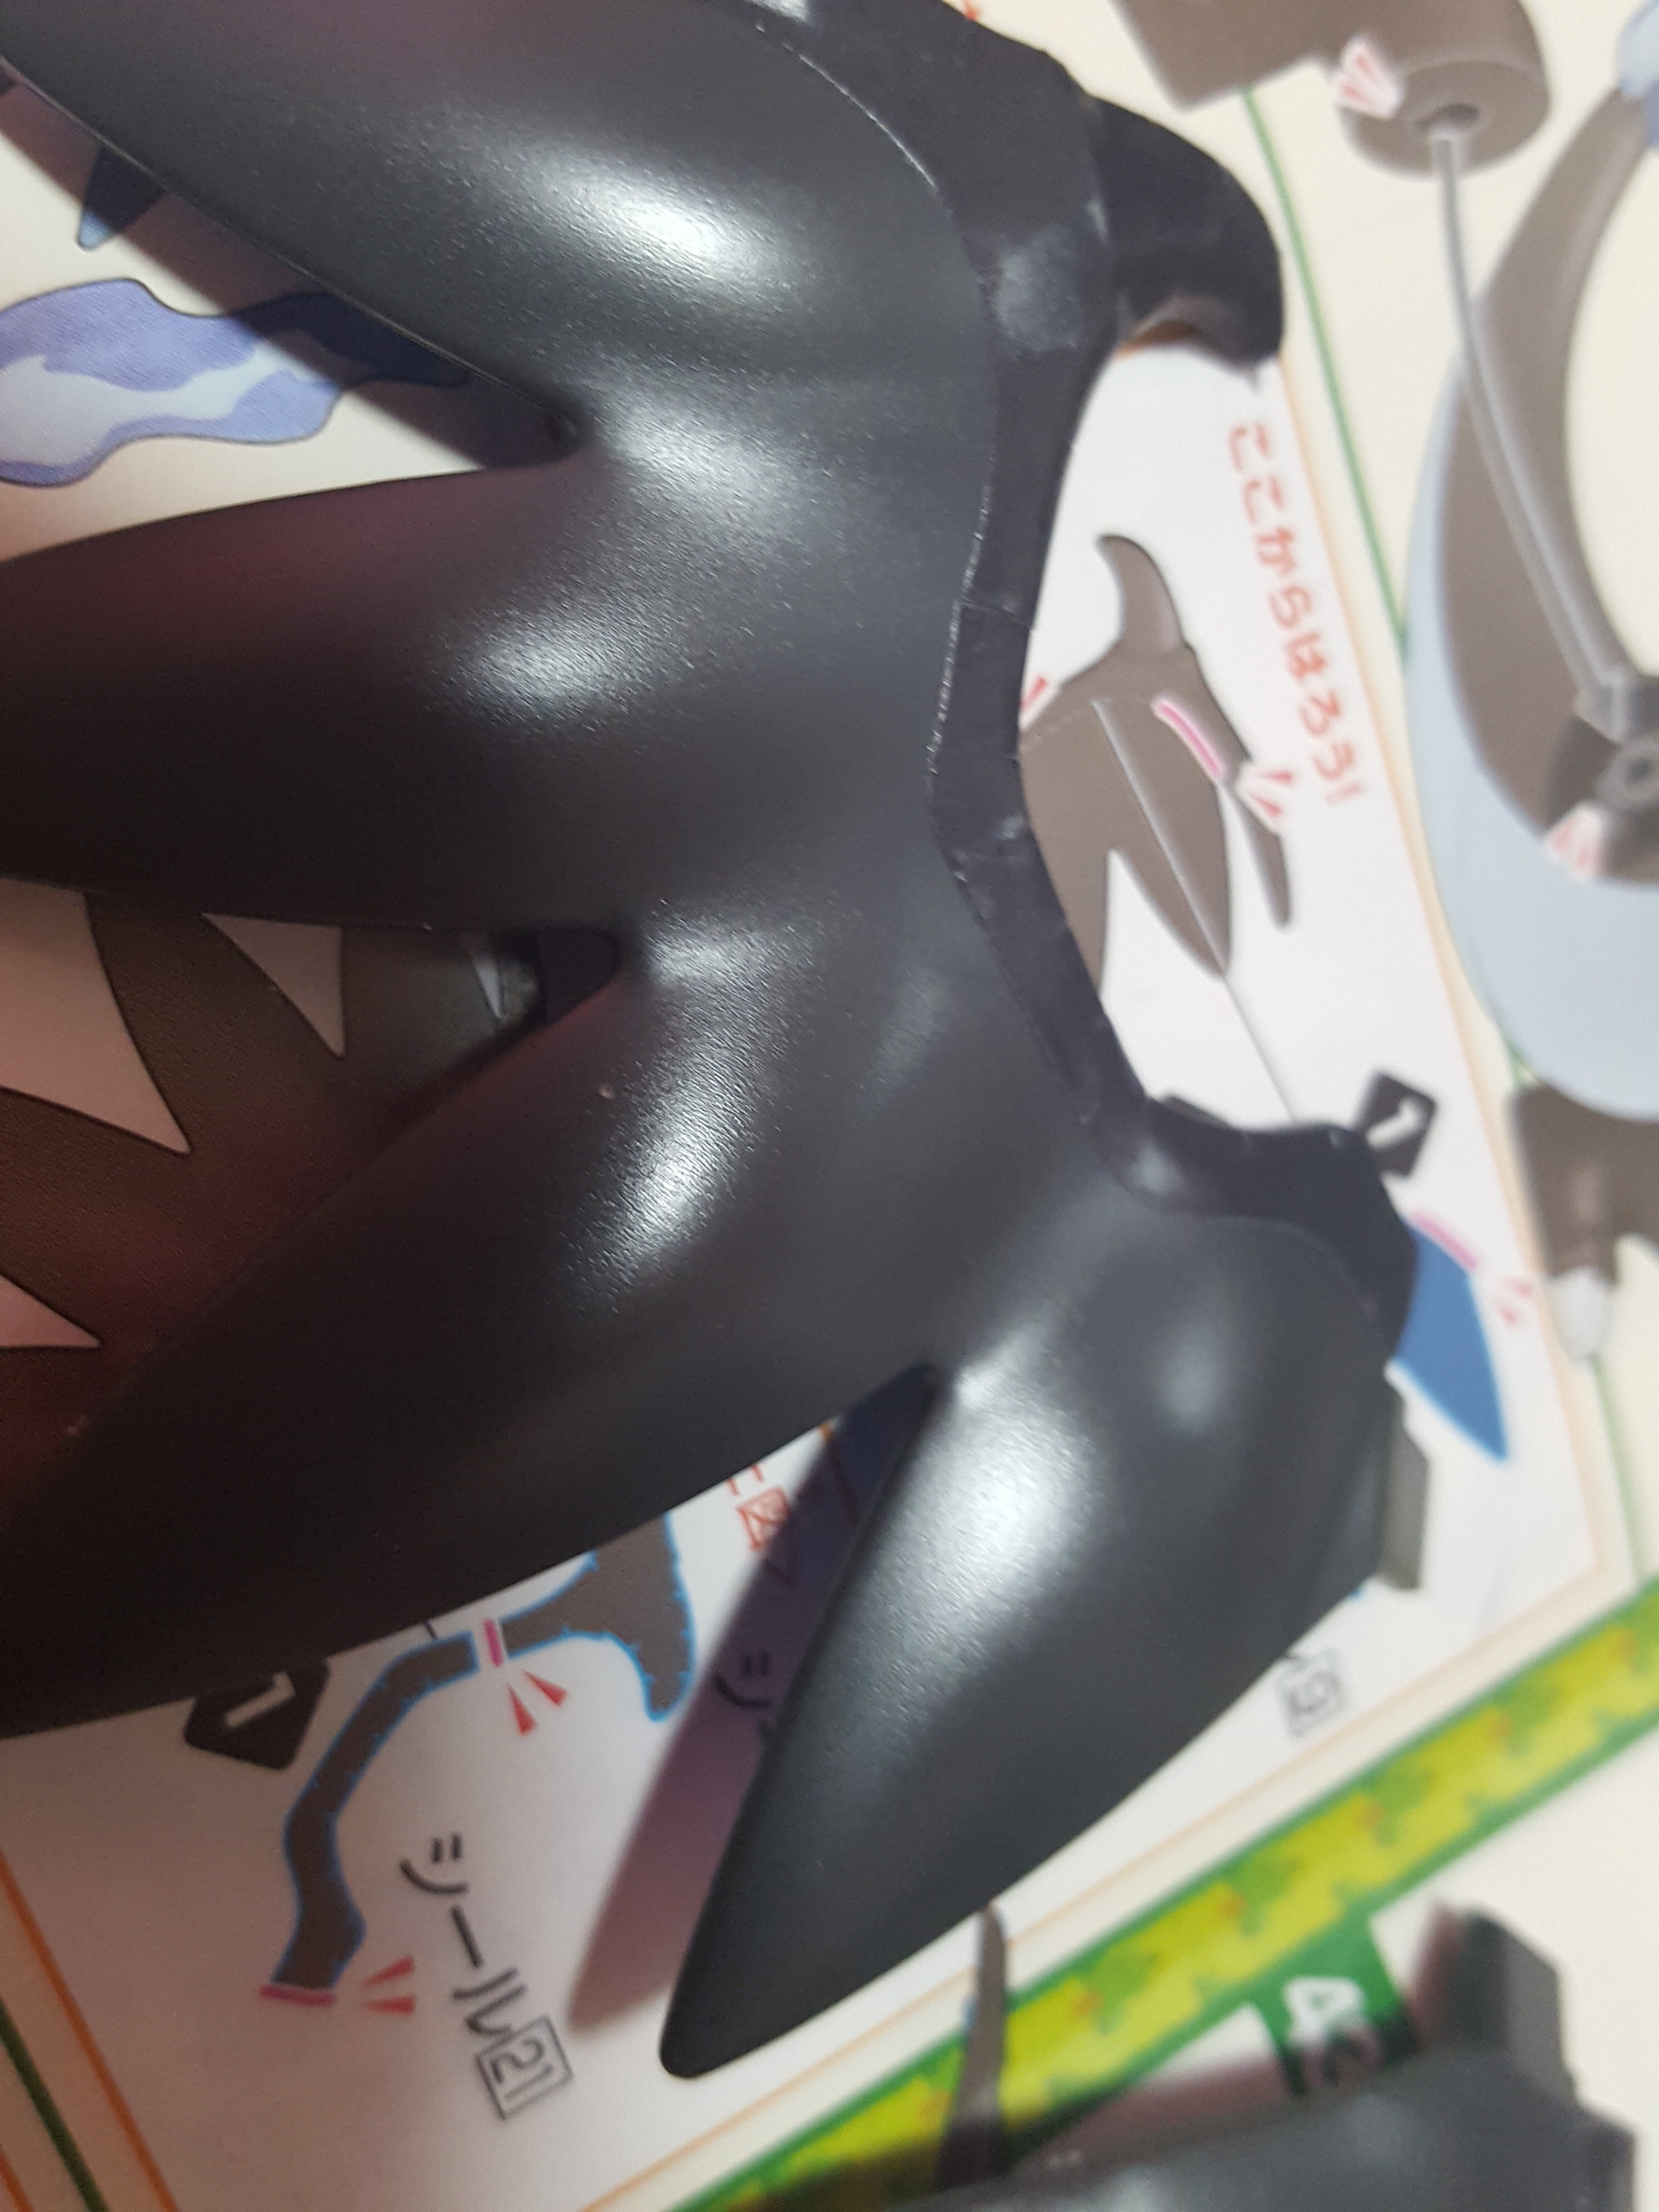
The wings, being wide, open parts, were the easiest to paint. I used the GM60 Seed Destiny Blue marker here.
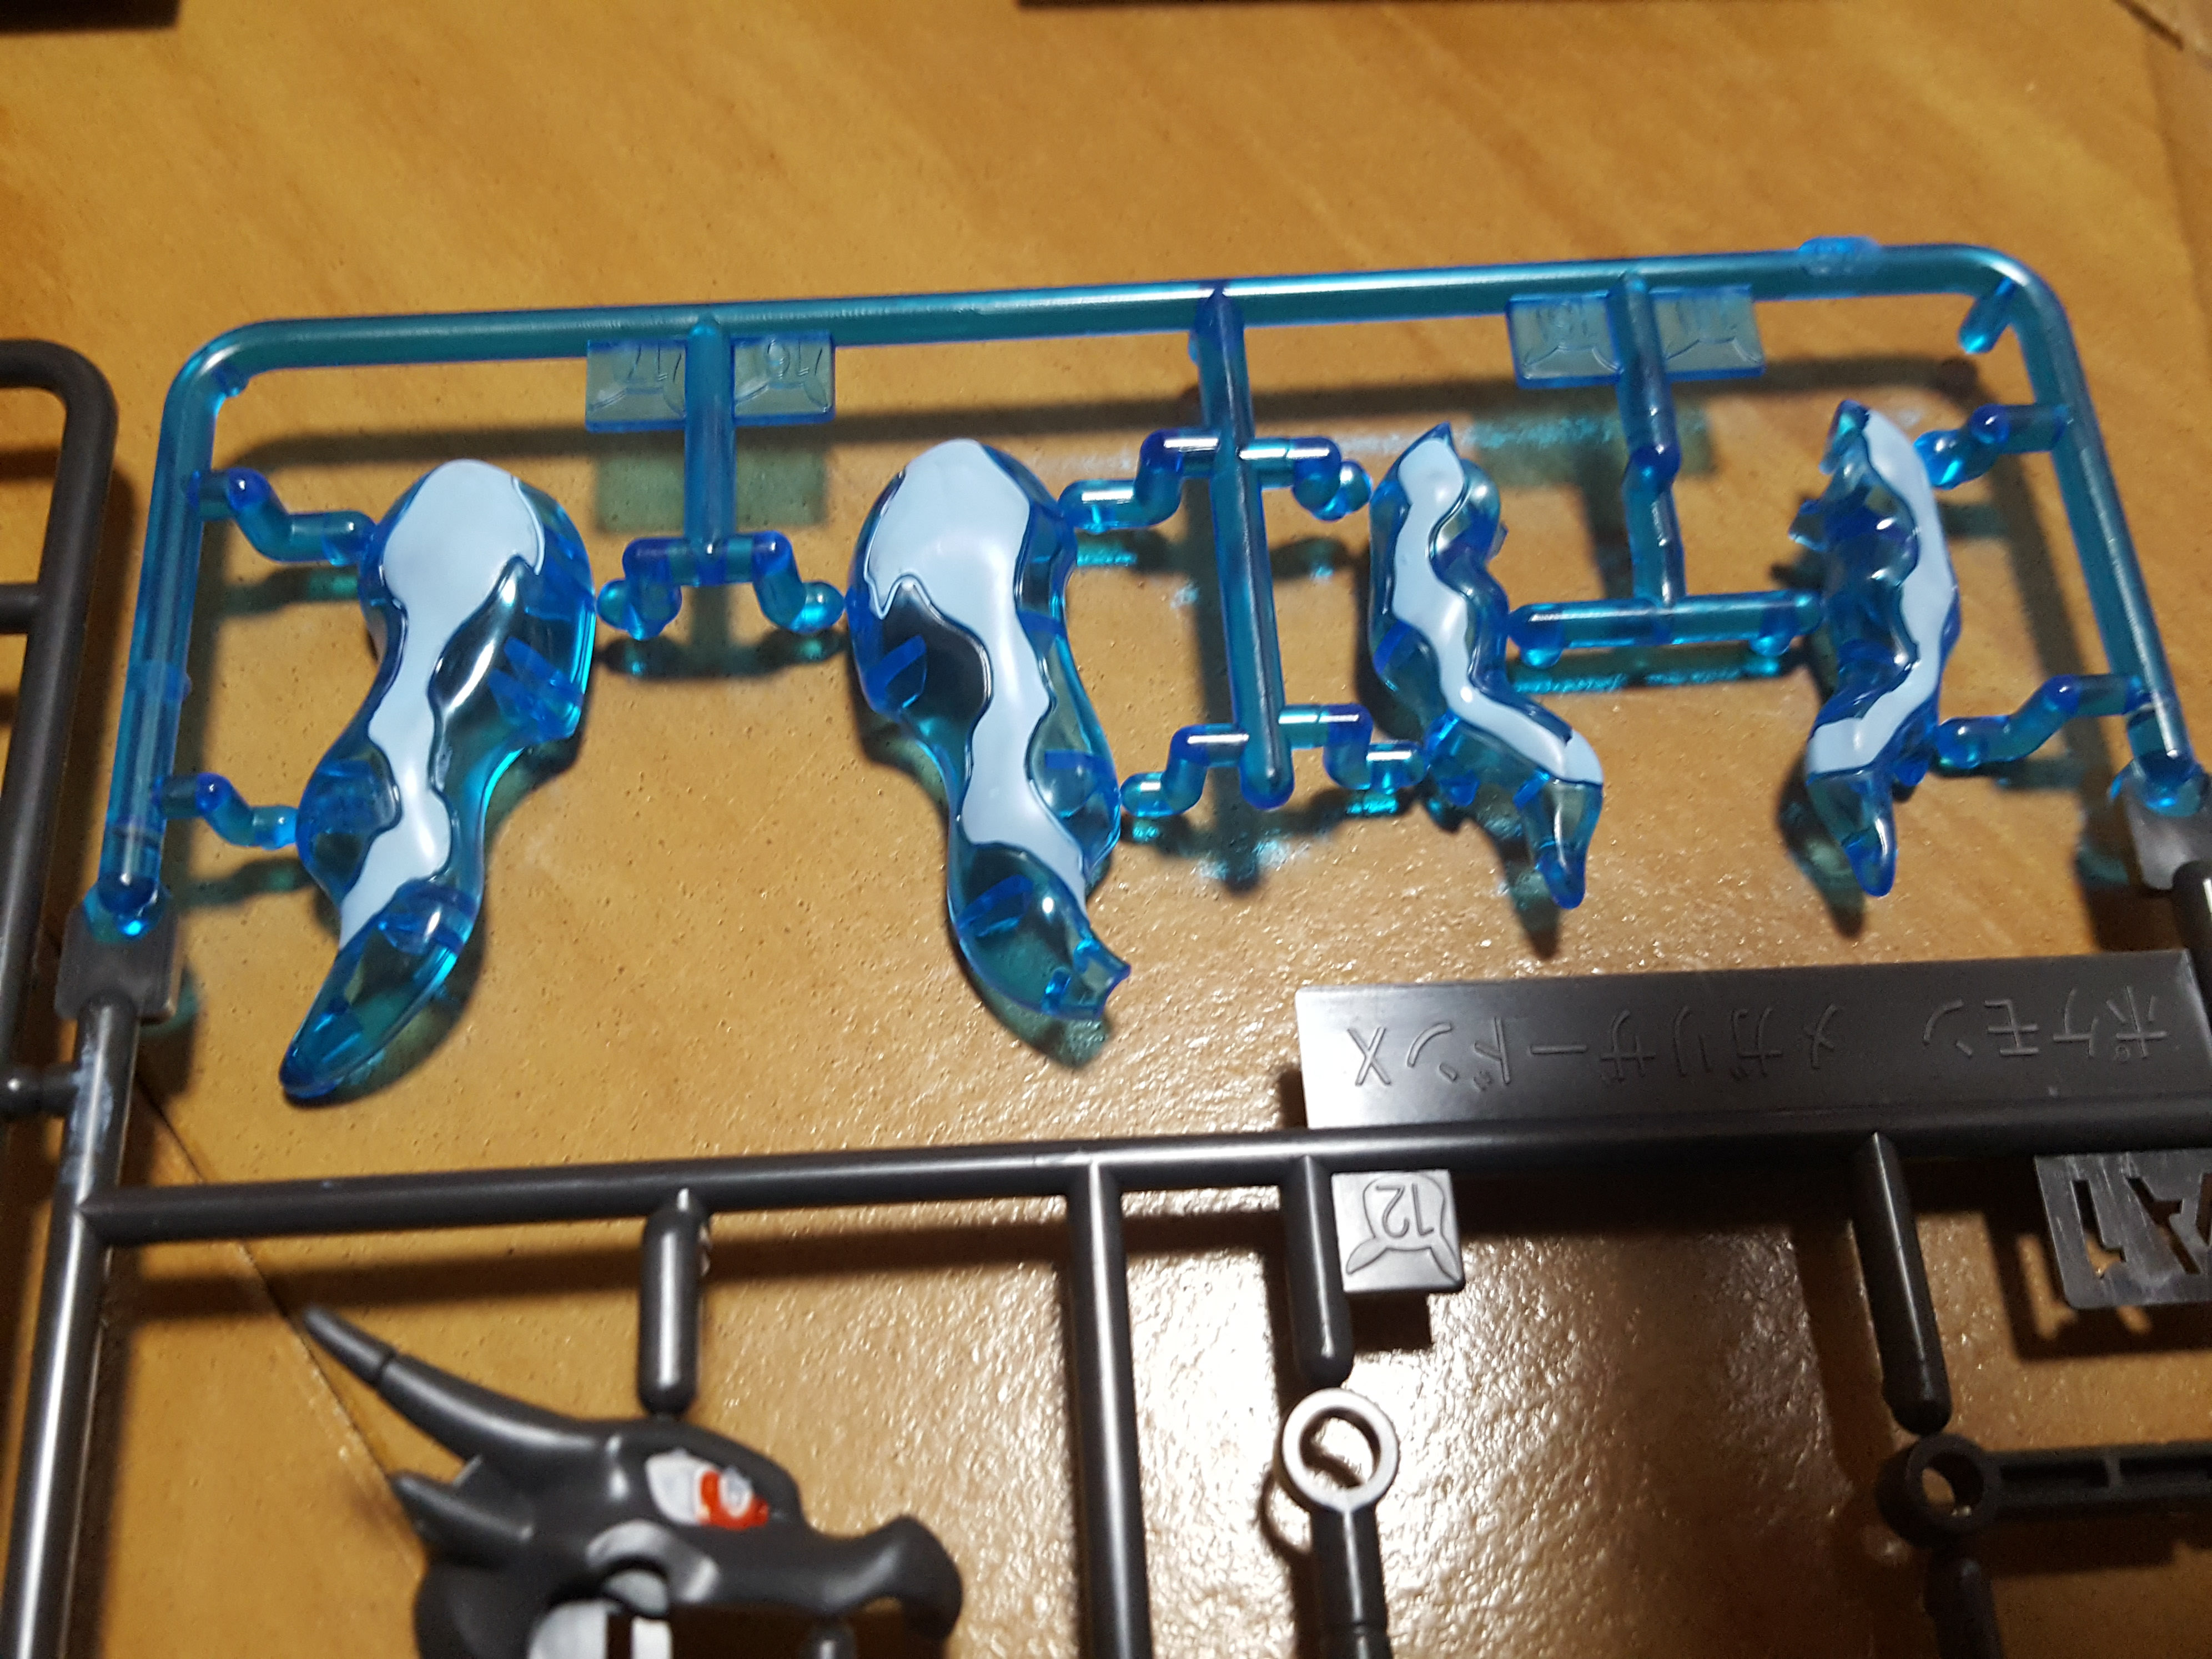
The semi-soft clear blue effect parts took to the paint really well and came out looking the best. At the point this photograph was taken, I did miss some spots, but covered those later. This is the work of the GM61 Seed Destiny Light Blue marker.
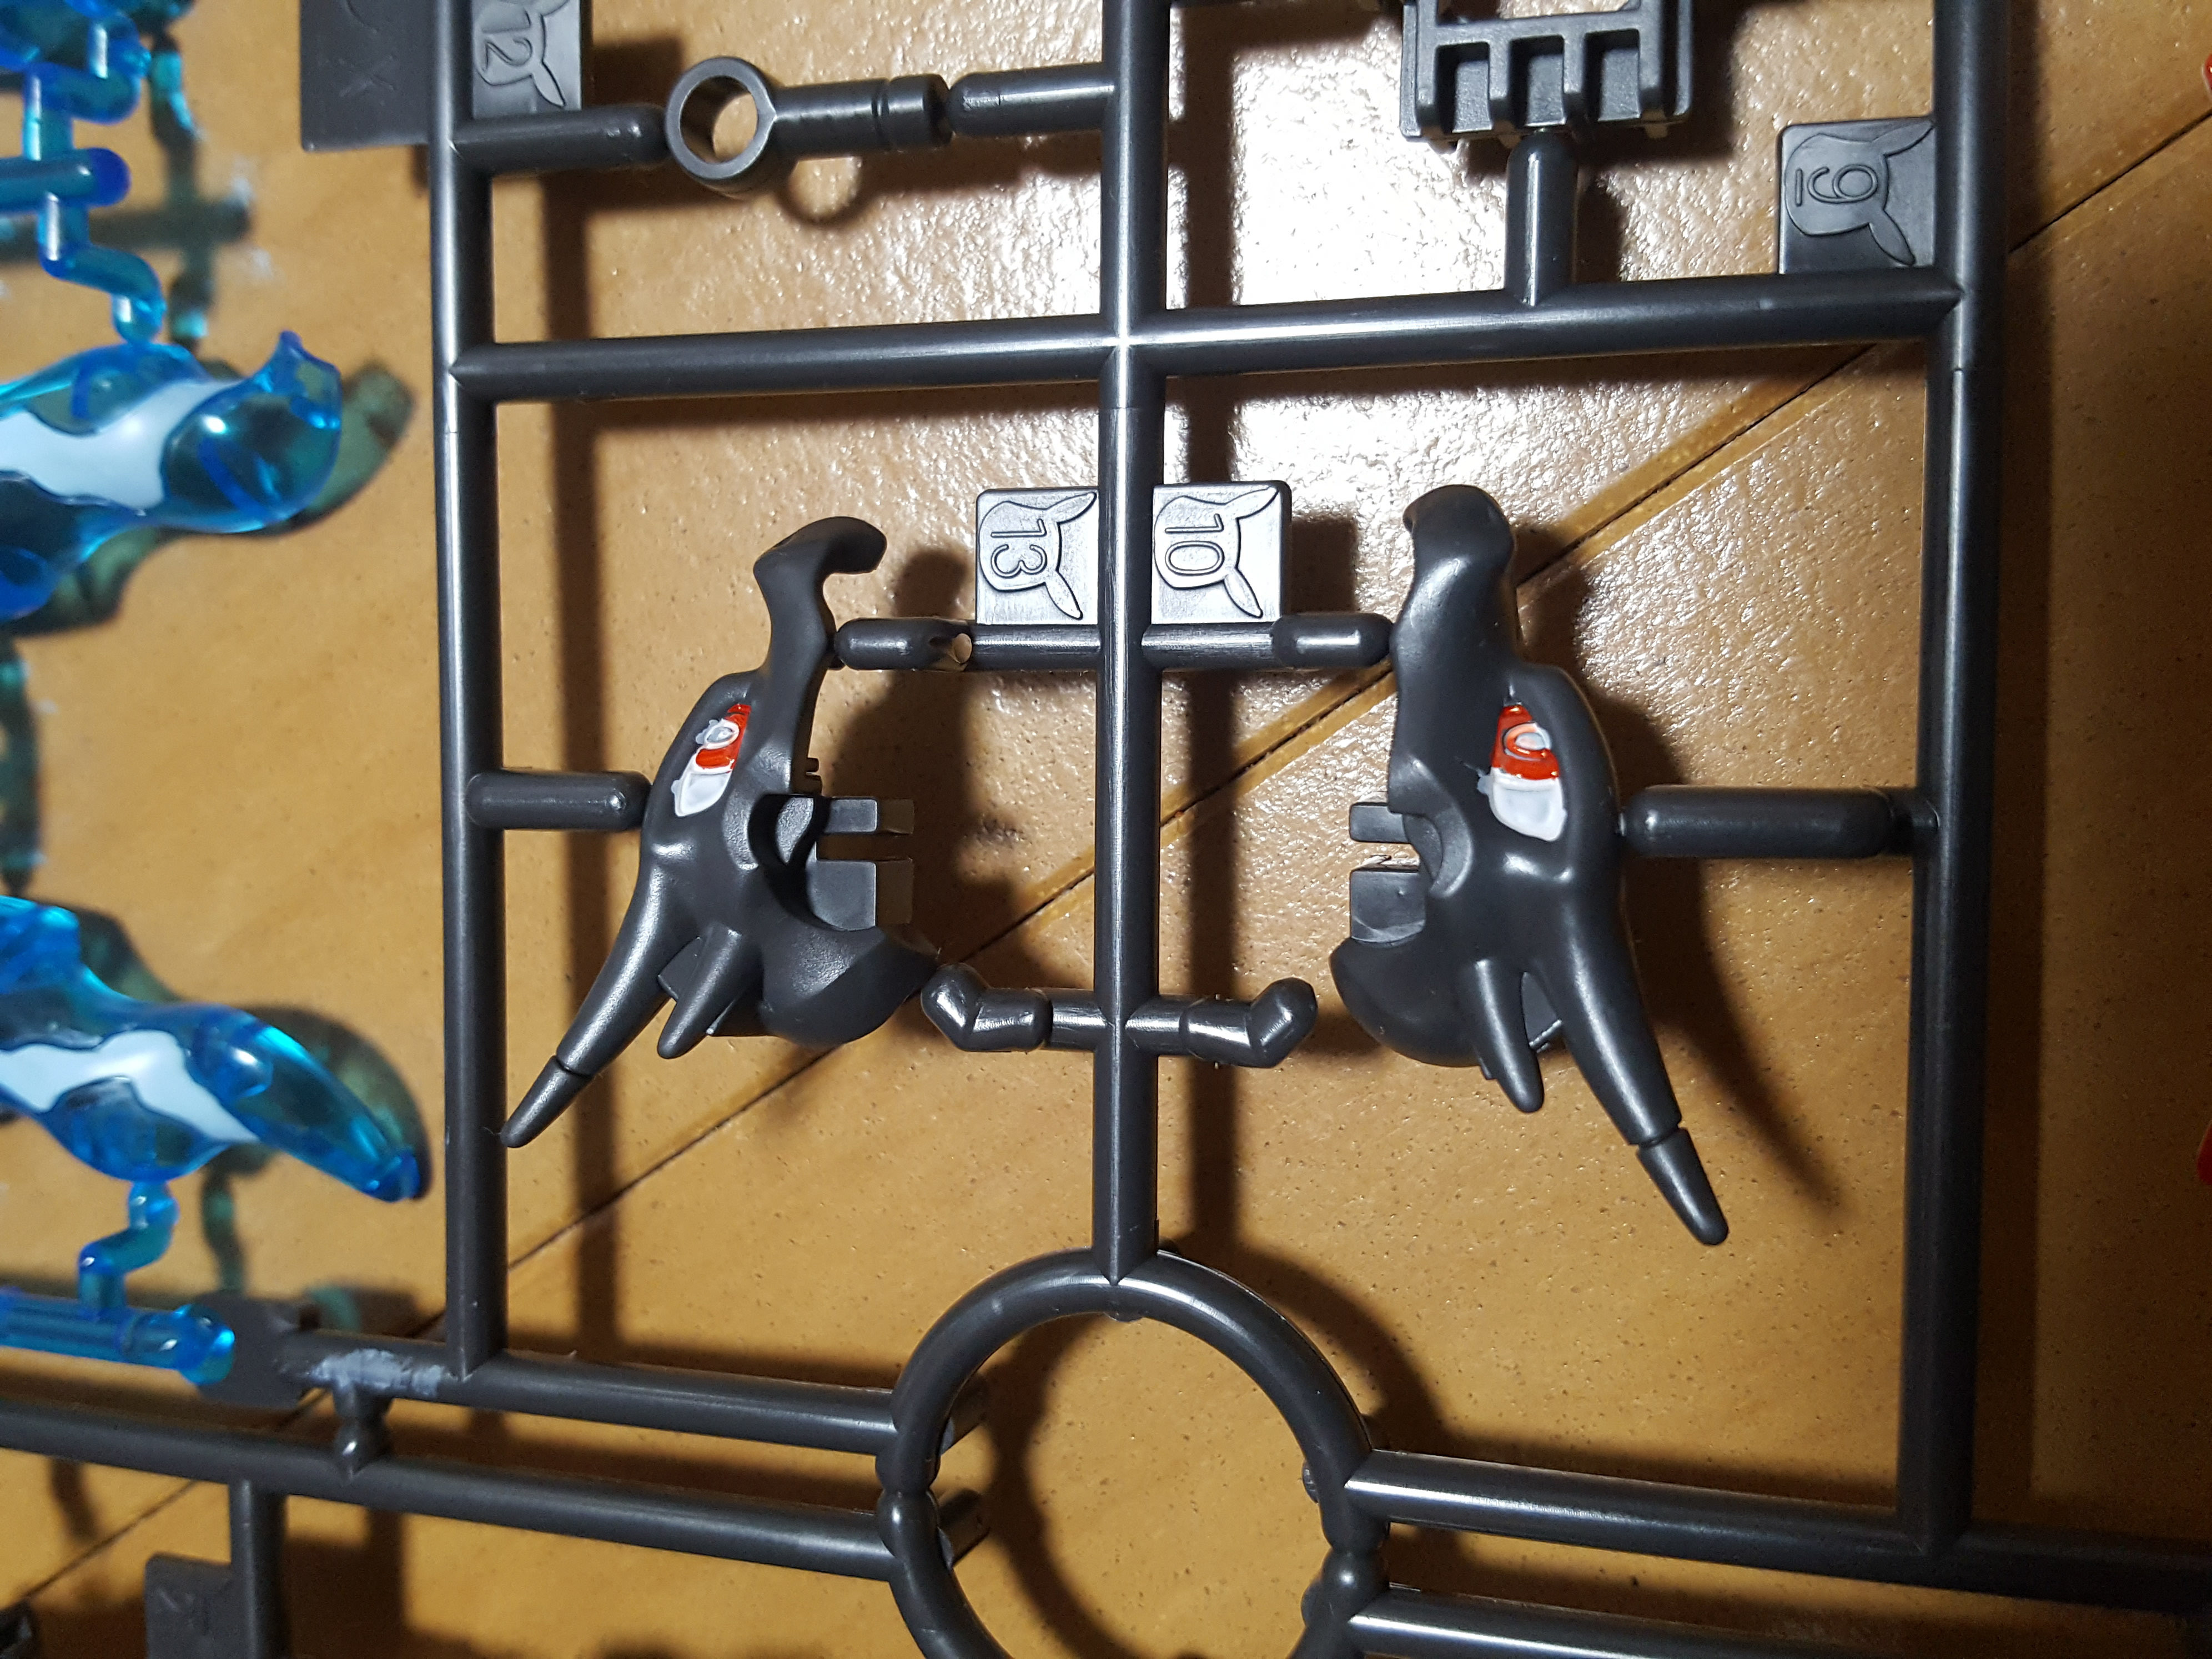
The face was the hardest part — botch the eyes and you’ll end up with a seriously bad looking kit. I was as careful as could be and did multiple coats to try to even out the red and white the best I could. The Seed Destiny marker tips are just too wide to do this very precisely. At least they look good from a distance!
Here I used the GM58 Seed Destiny White and GM59 Seed Destiny Red markers.
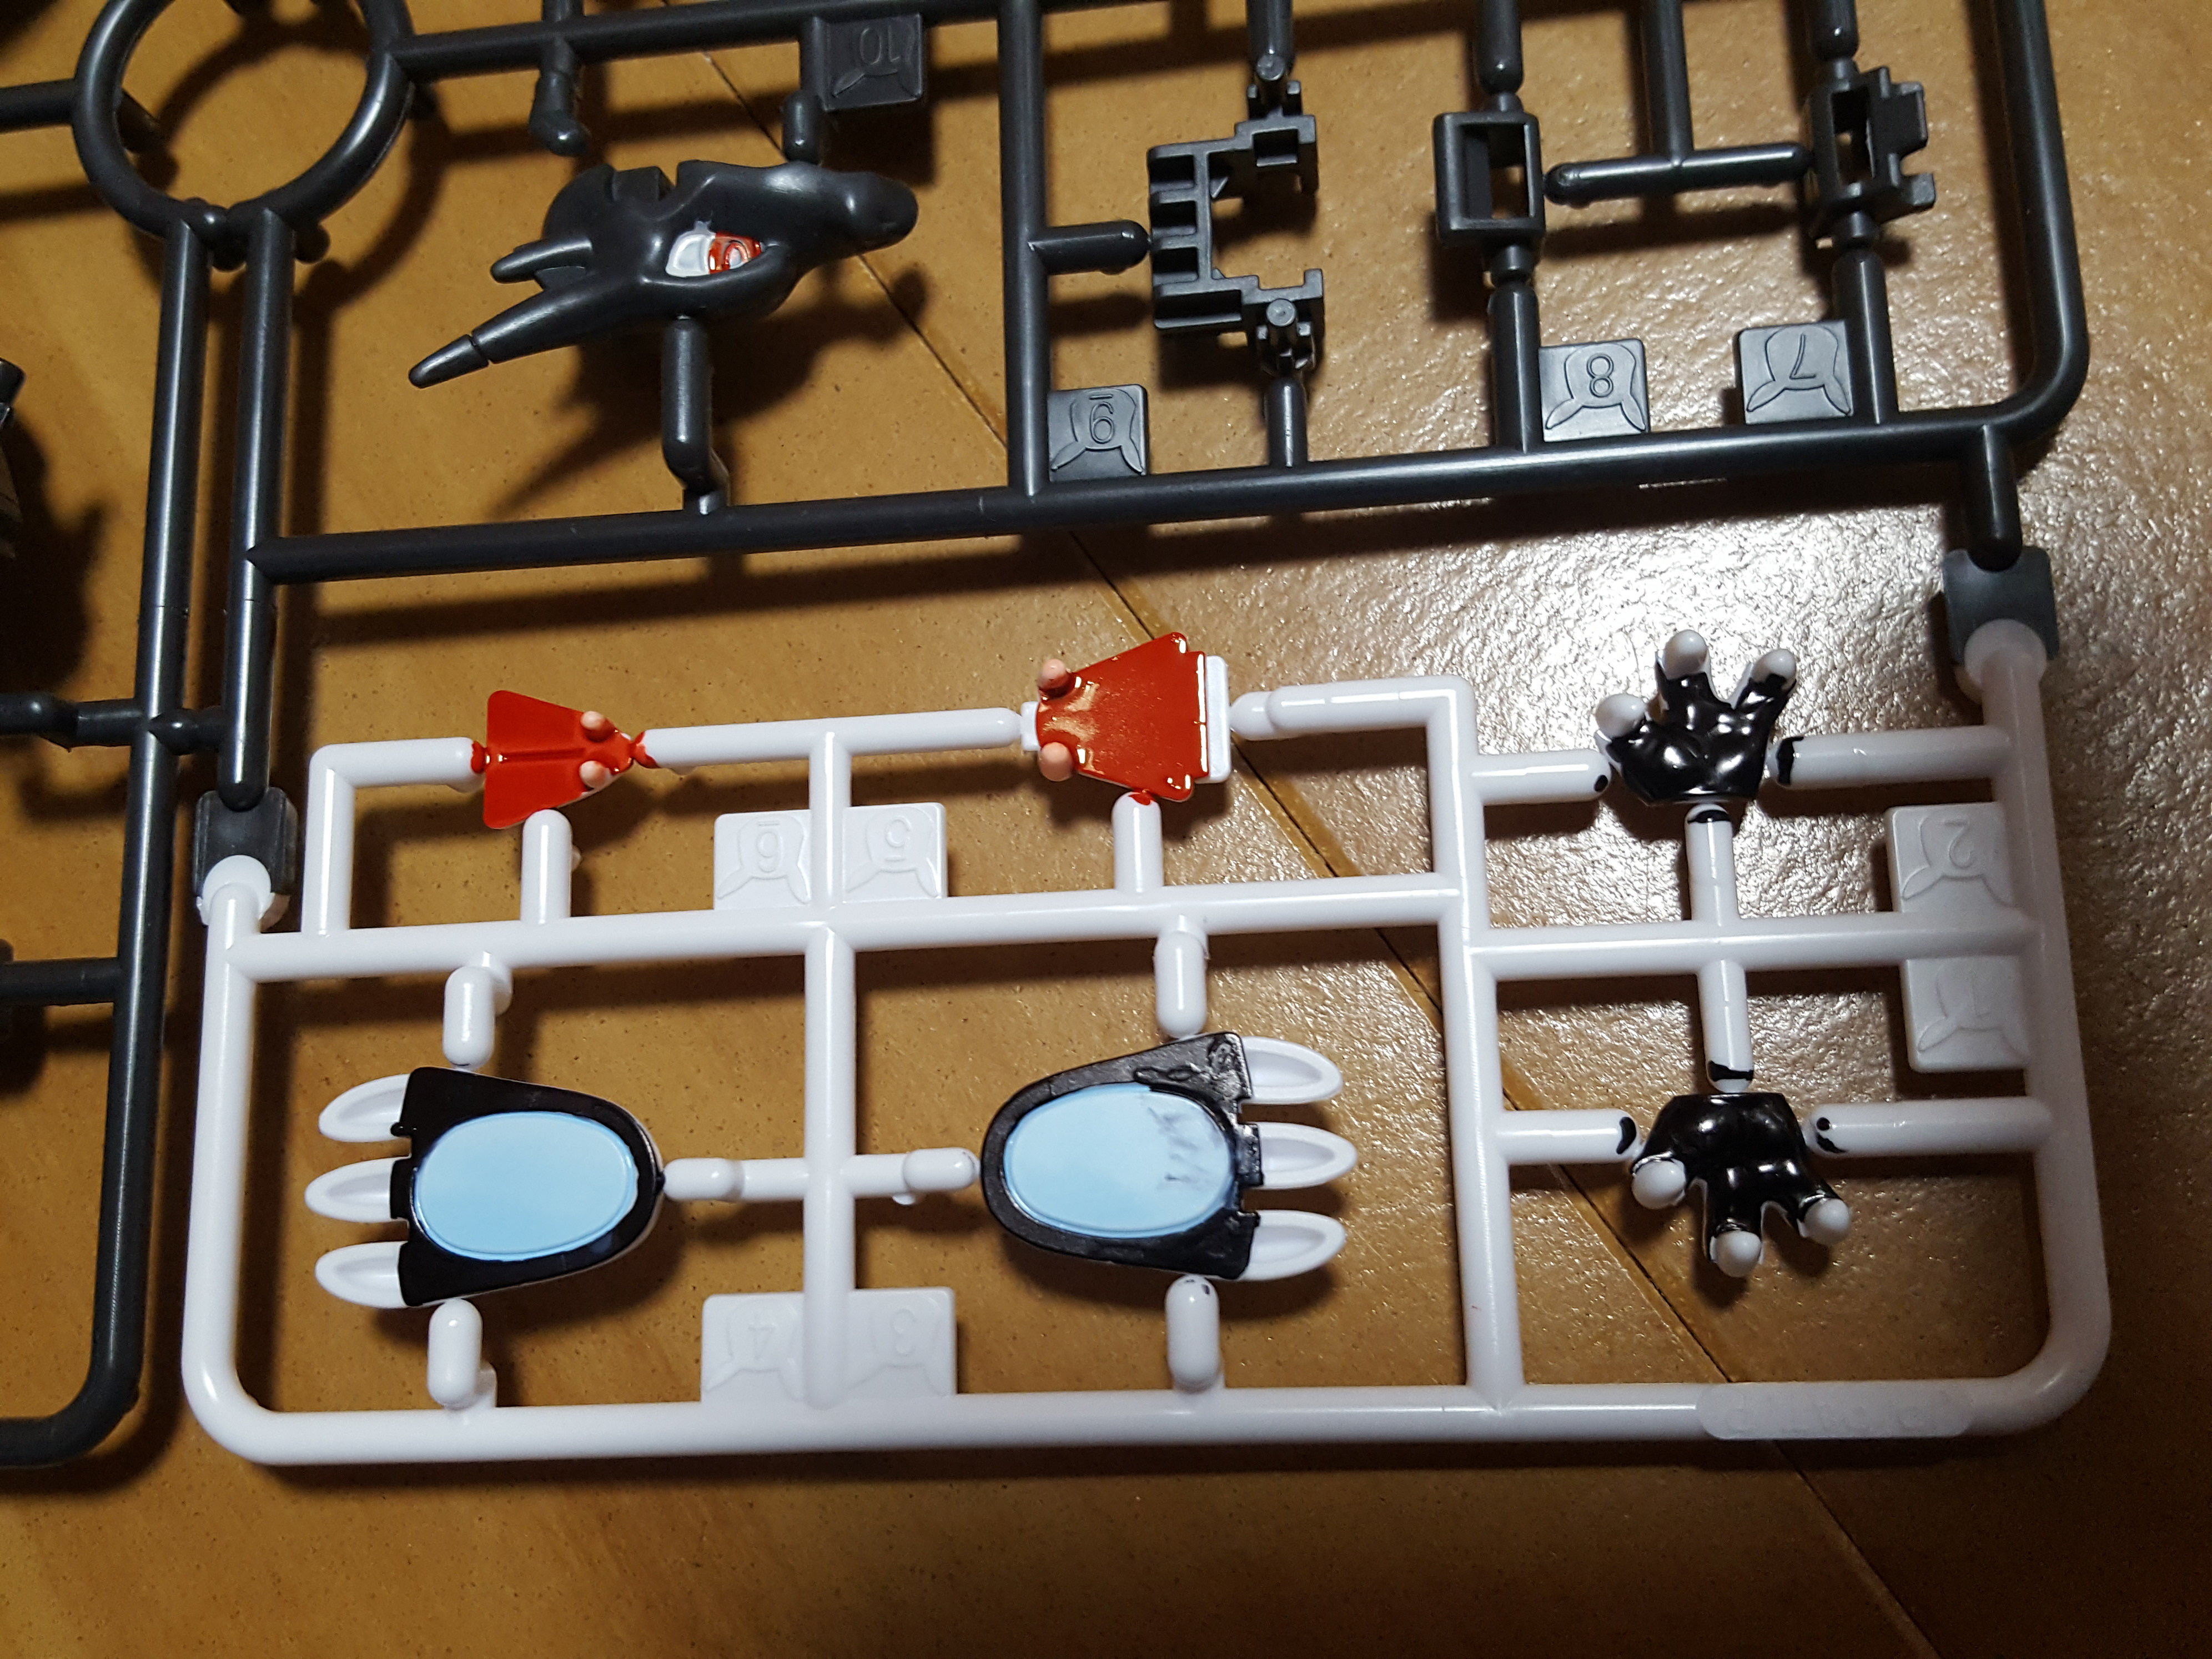
I didn’t realize until I was ready to paint that my Gundam Black marker is very black, and doesn’t match the dark grey plastic on the kit. Even so, I made the decision to go ahead and paint the palms and feet with this one, as they’re small spots that won’t stand out if the color’s a little off. I did consider using the stickers, but especially on the hands, they tend not to fit well and would stand out more than a mismatched paint job.
The other challenges here: the teeth ended up tinted red, and the crevices of the claws were impossible to reach with the fat marker tip, so there are some imperfections.
Building
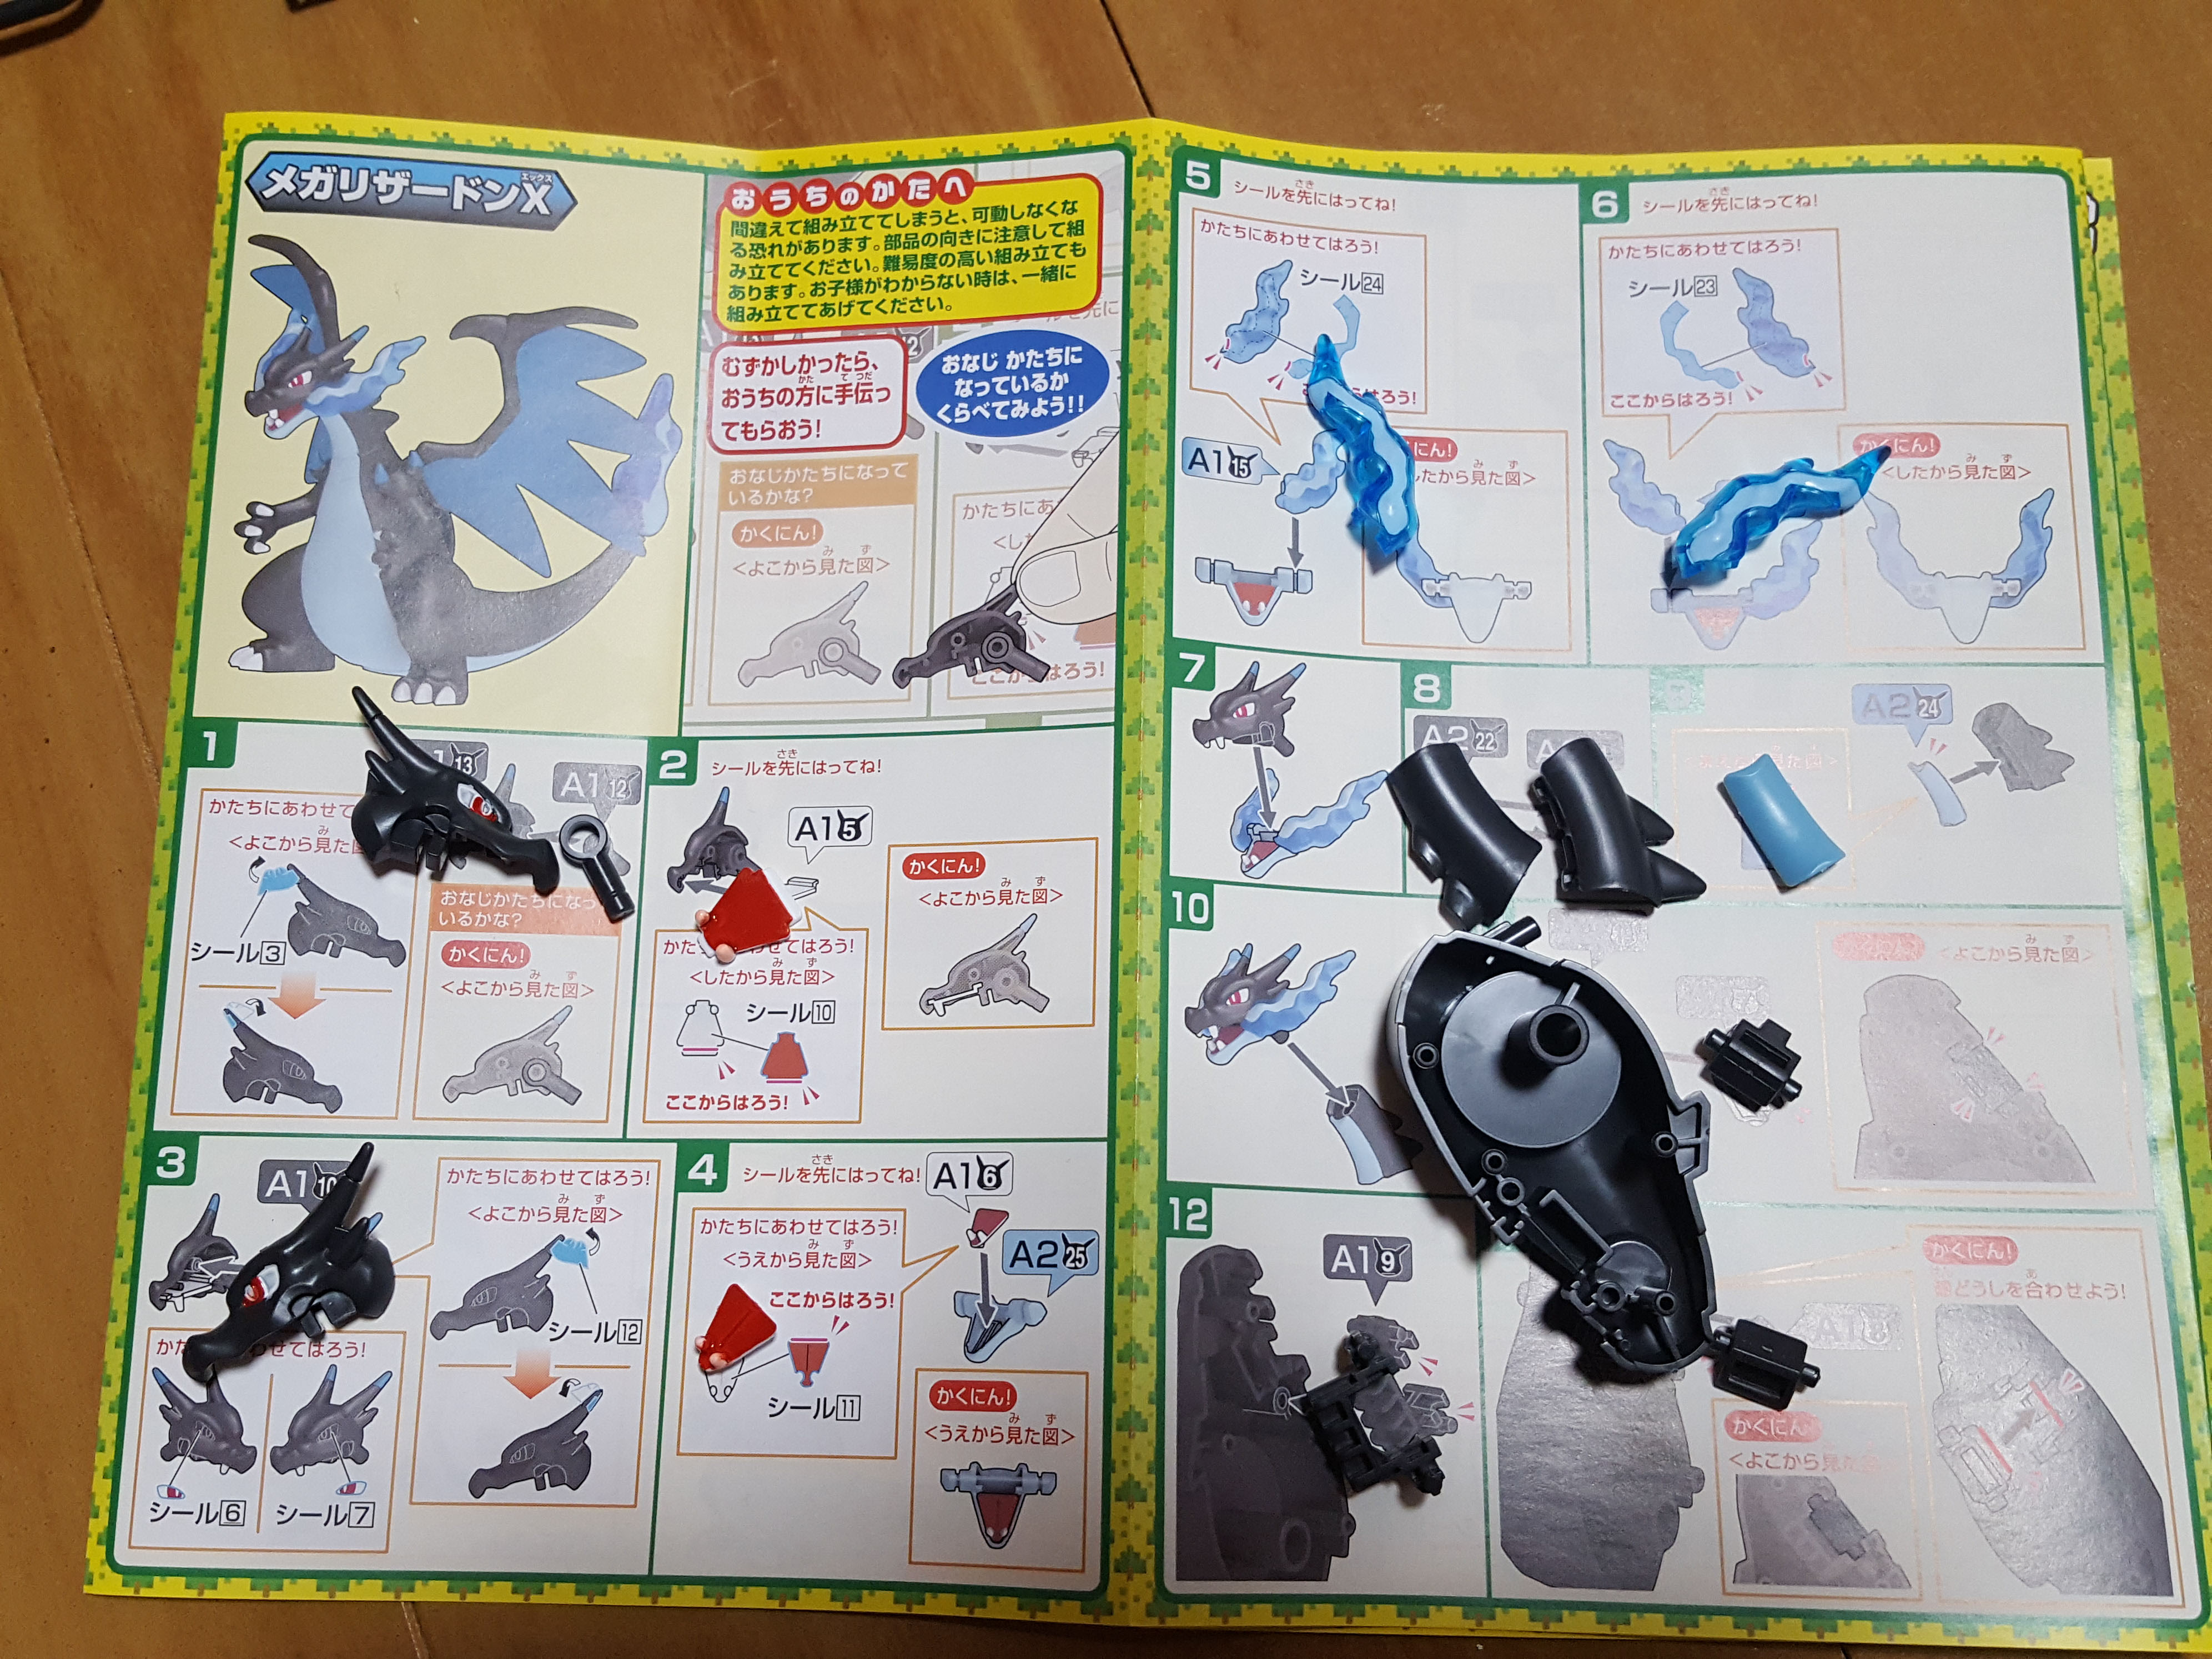
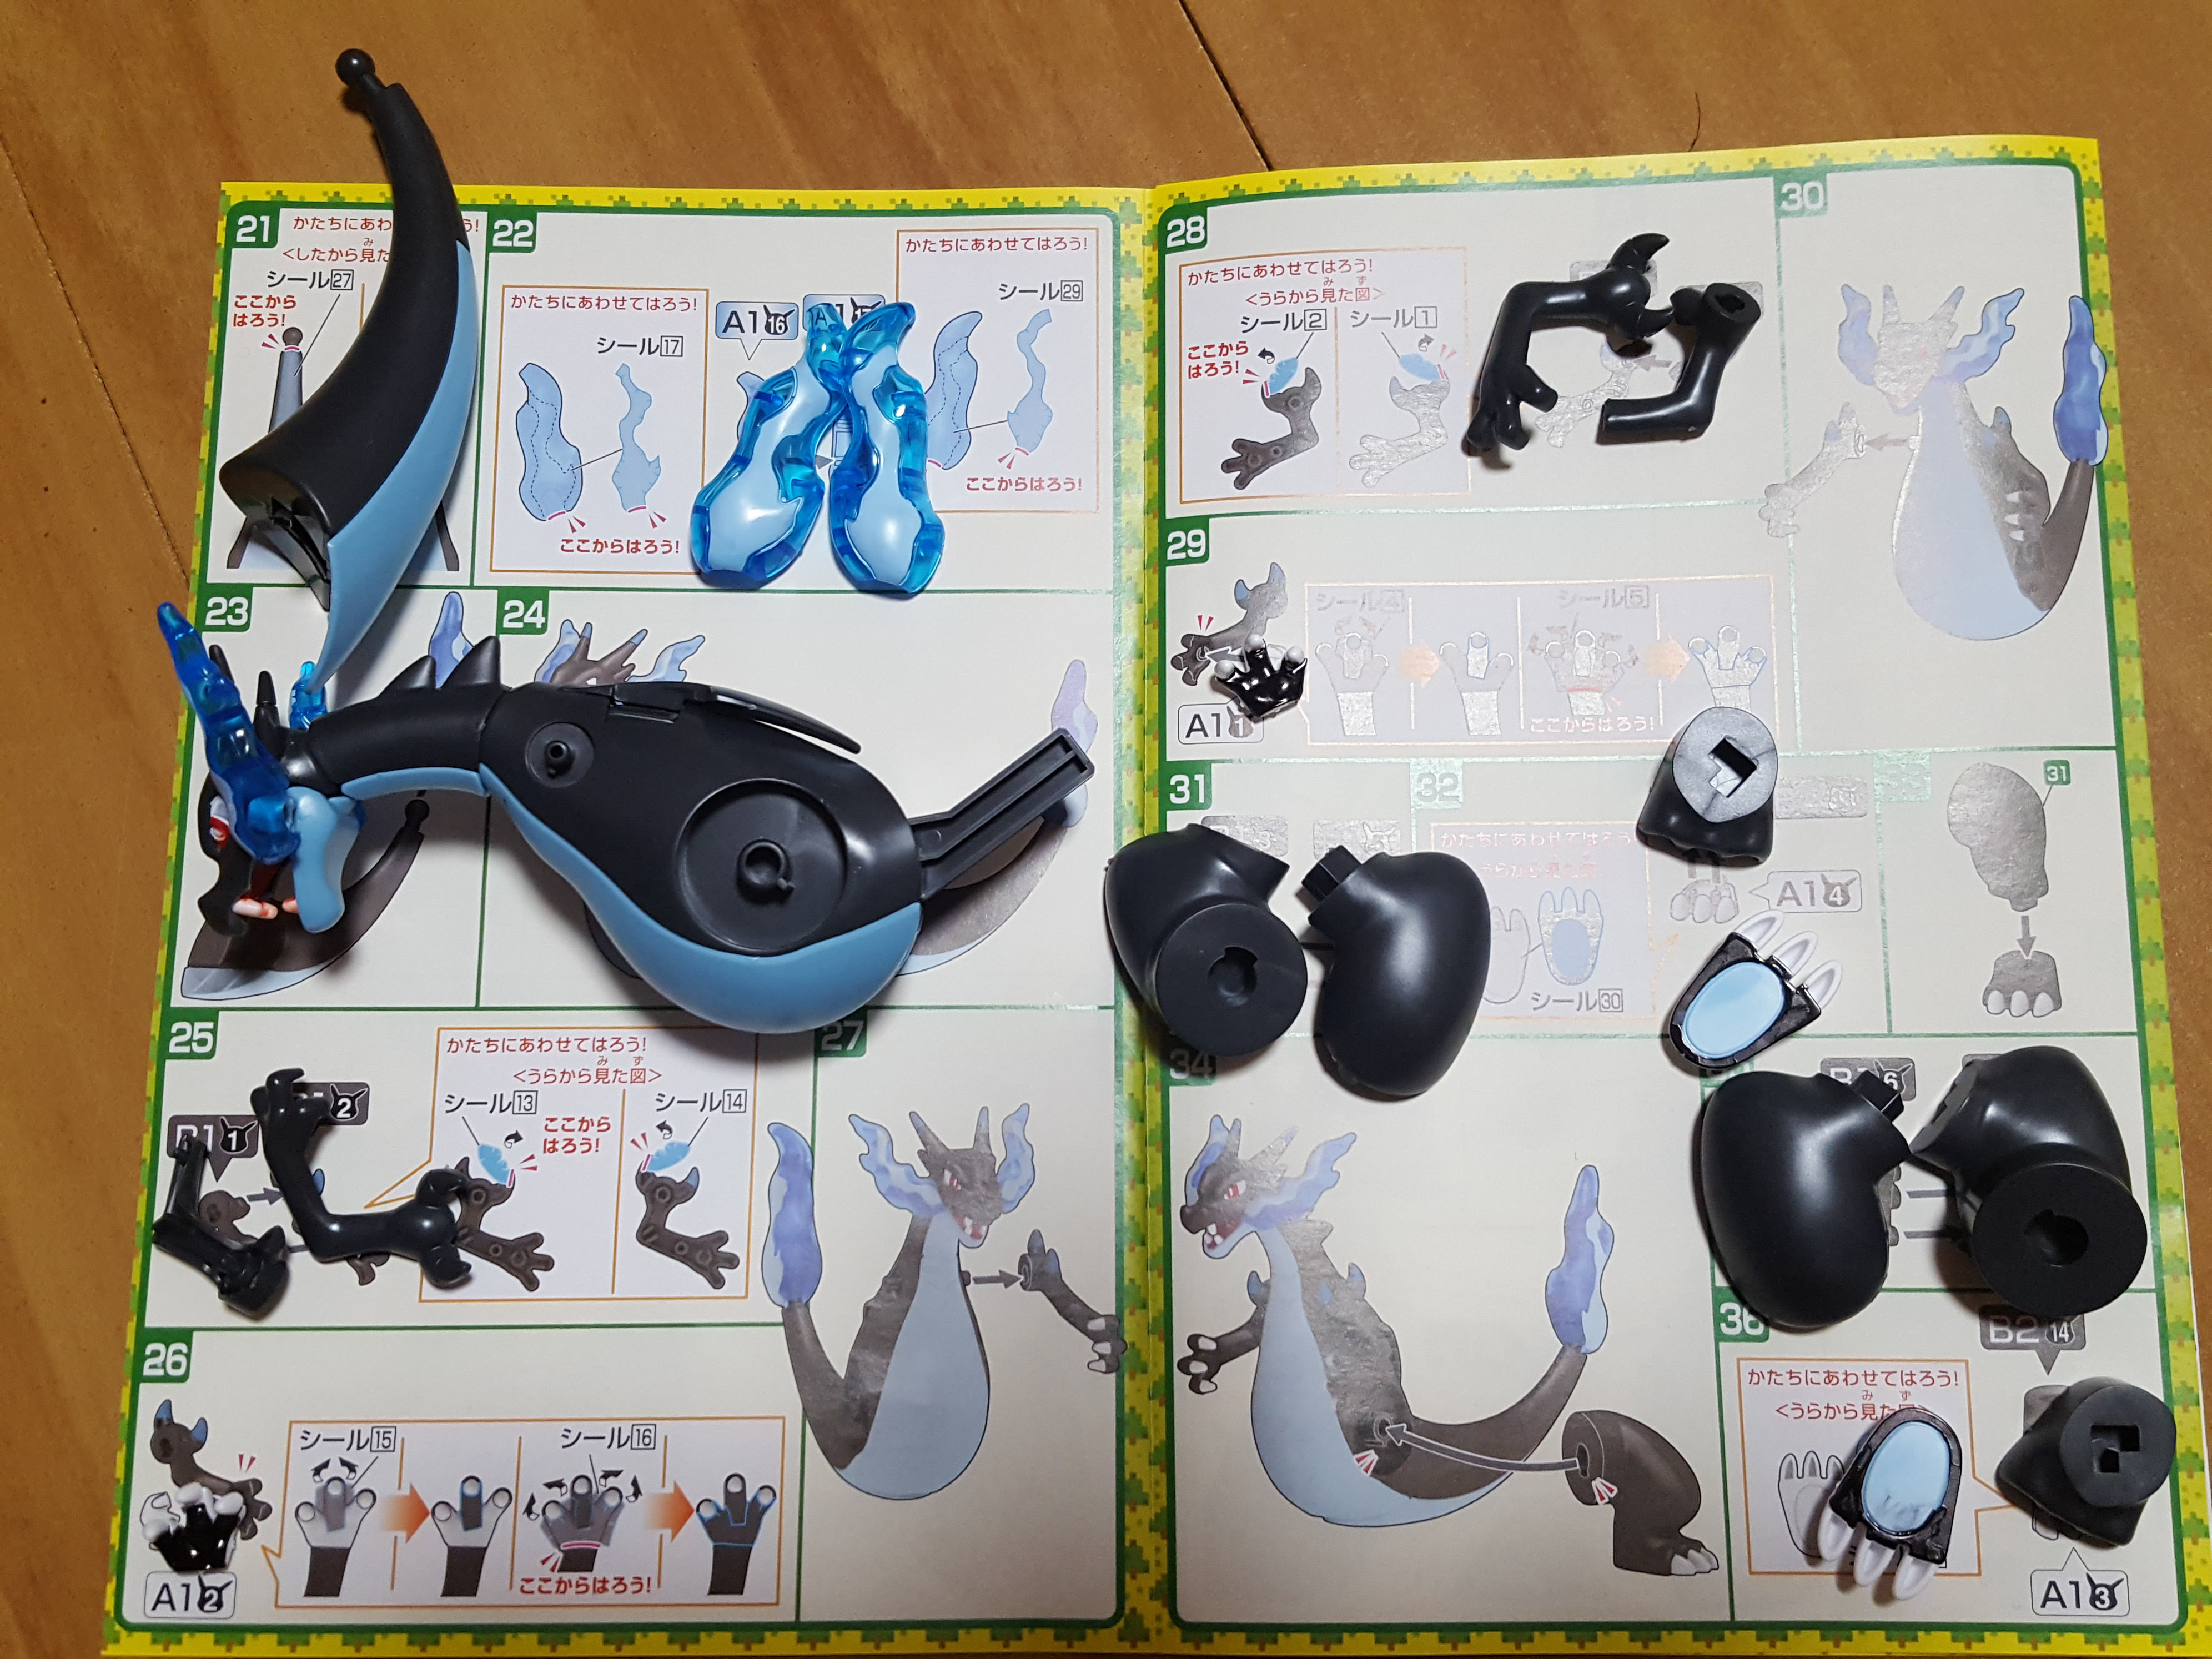
With the paint dry, we can get started on page one & two, where we’ll build the head and part of the body.
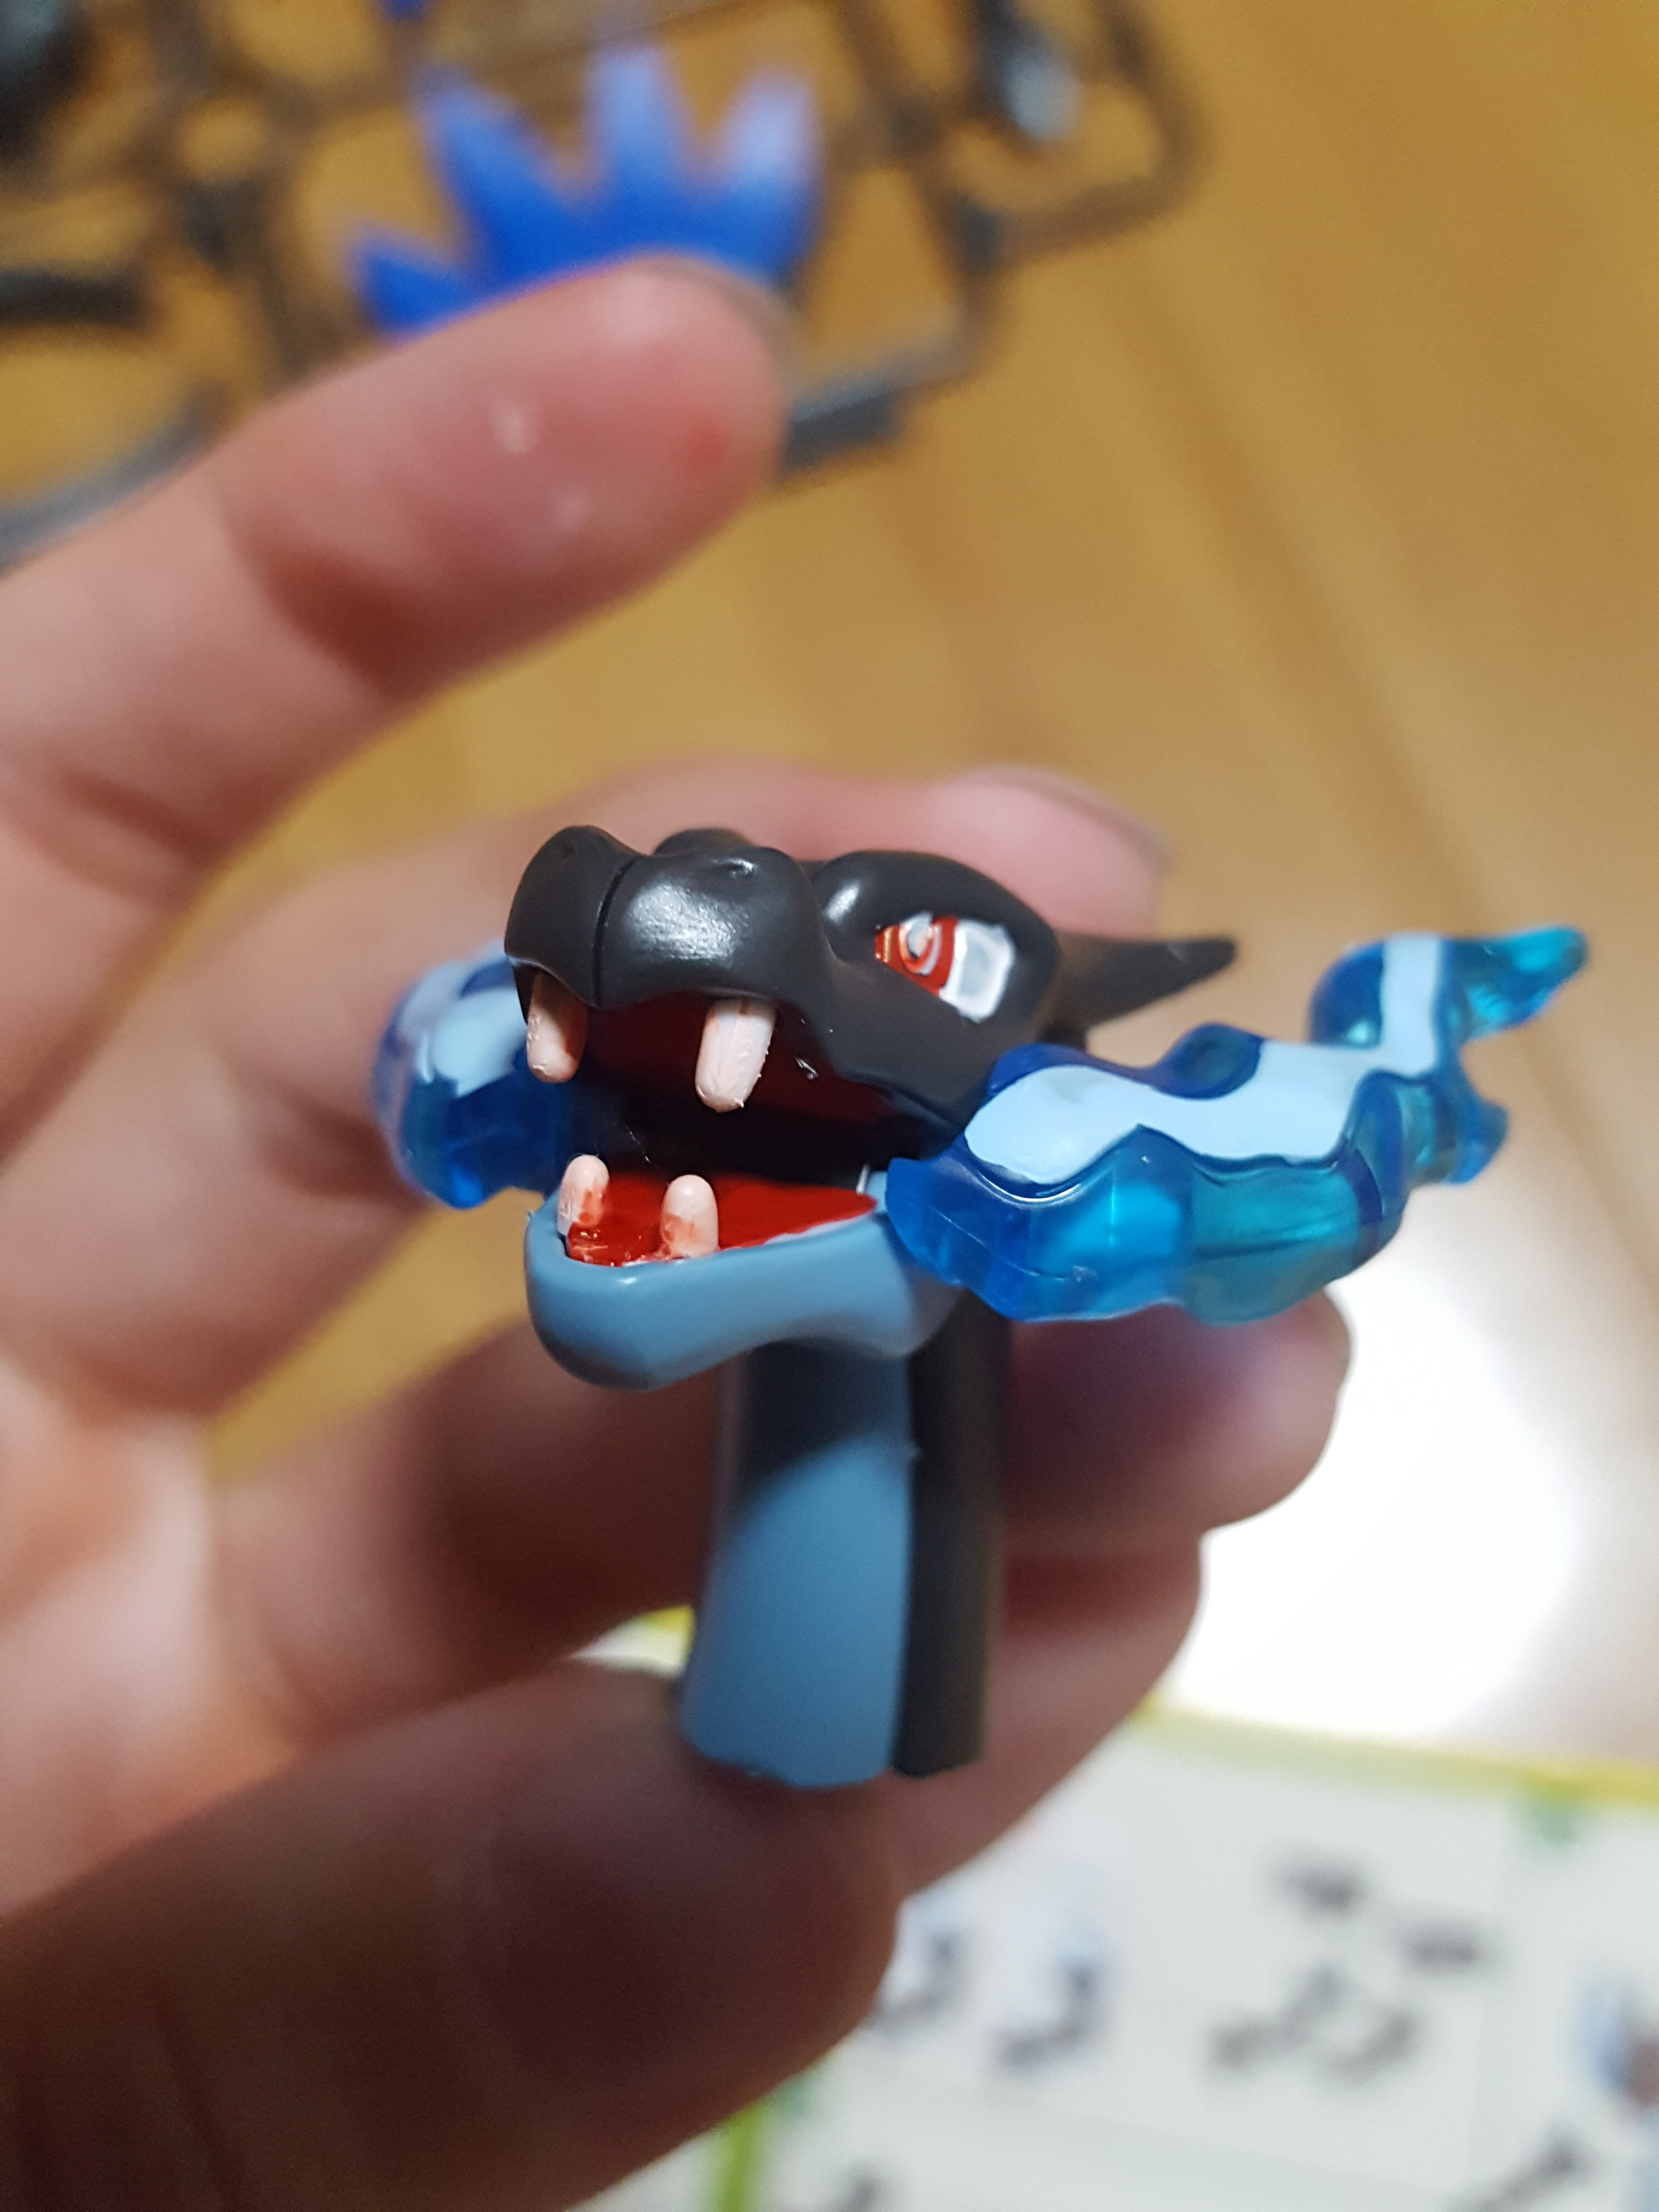
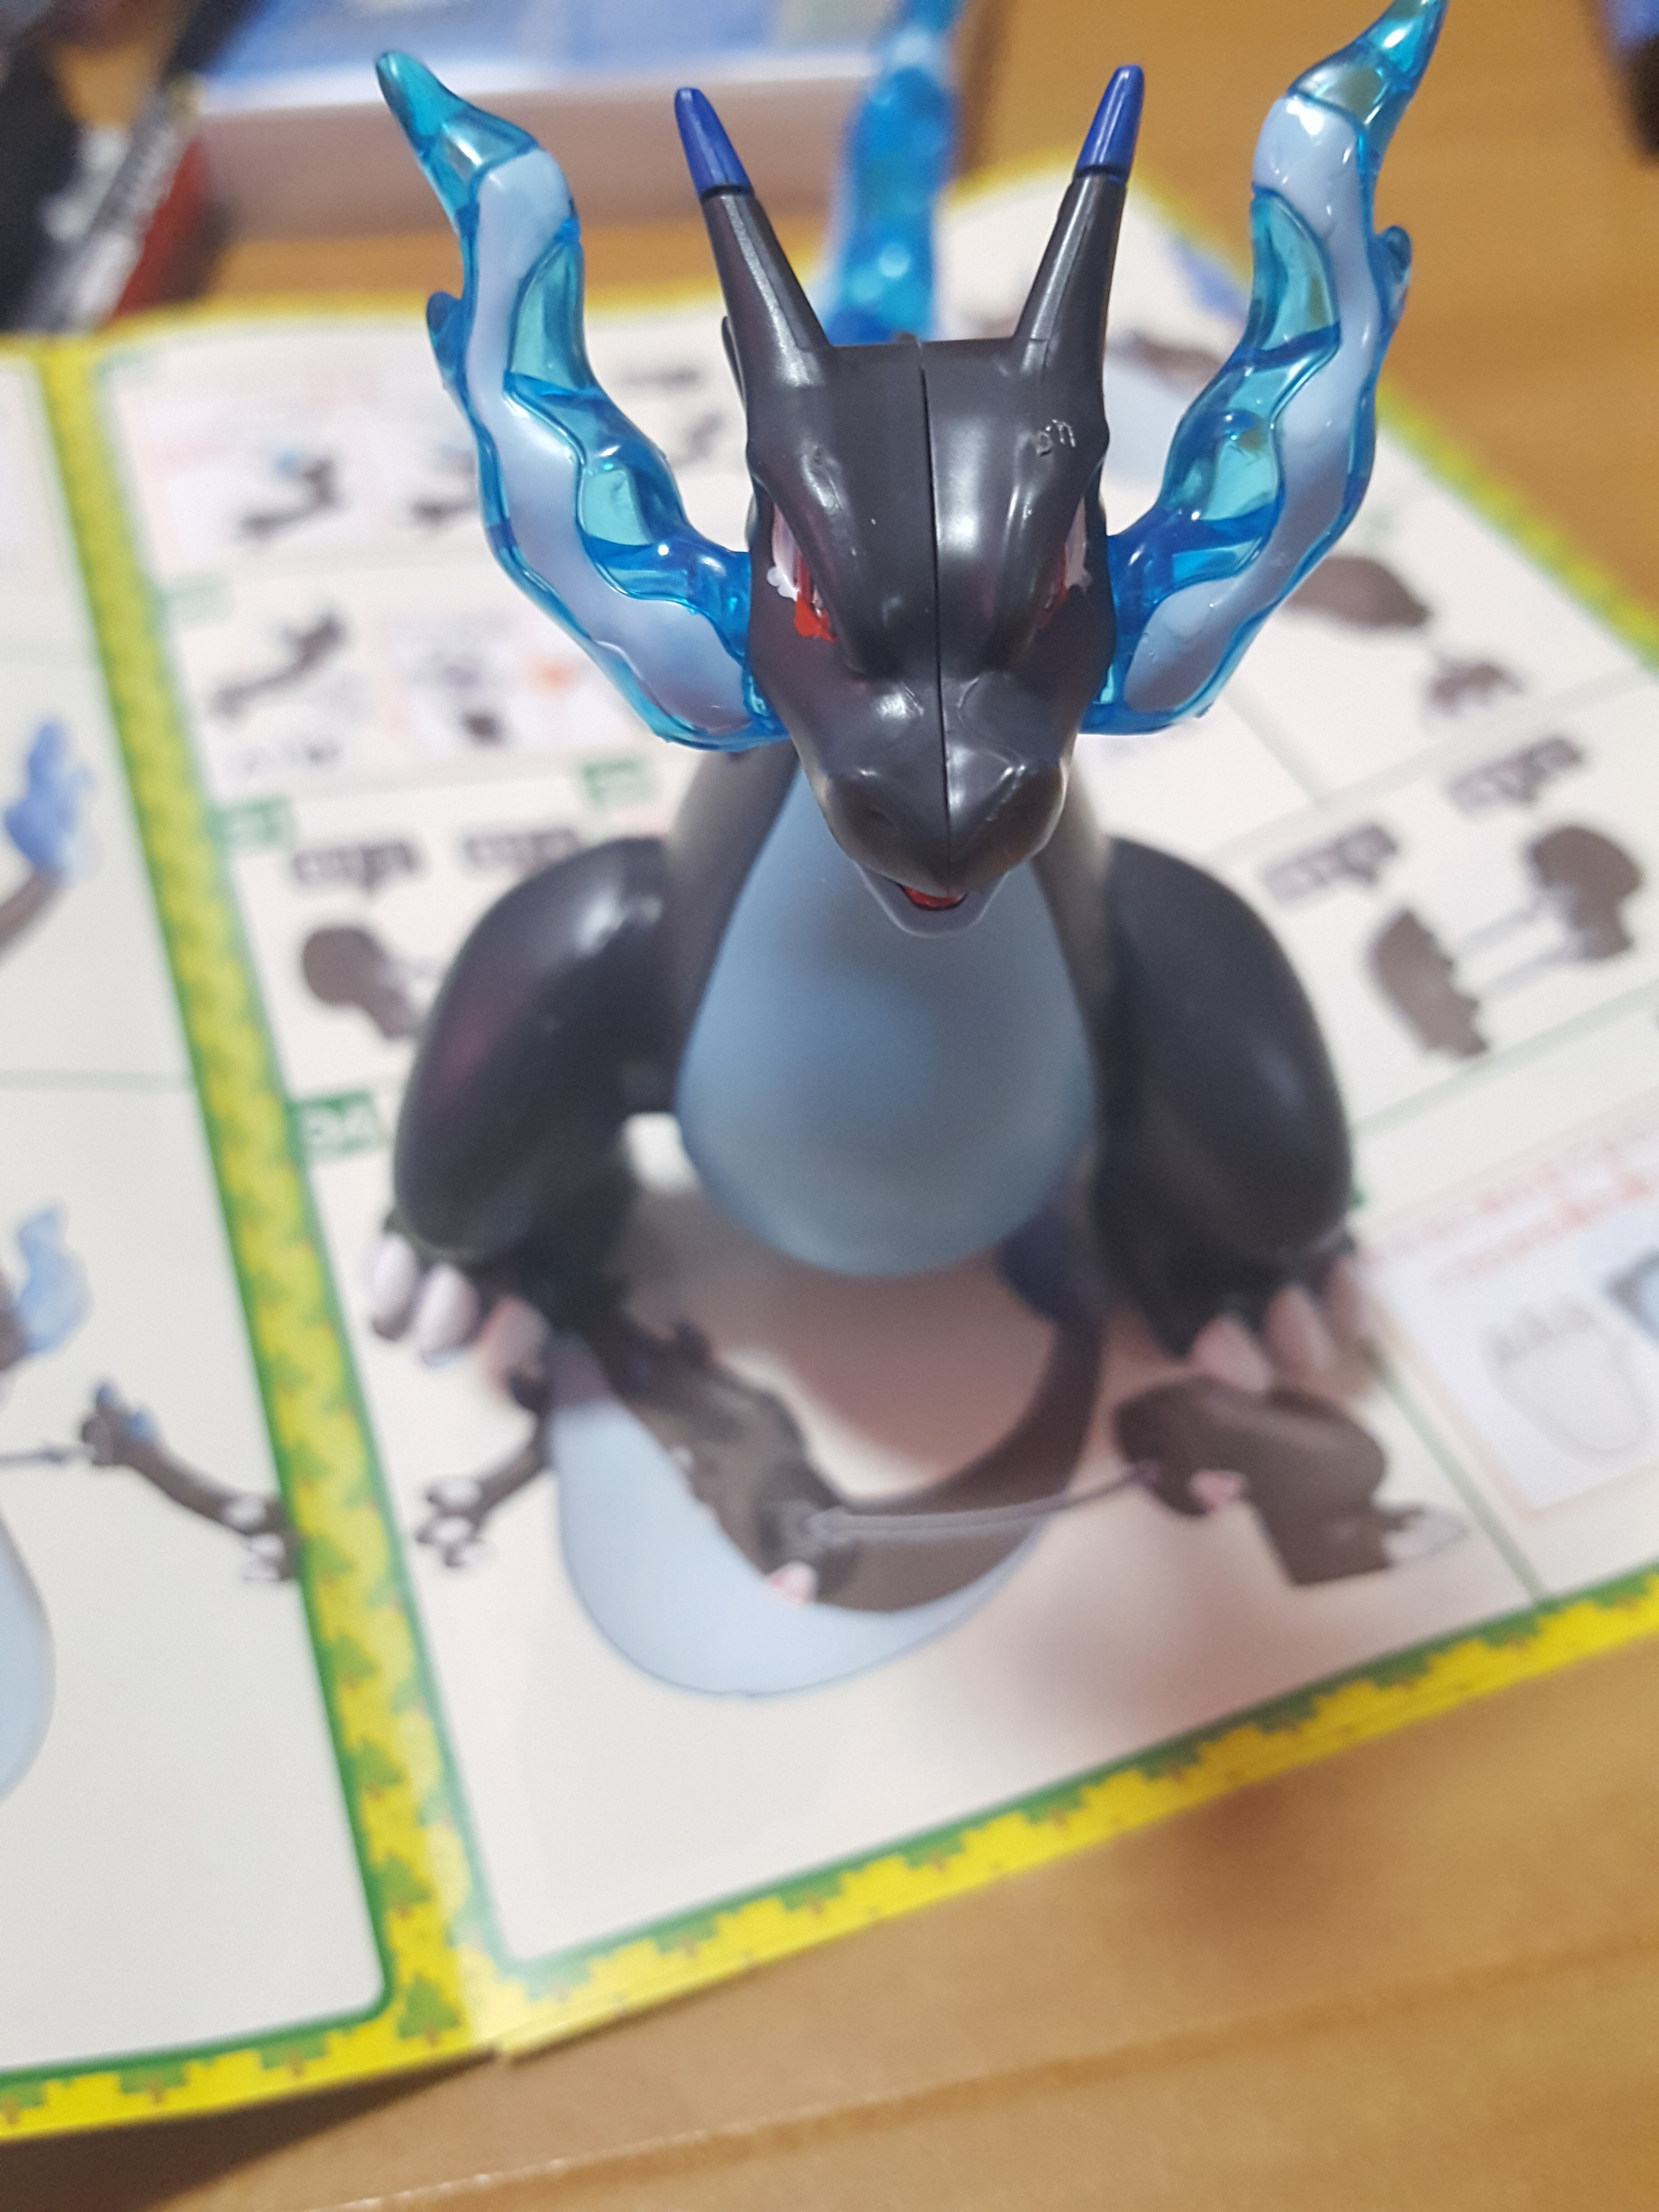
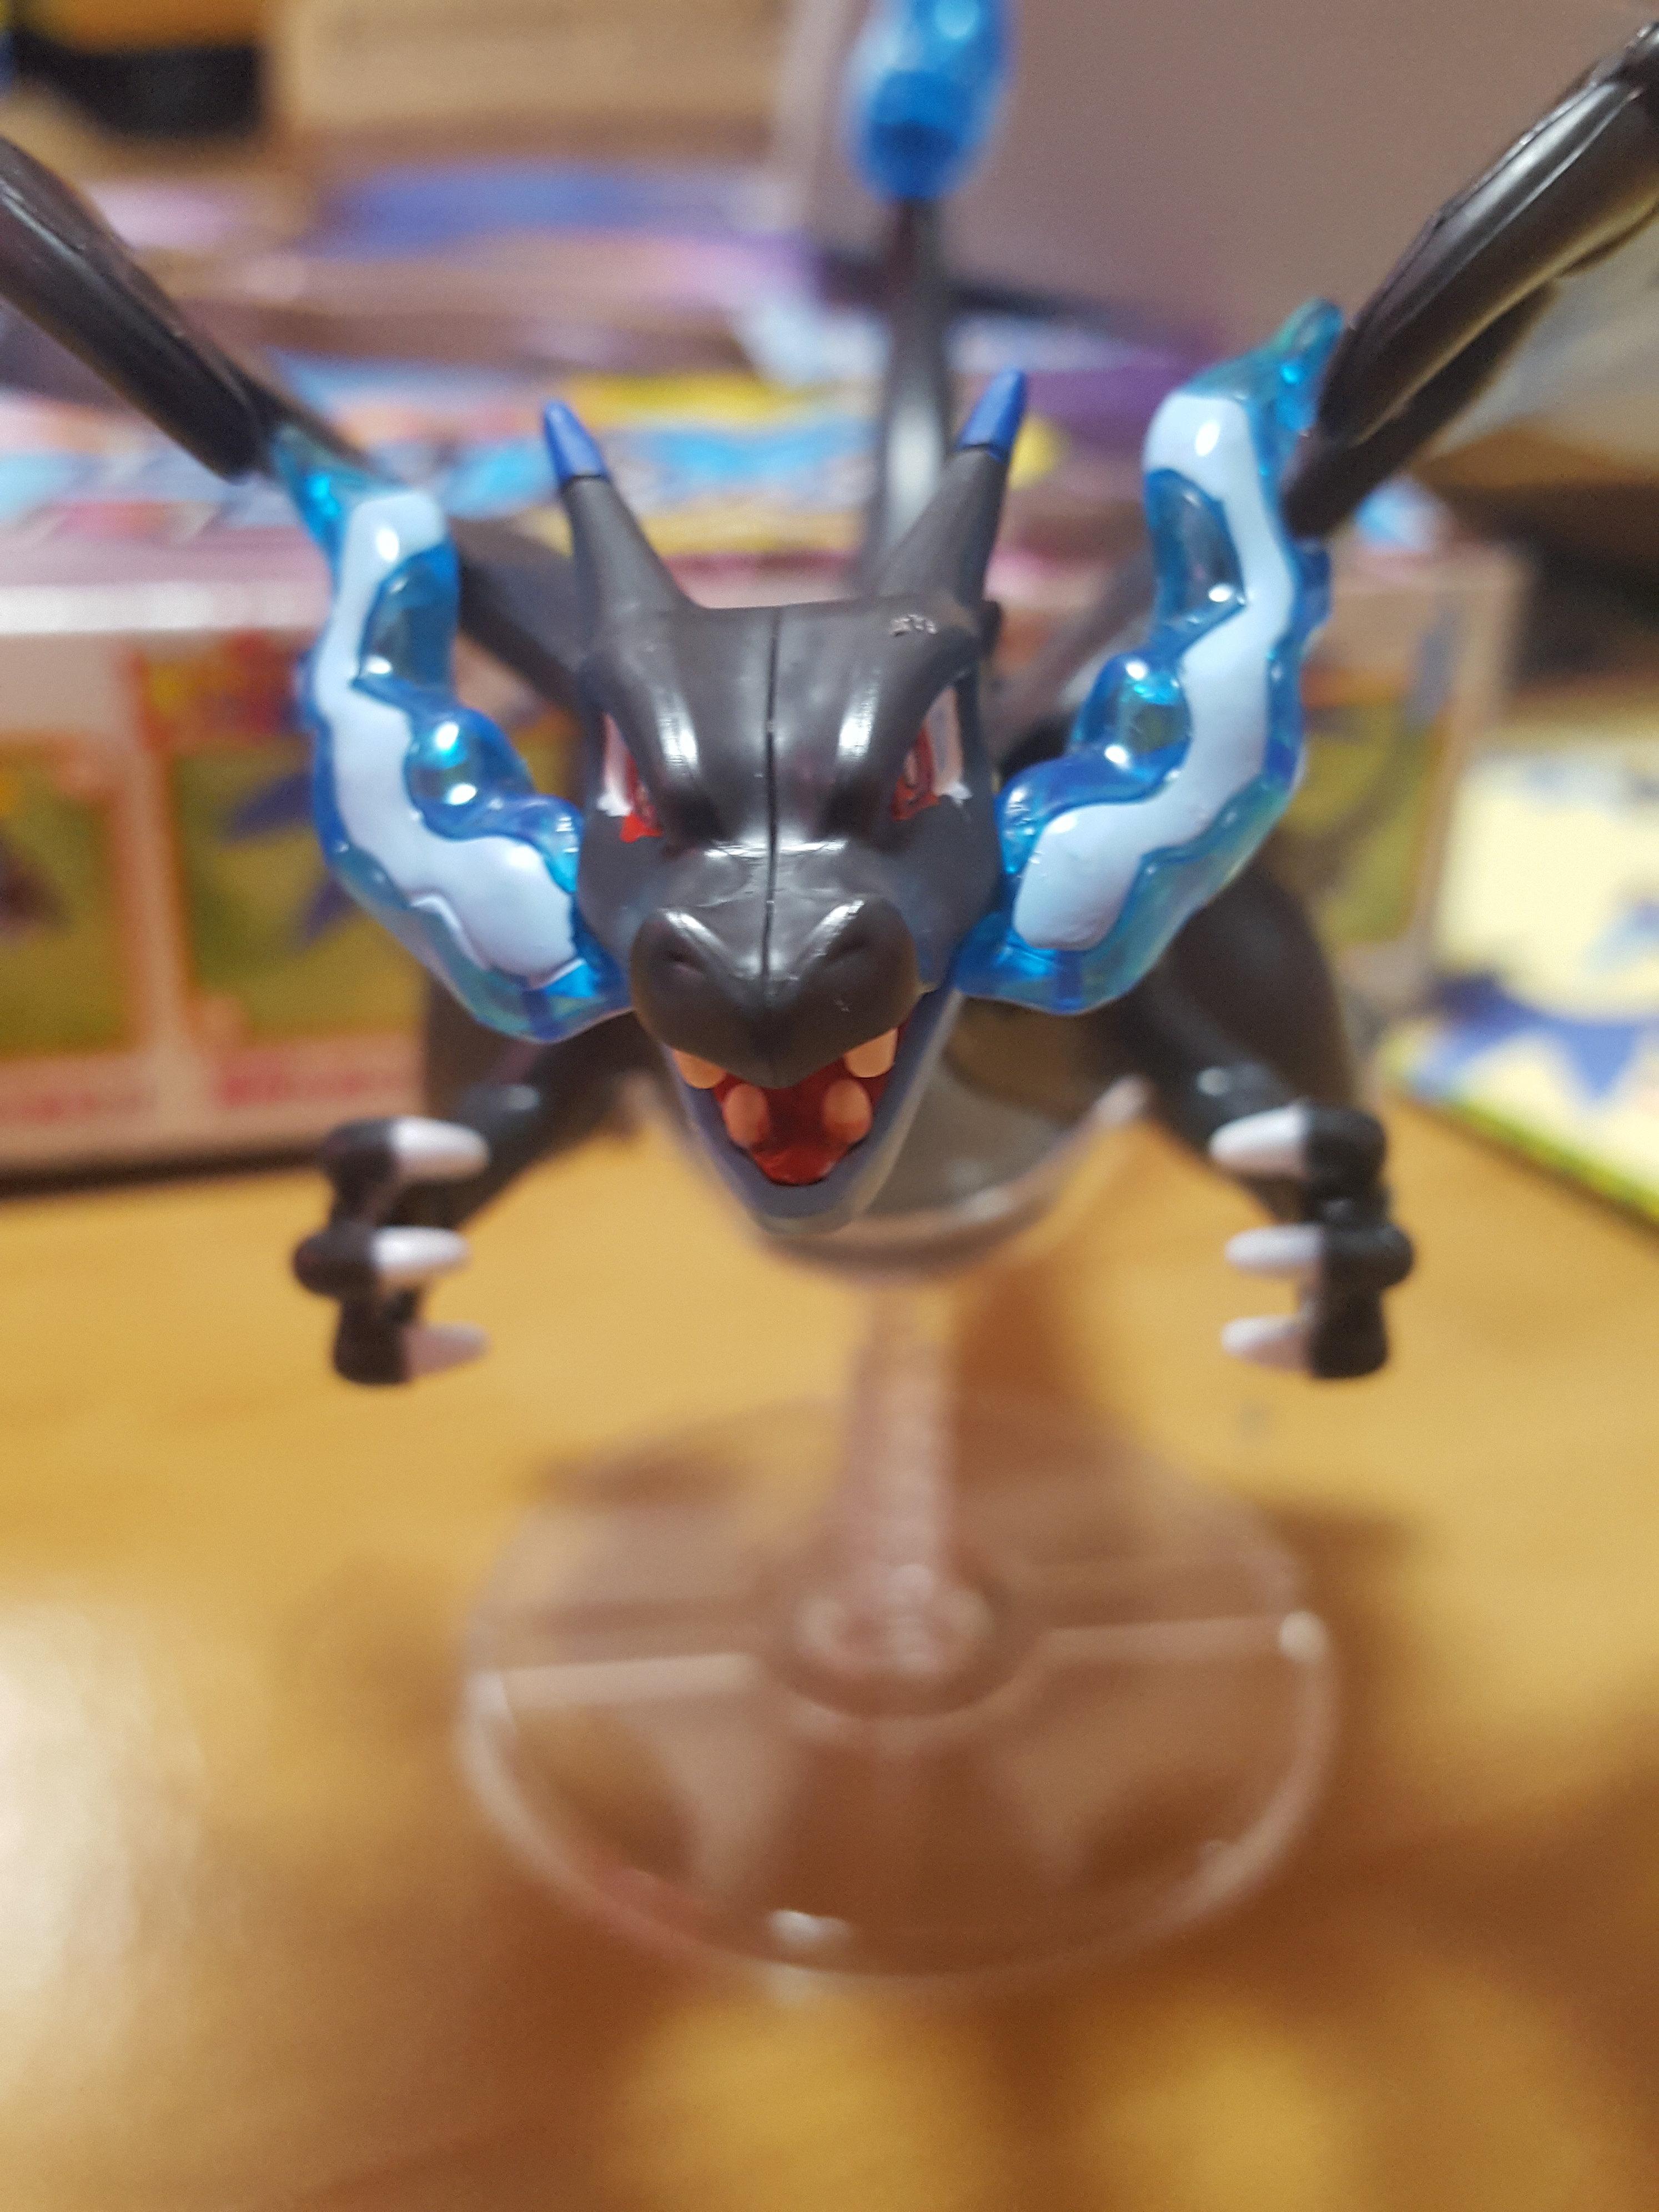
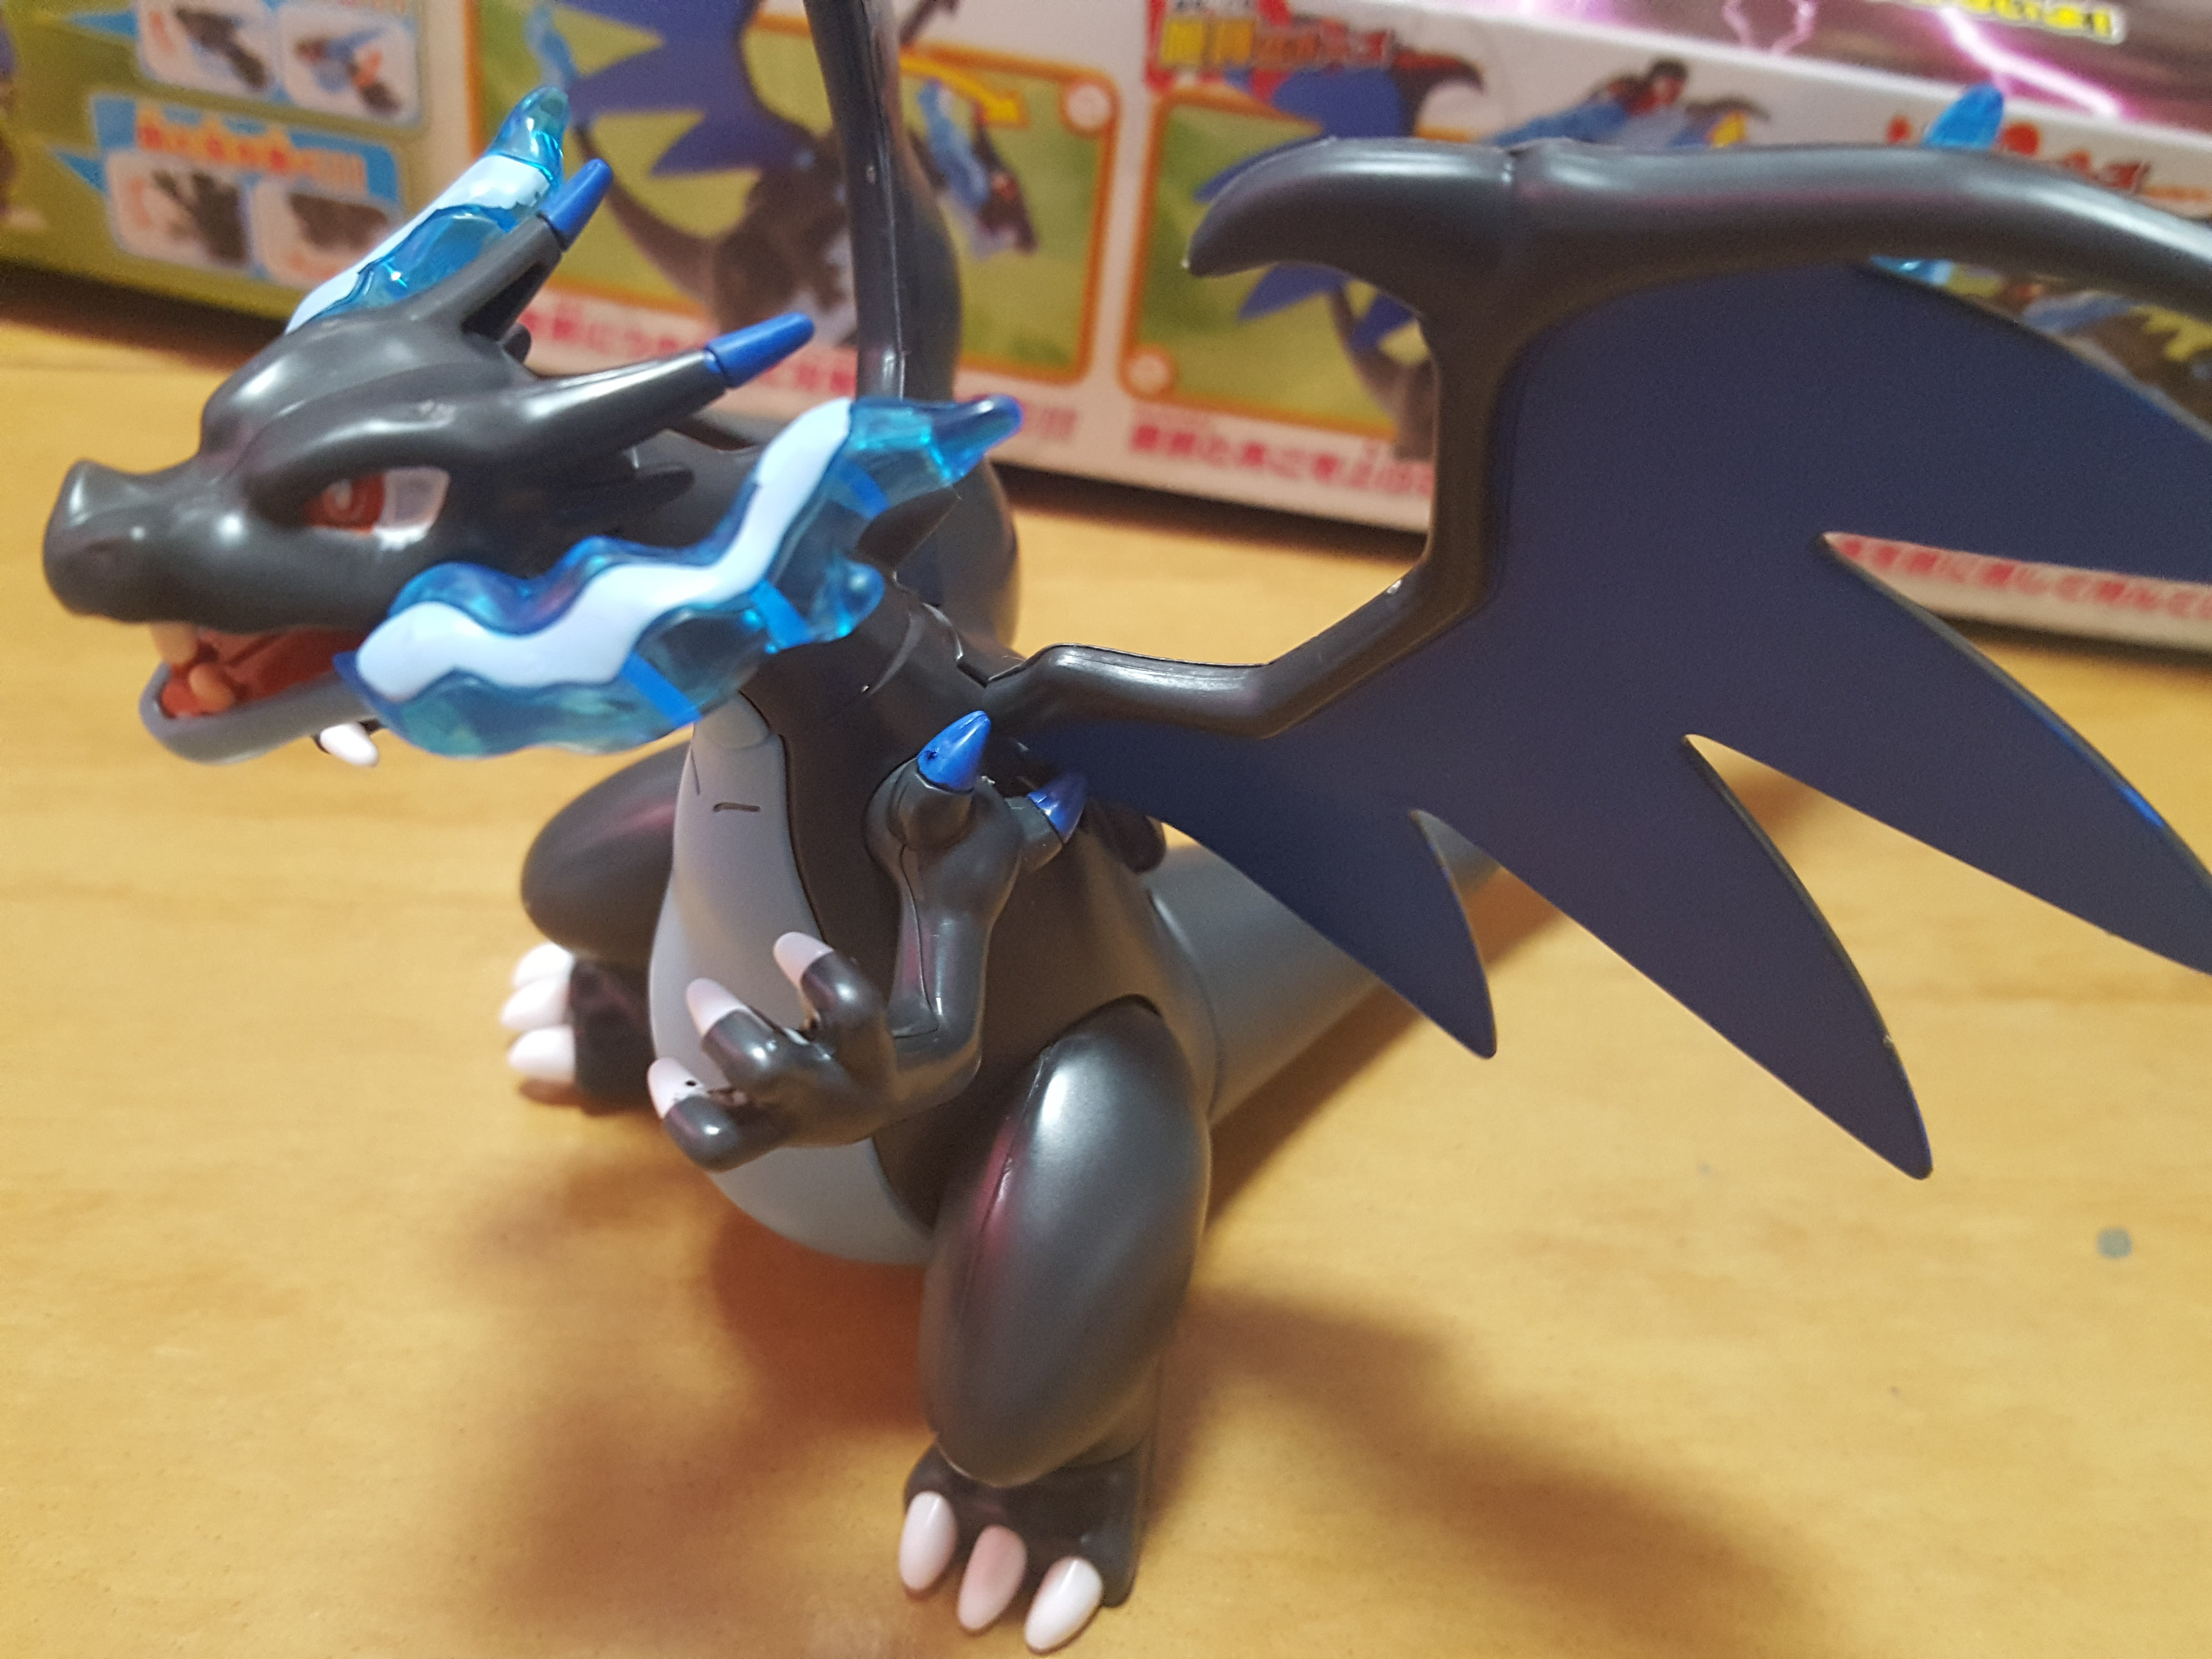
Here’s the finished head with those evil-looking teeth.

And another angle. All in all, it’s better than stickers!
Next, we work on more of the body, including the tail.
I… don’t know why this piece calls for a sticker. It’s not articulated, and ends up blue-side-down on the kit, so you’ll never really see the color. I took the blue marker to this during the build process, as I didn’t notice this piece had a sticker when I did the initial painting.

During the build, I also noticed these chest details could use some color, so I popped in there with the GM63 Sumiire Pen Black from the Seed Destiny marker set. It worked perfectly. (And my camera refused to focus on anything other than my fingers!)

Here’s what the build looks like so far. It’s coming along nicely.
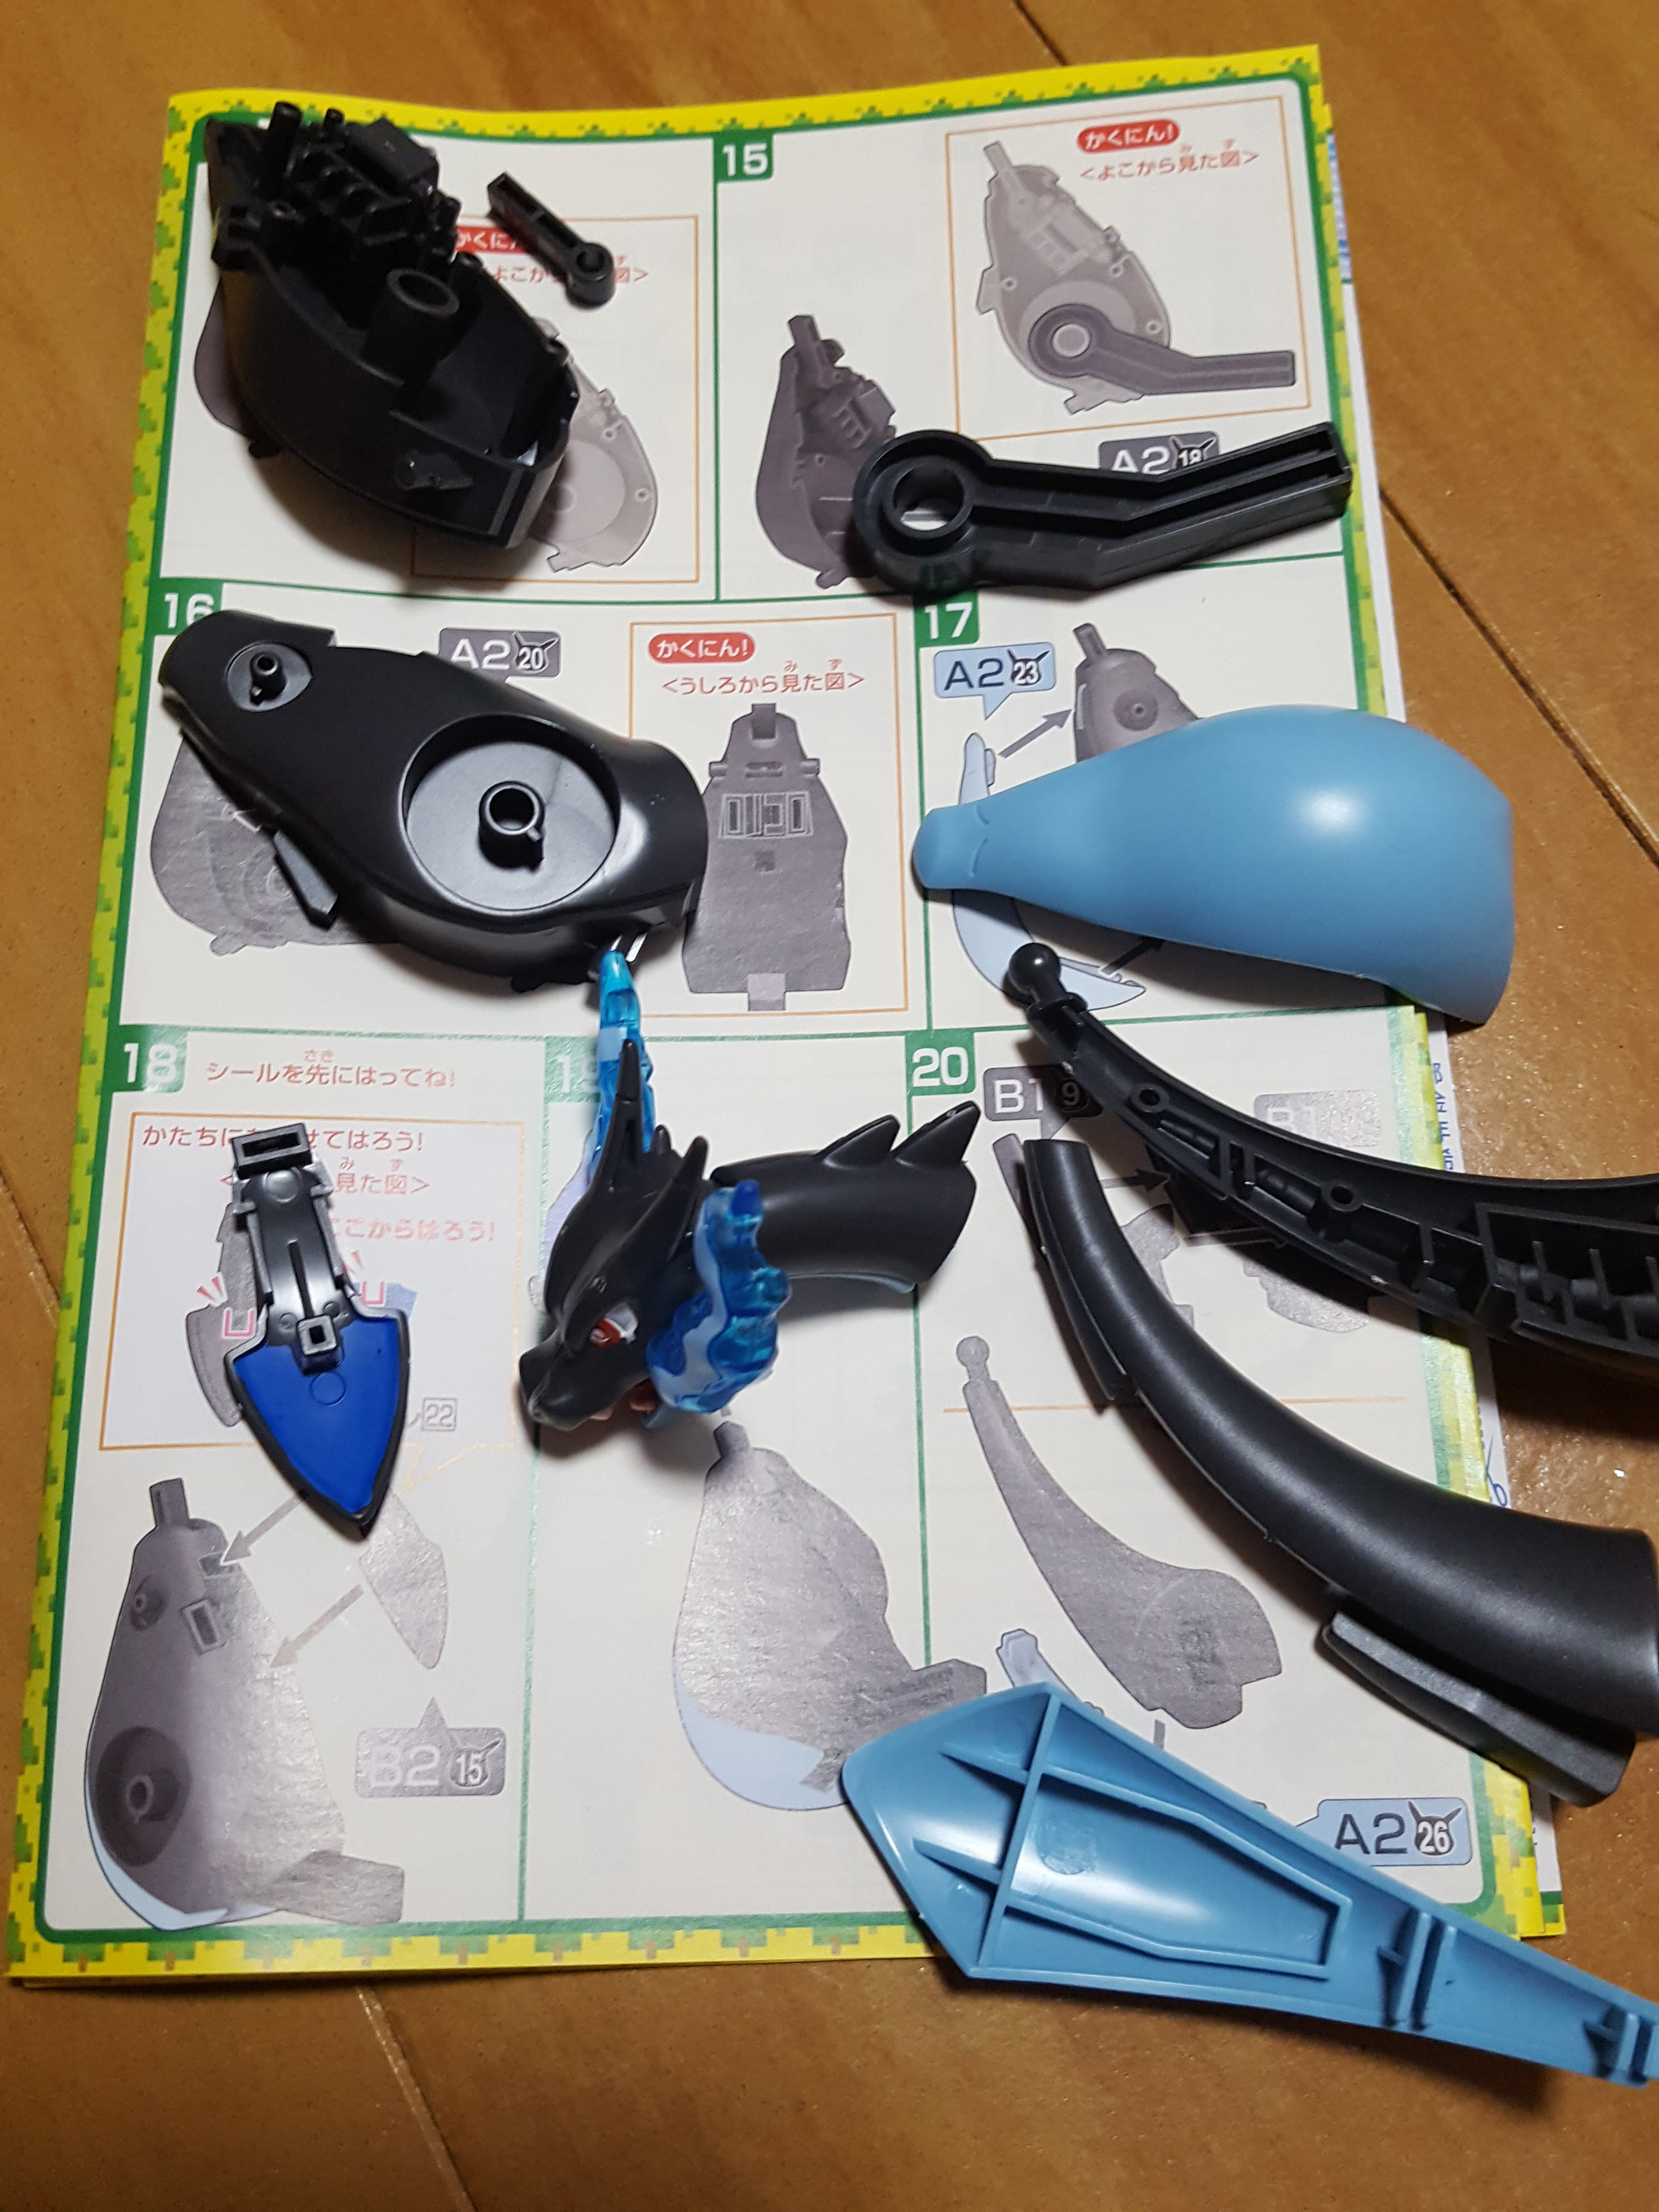
I laid out the parts for the next page, and realized I had more painting to do. I had been debating whether to use paint or stickers for some of these details, as the shade of blue is supposed to be different from the two I’ve used so far. I decided I was really liking the look of the paint over the stickers, though, so I just went for it with paint. While I was at it, I touched up several parts that were already assembled.
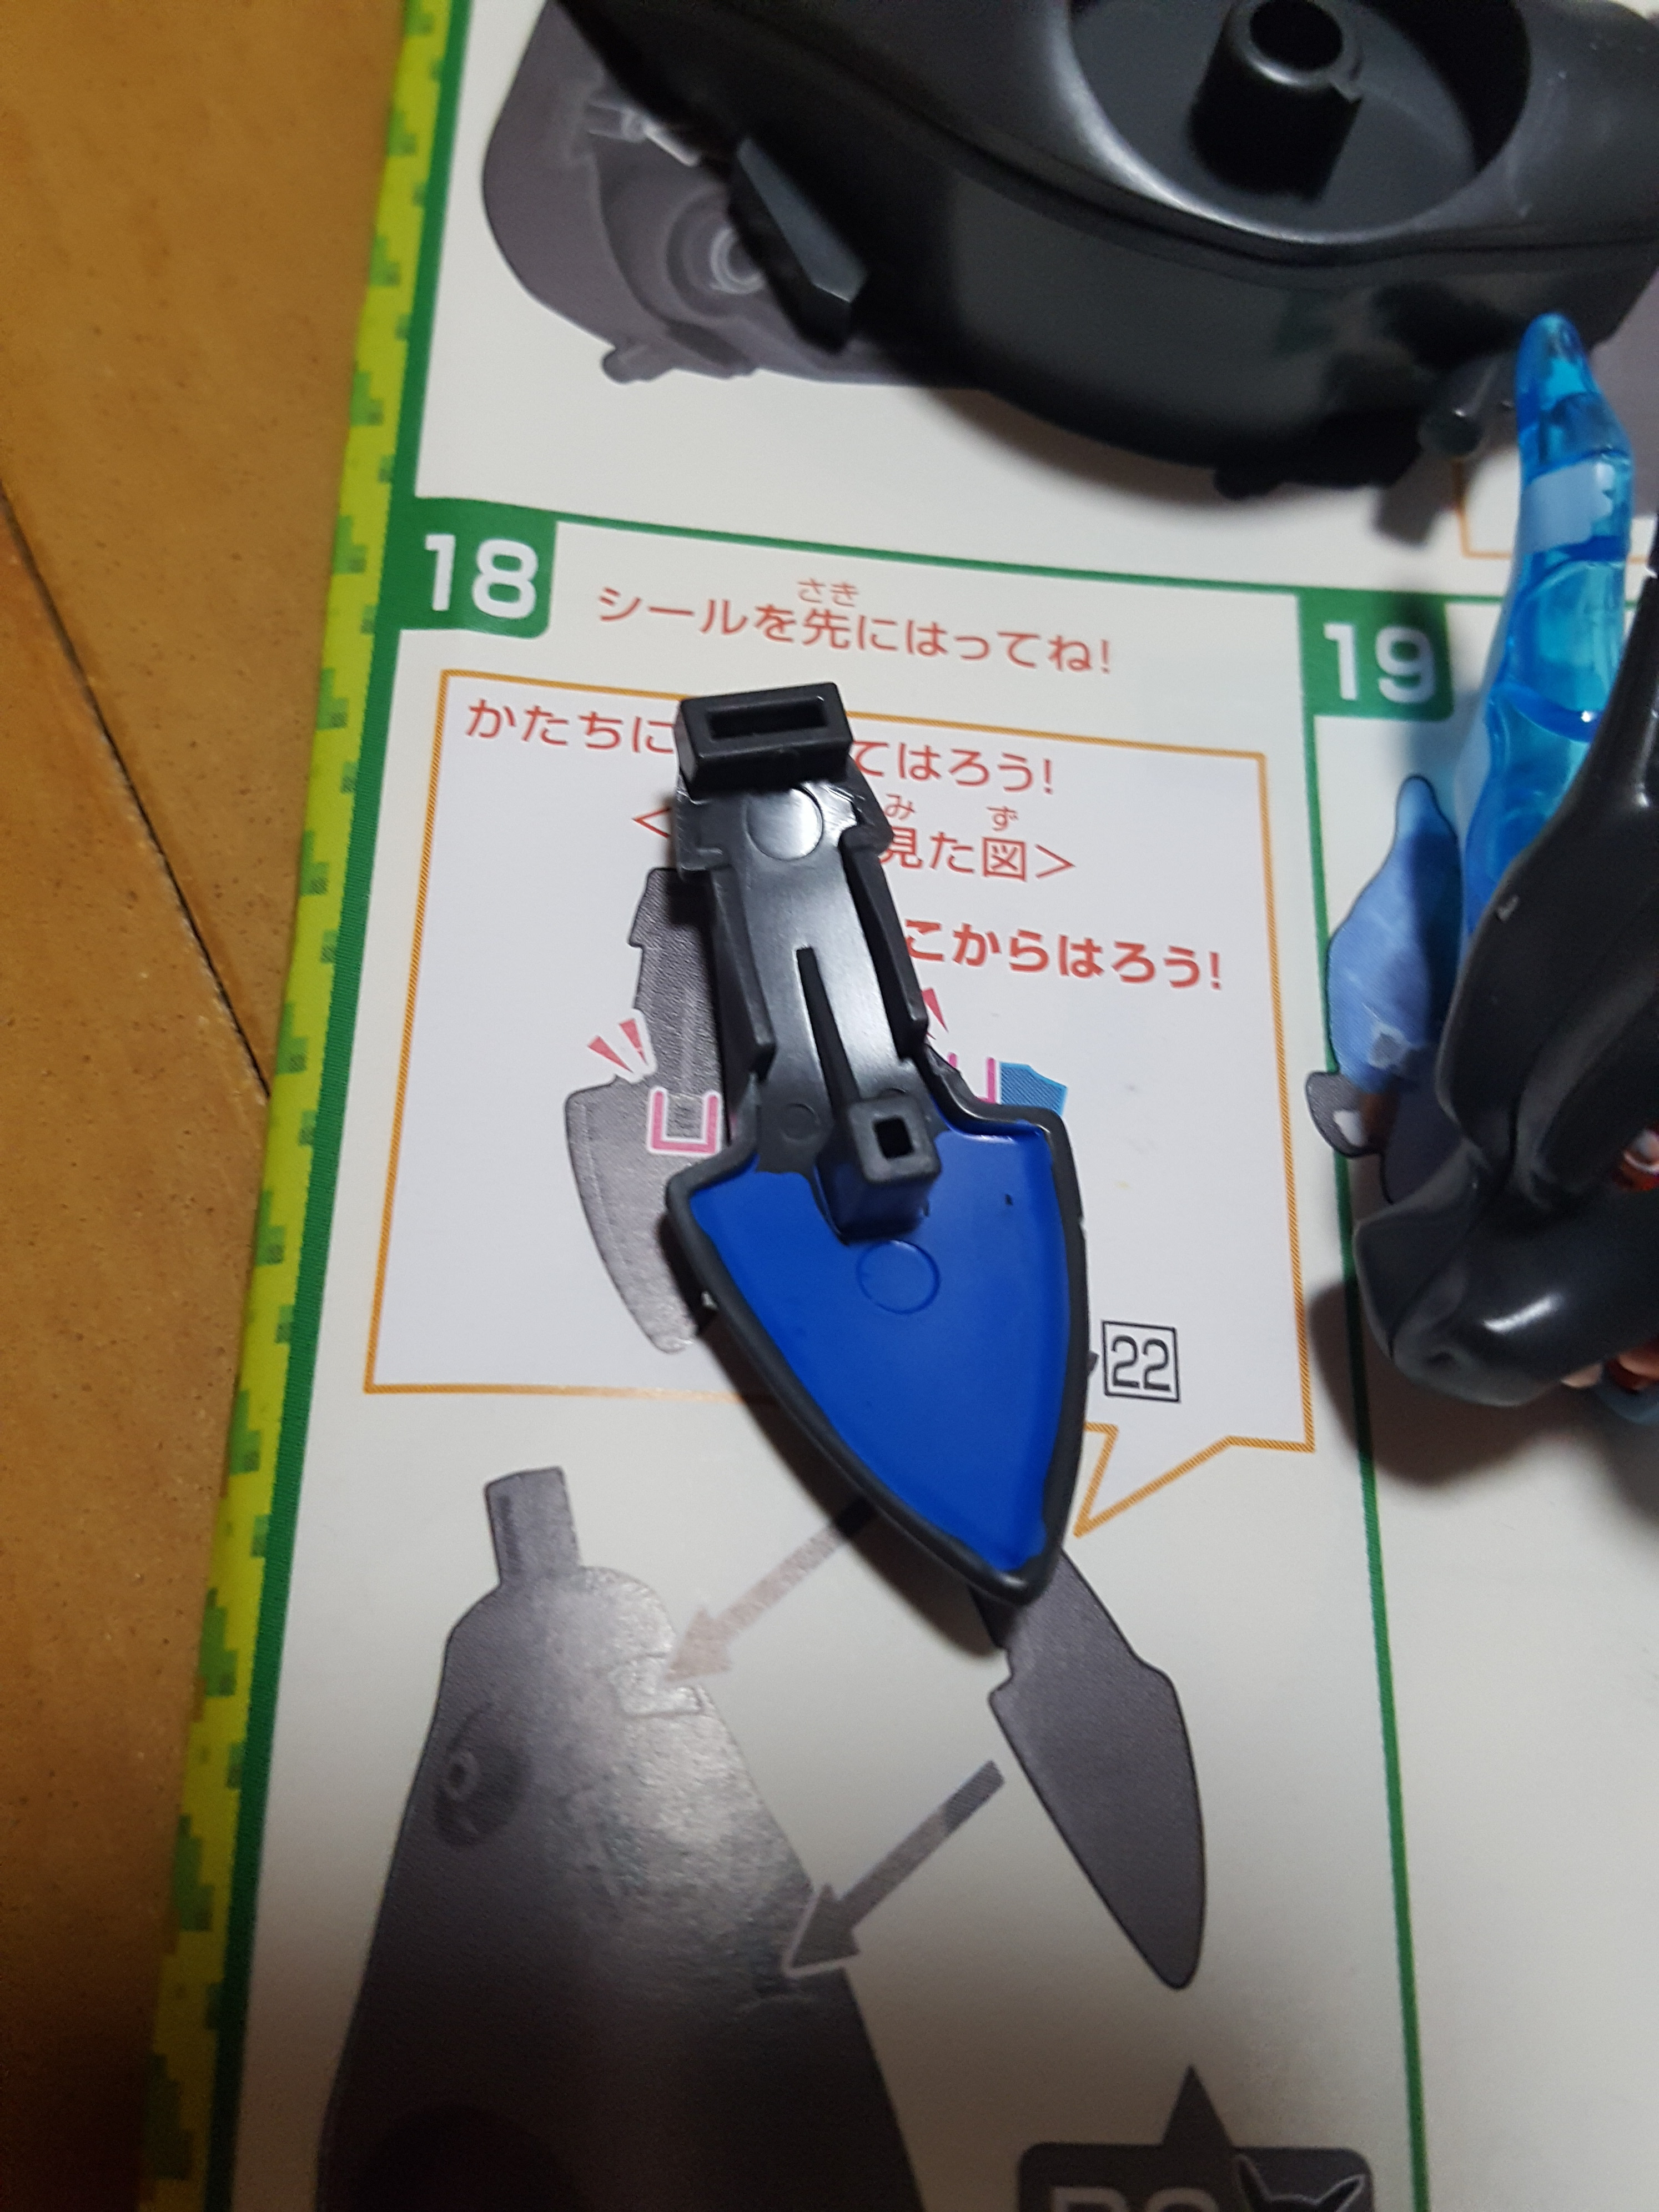
The shoulder details, in Seed Destiny Blue.
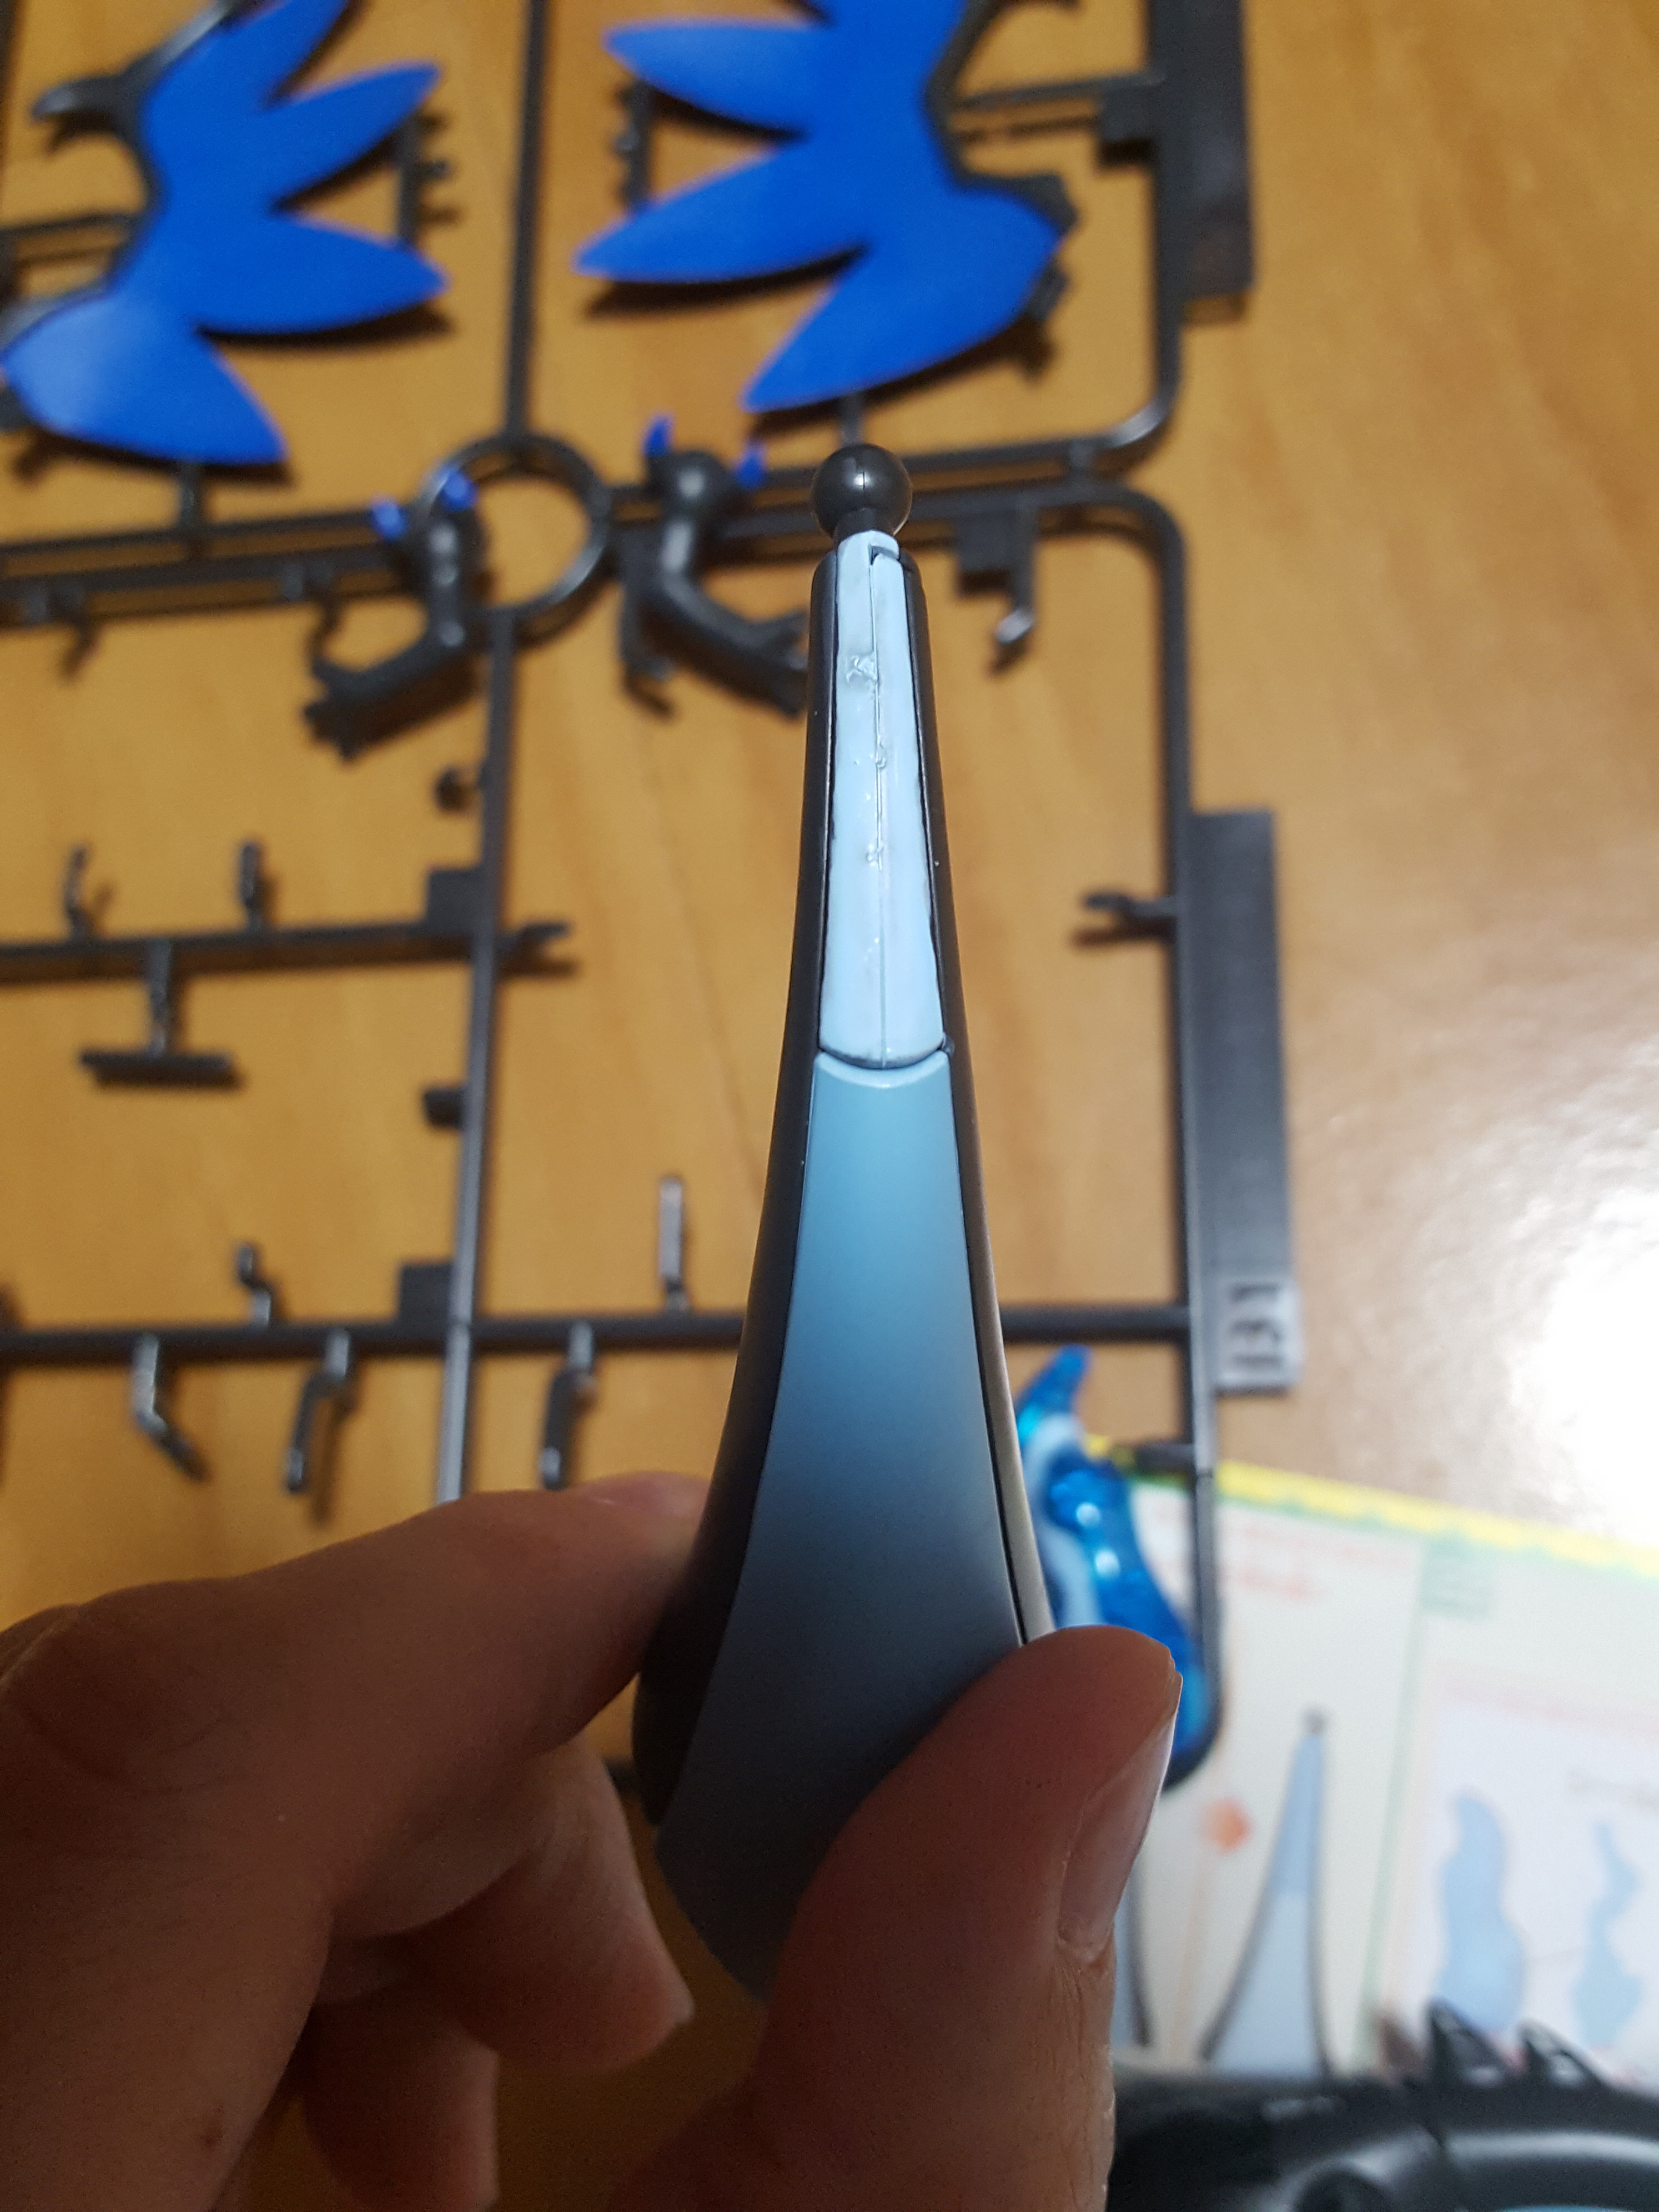
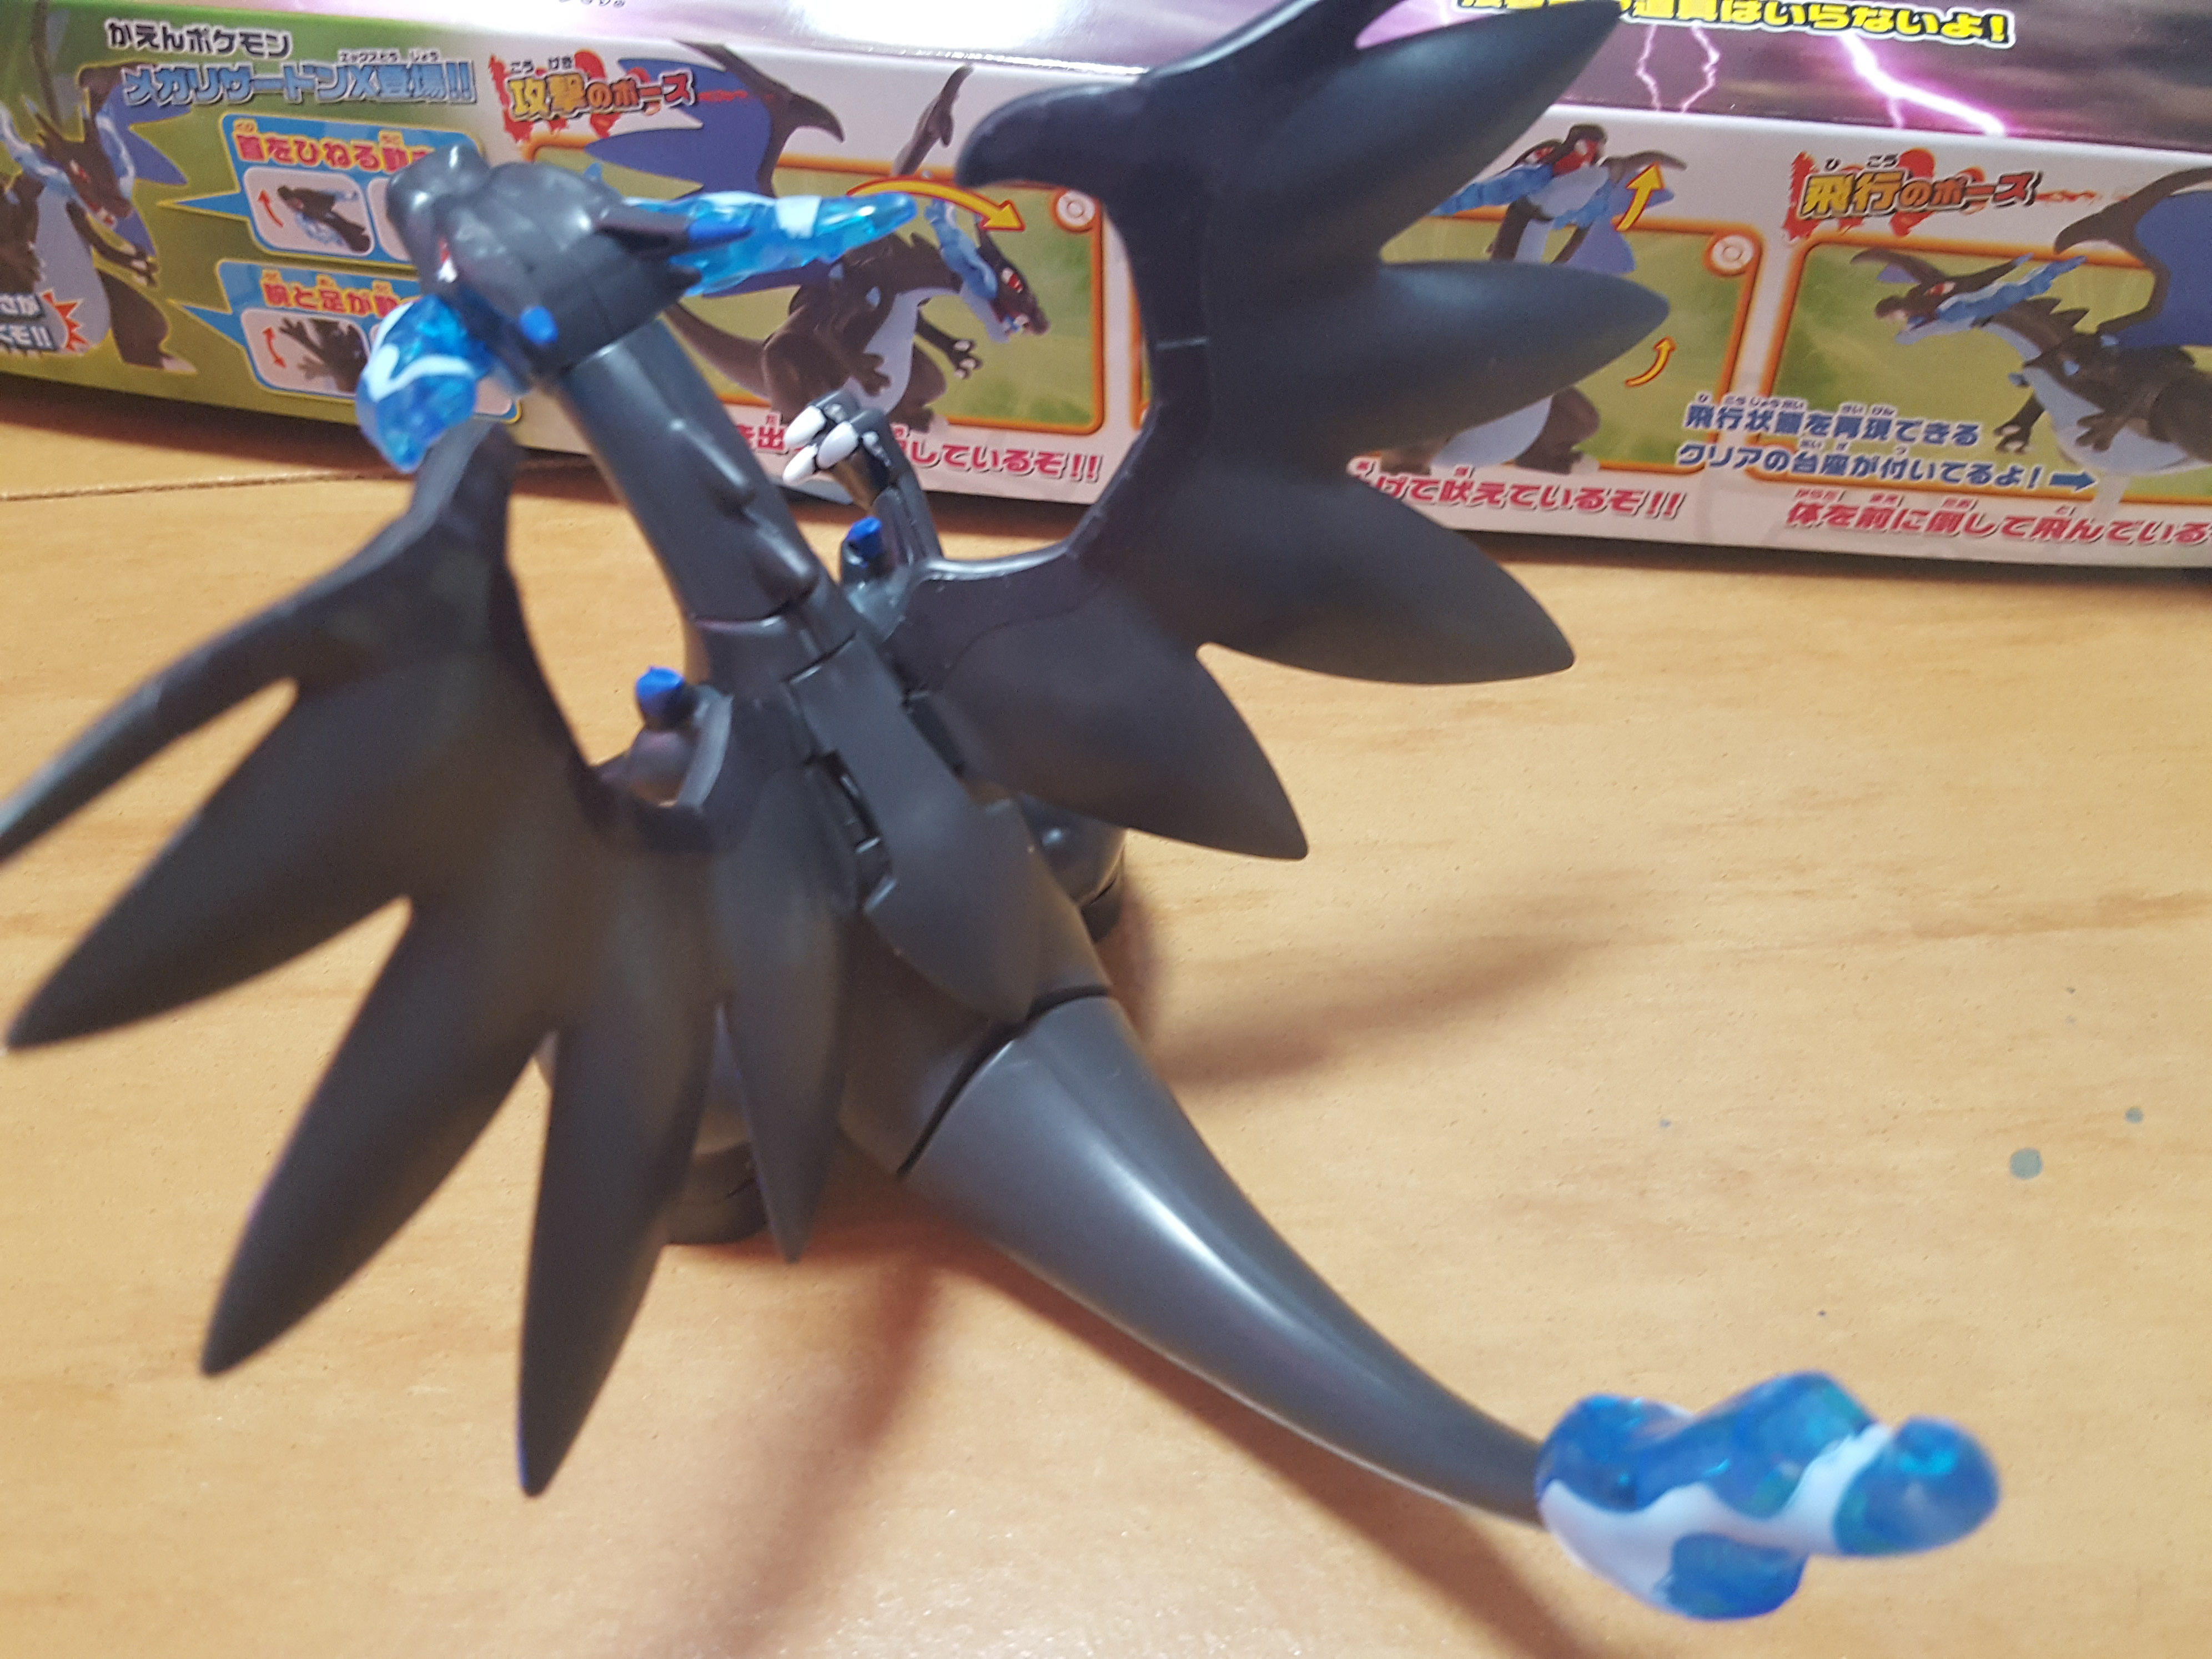
The tail in Light Blue. The sticker would have done a second job here, too, in covering the seam, but I stuck with the paint.

I tipped the horns in blue, and went back and redid those gappy areas you can see on the effect parts.
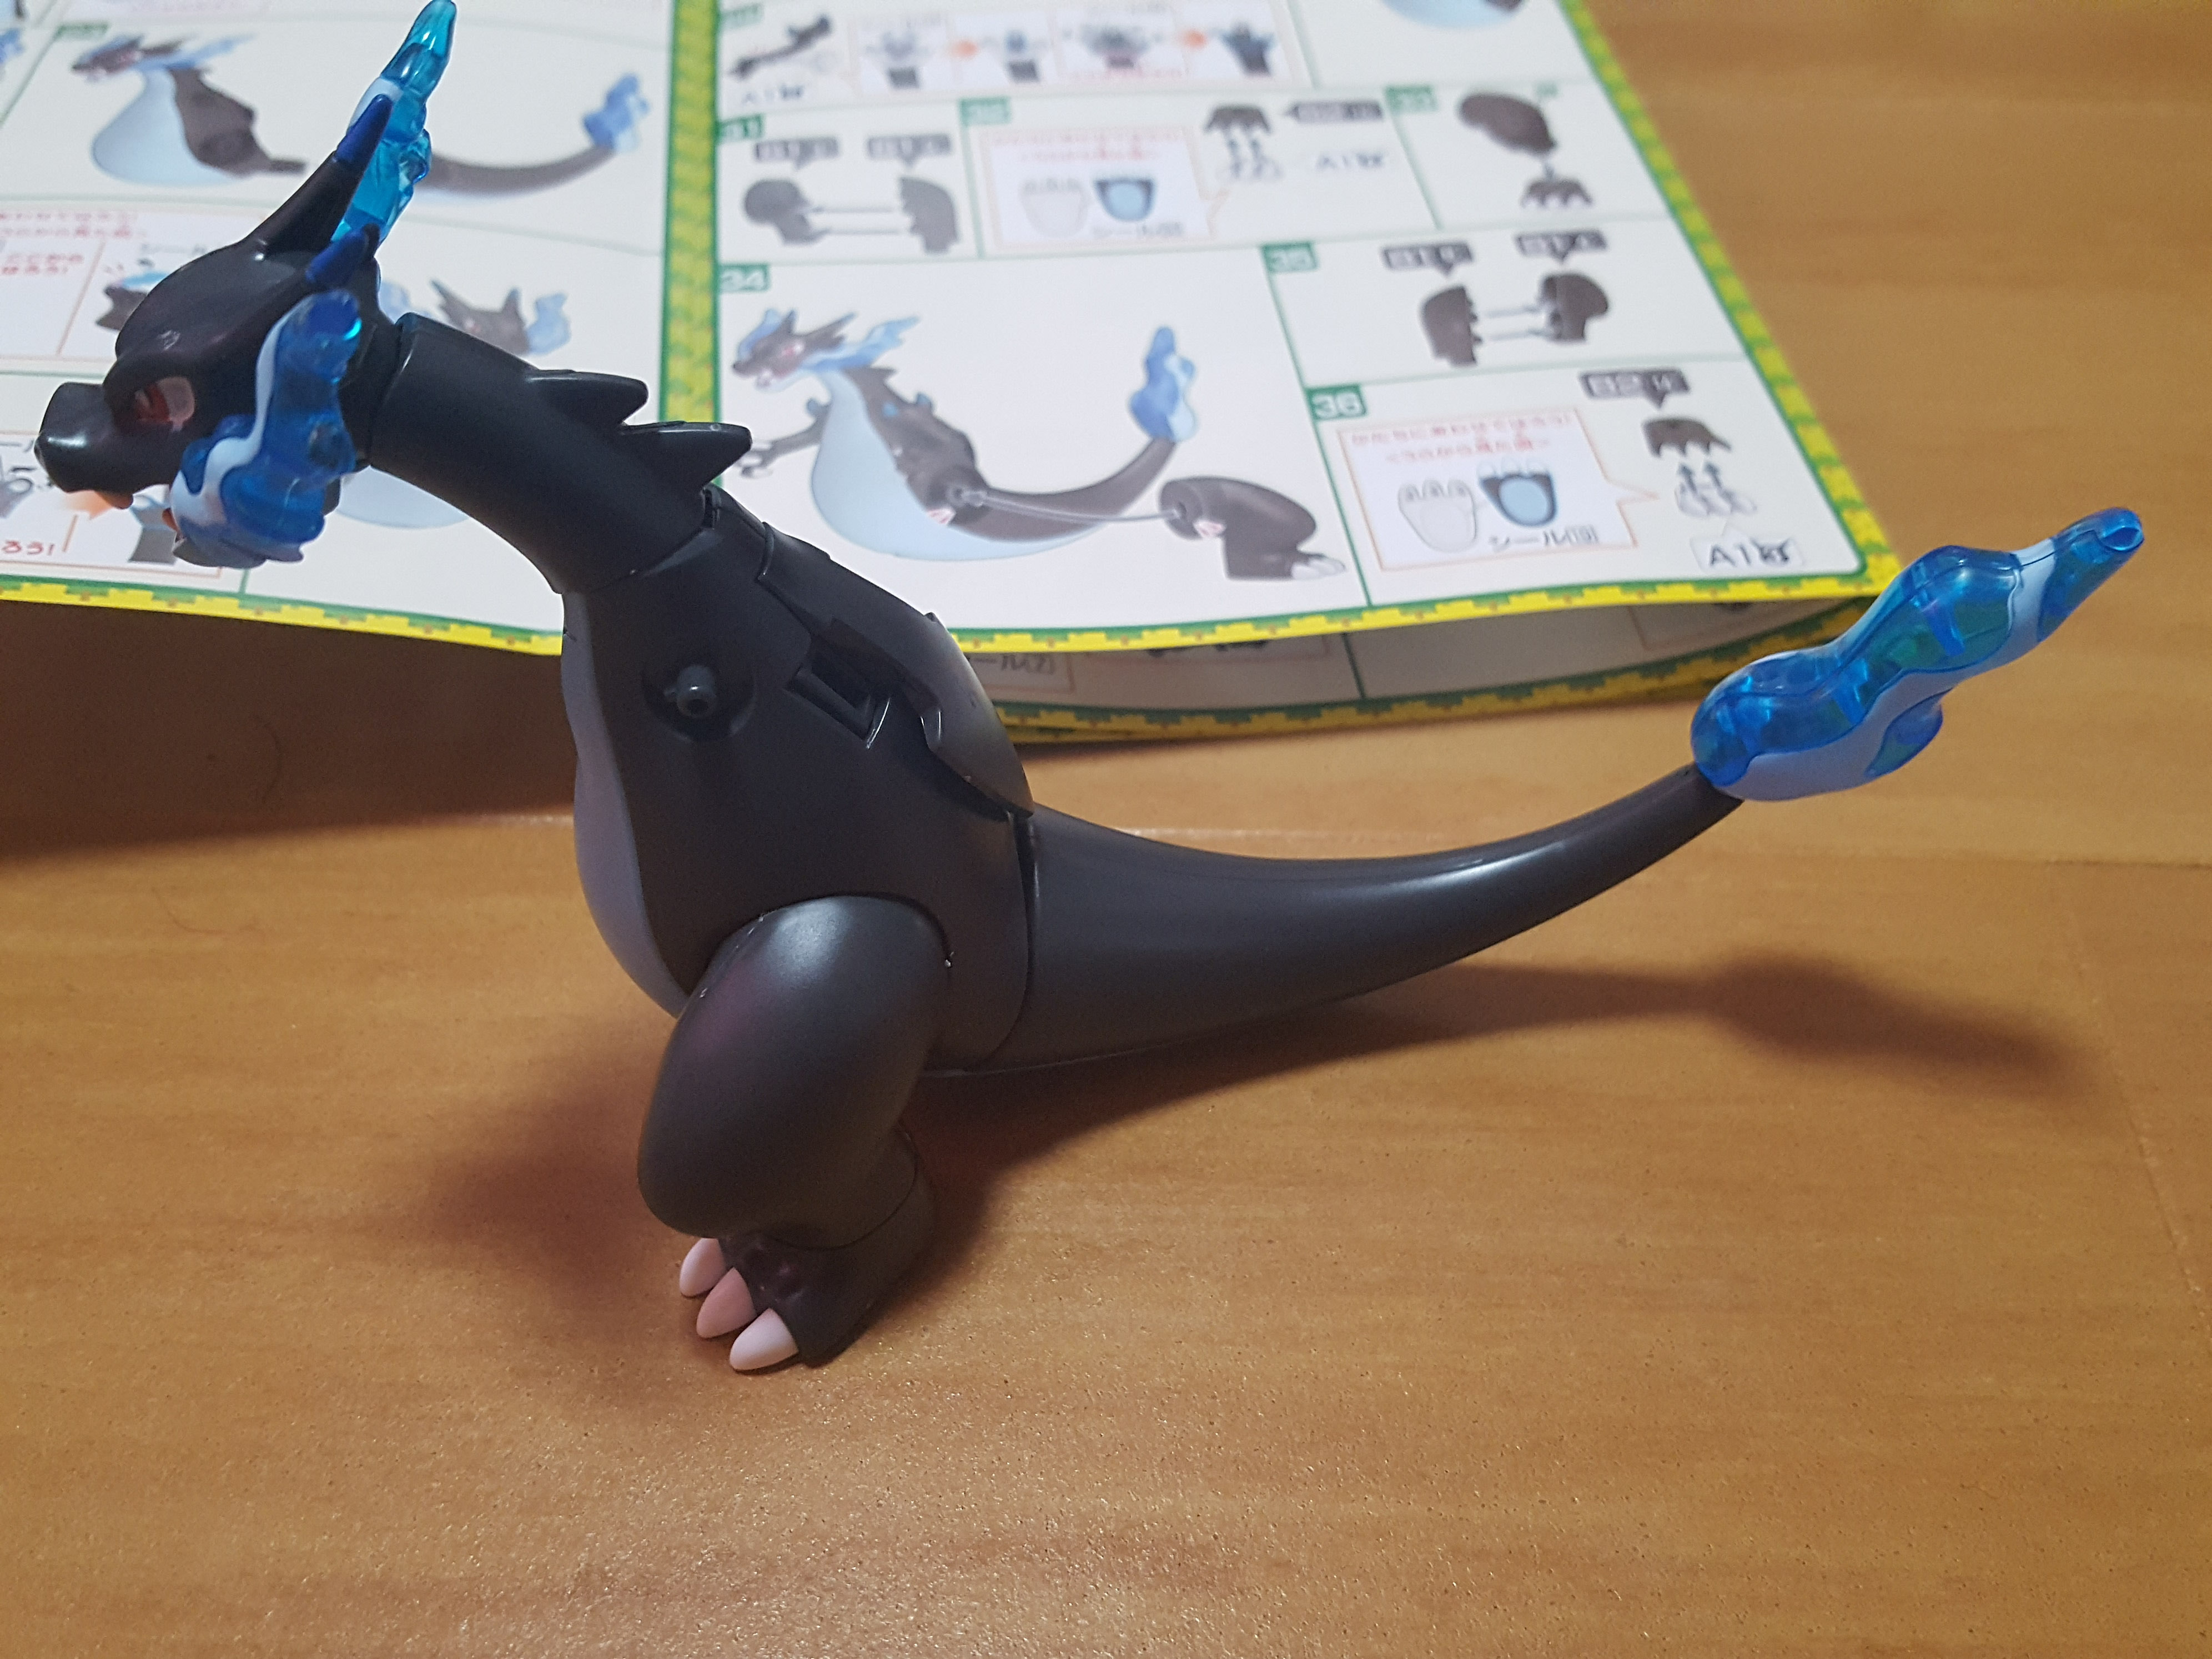
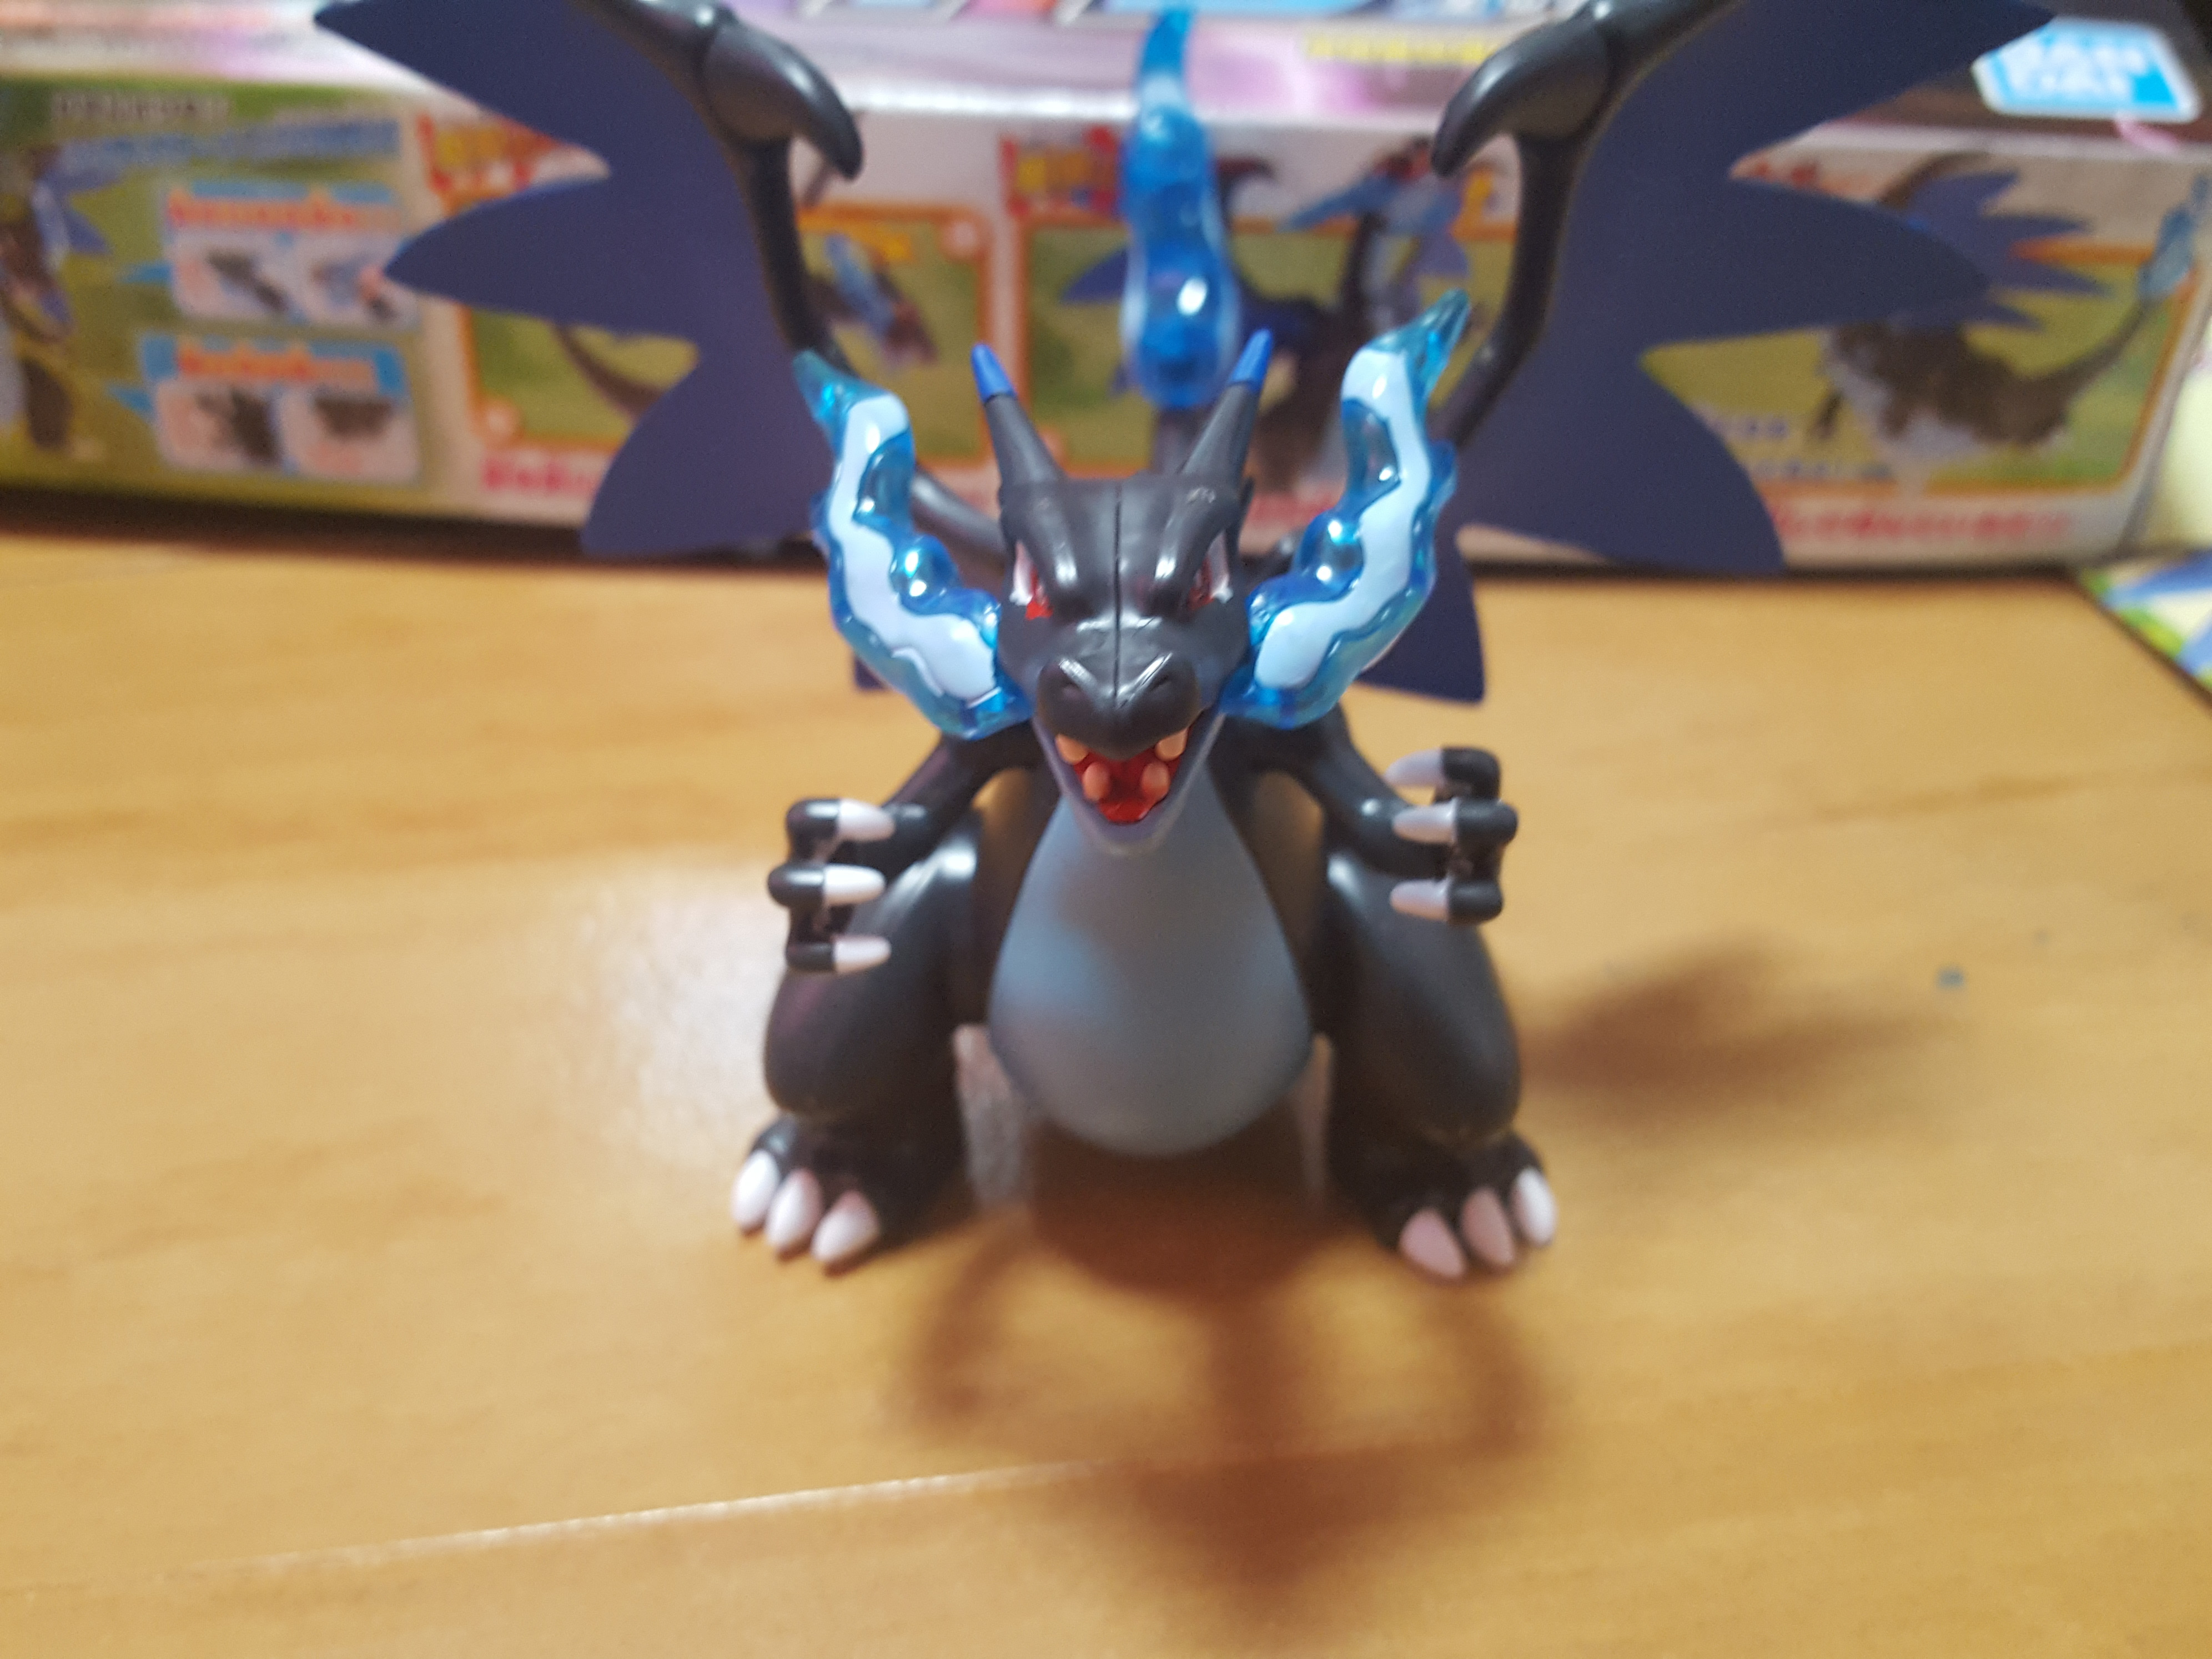
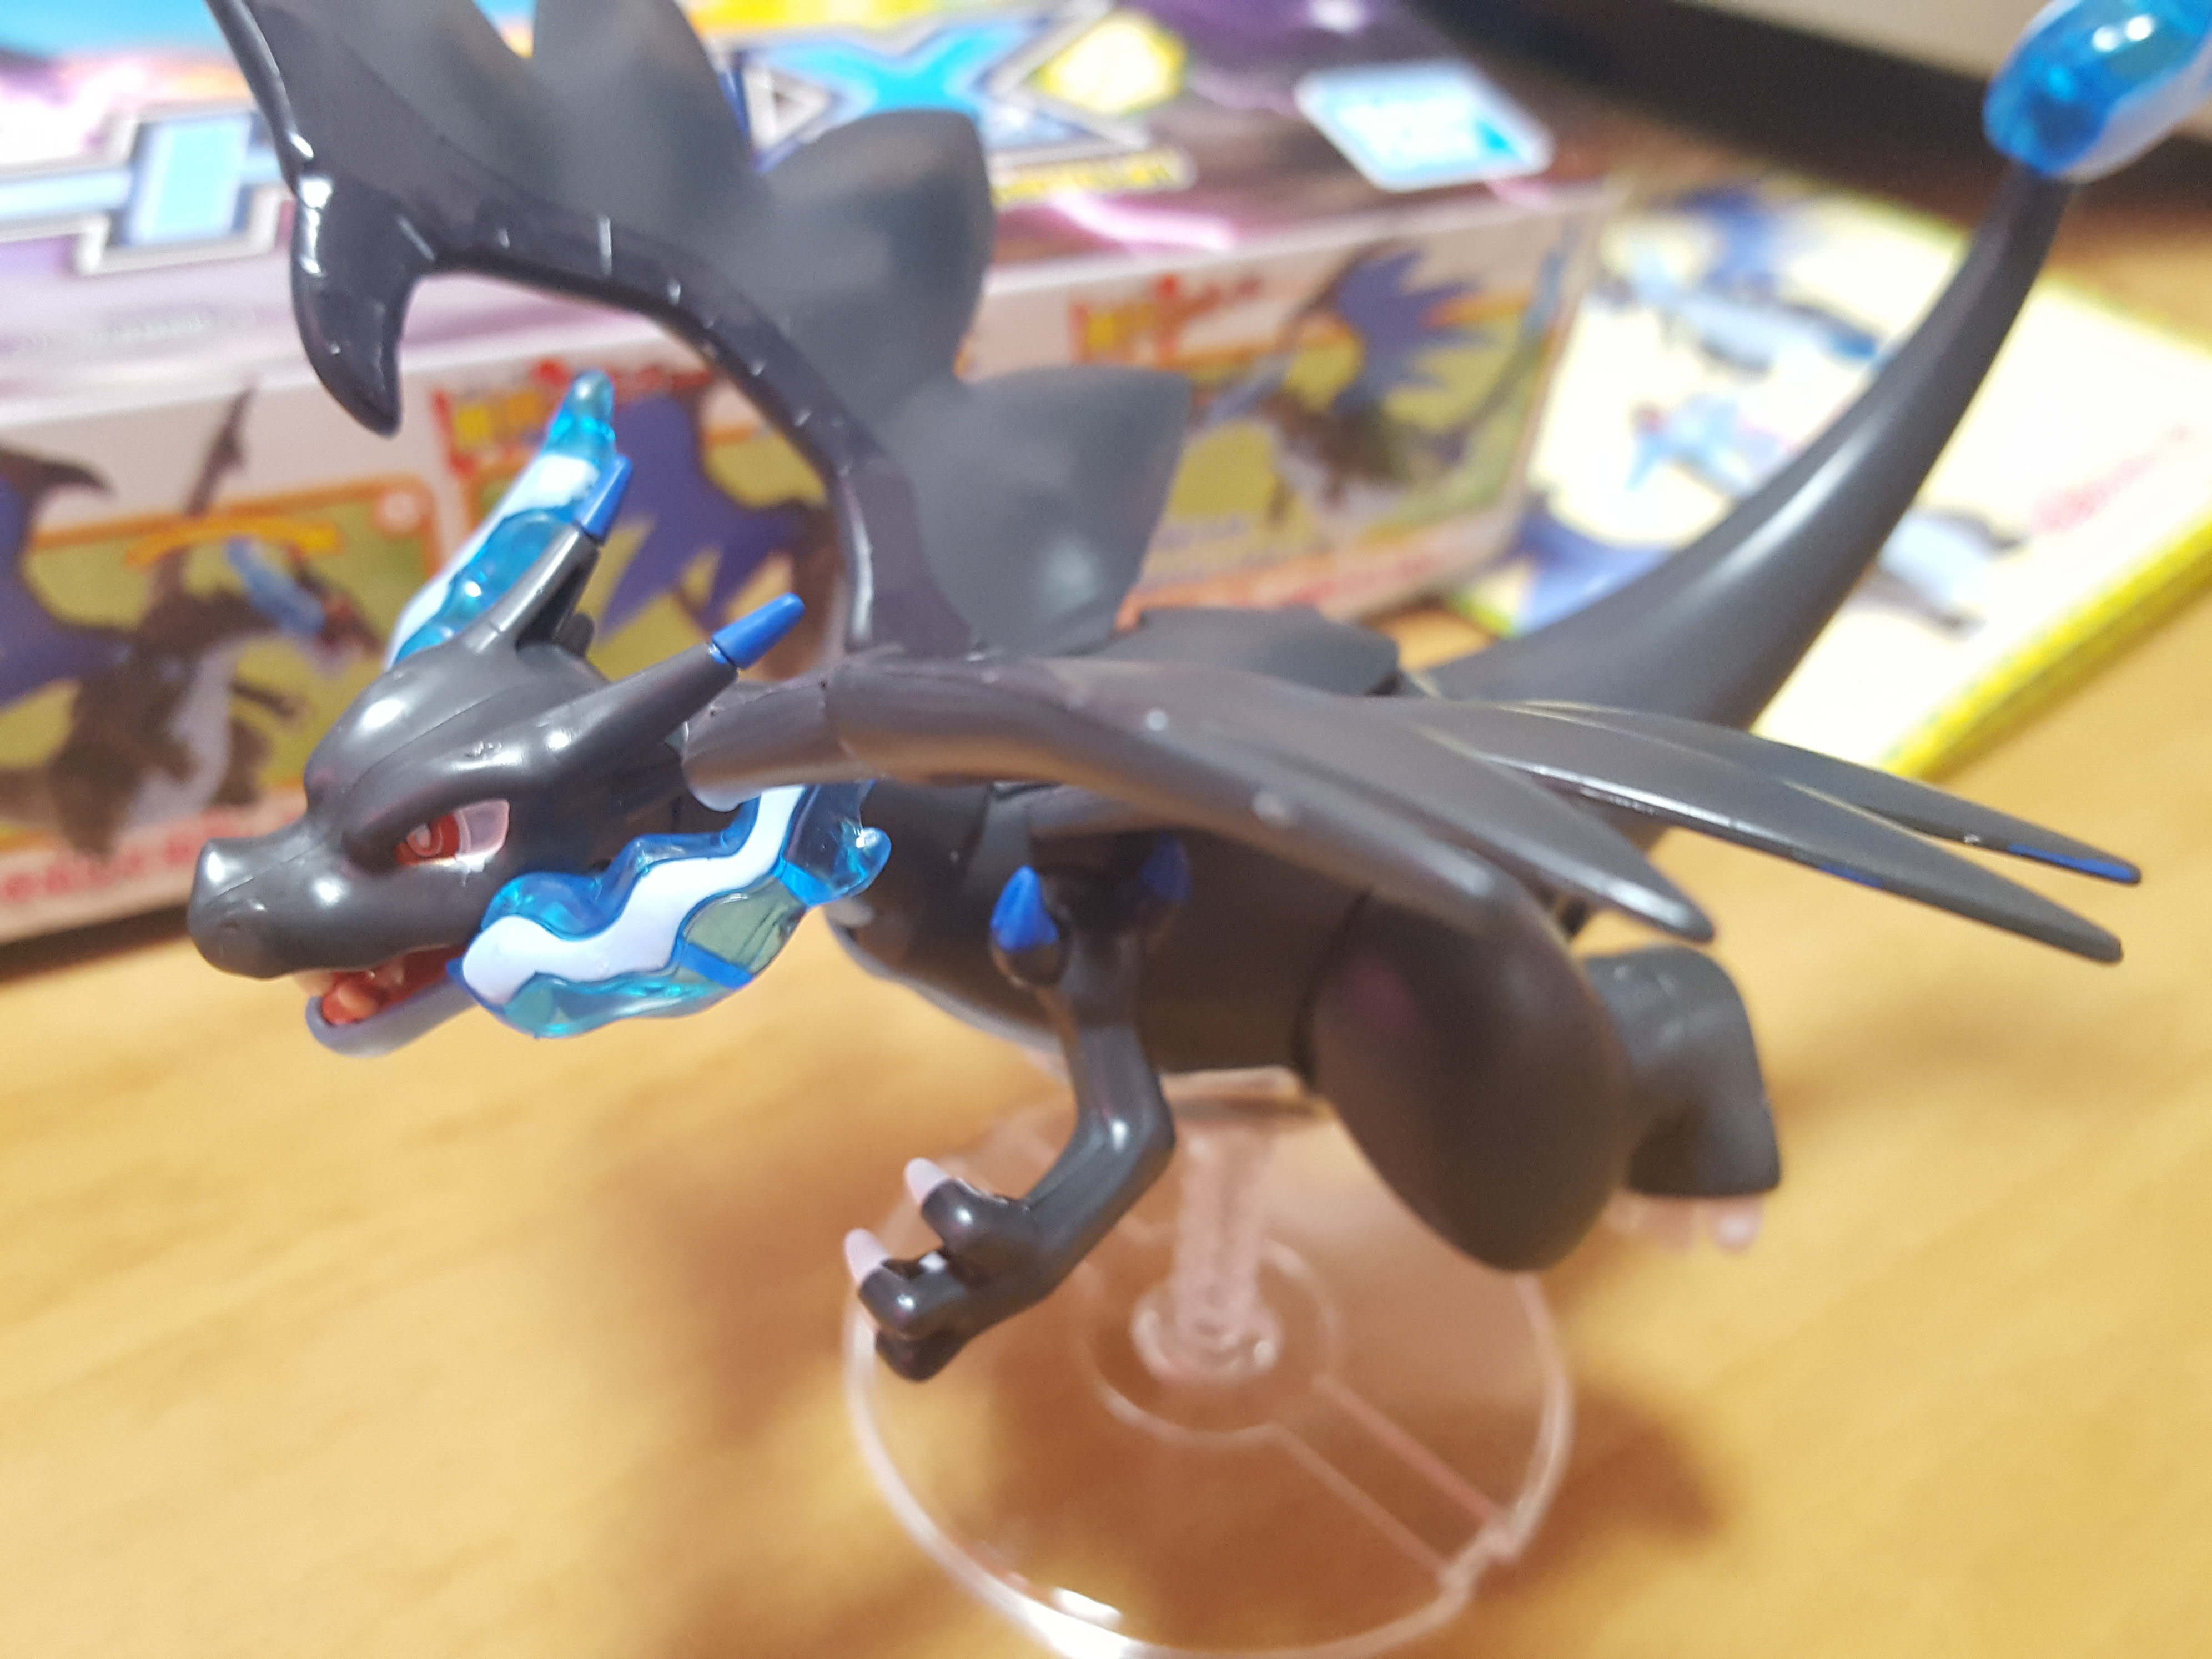
When all was said and done (and dry), I put it all together.
He’s looking pretty intimidating!
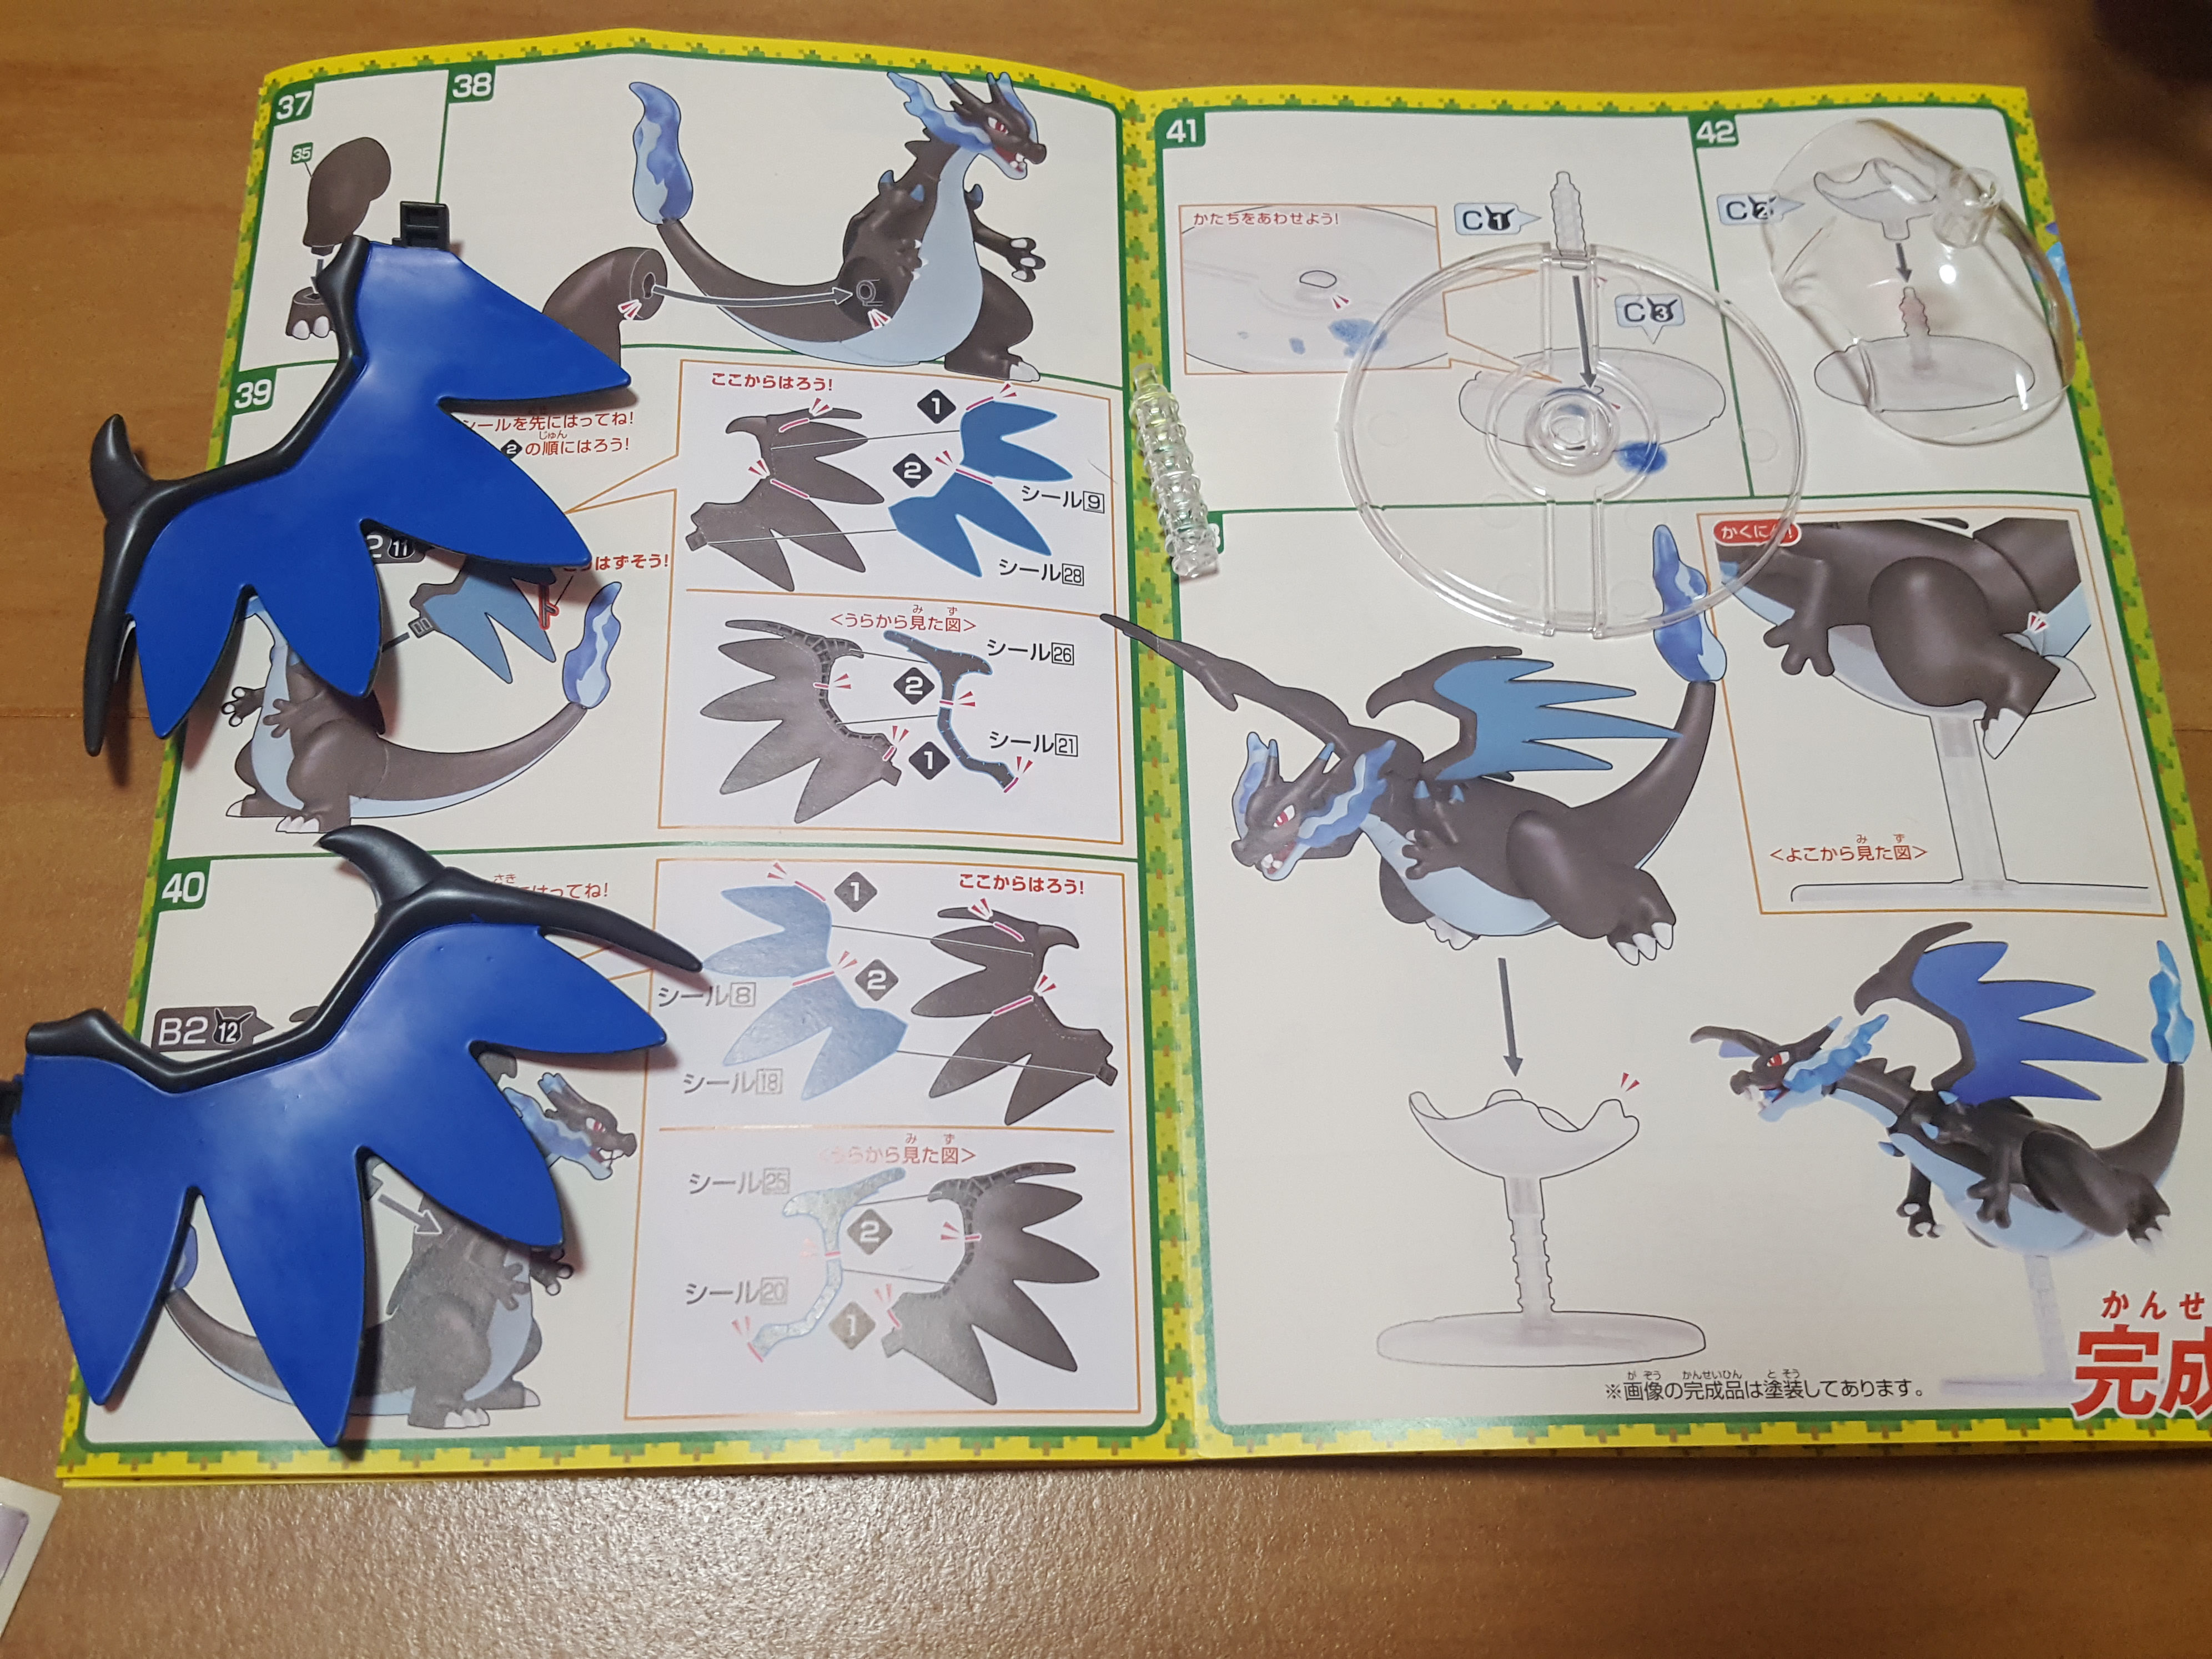
Next, we’re simply popping the wings into place and putting the stand together.
…and then I came across this. I can’t say for sure why Bandai does this on the Pokemon kits sometimes (maybe it saves them a tiny bit of money?), but we have no choice but to use stickers here to cover the gaps. The finished model just wouldn’t look good with these left as-is.
If you’re really hardcore, you could fill these with putty, sand them down, and paint them, but I’m… not hardcore.
So I went with the stickers. They’re not… terrible?
And then we pop the wings on to finish our beastie!
I did have some trouble with the head seam. Though I pushed on it several times throughout the build, it never seemed to come together neatly. I supposed here’s another opportunity for putty!
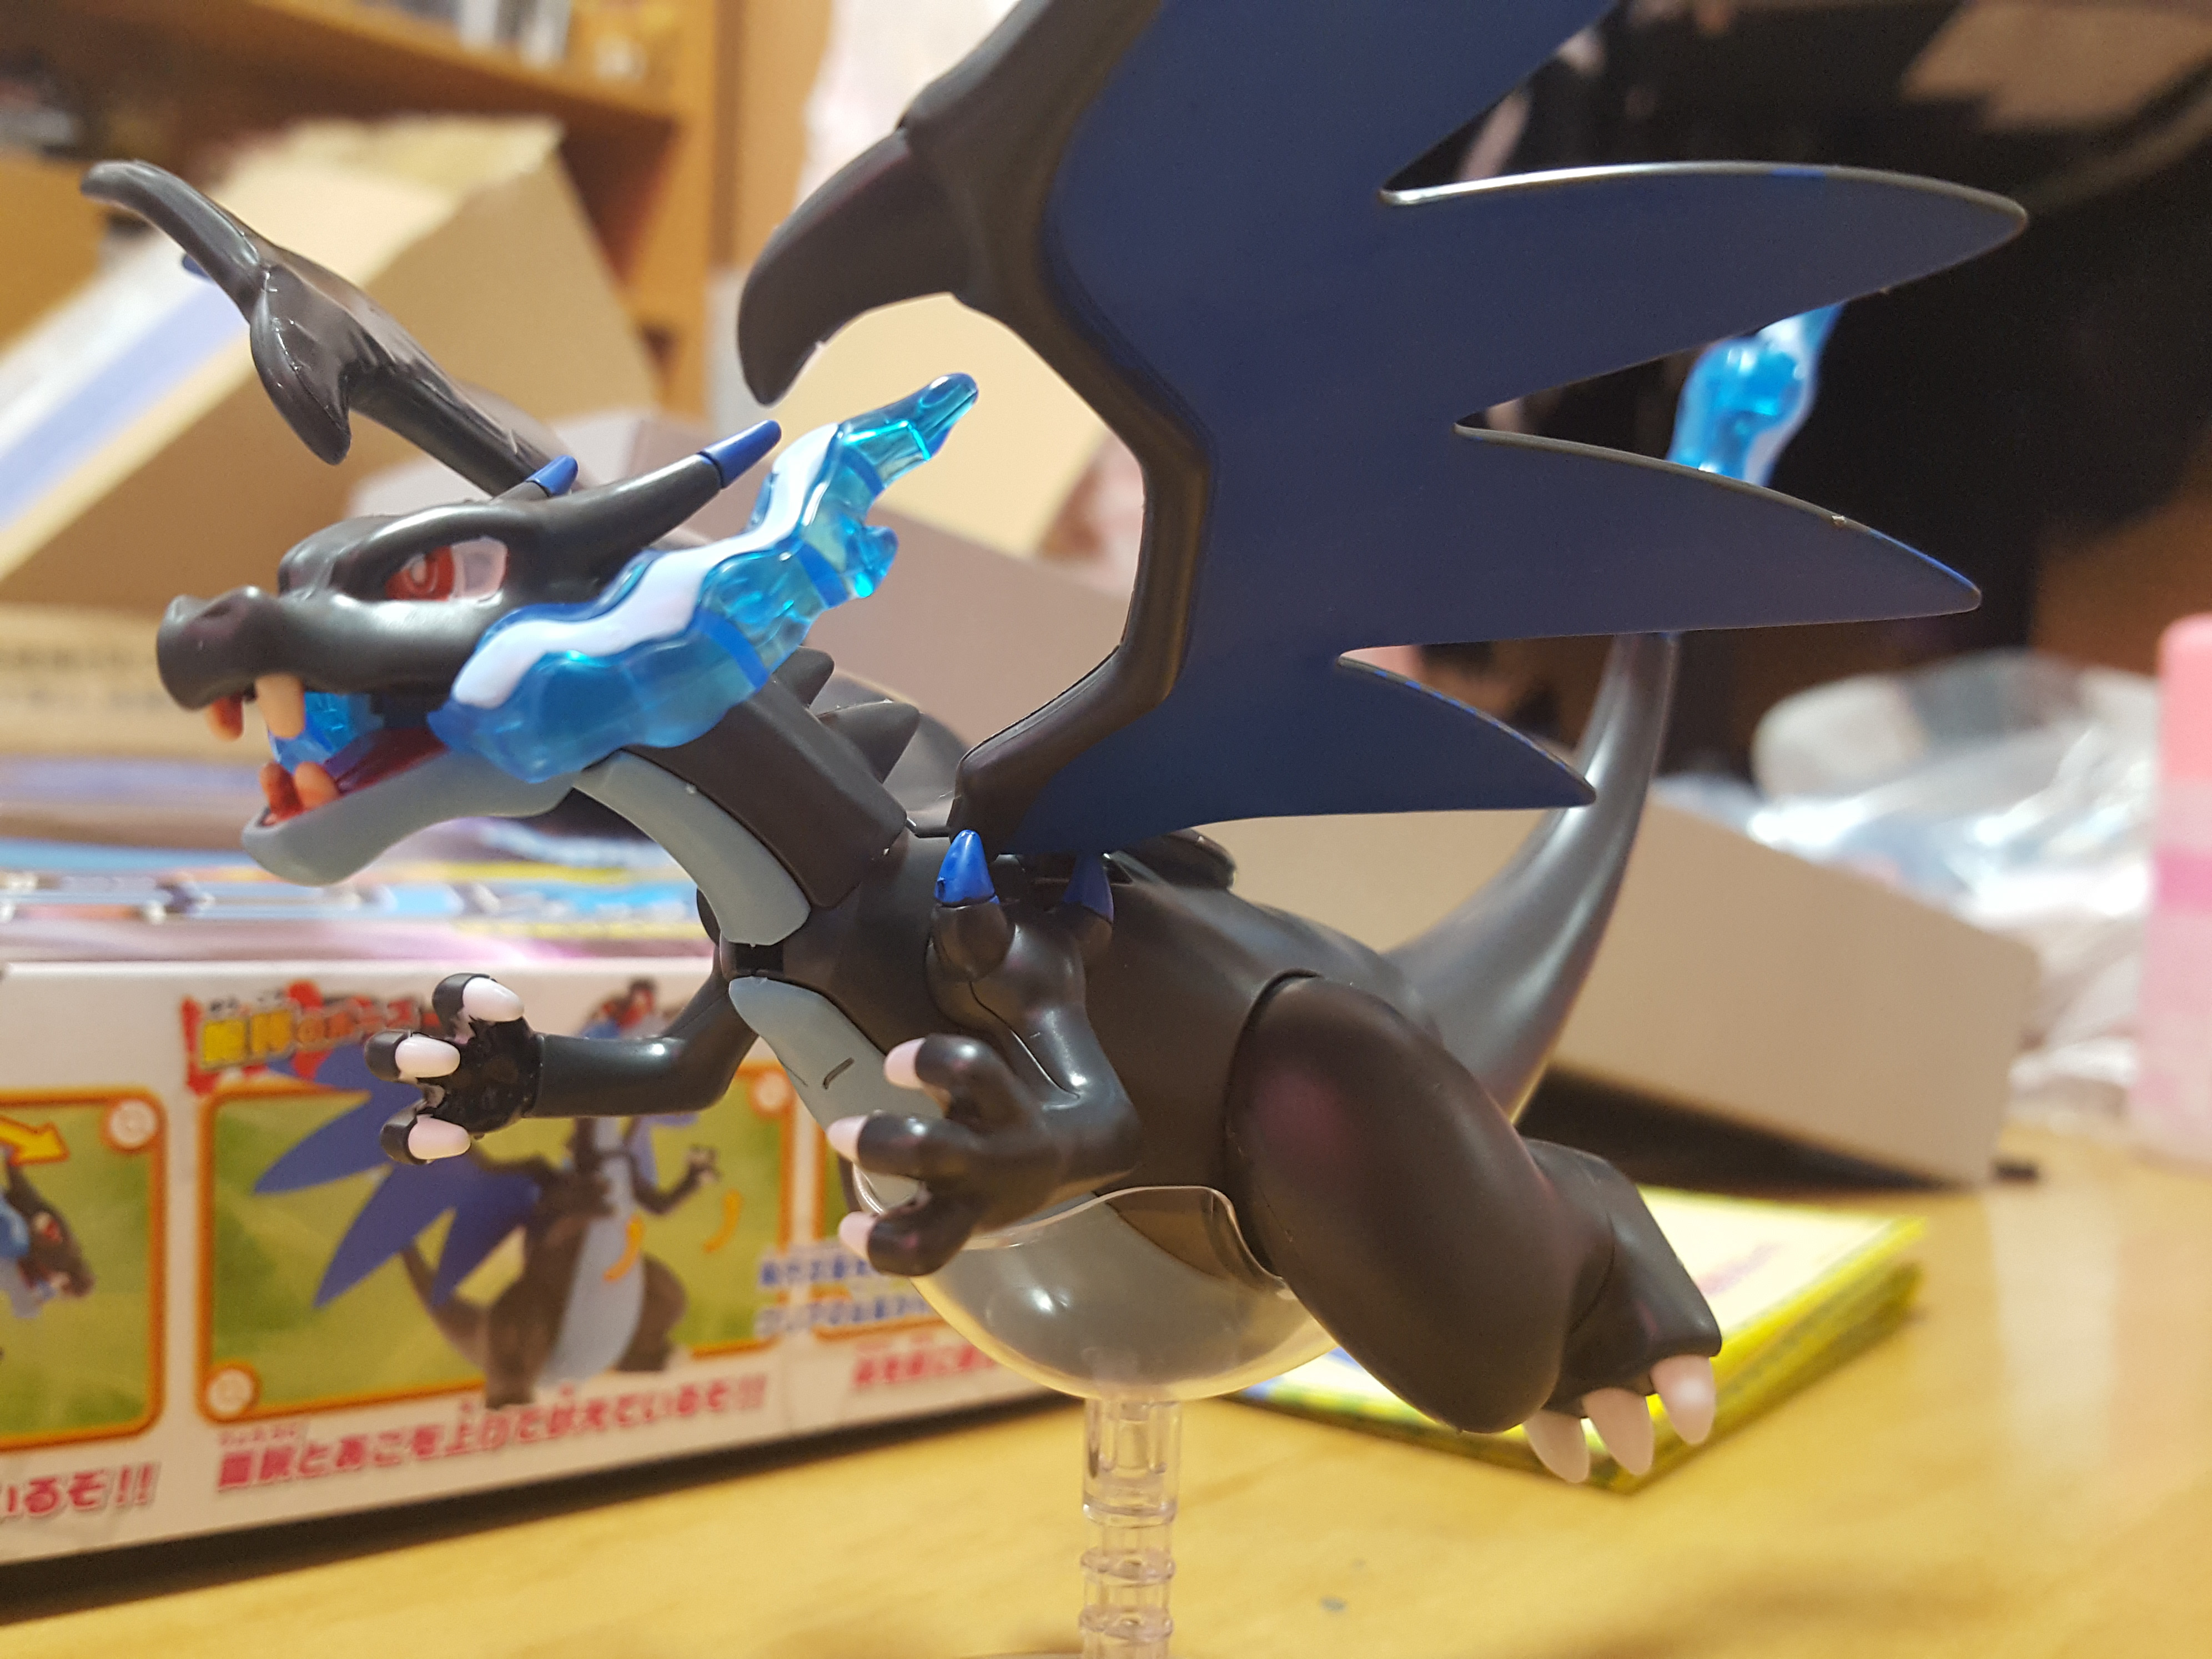
The stand is only three parts and snaps together easily! Charizard fits perfectly in it to get some nice in-flight poses. Here are some more shots of my finished kit:
What do you think — do you care to give this one a go? And, will that be with or without stickers? 🙂
– Pokemon Plamo Mega Charizard X
– Gundam SEED Destiny Marker Set 6pcs #1
– Gundam Marker: Gundam Black


