Hey, welcome back to the Galbaldy build series!
Last time, we did all the basic work needed to get the model ready for the next step: making it our own. Today, we will start adding details to the bottom half of the body.
Adding definition
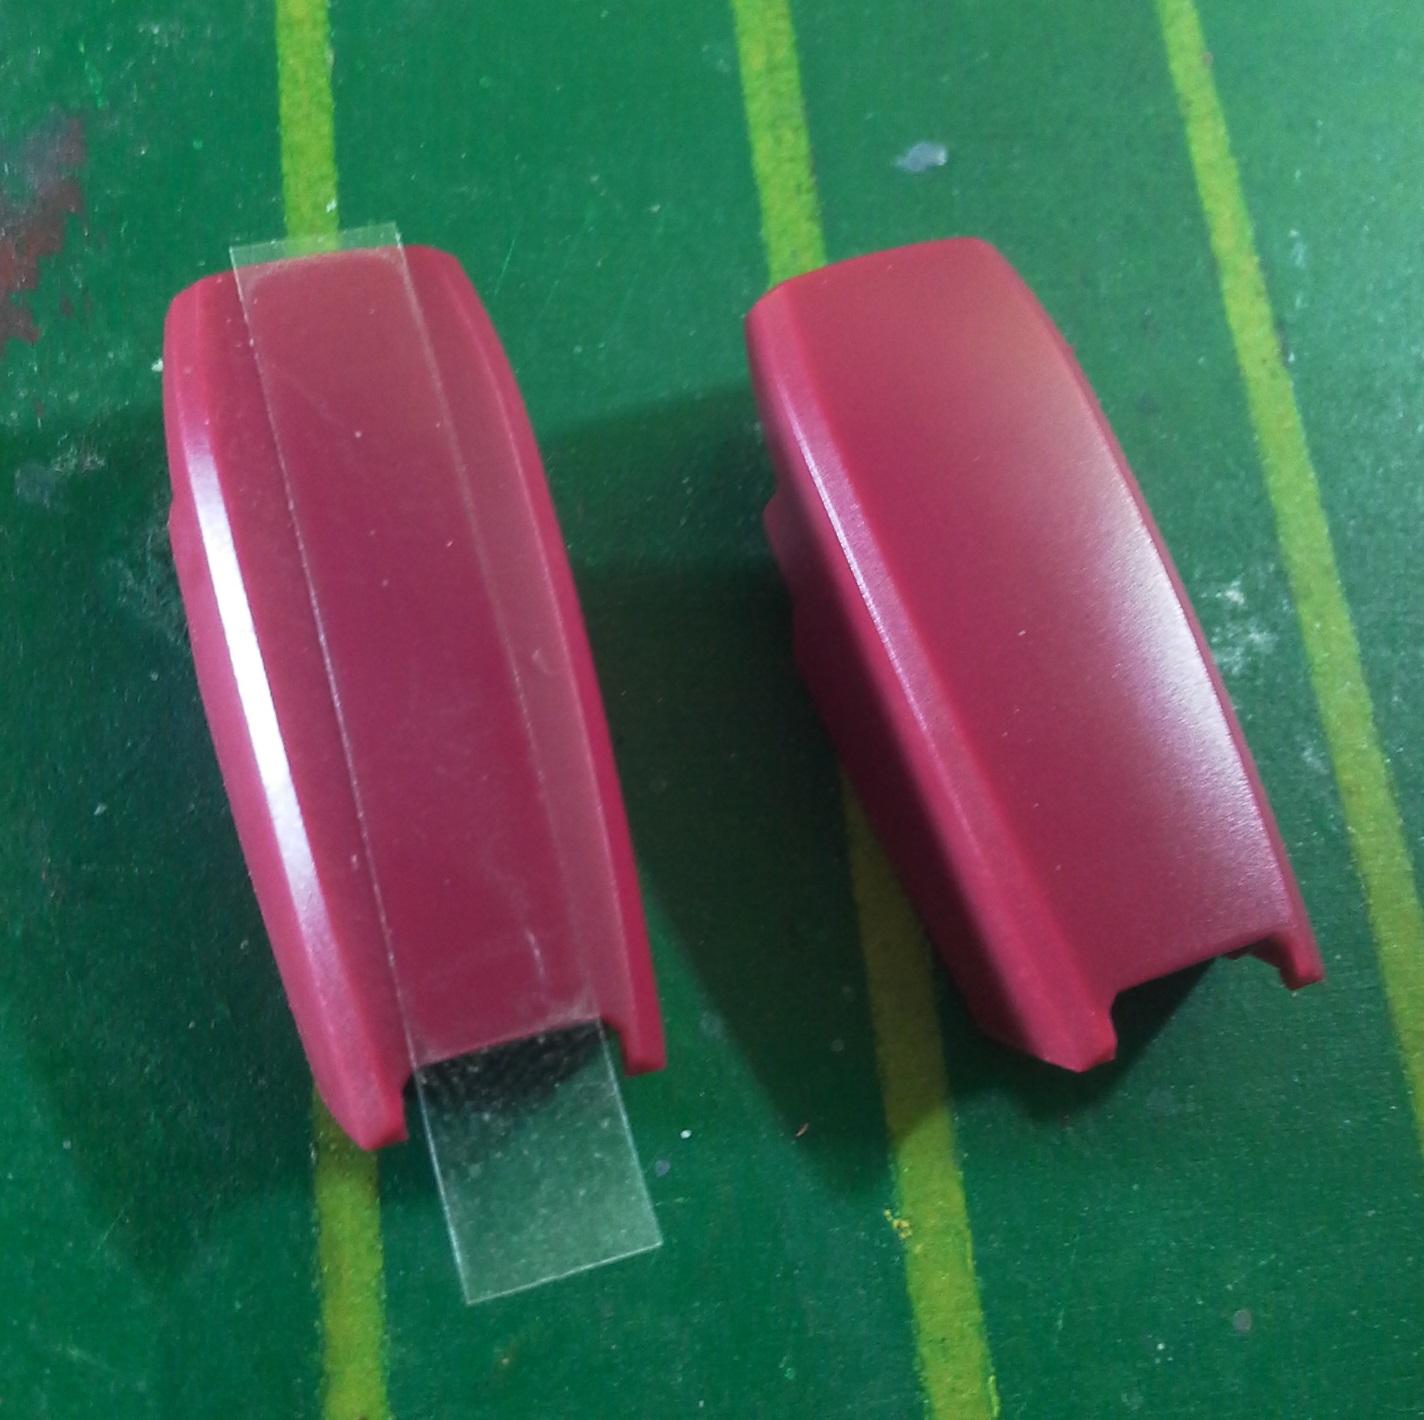
Just like in the previous post, we are going to use the trusty Wave carving needle to make the nooks and crannies a little deeper, in order to give the surface more definition.
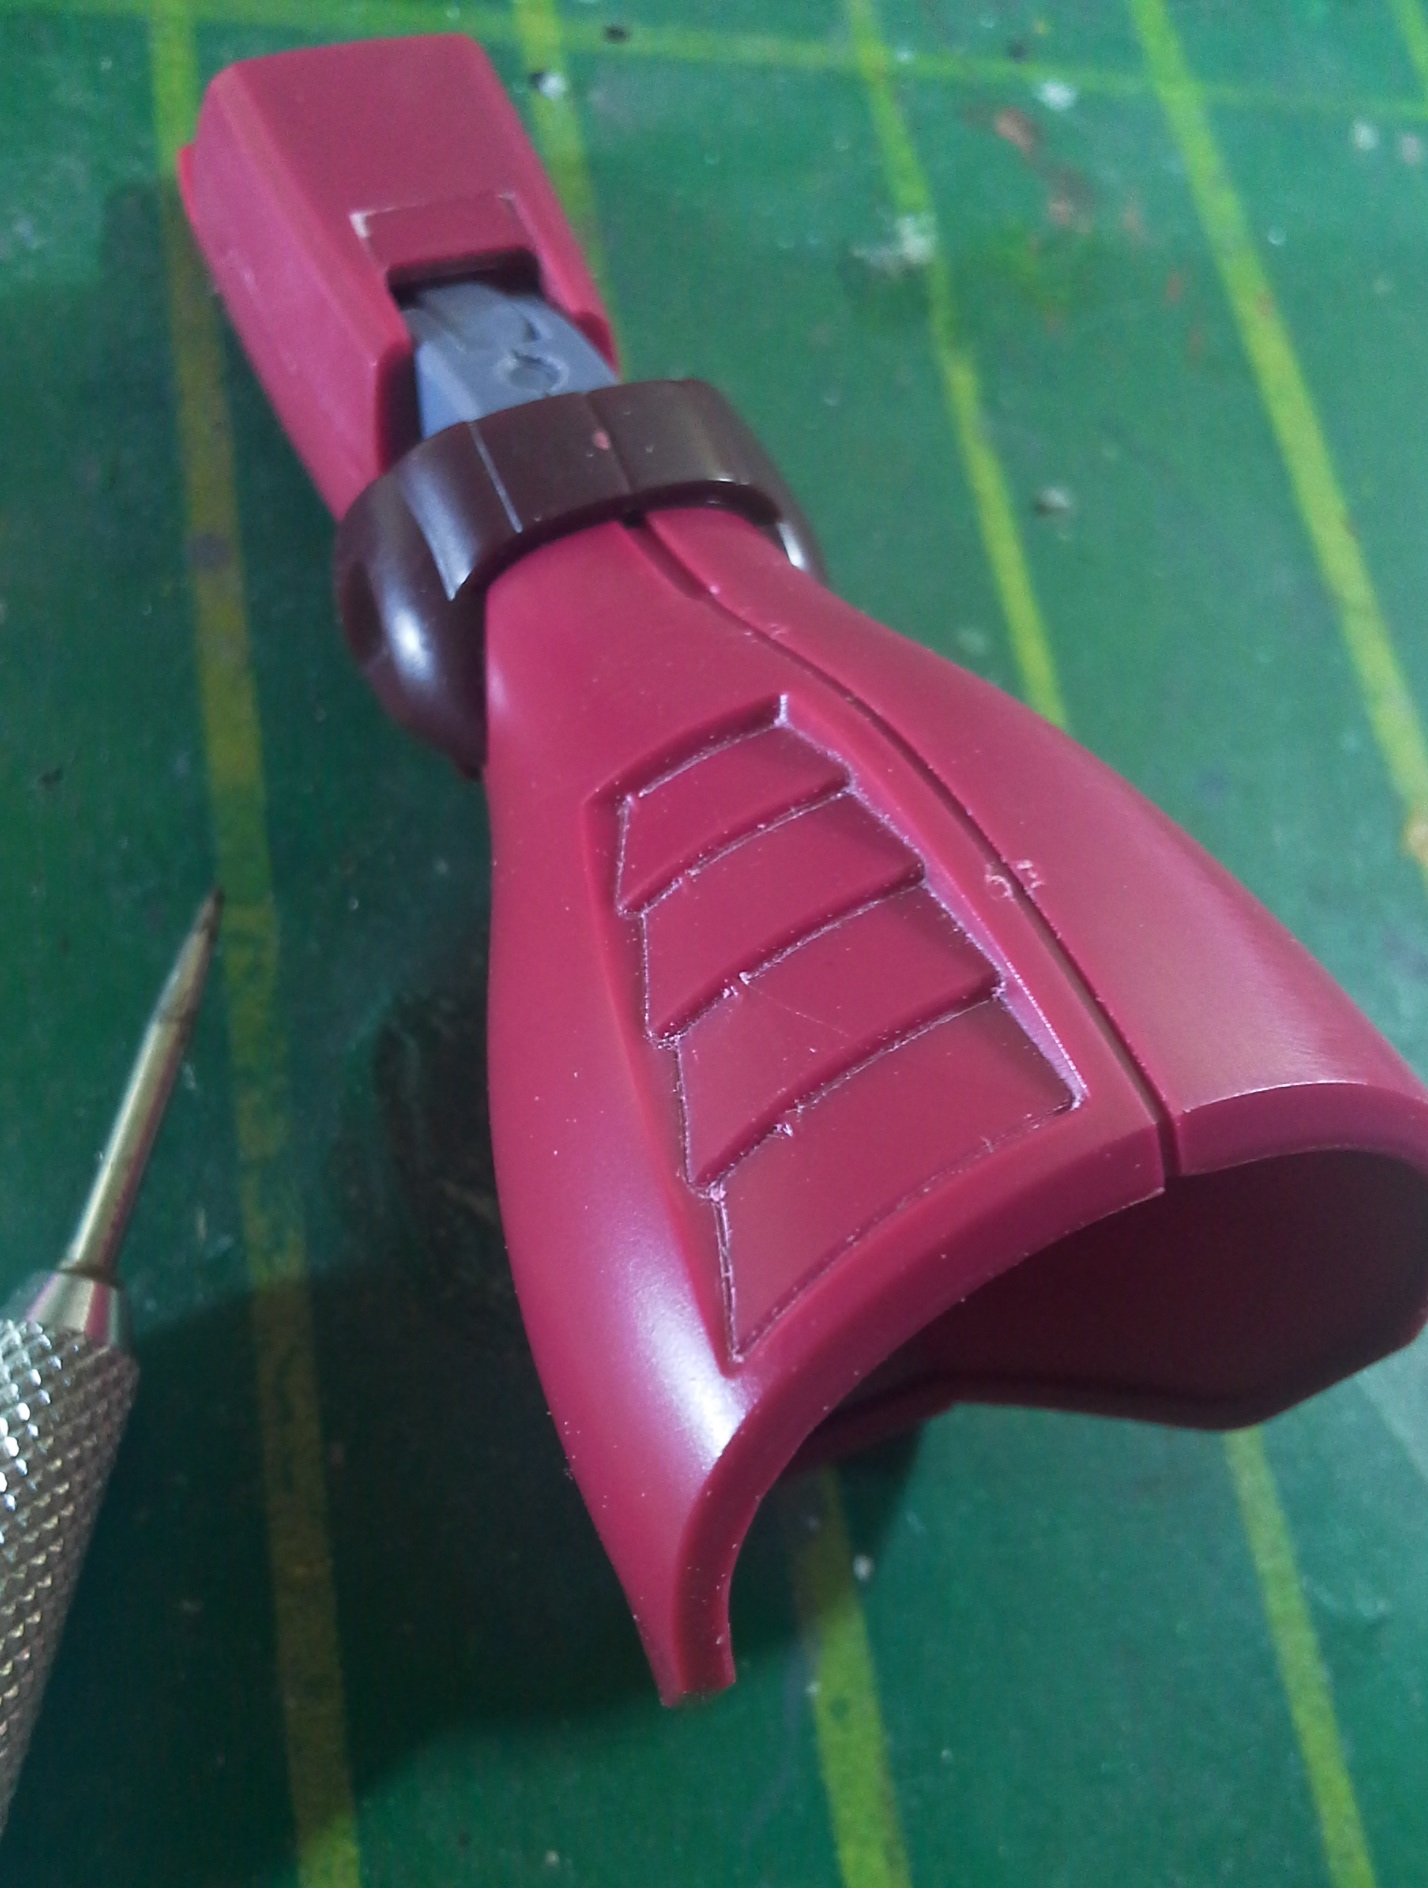

A couple of light passes on every line will do the trick. After it’s done, a little bit of Tamiya extra thin cement is applied on the lines, to melt the particles of plastic dust that built up.
With the bare plastic and the shimmer of the cement, we can’t tell the difference, but once the model is primed, the crisp lines will show clearly.
Panel line scribing
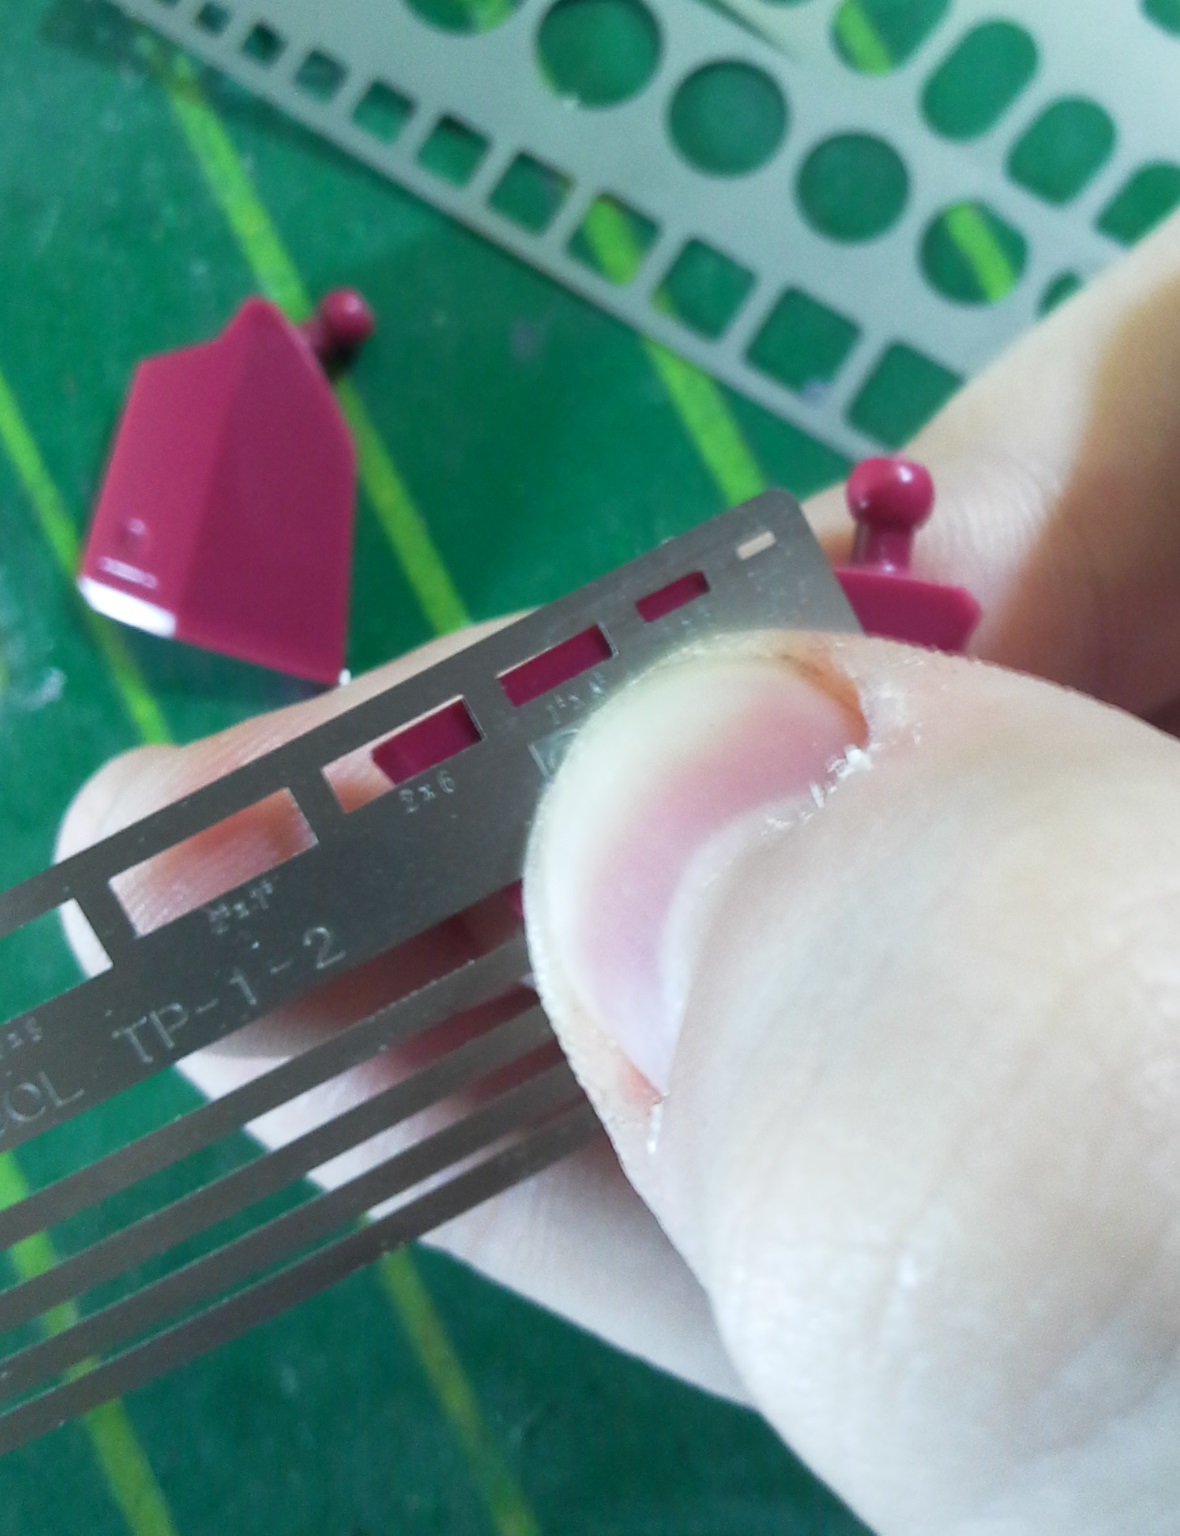
Scribing with templates
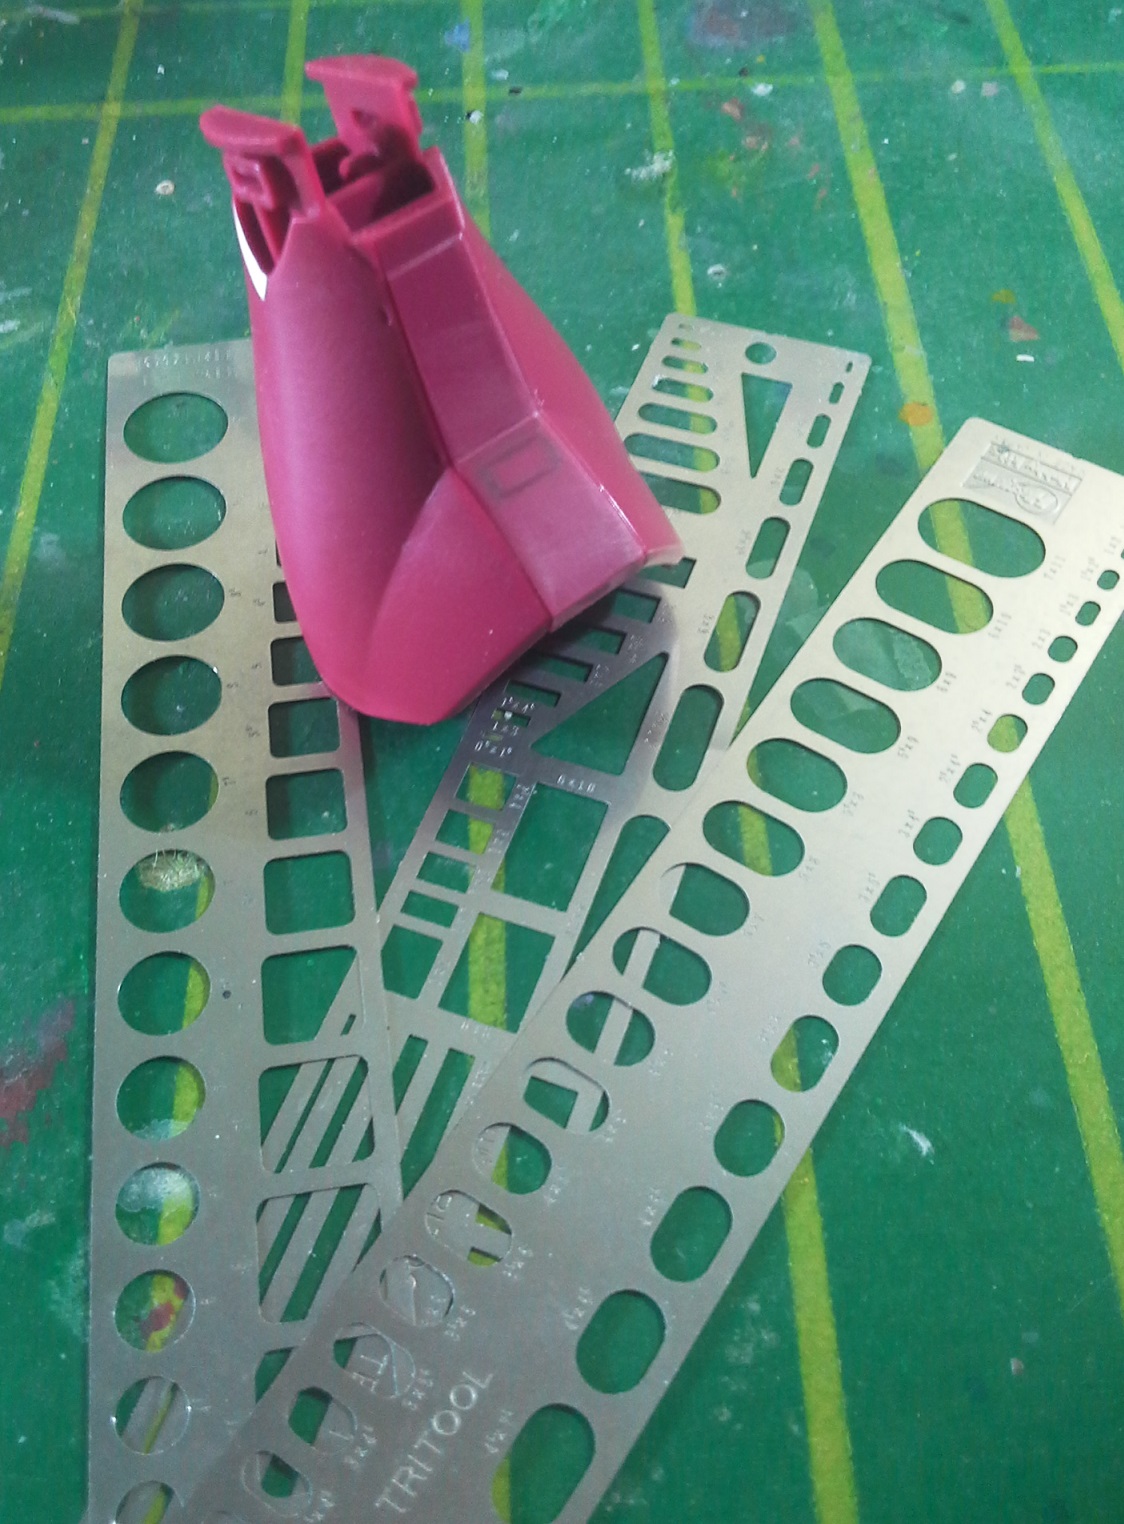
Now we will use Hasegawa’s scribing templates to help us scribe some nice lines that will add visual interest to the model.
First, I thought of the shape I wanted (rectangle). Next, I looked at the options, to see what sizes and proportions were available on the template.
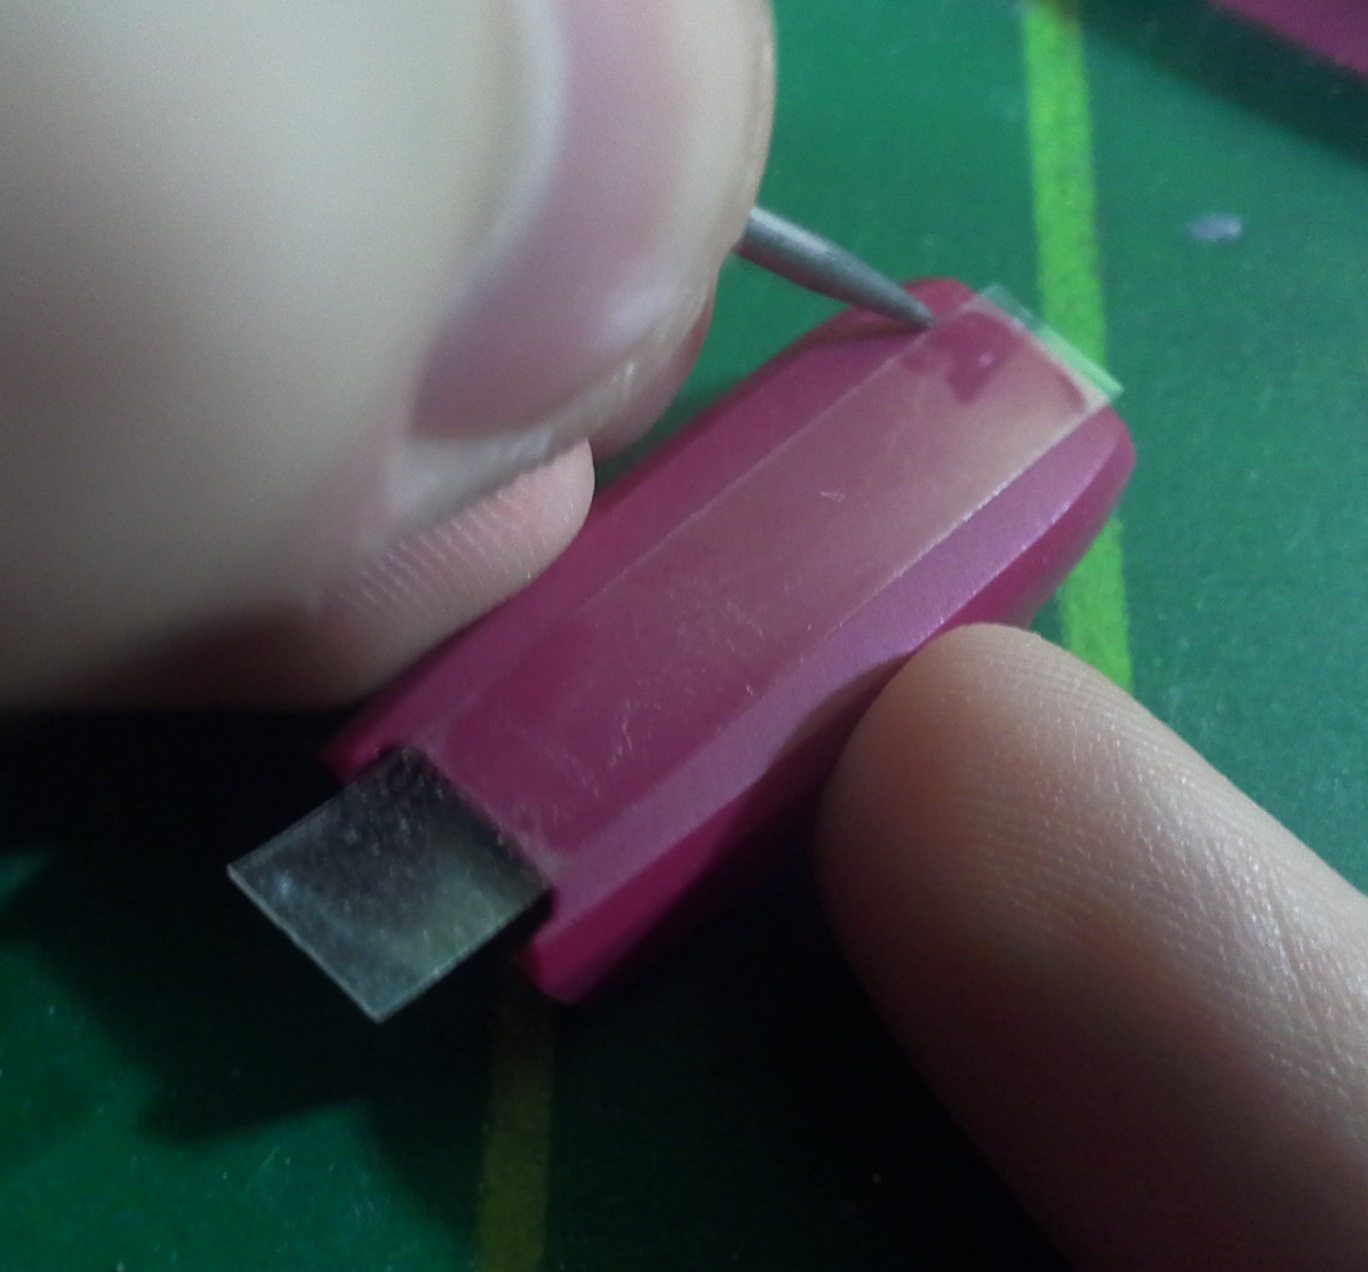
Once I found a rectangle I thought would look good, I carefully aligned the template with the part, checked that the placement was good and started scribing, using the carving needle.
Again, several light passes are the way to go. I did 7-10 passes for each line.
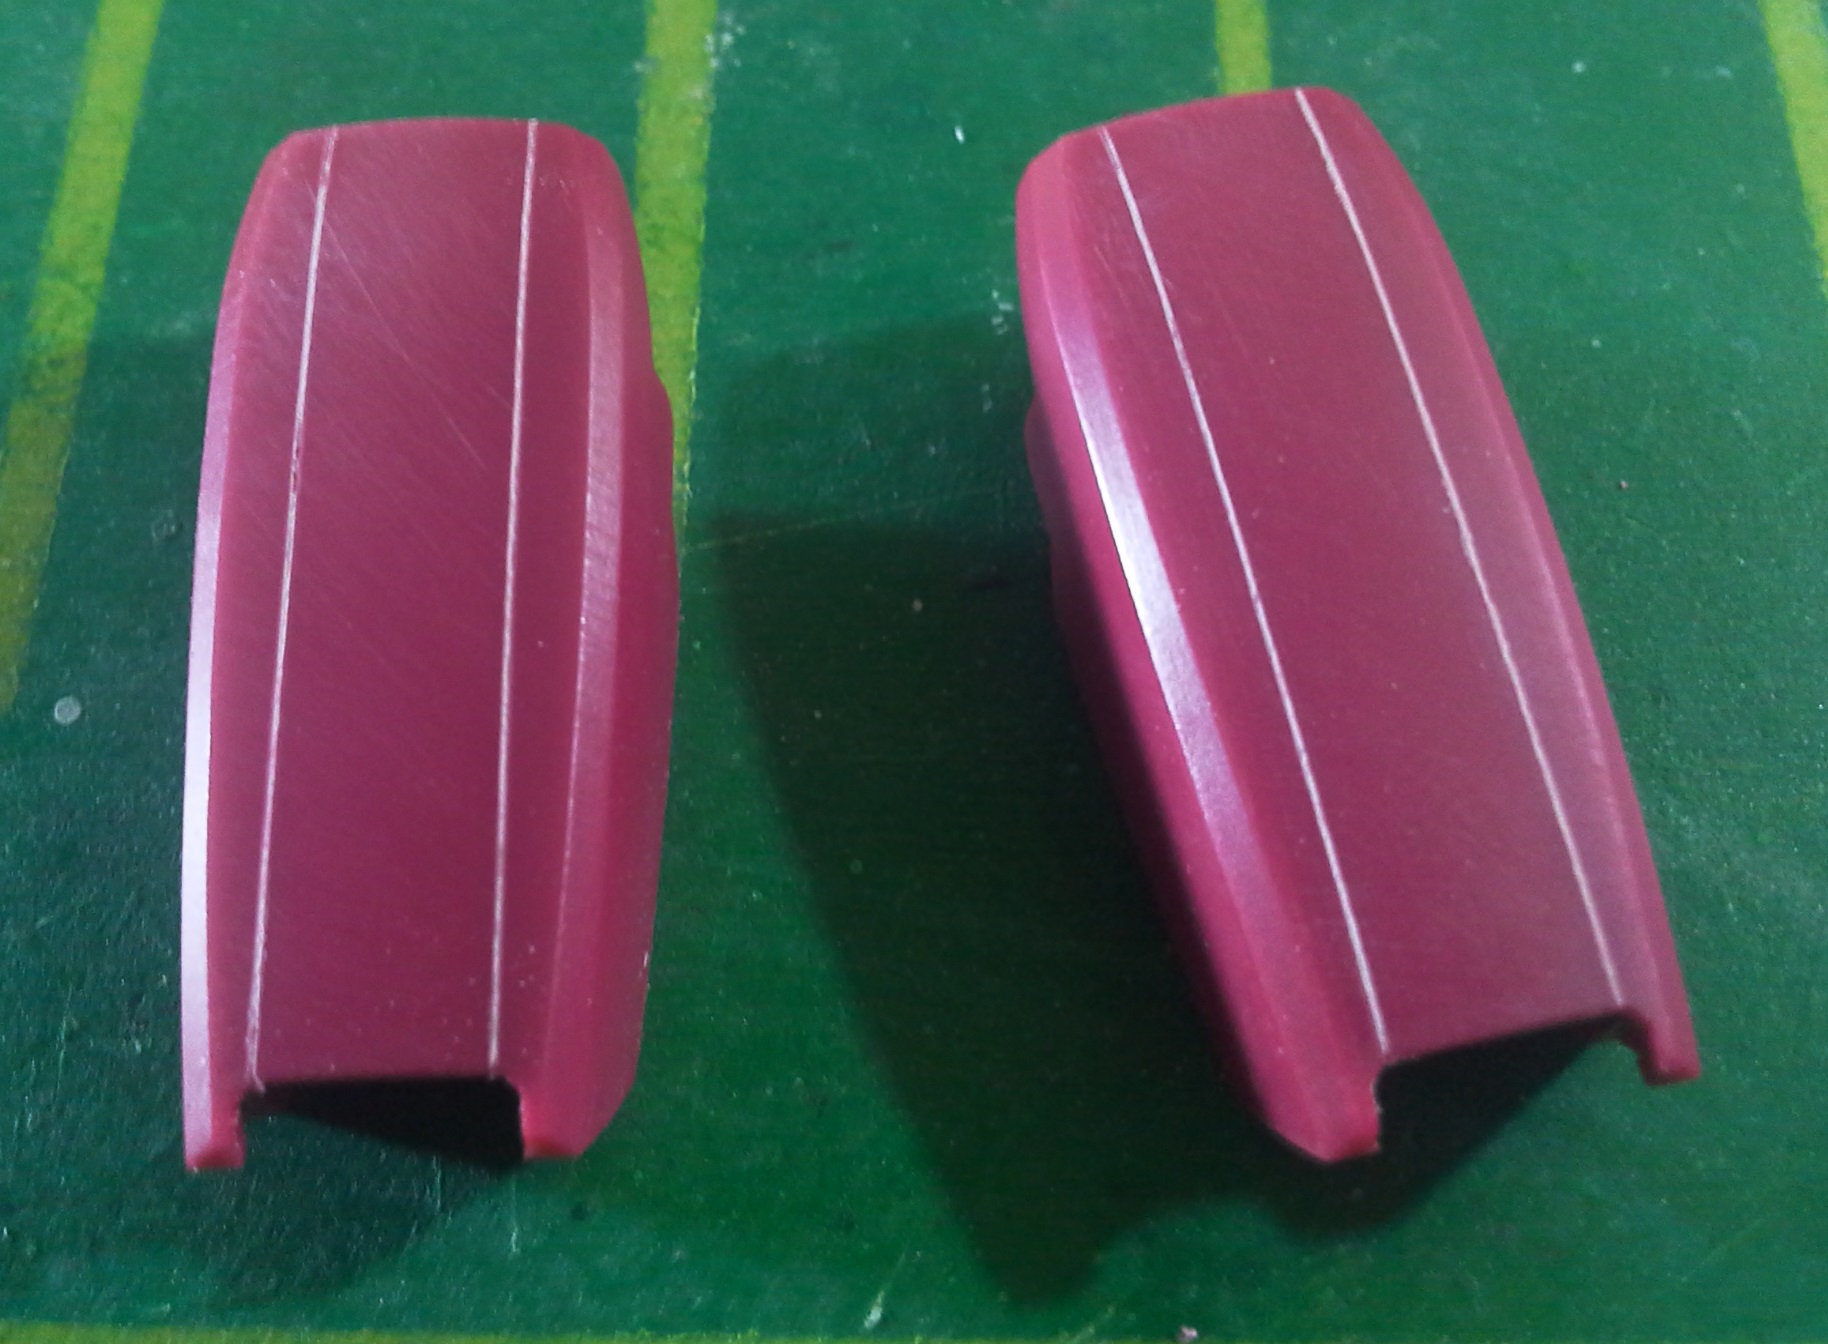
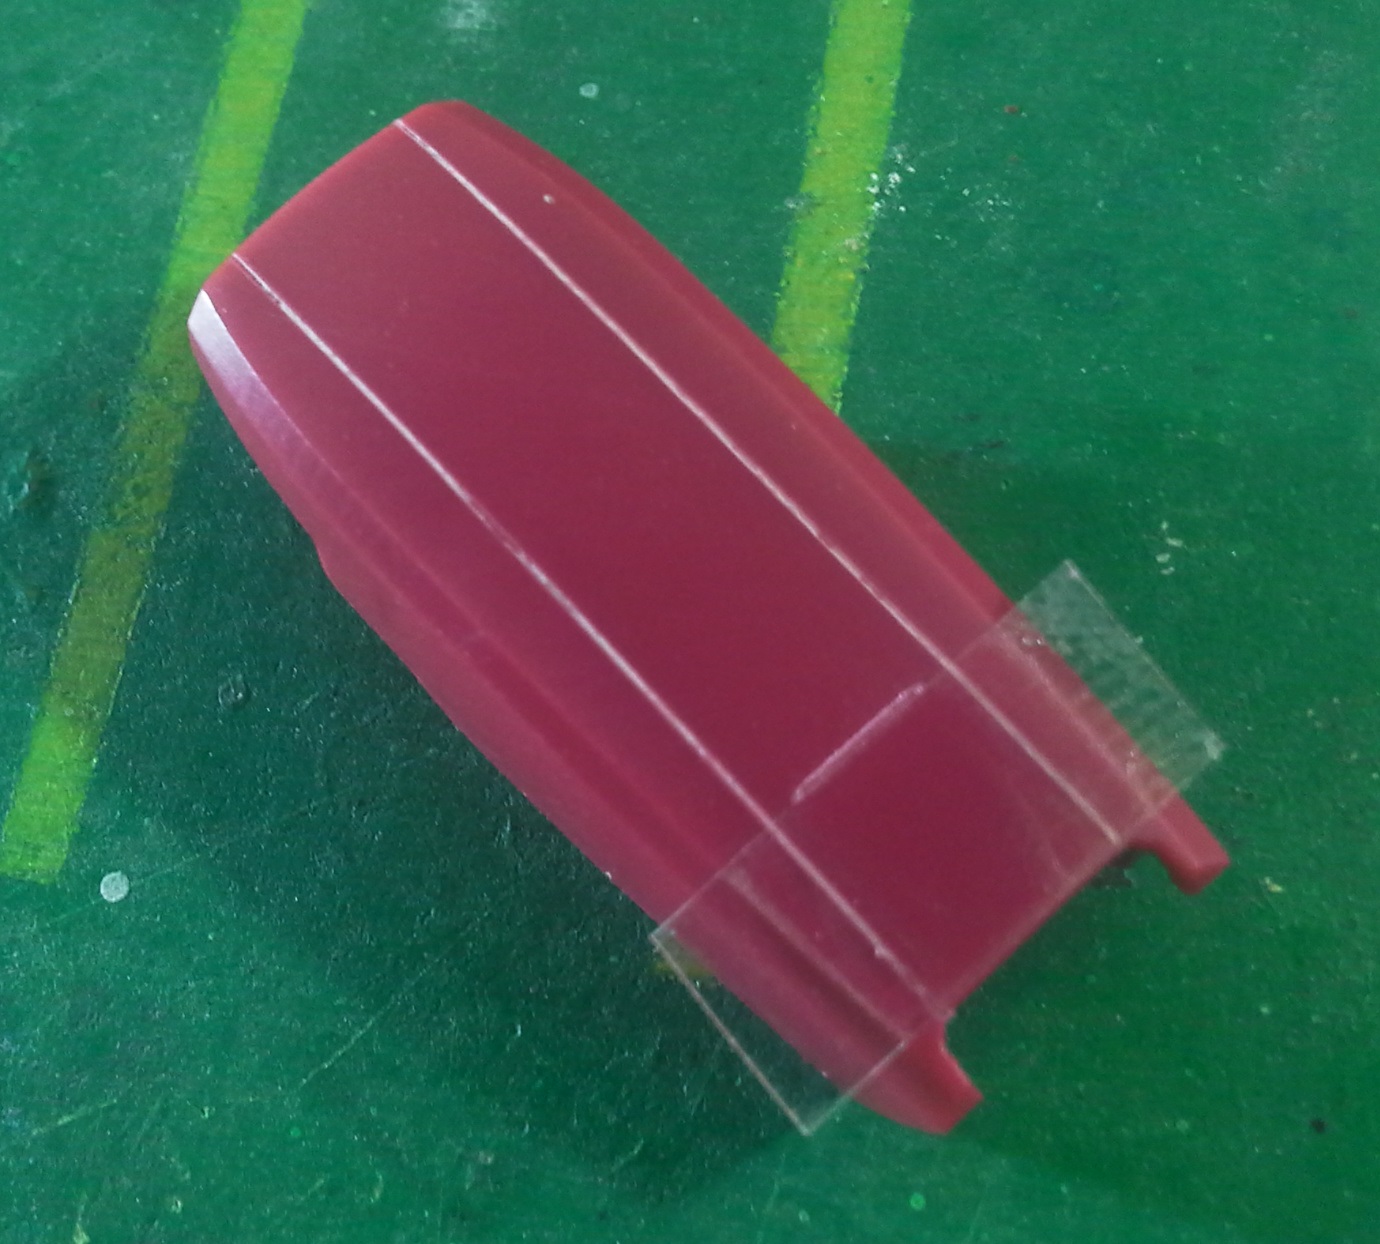
This panel was scribed on the left leg only, as I like to give my models some assymetrical elements.
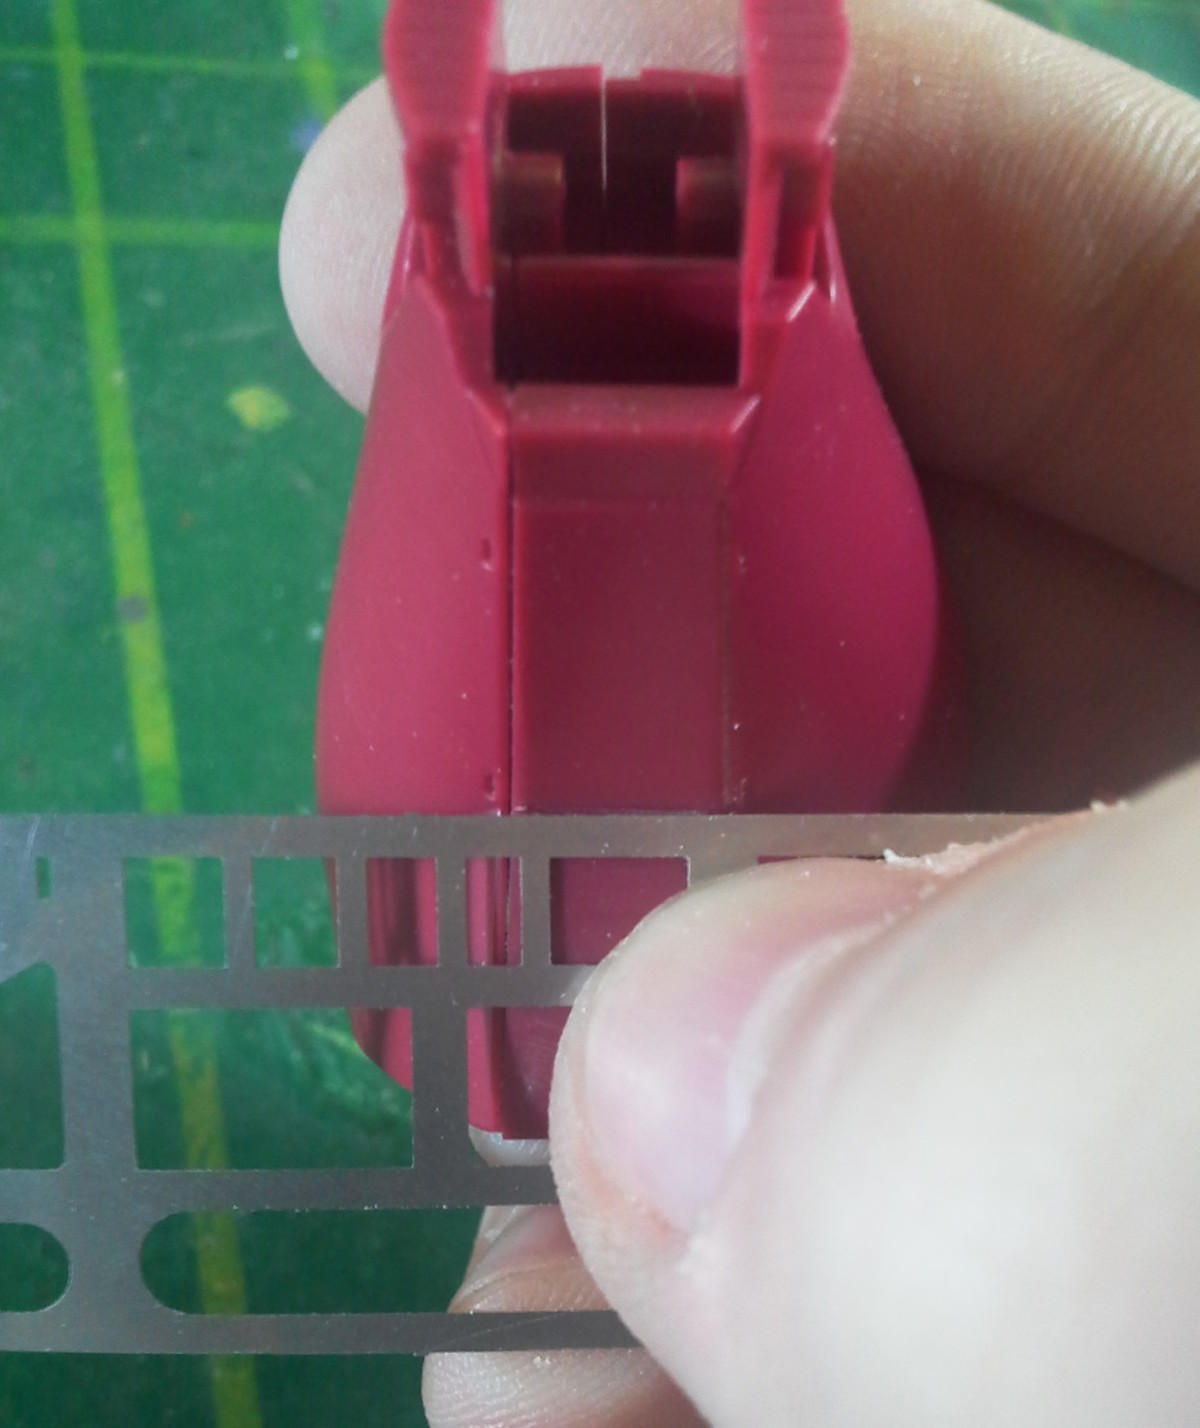
Moving on, let’s have a look at the front skirts. I really like the open spaces this kit has, and these front skirts are a good example of that. However, I wanted to scribe small panels on the edges.
I chose this 1.5mm x 4.5mm rectangle. I had to be very careful with the placement of the template, since I’m going to be scribing the same panel on the other front skirt.

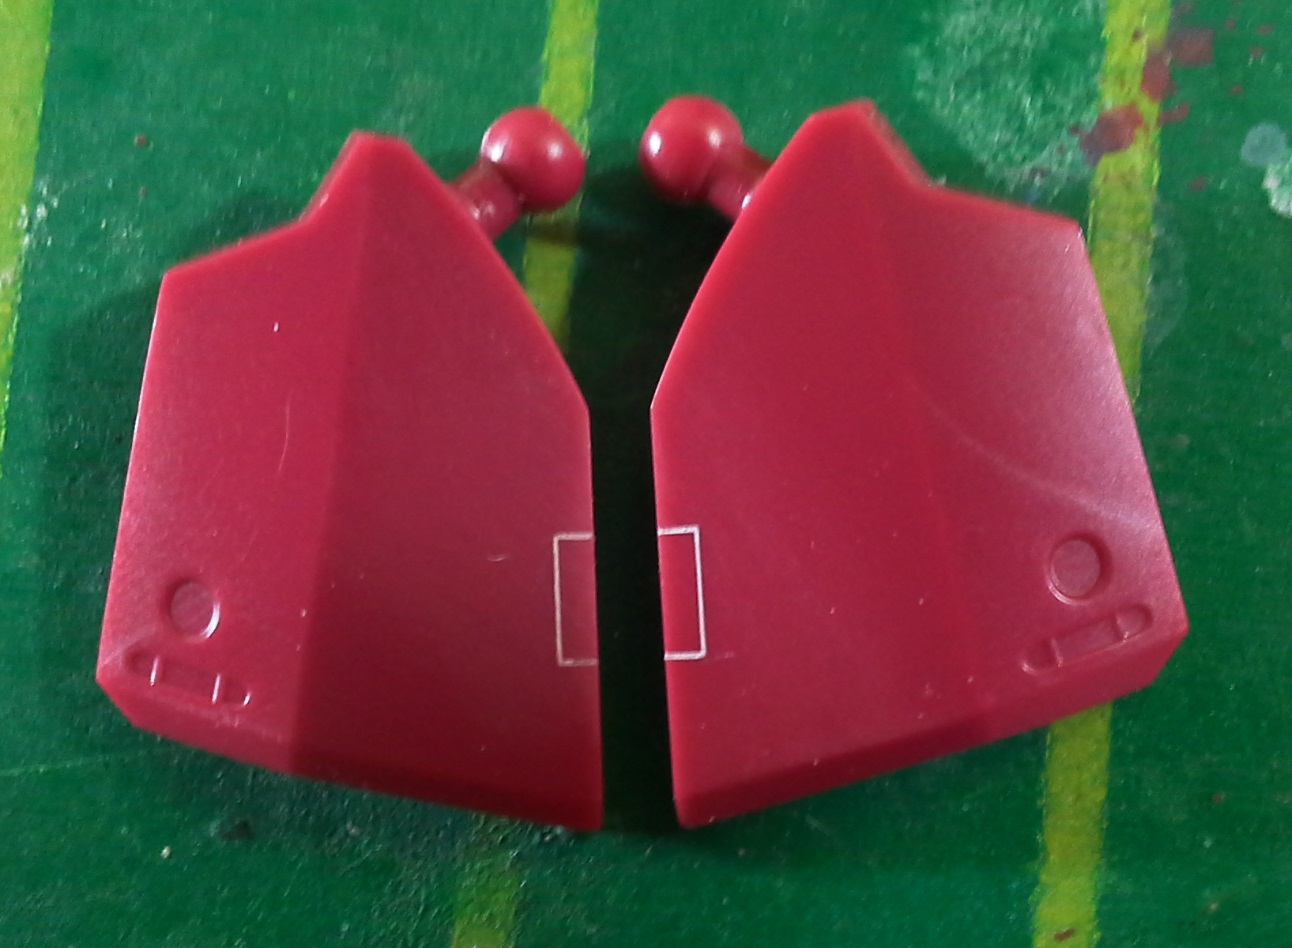
As you can see, they are almost perfectly symmetrical. Measuring and using reference points (such as corners or surface detail) can help make this task significantly easier.
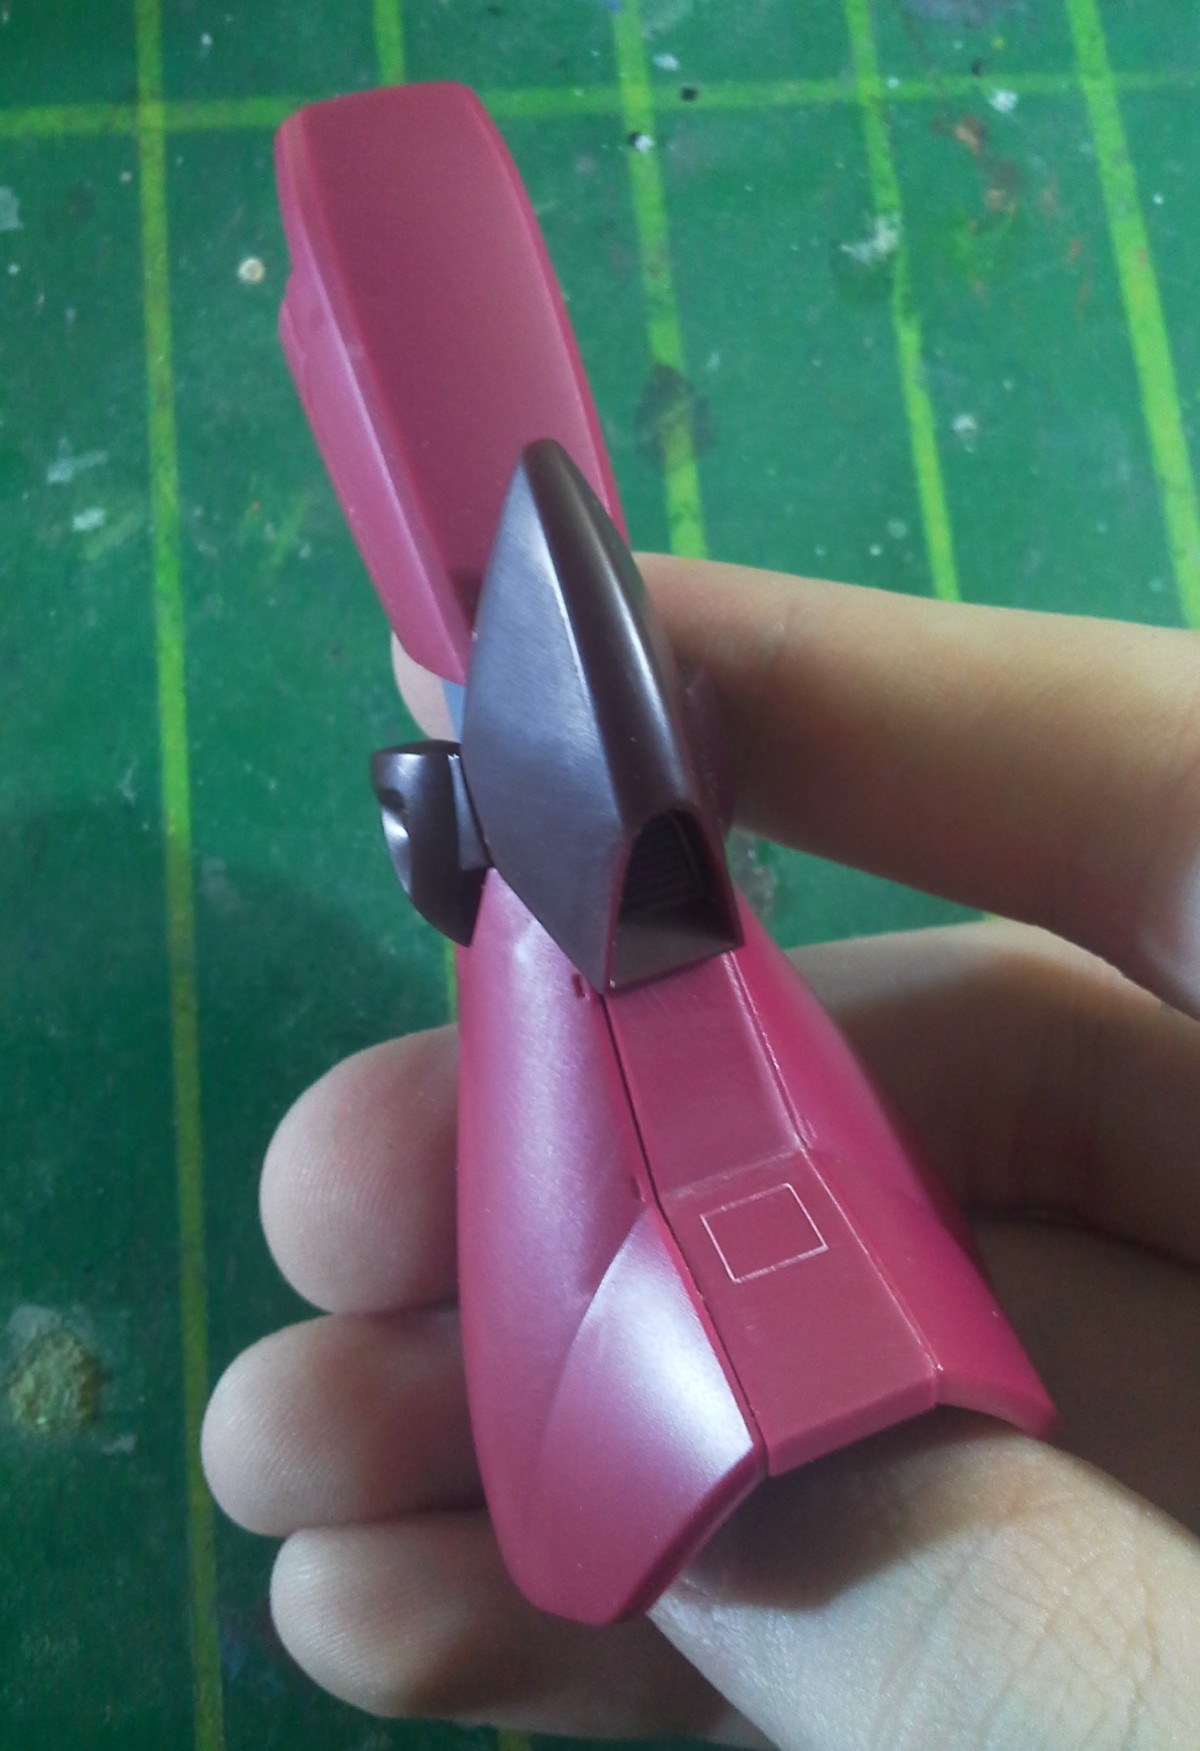
Scribing with guide tape
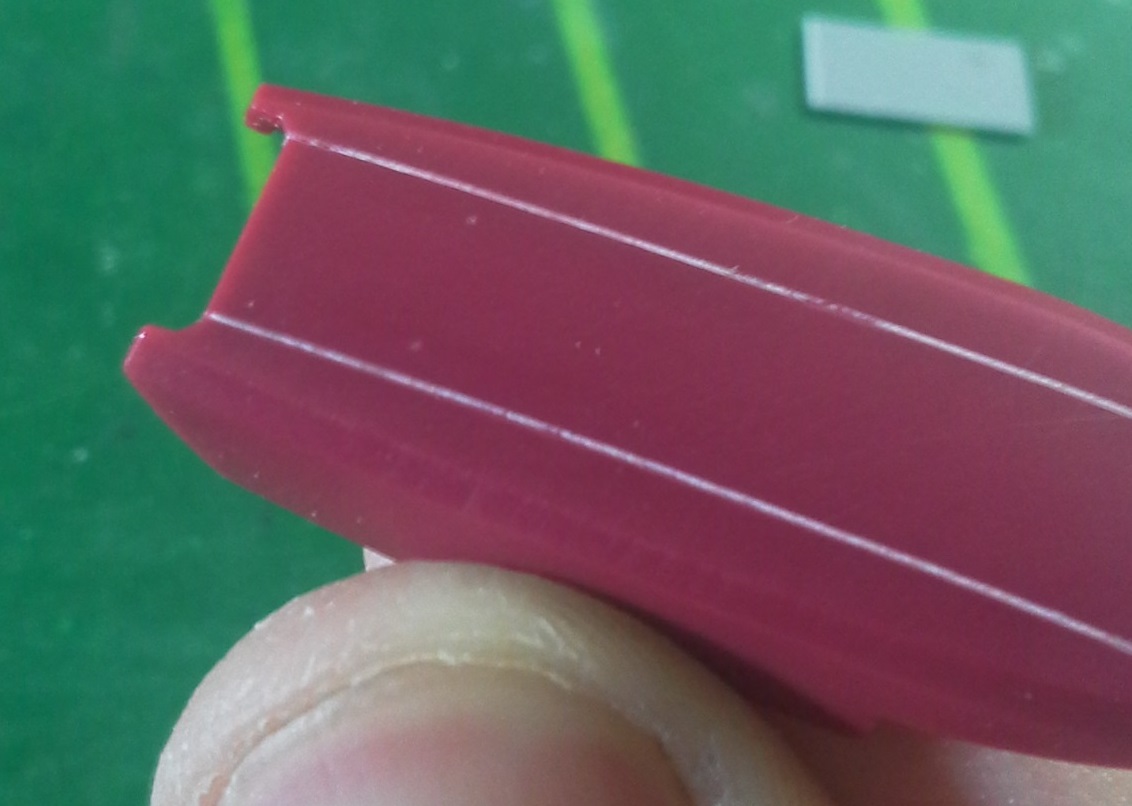
Yet, there’s still an issue. The lines, which are supposed to represent a separate piece, are only present on the front side.
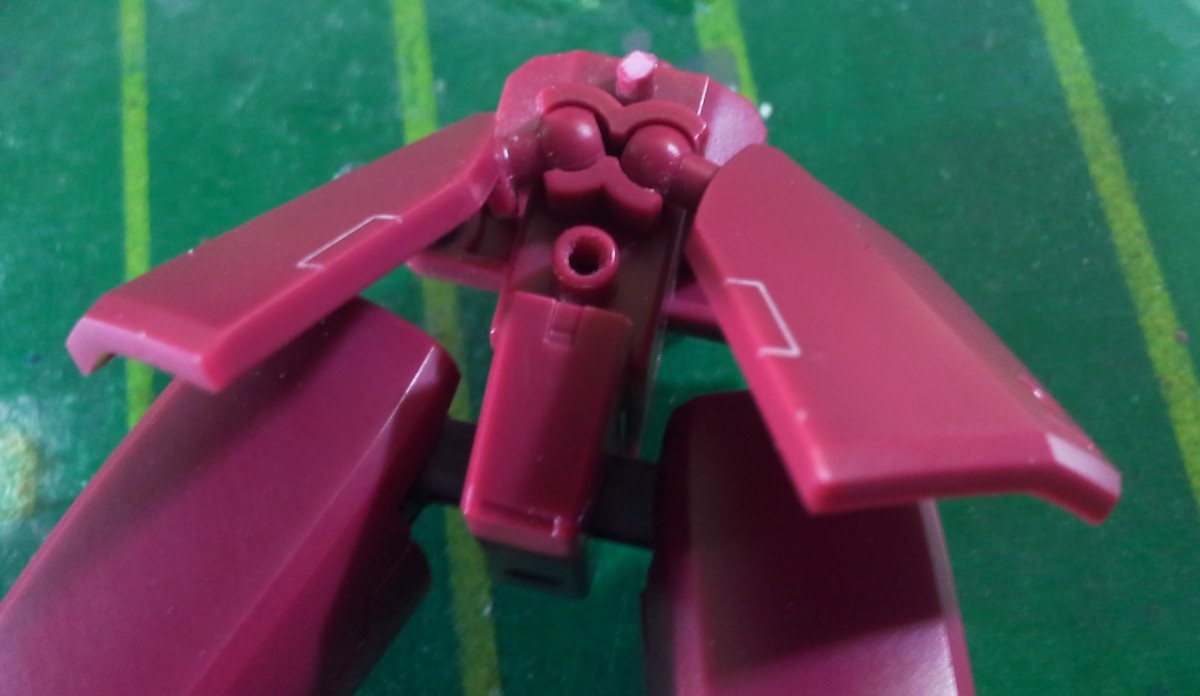
We have to extend these lines sideways to “close” the panel. Using the template on such a small surface is a really difficult task, so instead, we are going to use a more traditional tool: guide tape.

This thick tape sticks well to the plastic, and works as a guide we can scribe along. I stick it onto the part following the first line, scribe, and then move it to scribe the second line.
The result is certainly worth the extra effort!
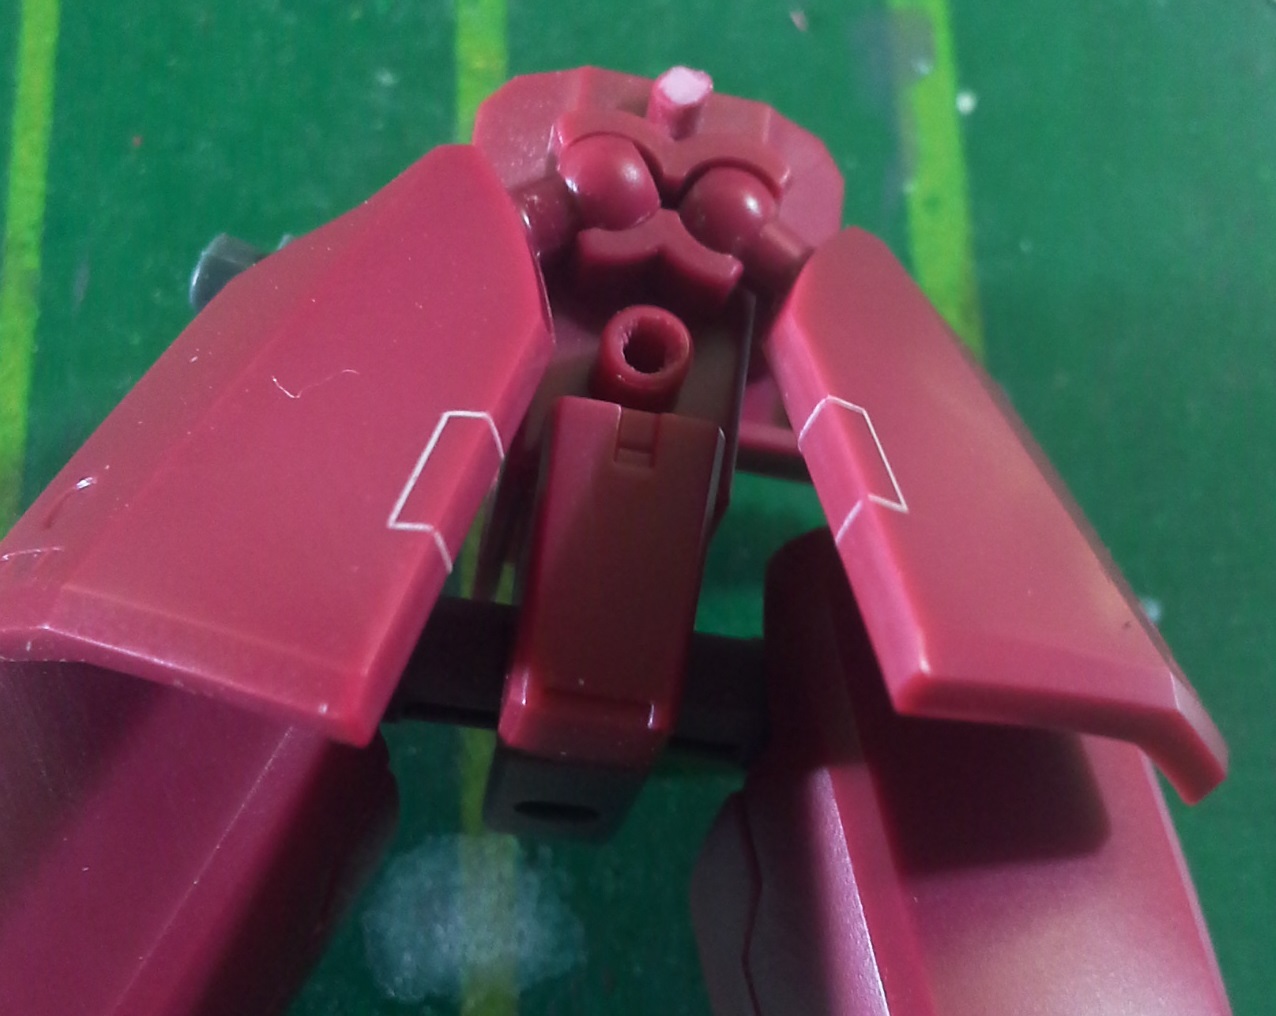
Next, I’m going to use the width of the tape in my favor. With the notch for the knee joint being about 7mm wide, I took advantage of the width of the guide tape (which is 6mm) and scribed two lines on the thighs, that are 6mm apart from each other.
Then, I decided to break this big central panel into two. I could just scribe a perpendicular line and call it a day, but it would still look too boring.
I cut out a piece of styrene sheet, and using its scale print as a guide, I made two shallow recesses on the central panel.
After that, I scribed a line that went from one mark to the other.

Finally, I connected the ends of the central line to the long parallel ones. Now the thighs look a lot more attractive than they were straight out of the box.
Detail parts
I work with detail parts fairly often, as they are a quick way to improve the look of my models. For this build, I’m going to use mostly Kotobukiya’s Modeling Support Goods sets.
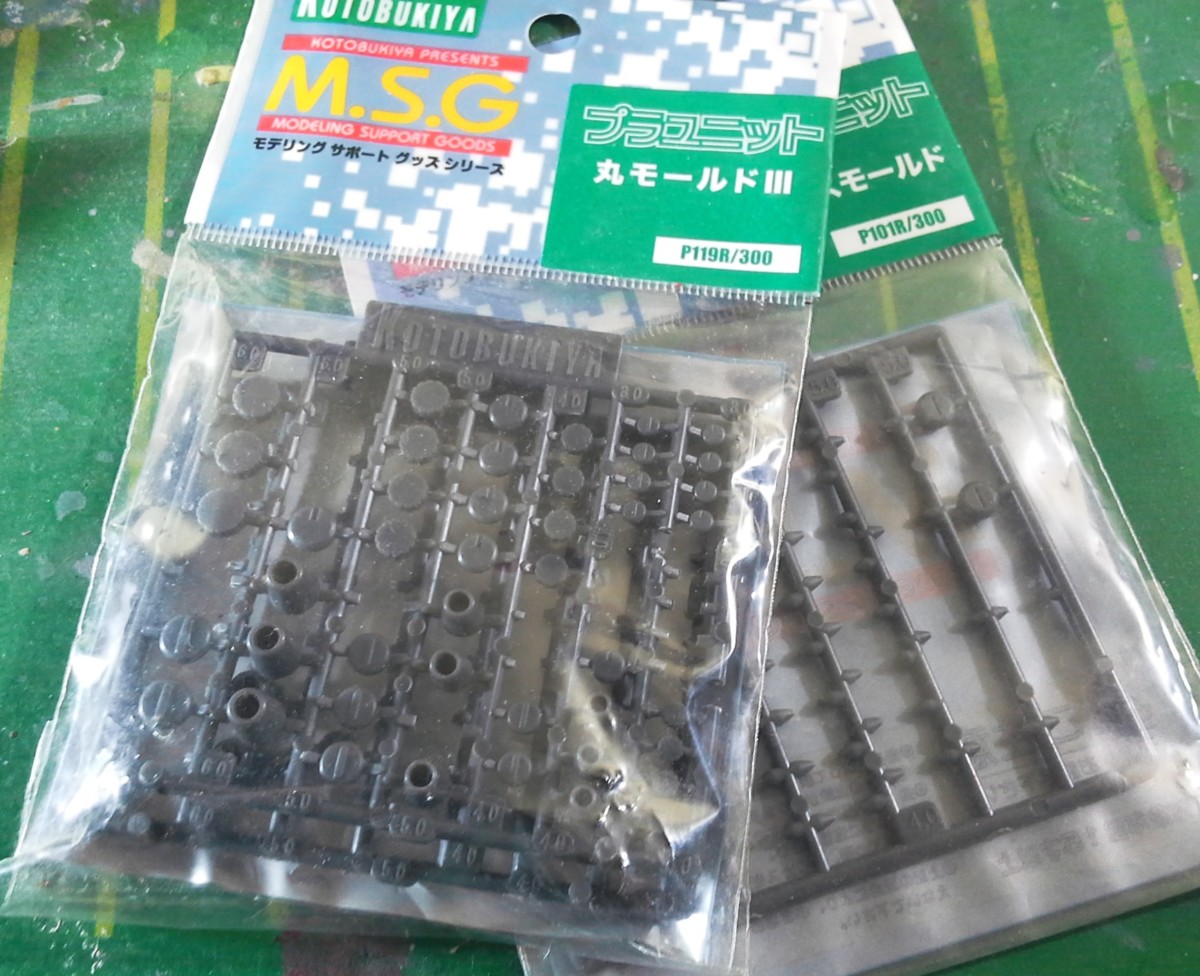
Since I wanted to detail up the round recessed areas on the front skirts, I had to measure first and then choose the design of the parts. I went for these simple wide screw/rivet parts.
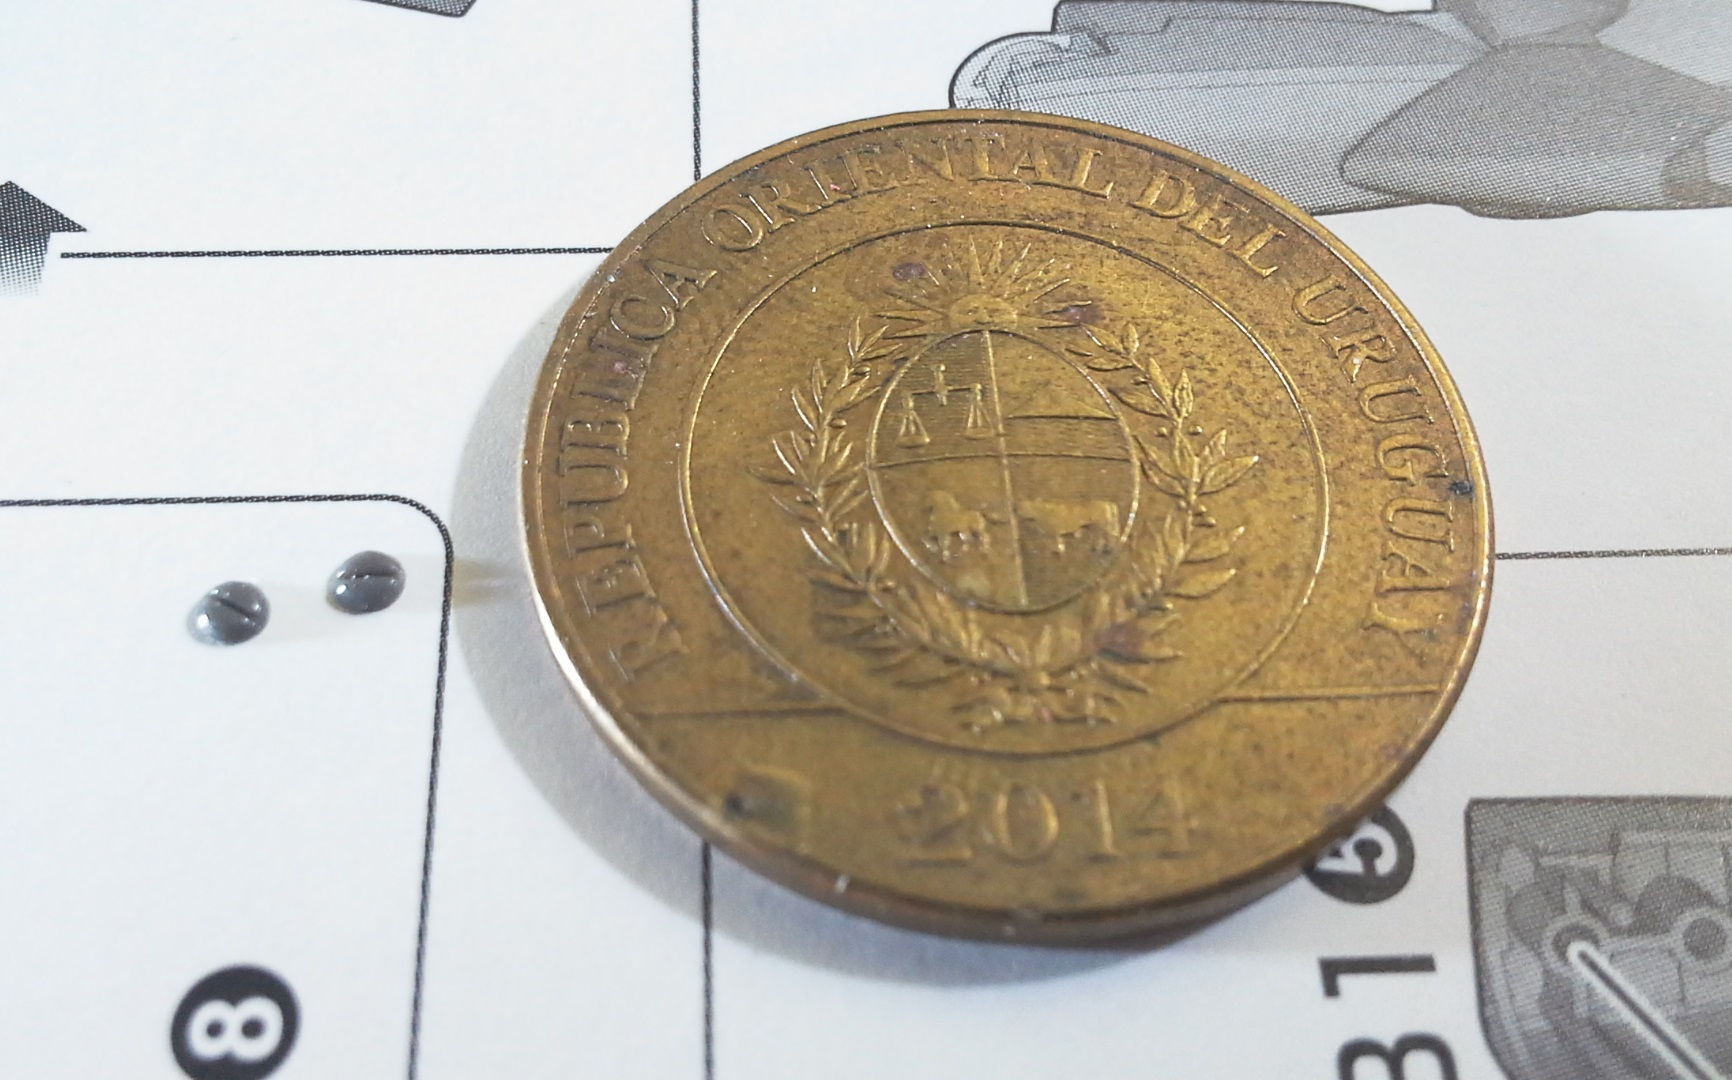

The rivet looks really good on the front skirt. Again, I haven’t glued it on yet because I want to paint it a different color. I’m sure that the contrast between the colors will add some aesthetic value.
That is all for now! In part 3 we are going to finish detailing on the lower half of the body. See you next time!