The Build
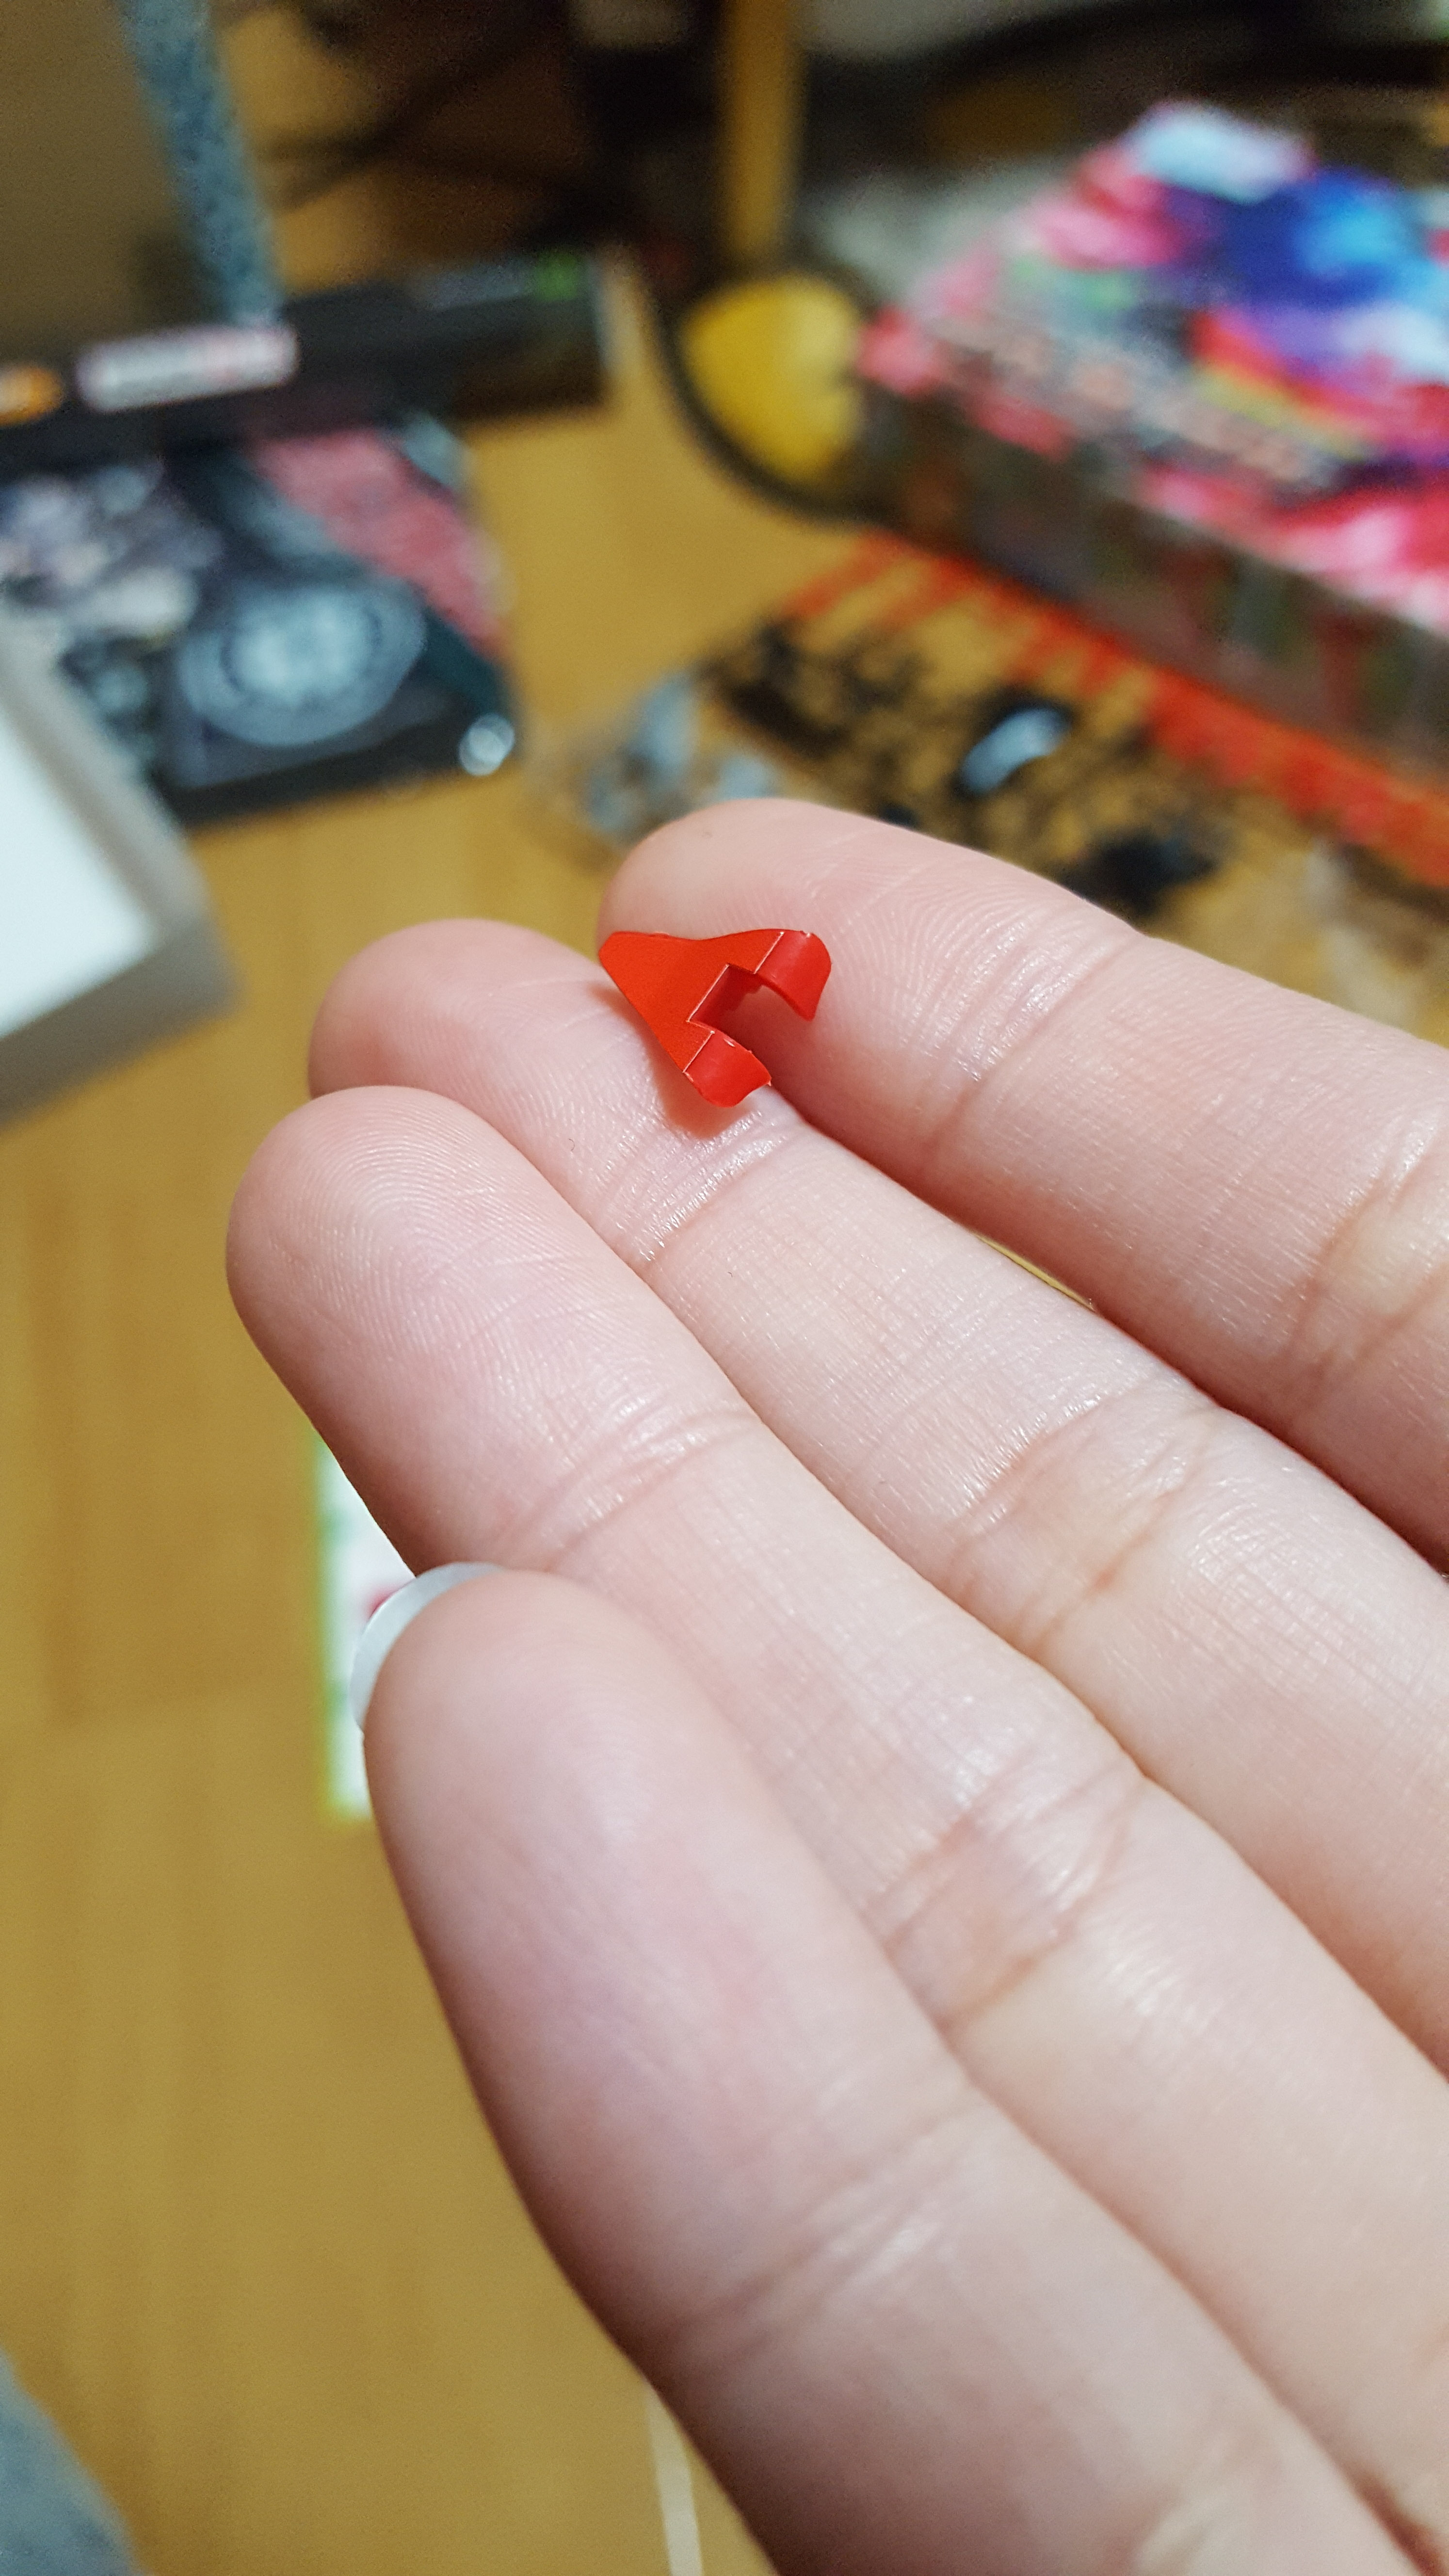
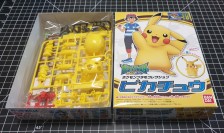
(Yikes, blurry photo alert!)
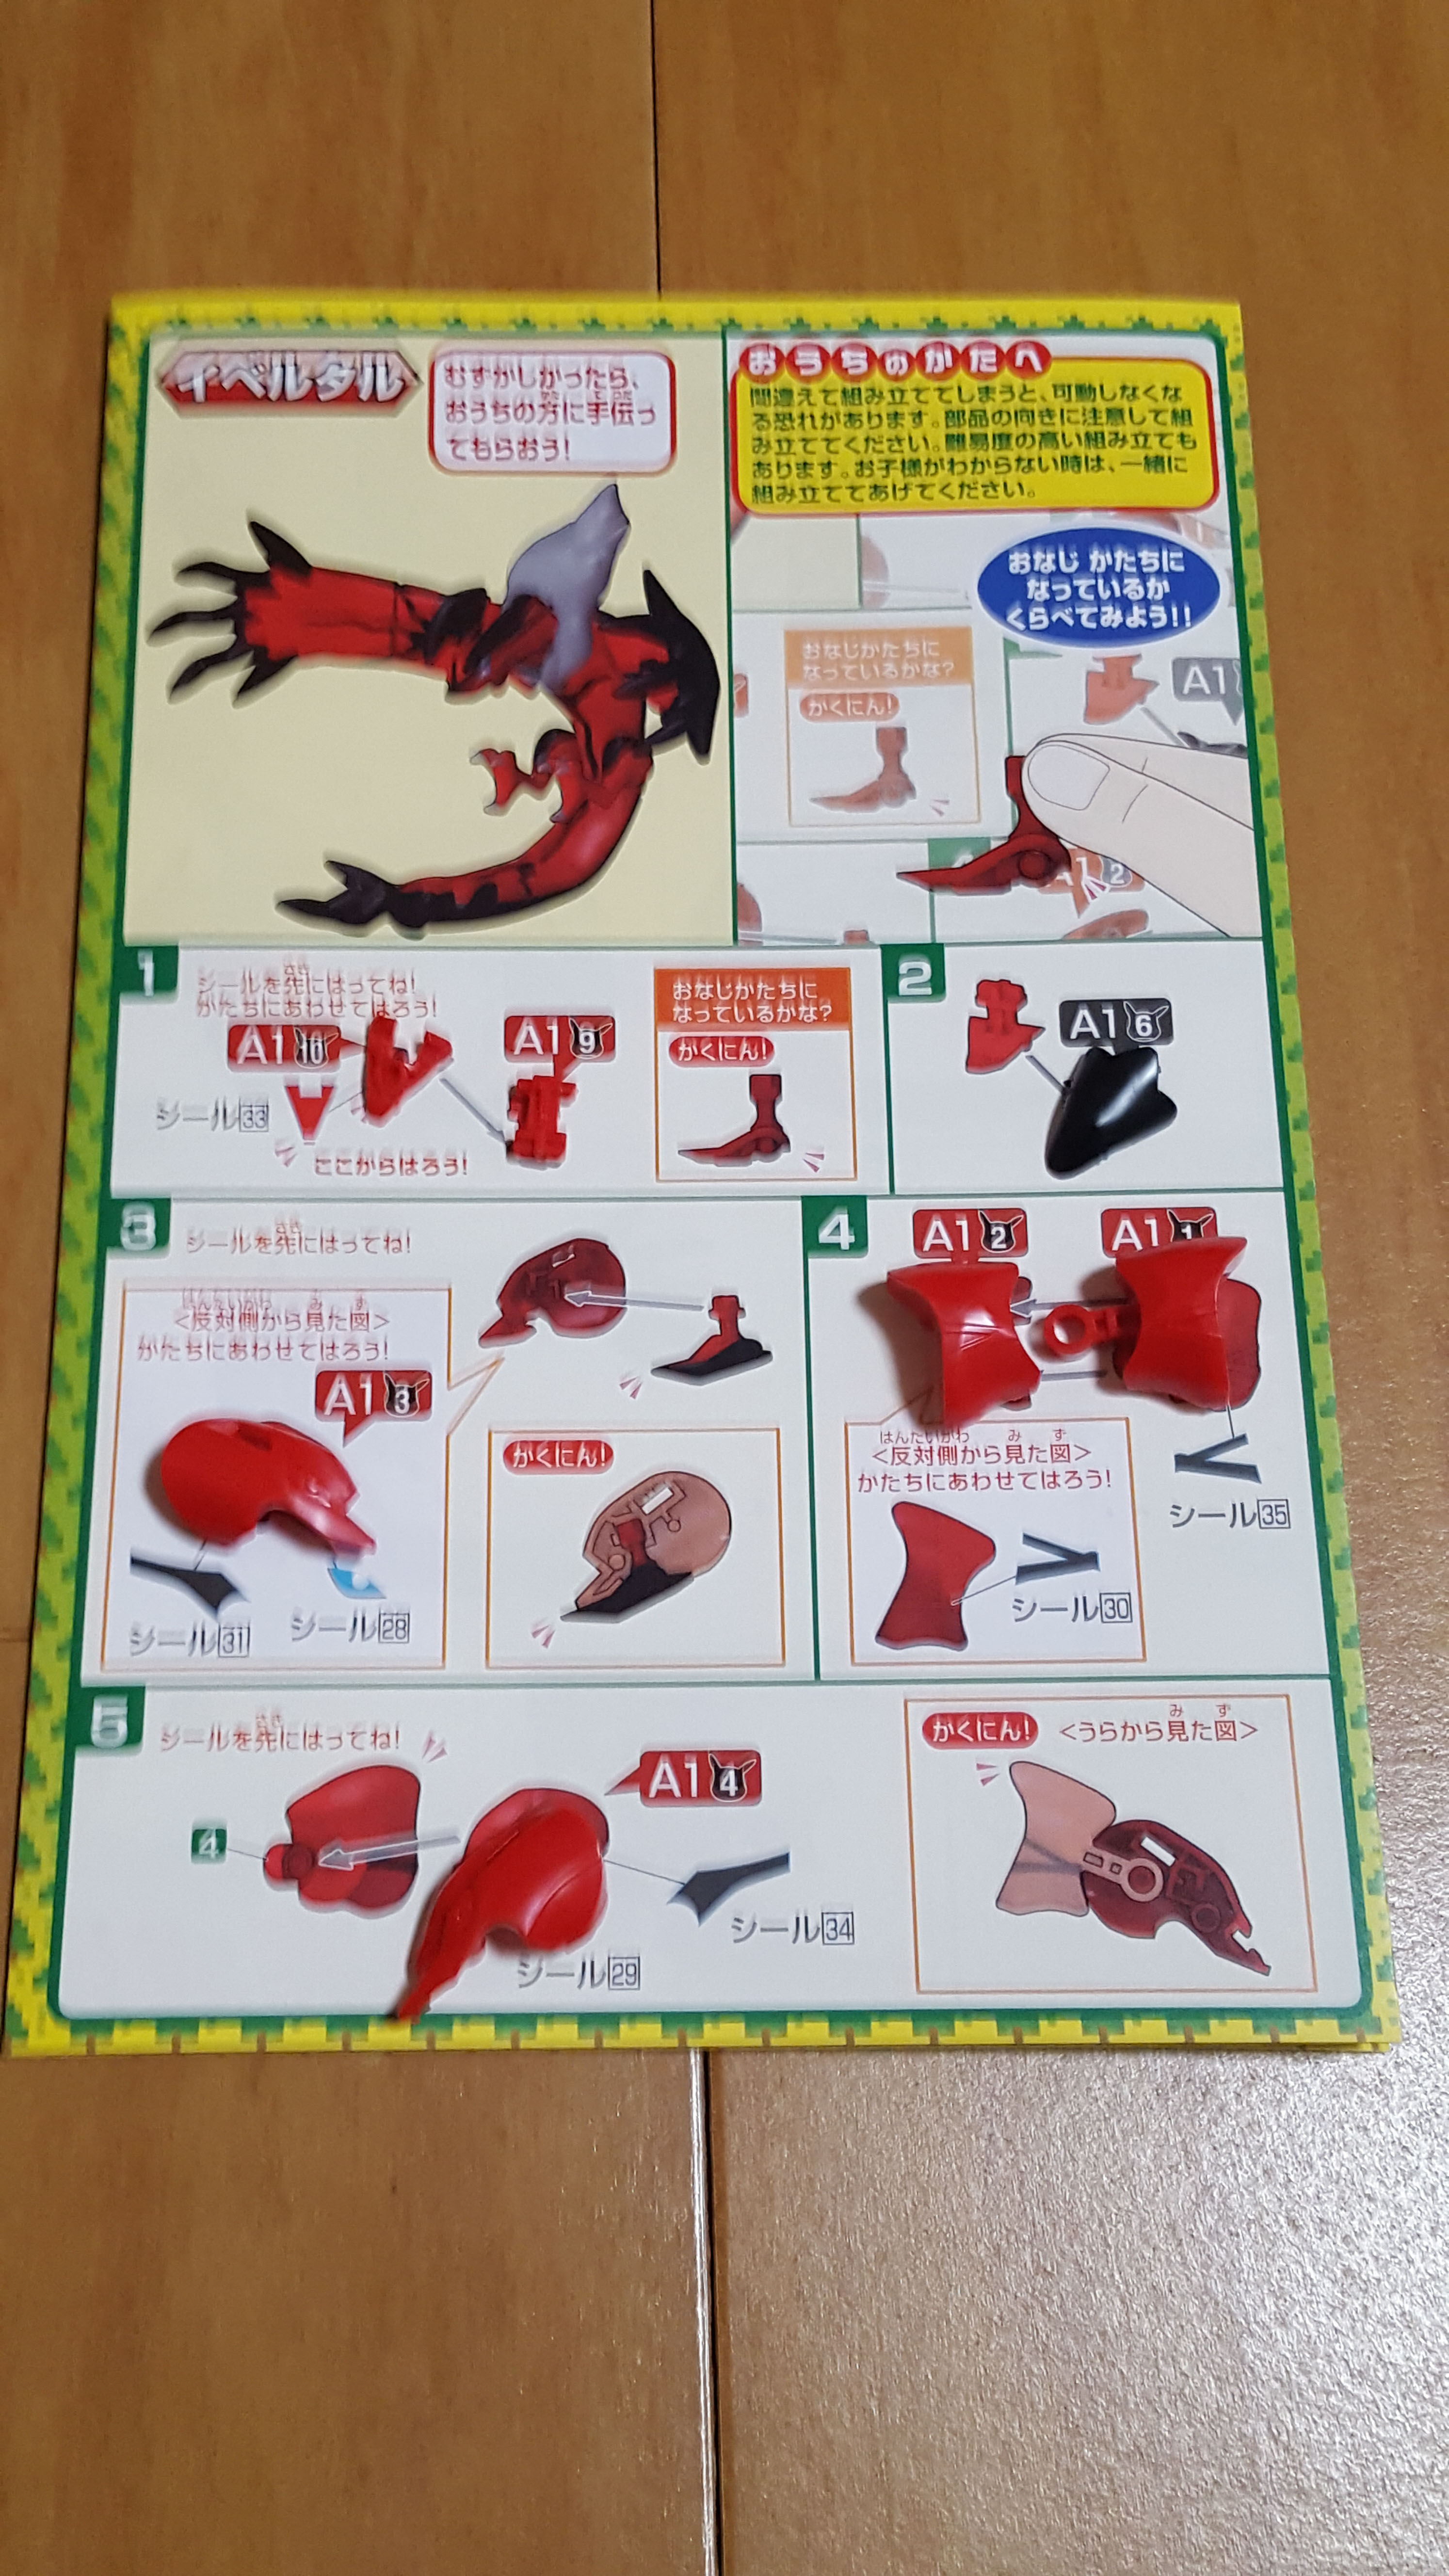
Yveltal starts our pretty simple: first we build the head and neck, which take 7 parts and several stickers. We get the articulated jaw and neck handled right on the first page!
This particular sticker looks a little odd to me. Bandai has us put a red mouth sticker onto red plastic, that’s almost exactly the same shade. Sometimes, I see this happening if there’s something to hide, like a seam, but in this case there was absolutely nothing. I’m a little baffled, but I guess this sticker can be optional, then!
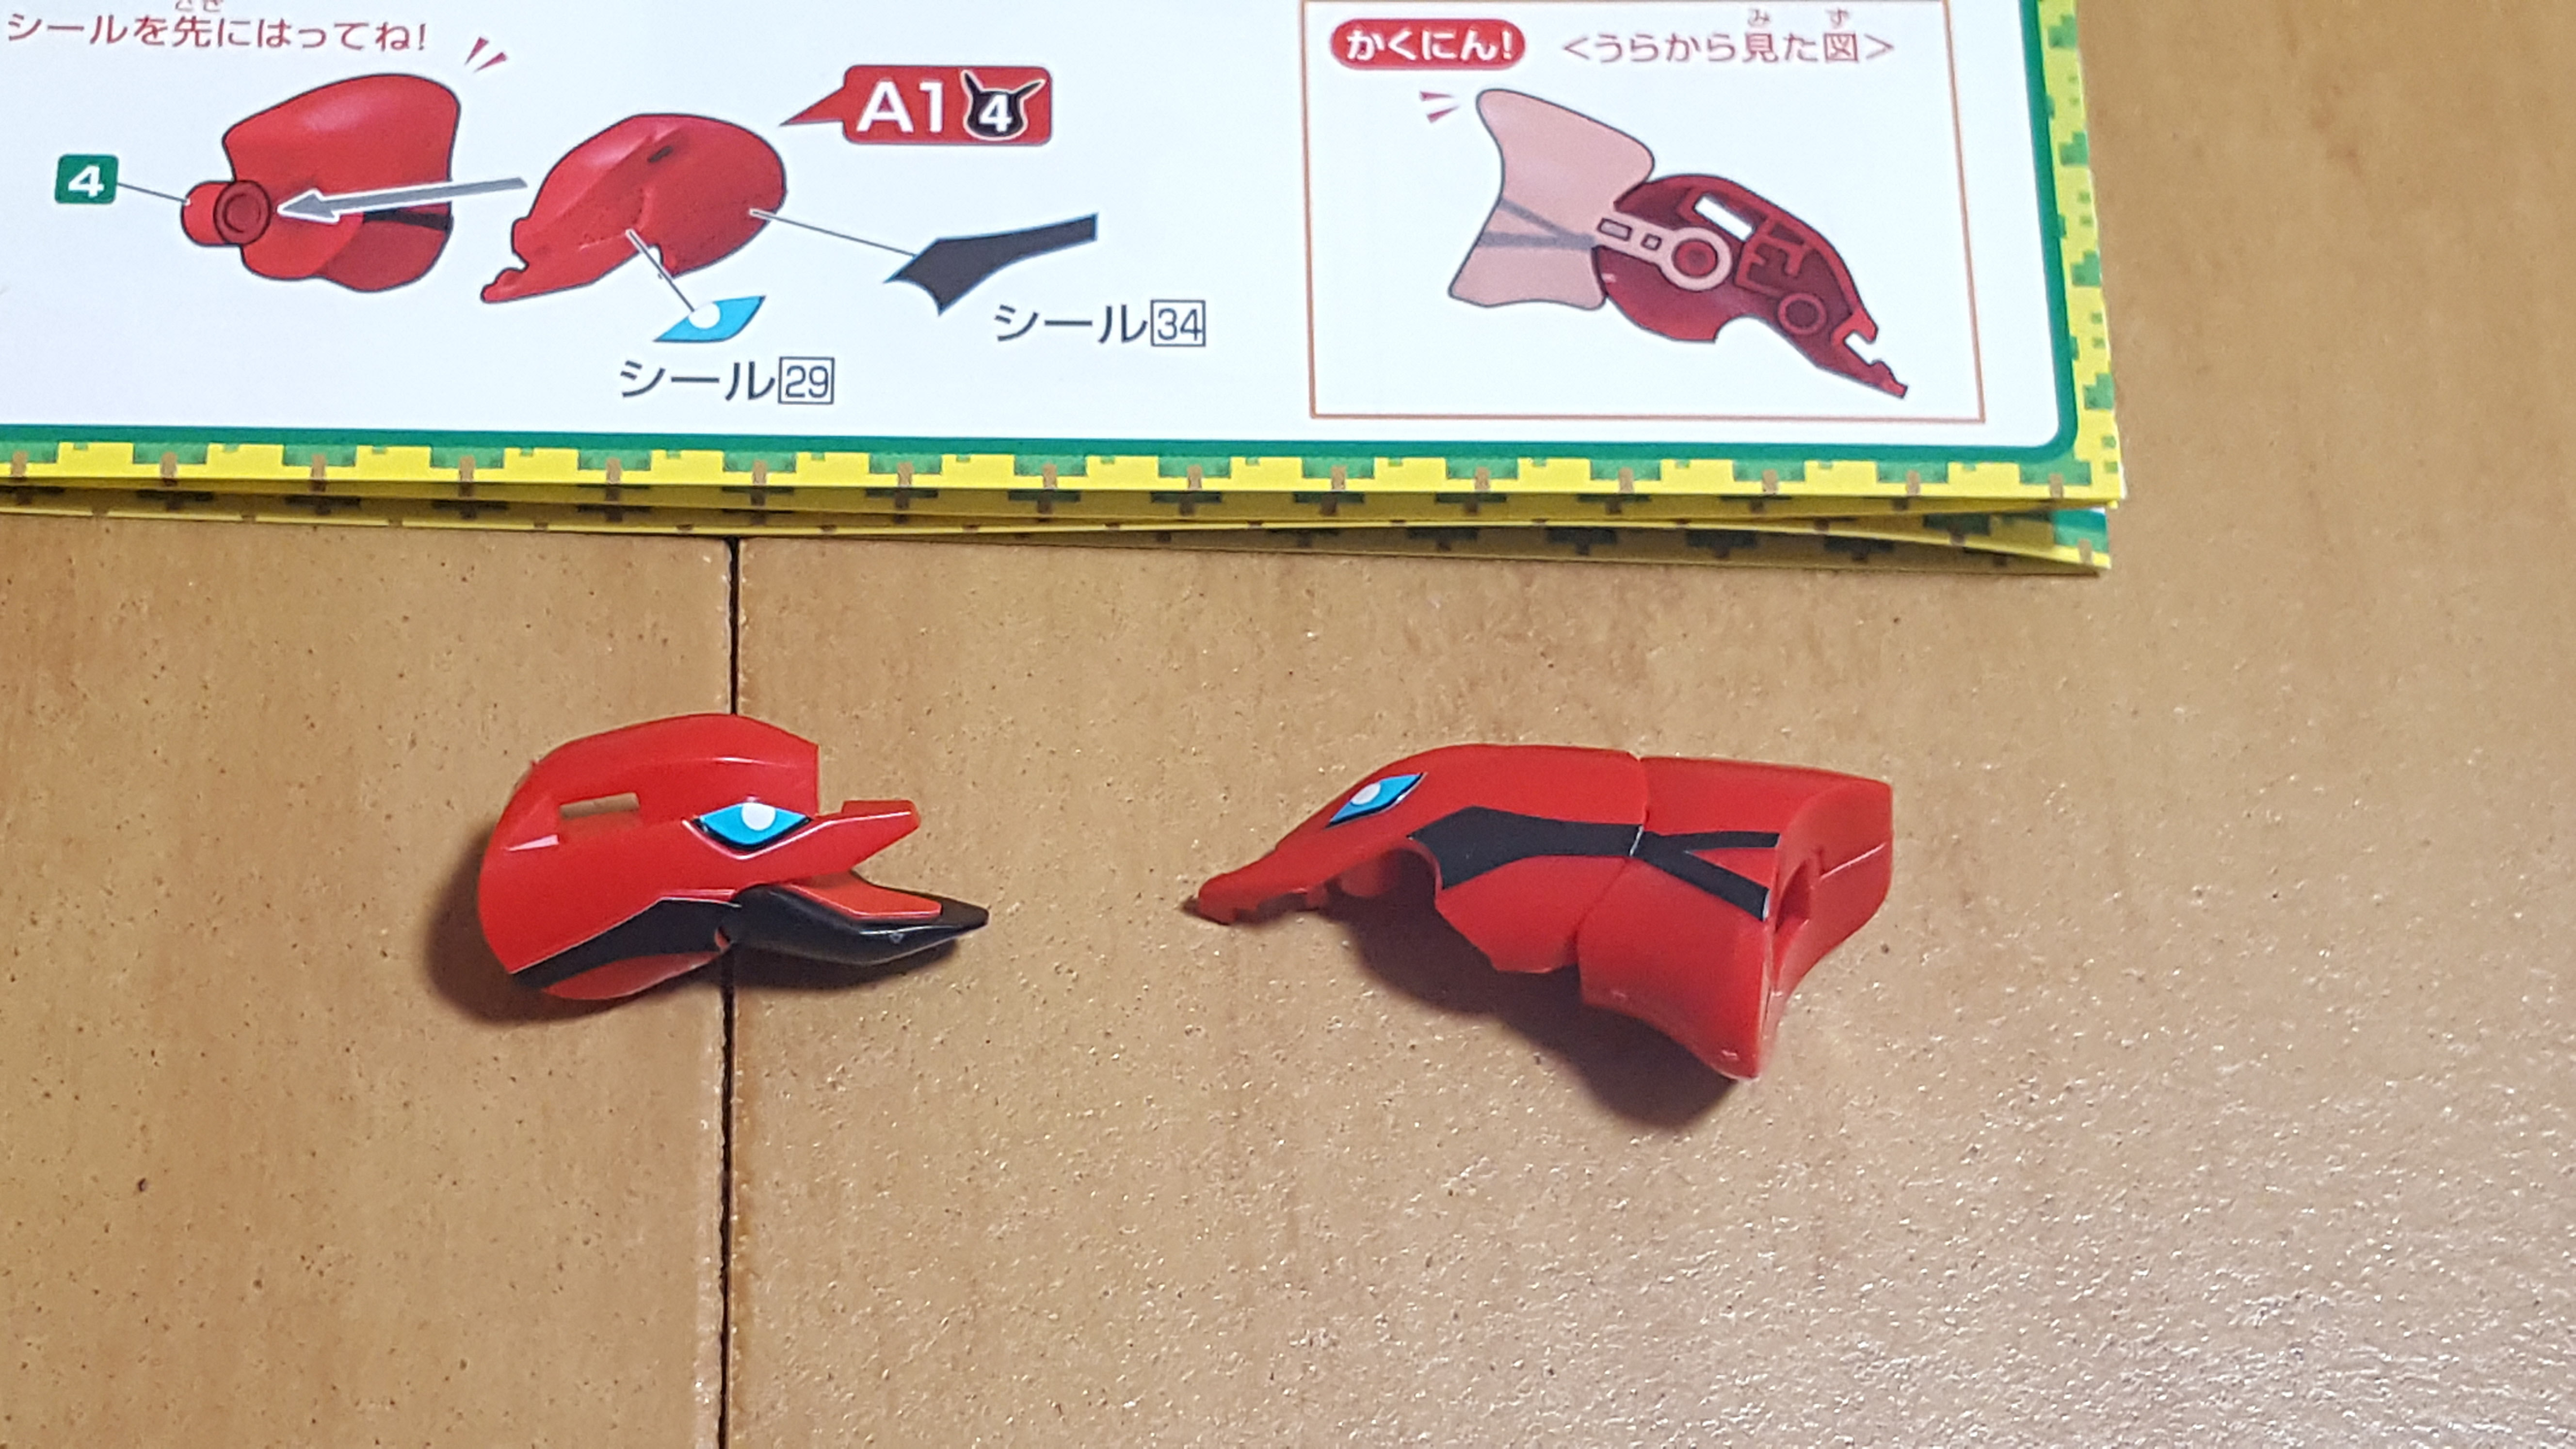
Here’s what we have once we’ve finished the first page: the head and neck are here in two halves. So far, despite being small and thin, the stickers have gone on easily and look pretty nice.
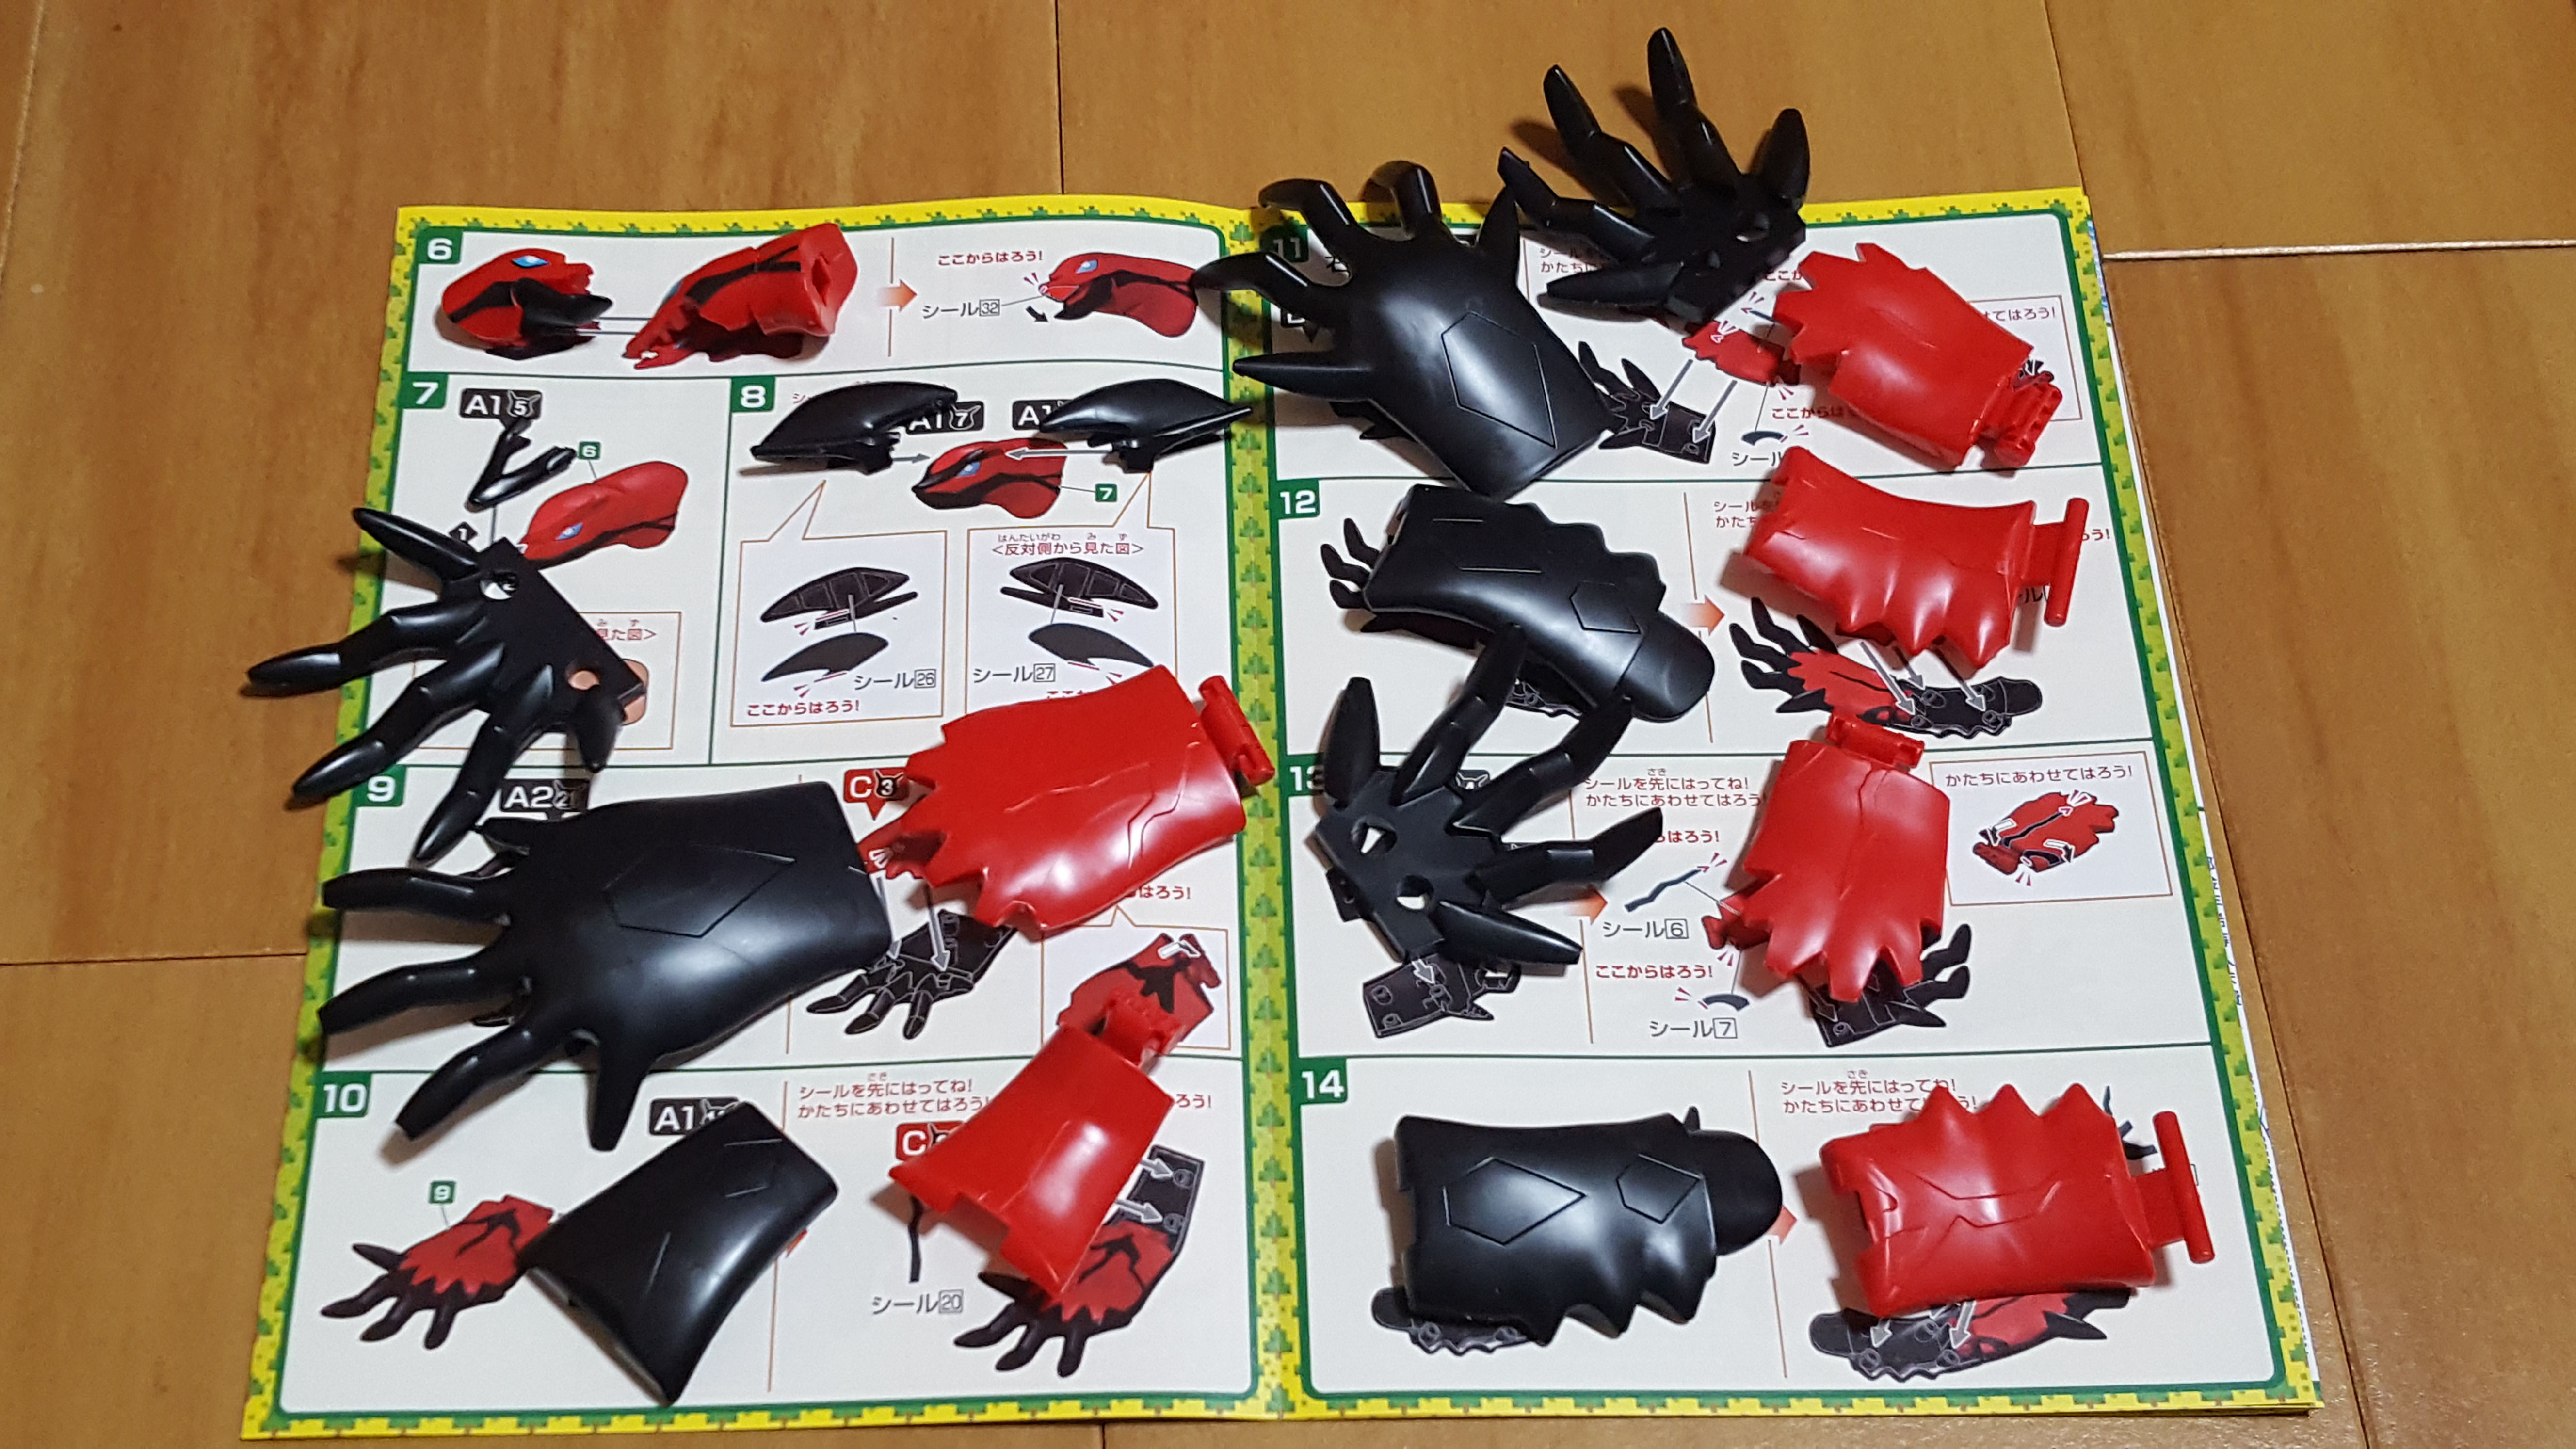
The next two pages. Oh boy, those are a lot of feathers! At leat big parts usually mean easy-to-assemble.
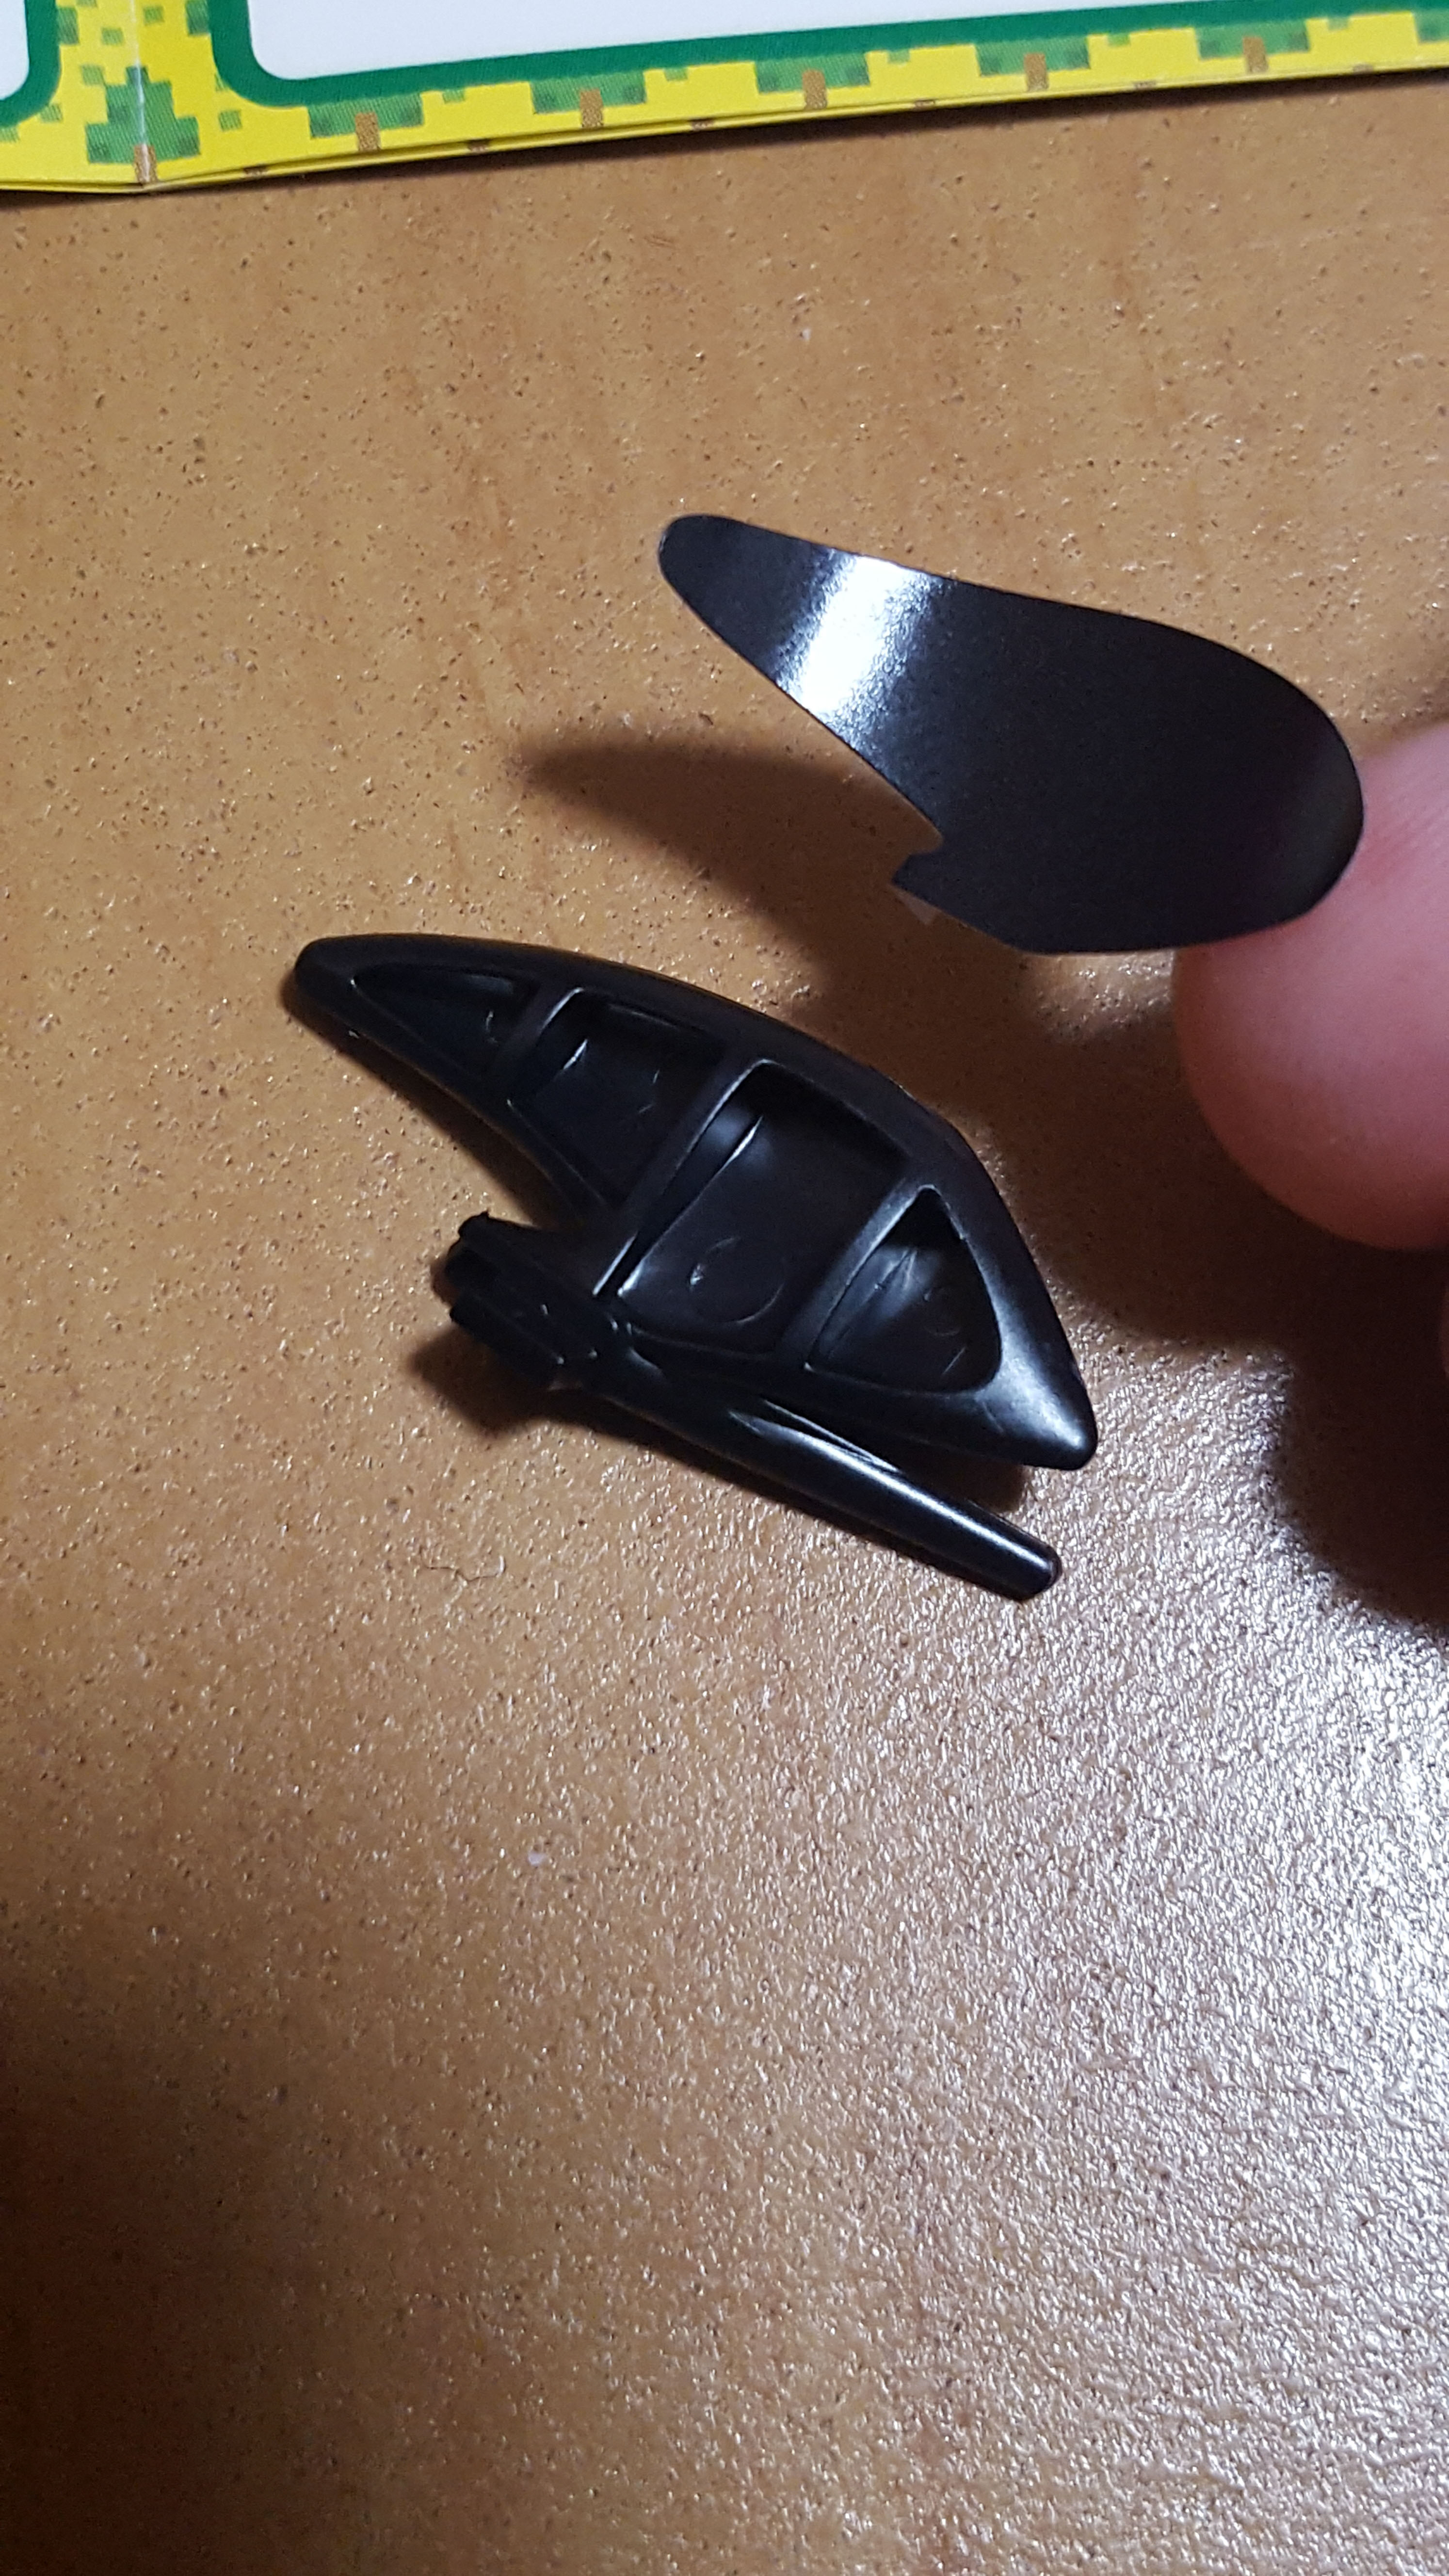
On the head piece, I noticed we’re dealing with black stickers on black parts, but it’s different this time. I ran into something like this with my Charmeleon’s inner legs, which didn’t make sense at the time. Here, it does make sense: those slats across the gap in the piece add ribbed texture when the sticker is applied — and it looks good! In Charmeleon’s case, if that was the intention, well… the stickers are in a place you can’t really see, so I still don’t really understand that design choice.
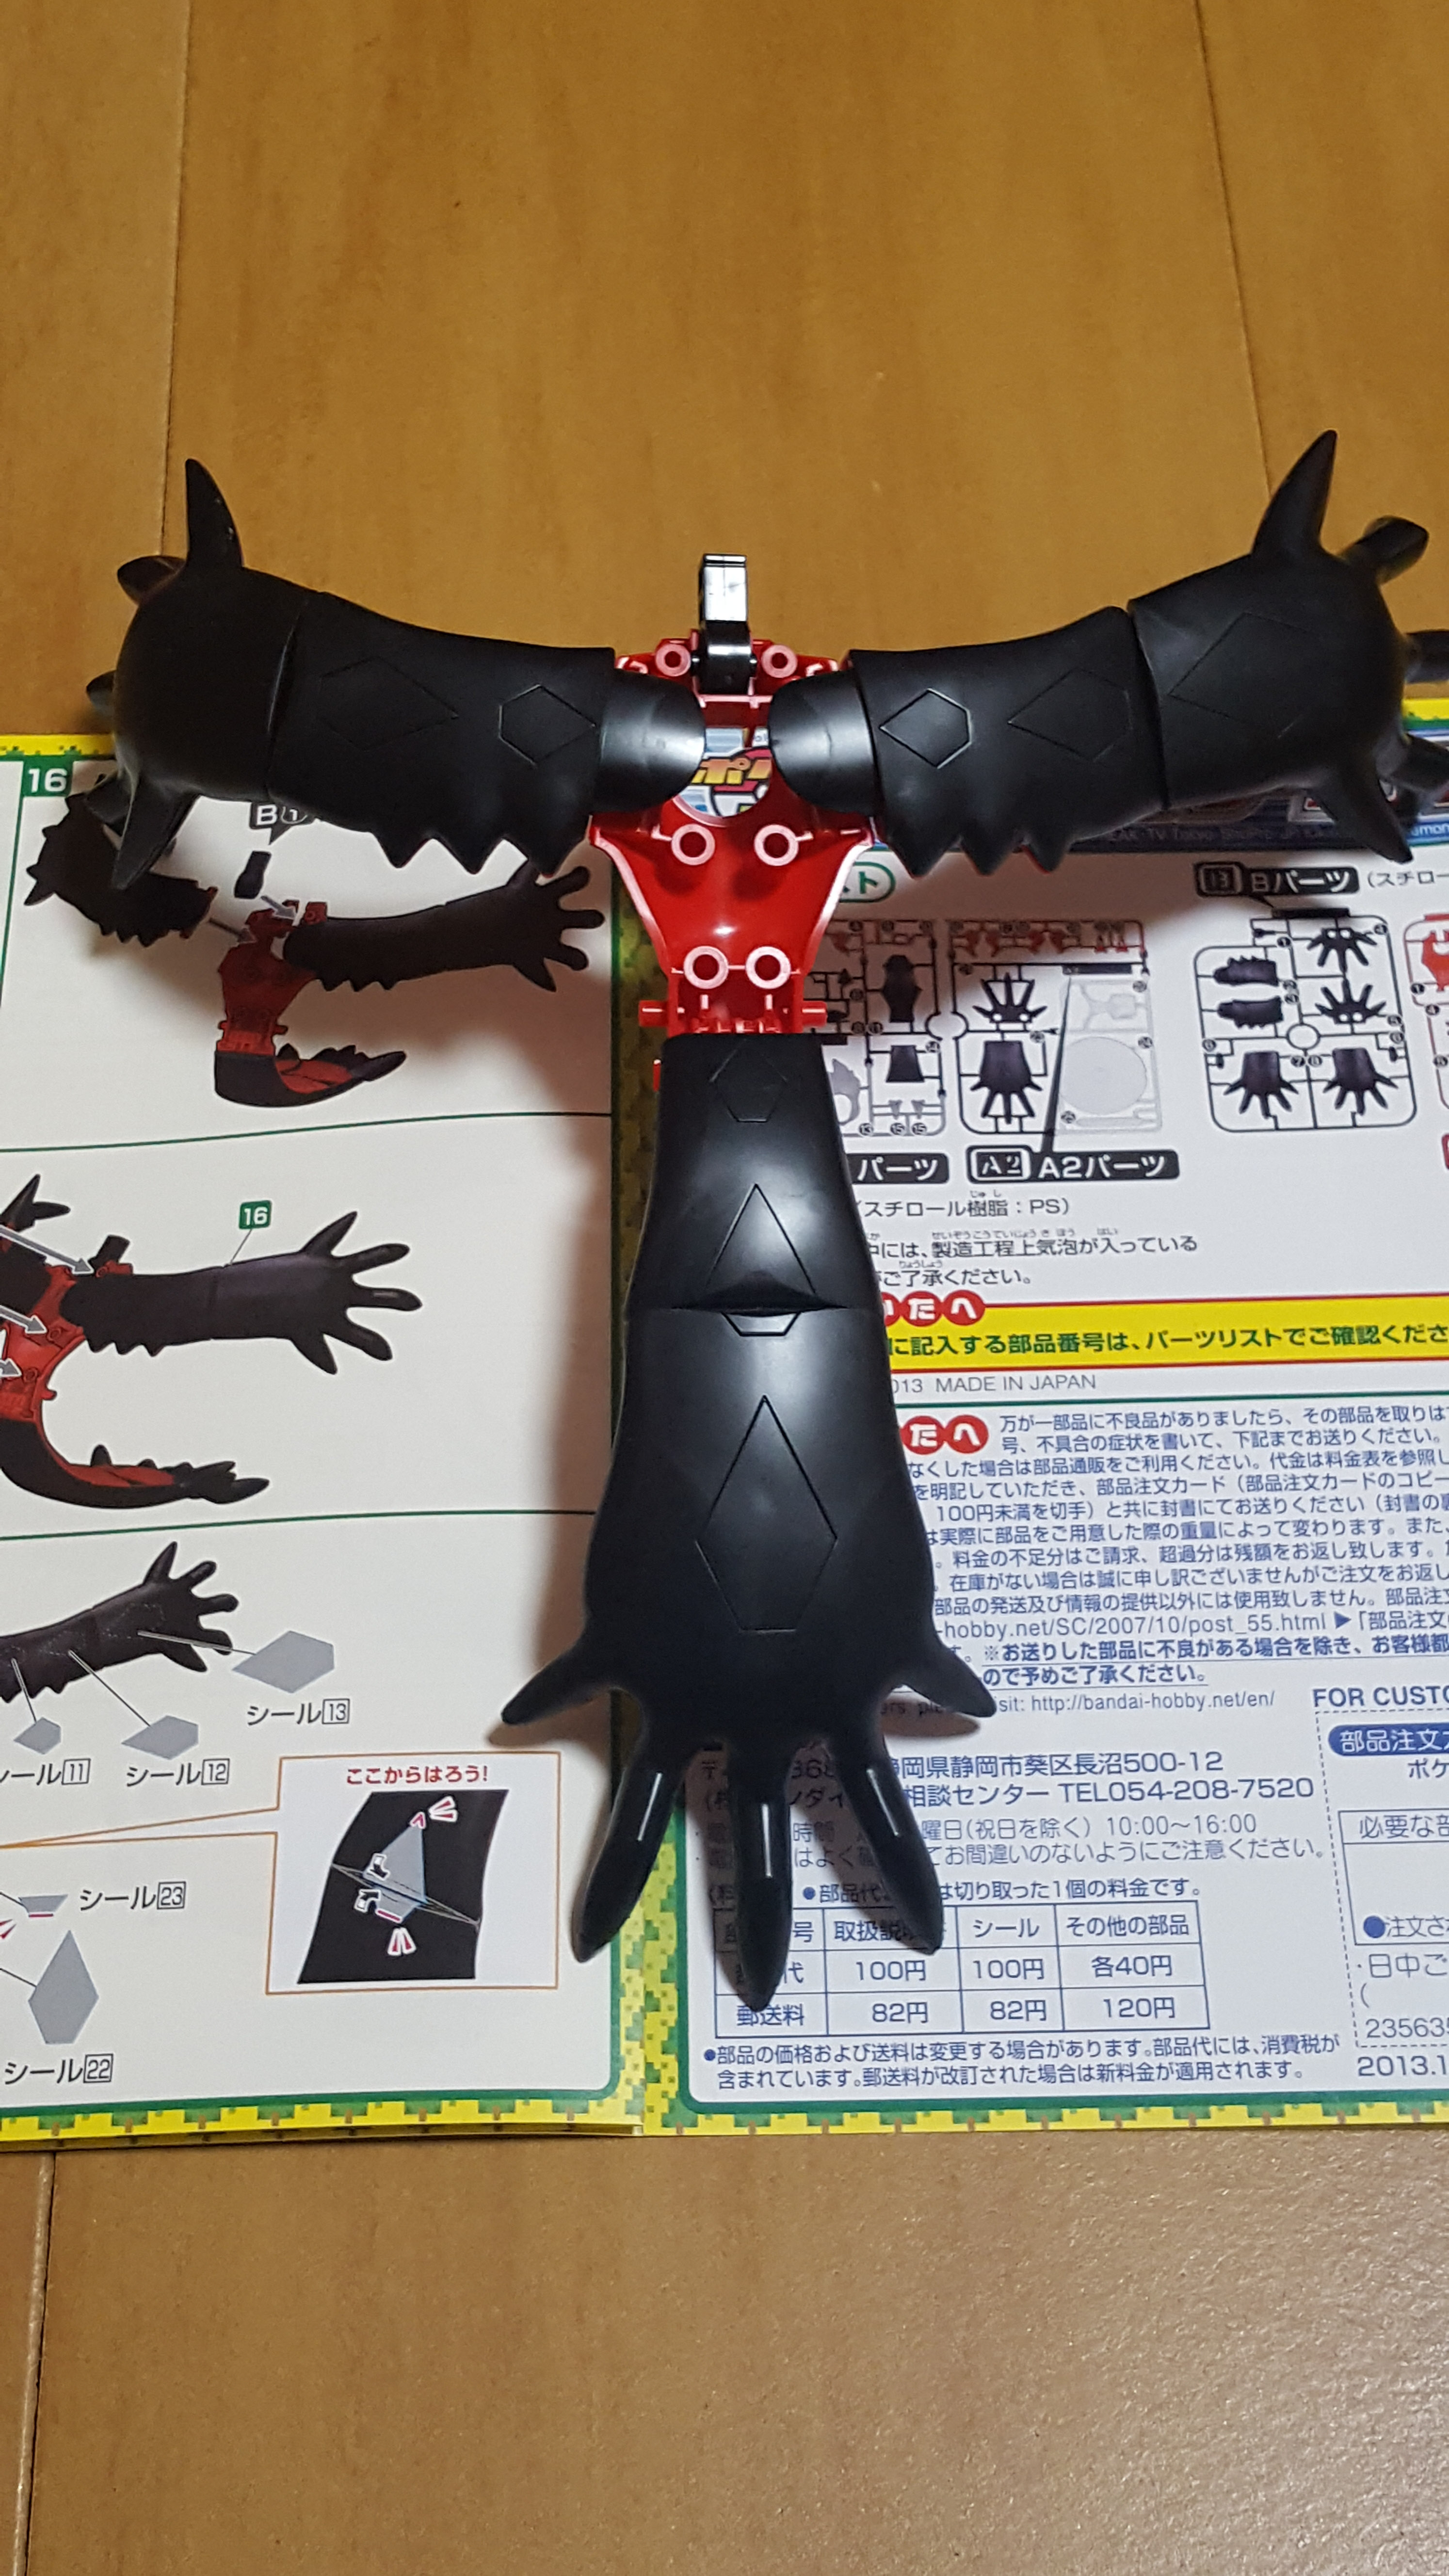
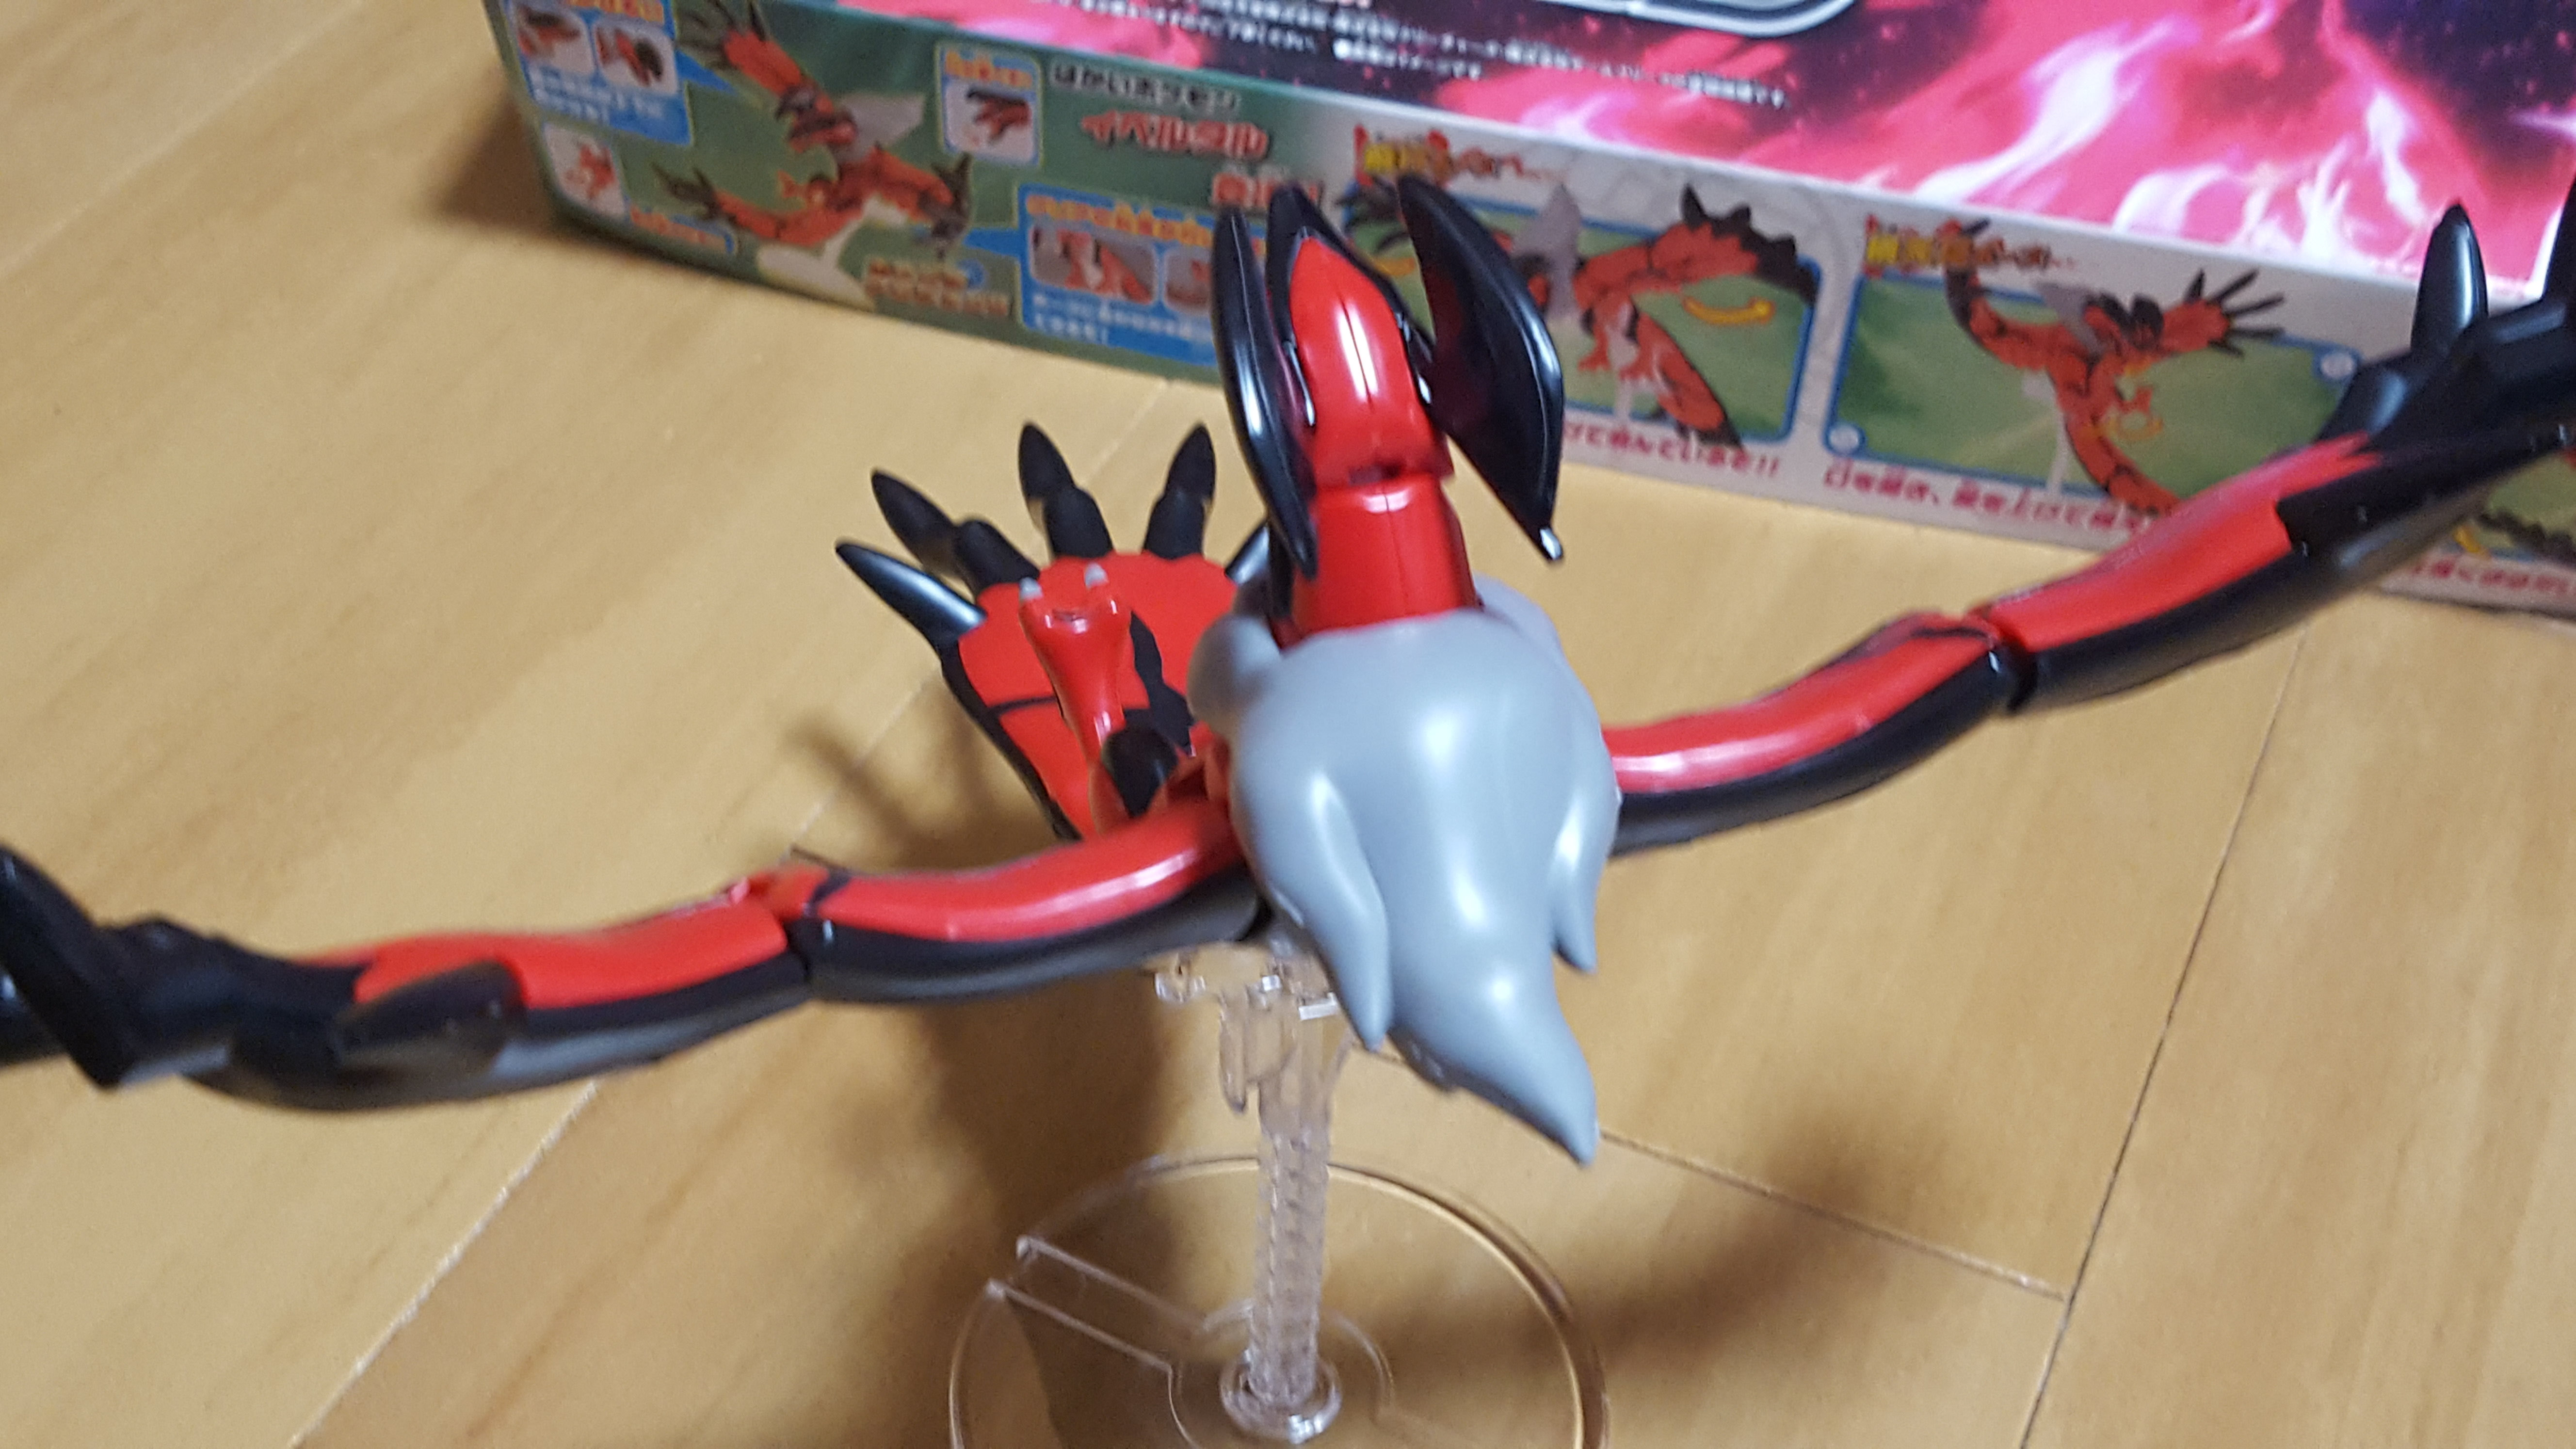
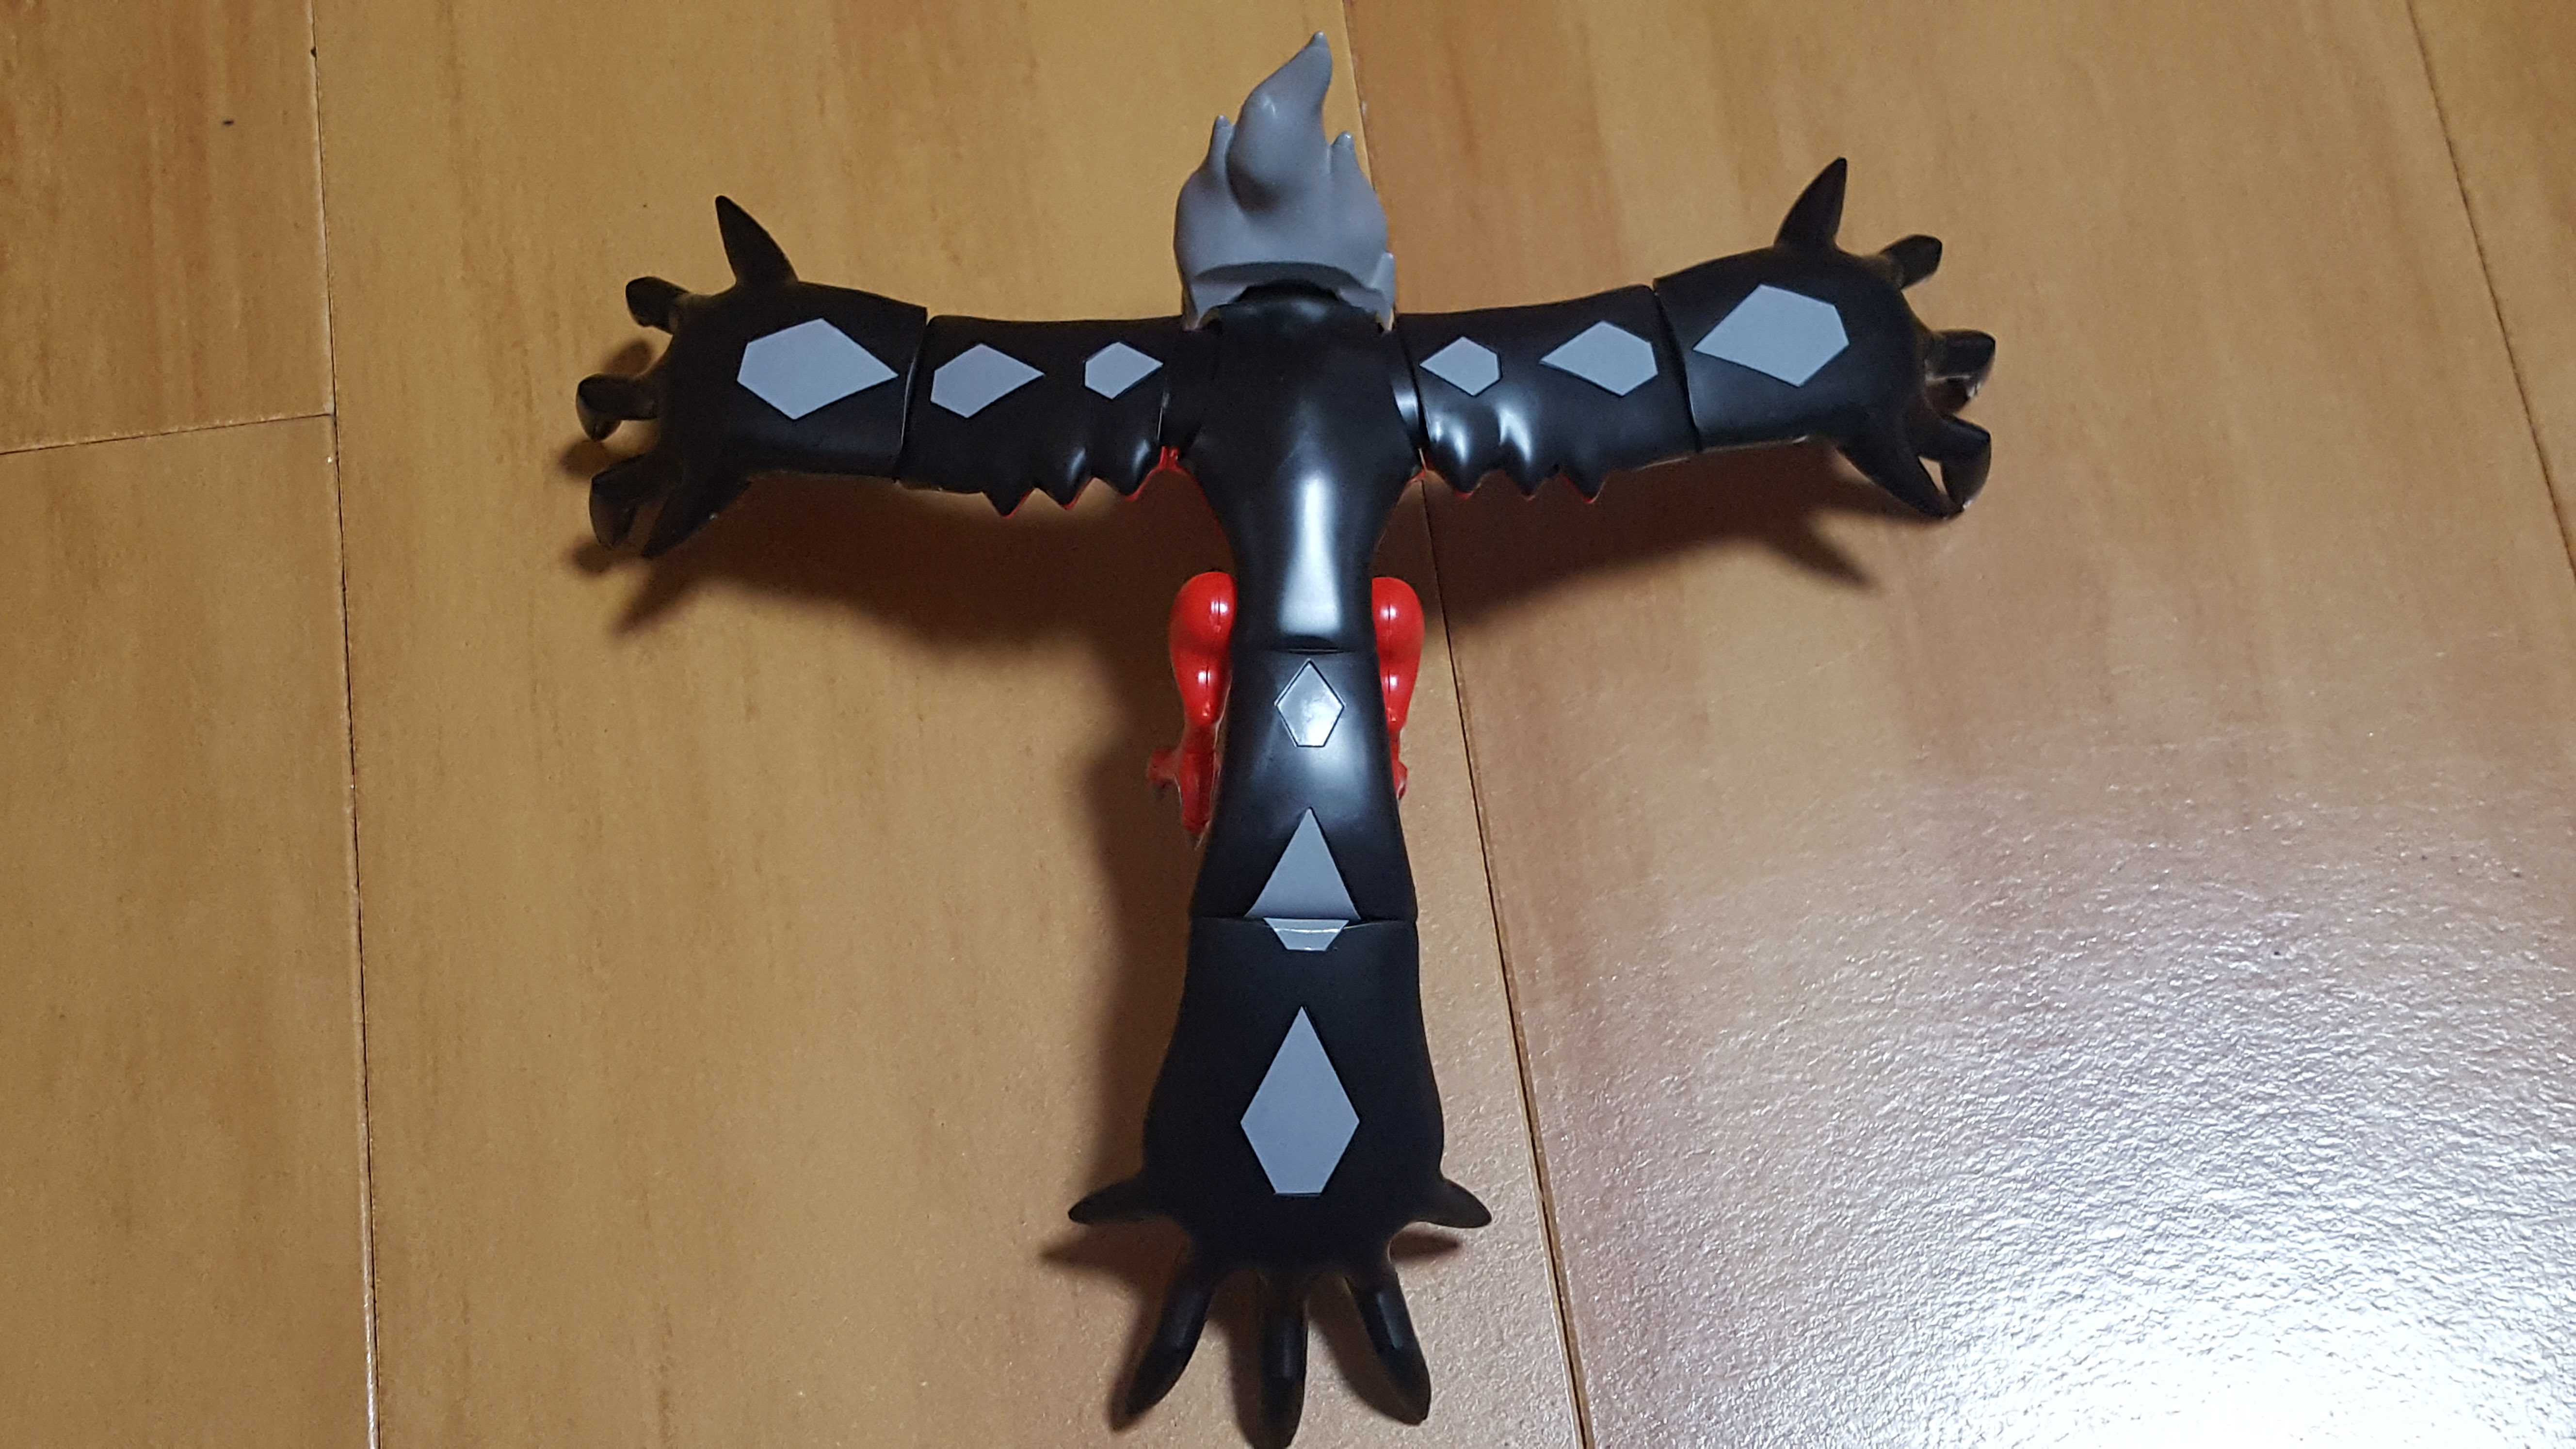
Here’s the kit from the back after these pages are completed.
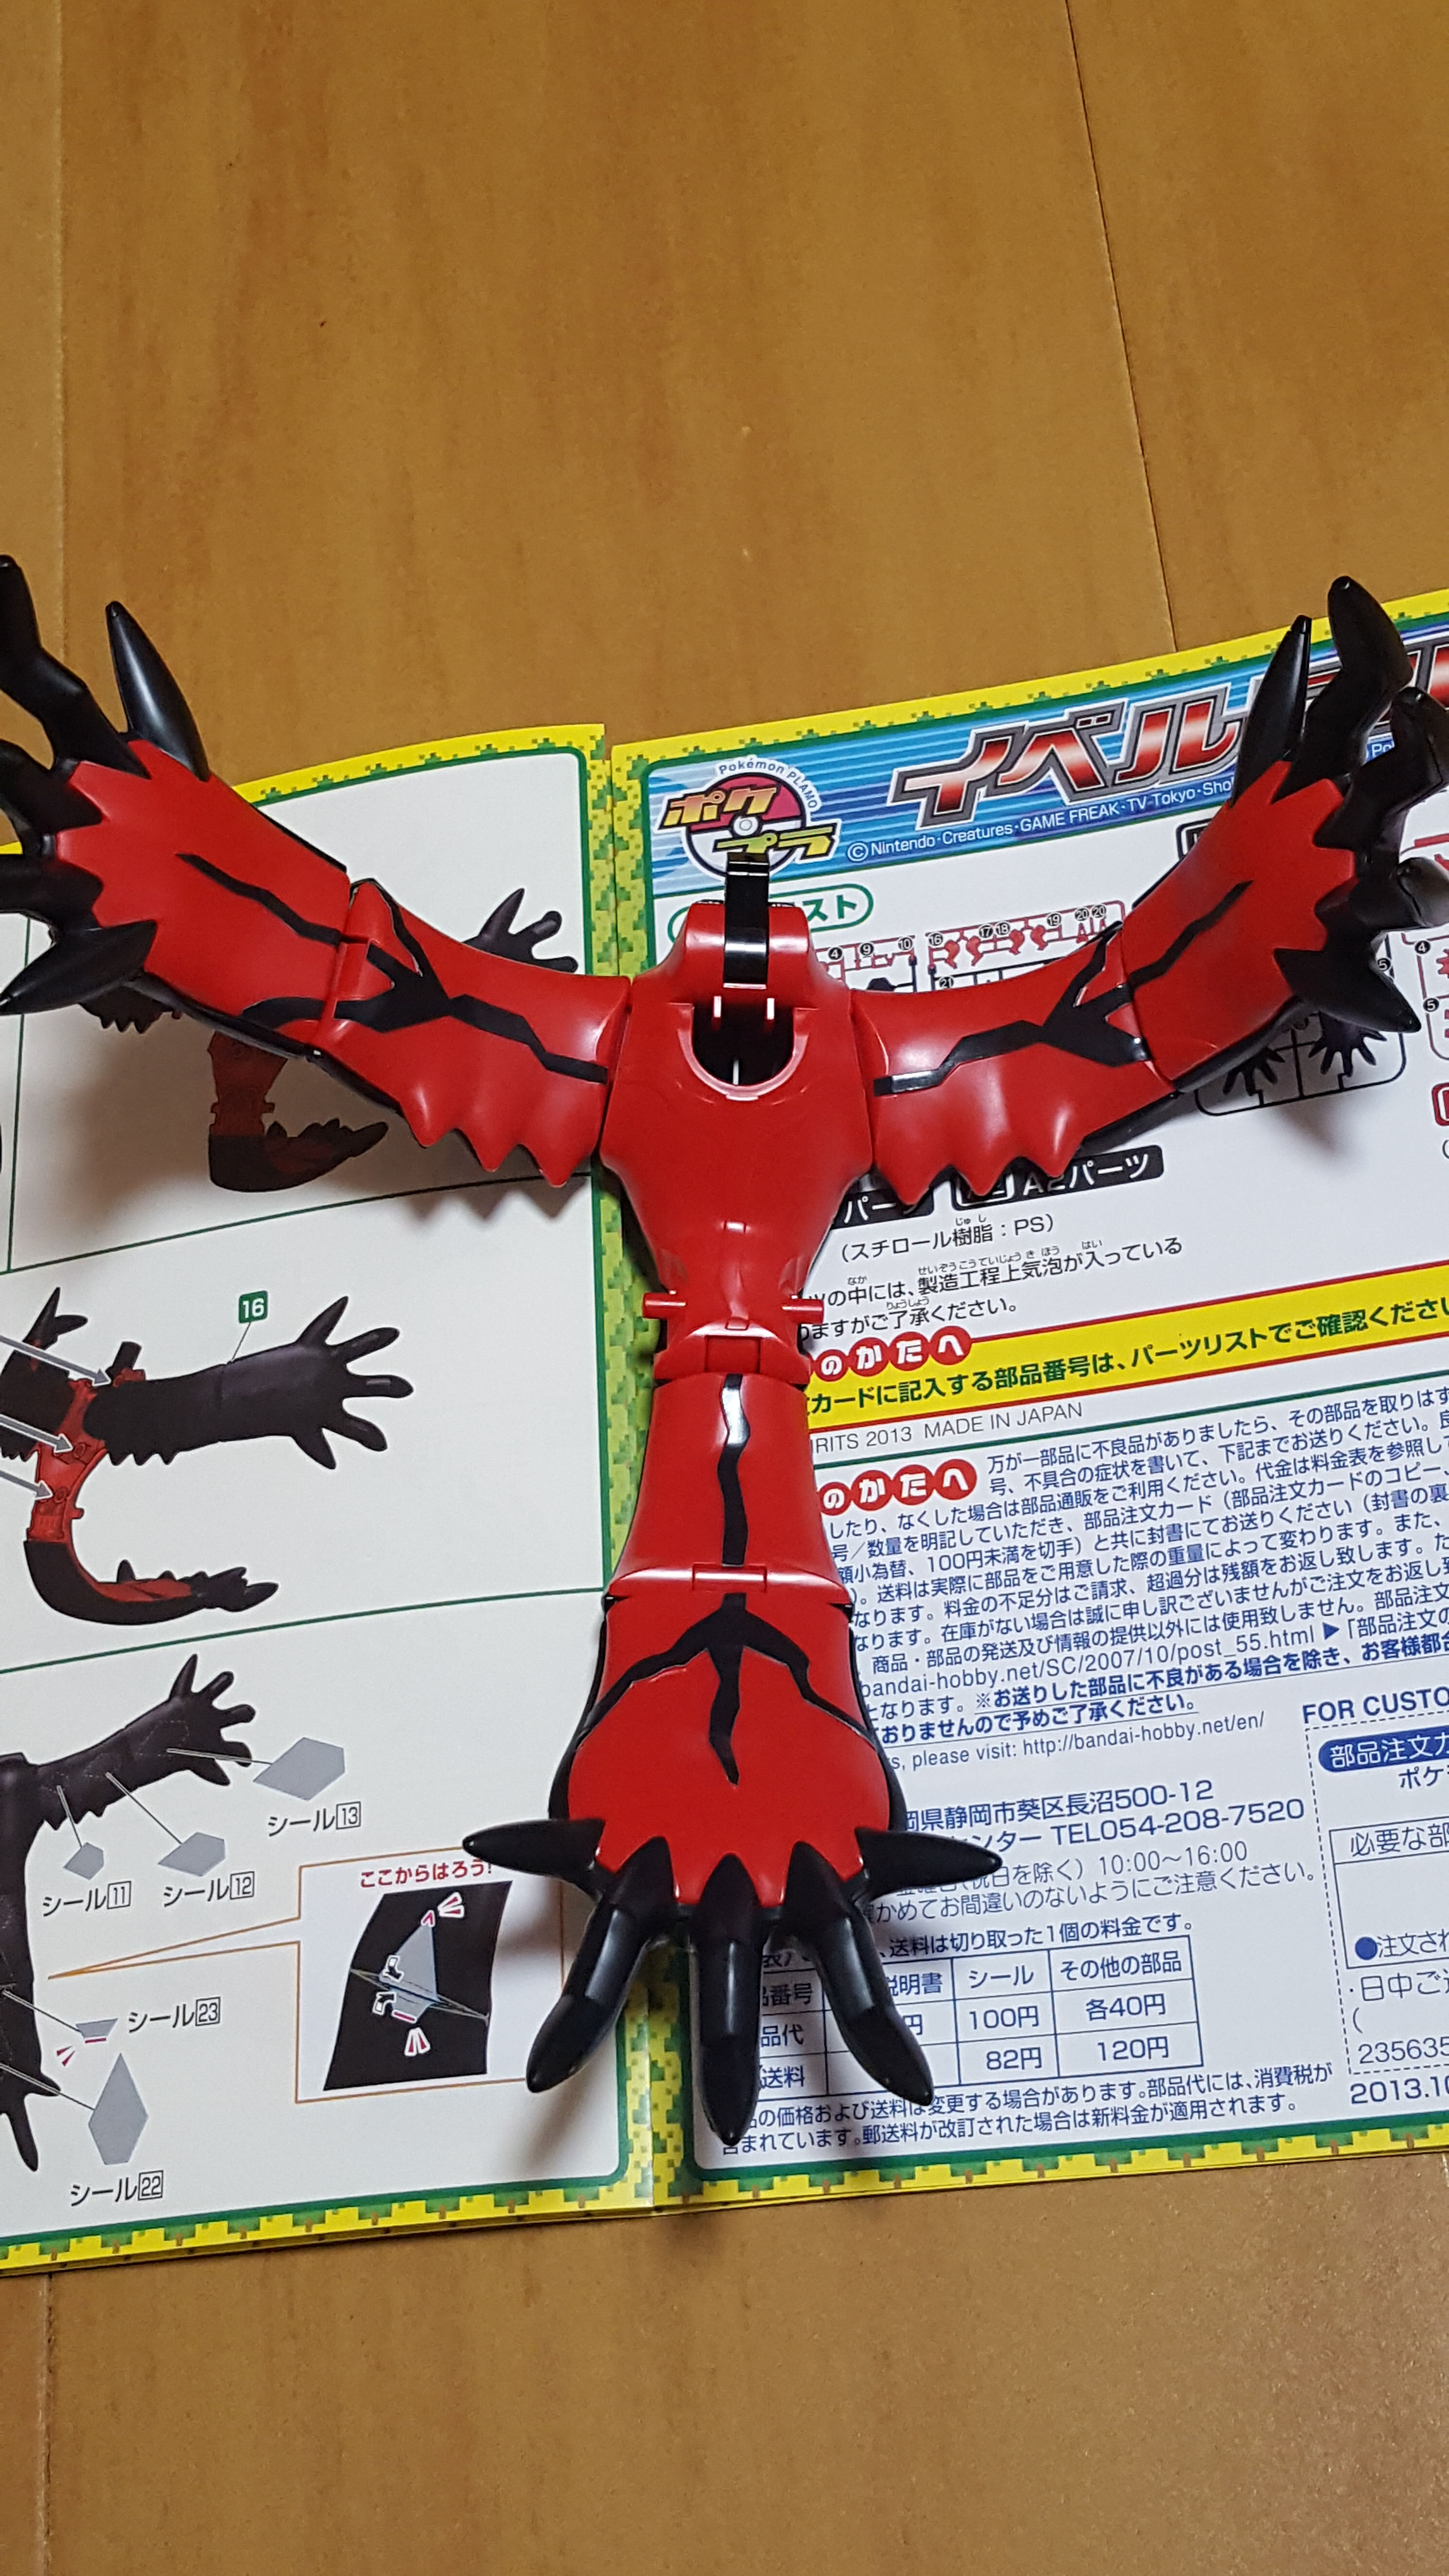
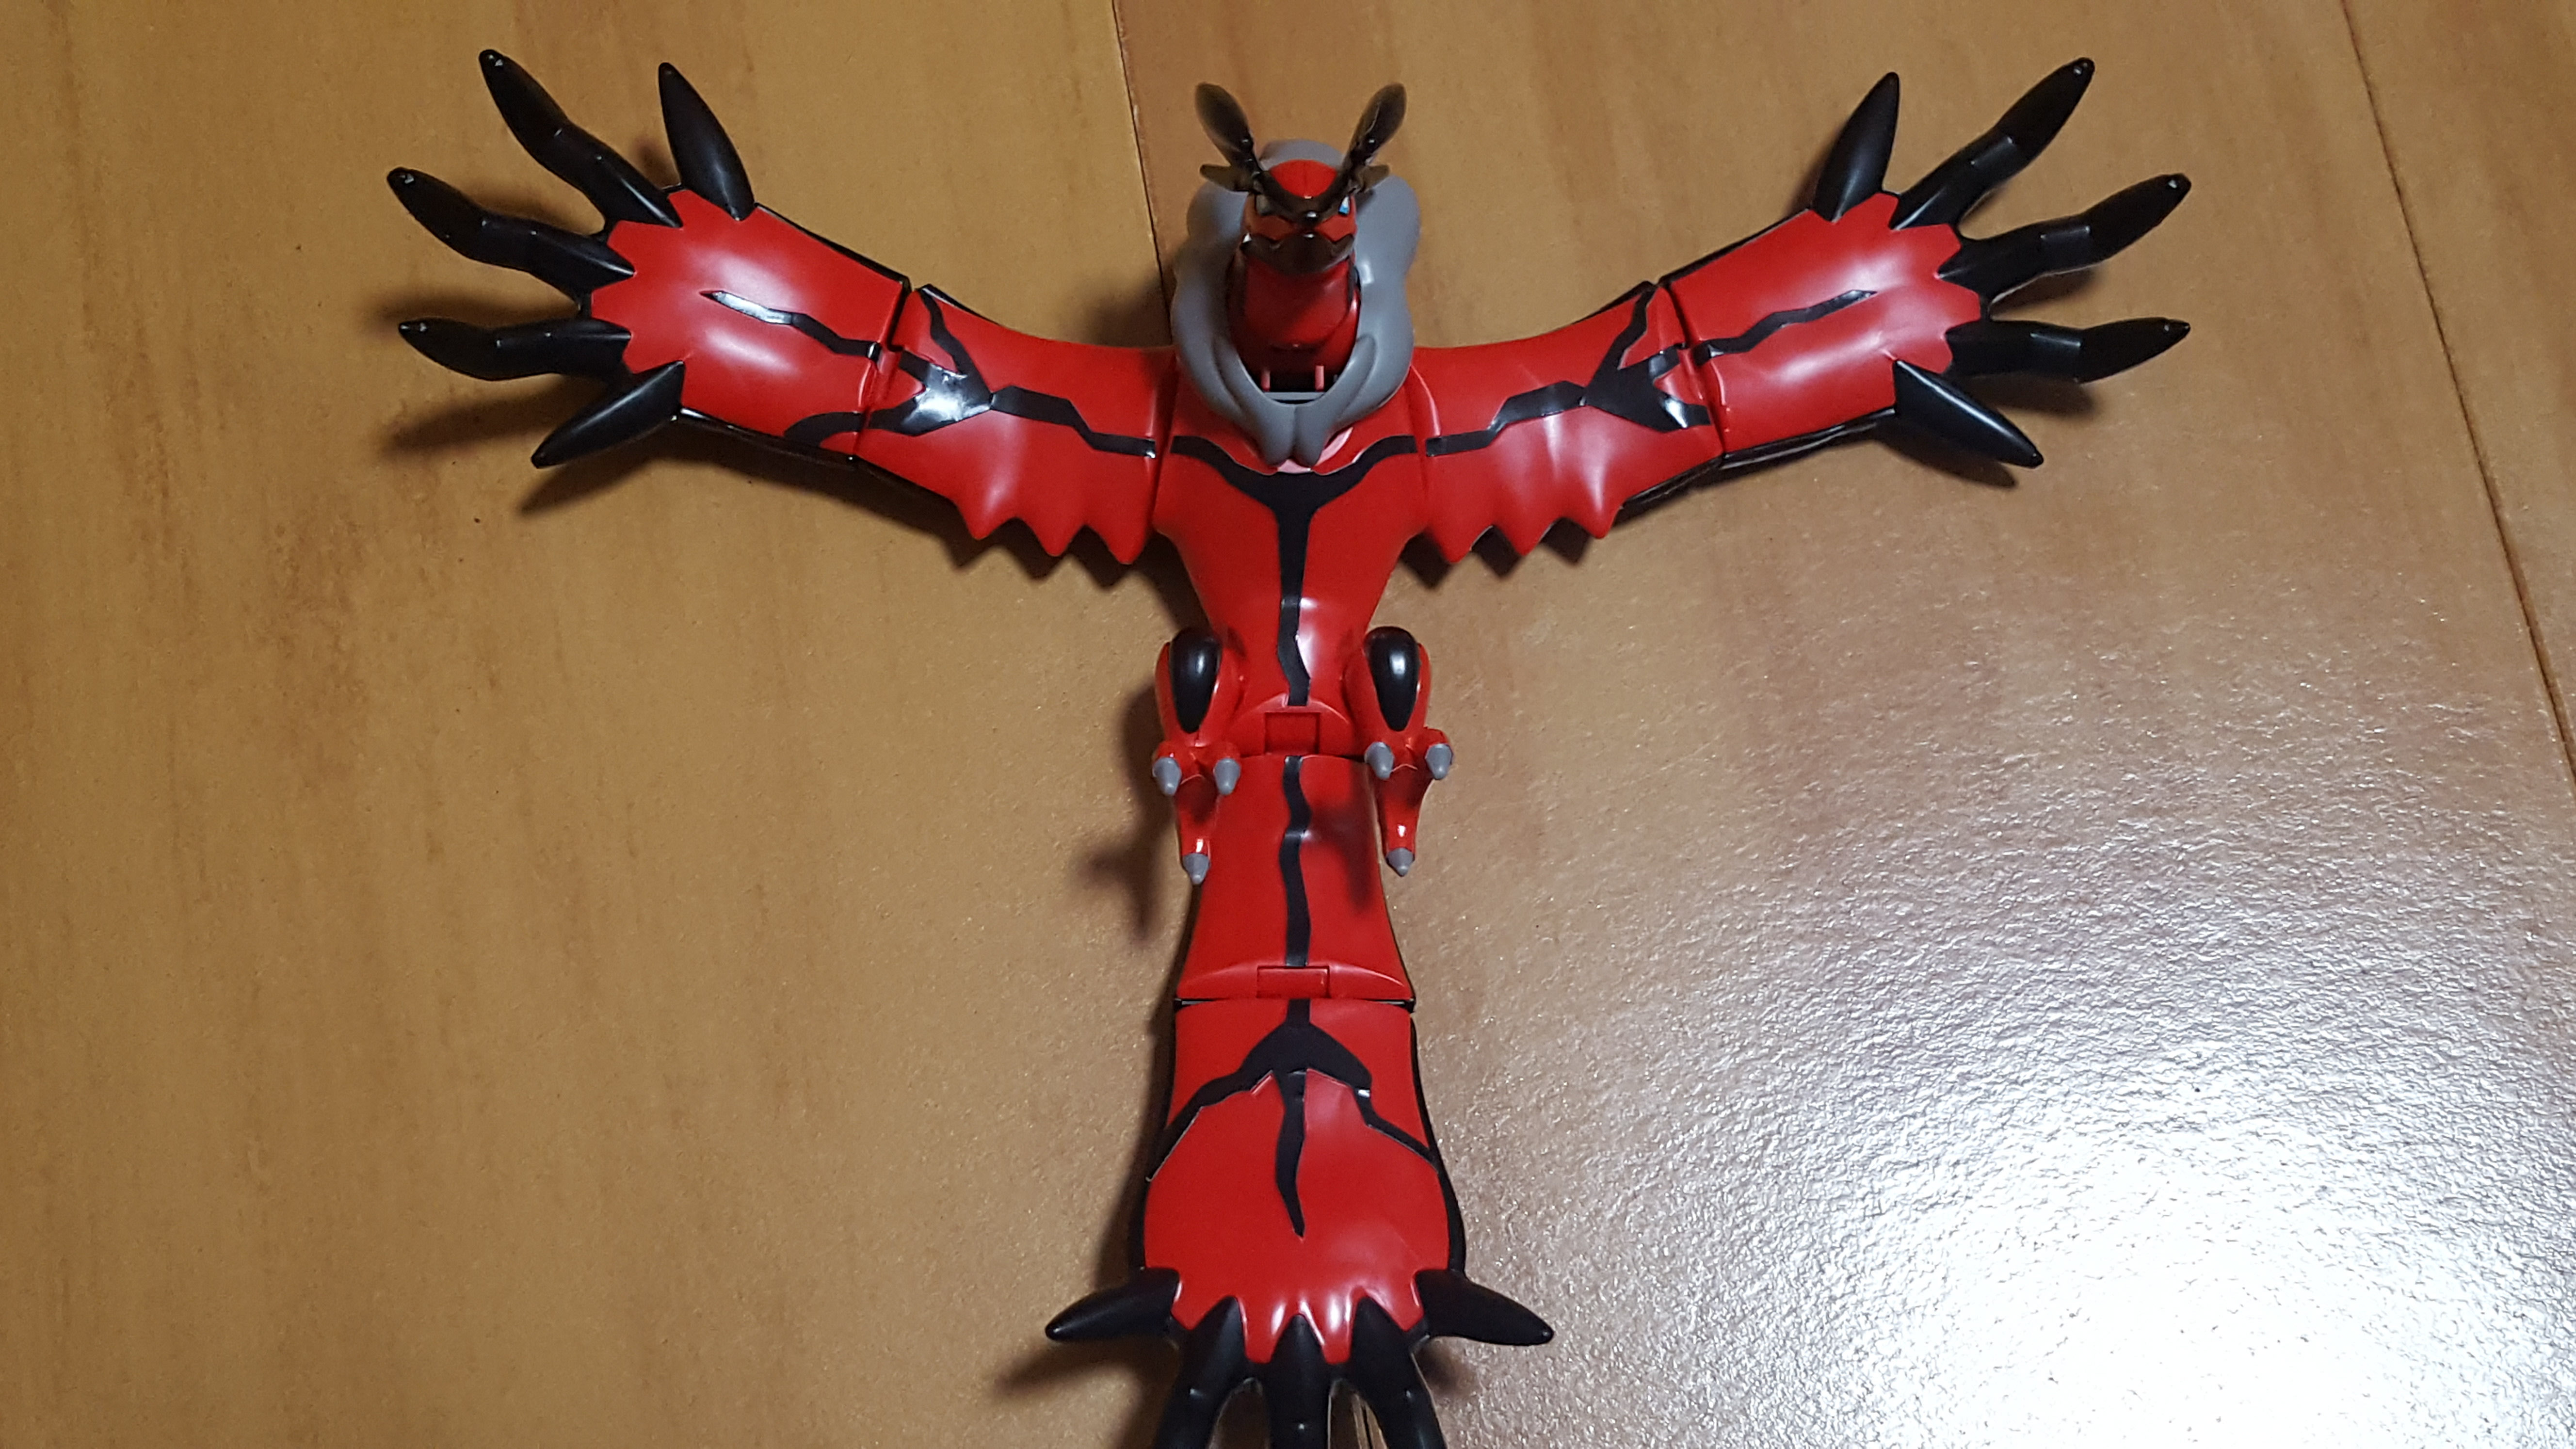
And here it is from the front. I… lost a sticker that was supposed to go on the right wing there. That was entirely my fault. But these stickers still look good, and they line up pretty precisely when the wings and tail are contracted!
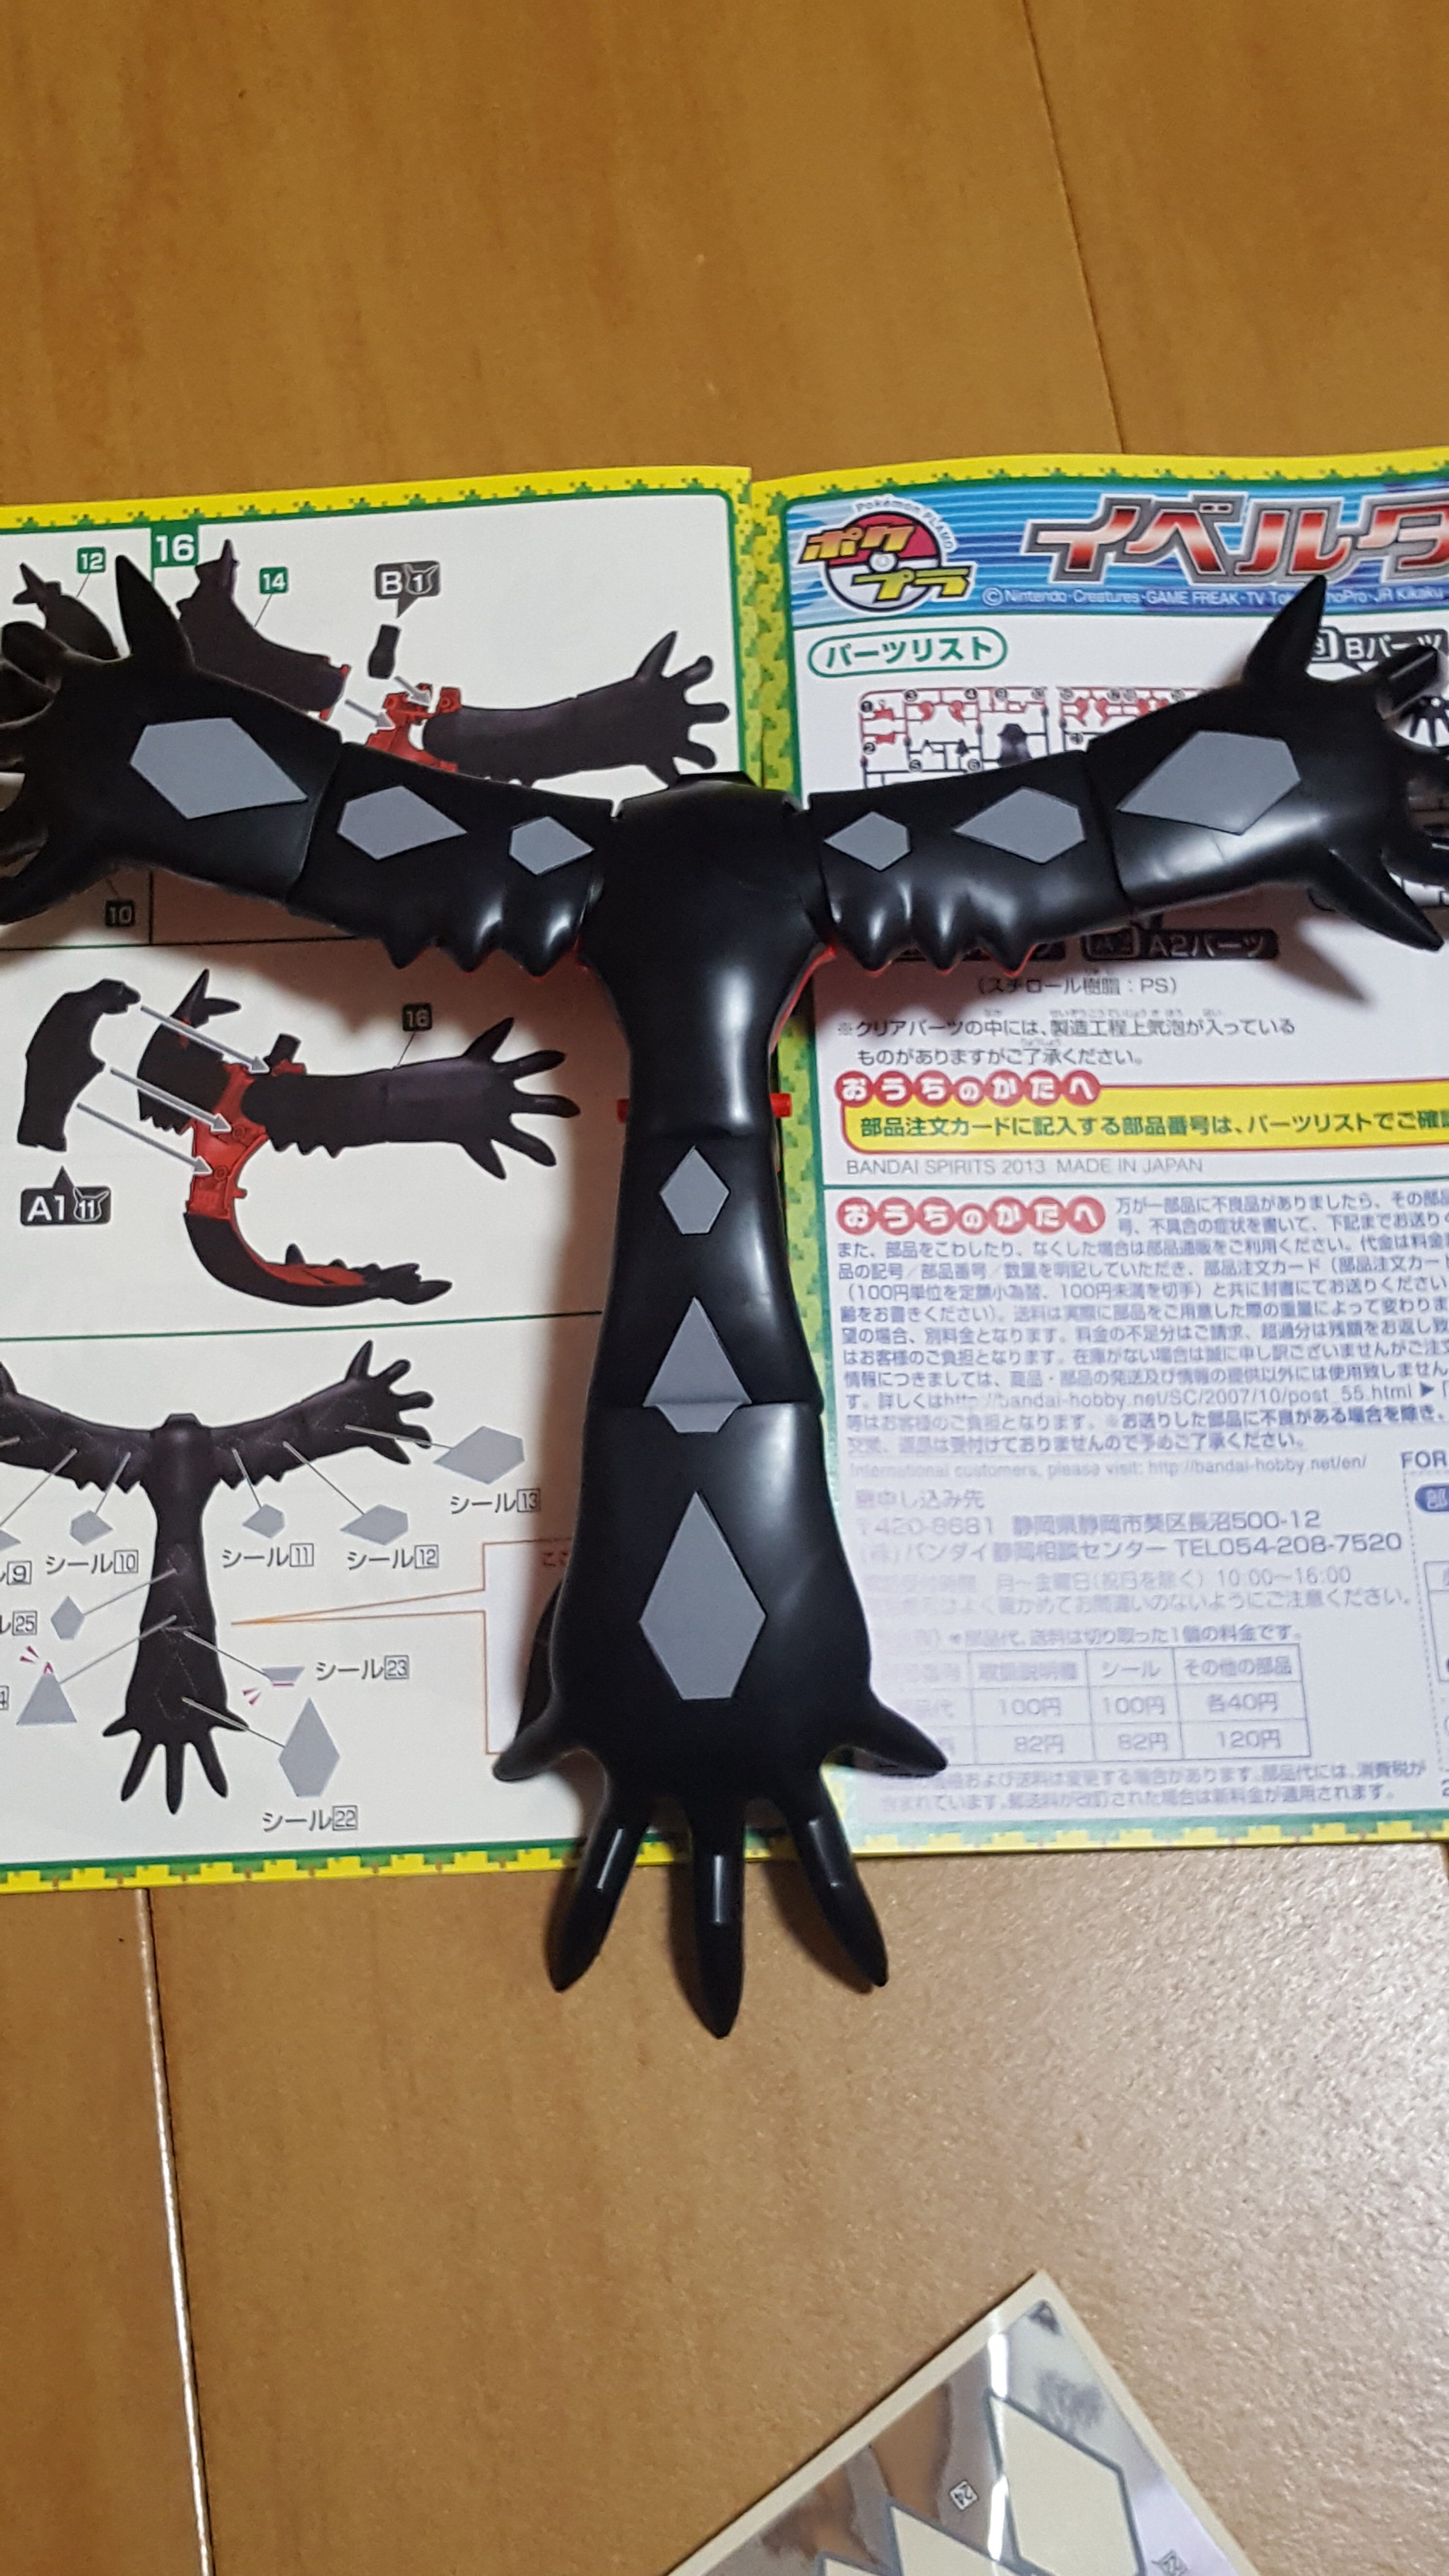
here’s the back again, after adding the grey stickers. Looking good!
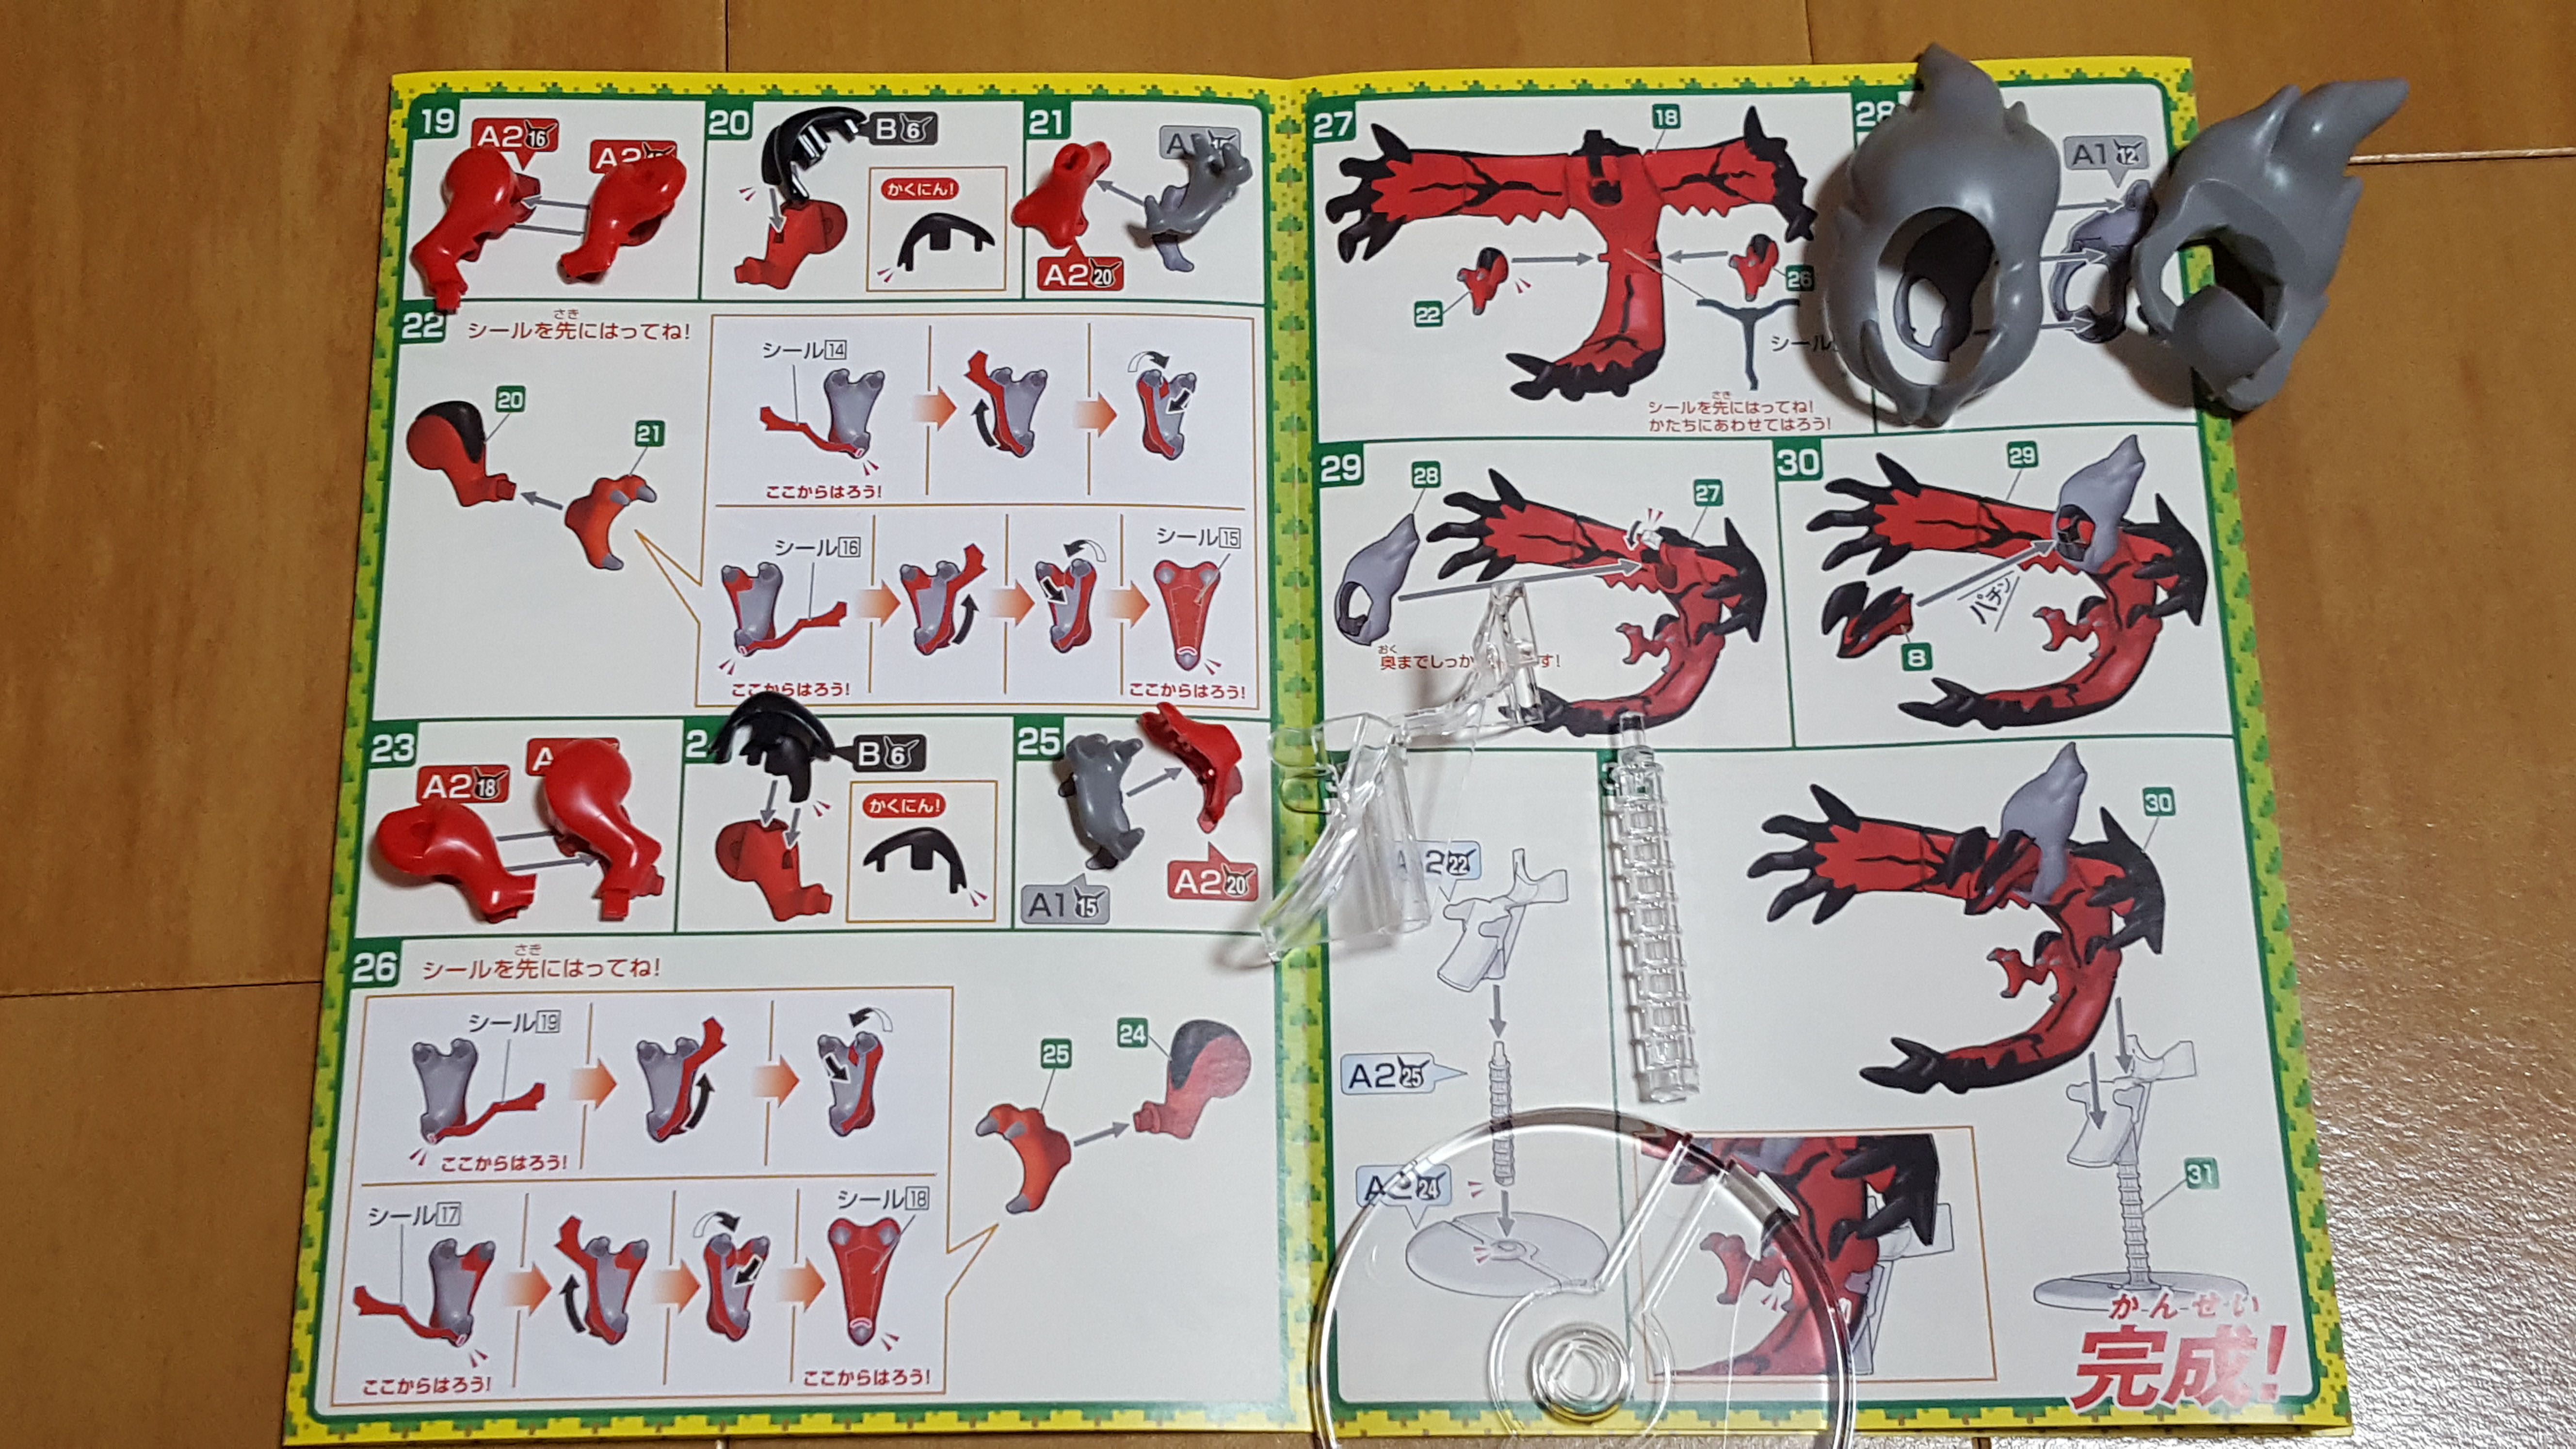
But wait, there’s more! The final assembly steps include the feet and the collar, then of course, the stand. These are all pretty straightforward. The trickiest stickers of the kit, in my opinion, you’ll find here on the feet. You’ll be wrapping a long sticker around the edges of the white plastic, and may need a small tool like a toothpick to press it into the crevices.
The Completed Kit
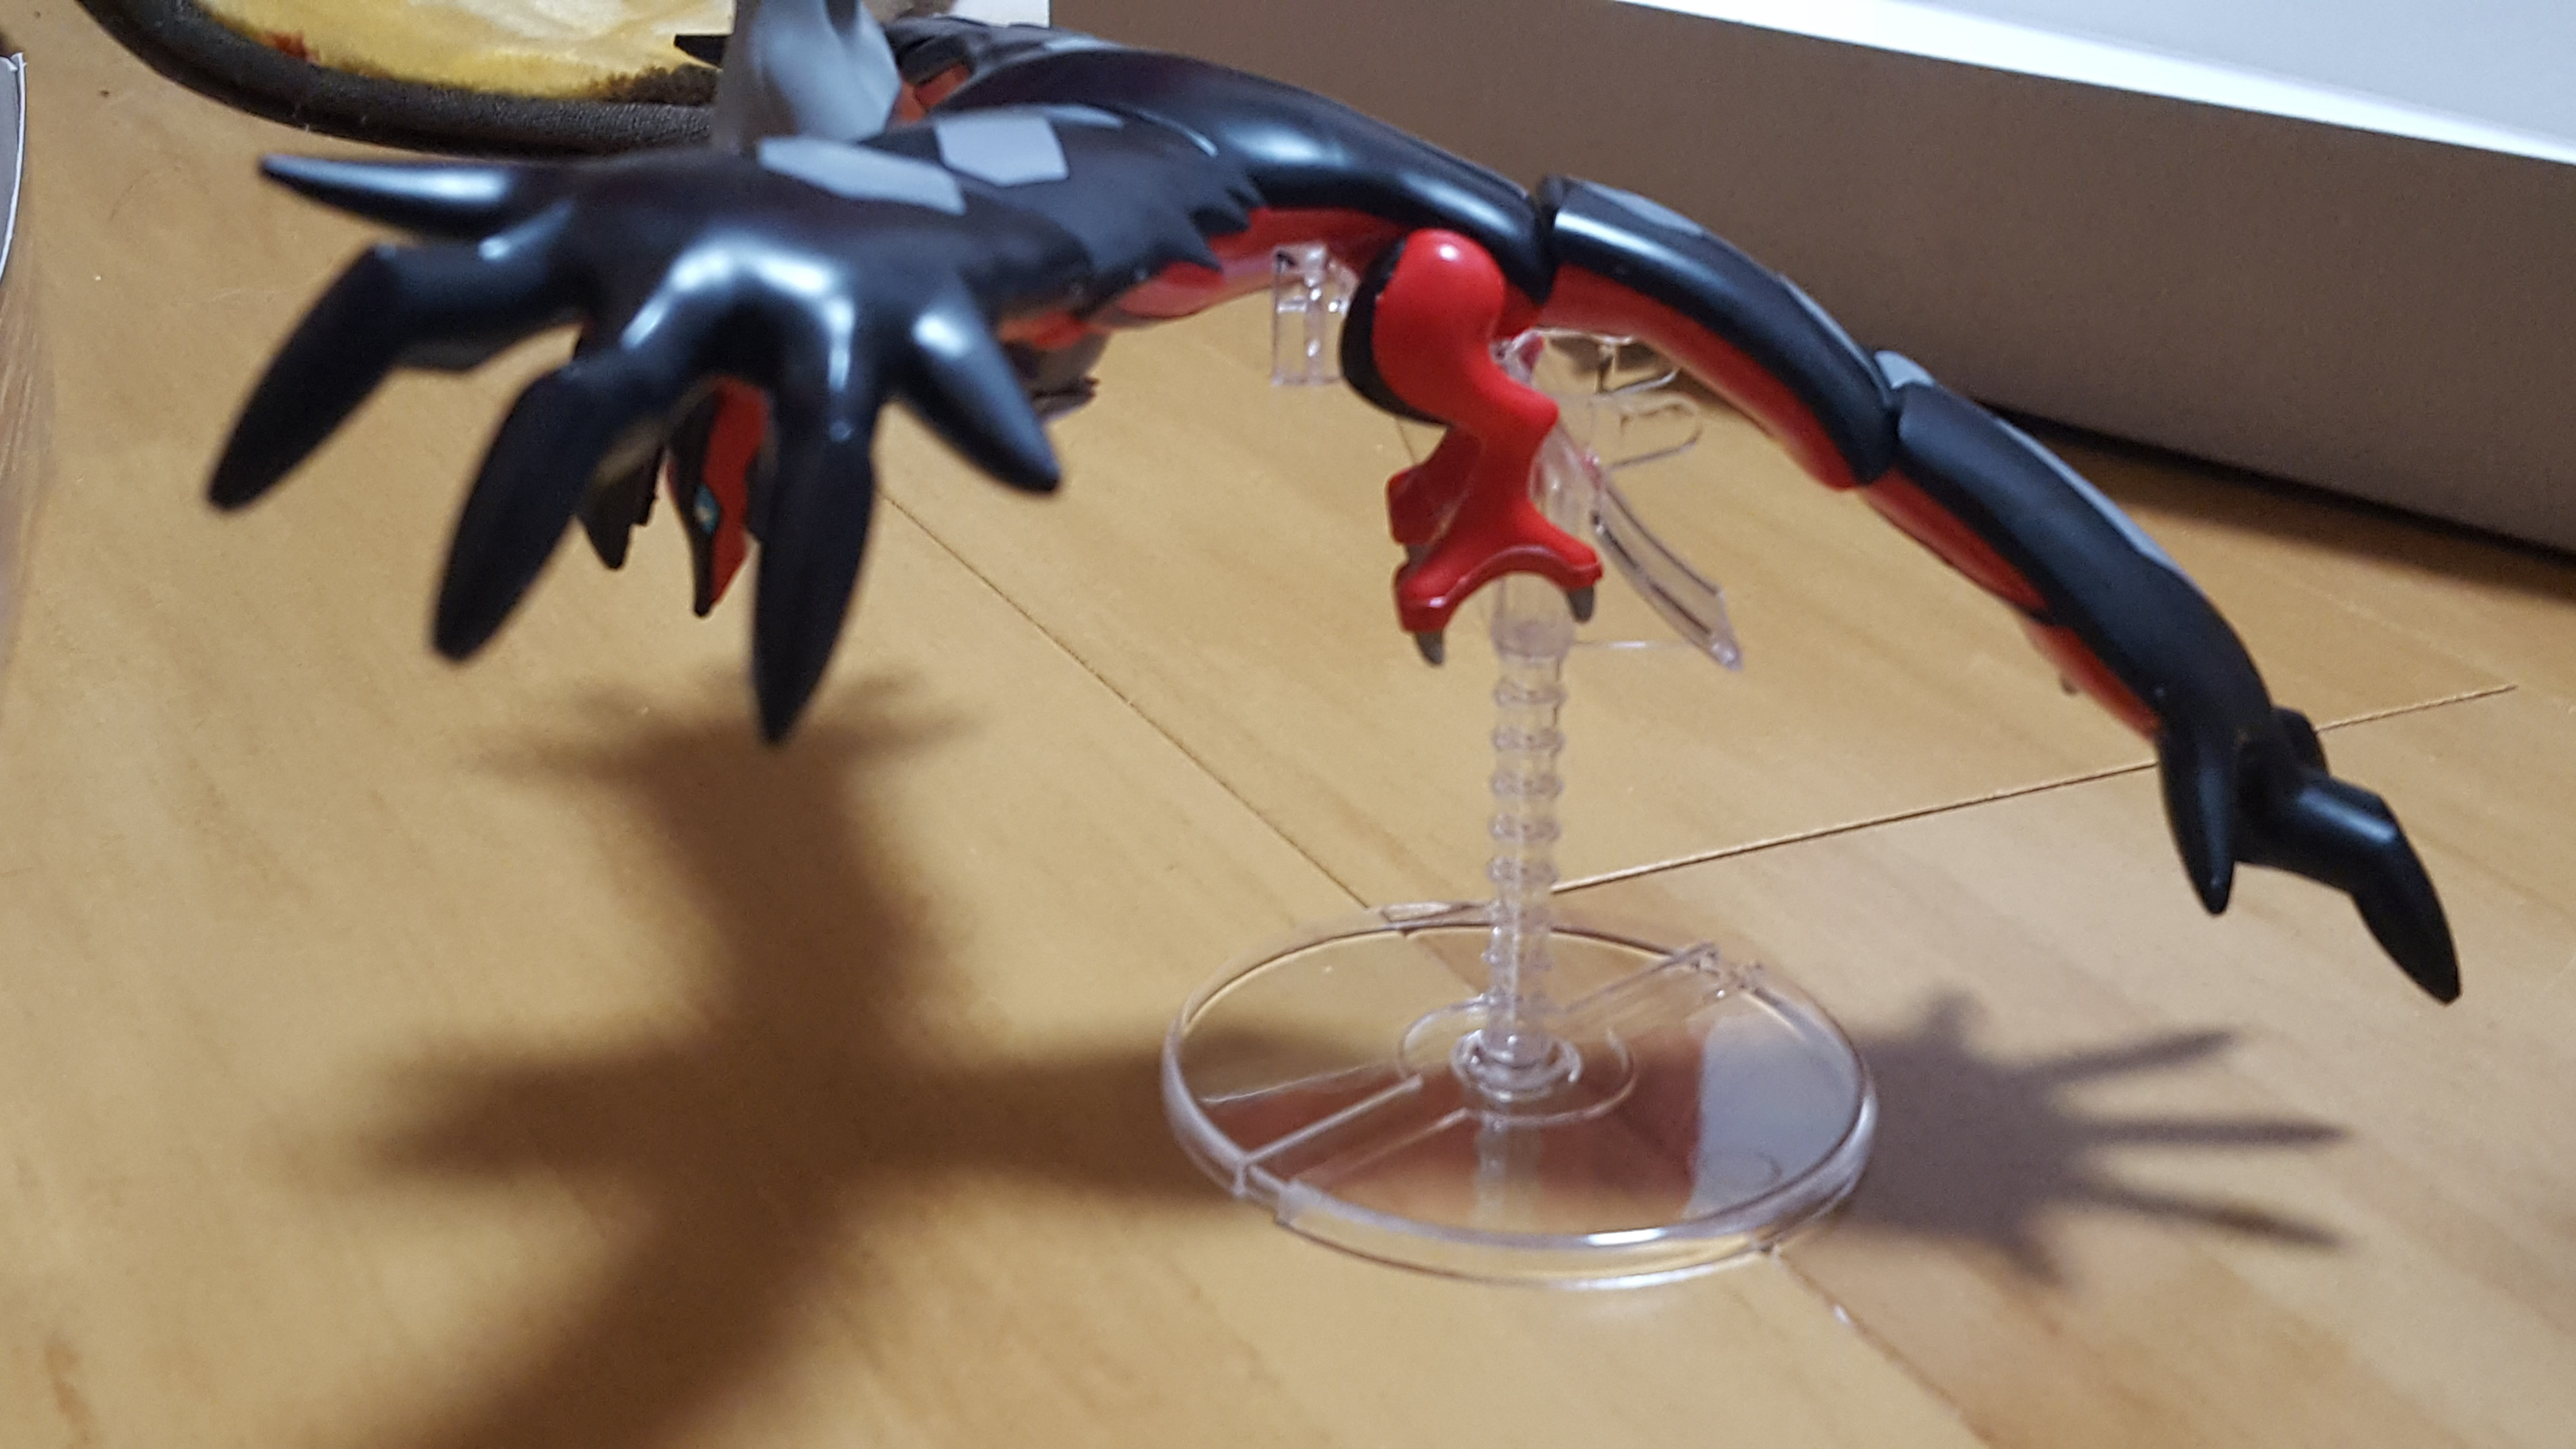
I like this guy, I really do, upon completion, but… something is wonky with the stand. No matter what, when I try to pose him in a stomach-down flight position, the kit is face-to-face with the floor, which doesn’t look like the manual promised. Who would want to display this awesome bird with its nose on the ground?
I double and tripled checked that I had the stand in the right place, and it looks like it to me, but something’s off.
If this is just me and there’s a way to show him off the right way, please, let me know!
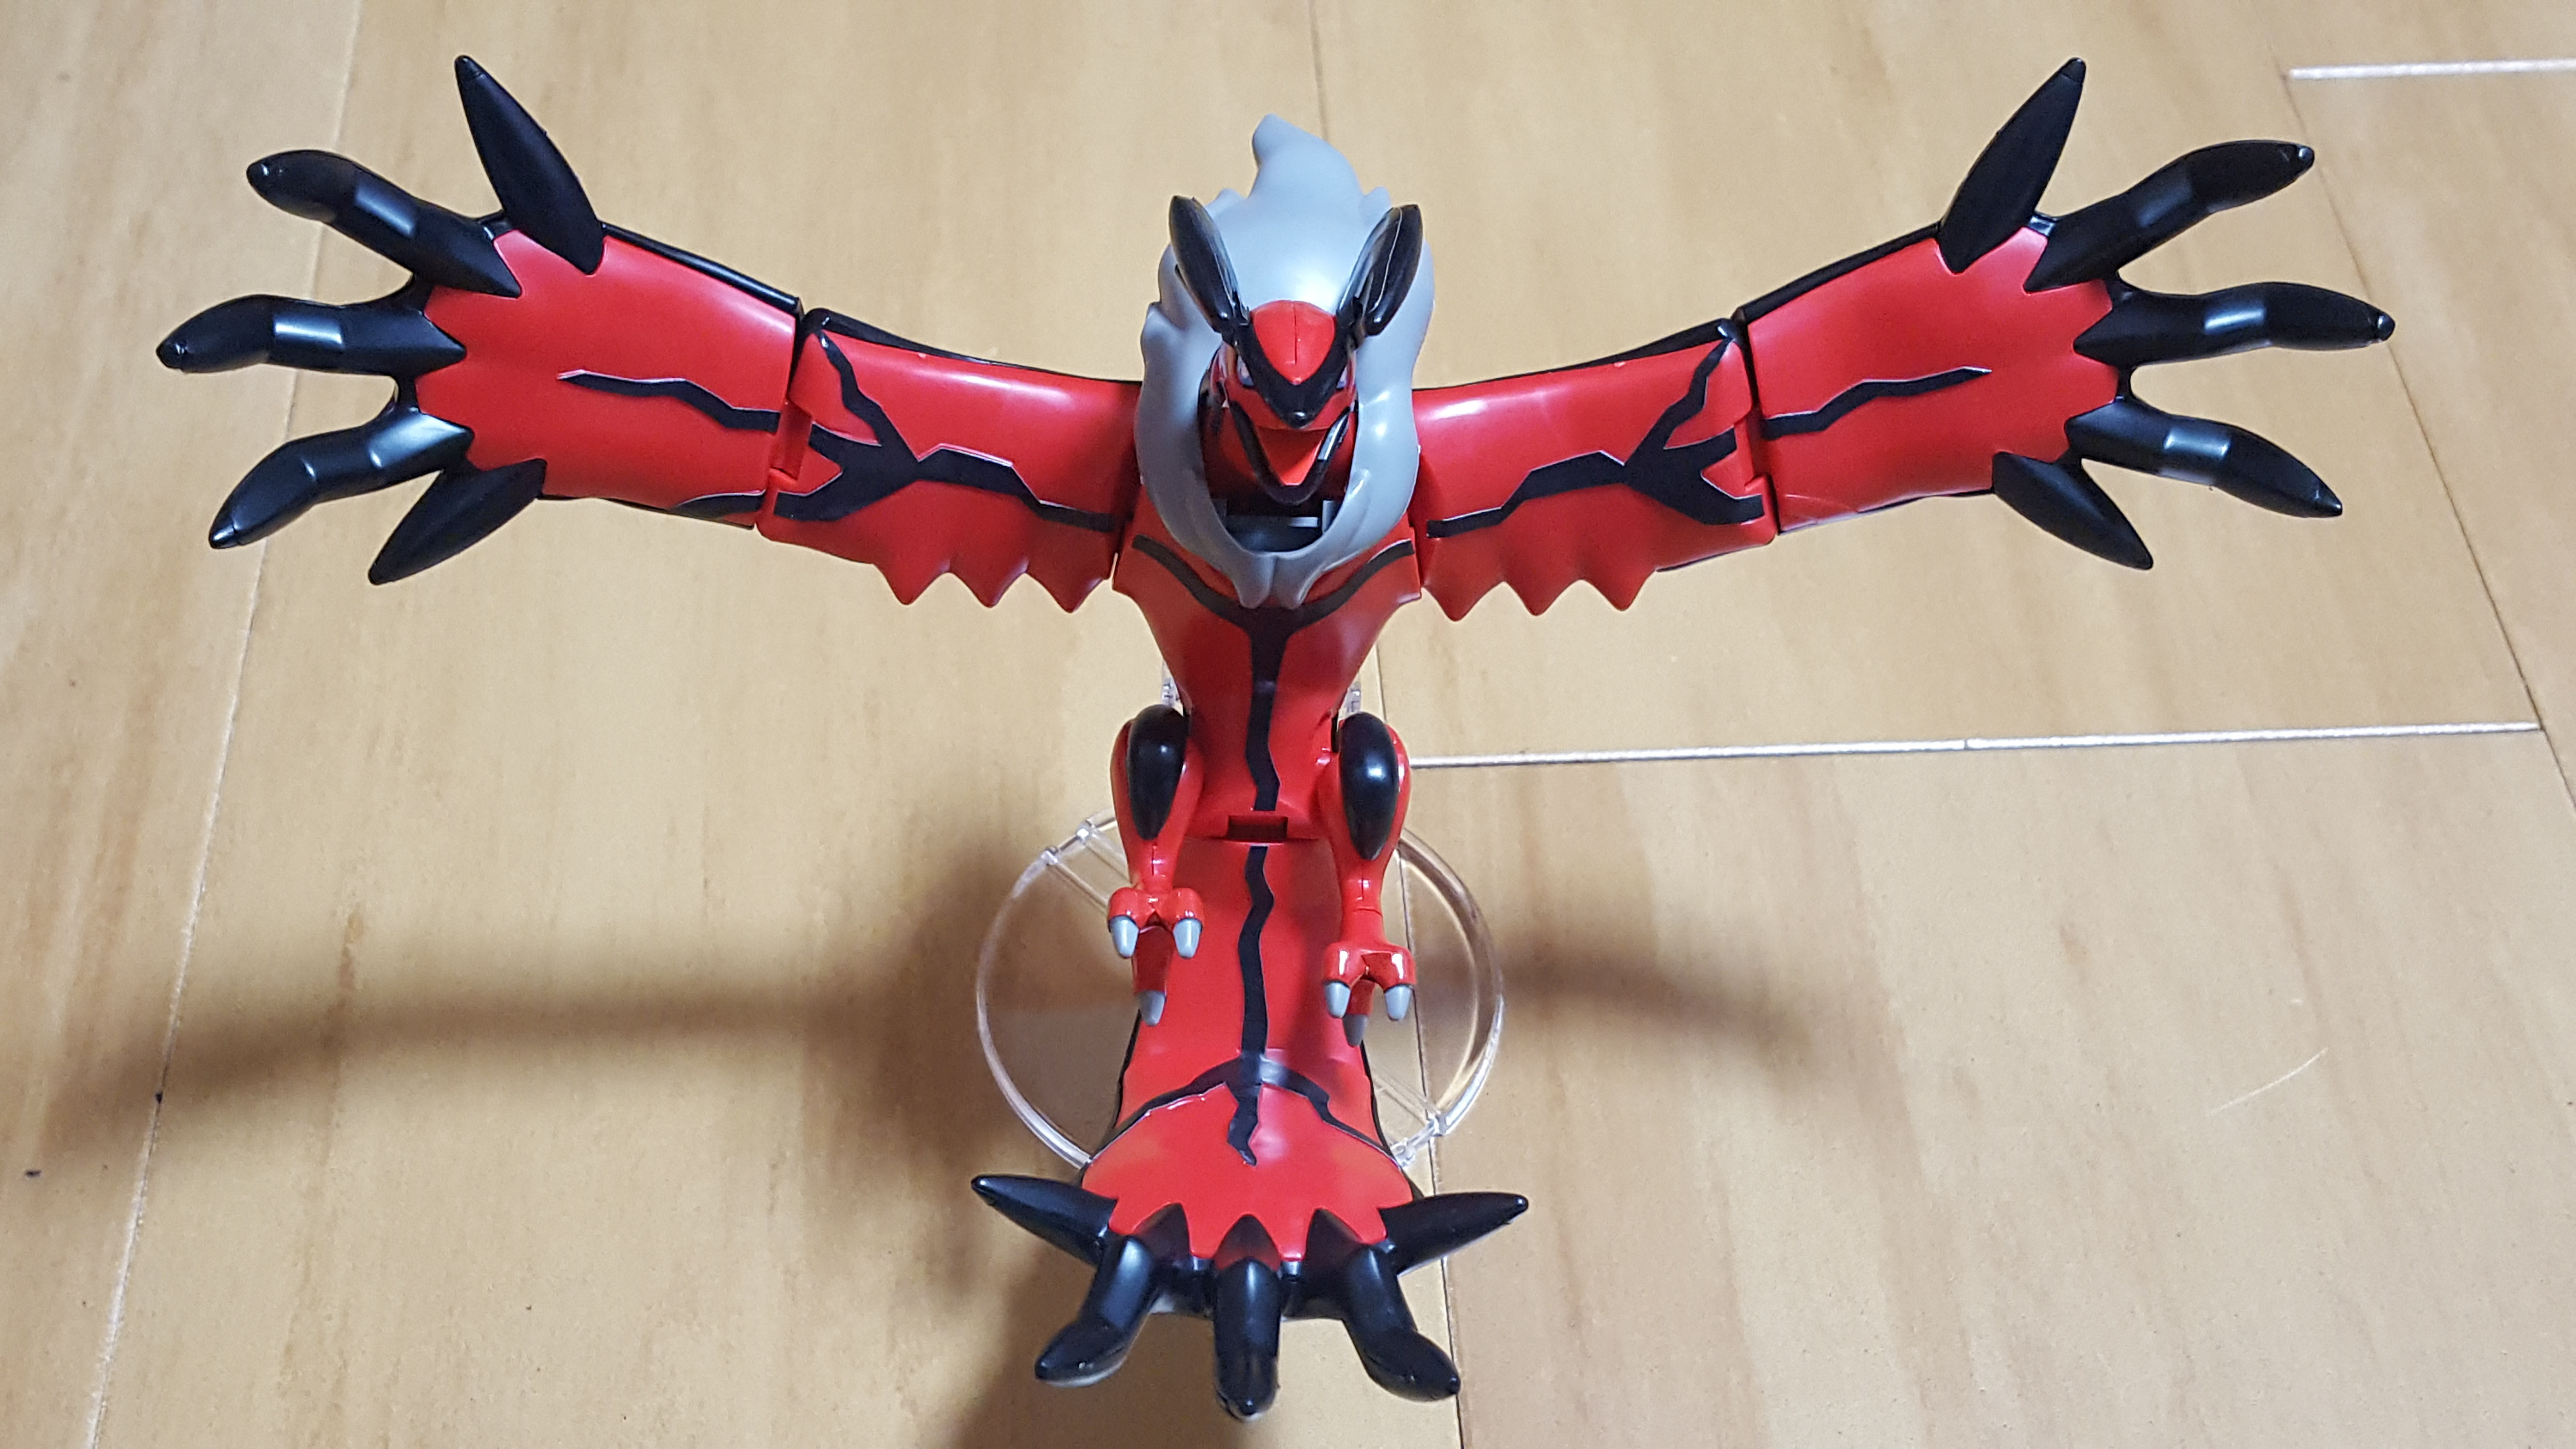
On the other hand, the stomach-up pose on the stand looks pretty good! It takes a little finesse to position him so he doesn’t slide right off, but it’s not bad at all.
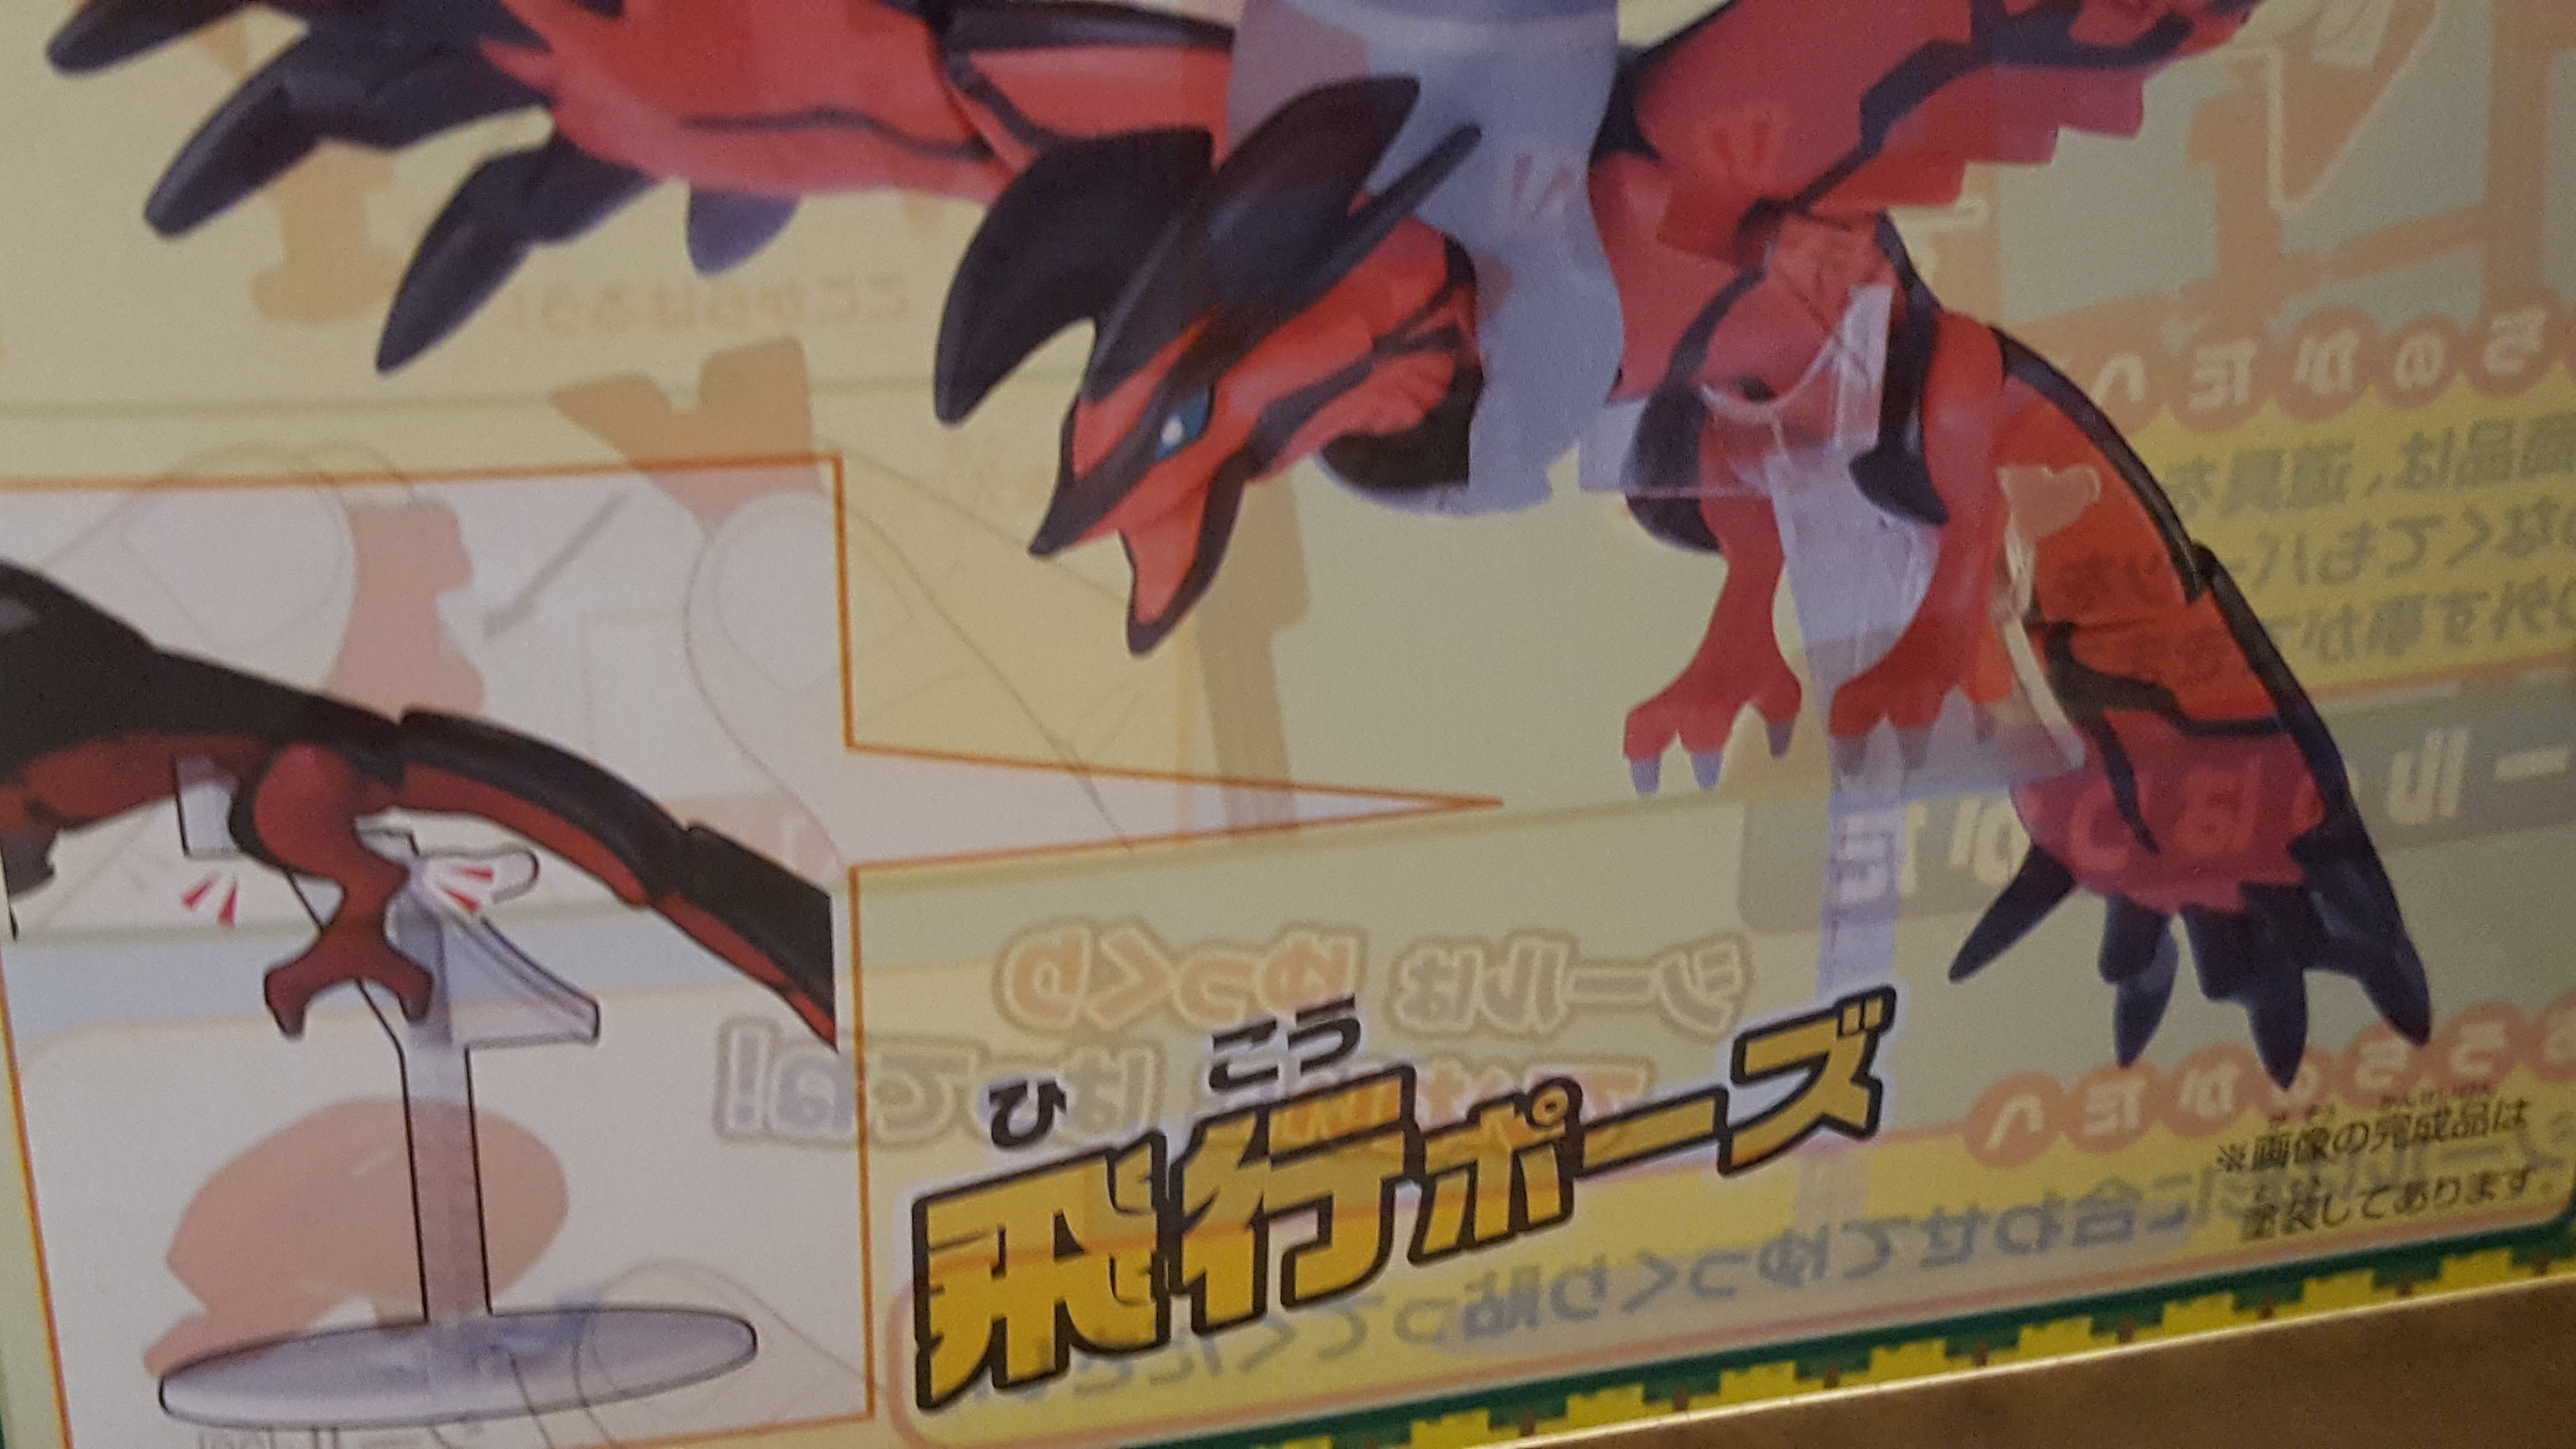
Here are some more shots of my legendary birb on its stand, looking glorious.
And finally, here’s what he looks like with the jaw closed and wings and tail pushed open.
…and one more from the back.
Aside from the awkward stand, I really like this build! The stickers really do look nice for stickers, and the assembly was really for how much articulation he has.
Pick one up for yourself here:
– Pocket Monster Plamo Yveltal


FELIPE ACUNA
this one sure looks great, even if i dont like stickers that much
Anna
The stickers can be frustrating, but they look pretty good on this one!