Hey, everyone!
My name is Enrico Arezo, I’m a Gunpla modeler from Uruguay, and this is my first time posting on hobbylink.tv.
In this series of articles we’re going to build the HGUC Galbaldy Beta, a 1/144 scale kit of a mobile suit from Zeta Gundam, one of my favorite anime in the franchise, along with the original Mobile Suit Gundam from 1979. This kit was released in 2017, and the first time I saw pictures of it, I fell in love with the design. I used to look at this MS as just one mass-produced unit of the bunch, but this High Grade rendition changed my mind.
Before starting, I feel I need to clarify that this is not a review of the kit. In this series, the assembled model kit is not the end product, but just a starting point in the process. We will be doing actual modeling work, not just following the instruction manual. The goal here is to show techniques that can help you improve your Gunpla, as well as encourage you to walk the extra mile when building a kit. Without further ado, let’s start!
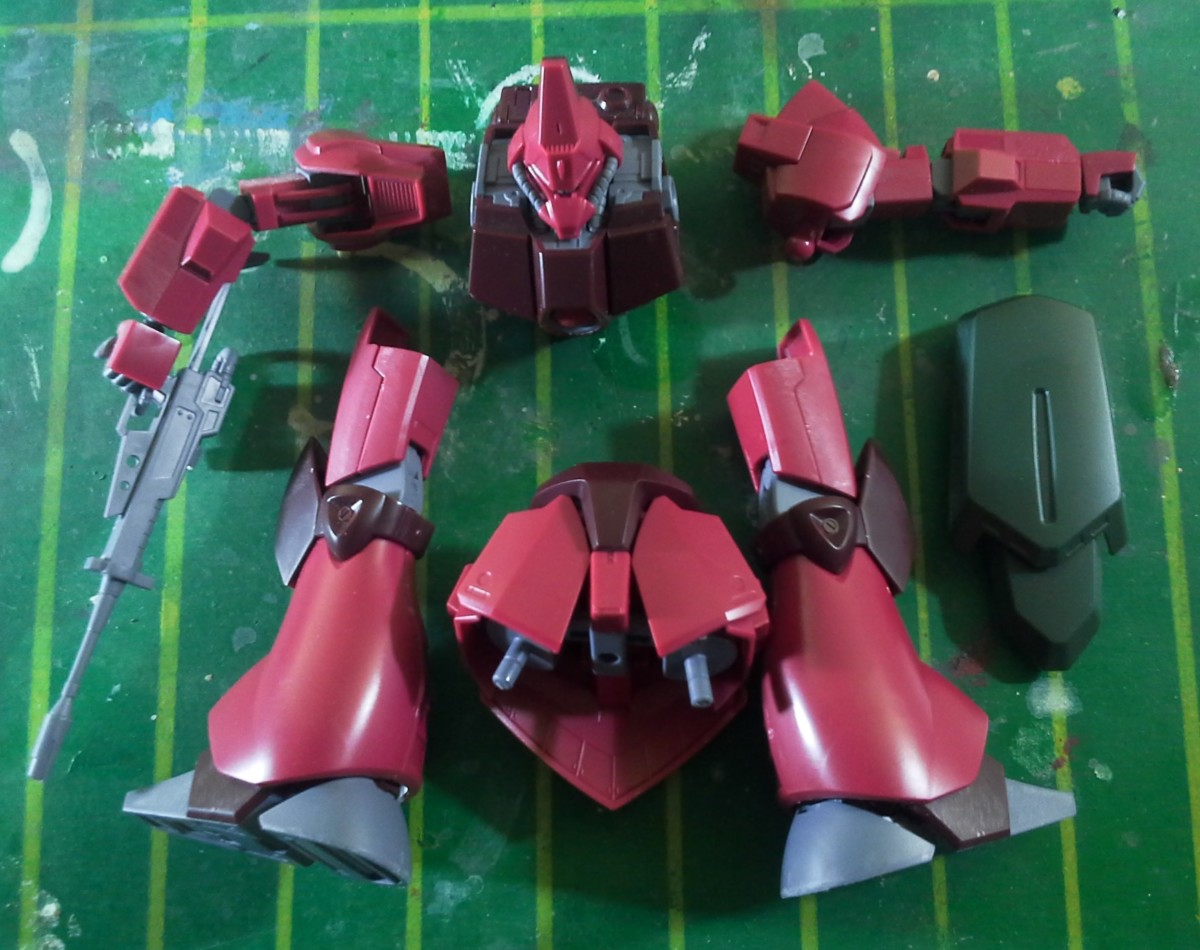
The kit straight out of the box
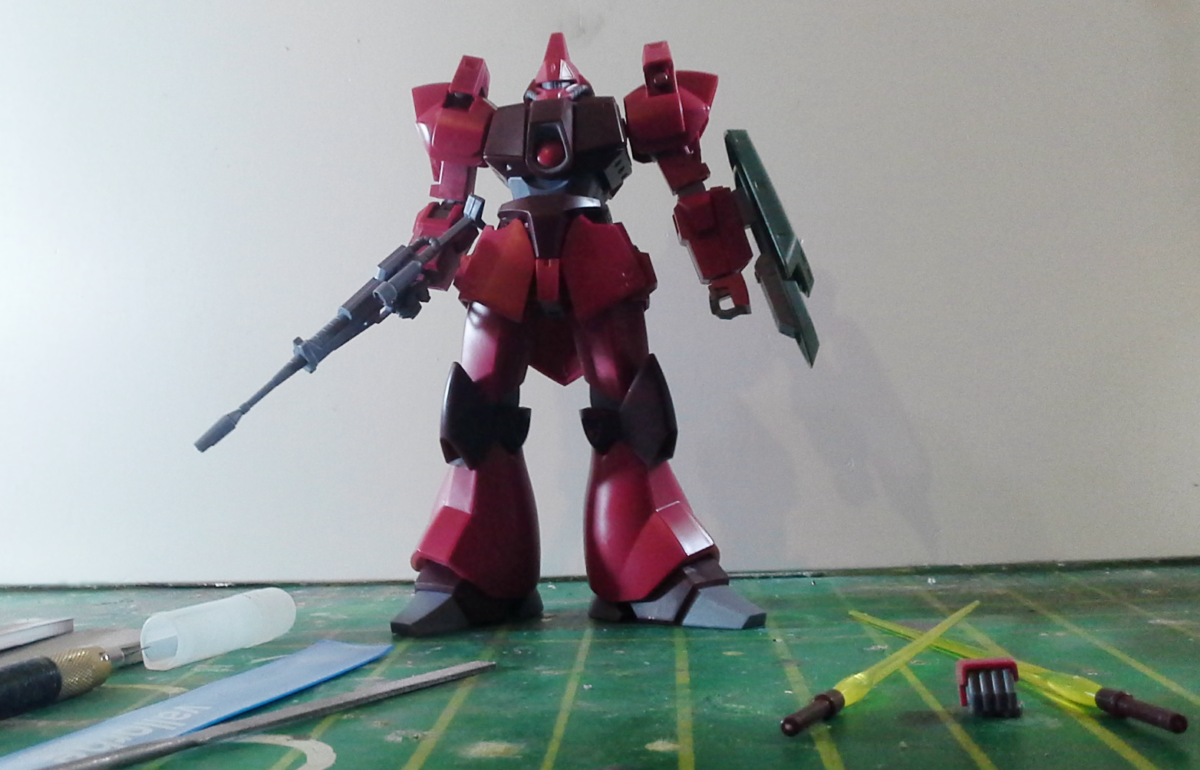
The build was fairly straightforward, like with most recent High Grade kits. Assembling it took me a couple of hours (including nub removal), and as there’re no highly repetitive steps in the process, building this kit was quite enjoyable.
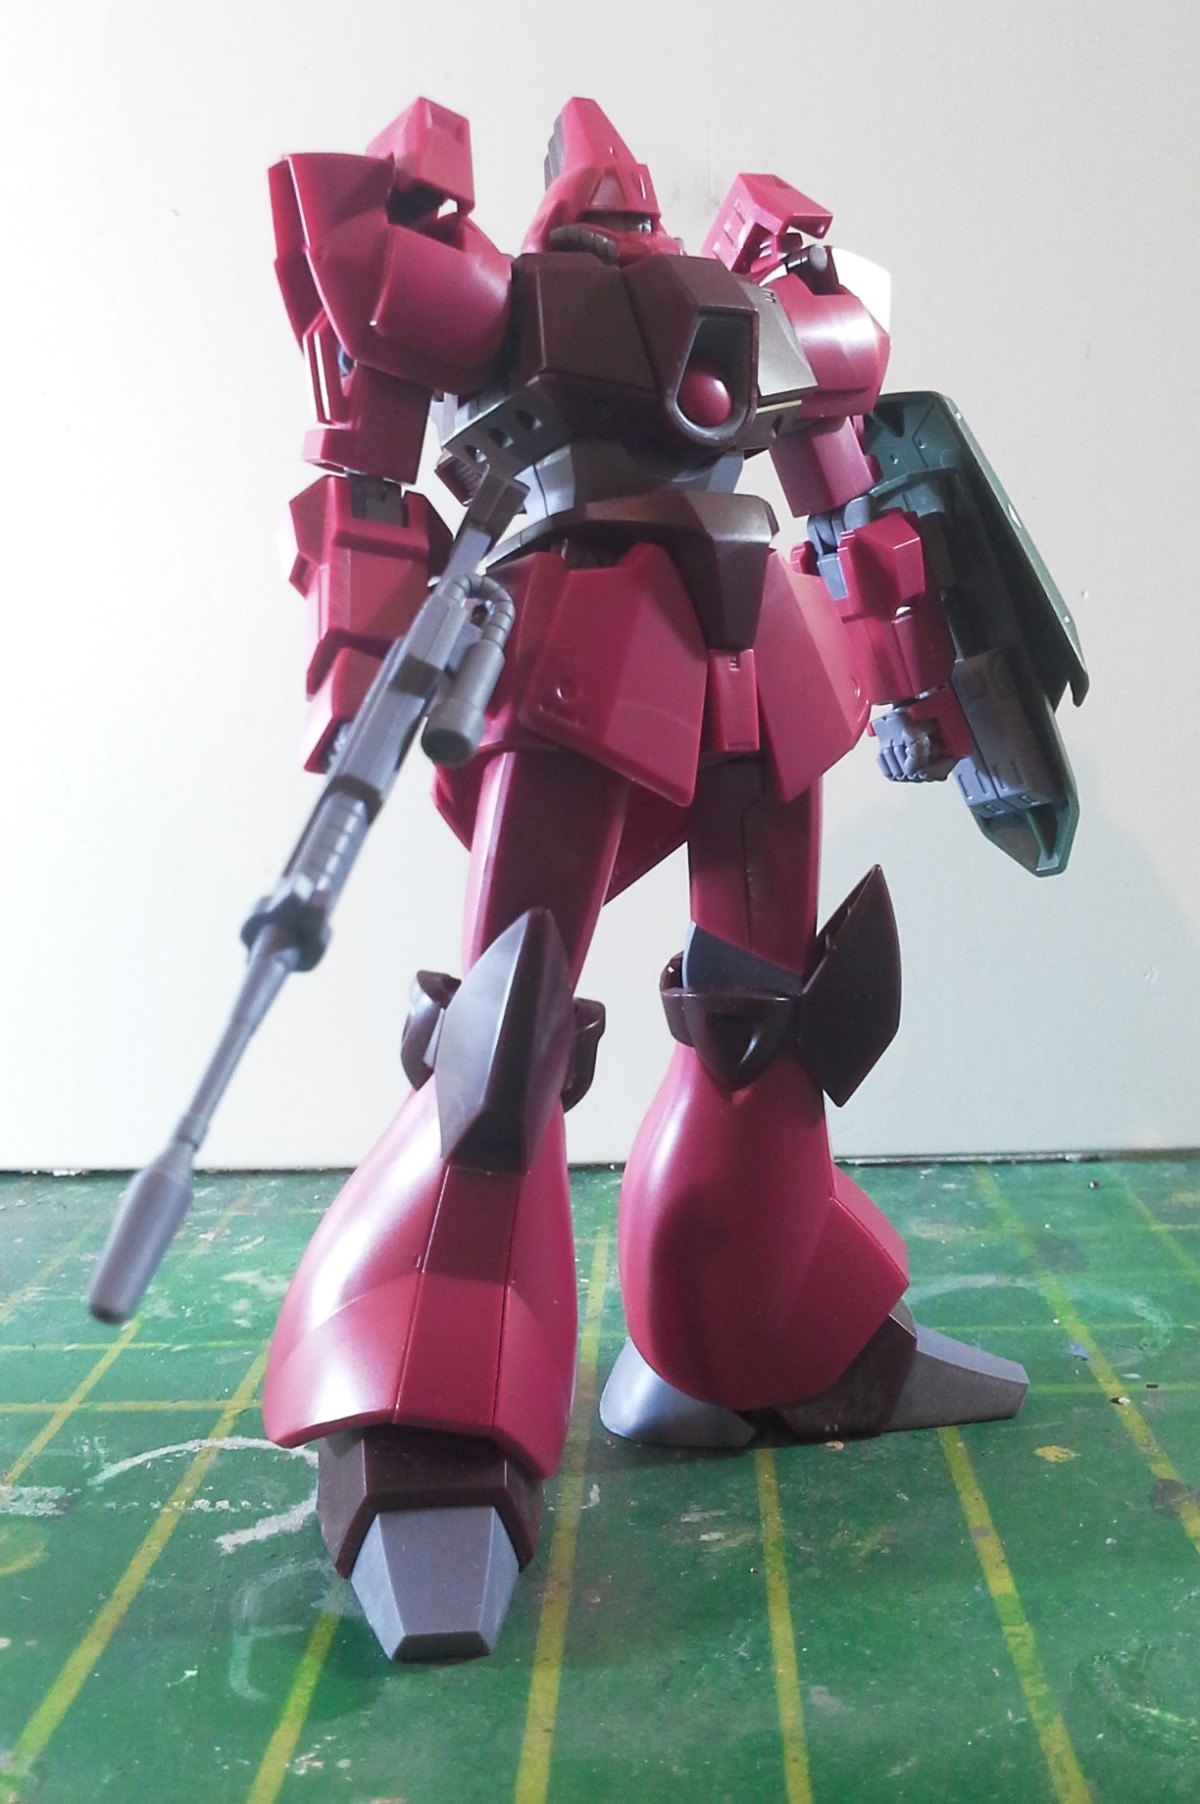
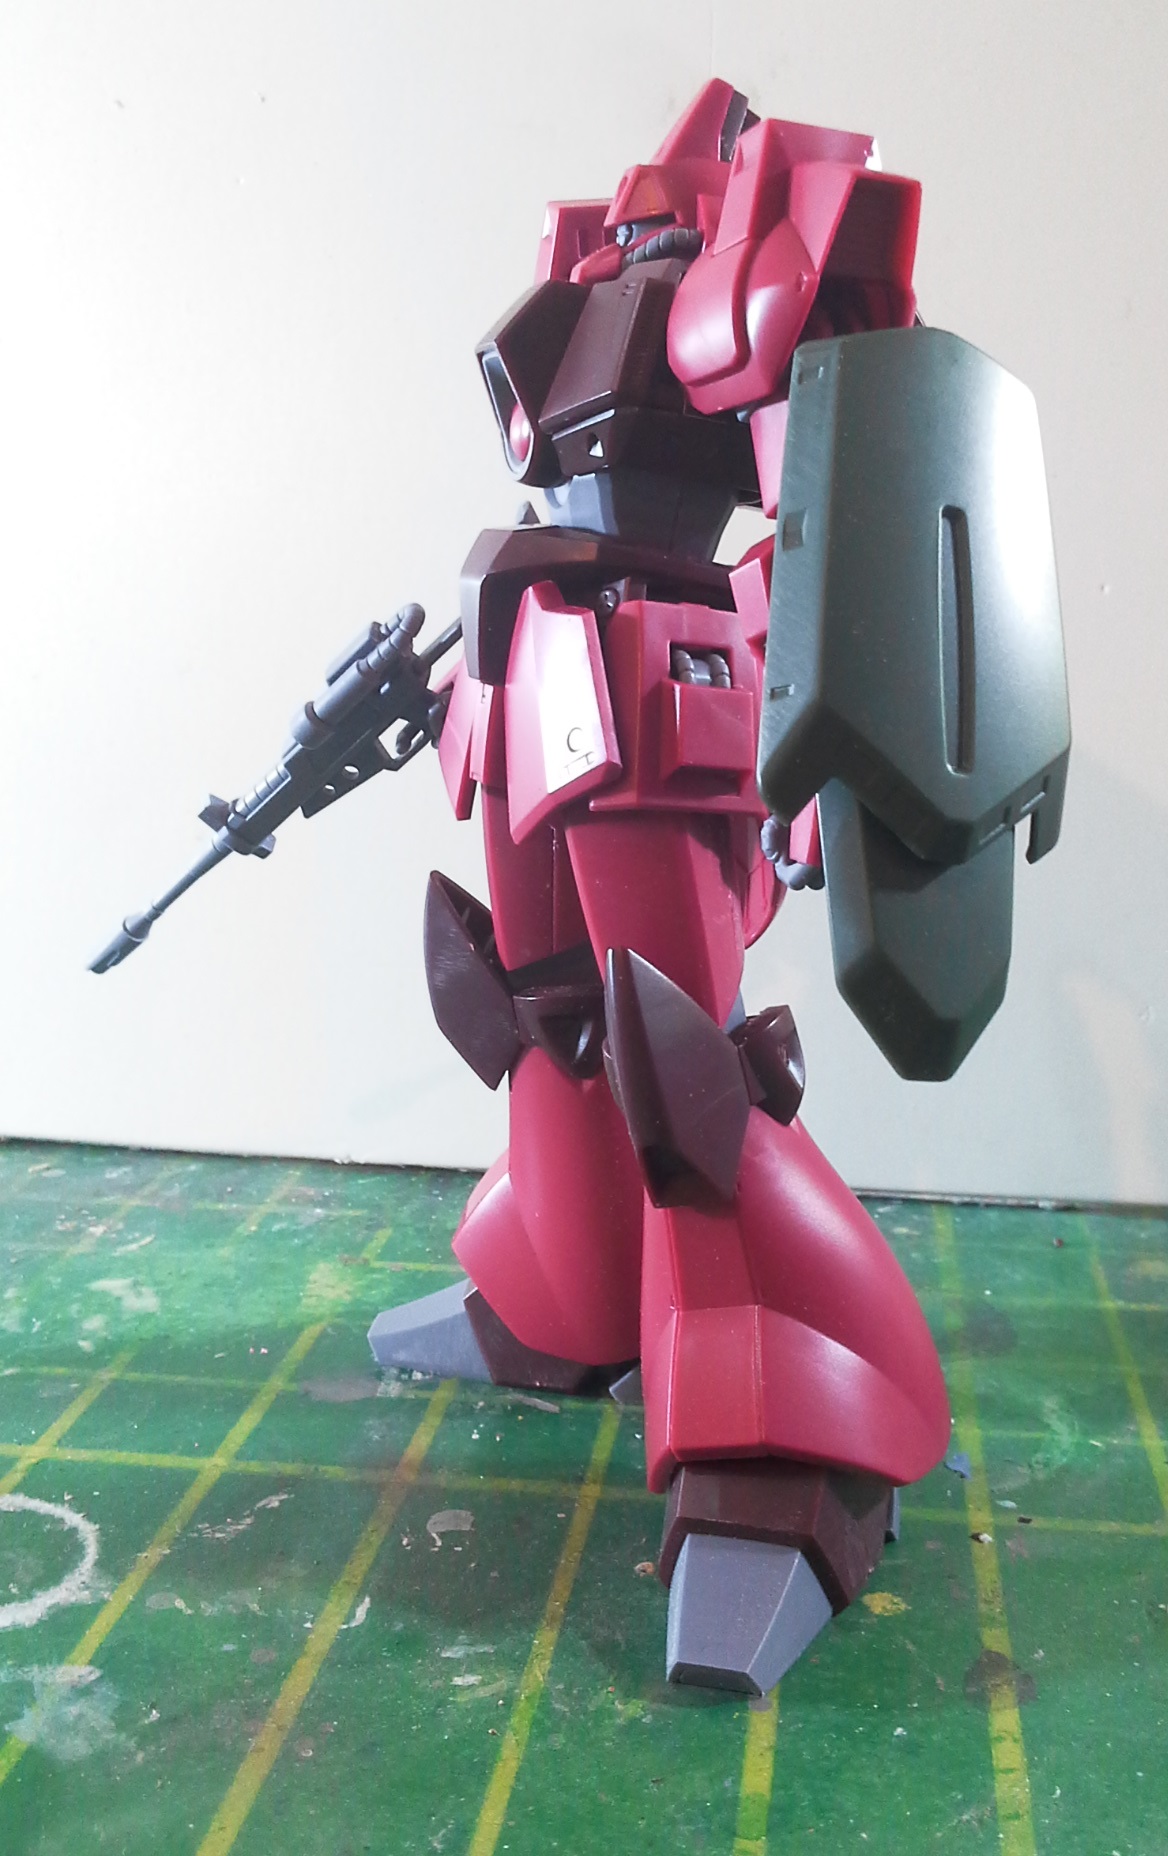

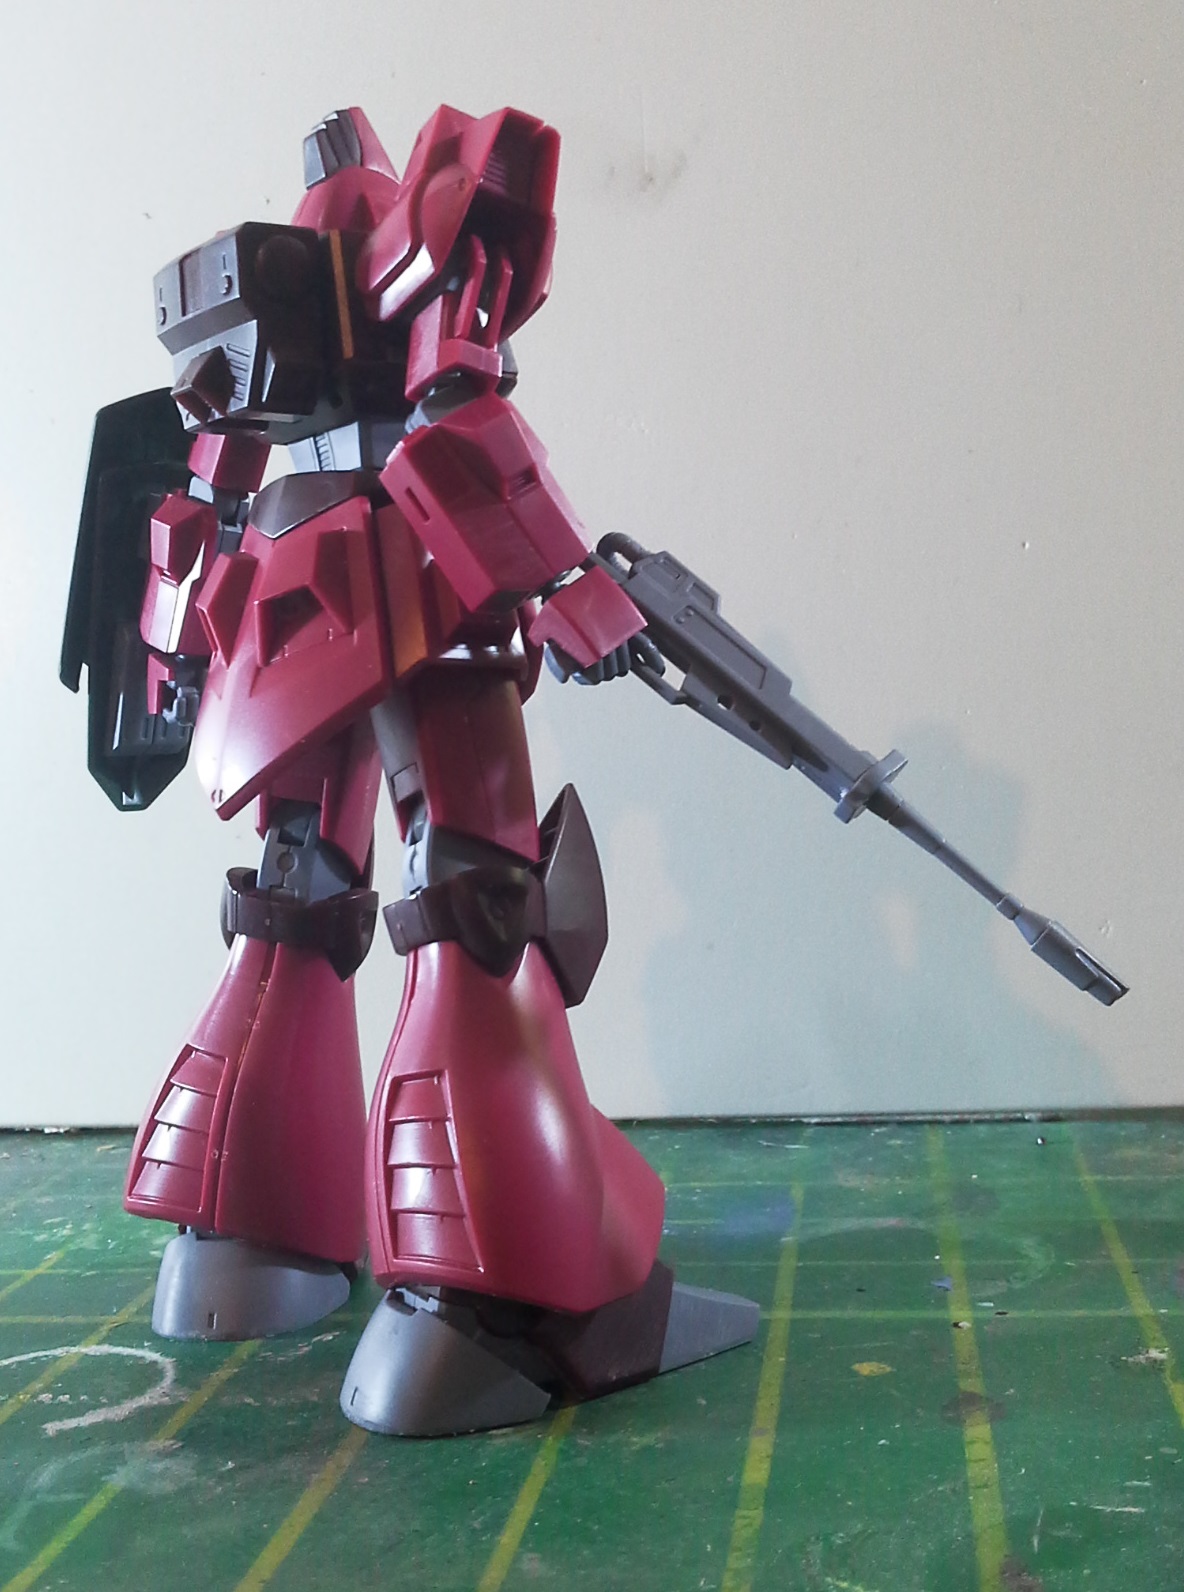
I dig the proportions, nice subtle gimmicks, and accessories (especially the design of the beam rifle). I’m not going to use the beam sabers and the alternative right hand. The rifle and shield combination looks cool enough.
Modeling work
After snapping the kit together, I break it into sub-assemblies, in order to help me focus on one section and organize the process better.
I try to spot seam lines, as well as look for mistakes I could’ve made during the assembly process, such as missed nub marks and flash lines.
Construction improvements
Sometimes parts are easy to put together but difficult to take apart. The instruction manual hardly ever warns us about those, so we have to pay attention and try to take measures before we insert a part into a recess, or else we could be in trouble.
Since I always paint my models, I used to just store the piece and put it on the model after I’m done with the paint job. However, as I said, there’re simple modifications that can help make disassembly significantly easier.
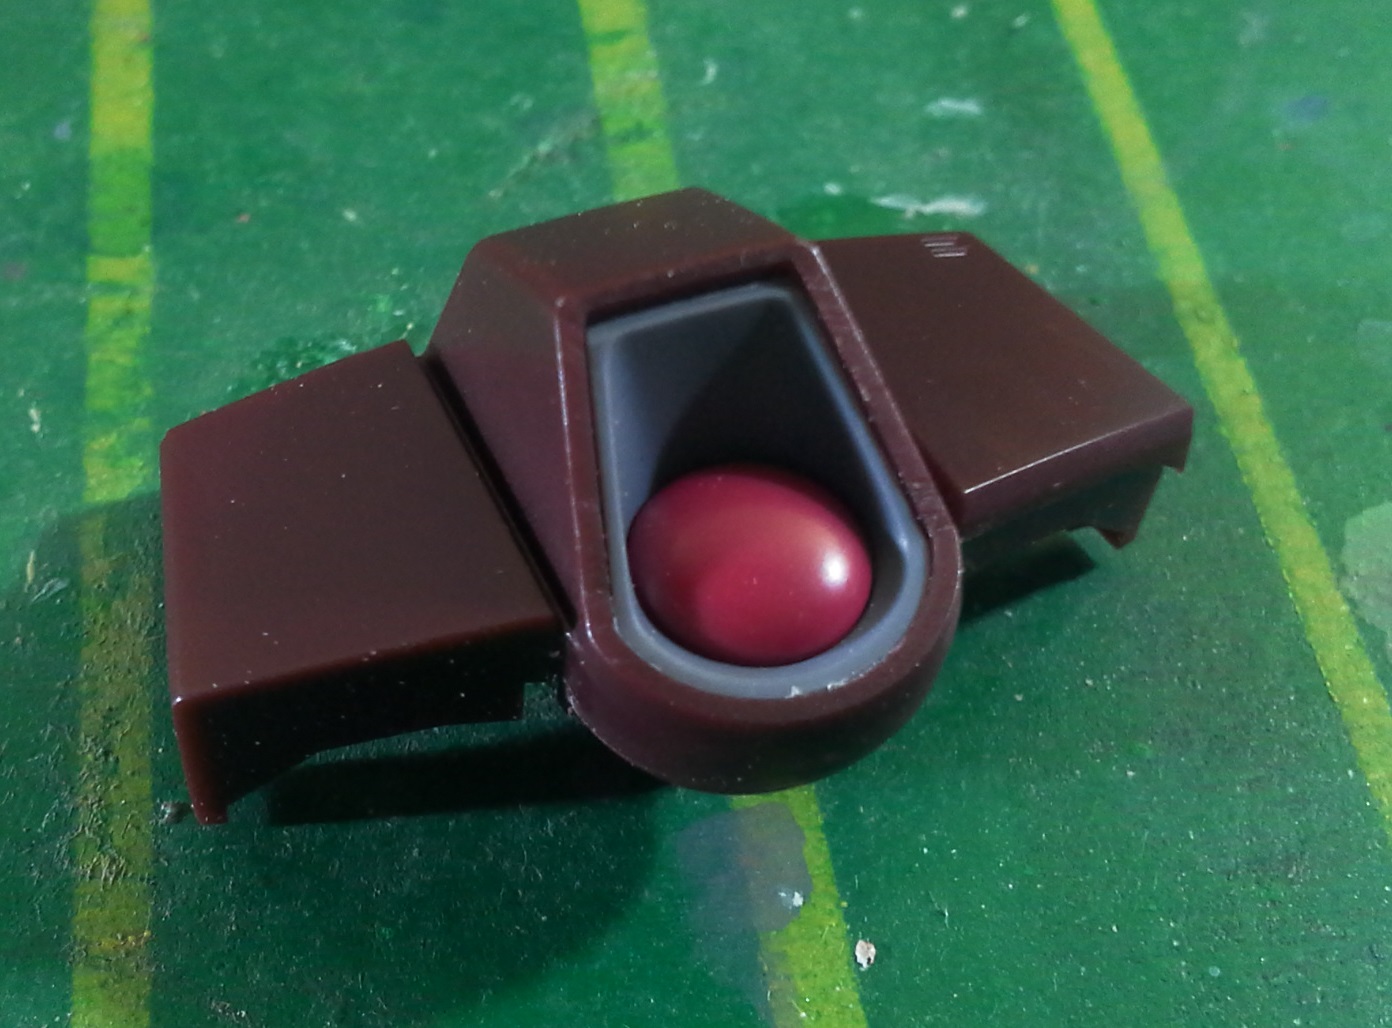

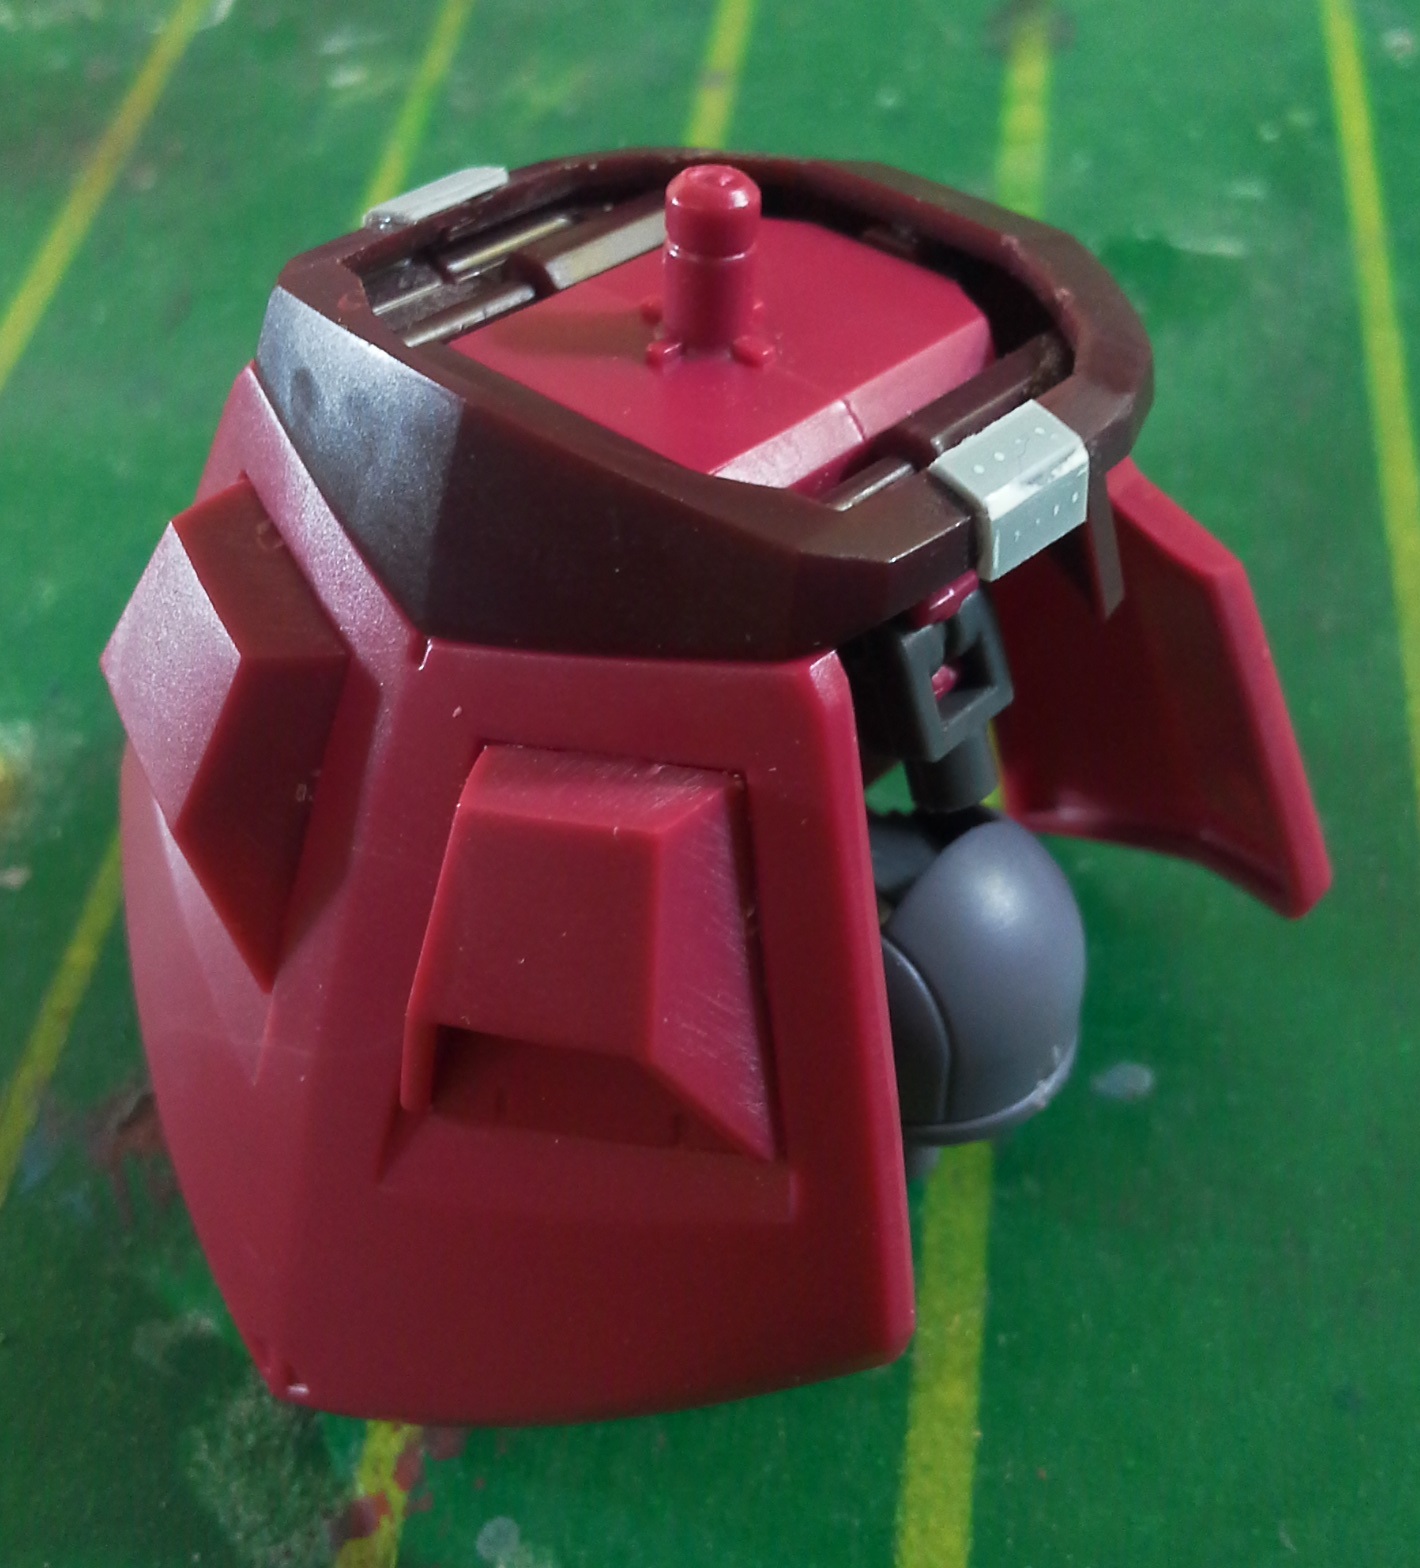
Let’s have a look at the chest area. The cockpit hatch and the gray part around it are very difficult to separate from the main piece without modifying them.
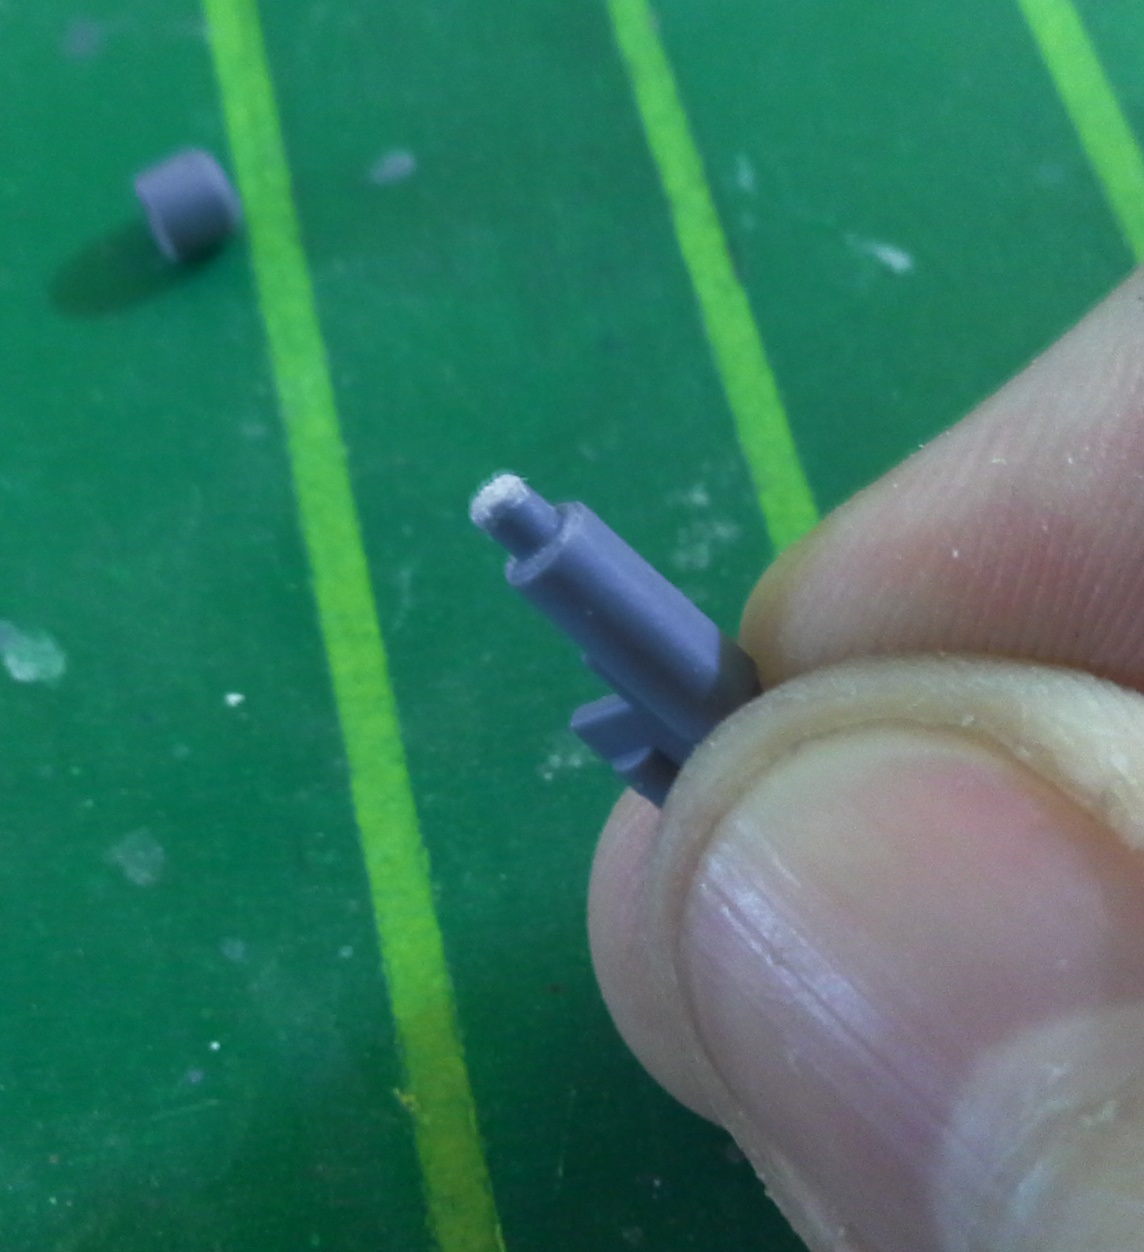
Unlike most weapons or wings, this section has a side that’s not visible when the model is assembled. We exploit that underside by drilling a hole. It doesn’t have to be perfect, all we need is for it to be wide enough to allow us to insert a skewer from behind to push the pieces outward.
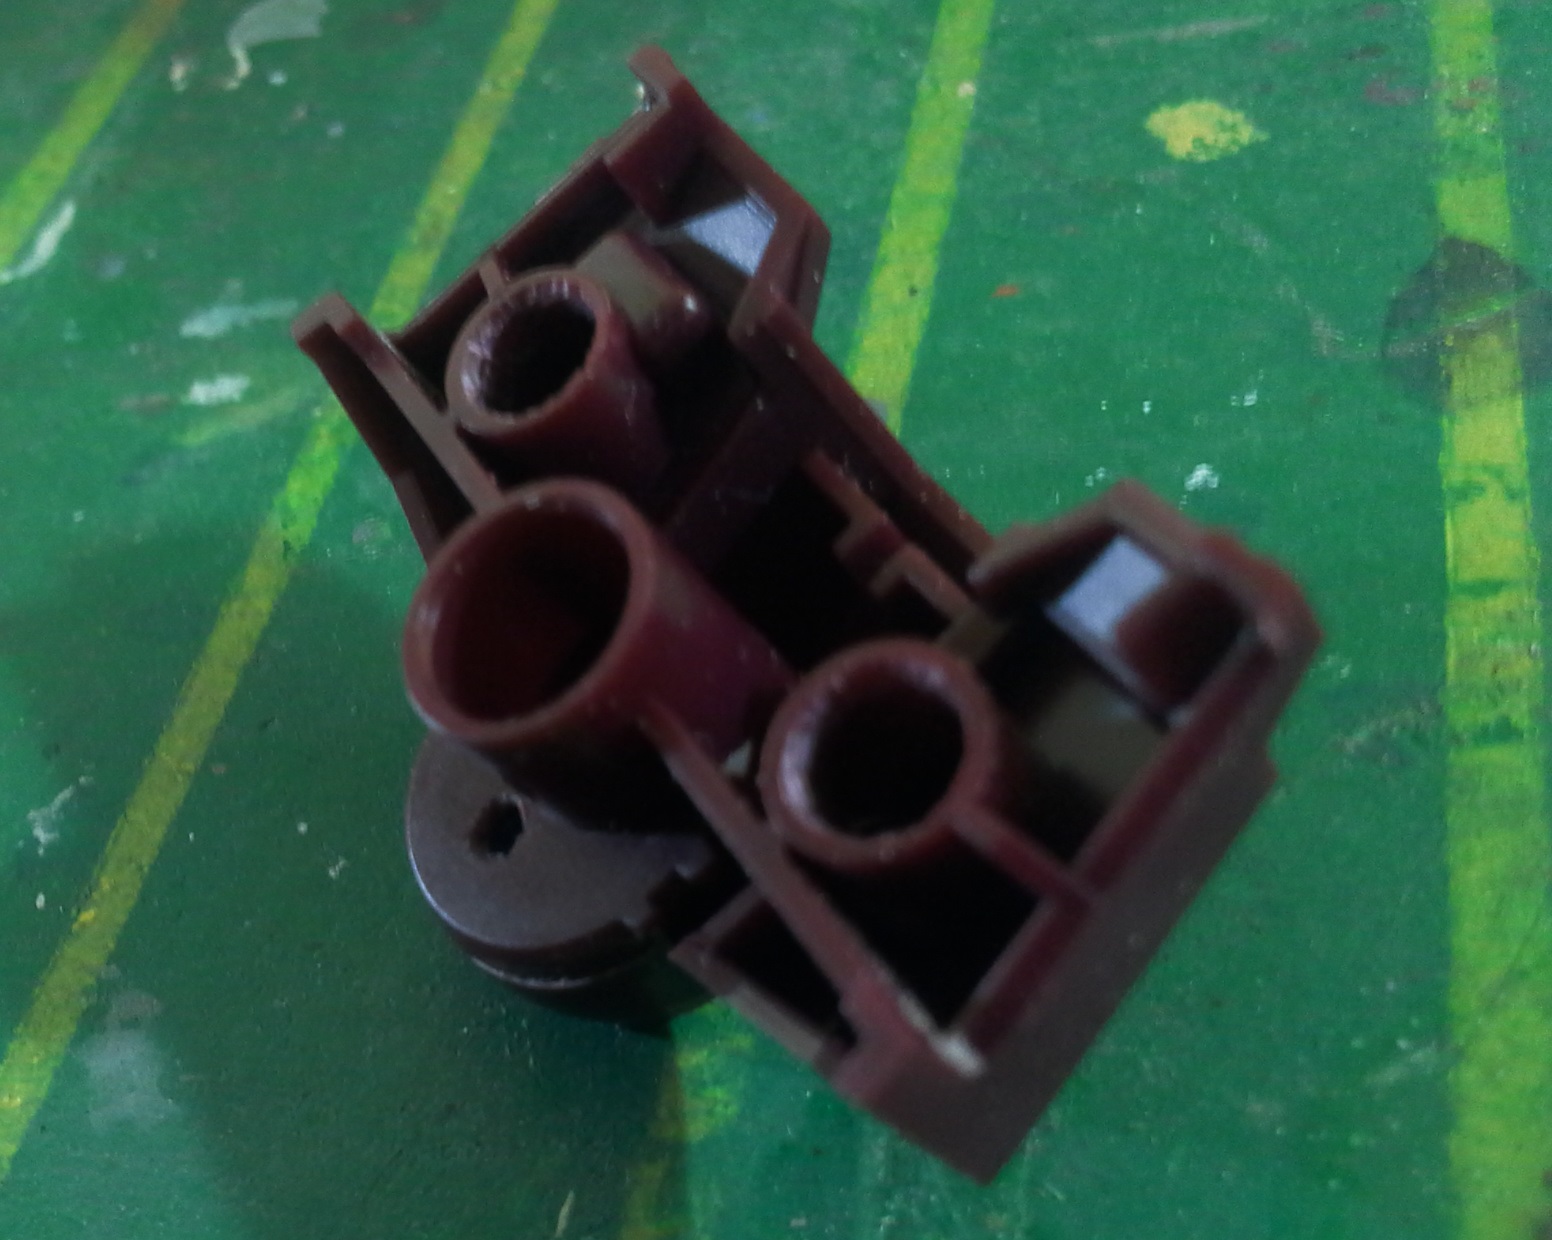
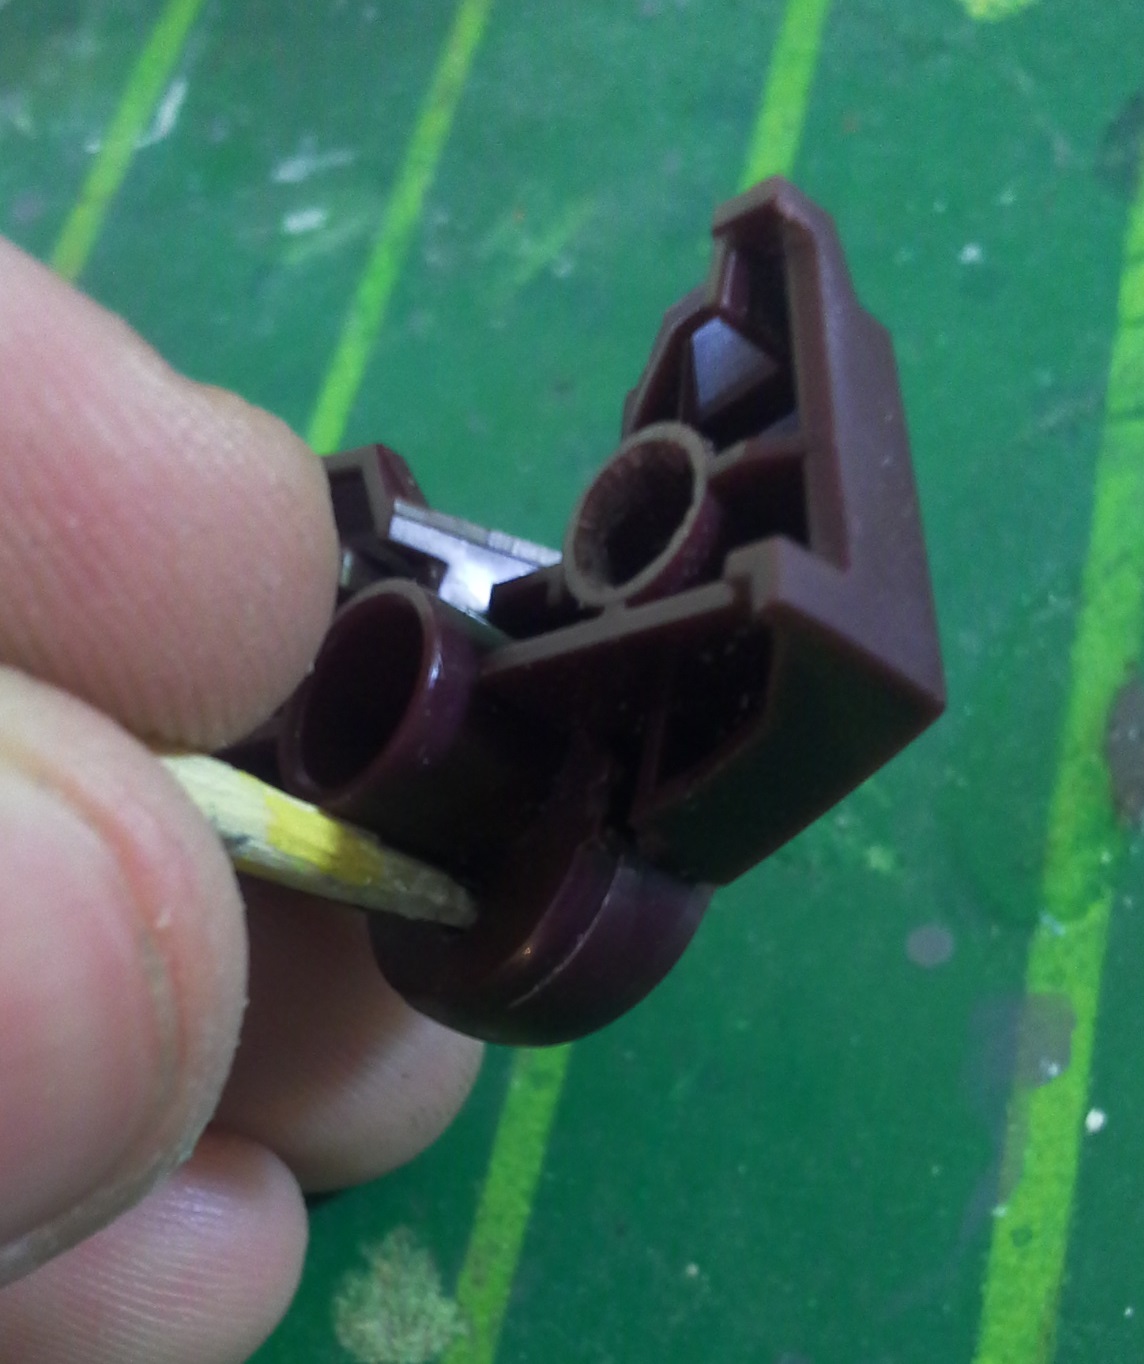
Another issue we can come across is loose pieces. When the fit isn’t snug enough, most times making the pegs wider will solve the problem, and the most effective way to do that is by applying some super glue on the peg.
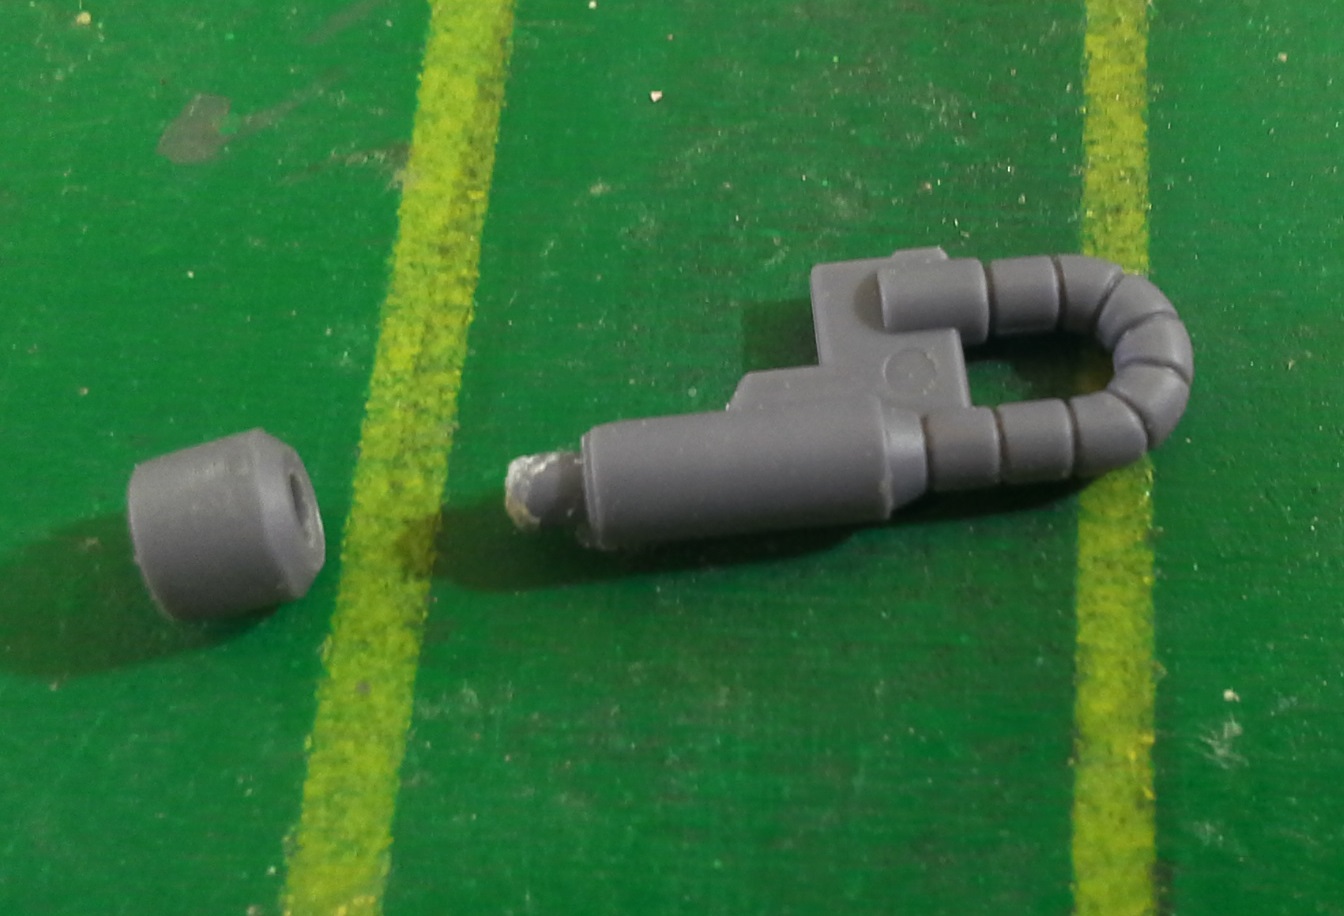
The lens of the scope was fitting rather loosely on the main piece. What I did was apply a tiny bit of super glue on the peg, and to avoid having to wait for the glue to dry, I sprinkled on some baking soda, which made the glue harden instantly.
This simple trick can save you a couple of minutes and make your modeling more free flowing.
Seam line removal
In the last few years, Bandai has been doing a great job hiding seam lines and using nice crevices to make them look like panel lines, but there’re always a few spots here and there where the seam is noticeable.
Most times fixing them is simple: a little bit of cement and sanding will be enough. That is the case of the beam rifle.

Similarly, a portion of the seam line on the backpack looks like a panel line, due to its shape on the sides. The difference is, the presence of a raised area makes sanding a bit tricky, so we have to be careful when doing it not to affect the shape of said area.


I used a hard sanding stick to sand down the excess cement, and as I said, the lines on the sides were left untouched.
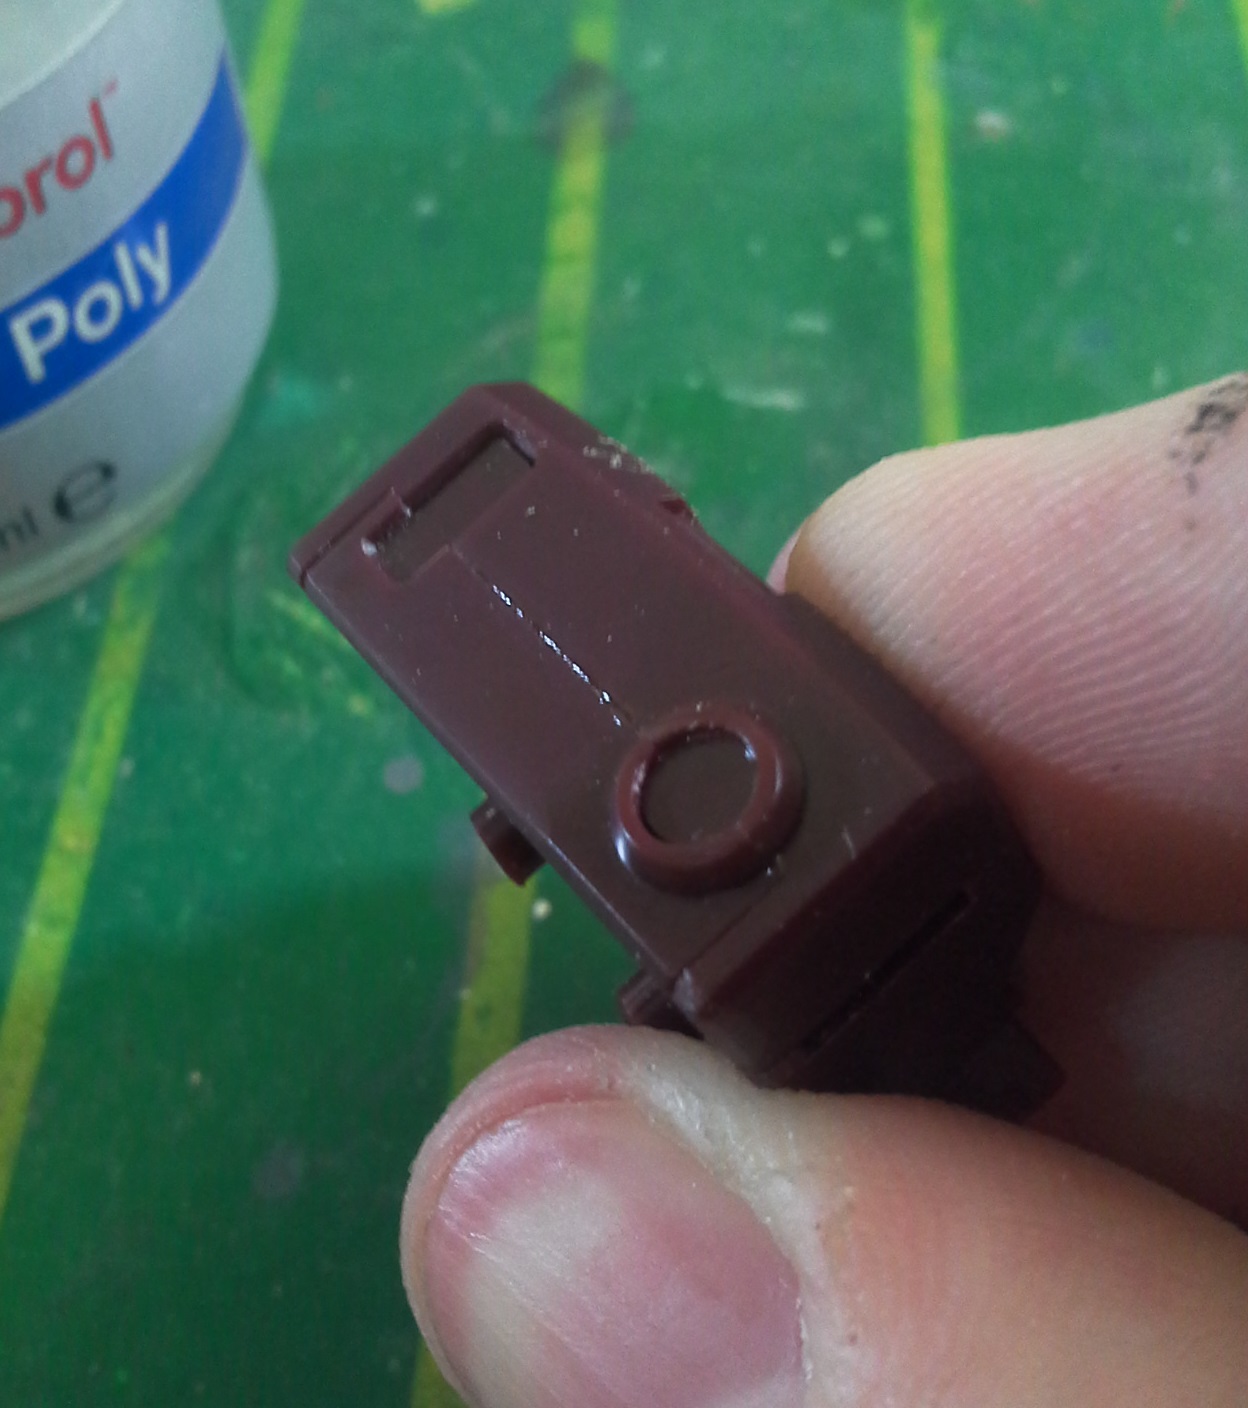
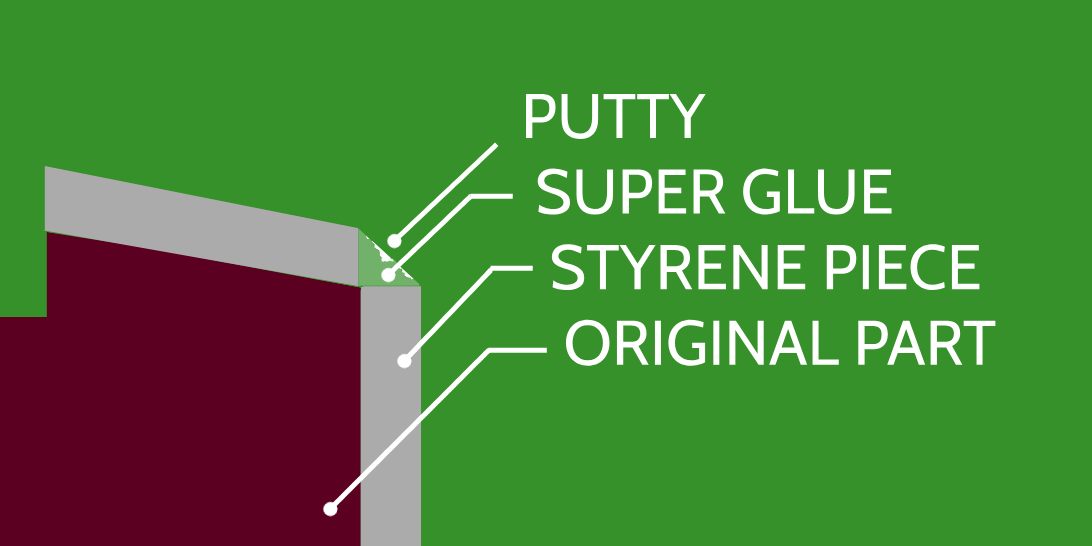
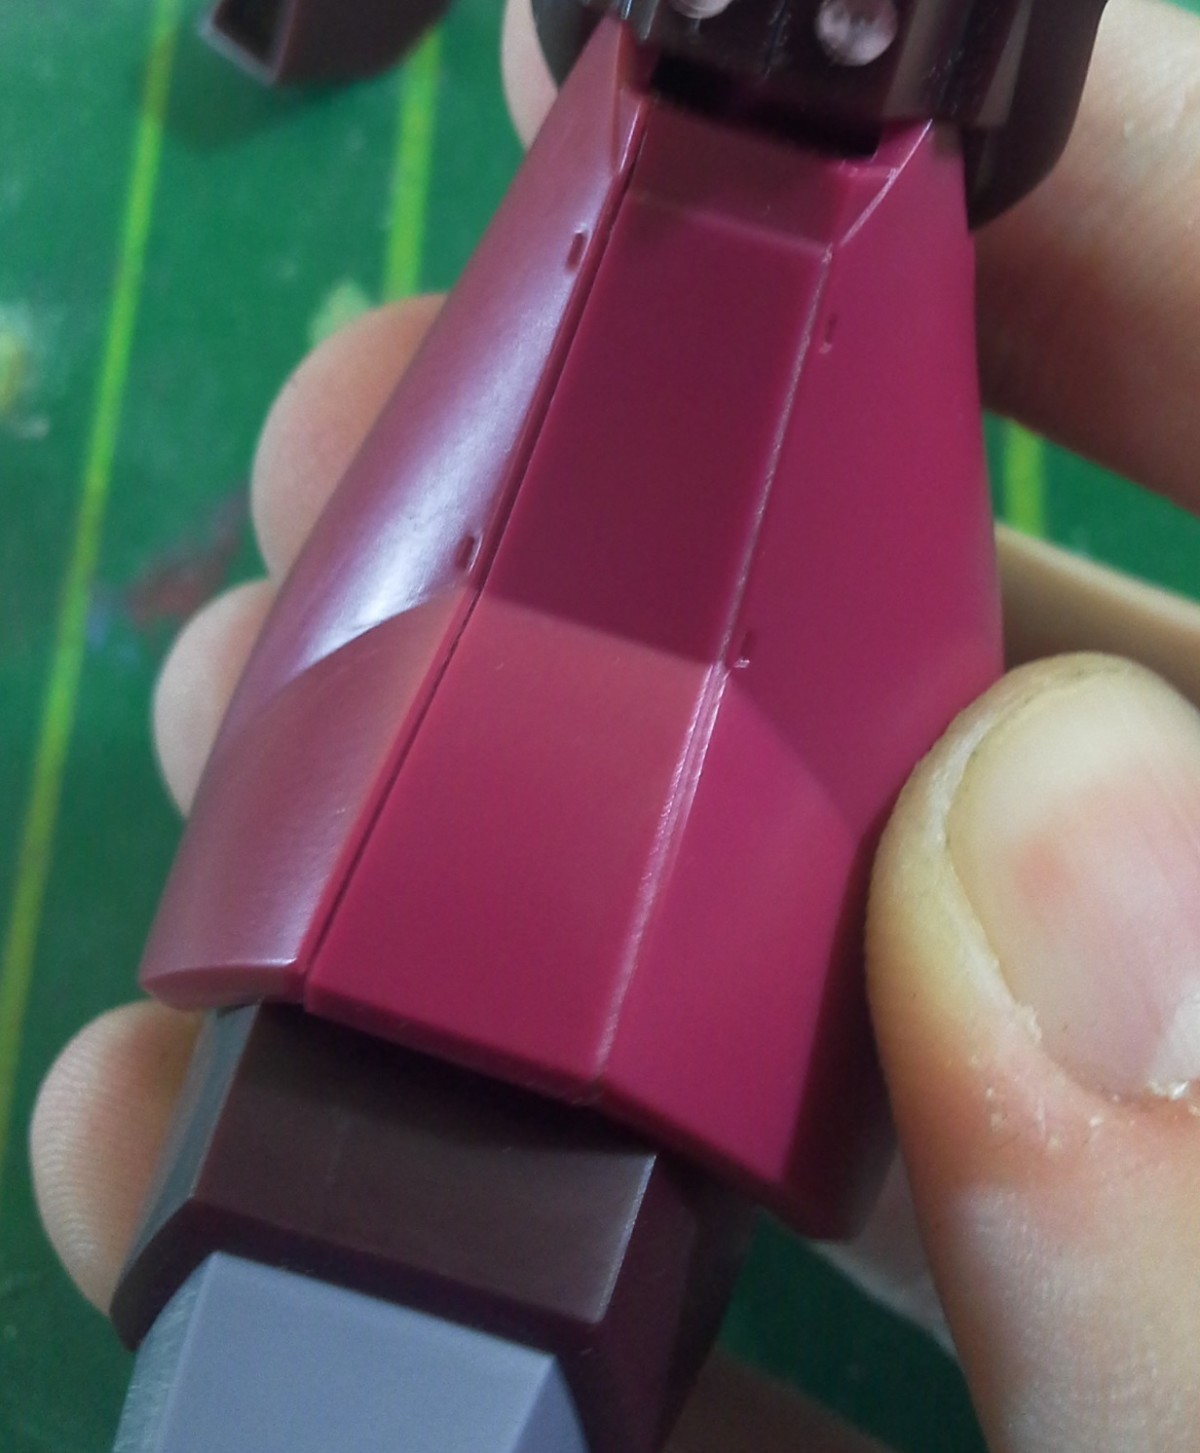
Sometimes the seam line can’t be filled, because the section has to be disassembled for painting later, and gluing the parts together wouldn’t let us do that. An example of that is the dark red section that goes around the waist.
Instead of filling the seam line, we will hide it.
I cut out four tiny pieces of 0.3mm-thick styrene sheet, which will be used to cover the seam.

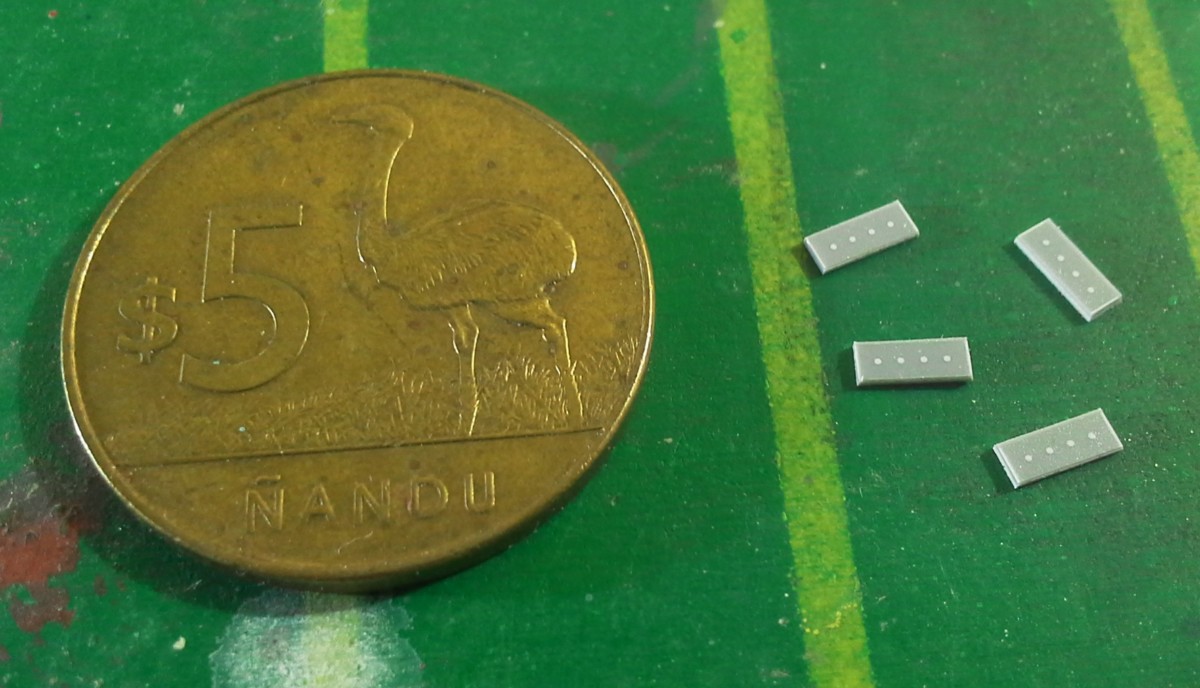
I glue the styrene pieces to the back part only. If I glued it to both, it’d be impossible to take them apart, and thus the modification would be pointless.
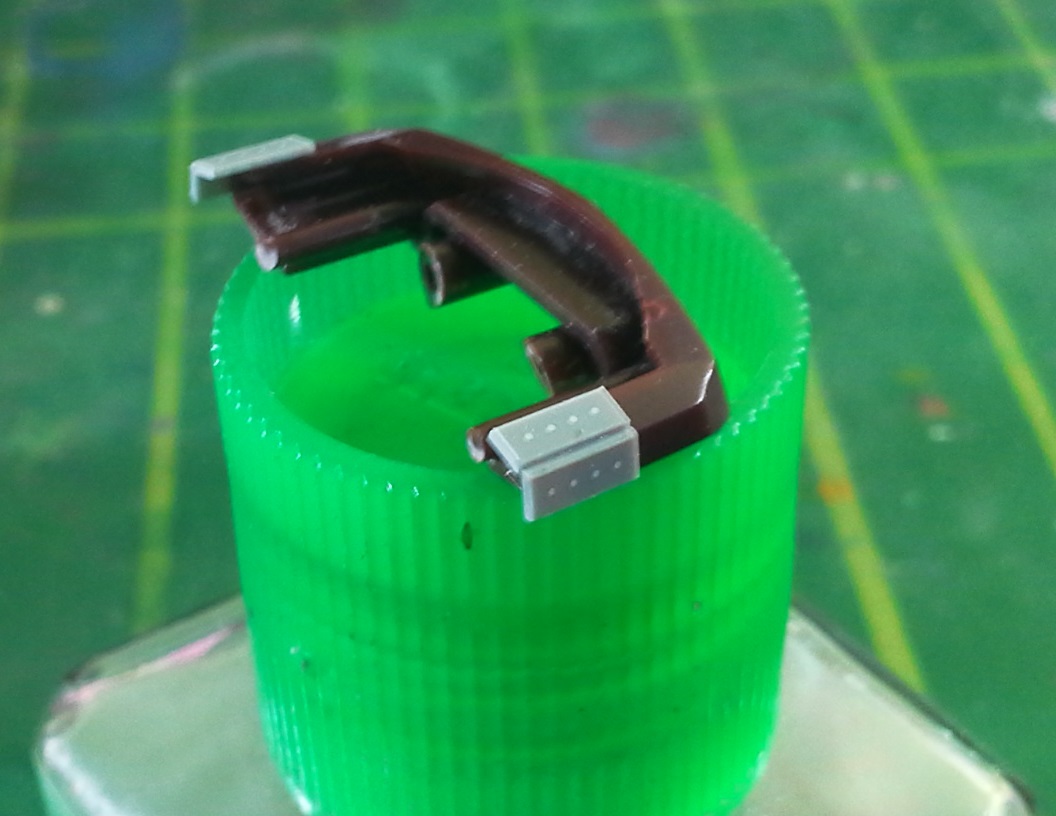
As you can see, the portion of the stryene piece that sticks out covers the seam line completely.
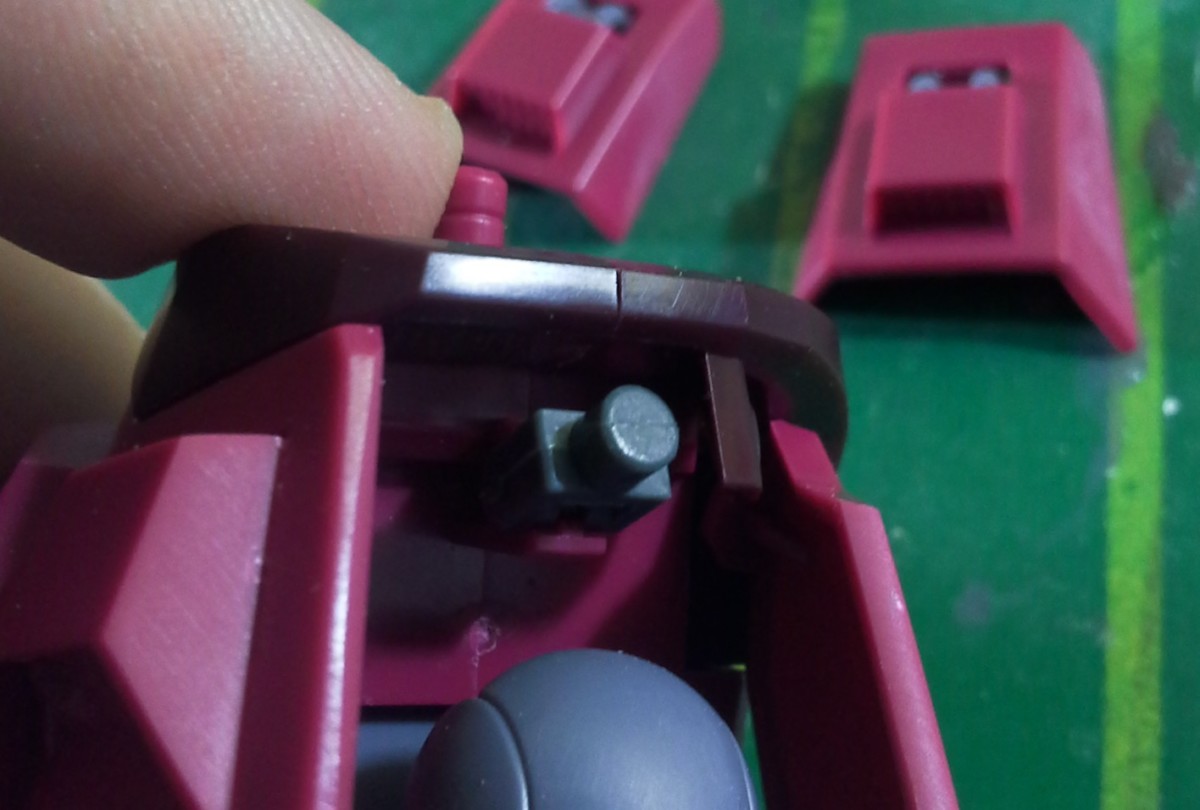
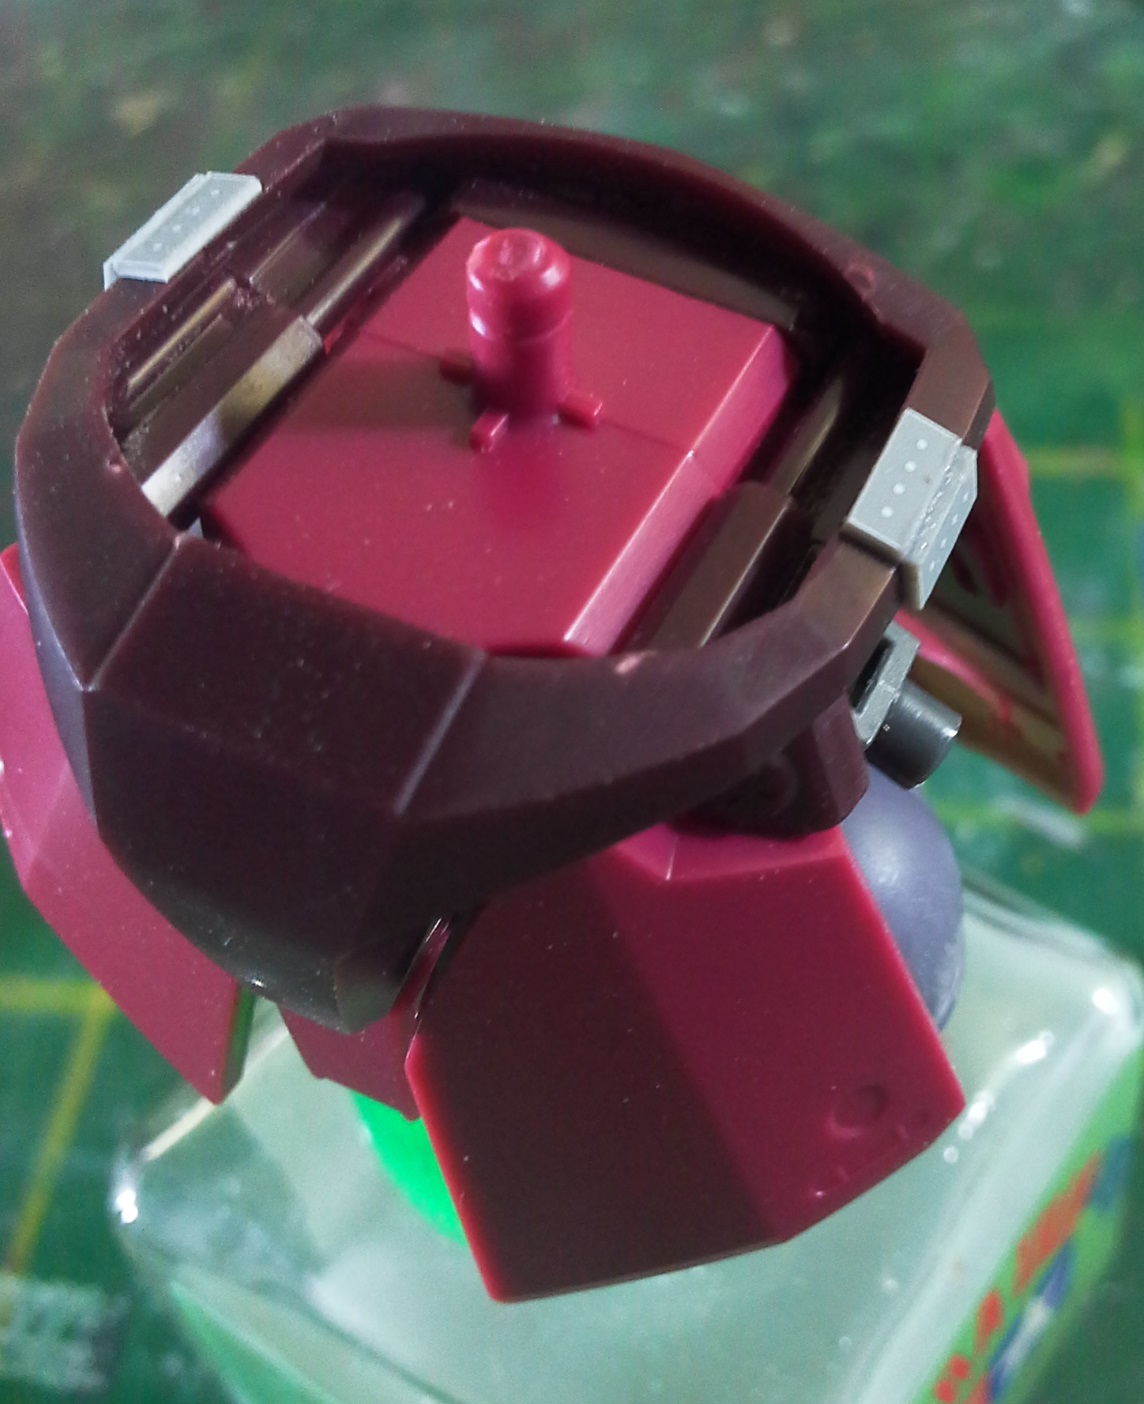
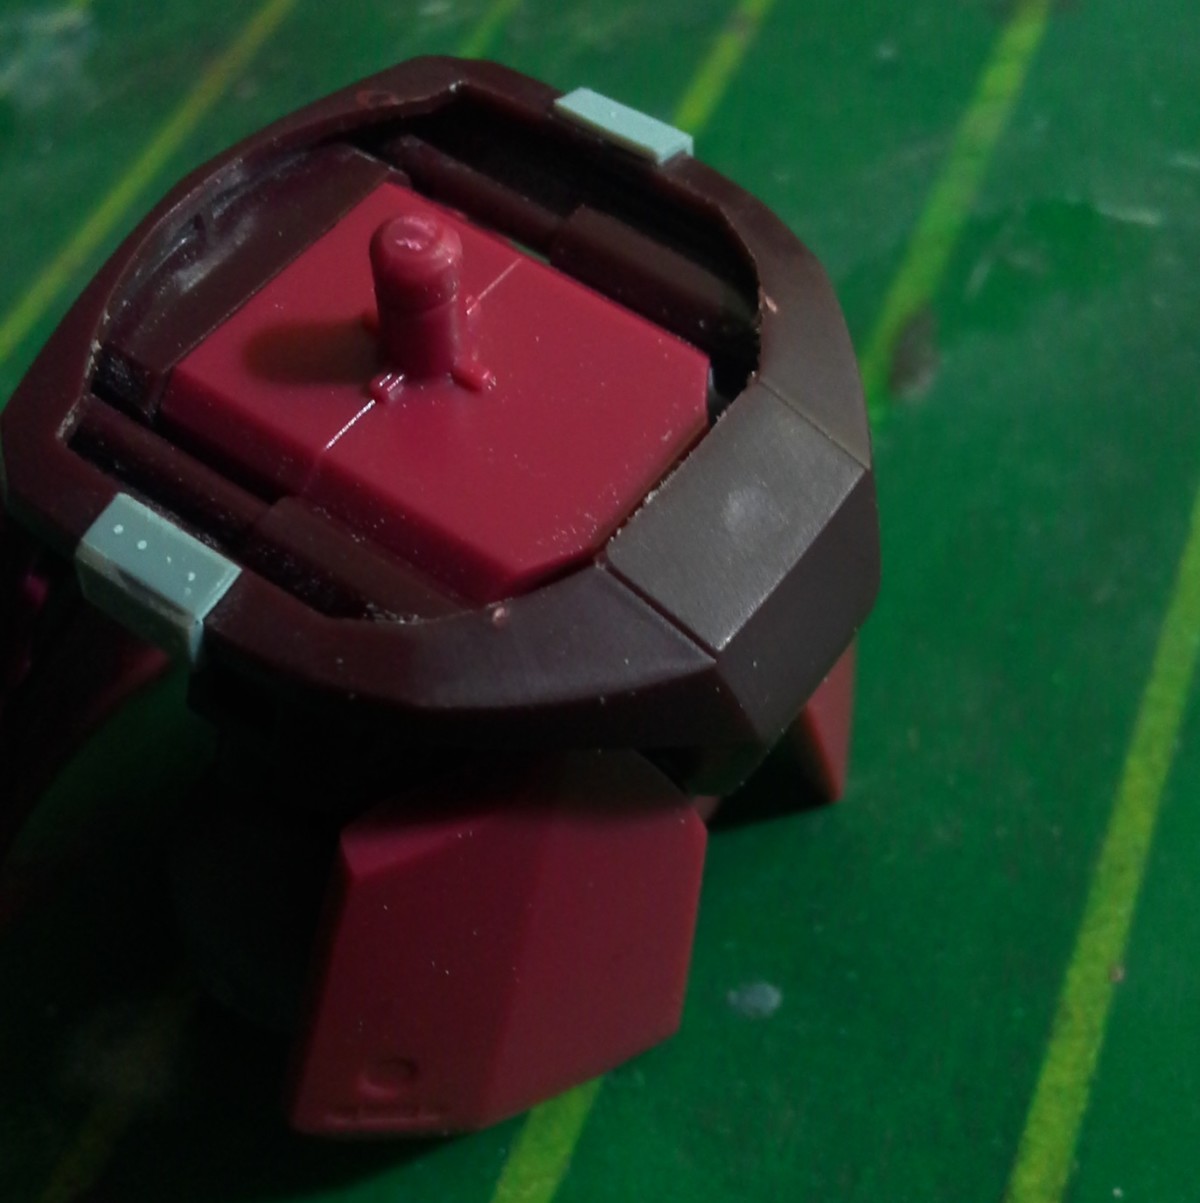
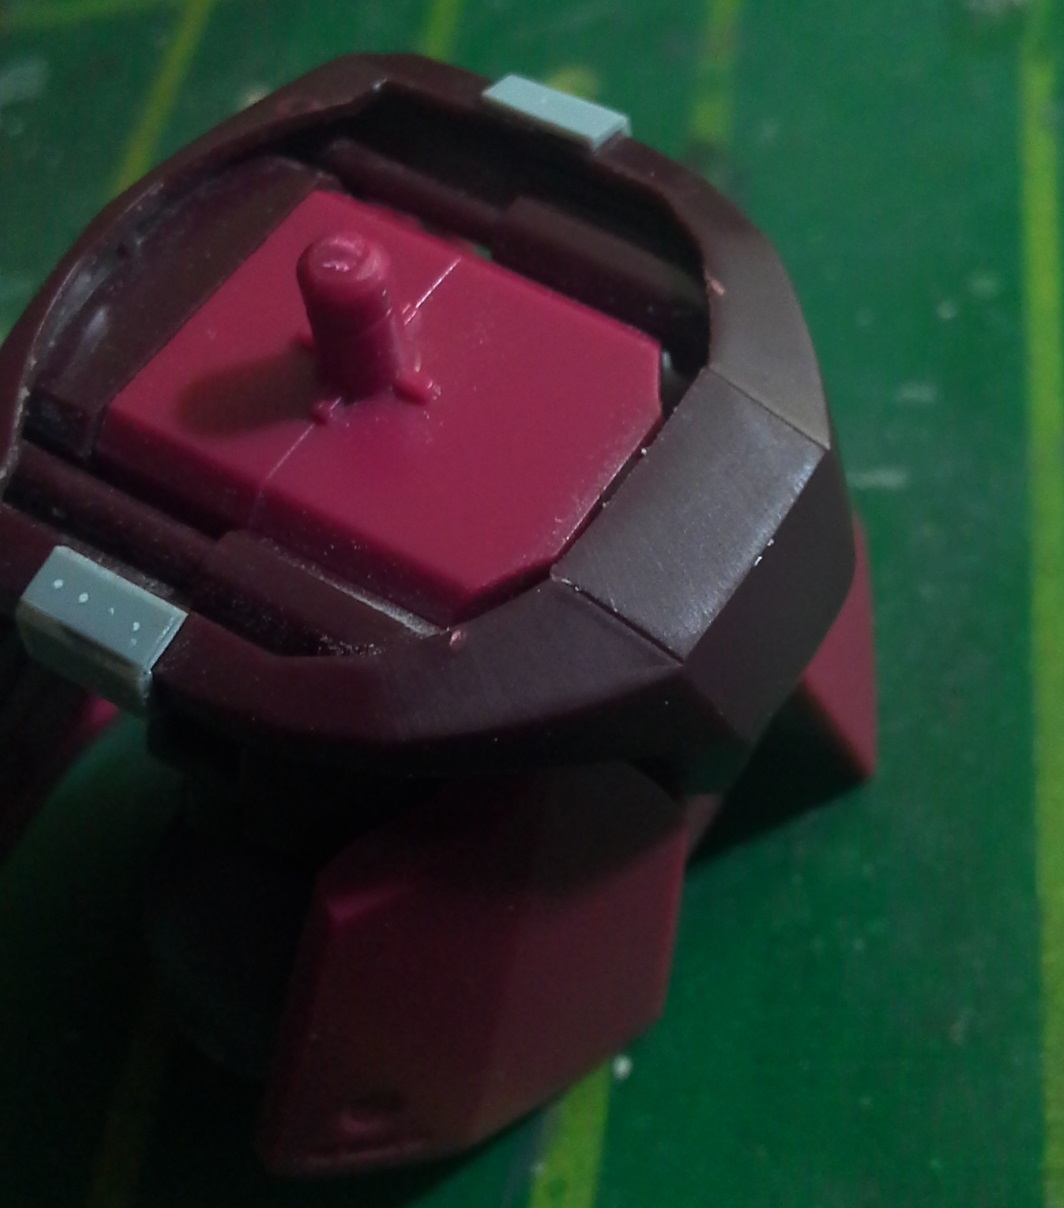
The only downside to this modification is that there is a gap between the two styrene pieces. I applied a little super glue fill it, but since super glue is transparent, I can’t know for sure if the area has been filled completely.
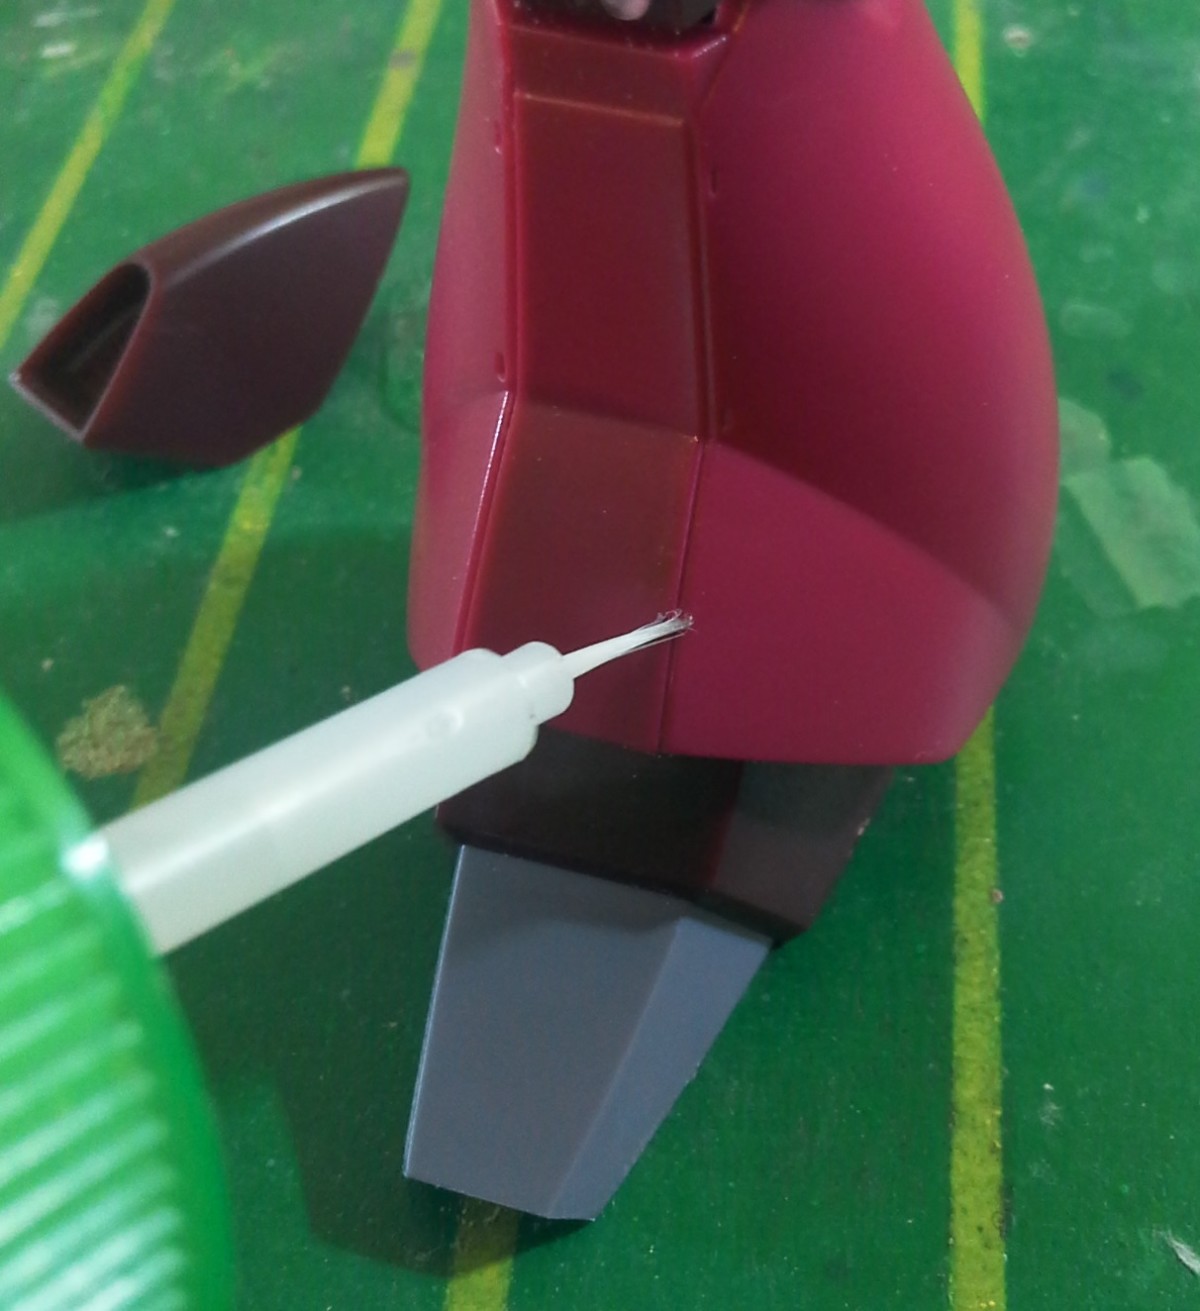
This is where filing comes into play. This step will:
1- Help us sand down the excess glue.
2- Make imperfections easier to spot.
3- Chamfer the edge of the piece, therefore adding aesthetic value.
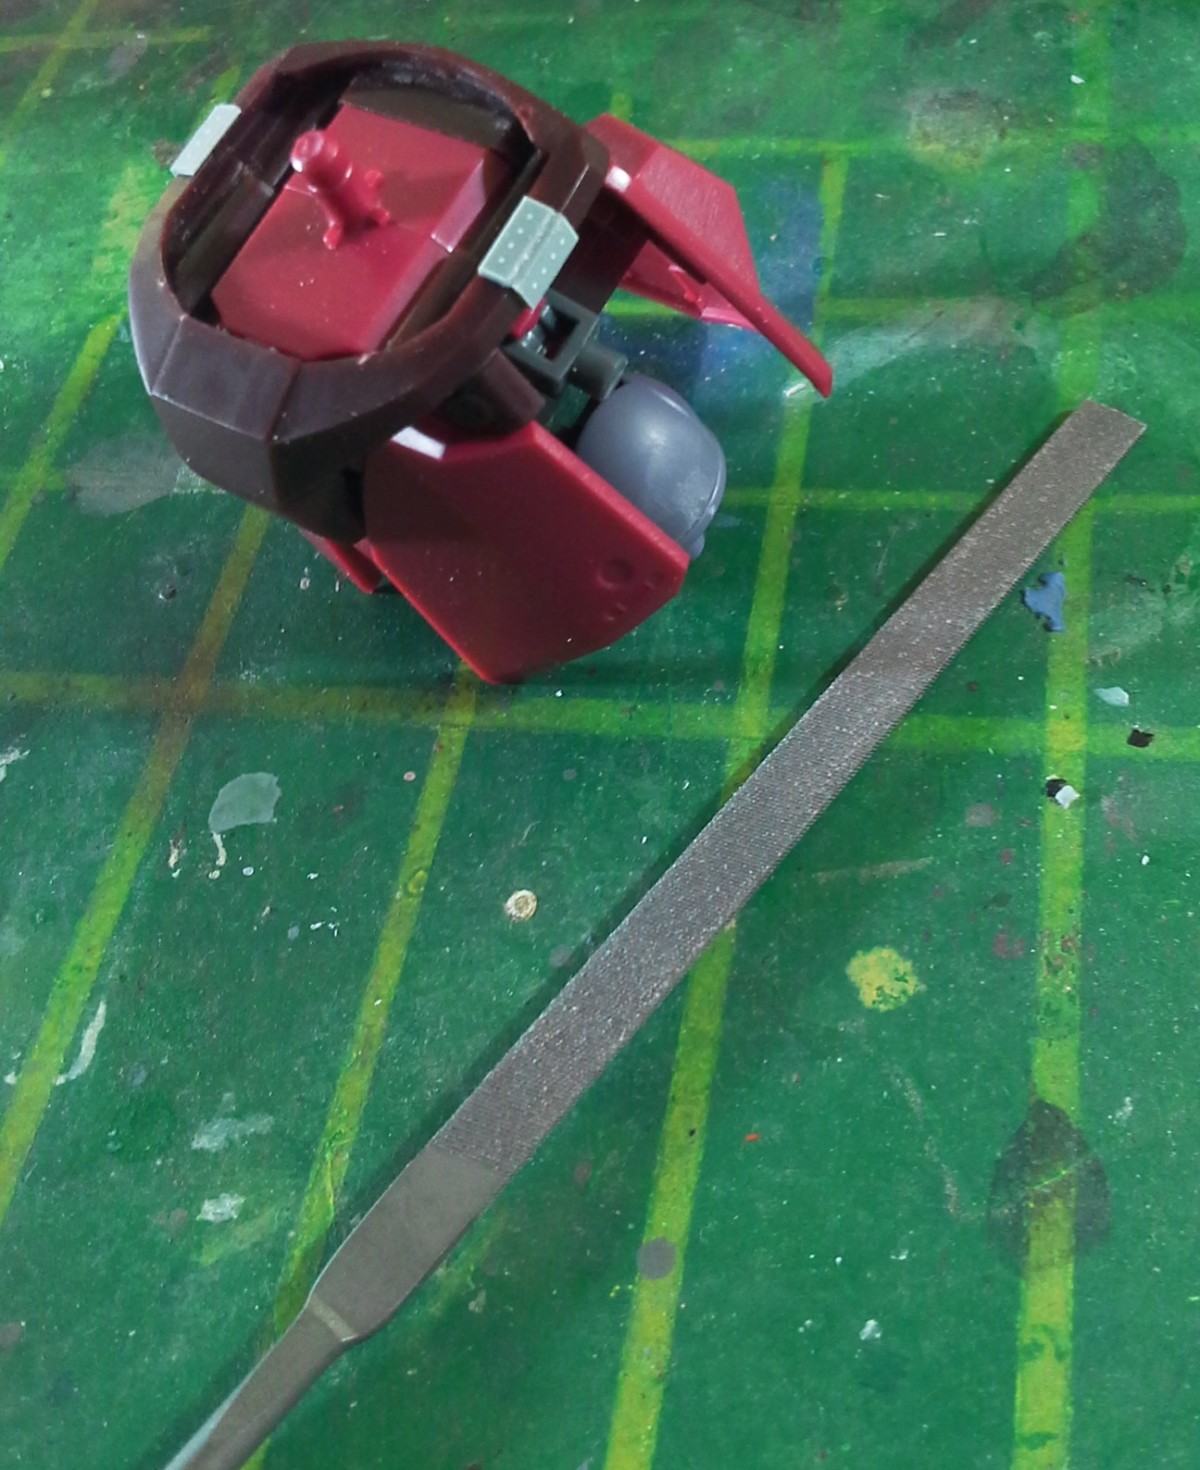
Once I have filed down the excess super glue, I look at the part against light to check if there’re areas the glue hasn’t covered.
The left side was ready to go after a round of filing. On the right side, though, most of the super glue was below the level of the styrene pieces. I dealt with that by applying some Tamiya basic type putty to fill the gaps.

Surface improvements
Now that we’ve covered the major functional and aesthetic modifications, it’s time go over simpler techniques that are not crucial but can make a big difference in the end product.
Sunken areas
It’s common to find a point on a part where the surface is a bit lower than the surrounding area. These are formed during the molding process, because of the presence of a peg directly underneath, on the inside of the part.
Most times this issue can be fixed by just sanding the surface a little, since the recess isn’t too deep. In case it is deep, sanding until the surface is even can change the shape of the part too much. Instead of making the raised areas lower, I’d suggest applying putty onto the sunken points, to level the surface upwards.
Adding definition

Especially from the Revive Guncannon on, Bandai has been camouflaging seam lines on High Grade kits by placing them on one side of the part and molding a panel line on the other, so that there’s two lines, and the seam doesn’t look off. That’s the case with the legs of the Galbaldy Beta. The problem is that the panel line, that’s supposed to look similar to the seam line, isn’t deep enough. It lacks definition.

8-12 light passes with a carving needle will make the line deeper, and therefore add definition. We’ll probably not be able to tell the difference between the seam and the panel line after we prime and paint the model.
When I was happy with the depth of the recess, I applied a minute amount of Tamiya extra thin cement to melt the plastic dust that built up in the panel line.
With this, we are ready to move on to customizing and detailing!
Let us know what you guys think of the progress so far, and stay tuned for the next post!


Guthem
Man, this is amazing post!
Eu tenhi um sério problema com nub, em partes escuras geralmente fica um pontinho branco. Peça lisa, mas uma marca branca ¬¬
Enrico Asa no Hoshi
Thanks, Guthem! 😉
Yeah, that’s a usual problem with darker parts. I’d suggest sanding carefully going from lower grit to higher, but of course, painting is the best solution; since it gives the parts a uniform color.
Alberto Arenas
¡Wow!, Enrico Arezo muchas gracias por compartir, tus tutoriales me servirán muchísimo en modelismo, desde México un abrazo