Moebius Model Kits at Hobbylink Japan
Makers of the models!
When the original Voyage to the Bottom of the sea film was commissioned as a main feature by Fox, the studio threw at it all they could in terms of resources for SFX and model making. This was especially important for the Seaview – both interior sets and external model shots – as the film resides almost entirely within the bounds of the submarine itself.
This had to be a model which measured up to the expectations of the studio chiefs, who did not want this cold-war SF epic to simply be written off as yet one more schlocky B-movie offering, with which the 1950s film circuit was already replete.
Thus, with an unimaginably impressive budget of 240,000 USD, Herbert Cheeks, head of the Twentieth Century Fox model shop in 1960, was tasked with creating three shooting models of various sizes. Cheeks called on the talents of Jack Smith and Herman Bluementhal to design a submarine which could take the title of ‘the Cadillac of the seas.’
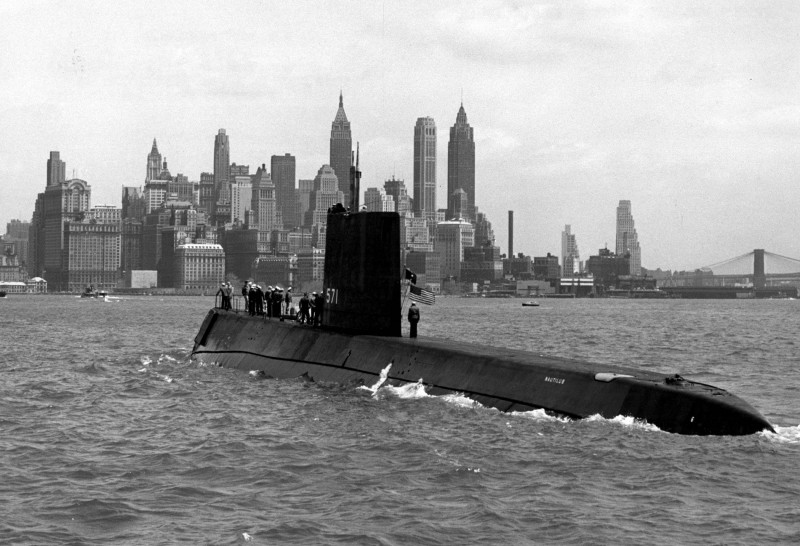
The design process focused both on the fact that the Seaview had to be plausible and recognizable as a ‘modern’ vessel of the era in which the US main ballistic missile defense was being turned over to its growing fleet of wide ranging missile subs. Every child in the land knew, for example, of boats like the USS Nautilus, which passed beneath the North Pole in 1958 as part of Operation Sunshine. There could be no Vernsian rivets, spikes, or other flights of fancy on this submarine at all.
This was to be a submarine rooted in the ‘real.’
However, considering the scale of the sub required (I have seen lengths from 400 to 600 feet thrown about in the fan community) and the nature of the film, a model with more than the traditional shape would be needed, if only because the Seaview was itself something of a character in the film.
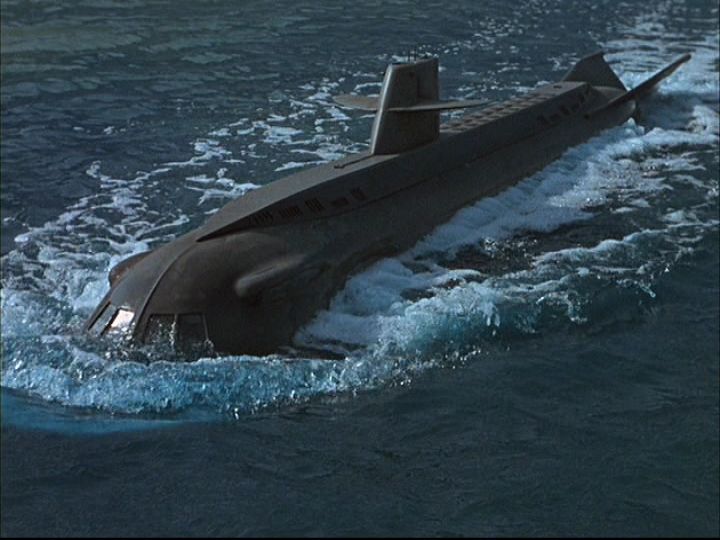
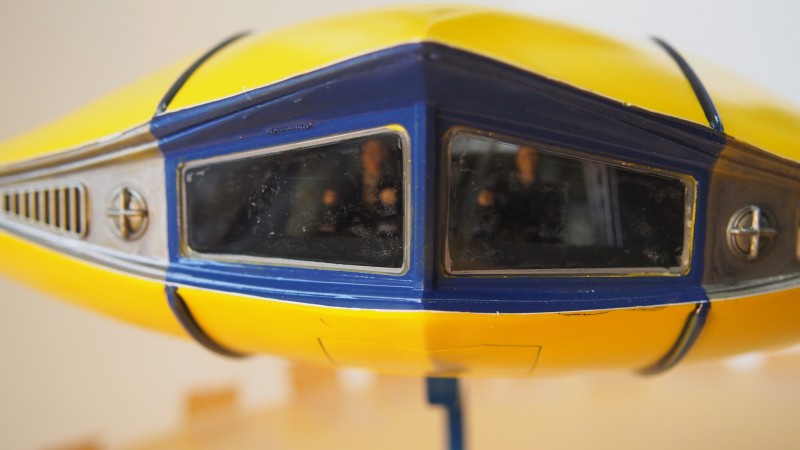
Therefore, Smith and Bluementhal considered that the only way to refine the ‘accepted look’ of a modern submarine was by giving both bow and stern something of a tweak, finding inspiration in both the space age and the very creatures of the sea themselves. The bow, with its great bowed windows, has the flared rake of a hammer-head shark or perhaps a manta ray, and gives the approaching shots of the sub in screen real weight.
The stern, likewise, with its V-shaped, winged tail – and from which the Cadillac gag was taken – further enhances the sleek qualities of the sub and makes the whole stand as unique – like a great sea-beast in its own right. Leviathan itself in steel.
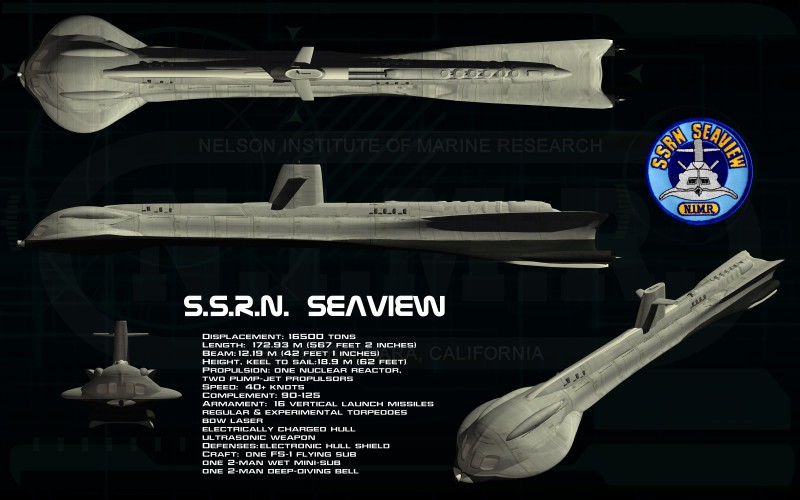
When the ultimate design was agreed upon, three shooting models were created:
- – A four-foot model used both for underwater movement shots and as a room decoration in Admiral Nelson’s lounge.
- – An eight-foot model with high detail, for close in detail shots and lighting work.
- – A seventeen-foot model which, whilst not as well detailed as the smaller eight footer, was used heavily for surface movement shots.
This last model is very interesting indeed.
As was well known at the time, one way of ‘giving mass’ to a model was to shoot it at a higher frame rate so that when the film was run at normal speed, it would appear as if the surrounding materials (in this case water) would move more slowly, and consequently appear much more massive. However, the size of the waves in relation to the Seaview model even in this case had to be realistic, and the only way to guarantee this was to use as large a model as possible, which is why the largest model was a good seventeen feet in length – based on lessons learned by Disney in their filming of the surface running scenes for 20,000 Leagues Under the Sea.
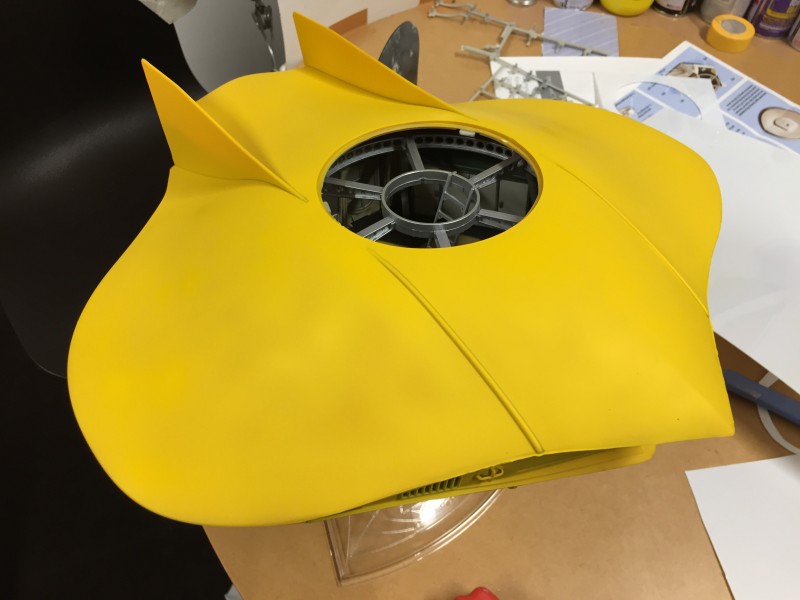
When the TV series was green-lit, the production inherited the old filming models, and they served well enough in the first season. However, time and tide had worn them all and in preparation for season 2, the Seaview was sent back into the dry dock to be cleaned, further detailed, and improved – especially around the bow, as an airlock was to be added for Momma’s Little baby, the Flying Sub.
This necessitated the removal of one of the Seaview’s fore-decks, and the windows which went with it.
Only the eight- and 17-foot models were so modified, and only the larger model had a fully detailed and lit airlock, so that closeup launch shots could be filmed in detail.
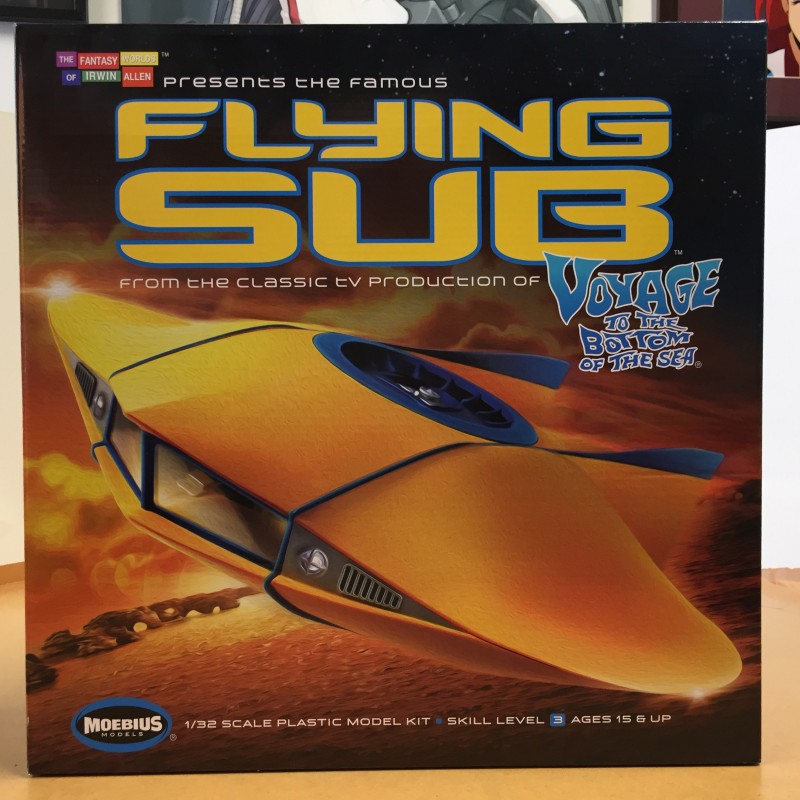
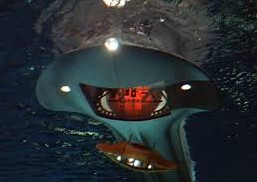
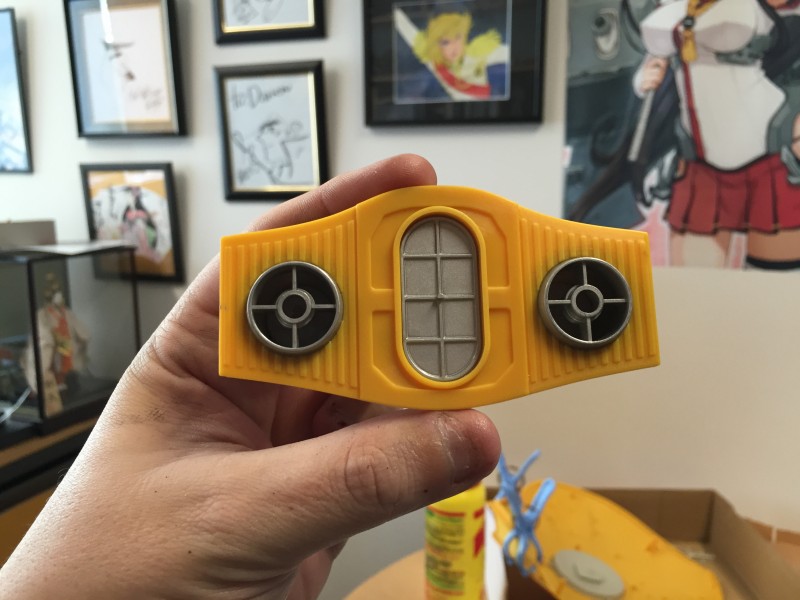
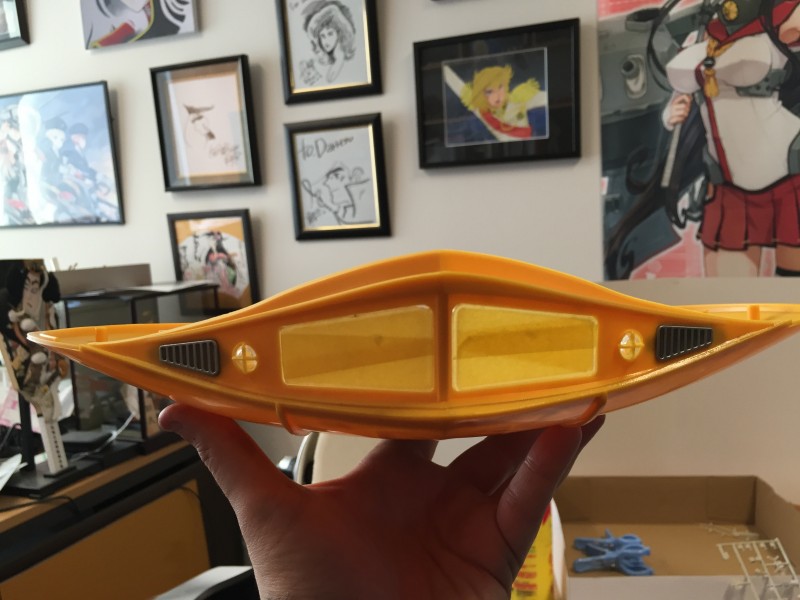
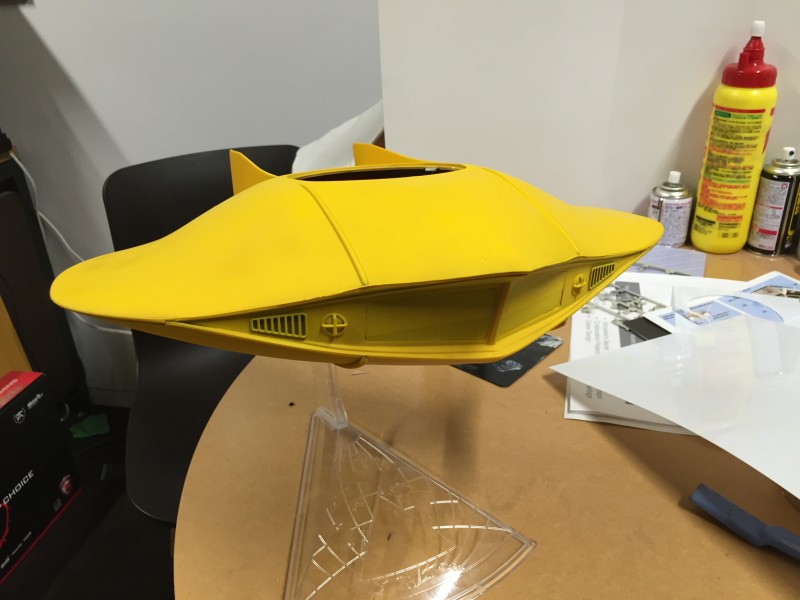
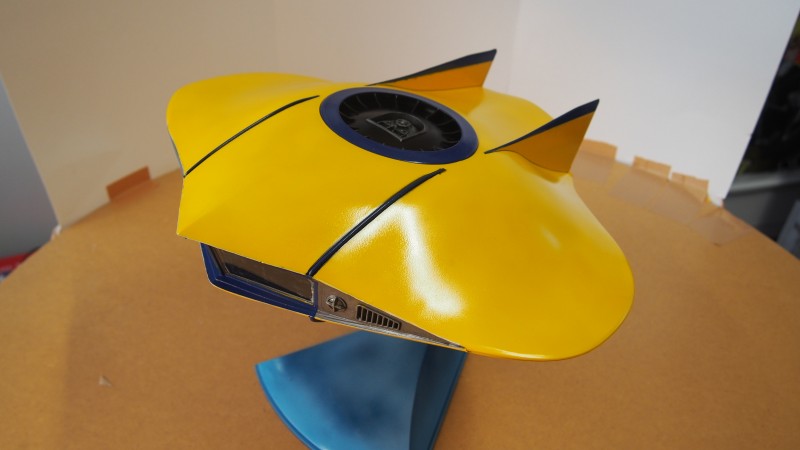
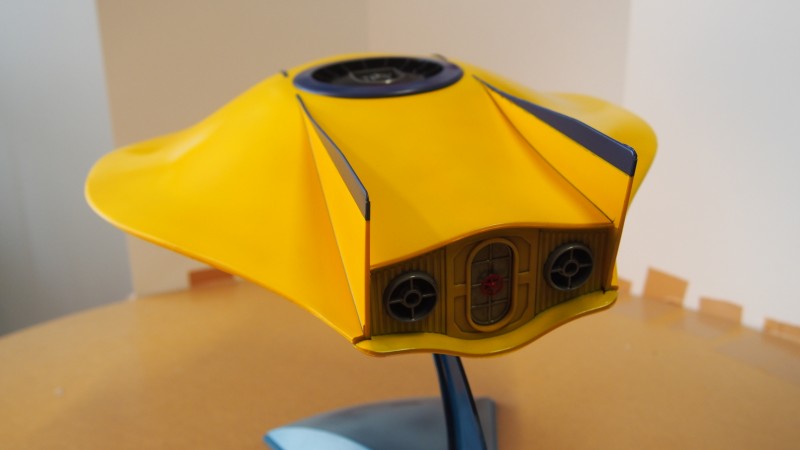
The Flying Sub itself, designed by William Creber, carried on the manta ray visual theme of the bow of the Seaview, with an obvious nod to the UFO craze of the B Movie age as well. However, Creber was as much influenced by the X-24 Lift Body aircraft which captured the imagination of plane fans everywhere for a short period.
Launched bomb-like from its hangar, the model was flown on control wires, using techniques developed by SFX pioneers who had cut their teeth on Republic SF serials such as ‘Flash Gordon’ and ‘Buck Rogers.
For those interested in the Flying Sub, the Seaview, and Voyage to the Bottom of the Sea in general, ‘Mike’s VttBotS page‘ is the ideal place to start.
The Build…
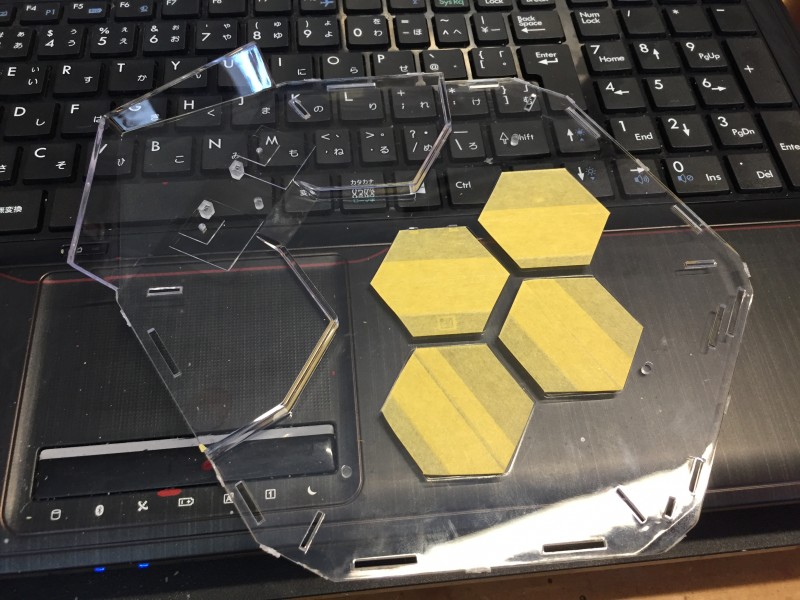
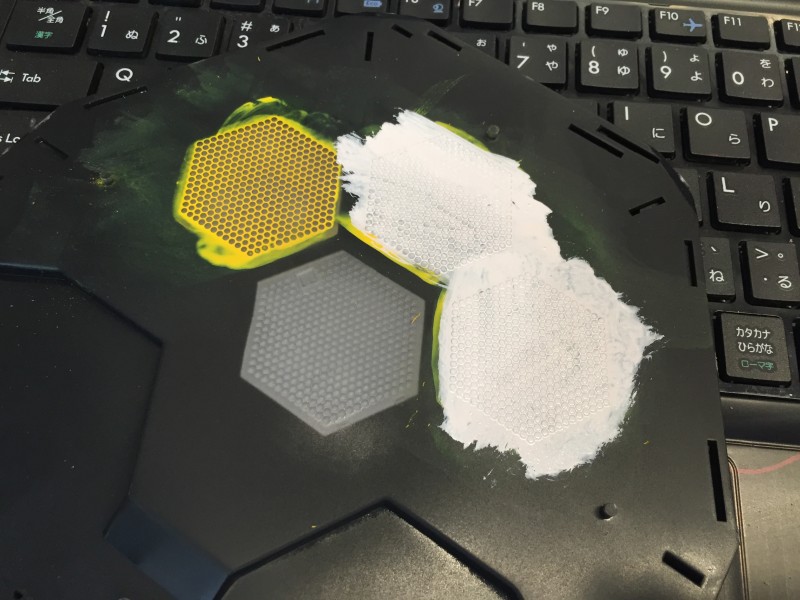
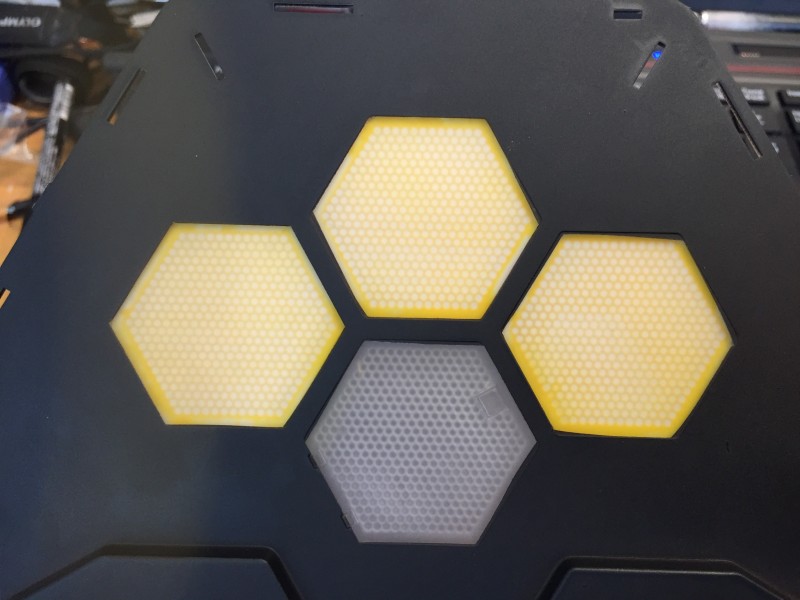
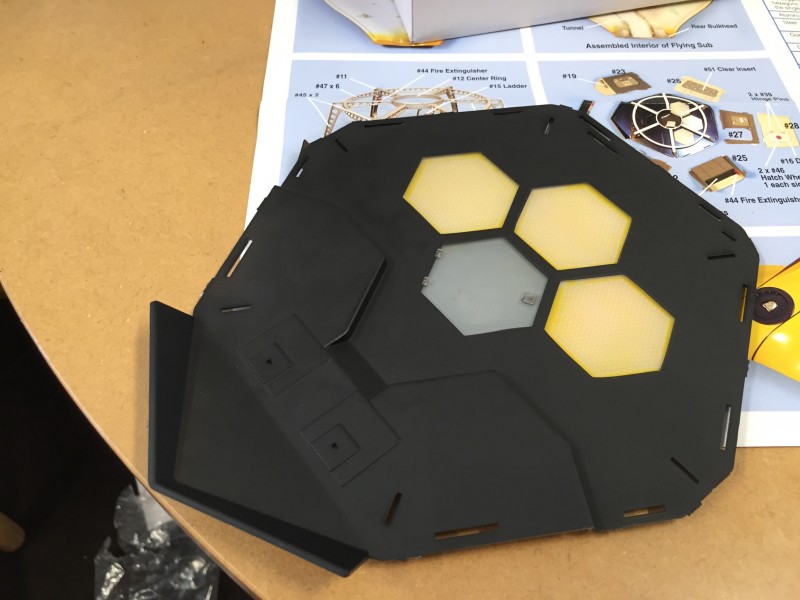
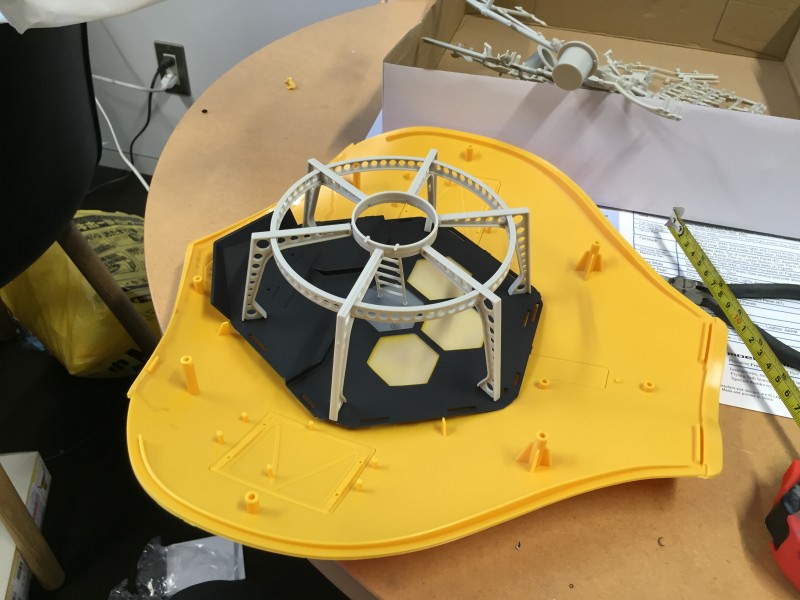
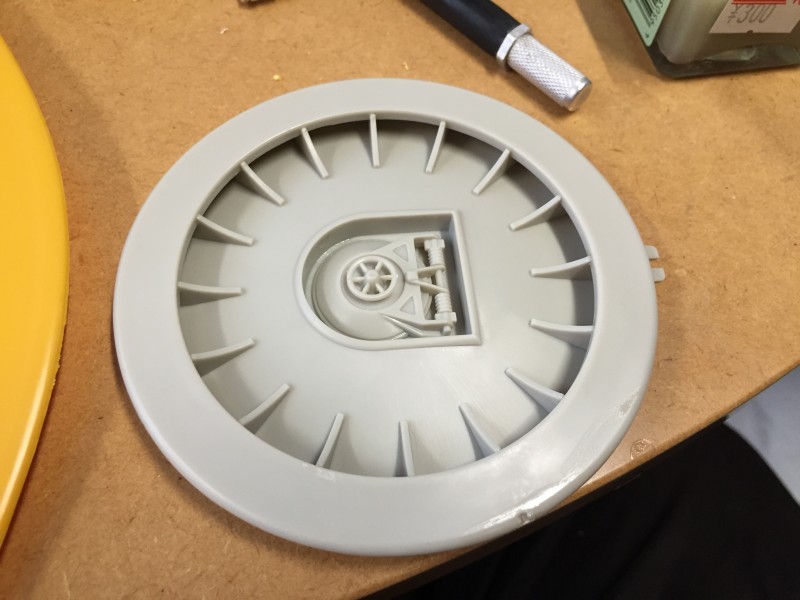
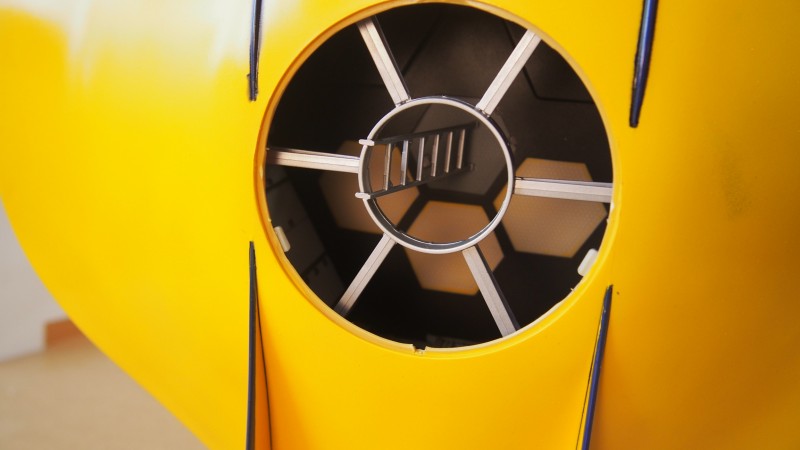
The clear, plastic floor is a nice touch here. For those who wish to get electric, it allows them to have the floor pates correctly illuminated, as in the series.
However, even those who do not go down that road can effectively replicate the effect as above, with a yellow base reverse highlighted with white.
Why was it cast in a single shot, rather than as a base with windows? — Matters of cost, pure and simple. However, I am not lighting my model yet (though in the future) and would be interested so hear from others who have taken this step on light proofing the kit effectively.

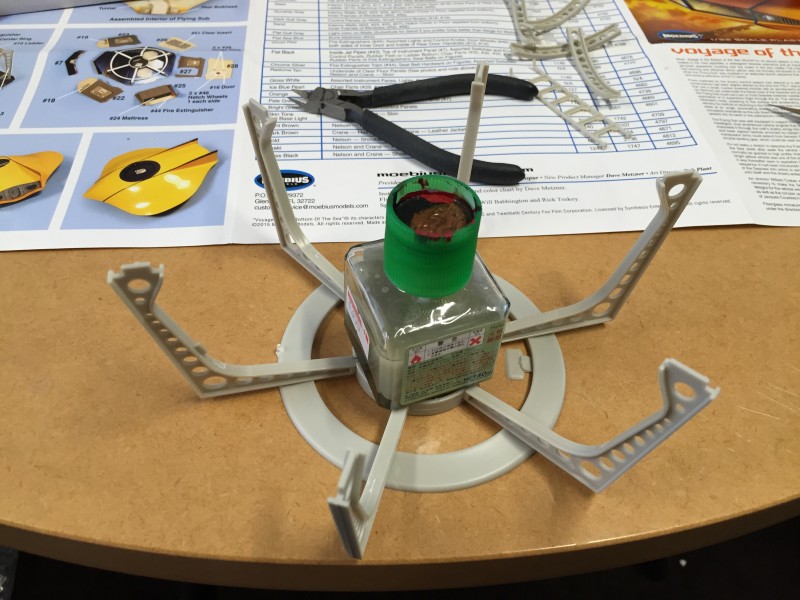
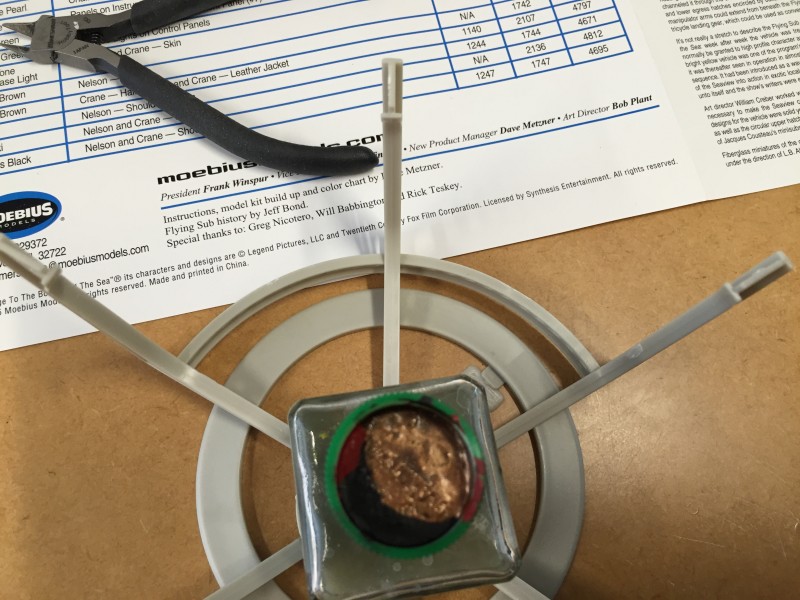
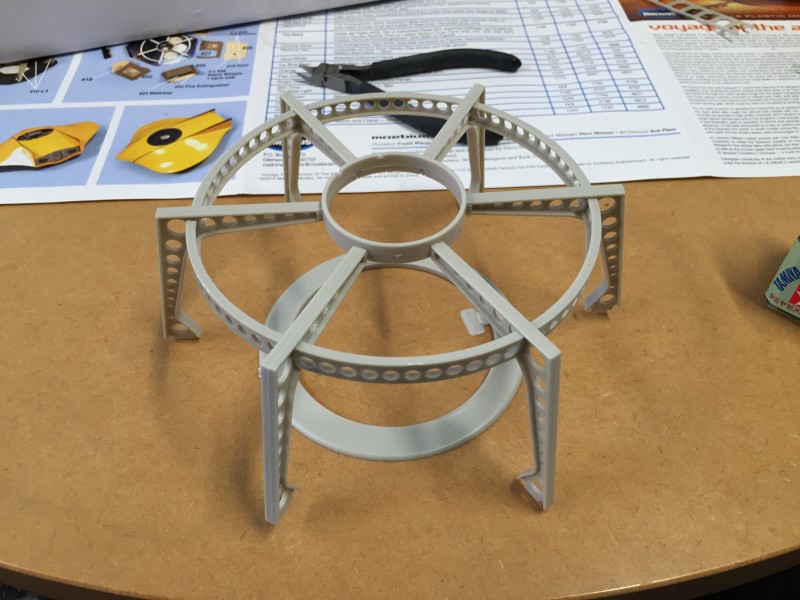
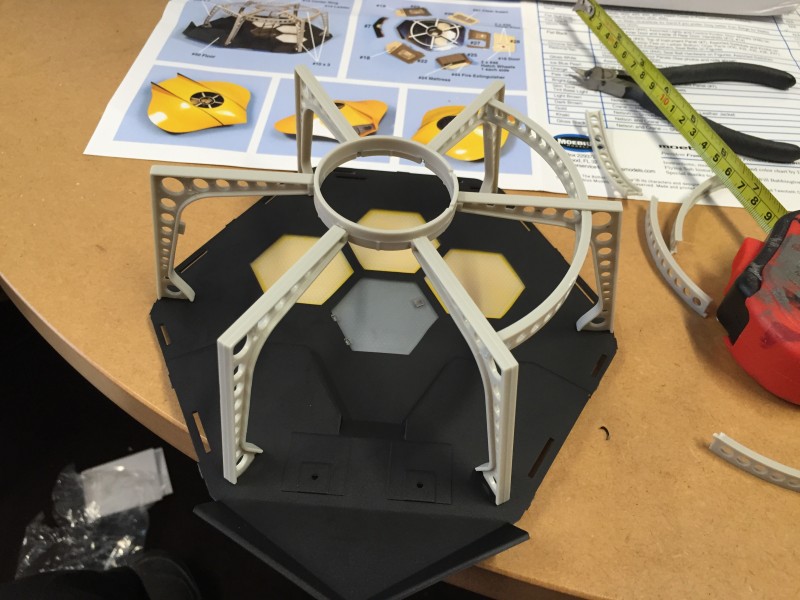
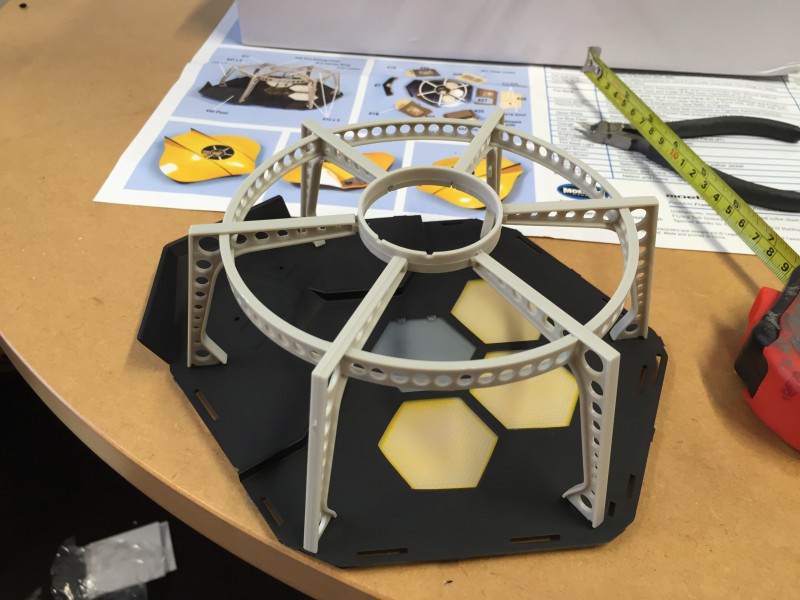

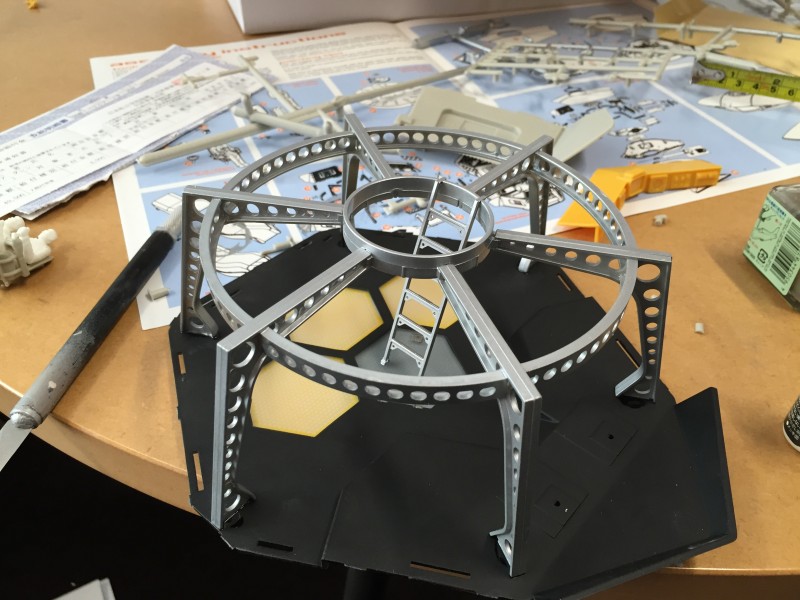
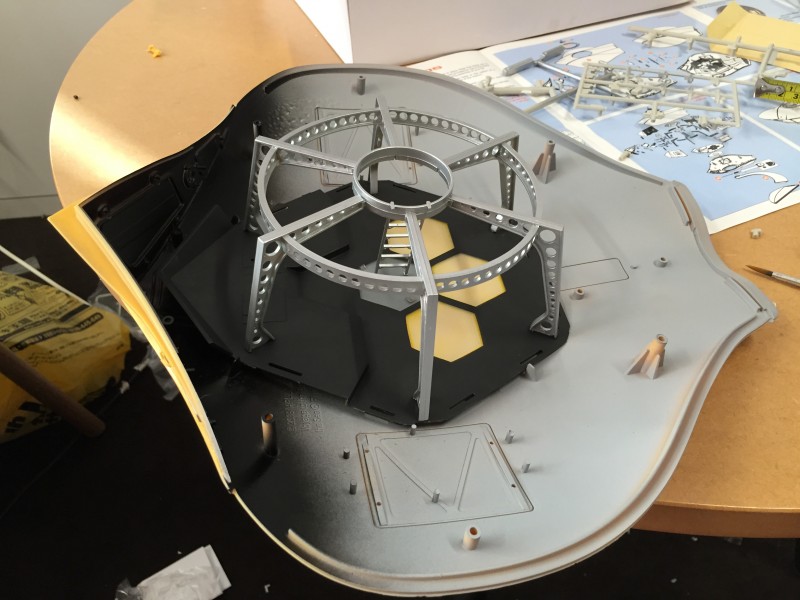
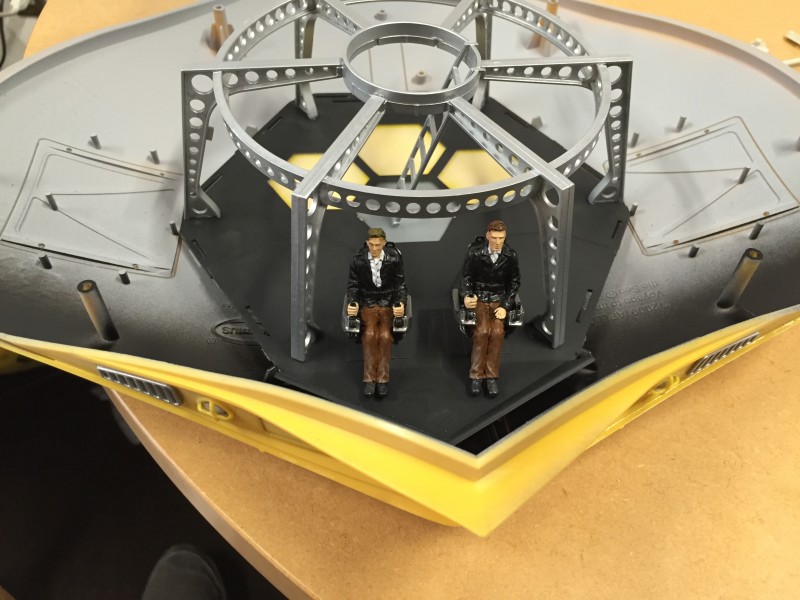
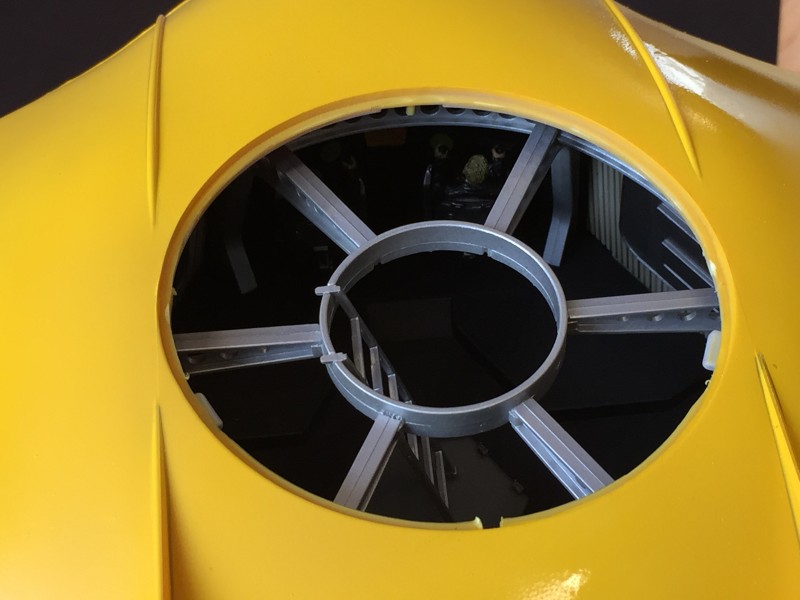
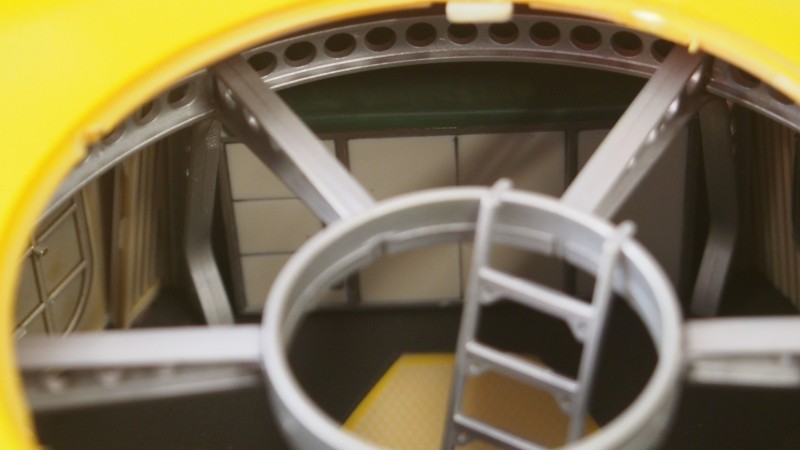
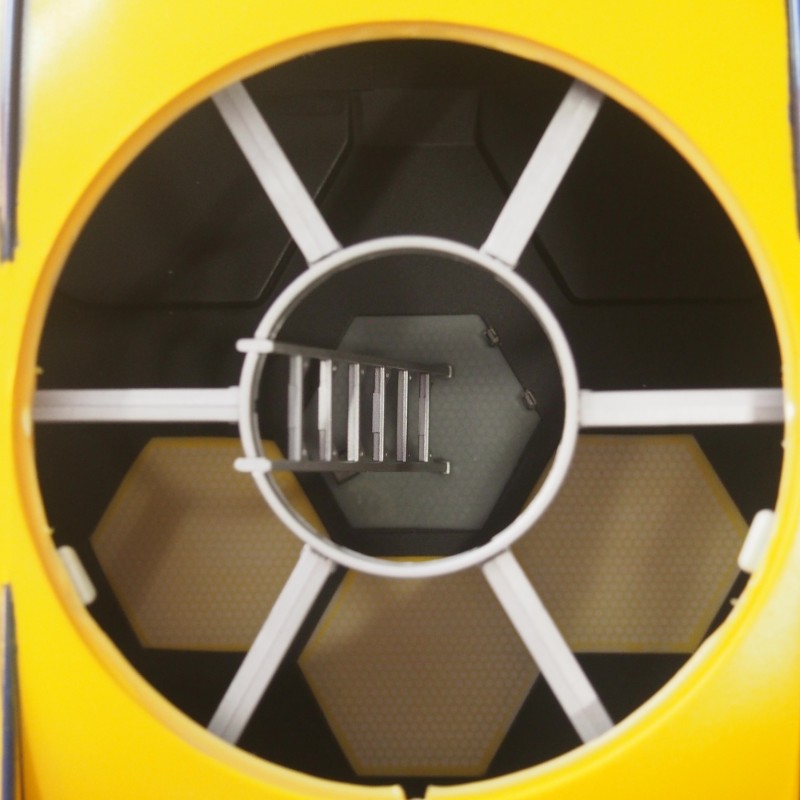
The main core of the ship, though not providing any actual support to the model, is still visually impressive and (obviously) replicates the bracing of the set model.


Though the upper hatch is tabbed so that it can, if wished, be cemented in place, the instructions also provide a clear guide how to modify it so that it can be easily removed by snipping off two of the tabs and cementing them to the underside of the upper hull.
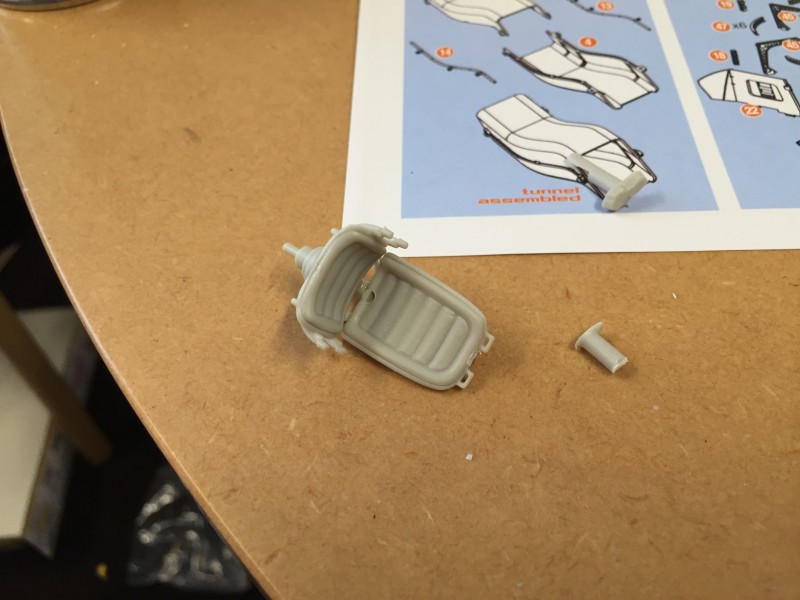
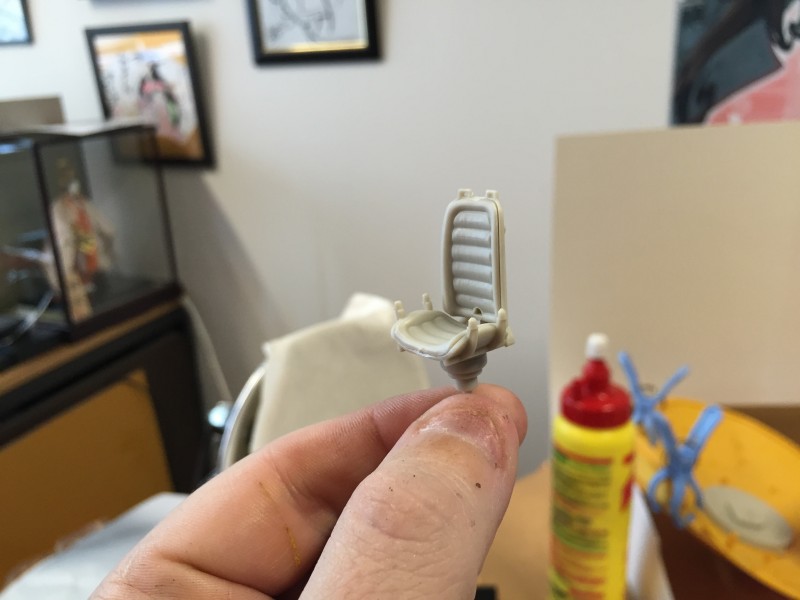
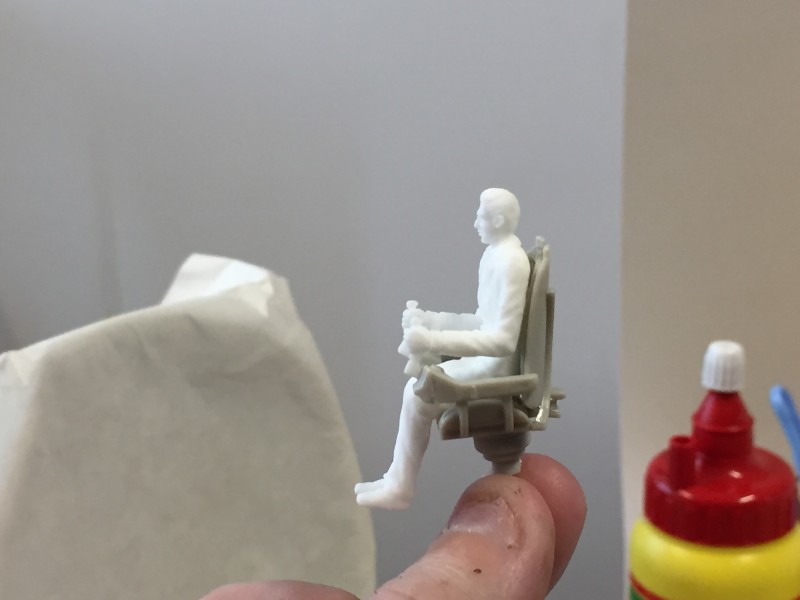
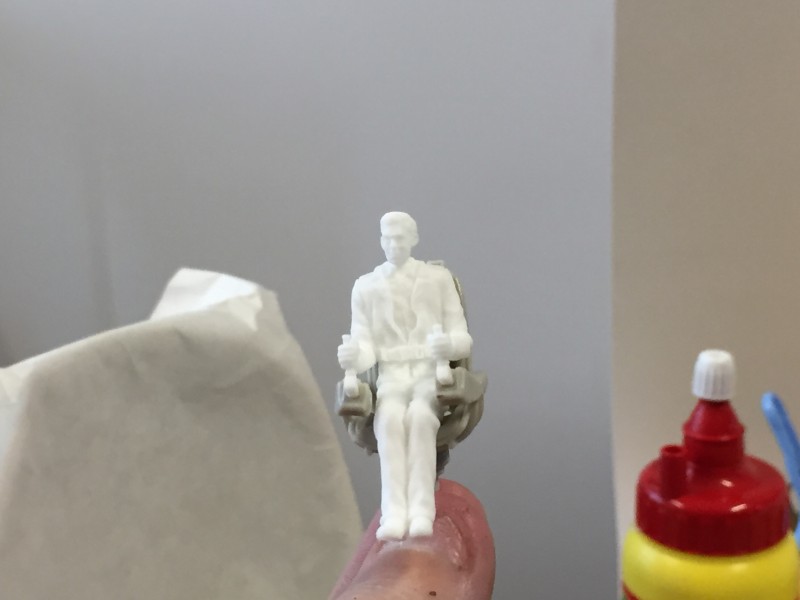
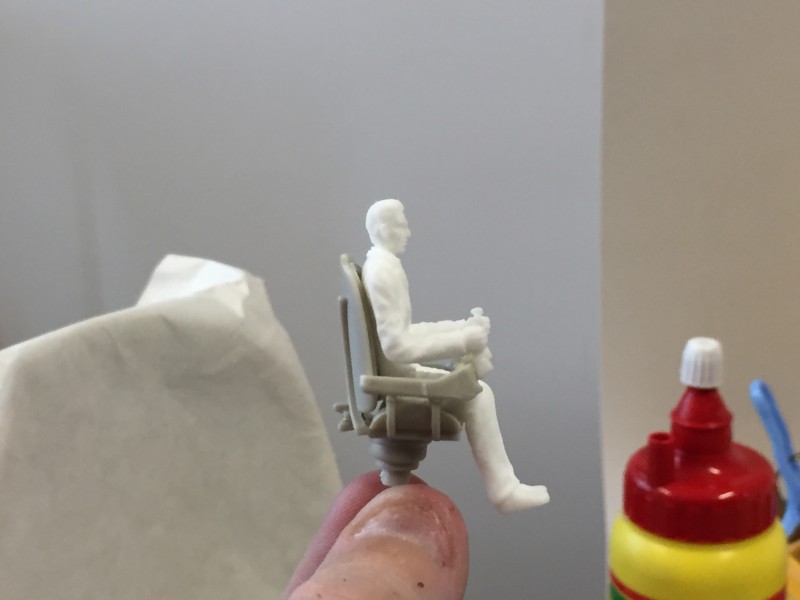
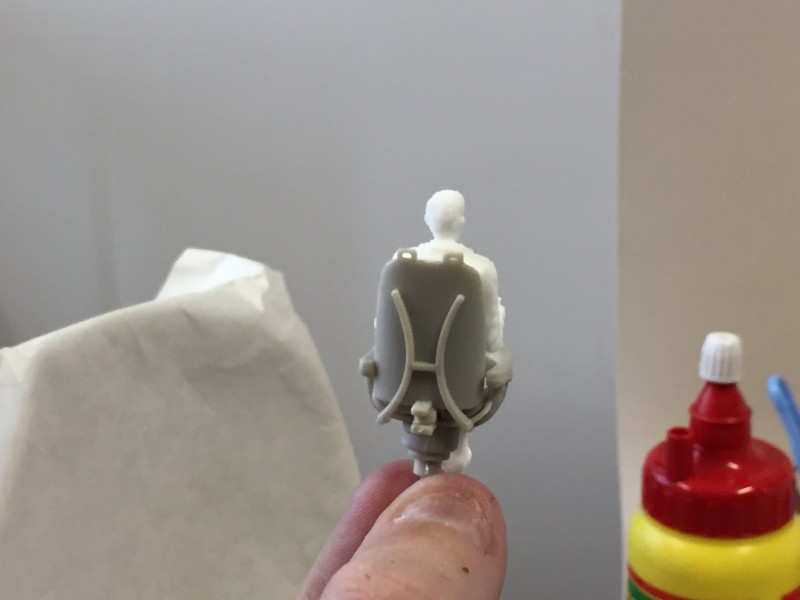
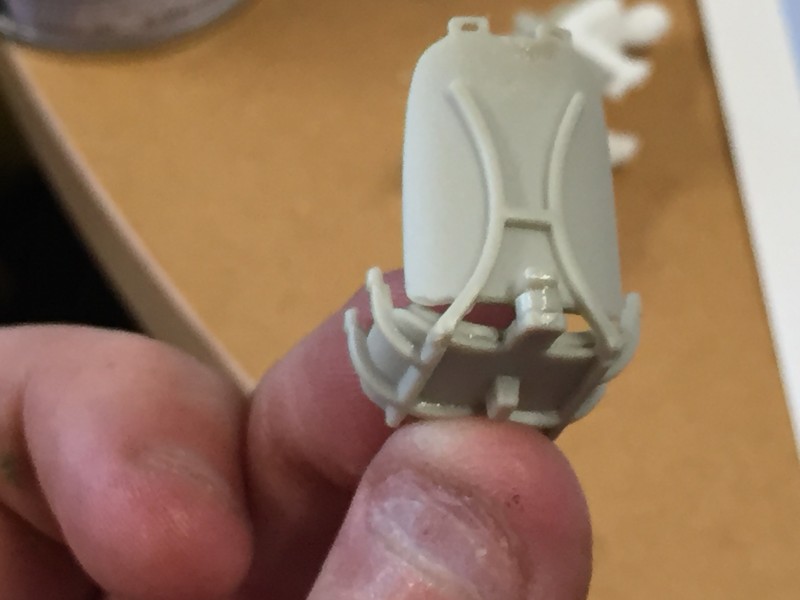
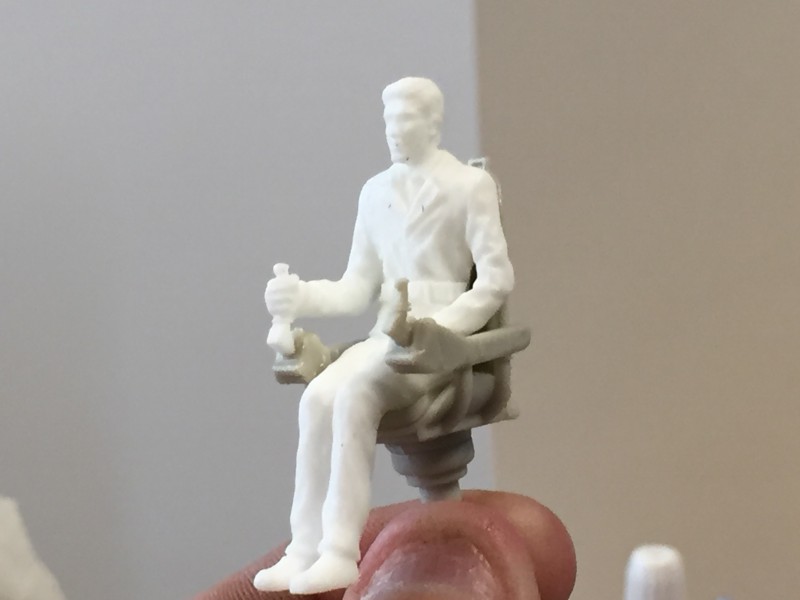
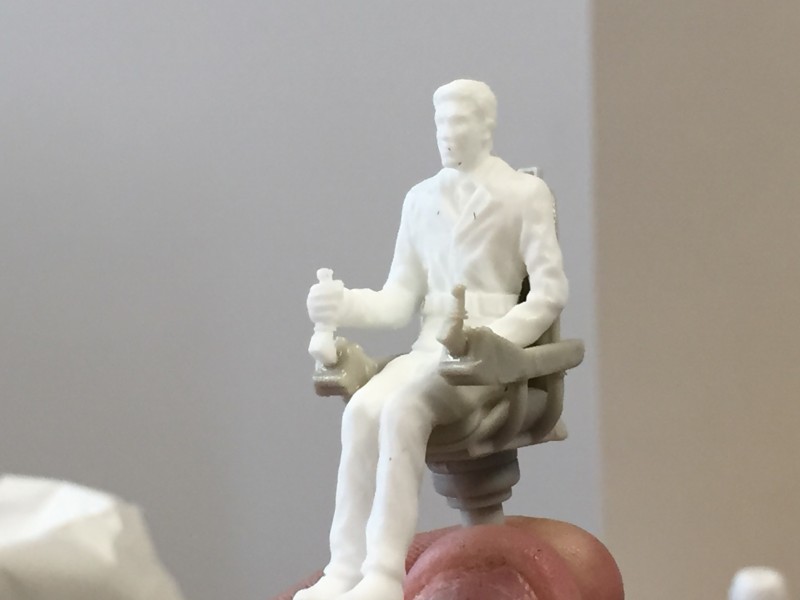
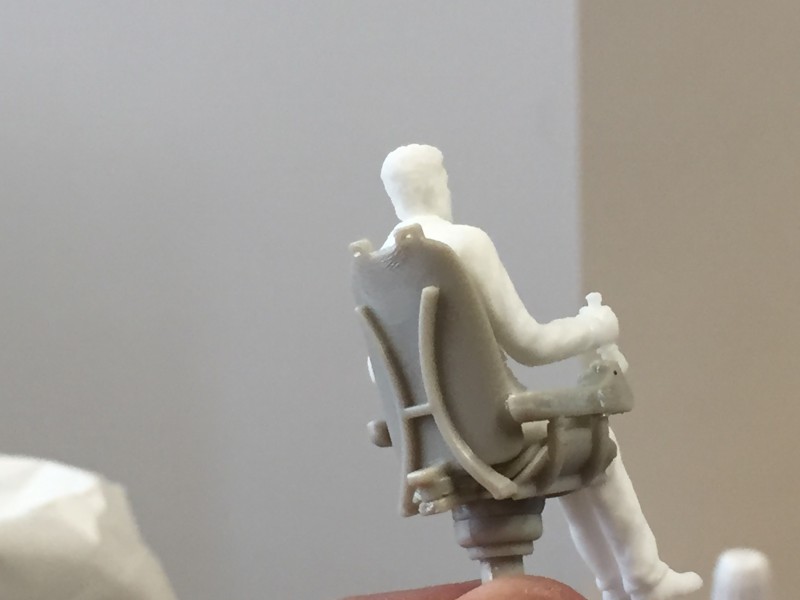
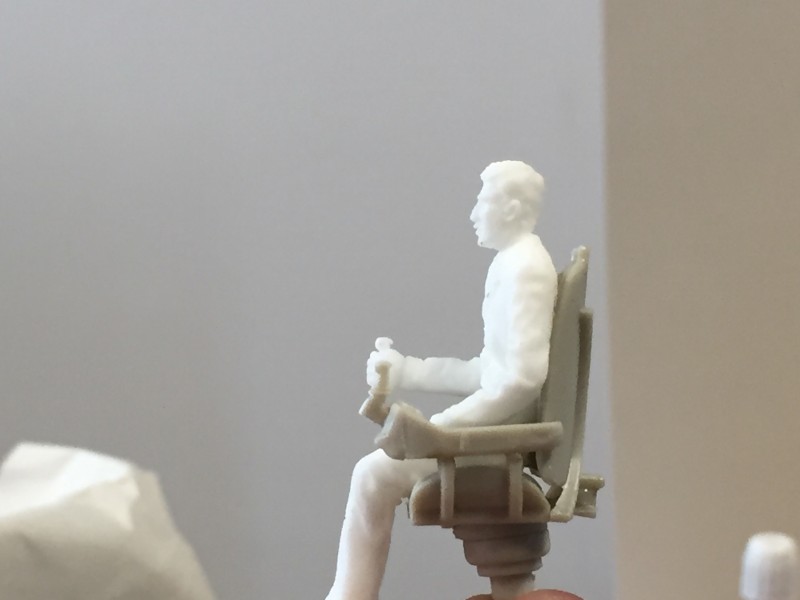
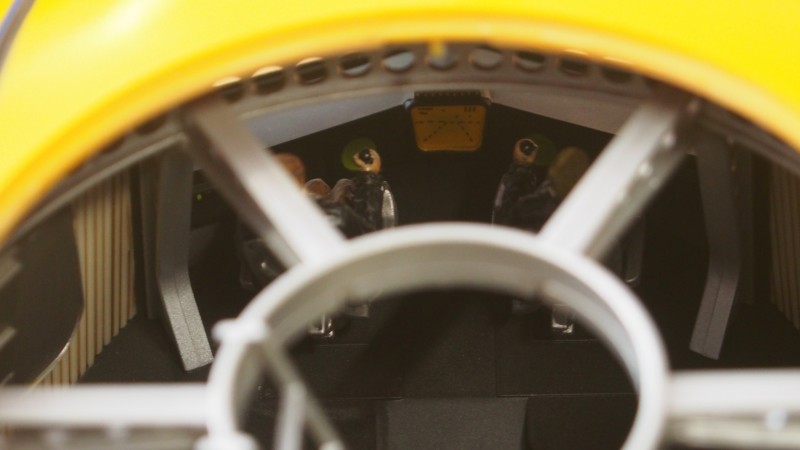
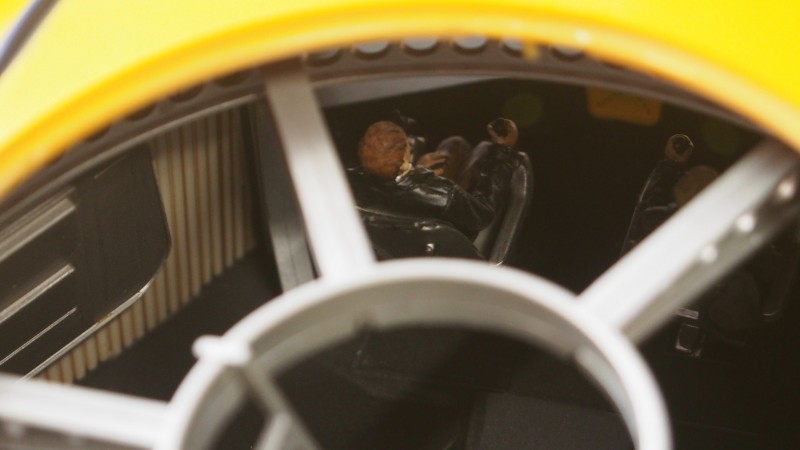
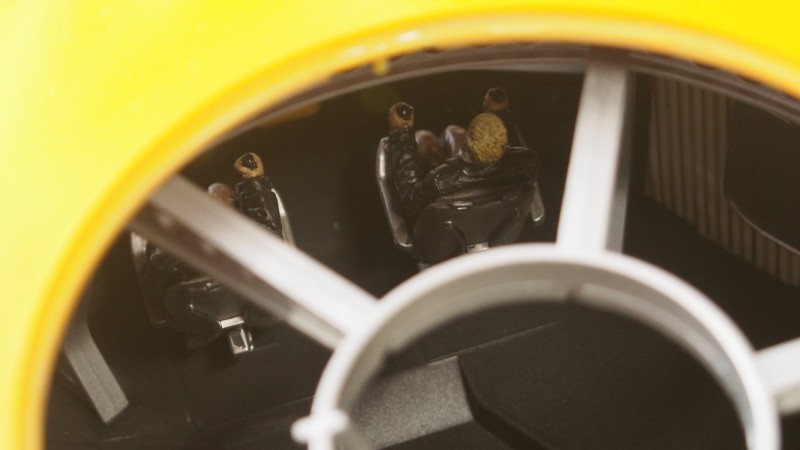
Both Admiral Nelson and Captain Krane are well rendered and their seats reasonably well molded, with the caveat that I had to add a small block of plastic between the seat back and the base to get it to the correct height and angle for the figures.
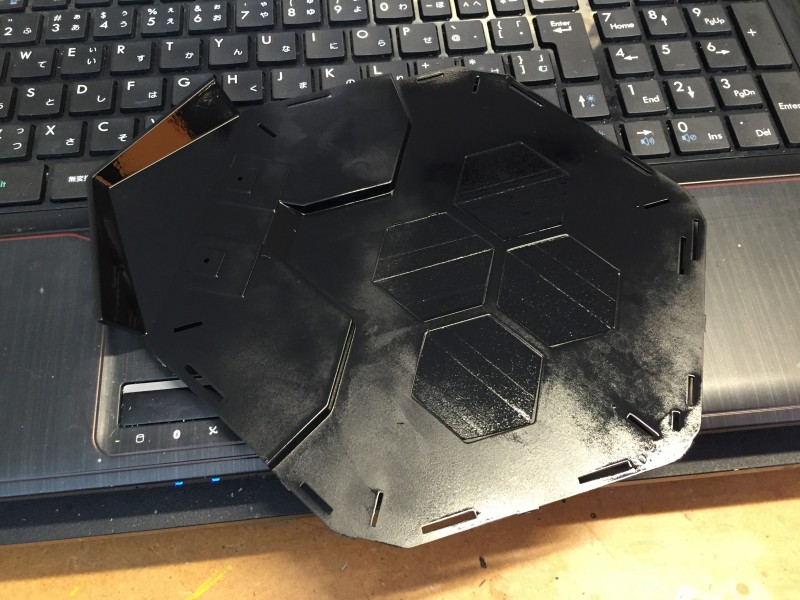
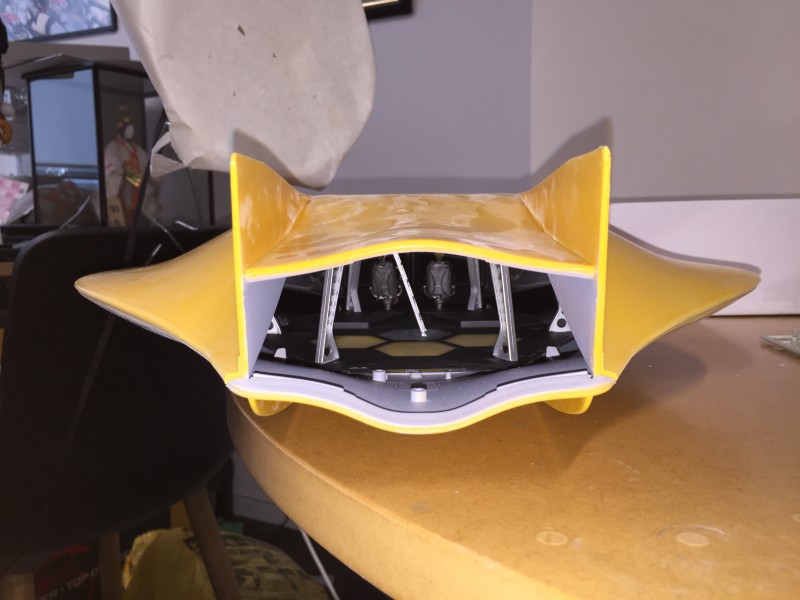
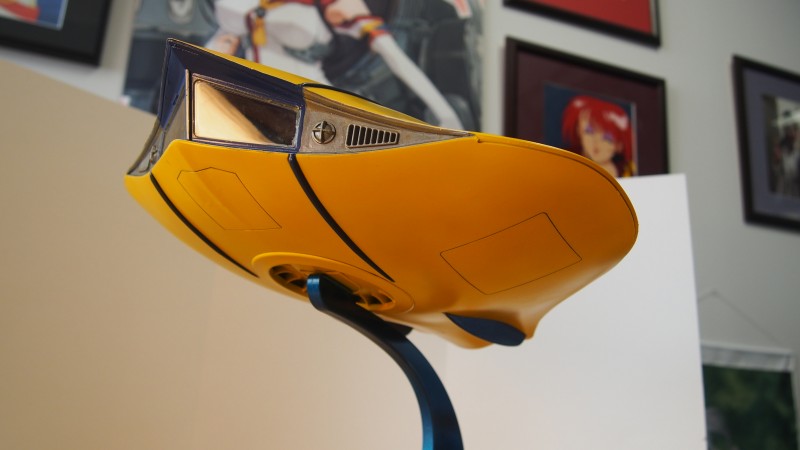
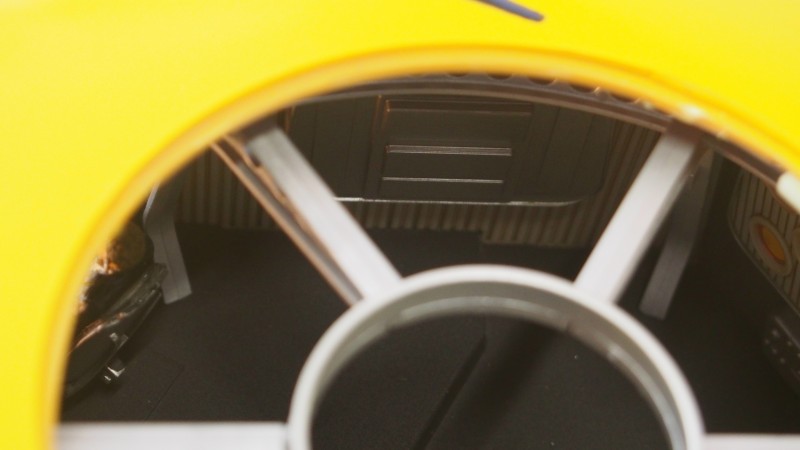
Two blunders… I am aware that I’d have been better off shading the front inner hull in yellow, rather than black. It seemed like a good idea a the time, though.
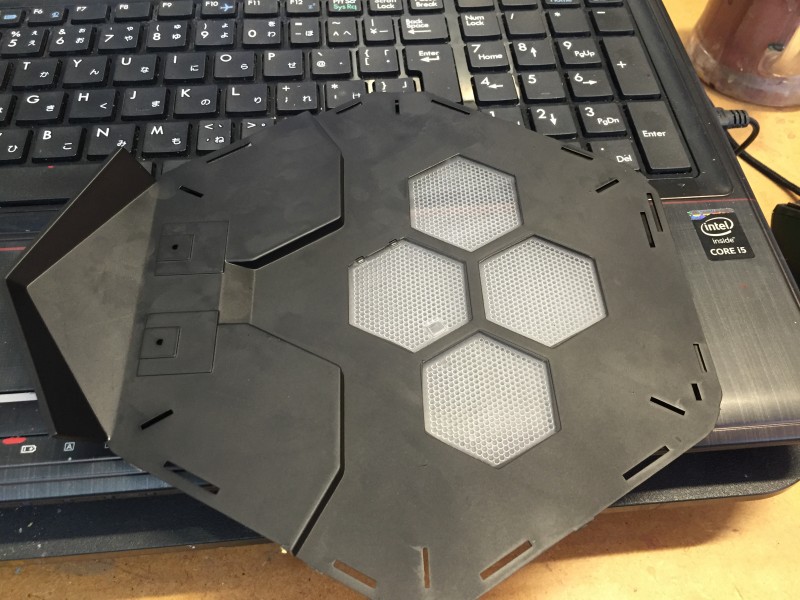
Additionally, I also know the rear plate should be polished metal rather than yellow. However, though I am done with the kit for the moment, I will be lighting it in the near future, so have not cemented the hull firmly, or finished the external painting fully.
This obliquity will be addressed! 😀

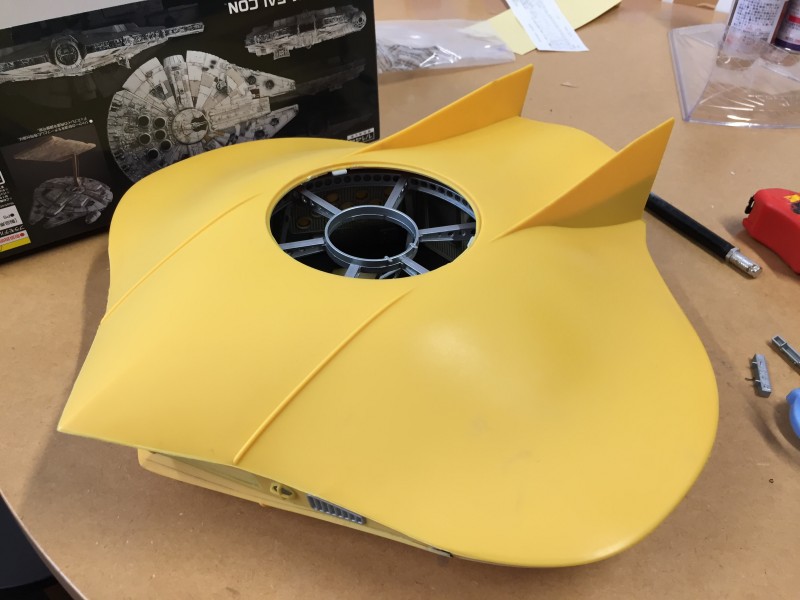
A real beauty, even at the mid point of the build… Even the Falcon looks a little shabby in comparison!
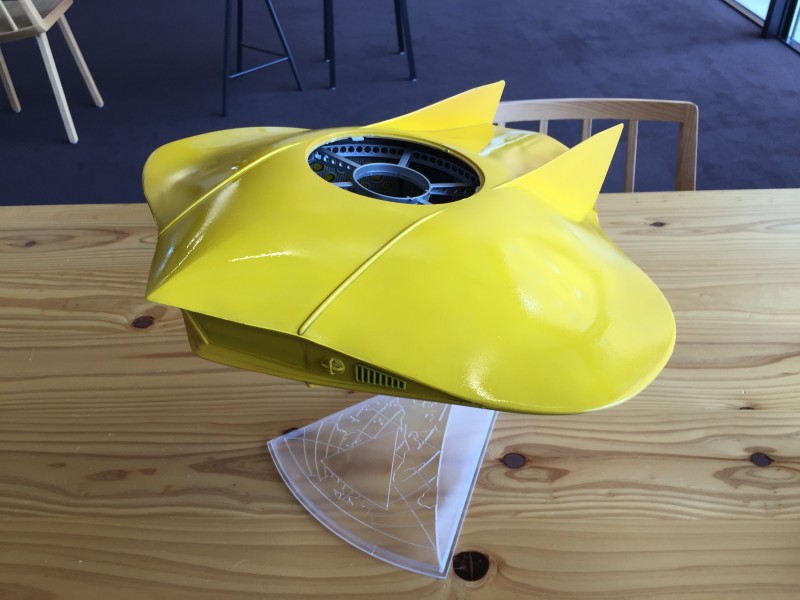

A lovely view from the top.
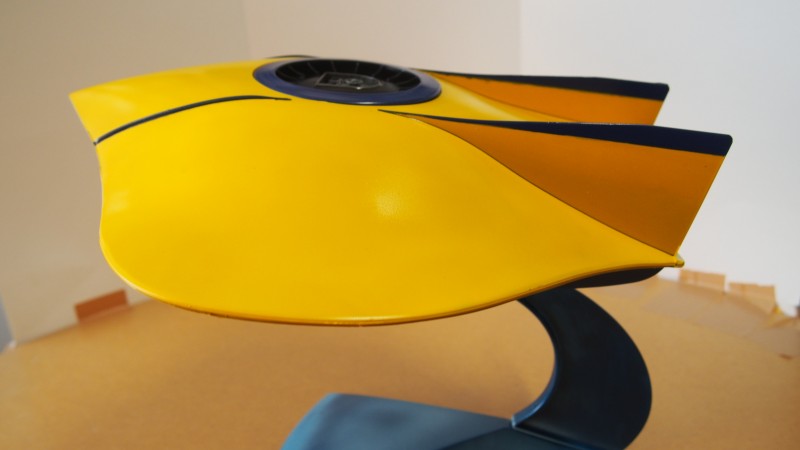
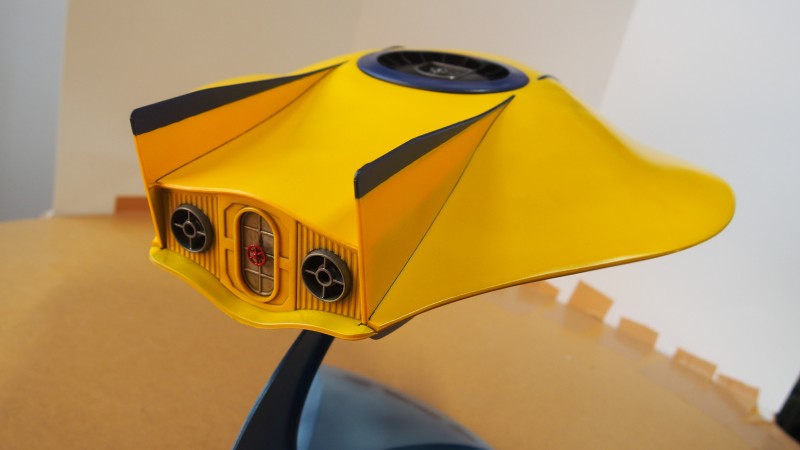
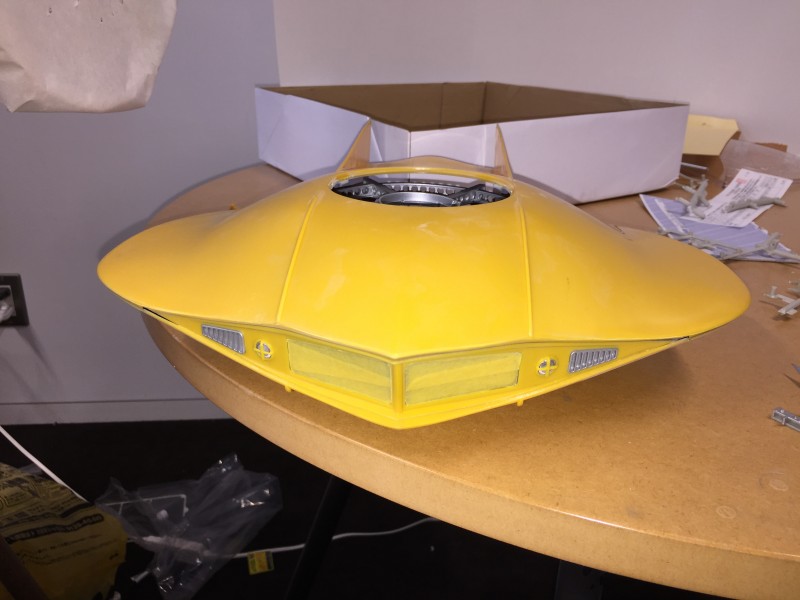
With the painting as far as I will take it until I have finished the electronics; the kits still shows its charms.
…And its fit. Note that the upper and lower hulls have not been cemented together, and merely snapped into place. A few minor variances aside, the moldings are very well done and align almost perfectly out of the box. Very few pegs, straps, or tape will be required to make a perfect seam here.
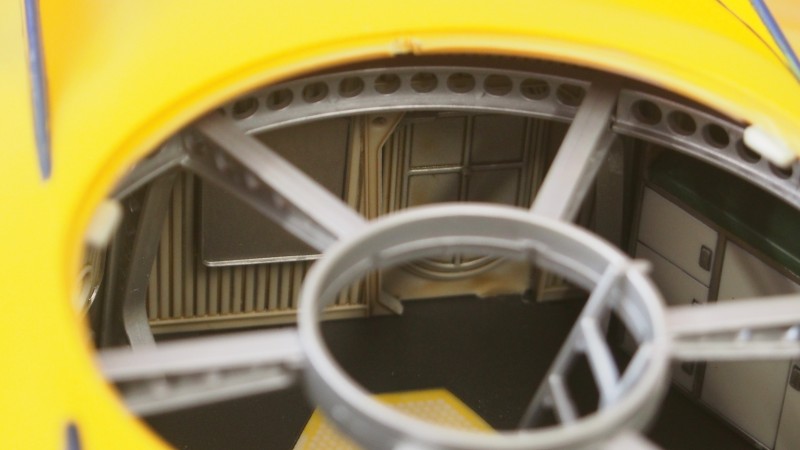
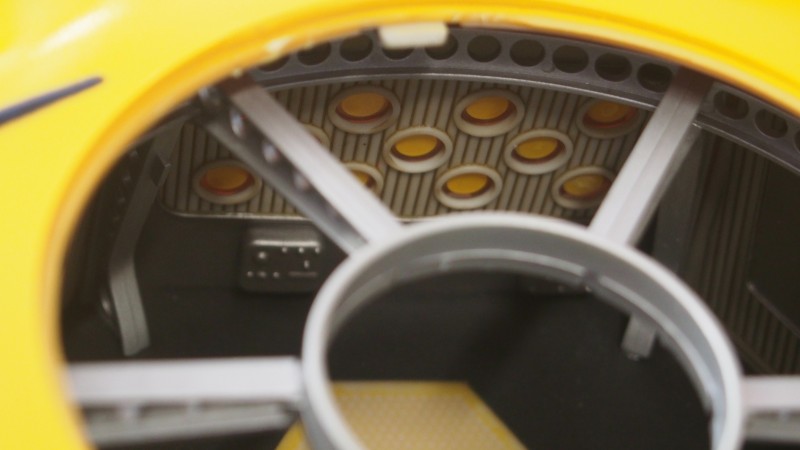
You will also note that the instrument panels have not been finished here, as I want to add racks, switches, and drill holes for lights.
Conclusions
It interests me that Moebius has not actually fleshed out the instrument panels properly in the kit (not even supplying decals) as can be seen in the set photo above. Not a real problem, as there are enough good images about on the ‘net to make the job easy, with a little plasticard and some time. However, could it have been so hard (or expensive) to have had this detail molded in from the outset? I suspect so, myself…
A very simple kit, this. Perhaps to some eyes it will be *too* simple and flat – no decals, no landing gear, no actual engines, or even much cockpit relief.
It also concerns me that Moebius has not included (or made available) the landing gear set with the renewal version. If one can find the 2009 release wheel set, it should fit this kit easily enough, but at 50 USD at launch, and often selling for more these days, it adds a further burden to the modeler, for this is already not a cheap kit.
HOWEVER, this is a bit of a niche of a niche, and not likely to be flying off the shelves in great numbers, so I can see the sense (even if do not like it) in managing things the way the company has.
Plus… This thing is *HUGE*, and so heavy when built that its flying base can barely take its weight. I have no qualms with the base price for what one gets. I am simply saying I’d have been happy to pay more to get the kit as I wanted it.
Overall, though, I am very happy indeed. It is an easy lit to build, but I think it will be a real challenge to light and detail properly.
I’ll update this review with final images when the lighting is done.
Dr. Robodaz.


teetee580
As always, the model looks great. Wouldn’t have guessed the structure in the middle would be so high, due to its sleek design. It tapers without even noticing it.
A slight bummer the model lacks so much detail and doesn’t come with the landing gear. Nevertheless, I’m sure that you, with al your skills, can make it look the part after some tweaking.
Looking forward in seeing how it turns out.
Good luck and happy building 😉
Dave
nice,build where can i purchase this kit?
Robodaz
If HLJ themselves don’t have stock, the availability of Moebius kits can be a bit patchy. It depends where you live and what you are willing to pay, as runs vanish quickly and even this renewal version is shooting out.